Ingredients
Sponge Biscuit
Instructions
Step 1
Step 2
Step 3
Step 4
Step 5
Step 6
Step 7
Step 8
Step 9
Step 10
Step 11
Step 12
Step 13
Step 14
Step 15
Servings
Equipment
You'll need multiple sizes to sift dry ingredients and whip eggs separately. Opt for stainless steel or glass for stability.
Ensures your flour and starch are well-aerated and lump-free, leading to a smoother batter.
A sturdy mixer is essential for whipping the eggs to a fluffy, firm consistency. If using a hand mixer, make sure your bowl is deep to avoid a mess.
Use a flexible spatula for gently folding the flour mixture into the whipped eggs to maintain the airy texture.
Silicone or non-stick molds make it easy to release the baked biscuit without damaging its delicate structure.
This helps ensure your oven is at the correct temperature, crucial for evenly baking the biscuit.
Variations
Faq
- How do I know when the sponge biscuit is ready?
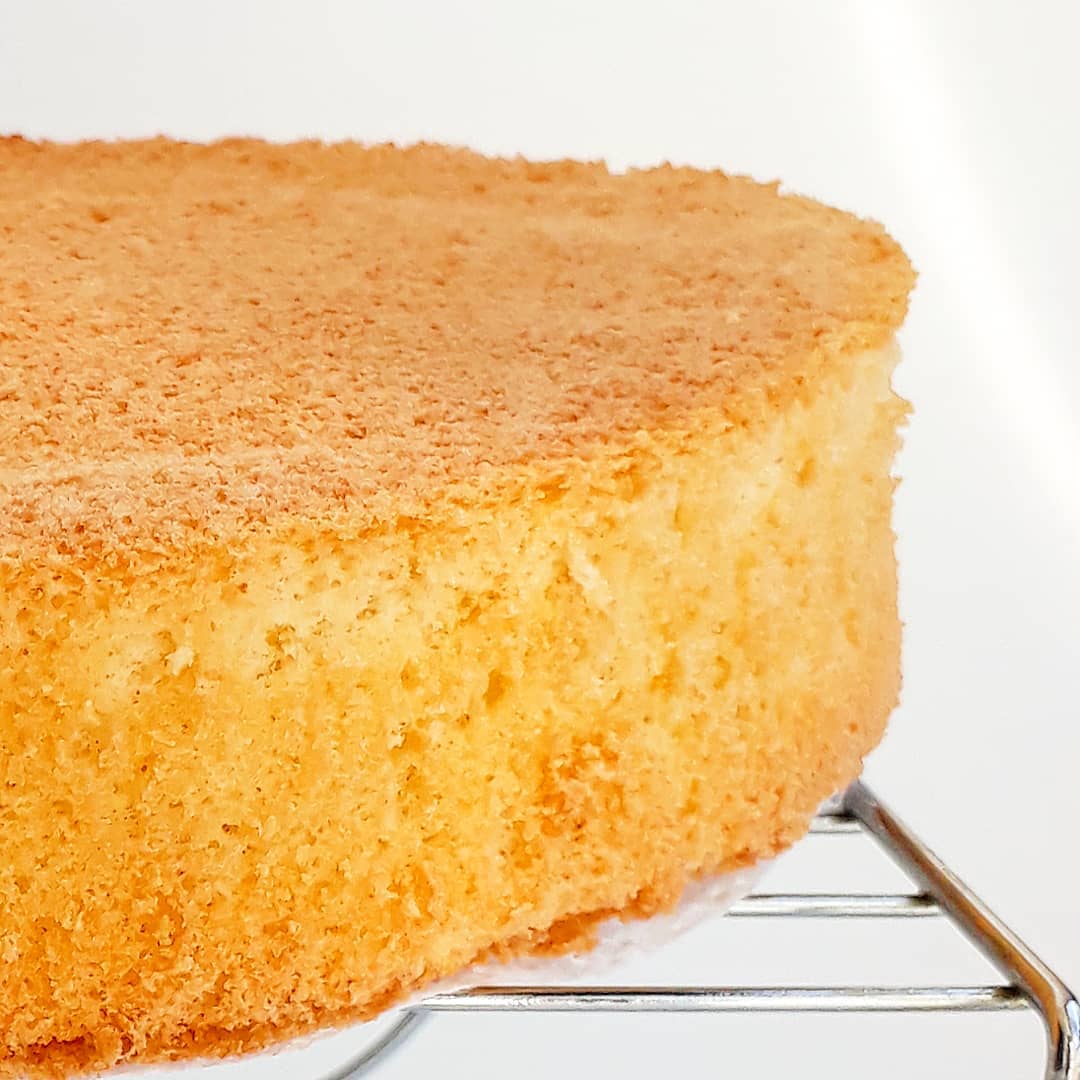
The biscuit should be golden brown, and a skewer inserted in the center should come out clean.
- Can I use self-raising flour instead of all-purpose flour and baking powder?
Yes, you can use self-raising flour, but omit the baking powder as self-raising flour already contains leavening agents.
- What’s the best way to fold in the flour mixture without deflating the eggs?
Use a spatula to gently fold the flour mixture into the whipped eggs using a motion like the letter "J" to maintain as much air as possible.
- Can I make this sponge biscuit ahead of time?
Yes, you can bake it a day ahead, cool it completely, and wrap it tightly in plastic wrap to keep it fresh.
- How do I store leftover sponge biscuit?
Store leftovers in an airtight container at room temperature for up to three days or freeze for longer storage.
- What’s the secret to a perfectly fluffy sponge biscuit?
The key is to whip the eggs until they are firm and to fold in the dry ingredients gently. Over-mixing will deflate the batter and make it dense.

