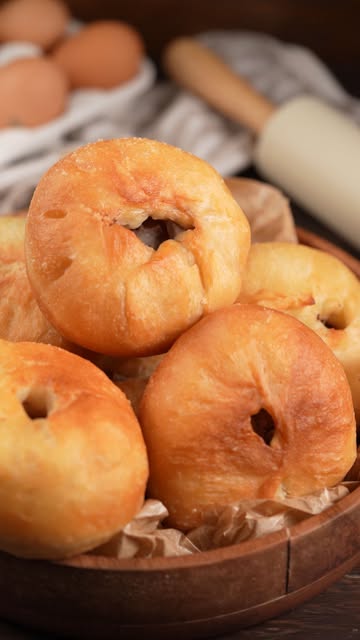
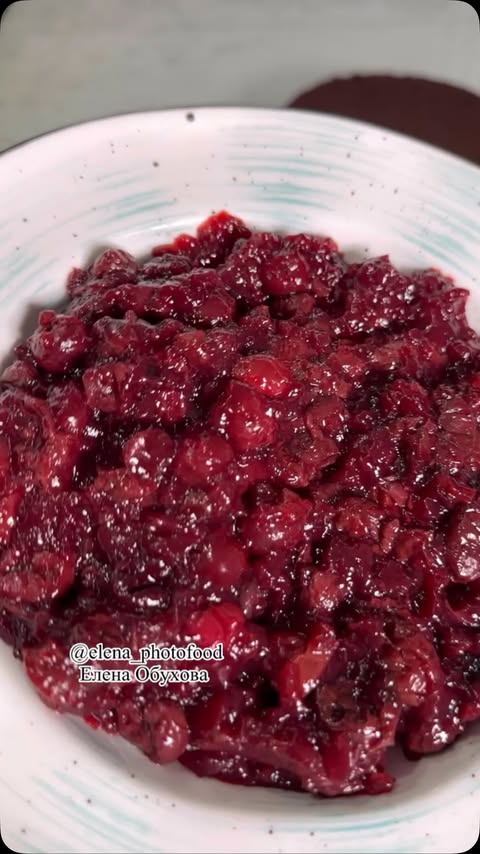
Ingredients
Dough Ingredients
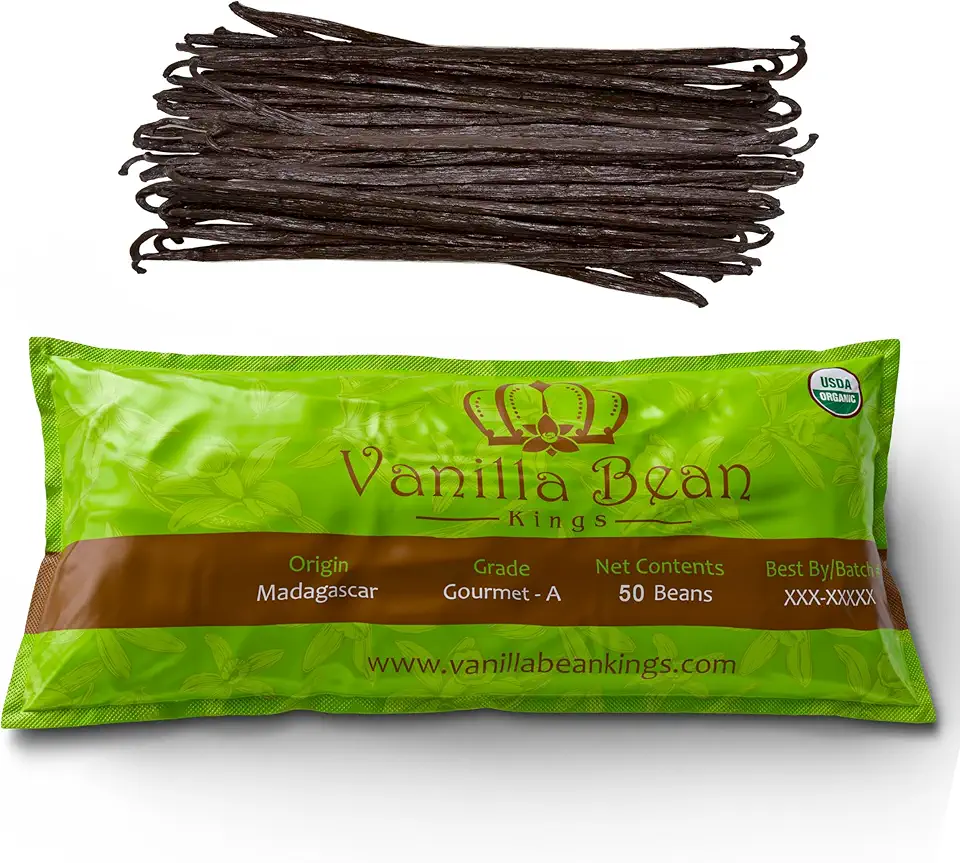 50 Organic Madagascar Vanilla Beans. Whole Grade A Vanilla Pods for Vanilla Extract and Baking
$39.99
View details
Prime
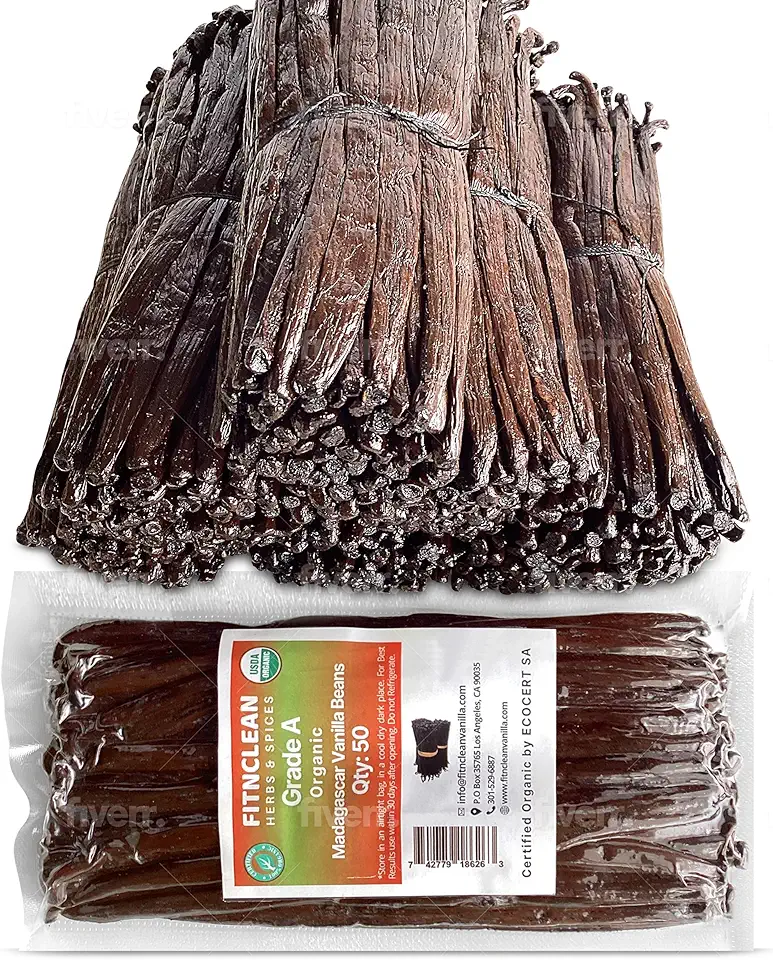 50 Organic Grade A Madagascar Vanilla Beans. Certified USDA Organic for Extract and all things Vanilla by FITNCLEAN VANILLA. ~5" Bulk Fresh Bourbon NON-GMO Pods.
$37.99
View details
Prime
 Nielsen-Massey Madagascar Bourbon Pure Vanilla Extract for Baking and Cooking, 4 Ounce Bottle
$19.95
View details
Filling (Khoriz) Ingredients
 50 Organic Madagascar Vanilla Beans. Whole Grade A Vanilla Pods for Vanilla Extract and Baking
$39.99
View details
Prime
 50 Organic Grade A Madagascar Vanilla Beans. Certified USDA Organic for Extract and all things Vanilla by FITNCLEAN VANILLA. ~5" Bulk Fresh Bourbon NON-GMO Pods.
$37.99
View details
Prime
 Nielsen-Massey Madagascar Bourbon Pure Vanilla Extract for Baking and Cooking, 4 Ounce Bottle
$19.95
View details
Instructions
Step 1
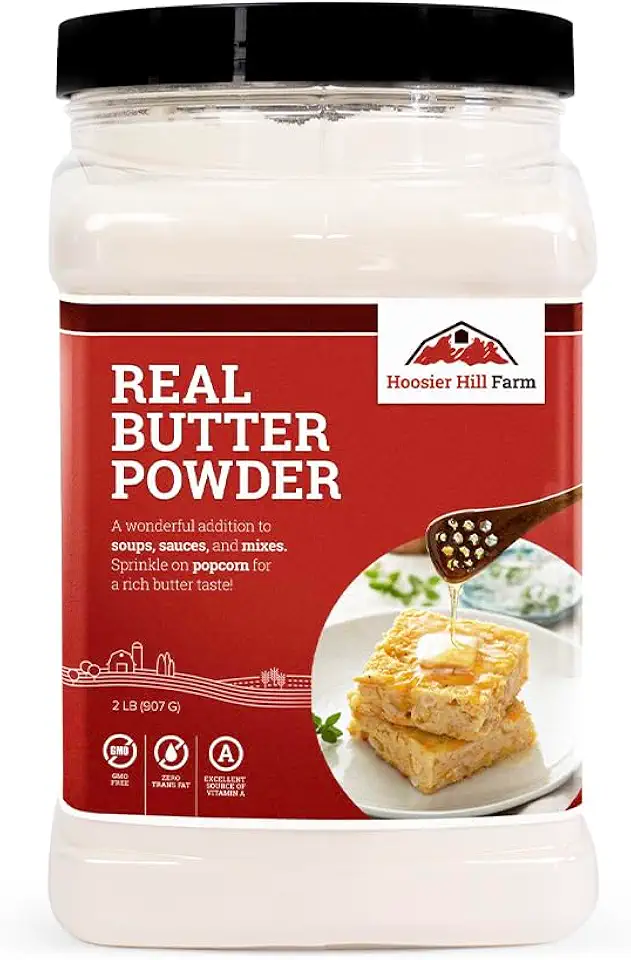
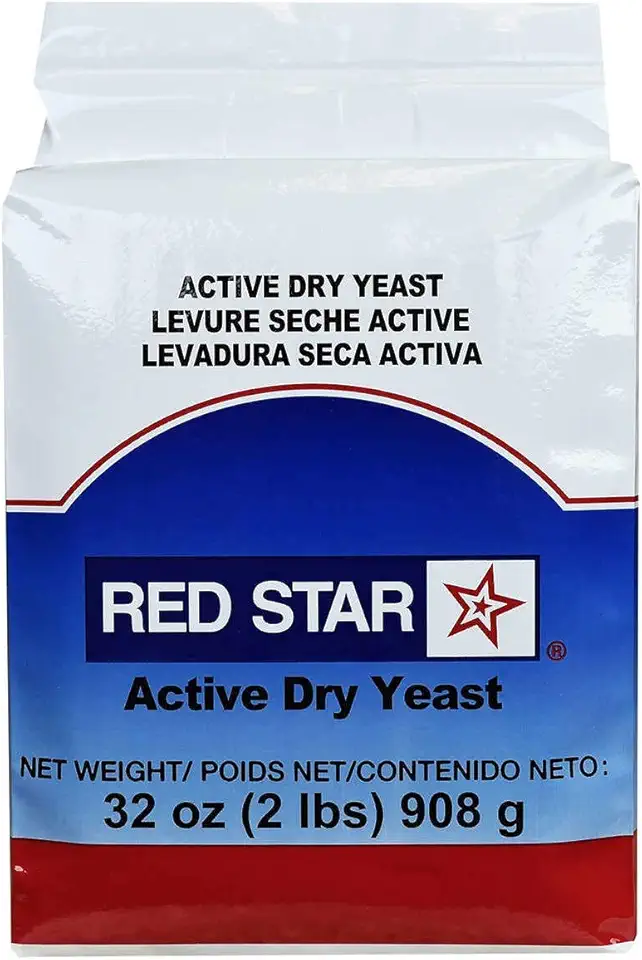
In a large mixing bowl, combine *2 eggs*, *400 ml (14 fl. oz) milk*, *150 grams (0.5 cup) sugar*, *150 grams (0.5 cup) melted butter*, *0.5 teaspoon salt*, *1 tablespoon active dry yeast* and a dash of *vanilla extract*. Stir well until the mixture is smooth and uniform.
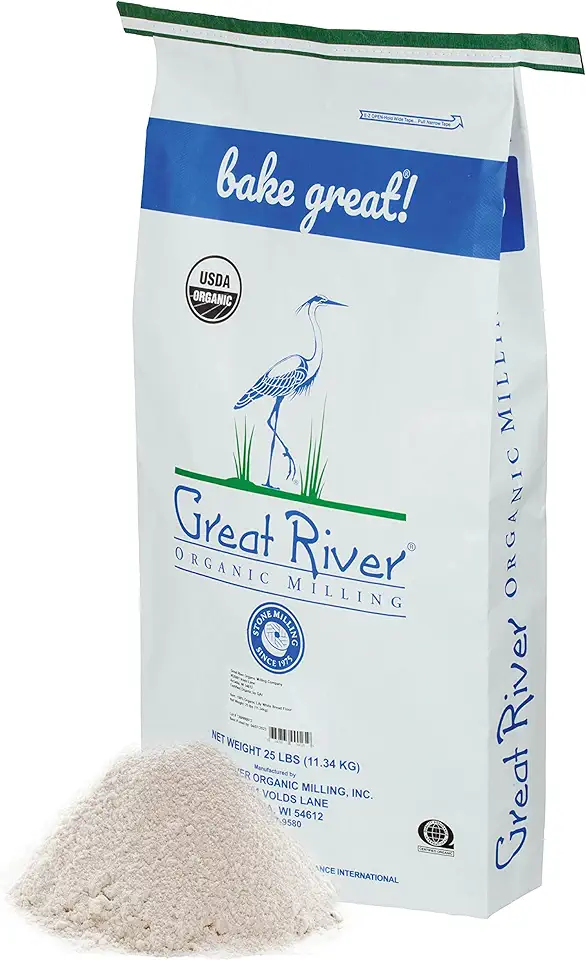
Slowly add *850 grams (6.5 cups) flour*, one cup at a time, to the wet ingredients. Stir continuously until the dough starts to come together. Knead the dough for about 8-10 minutes, until it becomes smooth and elastic. Allow the dough to rest in a warm place for about 1 hour, or until it has doubled in size.
Step 2
In a separate bowl, mix *250 grams (2 cups) flour*, *250 grams (1 cup) sugar*, *100 grams (0.5 cup) softened butter*, and a dash of *vanilla extract*. Combine until the mixture has a crumbly texture.
Step 3
Once the dough has risen, punch it down and divide it into two equal parts. Roll out each part on a floured surface to form a large rectangle.
Spread half of the filling mixture evenly over each rectangle of dough. Roll each rectangle into a tight log and cut into about 1-inch-wide (2.5 cm) pieces.
Step 4
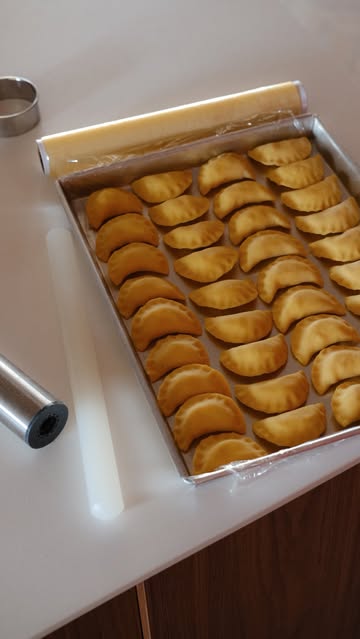
Preheat your oven to *180°C (350°F)*. Place the gata pieces on a baking sheet lined with parchment paper. Brush the tops with a mixture of *1 egg yolk* and *1 tablespoon milk* for a glossy finish.
Bake for about 20-25 minutes, or until the tops are golden brown. Keep an eye on them as baking times may vary depending on your oven.
Step 5
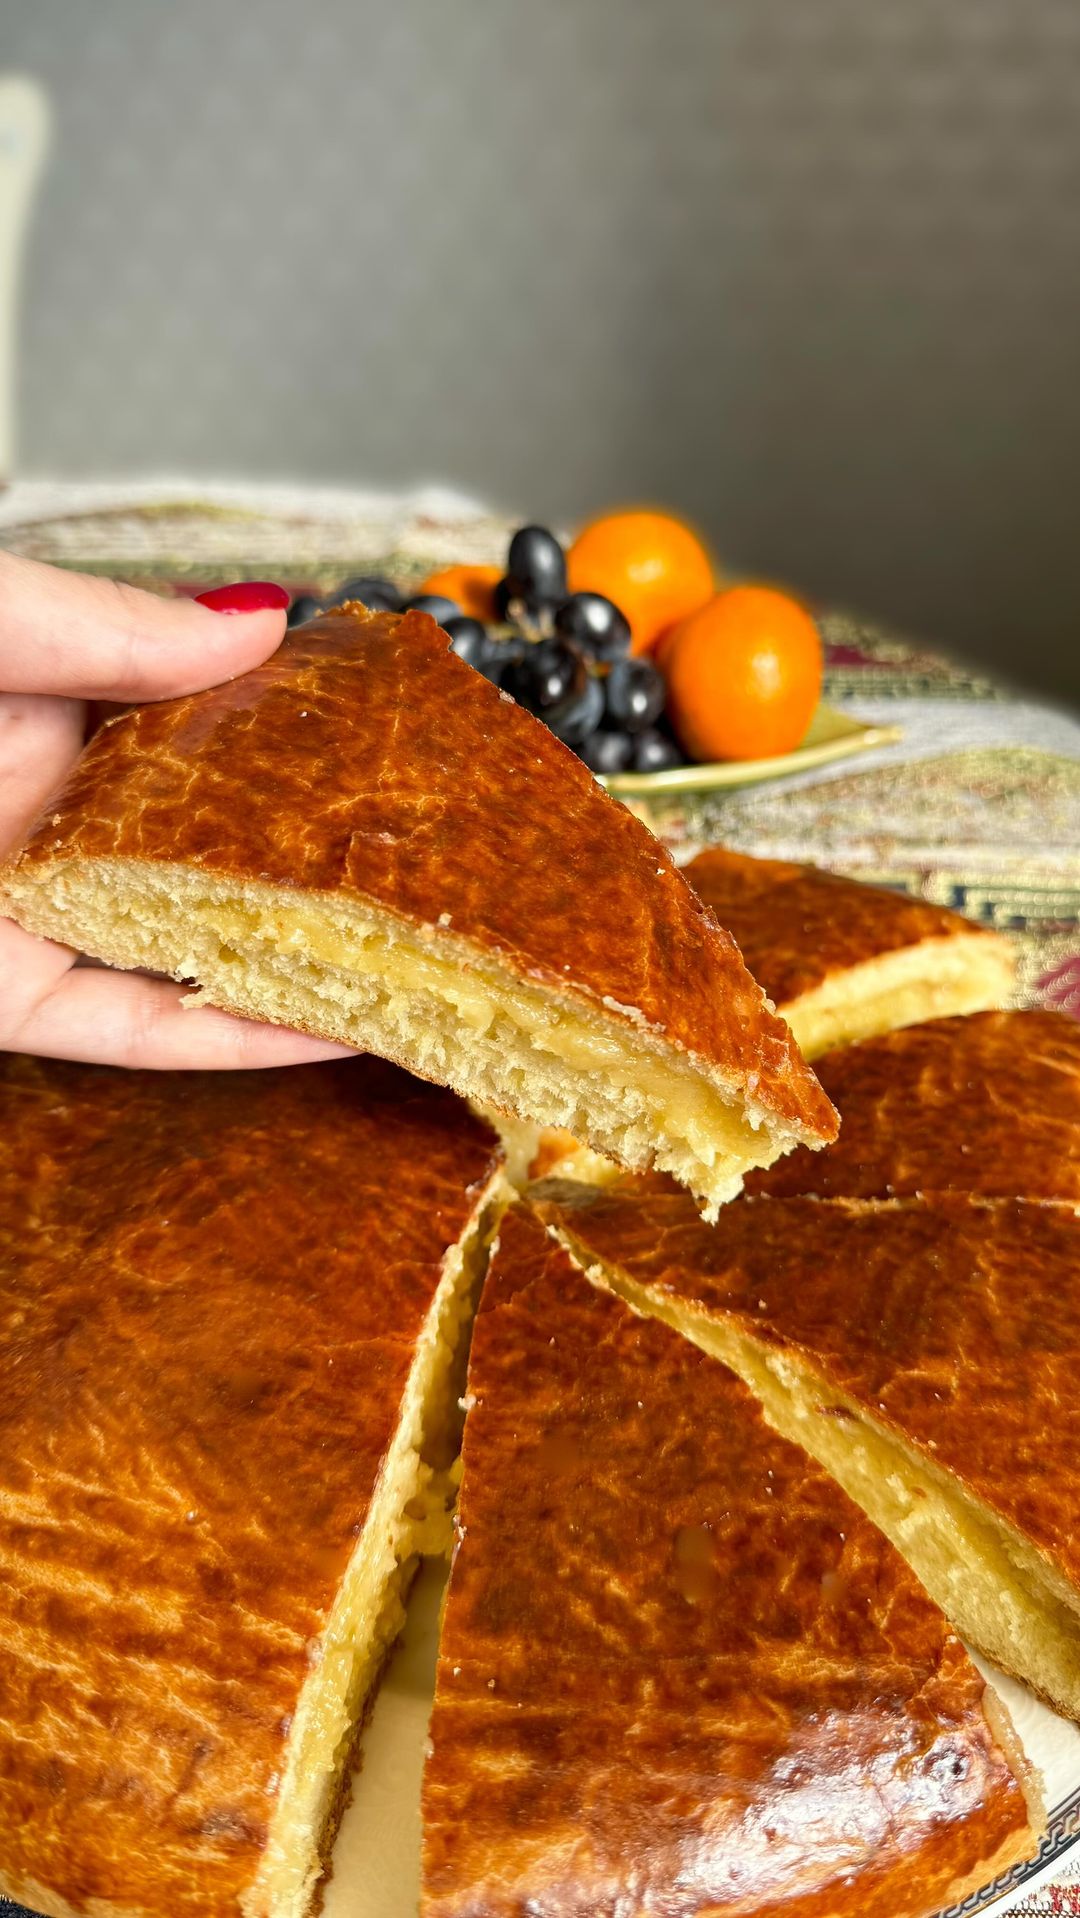
Allow the gata to cool on a wire rack. Serve warm or at room temperature. Enjoy your delicious Armenian Gata!
Servings
Equipment
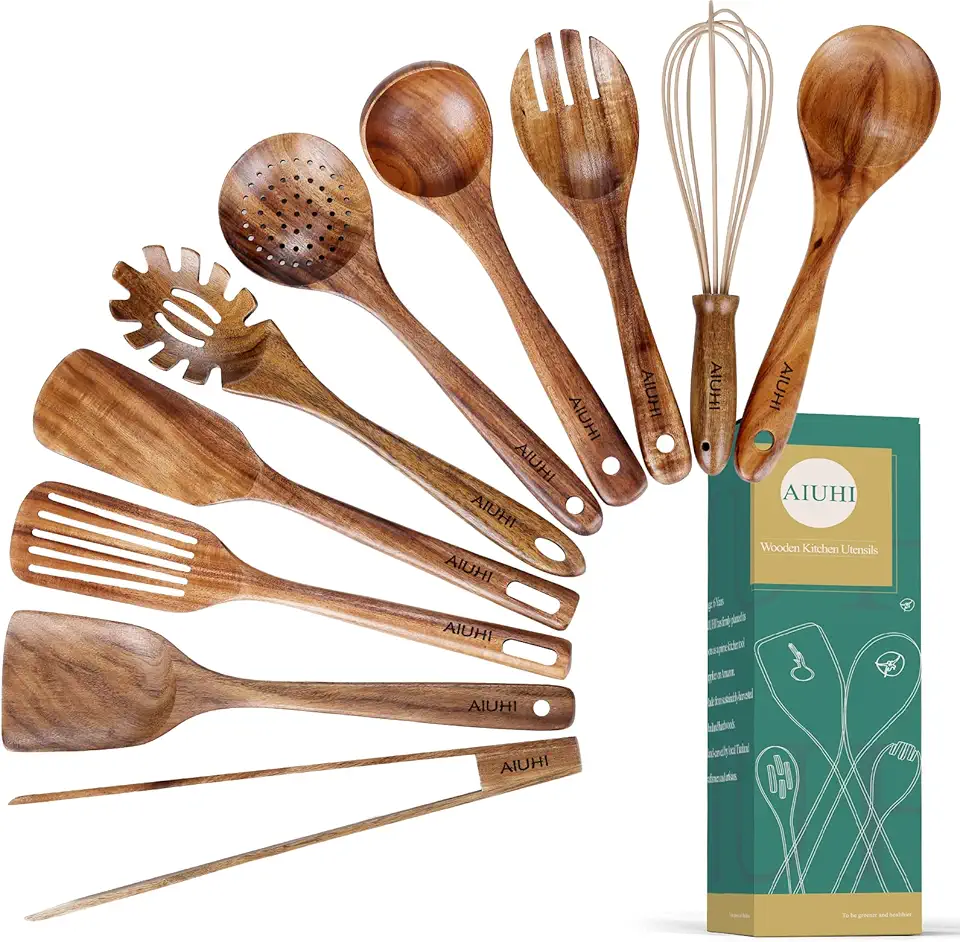
You'll need at least two mixing bowls: one for the dough and one for the filling. Opt for glass or stainless steel for best results.
Perfect for mixing your ingredients without overworking the dough.
A good quality, non-stick baking sheet will ensure your Gata bakes evenly and doesn't stick.
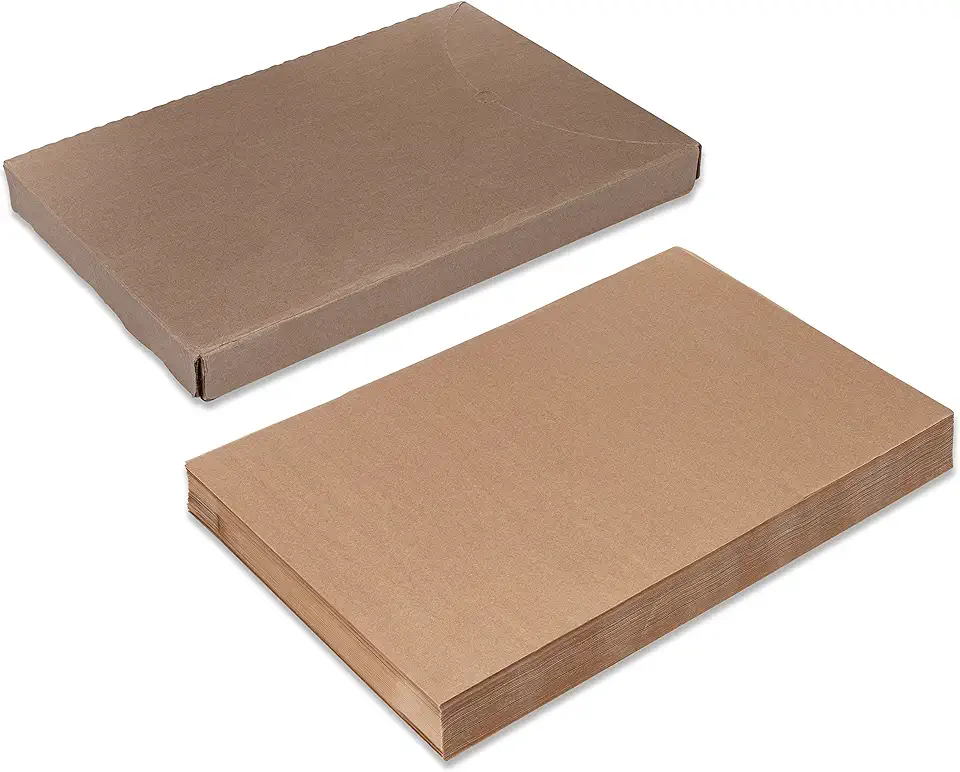 Paterson Paper 16" x 24" Full Size Unbleached Chromium-Free Reusable Baking Parchment Paper Sheets Commercial Bun/Sheet Pan Liners - 1000/Case - 425F - Non-Stick/Grease-Resistant
$169.58
View details
Prime
best seller
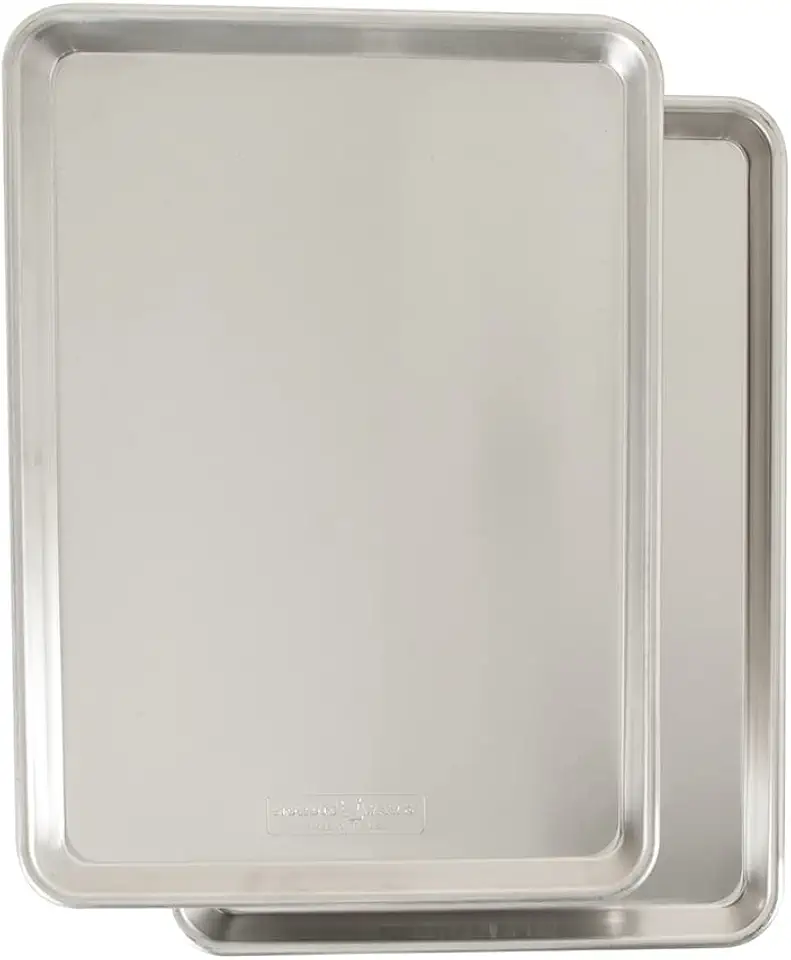 Nordic Ware Naturals Half Sheet, 2-Pack, Natural
$37.80
View details
Prime
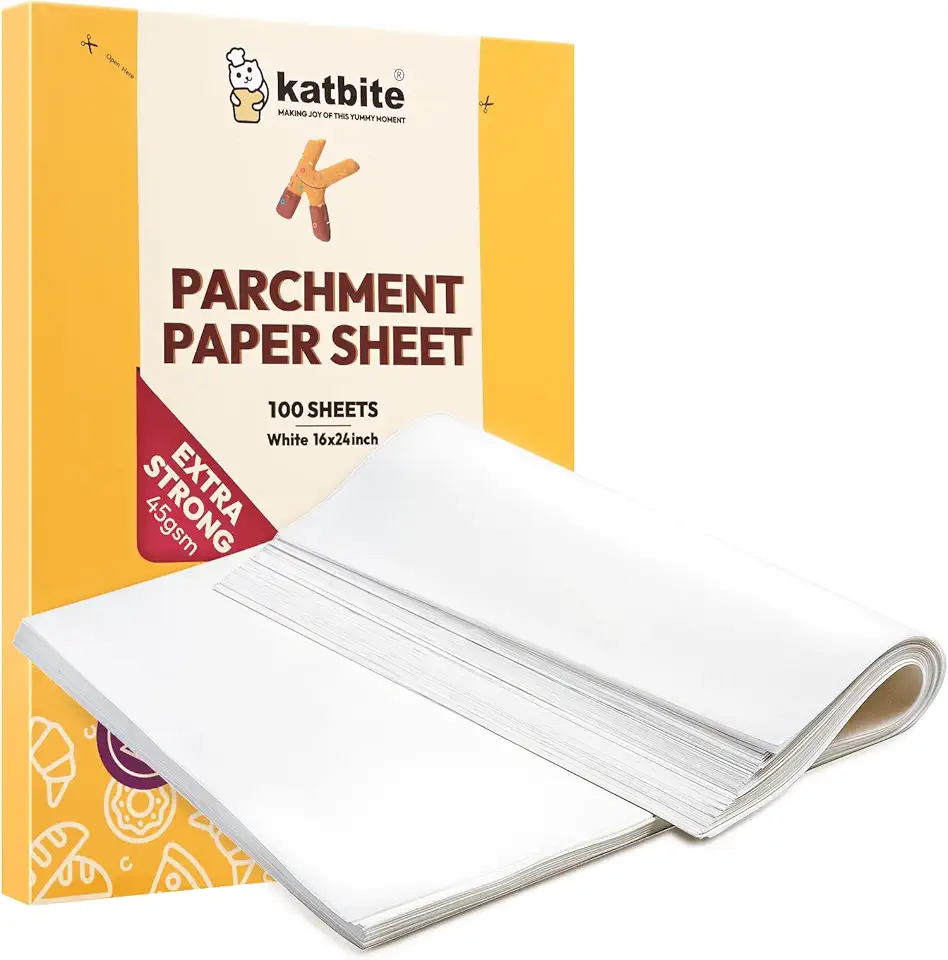 Katbite 16x24 inch Heavy Duty Parchment Paper Sheets, 100Pcs Precut Non-Stick Full Parchment Sheets for Baking, Cooking, Grilling, Frying and Steaming, Full Sheet Baking Pan Liners, Commercial Baking
$18.99
$25.99
View details
Essential for brushing the egg yolk and milk mixture onto the pastry for that beautiful golden finish.
This will help you achieve the perfect thickness for your dough.
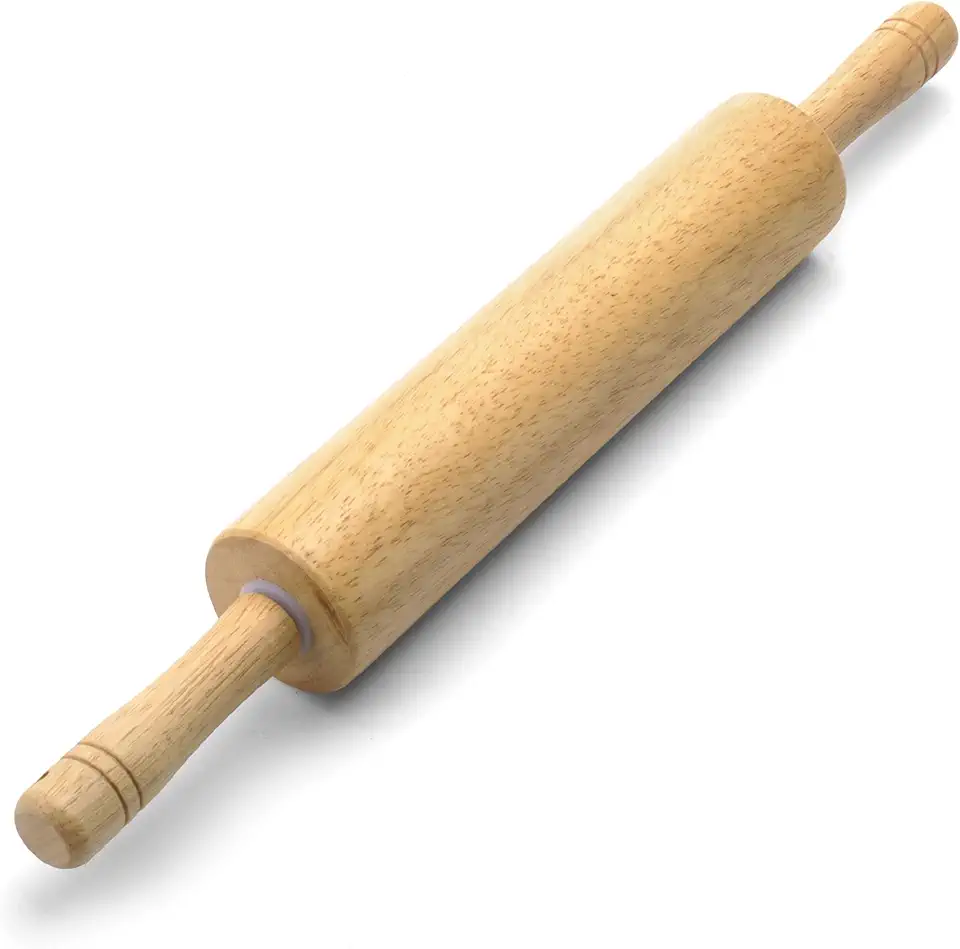 Farberware Classic Wood Rolling Pin, 17.75-Inch, Natural
$12.99
$13.99
View details
Prime
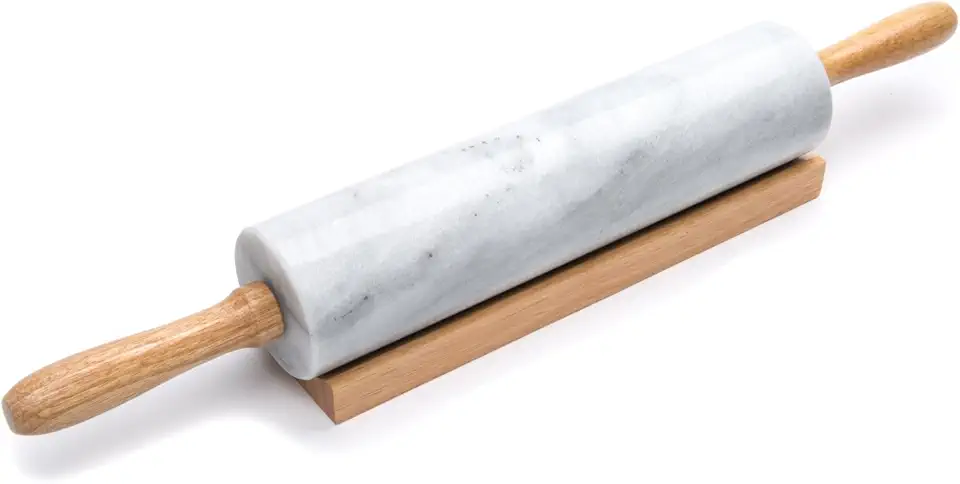 Fox Run Polished Marble Rolling Pin with Wooden Cradle, 10-Inch Barrel, White
$20.88
View details
Prime
 French Rolling Pin (17 Inches) –WoodenRoll Pin for Fondant, Pie Crust, Cookie, Pastry, Dough –Tapered Design & Smooth Construction - Essential Kitchen Utensil
$9.99
View details
Accuracy is key in baking, so make sure to measure your ingredients precisely.
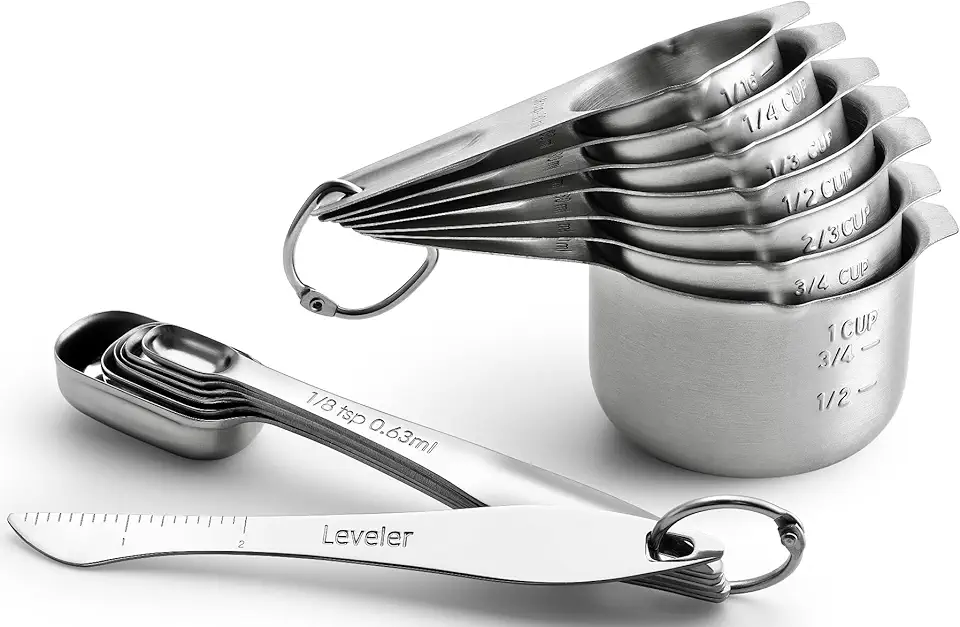 Spring Chef Stainless Steel Measuring Cups and Measuring Spoons Set of 14 with Leveler, Nesting Kitchen Metal Measuring Cups and Spoons Set for Dry and Liquid Ingredients, Perfect for Cooking & Baking
$21.99
View details
Prime
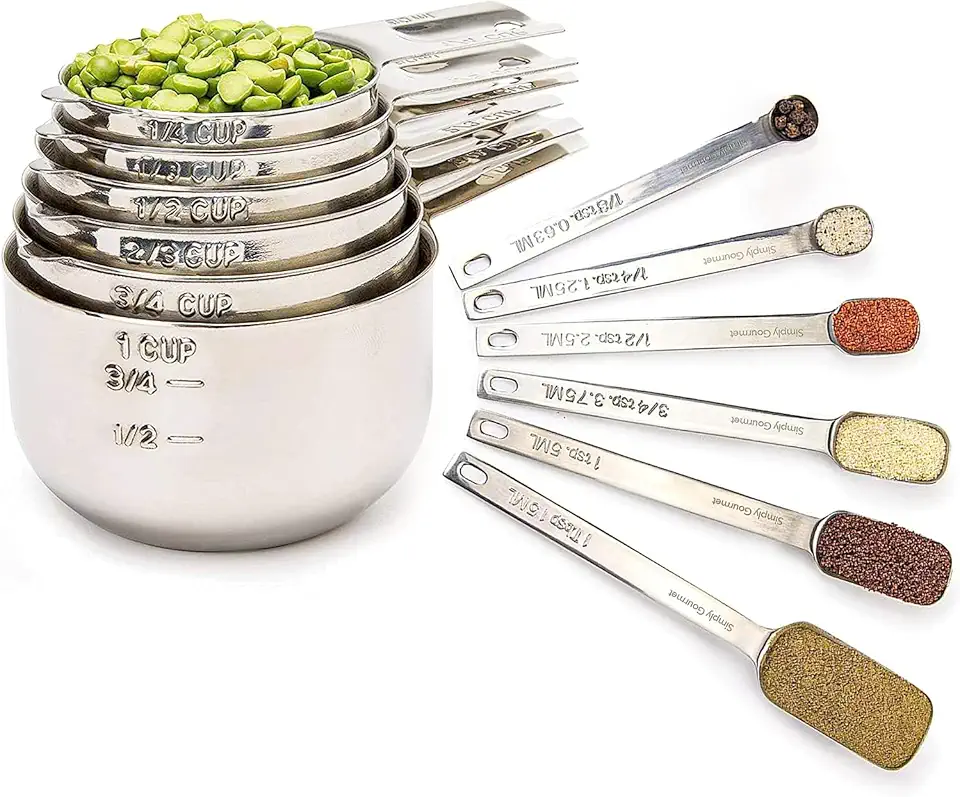 Simply Gourmet Measuring Cups and Spoons Set of 12, 304 Premium Stainless Steel, Stackable Cups Long Handle Spoons Fits Narrow Jars, Kitchen Gadgets for Liquid & Dry Ingredients Cooking Baking
$32.98
$45.99
View details
Prime
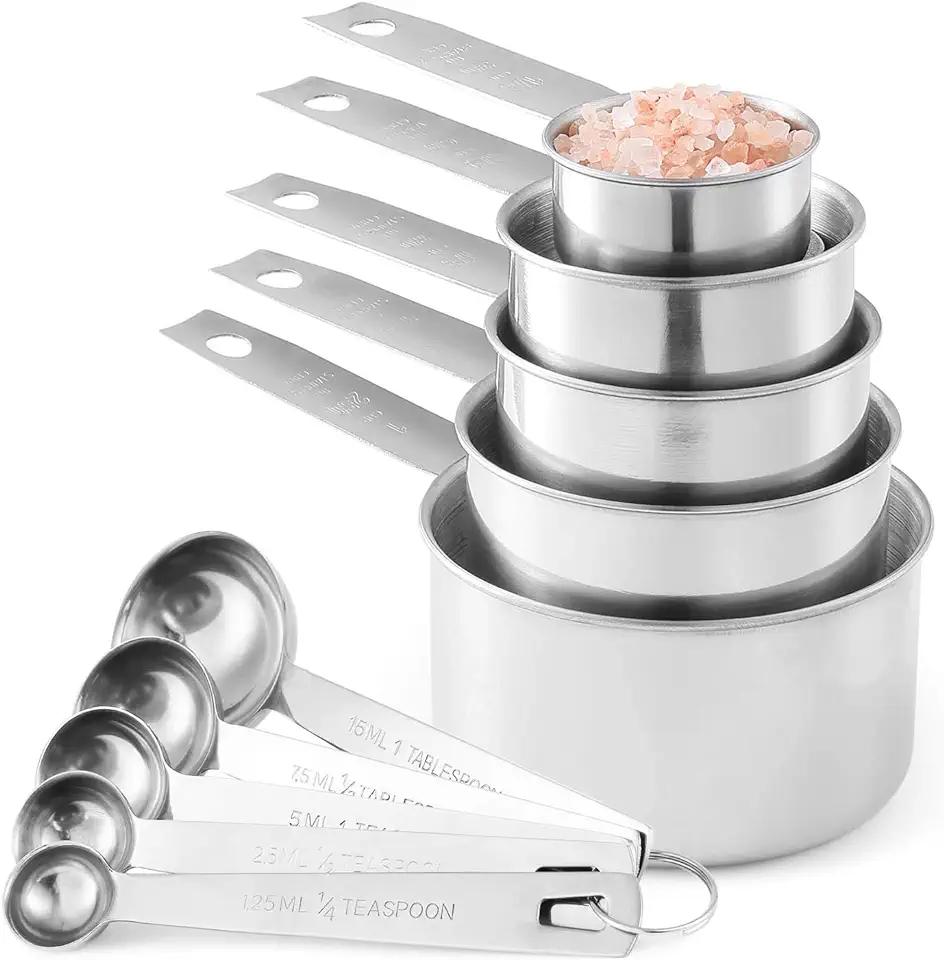 Stainless Steel Measuring Cups And Measuring Spoons 10-Piece Set, 5 Cups And 5 Spoons
$13.95
$17.98
View details
Variations
Replace the all-purpose flour with a gluten-free flour blend. Make sure the blend contains xanthan gum or add it separately to help the dough hold together. Follow the rest of the recipe as it is, and you'll enjoy the same delicious flavors without the gluten! **Vegan Option** 🌱
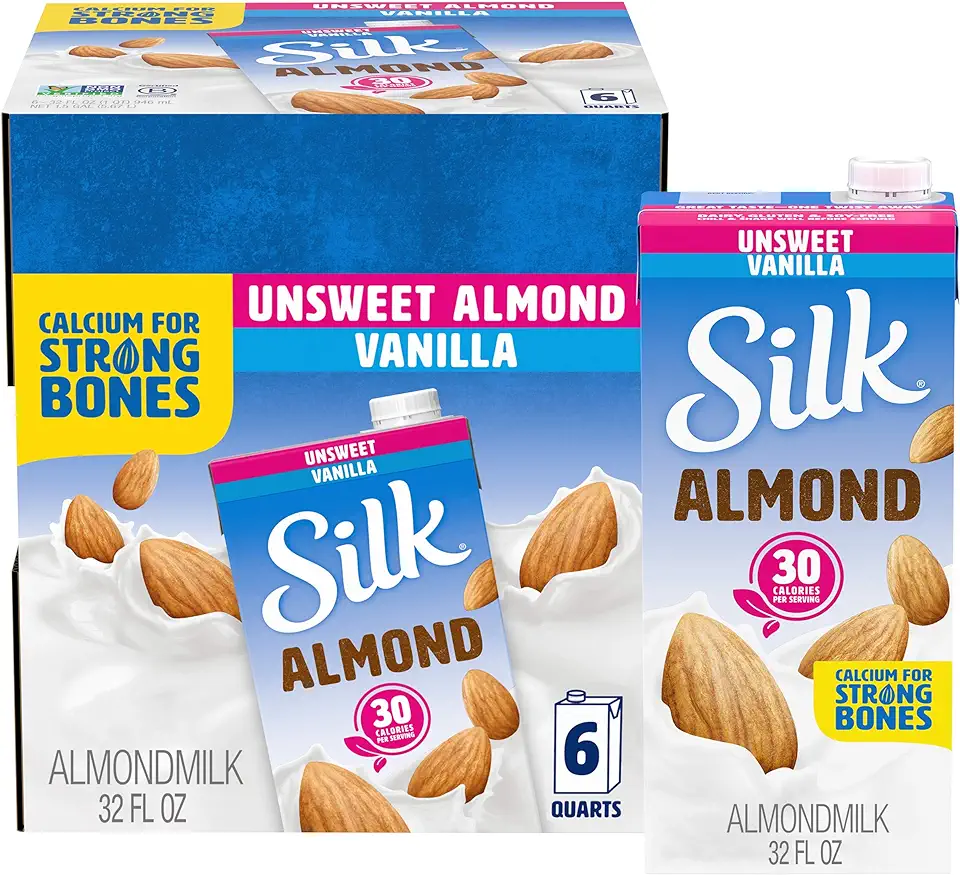
For a vegan twist on Gata, substitute the milk with a plant-based option like almond or oat milk. Use a flax egg (1 tablespoon of flaxseed meal mixed with 3 tablespoons of water) in place of the regular egg. Switch out the butter with a high-quality vegan butter. The rest of the recipe can stay the same, and you'll have a delightful vegan pastry that's just as scrumptious. Get creative and enjoy these tasty twists while sticking to your dietary preferences!
Faq
- Why isn’t my dough rising?
Make sure your yeast is fresh and that you let the dough rise in a warm, draft-free place. Room temperature or slightly warmer is ideal.
- Can I use salted butter instead of unsalted?
Yes, but make sure to reduce or omit the added salt in the recipe to balance the flavors correctly.
- How can I achieve a more even golden color on my pastry?
Ensure even brushing with the egg yolk and milk mixture and bake in the center of the oven. You may need to rotate the baking sheet halfway through baking.
- Can I add nuts or dried fruits to the filling?
Absolutely! Chopped nuts like walnuts or almonds and dried fruits like raisins or apricots can add a delightful twist to the traditional Gata filling.
- How should I store the Gata pastry to keep it fresh?
Store it in an airtight container at room temperature for up to 3 days, or refrigerate for up to a week. You can also freeze it for longer storage.
- Can I prepare the dough ahead of time?
Yes, you can refrigerate the dough for up to 24 hours before baking. Just make sure to let it come to room temperature and rise before shaping and baking.

