Ingredients
Pancake Batter
 Bob's Red Mill Gluten Free 1-to-1 Baking Flour, 22 Ounce (Pack of 4)
$23.96
View details
Prime
 Antimo Caputo Chefs Flour - Italian Double Zero 00 - Soft Wheat for Pizza Dough, Bread, & Pasta, 2.2 Lb (Pack of 2)
$16.99
View details
Prime
best seller
 King Arthur, Measure for Measure Flour, Certified Gluten-Free, Non-GMO Project Verified, Certified Kosher, 3 Pounds, Packaging May Vary
$8.62
View details
Cottage Cheese Filling
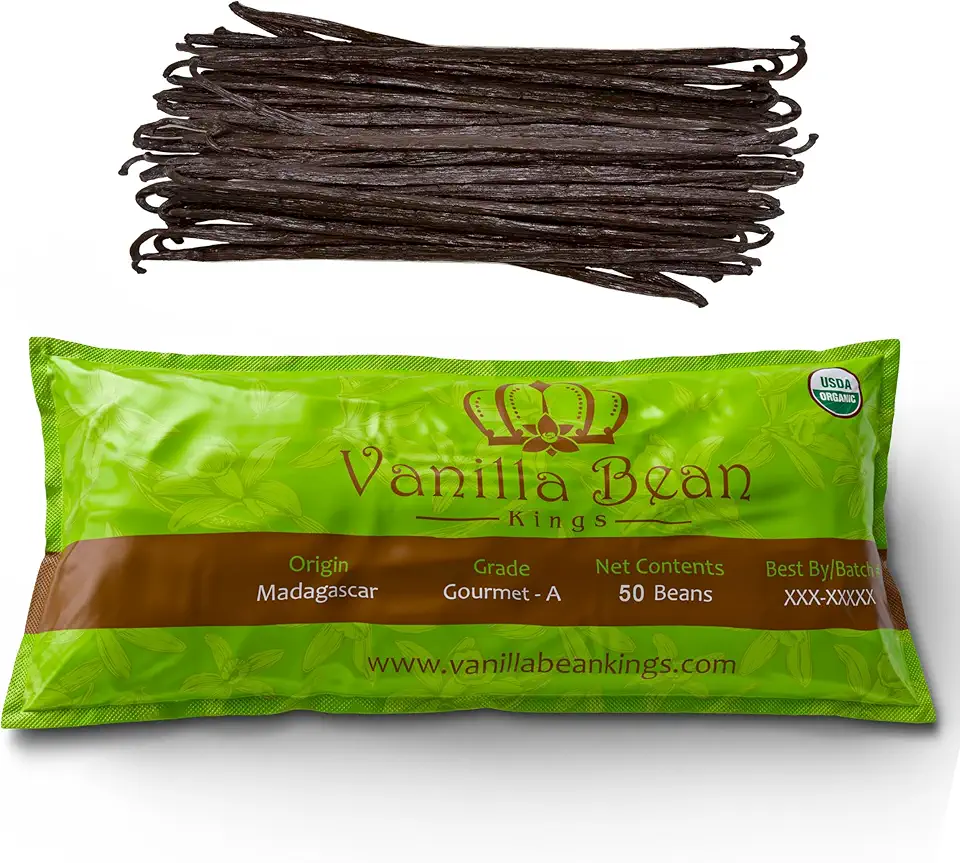 50 Organic Madagascar Vanilla Beans. Whole Grade A Vanilla Pods for Vanilla Extract and Baking
$39.99
View details
Prime
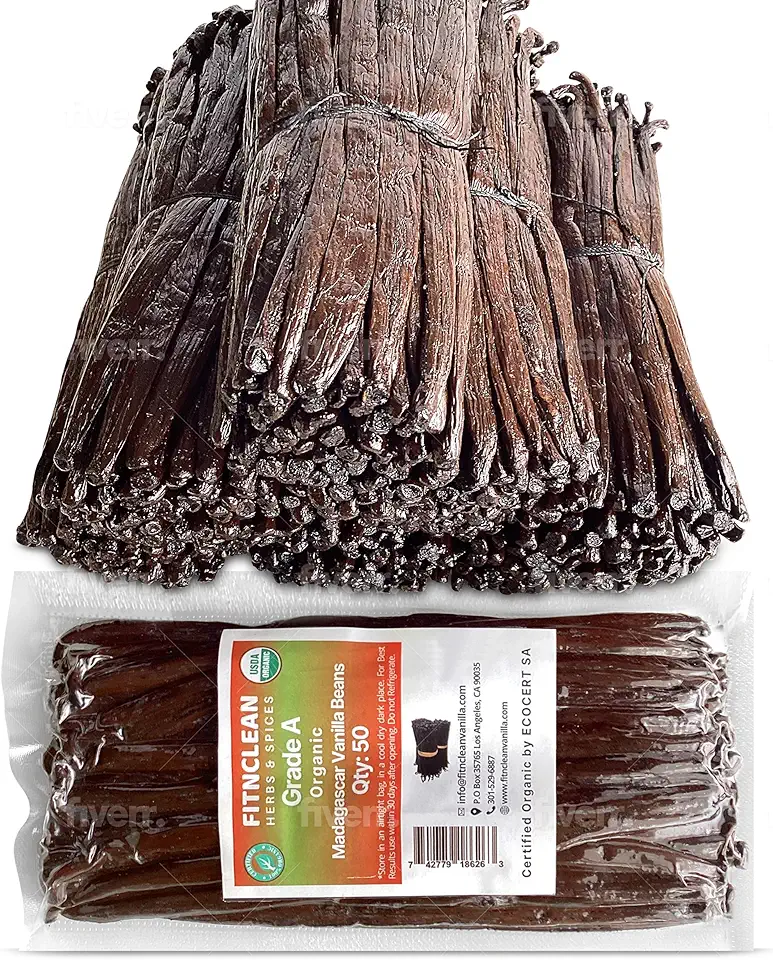 50 Organic Grade A Madagascar Vanilla Beans. Certified USDA Organic for Extract and all things Vanilla by FITNCLEAN VANILLA. ~5" Bulk Fresh Bourbon NON-GMO Pods.
$37.99
View details
Prime
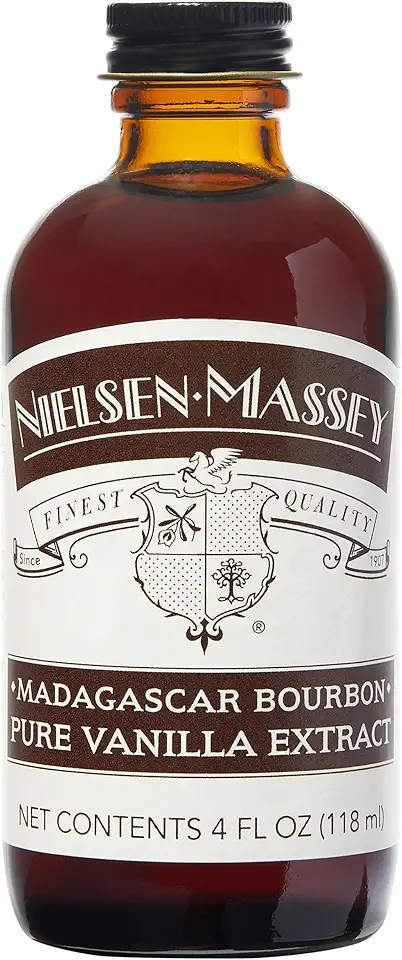 Nielsen-Massey Madagascar Bourbon Pure Vanilla Extract for Baking and Cooking, 4 Ounce Bottle
$19.95
View details
Instructions
Step 1
First, in a large mixing bowl, whisk together the eggs with sugar and a pinch of salt. This helps to incorporate air, making your pancakes fluffy.
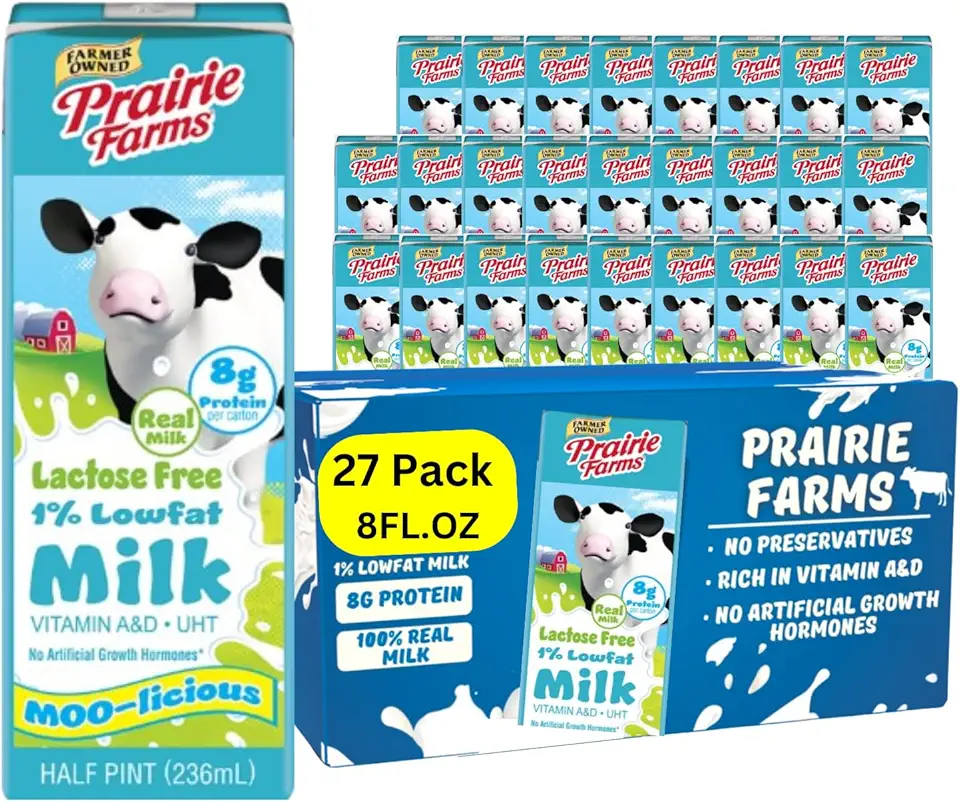
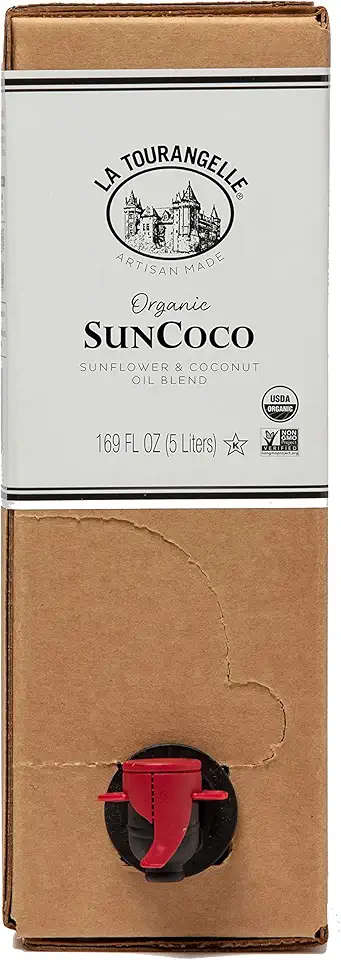
Next, add the sunflower oil and pour in half of the milk. Mix well.
Gradually, add the flour while whisking to avoid lumps. It's important to ensure a smooth batter.
Finally, stir in the remaining milk (approximately 350 milliliters) until the batter reaches a consistency similar to heavy cream.
Step 2
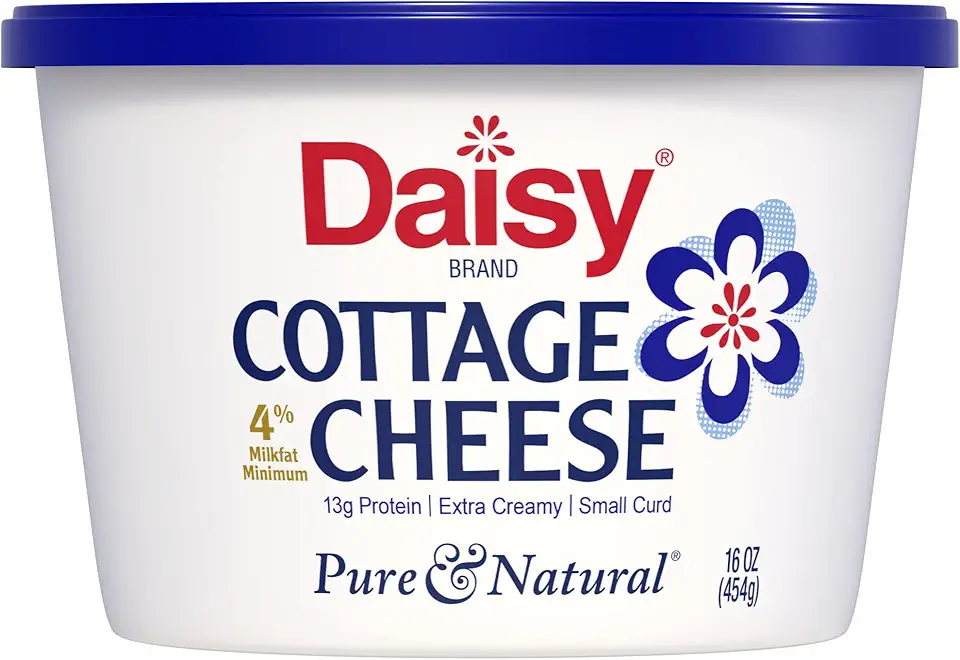
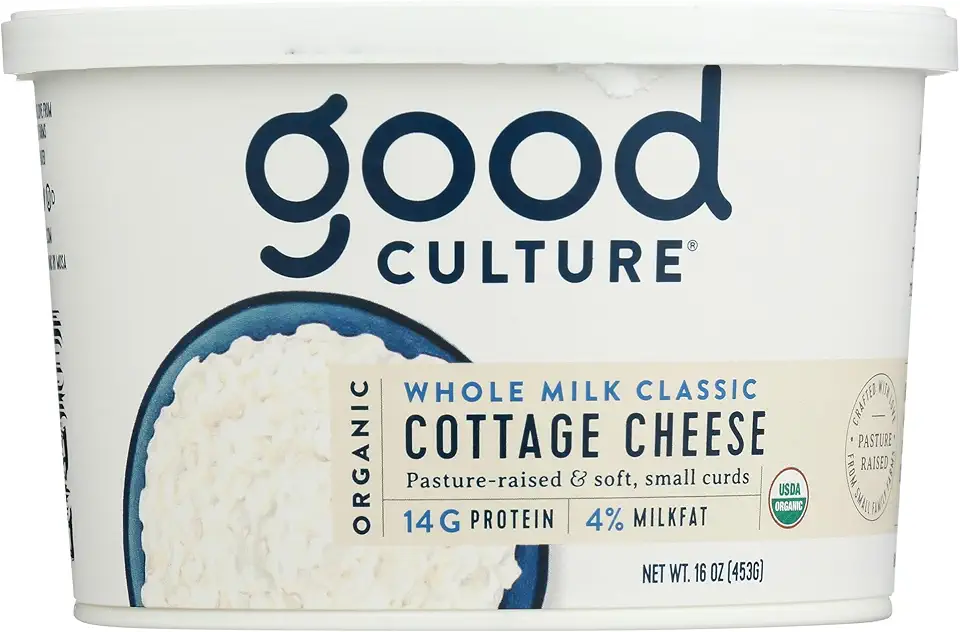
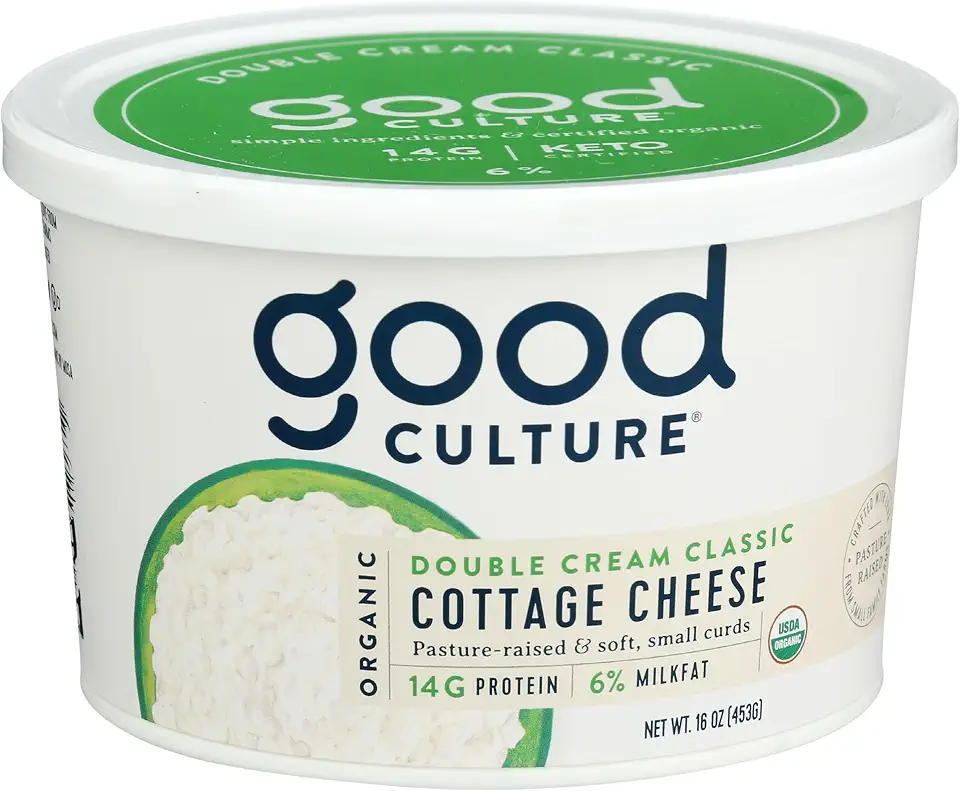
In another bowl, combine the cottage cheese, sugar, and vanilla. Using a blender, blend these ingredients until smooth and creamy.
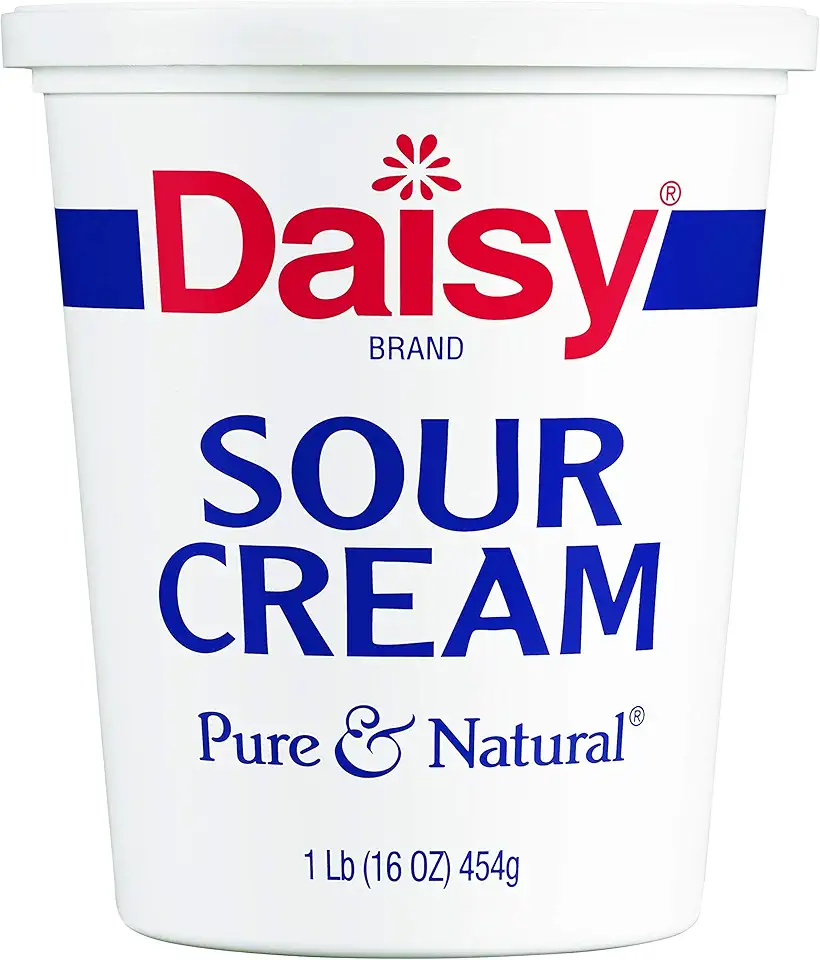
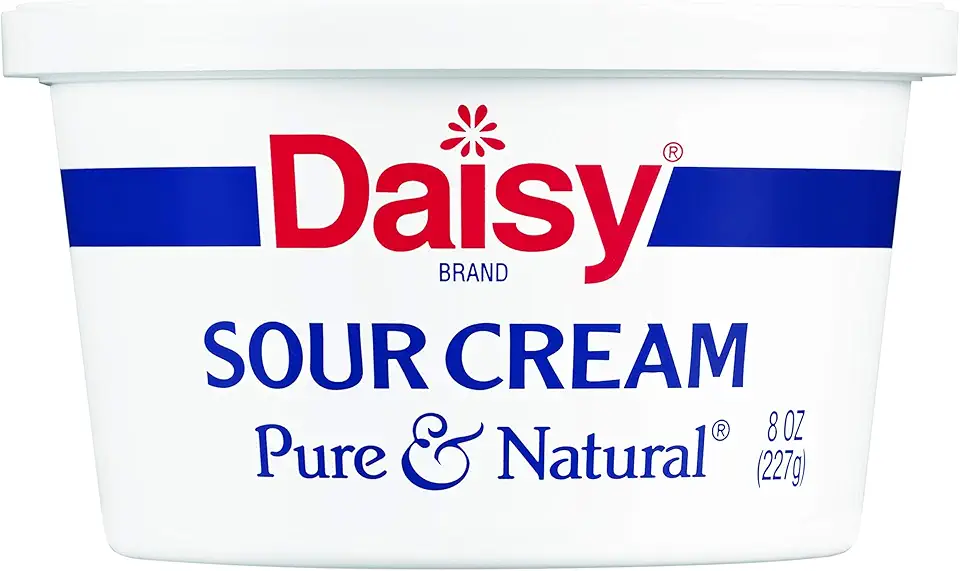
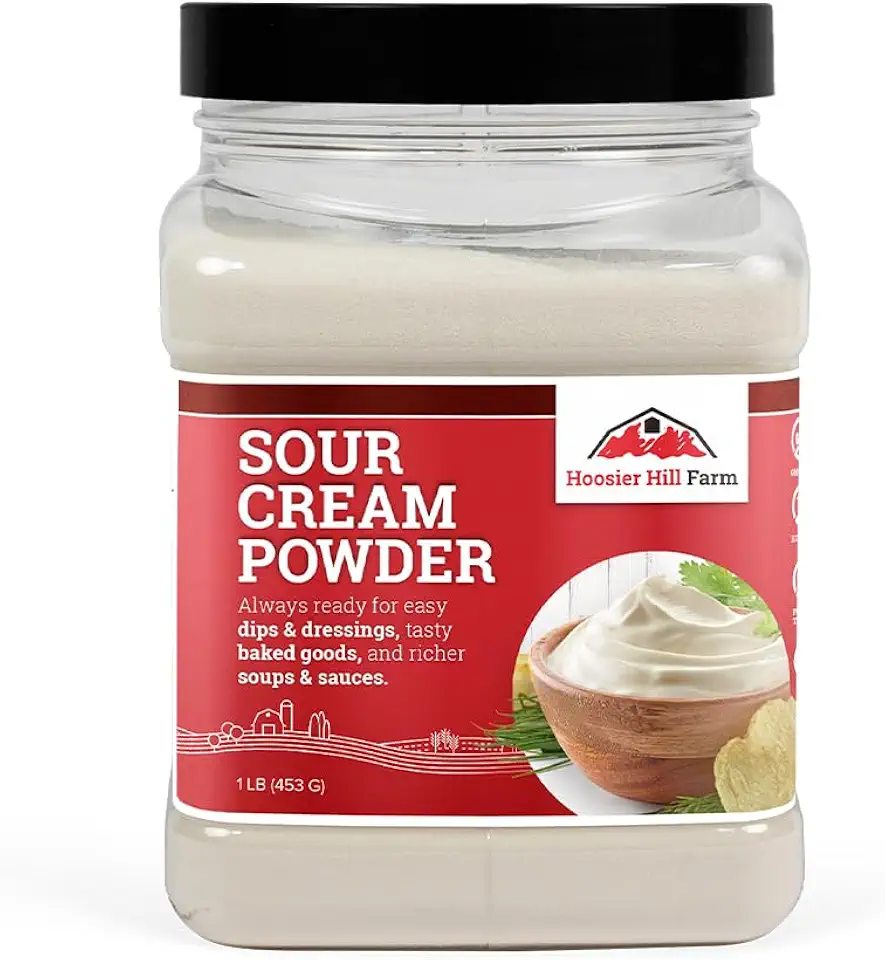
Next, add a large egg and sour cream to enrich the filling, blending again until fully combined.
Step 3
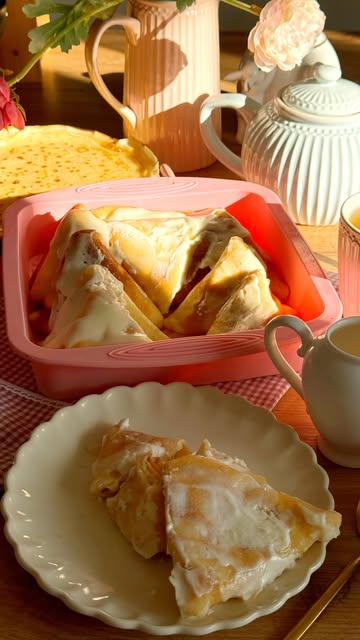
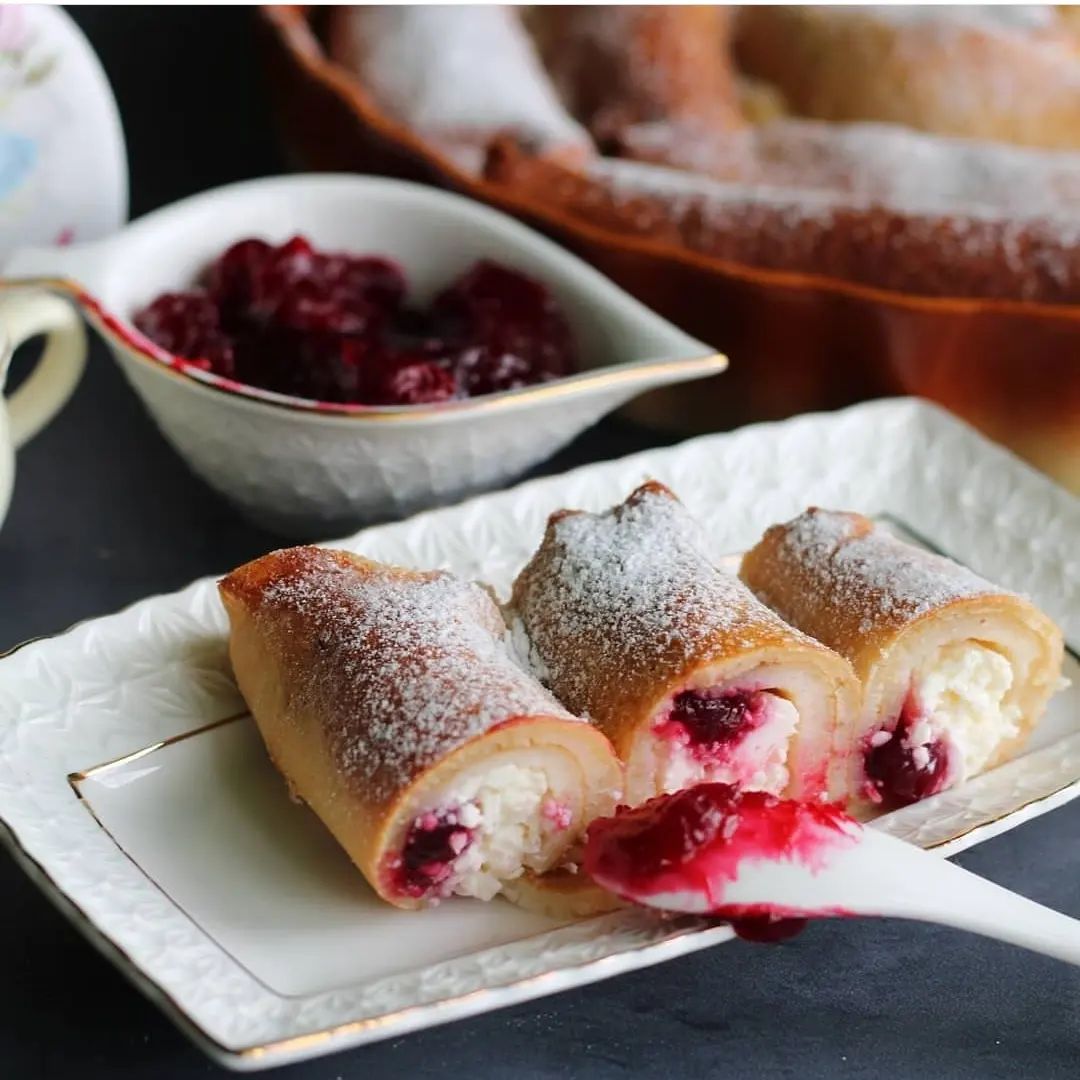
Now, take a pancake, and place a generous amount of cottage cheese filling in the center. Fold the pancake like an envelope to enclose the filling completely.
Place each stuffed pancake into a greased baking dish. Ensure that they are snug but not overcrowded.
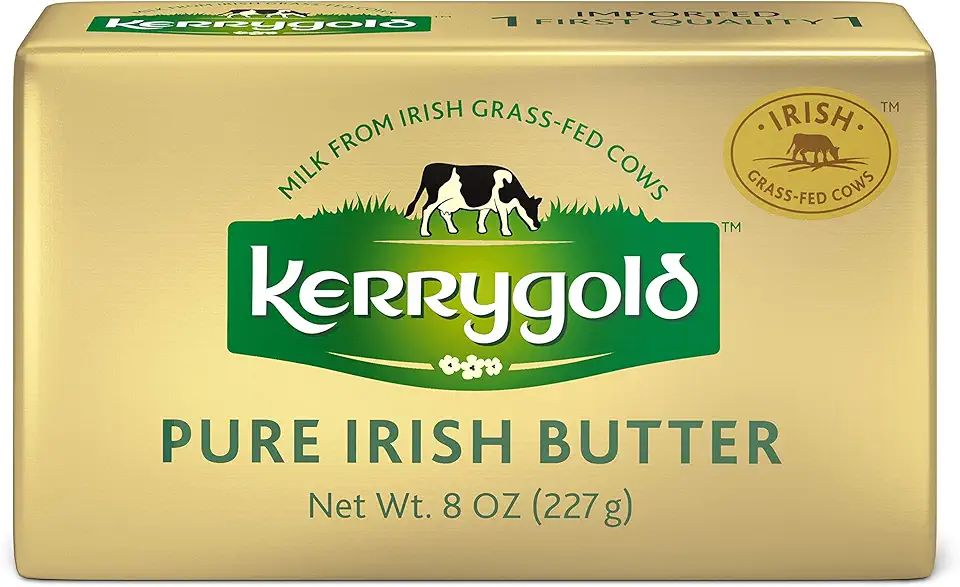
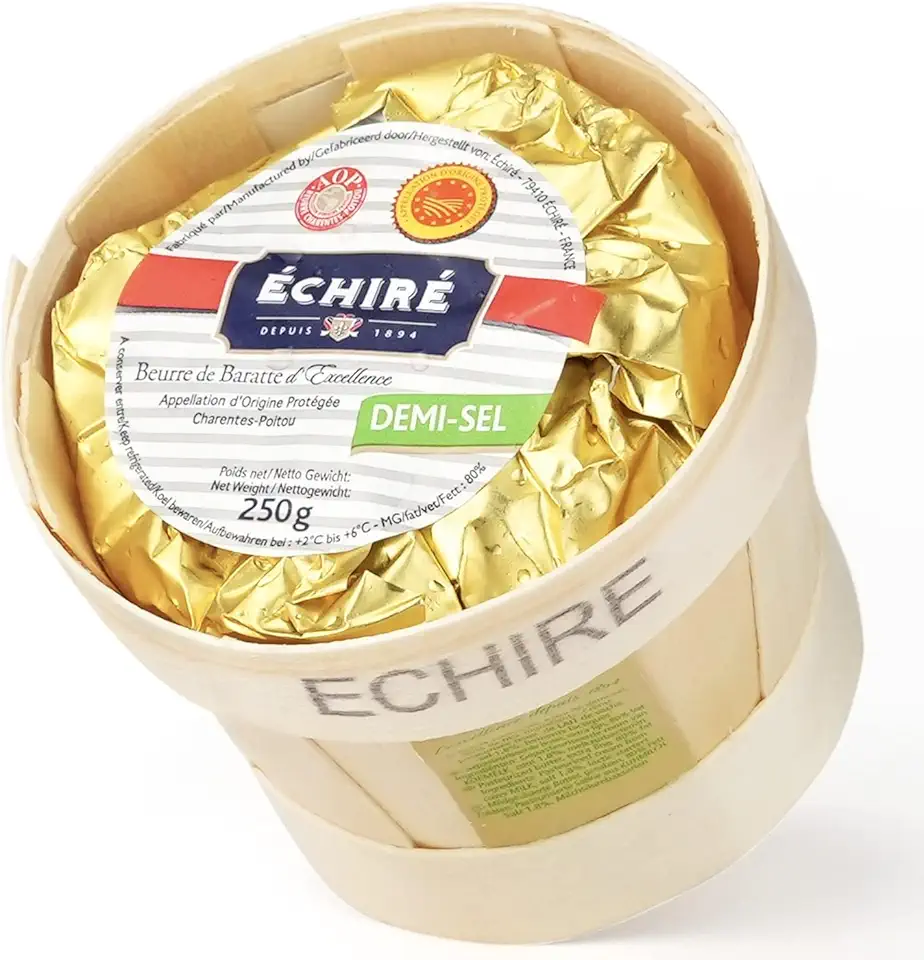
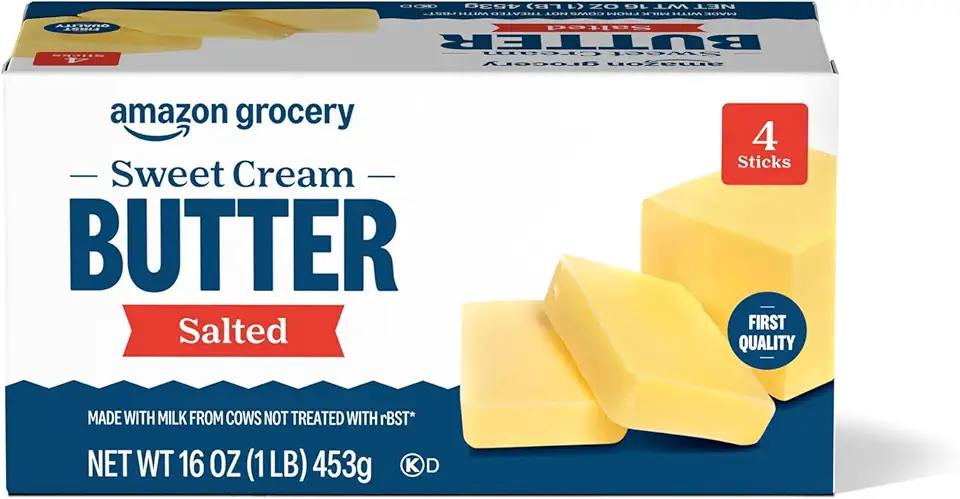
For a delicious topping, pour a generous amount of melted butter or a combination of butter and sour cream over the pancakes, sprinkling them with a touch of sugar for sweetness.
Step 4
Preheat your oven to 170°C (340°F). Cover the baking dish with aluminum foil to keep the moisture intact while baking.
Place the dish in the oven and bake for about 15 to 30 minutes, or until the pancakes are lightly golden and cooked through.
Once ready, remove from the oven and let them cool slightly before serving. Enjoy your warm baked stuffed pancakes!
Servings
Equipment
A good-quality blender is essential to achieve a smooth filling. This will whip together all the ingredients into a creamy mixture that will easily fill the pancakes.
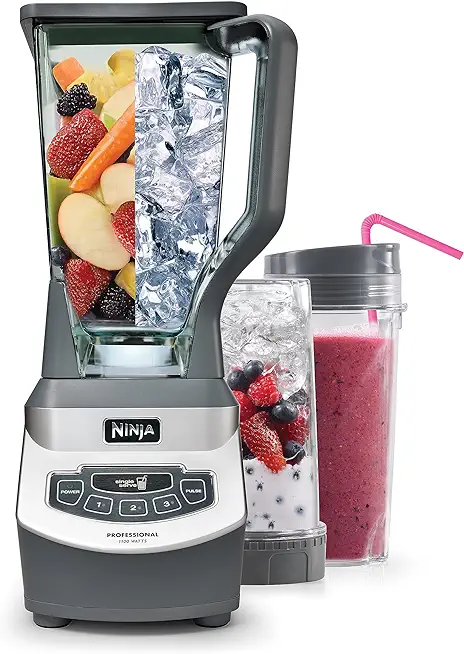 Ninja BL660 Professional Compact Smoothie & Food Processing Blender, 1100-Watts, 3 Functions -for Frozen Drinks, Smoothies, Sauces, & More, 72-oz.* Pitcher, (2) 16-oz. To-Go Cups & Spout Lids, Gray
$99.99
$119.99
View details
Prime
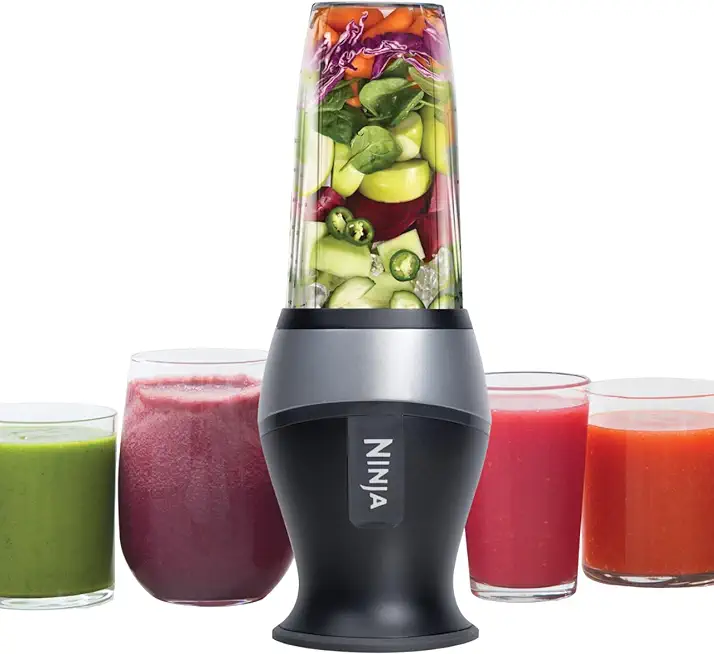 Ninja Fit Compact Personal Blender, Portable Blender for-Smoothies, Shakes, Food Prep, and Frozen Blending, 700-Watt Base, (2) 16-oz. Cups and Spout Lids, Black QB3001SS
$49.99
$69.99
View details
Prime
best seller
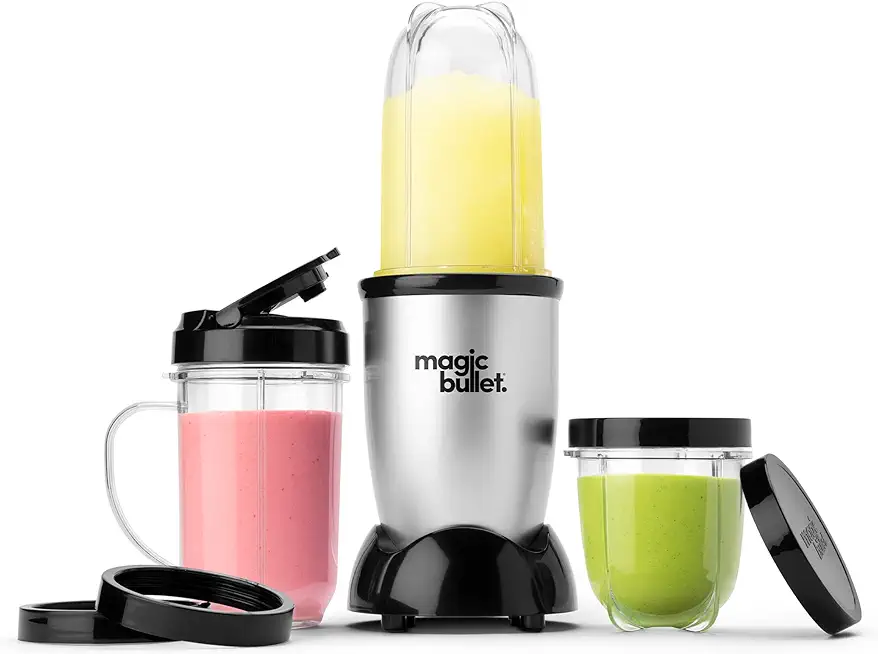 Magic Bullet Blender, Small, Silver, 11 Piece Set
$39.88
$49.99
View details
A large mixing bowl is necessary for combining your pancake batter. Ensure it’s deep enough to avoid any mess.
 YIHONG 7 Piece Mixing Bowls with Lids for Kitchen, Stainless Steel Mixing Bowls Set Ideal for Baking, Prepping, Cooking and Serving Food, Nesting Metal Mixing Bowls for Space Saving Storage
$27.99
$35.99
View details
Prime
best seller
 Pyrex Glass, 3-Piece, 3 PC Mixing Bowl Set
$17.53
View details
Prime
 REGILLER Stainless Steel Mixing Bowls (Set of 5), Non Slip Colorful Silicone Bottom Nesting Storage Bowls, Polished Mirror Finish For Healthy Meal Mixing and Prepping 1.5-2 - 2.5-3.5 - 7QT (Colorful)
$26.99
View details
You’ll need a baking dish to hold your pancakes while they bake. Opt for a non-stick option or grease it generously to prevent sticking.
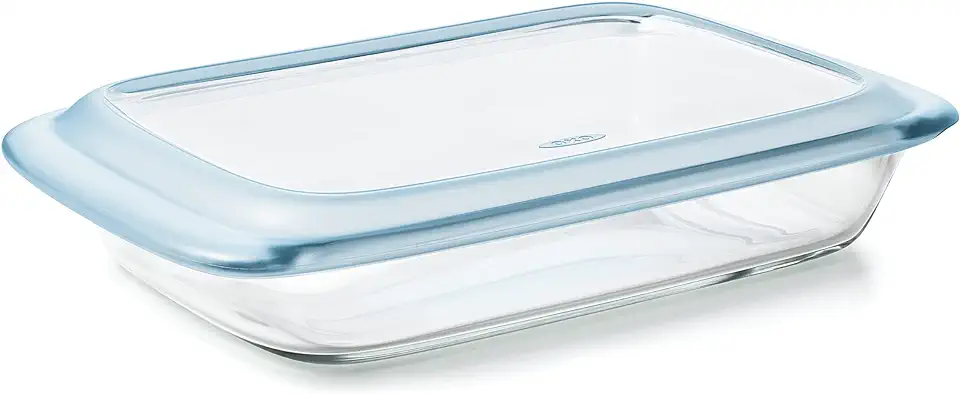 OXO Good Grips Glass 3 Qt Baking Dish with Lid
$22.99
View details
Prime
best seller
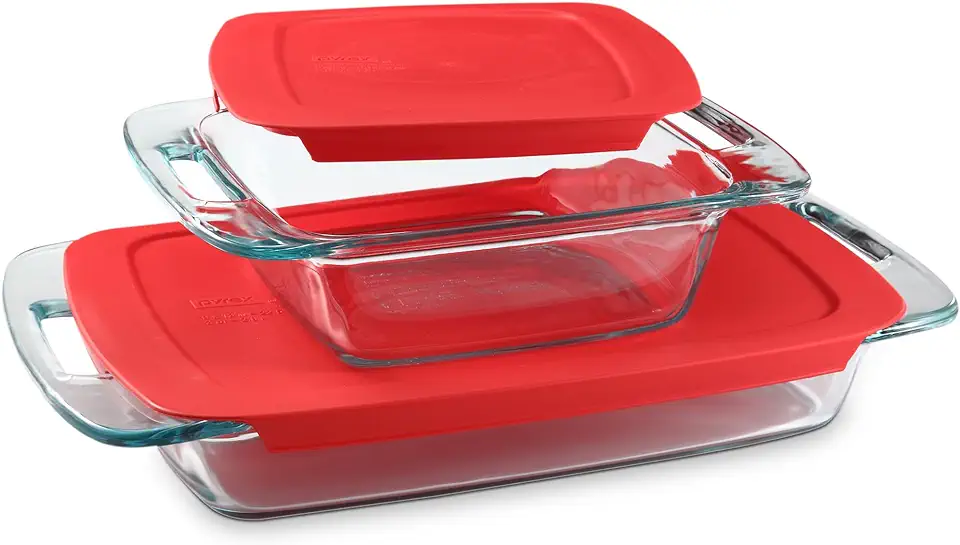 Pyrex Easy Grab 2-Pack Glass Baking Dish Set (2QT, 3QT) with Snug Fit Locking BPA-Free Lids, Rectangular Bakeware Set, Dishwasher, Microwave, Freezer & Pre-Heated Oven Safe
$15.98
$24.99
View details
Prime
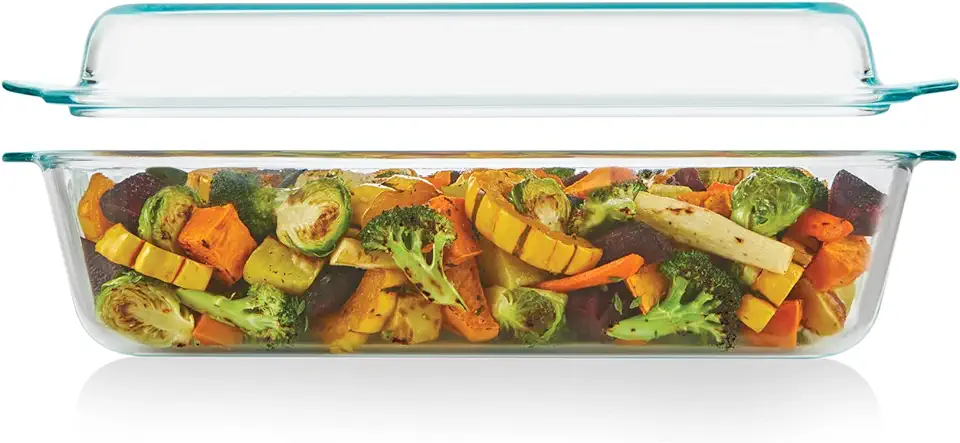 Pyrex Deep 5.2-Qt (9"x13") 2-in-1 Glass Baking Dish with Glass Lid, Extra Large Rectangular Baking Pan For Casserole & Lasagna, Dishwasher, Freezer, Microwave and Pre-Heated Oven Safe
$26.46
$32.99
View details
A wide spatula will help flip the pancakes without tearing them. A soft, flexible edge will work best!
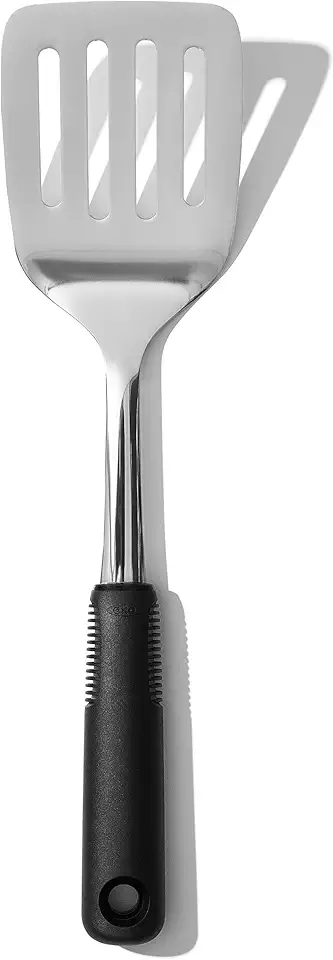 OXO Good Grips Stainless Steel Turner
$11.99
View details
Prime
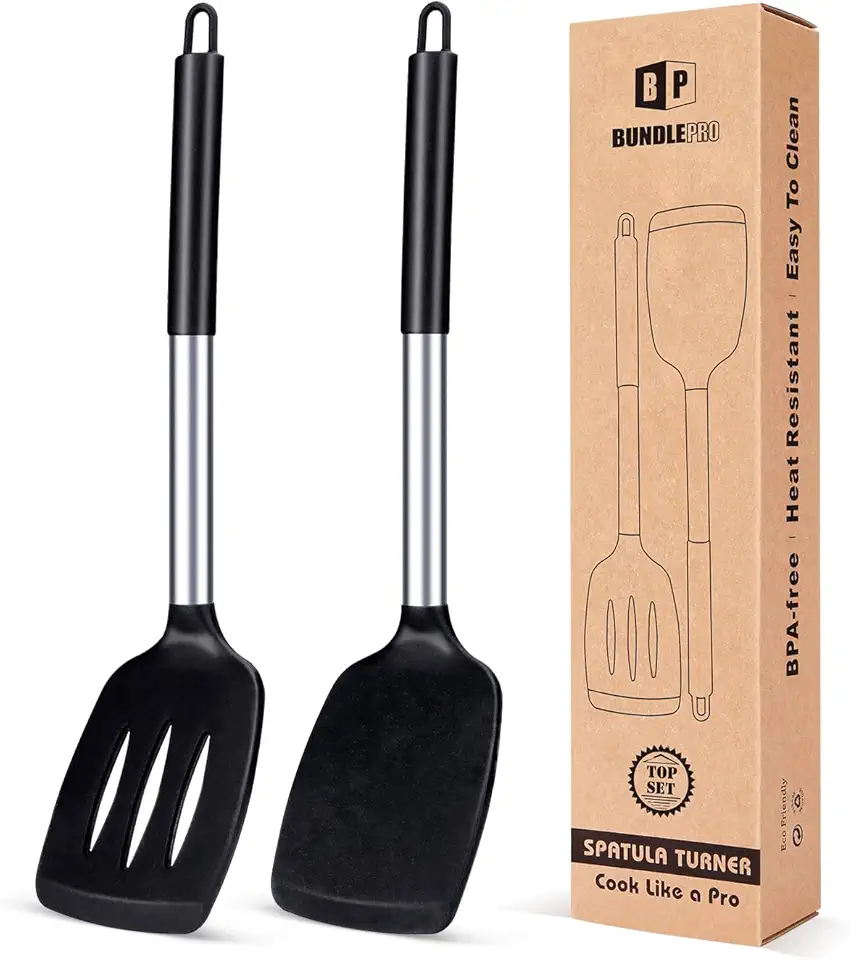 Pack of 2 Silicone Solid Turner, Non Stick Slotted Kitchen Spatulas, High Heat Resistant BPA Free Cooking Utensils, Ideal Cookware for Fish, Eggs, Pancakes(Black)
$14.99
View details
Prime
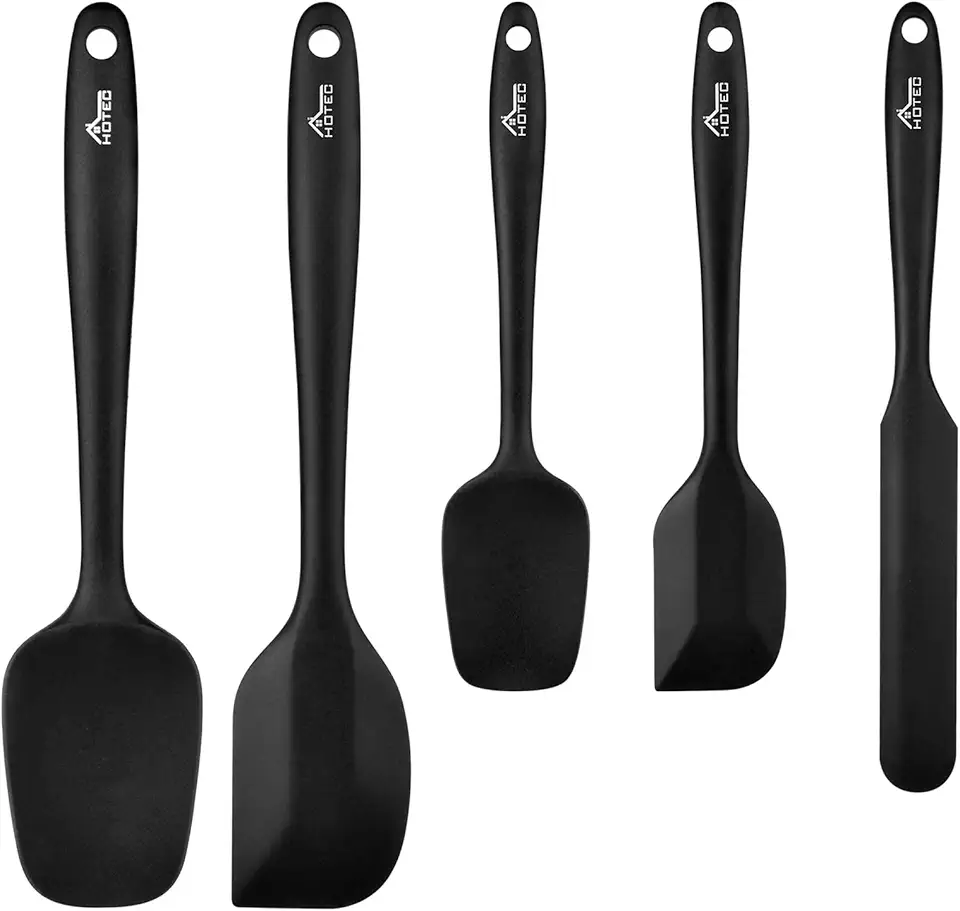 HOTEC Food Grade Silicone Rubber Spatula Set for Kitchen Baking, Cooking, and Mixing High Heat Resistant Non Stick Dishwasher Safe BPA-Free Black Set of 5
$9.99
View details
Variations
Faq
- How do I prevent my pancakes from sticking to the pan?
Make sure your pan is well-greased before pouring in the batter. Additionally, allow the pancakes to cook thoroughly on one side before flipping them, as this helps create a natural barrier preventing sticking.
- Can I make the filling ahead of time?
Yes, you can prepare the filling a day in advance and store it in the refrigerator. Just give it a quick stir before using it in your pancakes!
- What can I do if my pancake batter is too thick?
If the batter seems too thick, you can gradually add more milk until you reach the desired pancake batter consistency. It should be smooth enough to pour but not too runny.
- Can I add additional flavors to the filling?
Absolutely! Feel free to mix in your favorite additions like lemon zest, chocolate chips, or even a hint of almond extract for a delightful twist.
- How can I make my pancakes more fluffy?
To achieve fluffy pancakes, ensure that your baking powder is fresh and gently fold the wet ingredients into the dry without overmixing. This will keep it airy!
- Is it okay to freeze the pancakes?
Yes, you can freeze the cooked pancakes! Lay them flat in a single layer on a baking sheet, freeze until solid, then transfer them to an airtight container. They’ll last up to a month!
