Ingredients
Sponge Biscuit
Soaking
Chocolate Cream
Instructions
Step 1
Step 2
Step 3
Step 4
Step 5
Servings
Equipment
For whipping eggs and blending the cream to a smooth consistency. If you don't have one, a sturdy whisk and some elbow grease can get the job done too 🚀.
Essential for combining ingredients without a mess. Nested mixing bowls are great as it saves space and makes the handling easier 🌟.
A good quality non-stick baking pan ensures your sponge biscuit bakes evenly. Grease well to avoid sticking trouble 🧽.
Allows the baked biscuit to cool evenly and prevents a soggy bottom. Make sure it’s heat resistant and can hold your cake’s weight 💪.
For adding decorative touches with the leftover cream. They make your cake look professional and festive 🎨.
Variations
Faq
- How can I ensure my sponge cake is fluffy?
Whisk the eggs and sugar until the mixture turns pale and fluffy – about 10 minutes. This will incorporate plenty of air, which is key for a light sponge.
- What can I use if I don't have a stand mixer?
A hand mixer works just as well. In a pinch, you can use a sturdy whisk and some muscle power!
- Can I substitute the alcohol in the soaking syrup?
Absolutely! Swap out the rum or Baileys with an equal amount of coffee or any flavored syrup like vanilla or almond for a non-alcoholic version.
- How long can I store the cake?
Stored properly in an airtight container in the fridge, this cake can last up to 5 days. You can also freeze it for up to a month.
- How do I prevent my sponge from deflating?
Make sure to mix gently when combining the wet and dry ingredients. Over-mixing can knock the air out and result in a dense sponge.
- What are some decoration ideas for this cake?
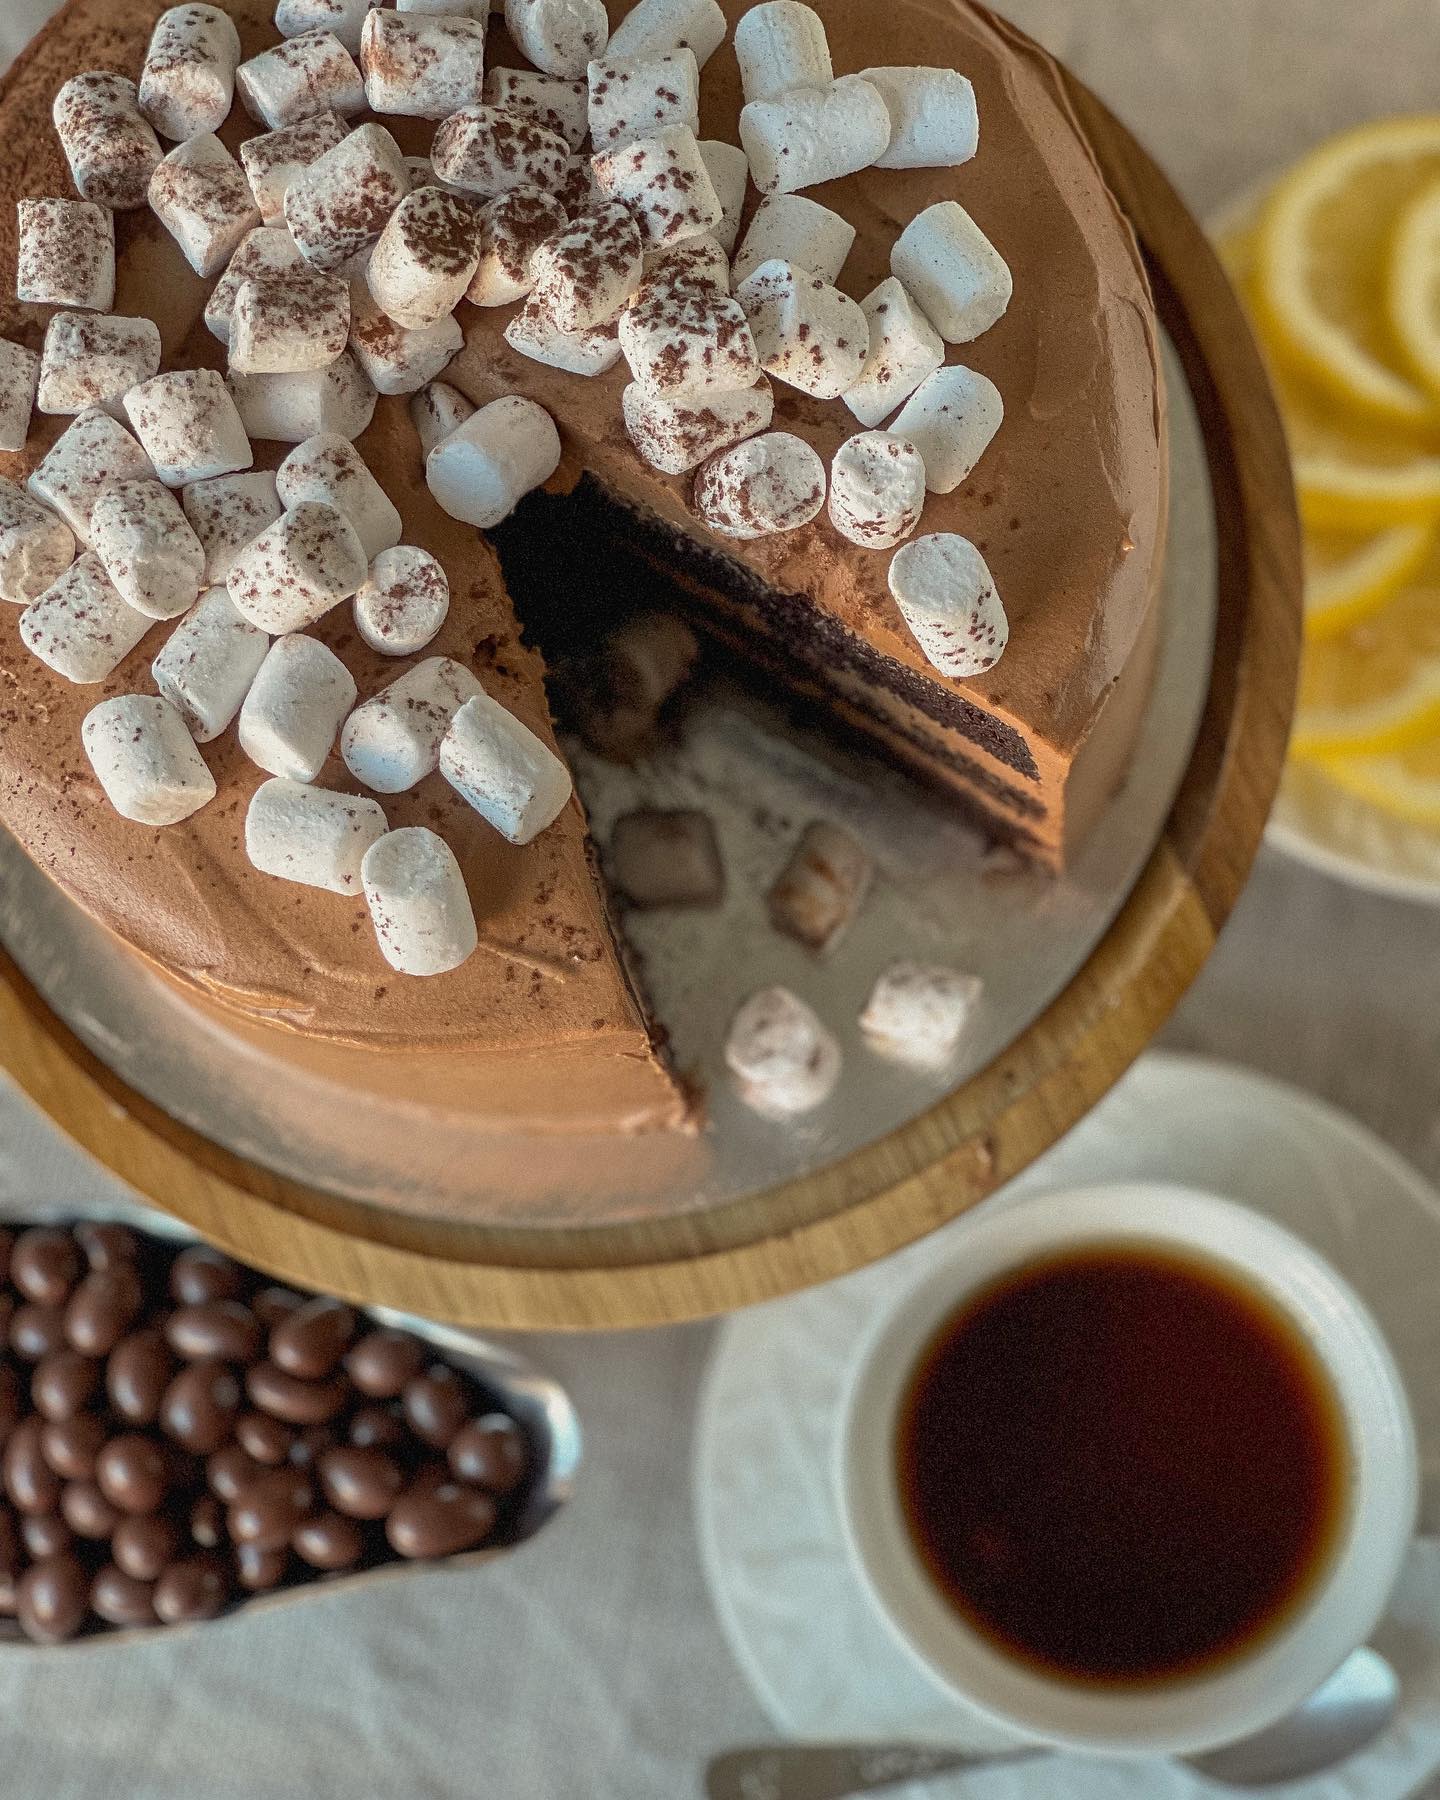
Try piping rosettes with the leftover cream, sprinkling cocoa powder, or adding a drizzle of melted chocolate. Fresh fruit or edible flowers can also make beautiful toppings.
