Ingredients
Bubbling caramel
Instructions
Step 1
Step 2
Step 3
Step 4
Step 5
Step 6
Servings
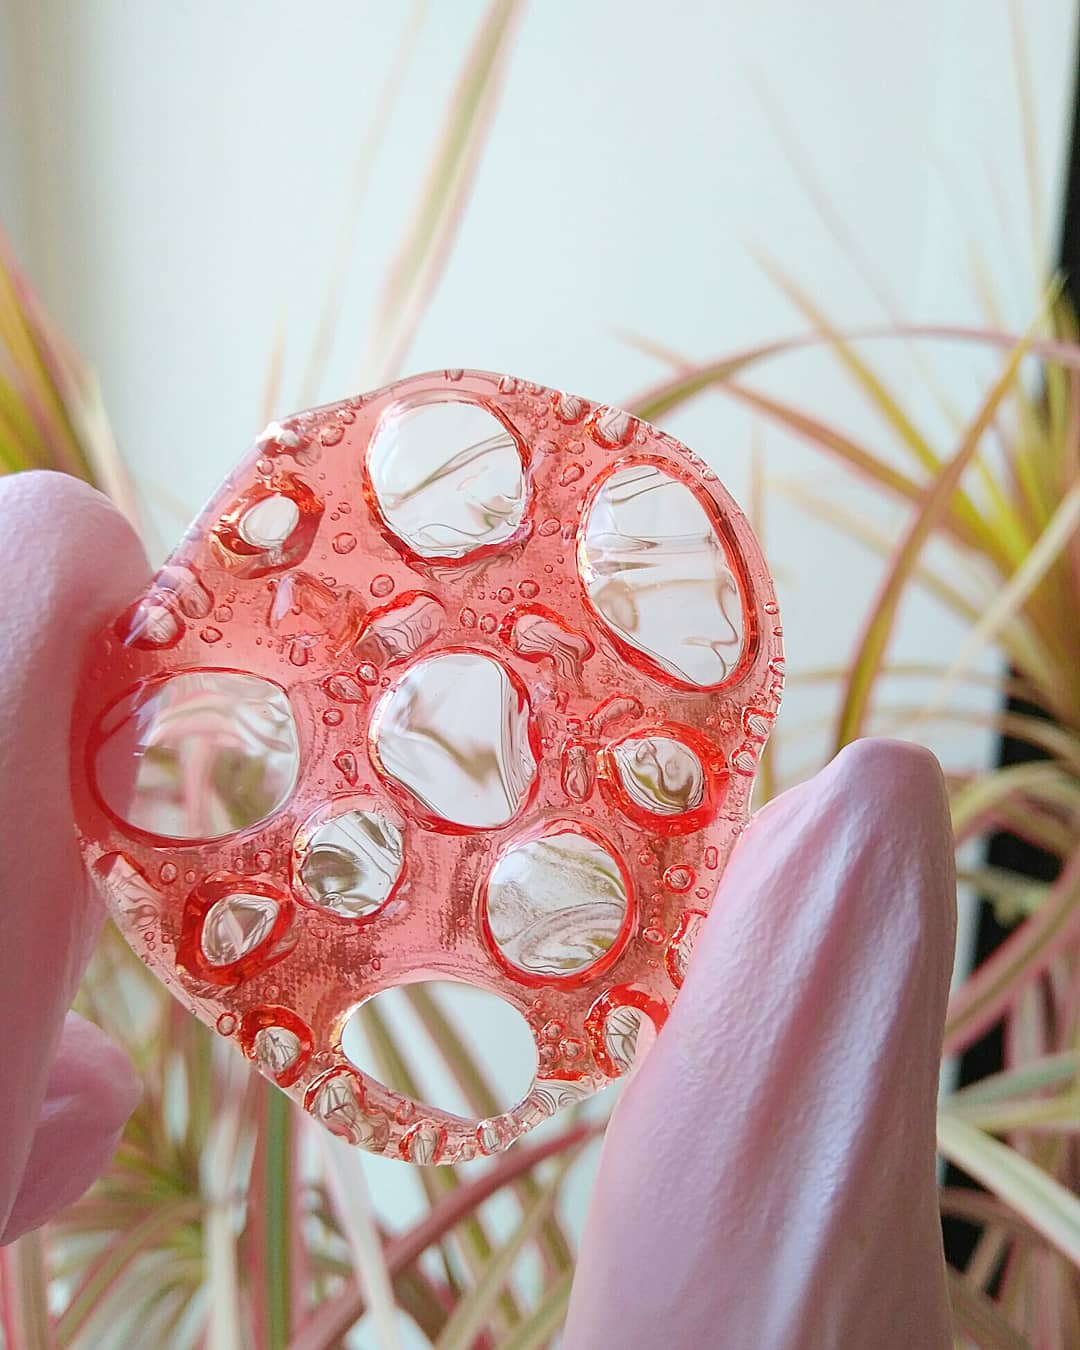
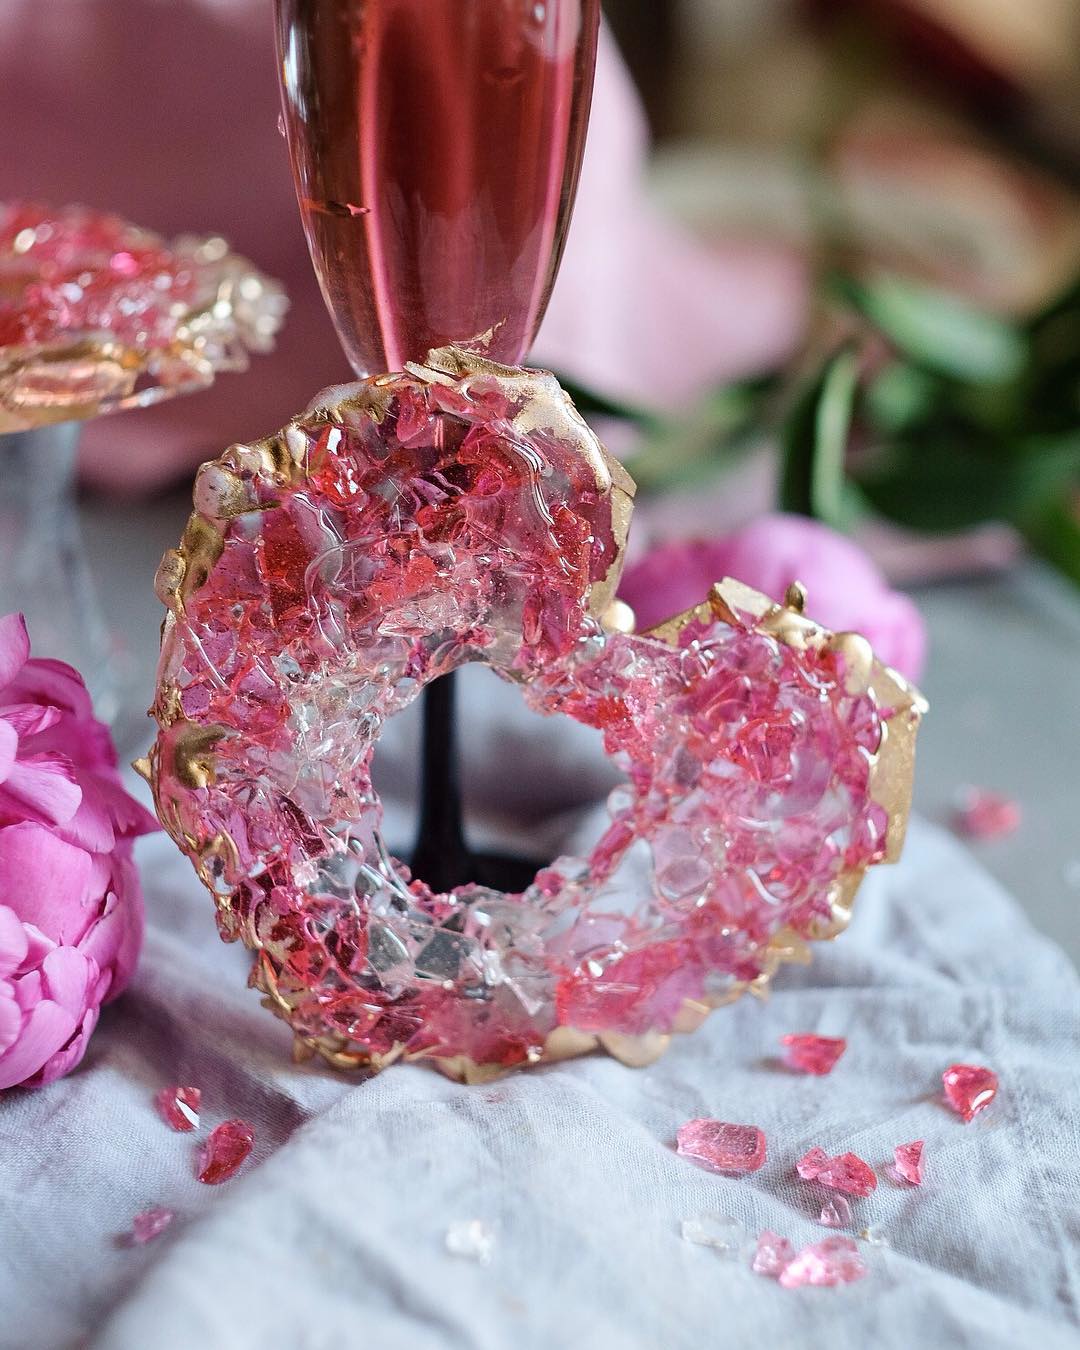
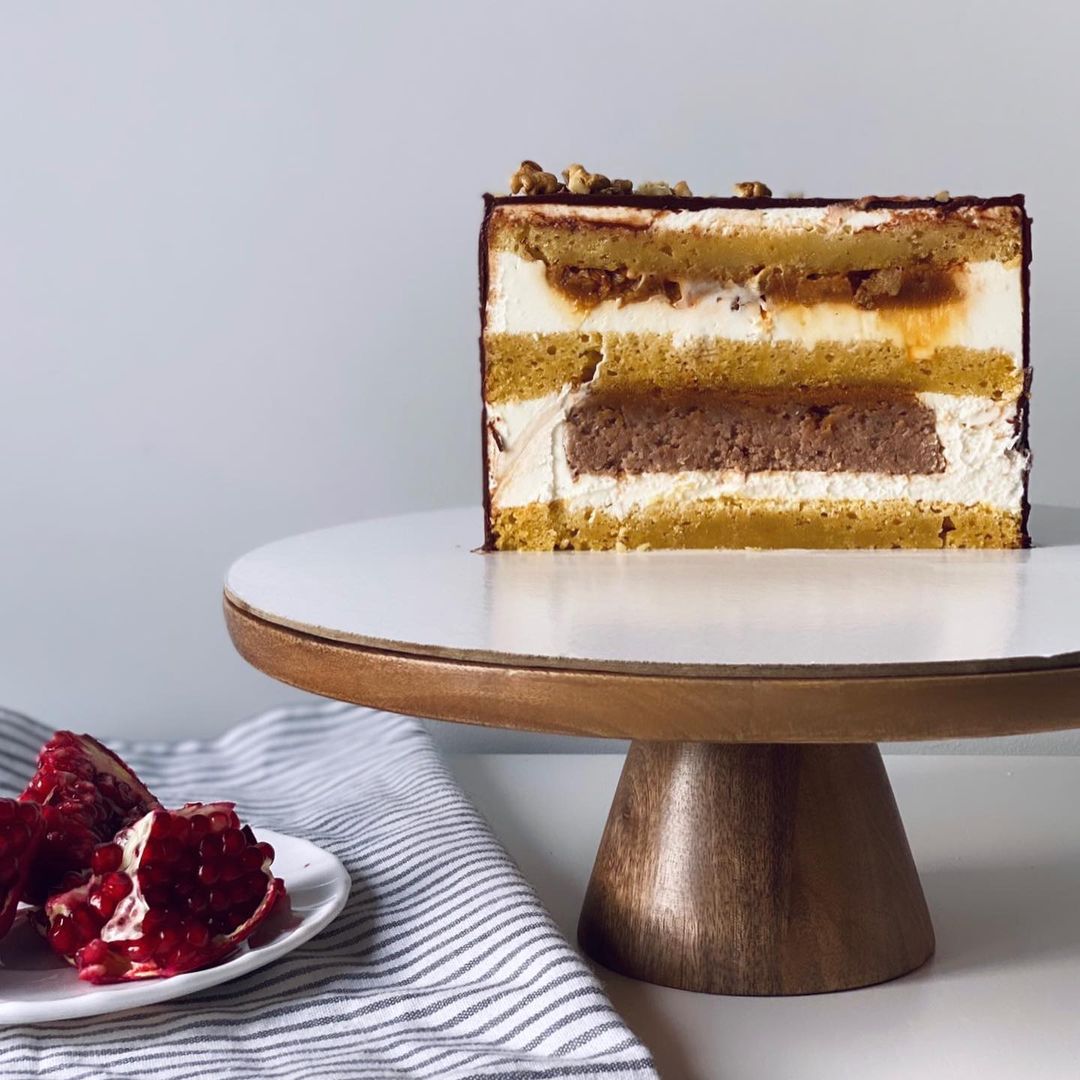
Imagine presenting your guests with a cake topped with shimmering, translucent caramel spheres that seem to float above the frosting. These beautiful caramel decorations can add elegance and visual interest to any dessert. For a professional touch, consider brushing the base of each caramel decor with a bit of melted chocolate to prevent moisture absorption and maintain their shape longer.
Serving a cheesecake? Dot the top with these delicate caramel droplets for a nightclub-style vibe that’s sure to dazzle. For cupcakes, create smaller spheres, giving each mini dessert a whimsical, fairy-tale appeal. The delicate bubbles also make an exquisite garnish for homemade puddings or even craft cocktails. Simply place a couple of these sugary gems atop a whipped-cream-covered coffee drink, and watch your guests' eyes light up.
These decorations aren't just for looks. They bring a delightful crunch that contrasts beautifully with creamy or spongy desserts. So go ahead, experiment, and let your culinary creativity run wild!
Equipment
Use a microwave to make the glucose syrup more liquid, making it easier to work with and dye in your chosen color.
Heat-resistant and microwave-safe bowl; ensure it can handle the density and viscosity of the glucose syrup.
Opt for a large, flat sheet; it allows you to space out the caramel drops adequately.
These mats prevent the caramel from sticking and ensure easy removal; silicone is especially heat-resistant.
Used for creating small and large caramel circles, respectively; having multiple sizes helps achieve varied decorative effects.
Ensure your oven temperature is accurate; too hot or too cold can affect the outcome of the caramel bubbles.
Variations
Gluten-Free Variation: Good news! This recipe is naturally gluten-free. Just ensure that your glucose syrup and food dye are certified gluten-free to avoid any cross-contamination issues.
Vegan Variation: This recipe can be easily made vegan as well. Glucose syrup is plant-derived, so no adjustments are needed there. Make sure to pick a vegan food dye to keep the recipe entirely plant-based.
Faq
- Why is my caramel changing color in the oven?
This happens if the caramel is overcooked. Keep a close eye on the syrup; the smaller the caramel, the less time it needs to get ready.
- How do I prevent my caramel decor from melting?
Consider brushing the part you want to stick into the cake or cupcake with some melted chocolate or confectionery icing to maintain its shape.
- What’s the ideal temperature for making these caramel bubbles?
You'll want to preheat your oven to 180-200°C (356 to 392°F) for the best results.
- Can I make larger caramel circles without them spreading too much?
Absolutely! For larger circles, use 3 to 4 tablespoons of syrup and space them out well on the baking sheet.
- Do I need a silicone or teflon mat specifically?
Yes, these mats are essential as they prevent the caramel from sticking and ensure easy removal once cooled.
- How do I retain the bubbles in the caramel?
Ensure you follow the timing closely; around 5 to 6 minutes of boiling starts to fade, forming bubbles that remain once cooled.
