Ingredients
Main Ingredients
Instructions
Step 1
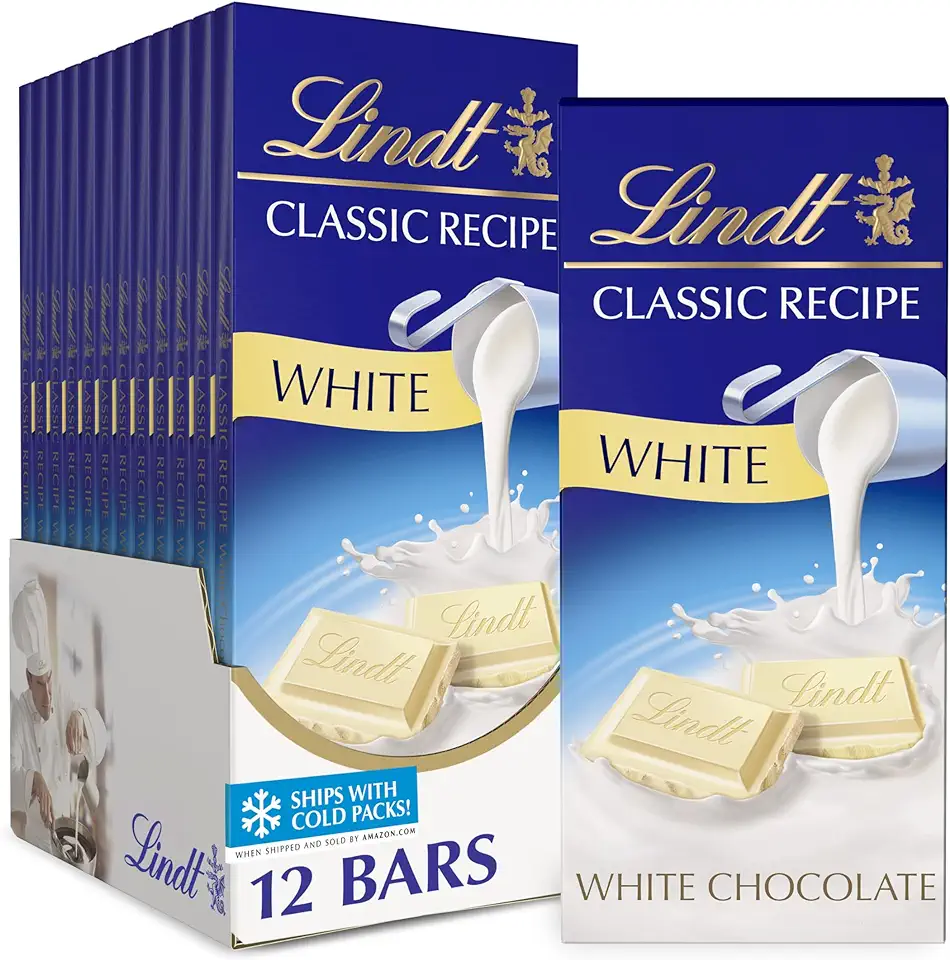
First, select a natural white chocolate with at least 30% cocoa butter content. Avoid chocolates containing palm or vegetable oils as substitutes. Measure out around 150 grams (5.5 ounces), which will reduce to about 80 grams (2.8 ounces) after caramelization.
Step 2
Spread the white chocolate in a thin layer on a baking tray lined with a silicone mat. Preheat your oven to 120°C (250°F).
*Bake the chocolate for approximately 90 minutes*, stirring it thoroughly every 10 minutes. Continue to bake and stir until it reaches a rich caramel color.
Step 3
Place the white chocolate in a microwave-safe plastic bowl. Heat it in the microwave on high in 30-second intervals.
After each interval, *stir the chocolate* thoroughly. Repeat until the chocolate has turned caramel in color.
Step 4
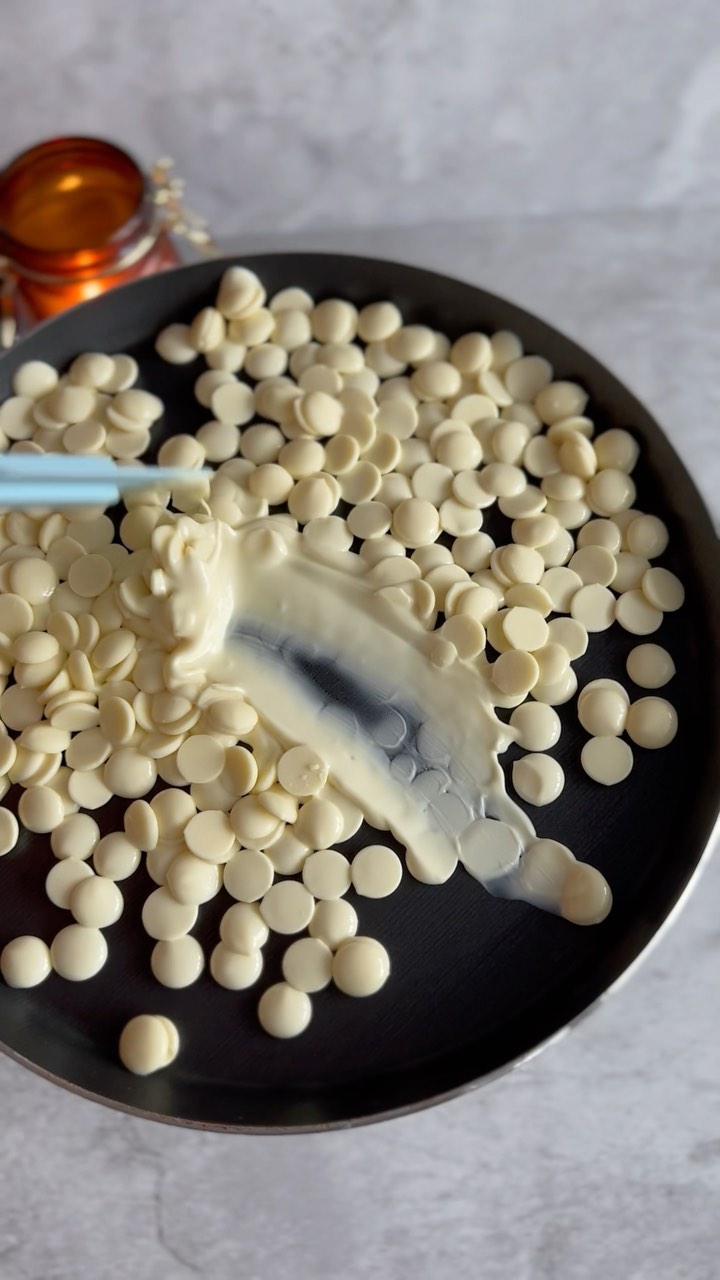
This method requires extra attention to avoid burning. Place the white chocolate in a non-stick skillet. Heat it over a low flame, constantly stirring.
*Continue stirring* until the chocolate reaches a caramel color. Be vigilant to prevent scorching.
Step 5
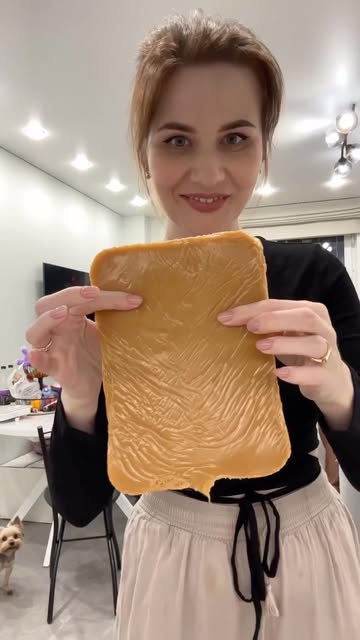
As the chocolate caramelizes, it will start to thicken. This is normal! Continue to stir until it becomes more pliable.
If you have access to a kitchen machine with a heating option, you can caramelize the chocolate in it.
The caramelized chocolate can be poured into a thin layer and stored in a container for a long period, just like regular chocolate.
You can also temper the caramelized chocolate for various decorative purposes.
Servings
Once you've successfully caramelized your chocolate, there are countless ways to enjoy it that will make your taste buds dance with joy 😋. Here are some delightful serving ideas:
Drizzle Over Desserts: Take your favorite cakes, cookies, or ice cream to the next level by drizzling the caramelized chocolate over them. The rich and nutty flavors will melt into the dessert, adding an unforgettable touch.
Use in Mousse or Ganache: Replace regular chocolate in your mousse or ganache recipes with the caramelized version for a sophisticated twist. It adds depth and complexity that will wow your guests at any dinner party.
DIY Chocolate Bars: Pour the melted caramelized chocolate into silicone molds, add some nuts or dried fruits, and let it set. You’ll have gourmet chocolate bars ready to impress.
Fondue Fun: Melt the caramelized chocolate in a fondue pot and dip fruits, marshmallows, and cookies for a fun and interactive dessert experience 🎉.
Equipment
A baking sheet is essential for spreading out the chocolate evenly. For best results, line it with a silicone mat to prevent sticking and ensure even cooking.
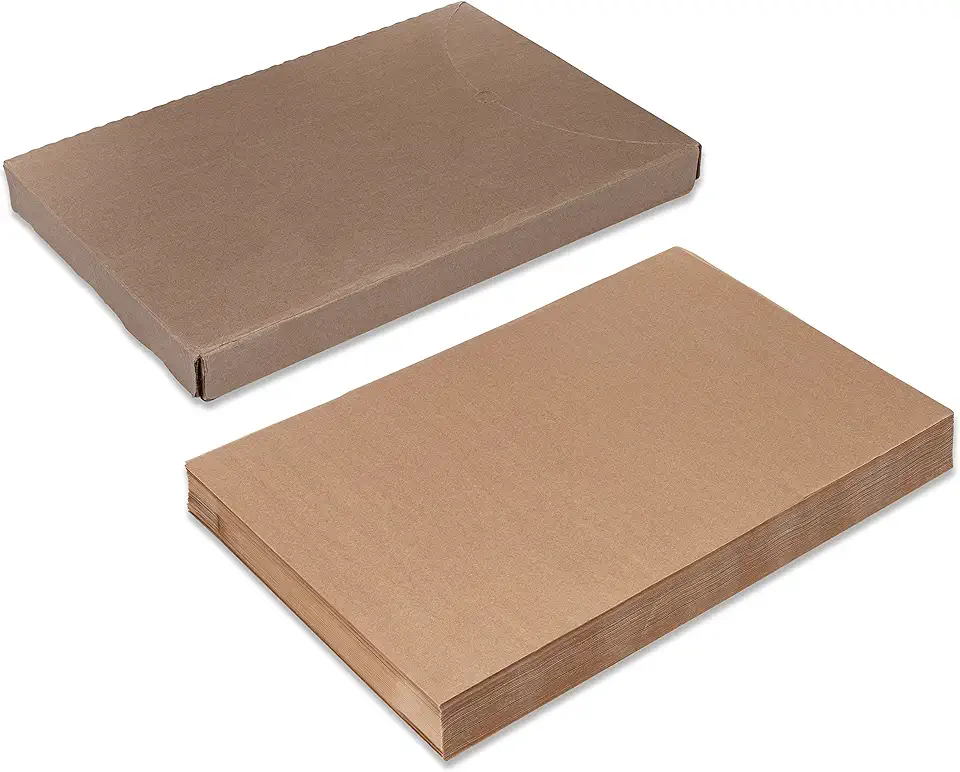 Paterson Paper 16" x 24" Full Size Unbleached Chromium-Free Reusable Baking Parchment Paper Sheets Commercial Bun/Sheet Pan Liners - 1000/Case - 425F - Non-Stick/Grease-Resistant
$169.58
View details
Prime
best seller
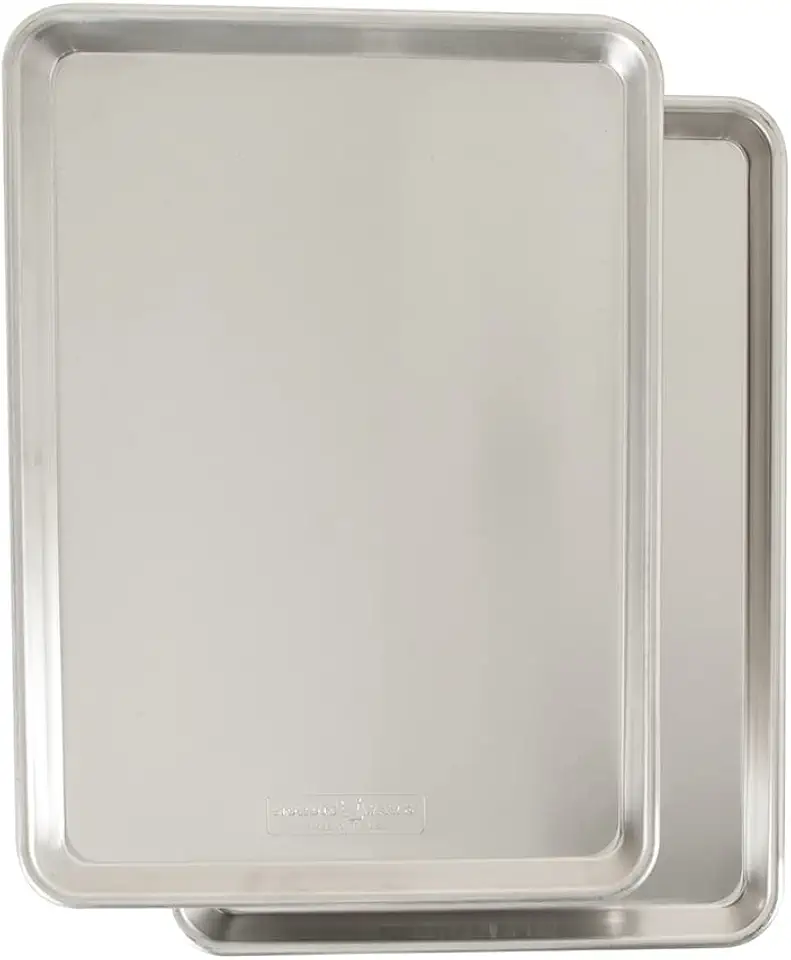 Nordic Ware Naturals Half Sheet, 2-Pack, Natural
$37.80
View details
Prime
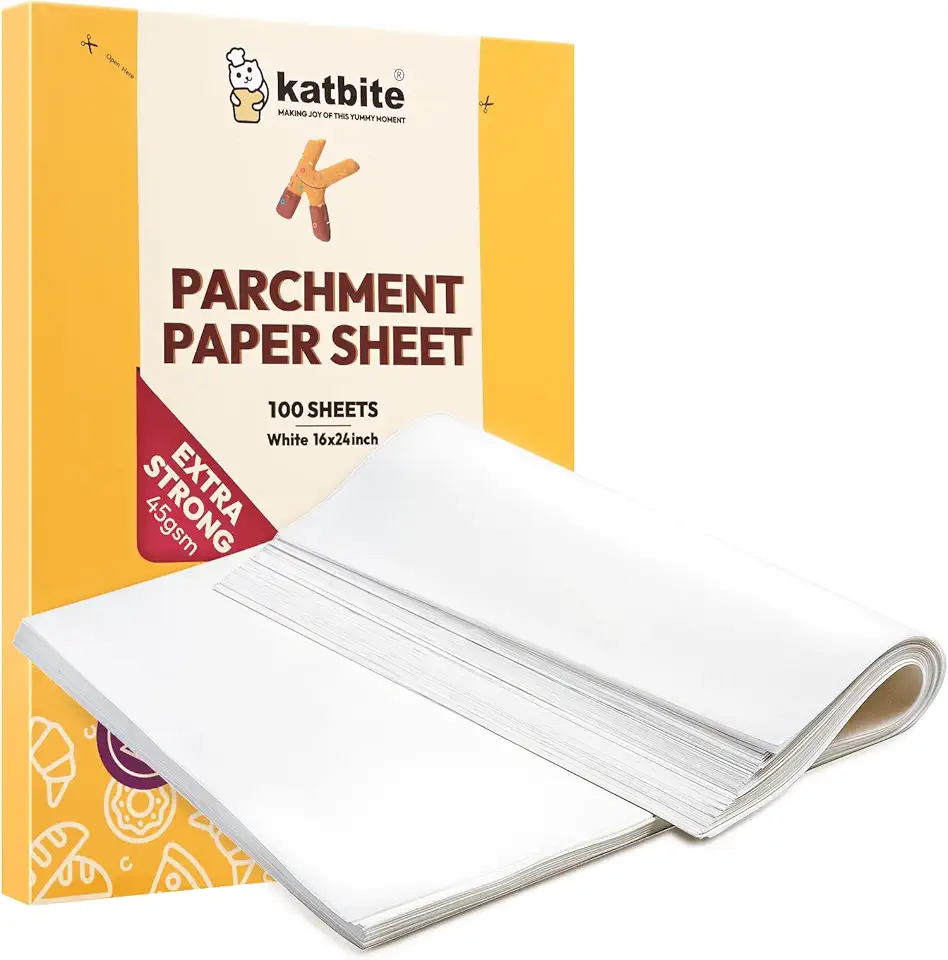 Katbite 16x24 inch Heavy Duty Parchment Paper Sheets, 100Pcs Precut Non-Stick Full Parchment Sheets for Baking, Cooking, Grilling, Frying and Steaming, Full Sheet Baking Pan Liners, Commercial Baking
$18.99
$25.99
View details
This is crucial for an even cook and easy cleanup. Make sure it's heat resistant up to at least 120°C.
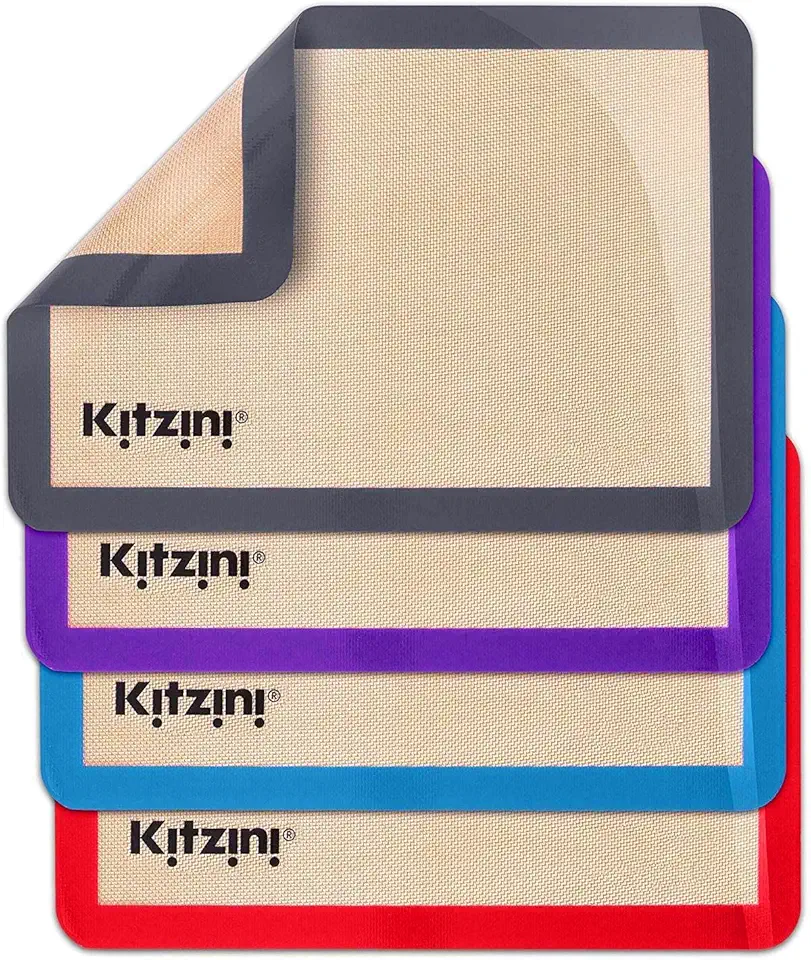 Kitzini Silicone Baking Mat Set, Non-Stick Silicone Mats for Baking, 4 Half Baking Sheets, BPA Free, Professional Grade Silicon Baking Sheet, Silicone Baking Mats for Cookies, Macarons & Pastry
$17.99
$19.99
View details
Prime
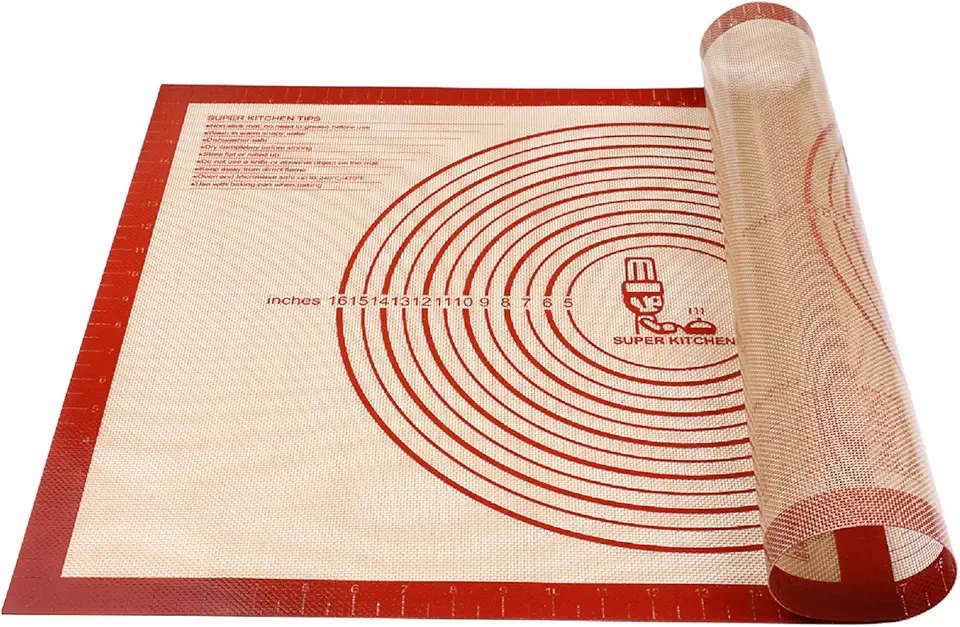 Non-slip Pastry Mat Extra Large with Measurements 28''By 20'' for Silicone Baking/ Counter Mat, Dough Rolling Mat,Oven Liner,Fondant/Pie Crust Mat By Folksy Super Kitchen Red
$13.99
$21.99
View details
Prime
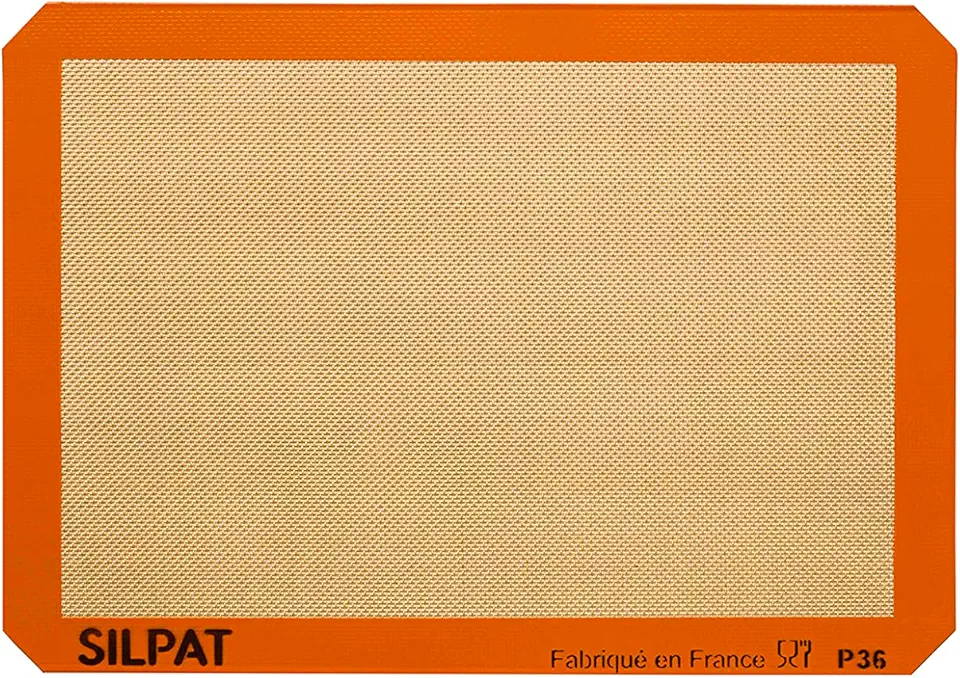 Silpat The Original Premium Non-Stick Silicone Baking Mat, Half Sheet
$17.41
$28.50
View details
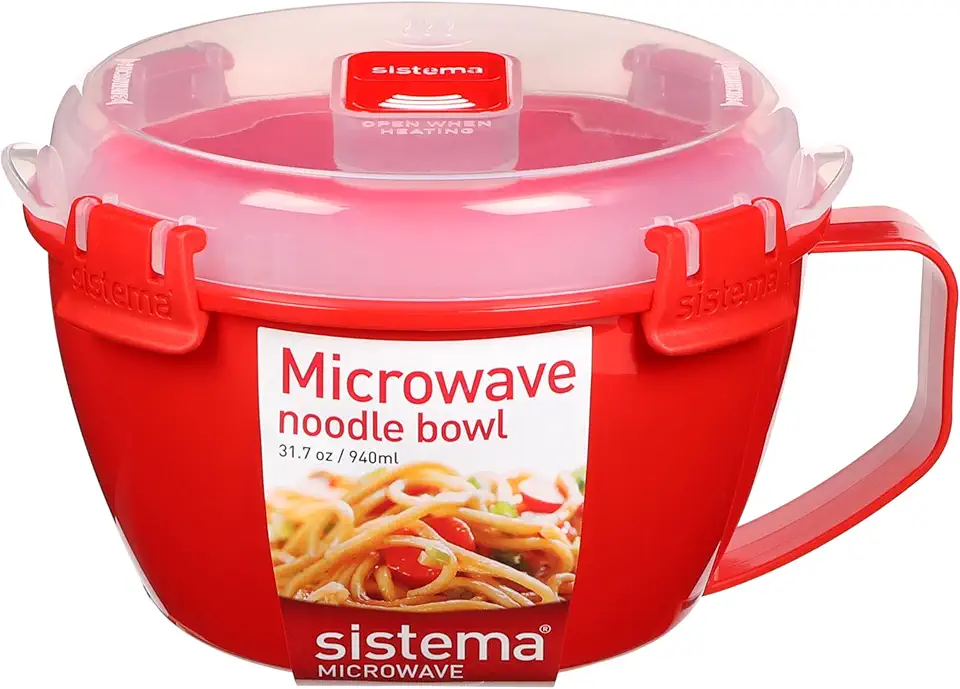
If you're opting for the microwave method, a microwave-safe bowl is a must. Plastic is preferred to avoid overheating.
A heat-resistant spatula or wooden spoon will help you mix the chocolate without risking burns or contamination.
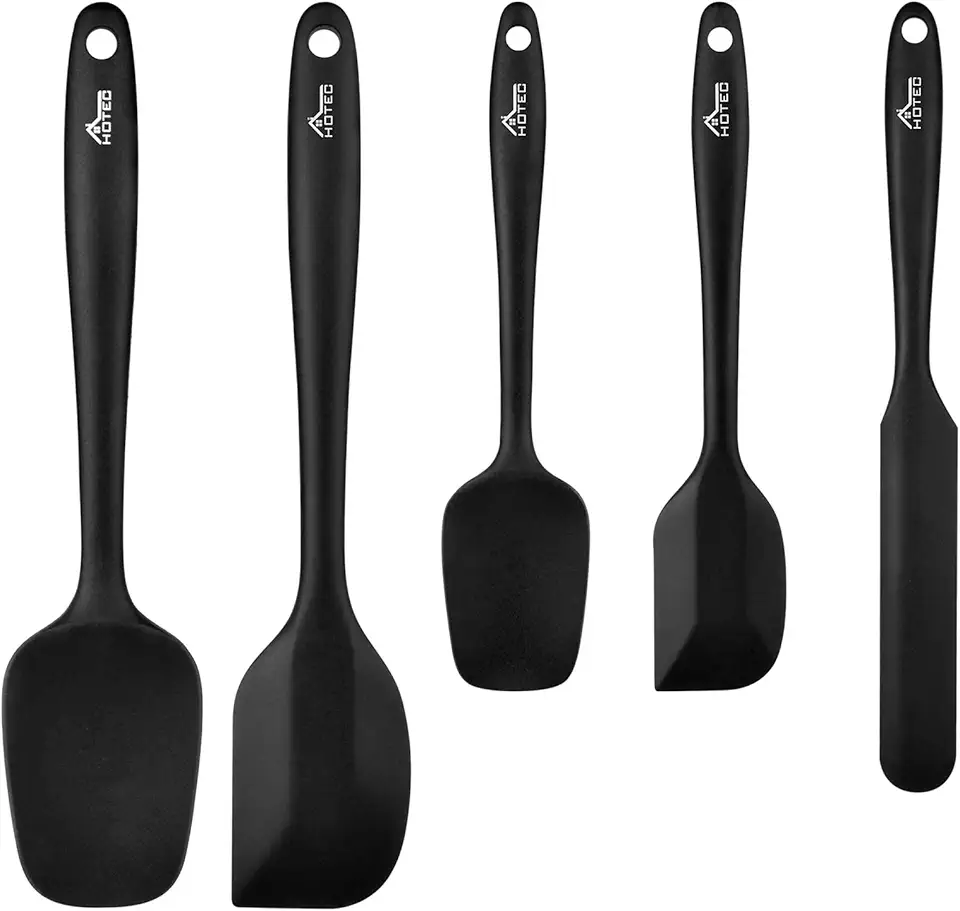 HOTEC Food Grade Silicone Rubber Spatula Set for Kitchen Baking, Cooking, and Mixing High Heat Resistant Non Stick Dishwasher Safe BPA-Free Black Set of 5
$9.99
View details
Prime
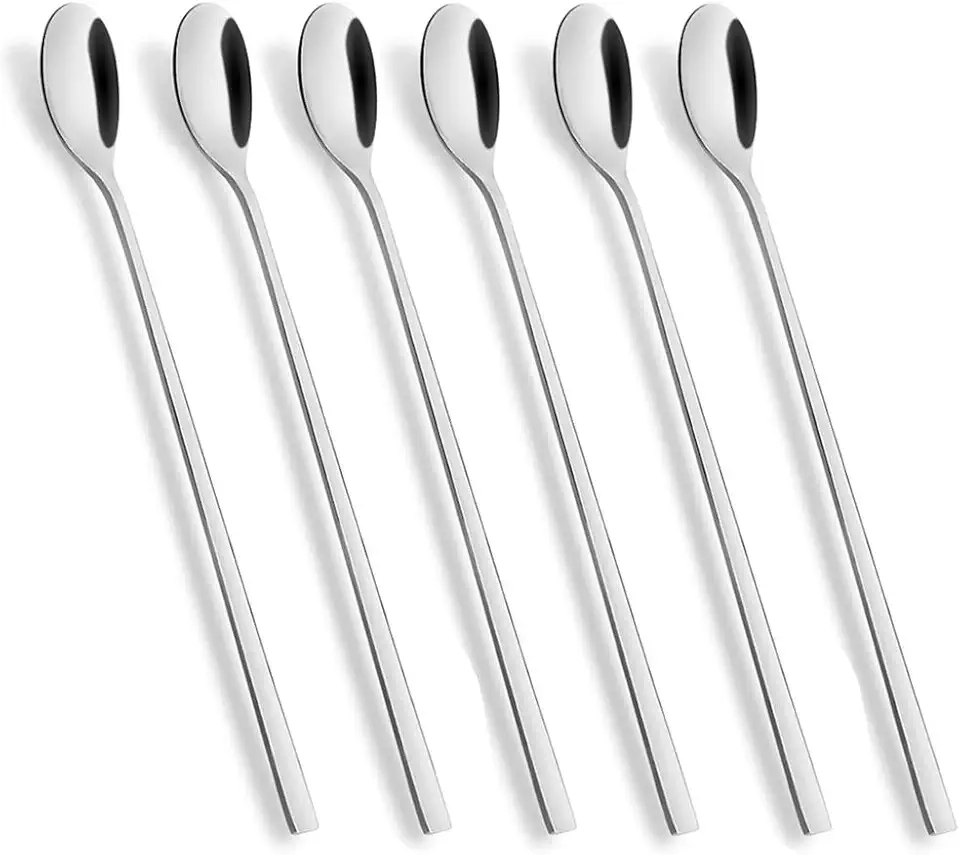 AOOSY Long Handle Spoon, Coffee Stirrers, 9-inch Ice Tea Spoon,Premium 18/10 Stainless Steel Iced Teaspoon for Mothers Milks Tea Mixing Cocktail Stirring Coffee Milkshake Cold Drink, Set of 6
$7.99
$12.99
View details
Prime
 Hiware LZS13B 12 Inches Stainless Steel Mixing Spoon, Spiral Pattern Bar Cocktail Shaker Spoon
$4.99
$7.99
View details
If you're using the stovetop method, a heavy-bottomed skillet will help distribute the heat evenly to avoid burning the chocolate.
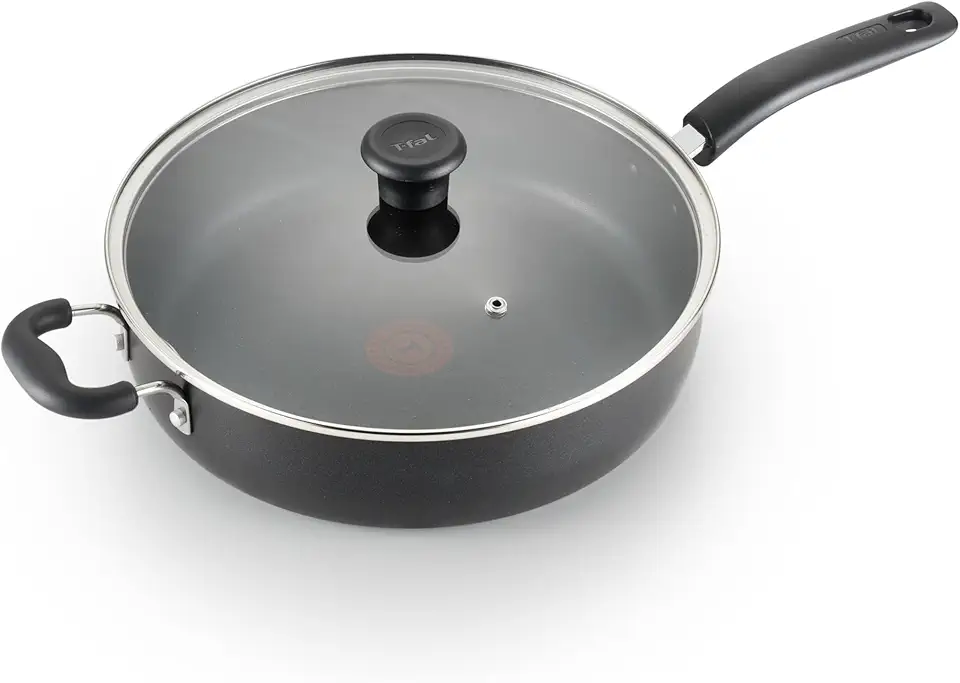 T-fal Specialty Nonstick Saute Pan with Glass Lid 5 Quart, Oven Broiler Safe 350F, Cookware, Deep Frying Pan with Handle, Skillet, Kitchen, Pots and Pans, Dishwasher Safe, Black
$39.85
View details
Prime
best seller
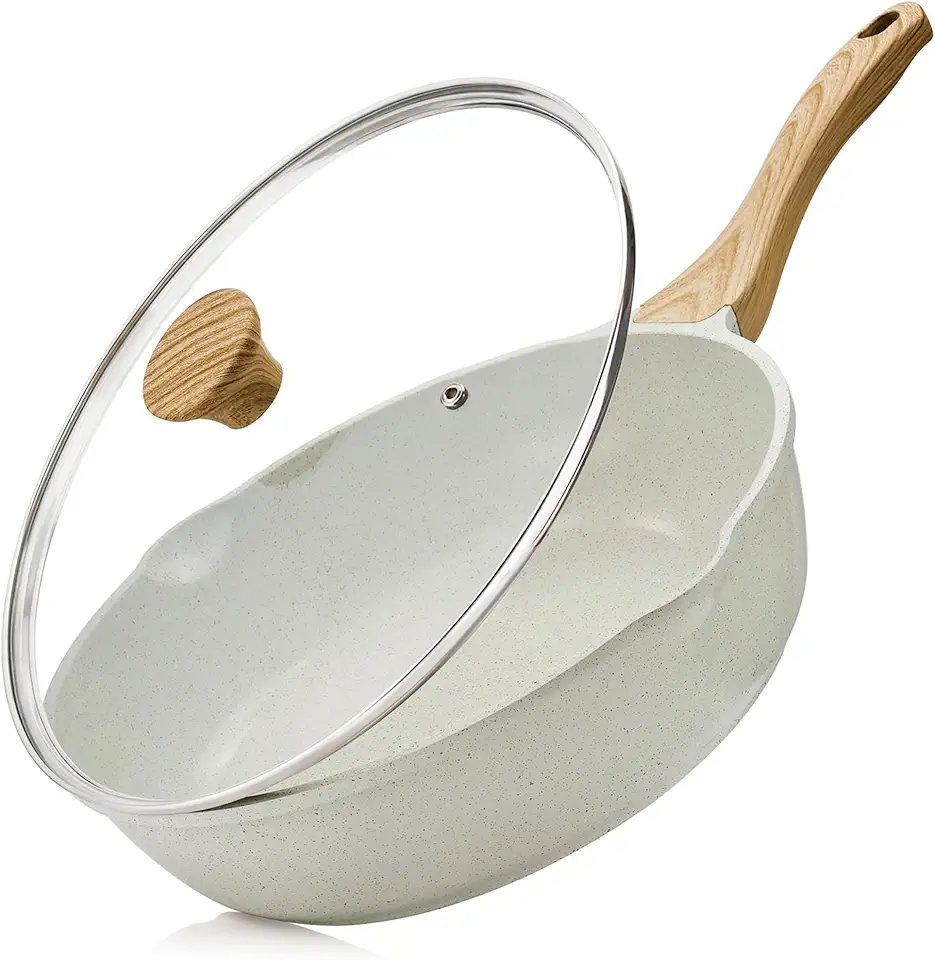 SENSARTE Nonstick Ceramic Saute Pan 12-Inch, Non-toxic Deep Frying Pan Skillet with Lid, Healthy Jumbo Cooker, Stay Cool Handle, Induction Compatible, PFOA & PFAS Free
$44.79
$59.99
View details
Prime
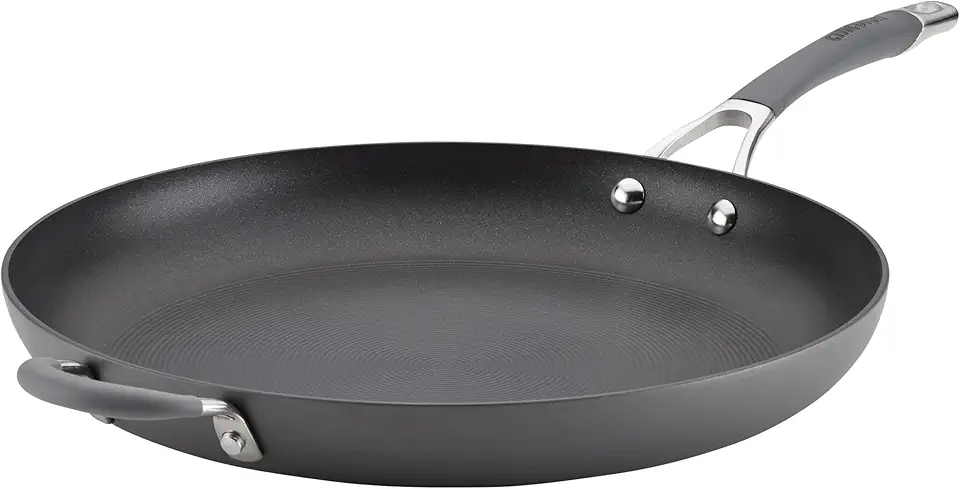 Circulon - 83906 Circulon Radiance Hard Anodized Nonstick Frying Pan / Fry Pan / Hard Anodized Skillet with Helper Handle - 14 Inch, Gray
$59.95
View details
Variations
Love the idea of making caramelized chocolate but need to adapt it to a gluten-free or vegan lifestyle? No problem! Here’s how:
Gluten-Free Variation: Make sure the white chocolate you use is certified gluten-free. Generally, chocolate is gluten-free, but always check the packaging to be certain.
Vegan Variation: Opt for dairy-free white chocolate, which is available in most health food stores or online. These chocolates are made with plant-based milk and are perfect for caramelizing in the same way.
With these simple adjustments, you can enjoy this delicious caramelized chocolate no matter your dietary preferences 😍.
Faq
- Why did my chocolate seize up while caramelizing?
This usually happens when chocolate gets too hot too quickly. Make sure to stir it regularly and keep the temperature consistent.
- Can I use dark chocolate for this recipe?
Caramelizing is specific to white chocolate because of its milk and sugar content. Dark chocolate will not caramelize in the same way.
- Is it necessary to use a silicone mat?
While not absolutely necessary, a silicone mat ensures an even spread and makes cleanup a lot easier. It's highly recommended.
- How do I store the caramelized chocolate?
Once cooled, store it in an airtight container. It will keep well for several weeks at room temperature.
- Can I temper the caramelized chocolate?
Absolutely! You can temper it just like any other chocolate to make decorations or more stable confections.
- How do I know my chocolate is caramelized perfectly?
Look for a golden-brown color and a distinctive caramel aroma. Taste-testing is always a good idea too! 😋

