Ingredients

Shortcrust base

  • 70 grams (2.45 ounces) chopped almond cookies
  • Chopped nuts to taste

Filling

  • 220 grams (7.75 ounces) cream cheese
  • 35 grams (1.25 ounces) sugar
  • 1 large egg
  • 55 grams (1.95 ounces) cream (33%)
  • Vanilla or vanilla extract to taste

Equipment

  • Blender

    Perfect for crushing the almond cookies to a fine consistency. Be sure to pulse rather than blend continuously to avoid forming a paste.

  • Whisk or Silicone Spatula

    These tools help in mixing the filling smoothly without too much effort. A hand whisk works efficiently, but a silicone spatula can scrape the sides better.

  • Pastry Bag

    Using a pastry bag ensures that the filling is deposited neatly into the jars. If you don't have one, a plastic zip-top bag with the corner snipped off will work too.

  • Oven with Water Bath Setup

    Enables gentle and even baking. Simply place a baking sheet with water below the jars placed on a wire rack for a perfect water bath effect.

Instructions

Step 1

Preheat your oven to 110°C (230°F). Always preheat your oven for the best baking results.

Step 2

Prepare the shortcrust base: Grind the almond cookies using a blender until they are finely crumbed. Mix in chopped nuts if you'd like. Press the mixture firmly into the bottoms of jars. Do not add any butter to the crumbs; the mixture should hold together on its own.

Step 3

Prepare the filling: In a bowl, combine the cream cheese and sugar. Add the egg, cream, and vanilla or vanilla extract. Mix until smooth using a whisk or silicone spatula. Ensure the cream cheese is at room temperature for a smoother mixture.

Step 4

Transfer the filling to a pastry bag and carefully pipe it into the jars on top of the shortcrust base. Leave about 5-7 mm (0.2-0.25 inch) at the top of each jar. Using a pastry bag helps to keep the jar edges clean.

Step 5

Bake the cheesecakes: Place a baking sheet with water on the bottom rack of your oven to create a water bath. Position the jars on a wire rack above the water bath. Bake for 45-50 minutes. Allow the jars to cool completely in the oven before transferring them to the fridge. Chill for at least 6 hours. The water bath helps to keep the cheesecakes creamy and prevents cracks.

Step 6

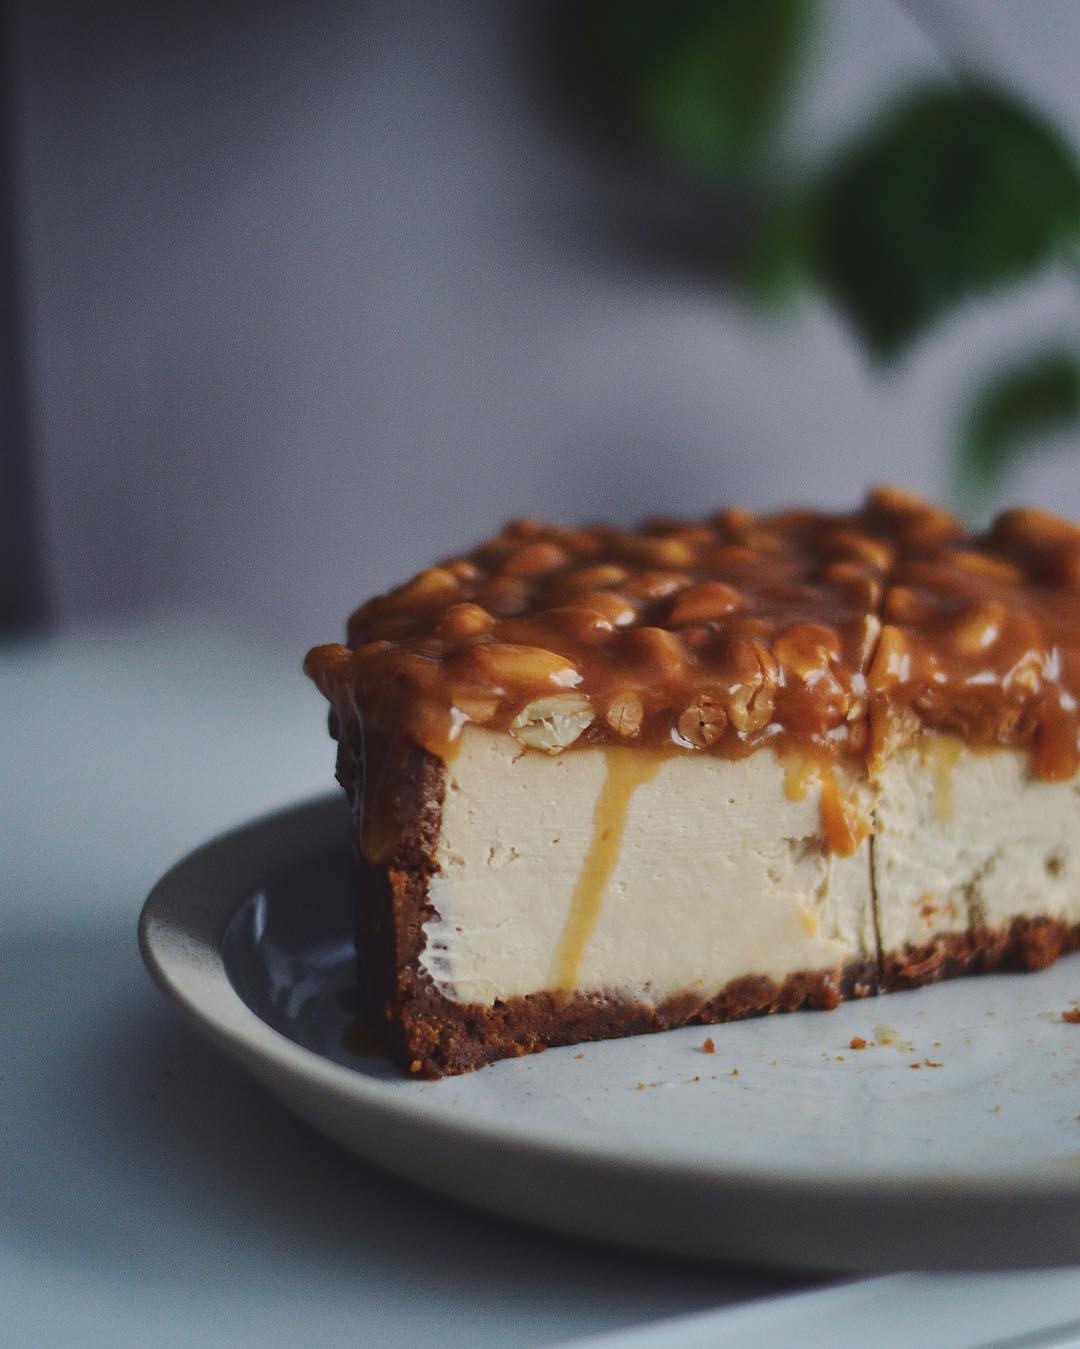
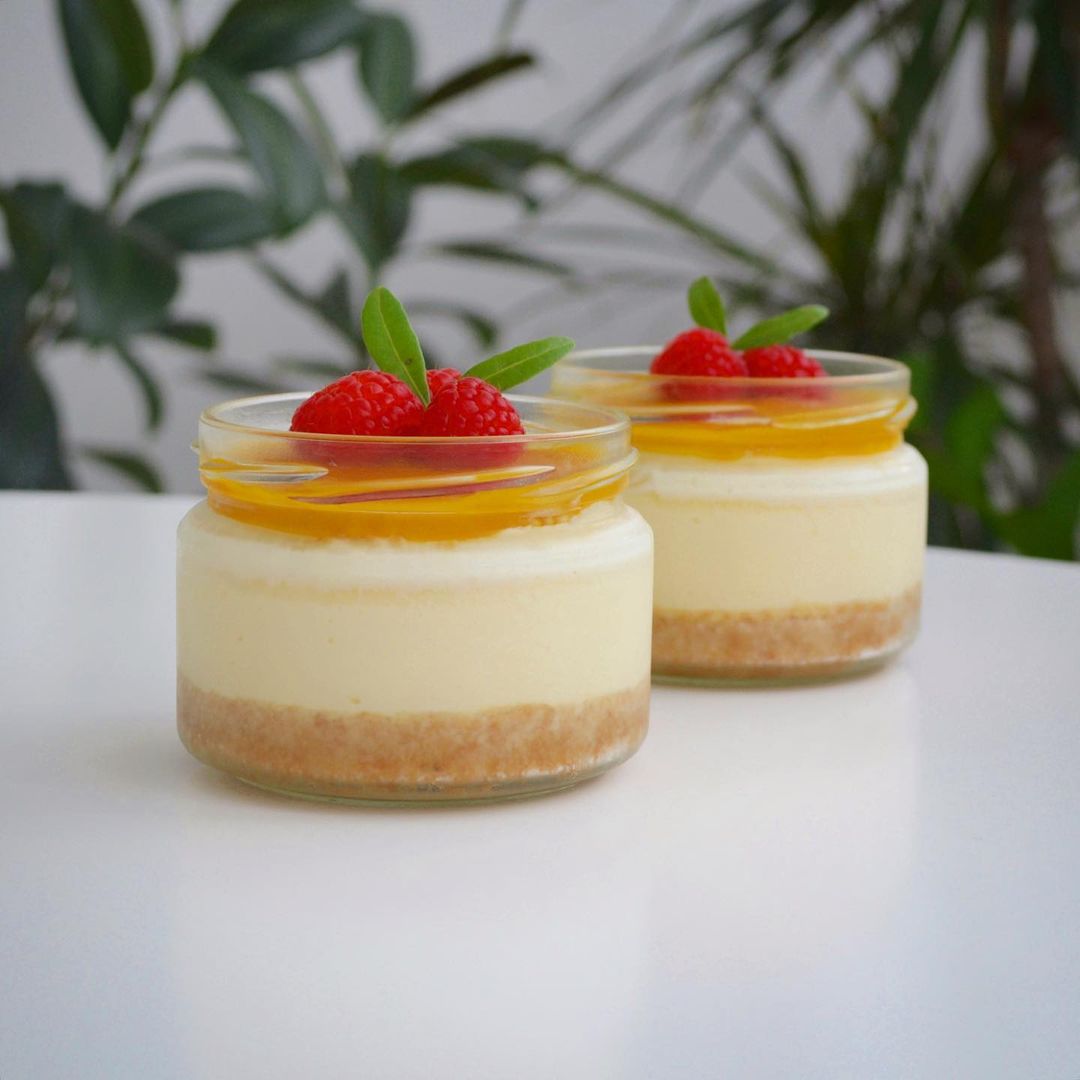
Serving suggestion: Top the finished cheesecakes with caramel, berry jam, or syrup as desired. Enjoy your homemade treat! Experiment with different toppings for variety.

Servings

Imagine a warm afternoon with friends in your garden, each holding a jar of your delightful cheesecake, or a cozy indoor gathering where dessert is served in charming glass containers. These jar cheesecakes are not only practical but add a quaint, personal touch to any event. Top them with a drizzle of caramel for a rich finish, or perhaps a berry jam to add a burst of sweetness. They make great gifts too! Just tie a ribbon around the jar, and you’ve got a homemade treat that's Instagram-ready.

Variations

To make a gluten-free version, simply use gluten-free almond cookies for the base. For a vegan variation, replace the cream cheese with a plant-based cream cheese, use a flax egg (1 tablespoon ground flaxseeds mixed with 3 tablespoons water), and swap the dairy cream with coconut cream. The result will be equally mouth-watering and suitable for all dietary preferences.

Faq

  • Can I use any type of nuts for the base?

    Yes, feel free to use your preferred nuts. Almonds, pecans, and walnuts work particularly well.

  • Is it necessary to use a pastry bag for filling the jars?

    While it makes the job easier and neater, you can also use a spoon or a zip-top plastic bag with the corner cut off.

  • Can I add other flavors to the filling?

    Absolutely! Citrus zest, cocoa powder, or a splash of liqueur can add delightful variations to the flavor.

  • What is the best way to prevent the cheesecakes from cracking?

    Using a water bath helps, as does avoiding over-mixing the filling and allowing the cheesecakes to cool gradually in the oven.

  • How long can these cheesecakes be stored?

    They can be refrigerated for up to five days, making them excellent for planning ahead.

  • Can I freeze the jar cheesecakes?

    Yes, they freeze well. Just ensure they are tightly sealed and allow them to thaw in the refrigerator before serving.

Nutrition facts

CHEESECAKE IN JARS
Recipe Yield:4 servings
Calories:Approximately 275 calories per serving
Calories (Min - Max):250 - 300
Total Fat:20g
Saturated Fat:10g
Protein:5g
Total Carbohydrate:20g
Total Sugars:10g