Ingredients
Cake layers
Frosting
Cherry jam
Cherry mousse
Syrup
Frosting for covering
Instructions
Step 1
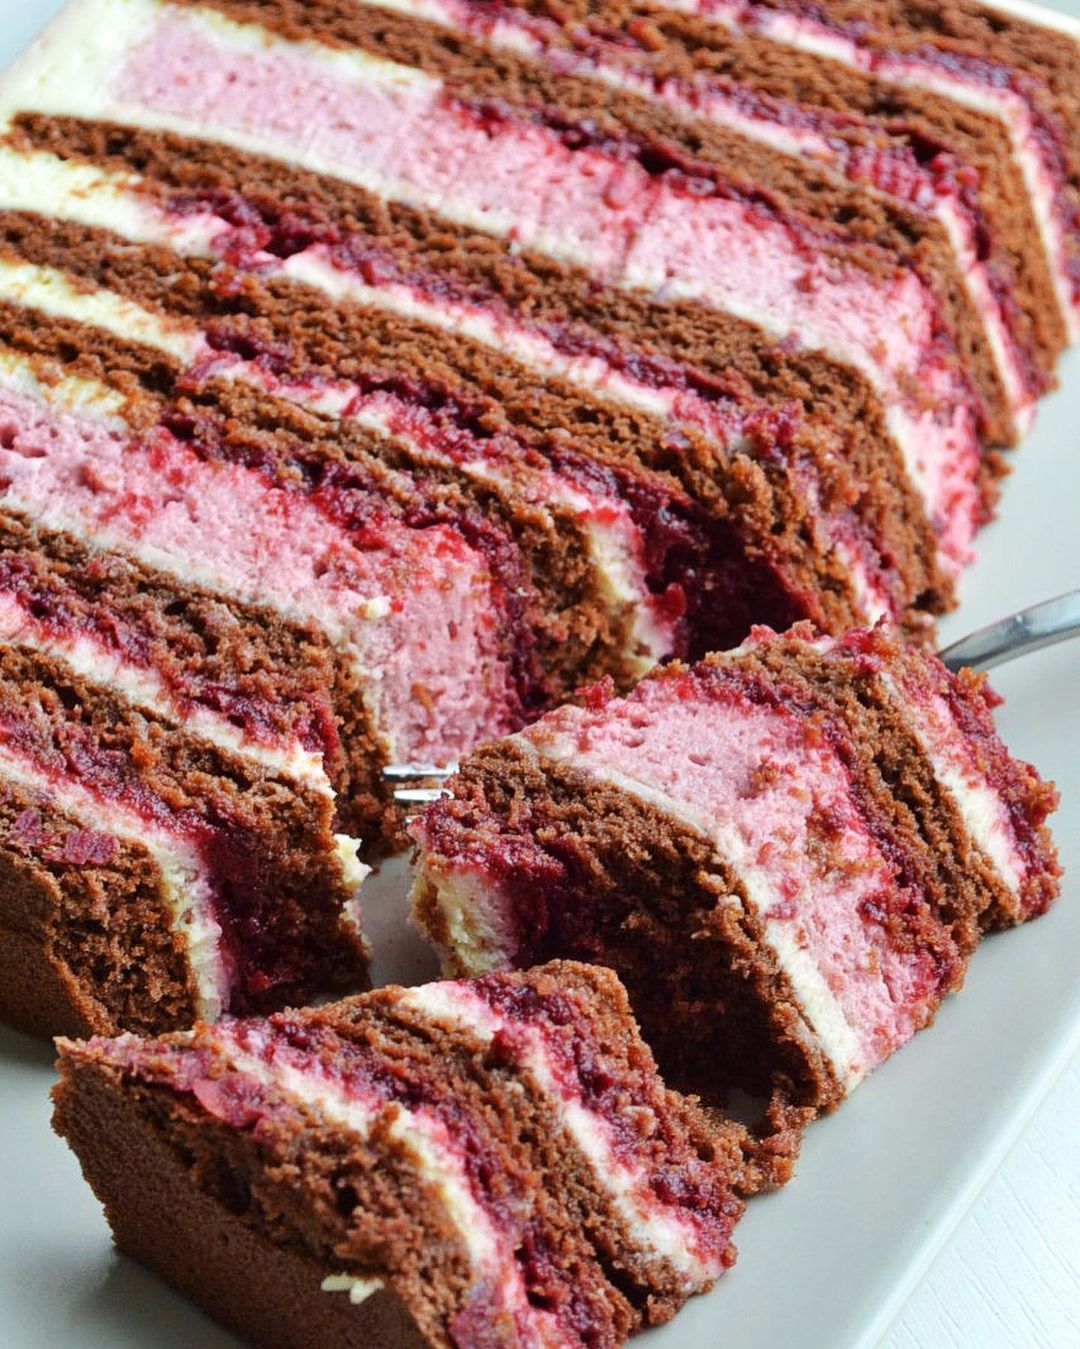
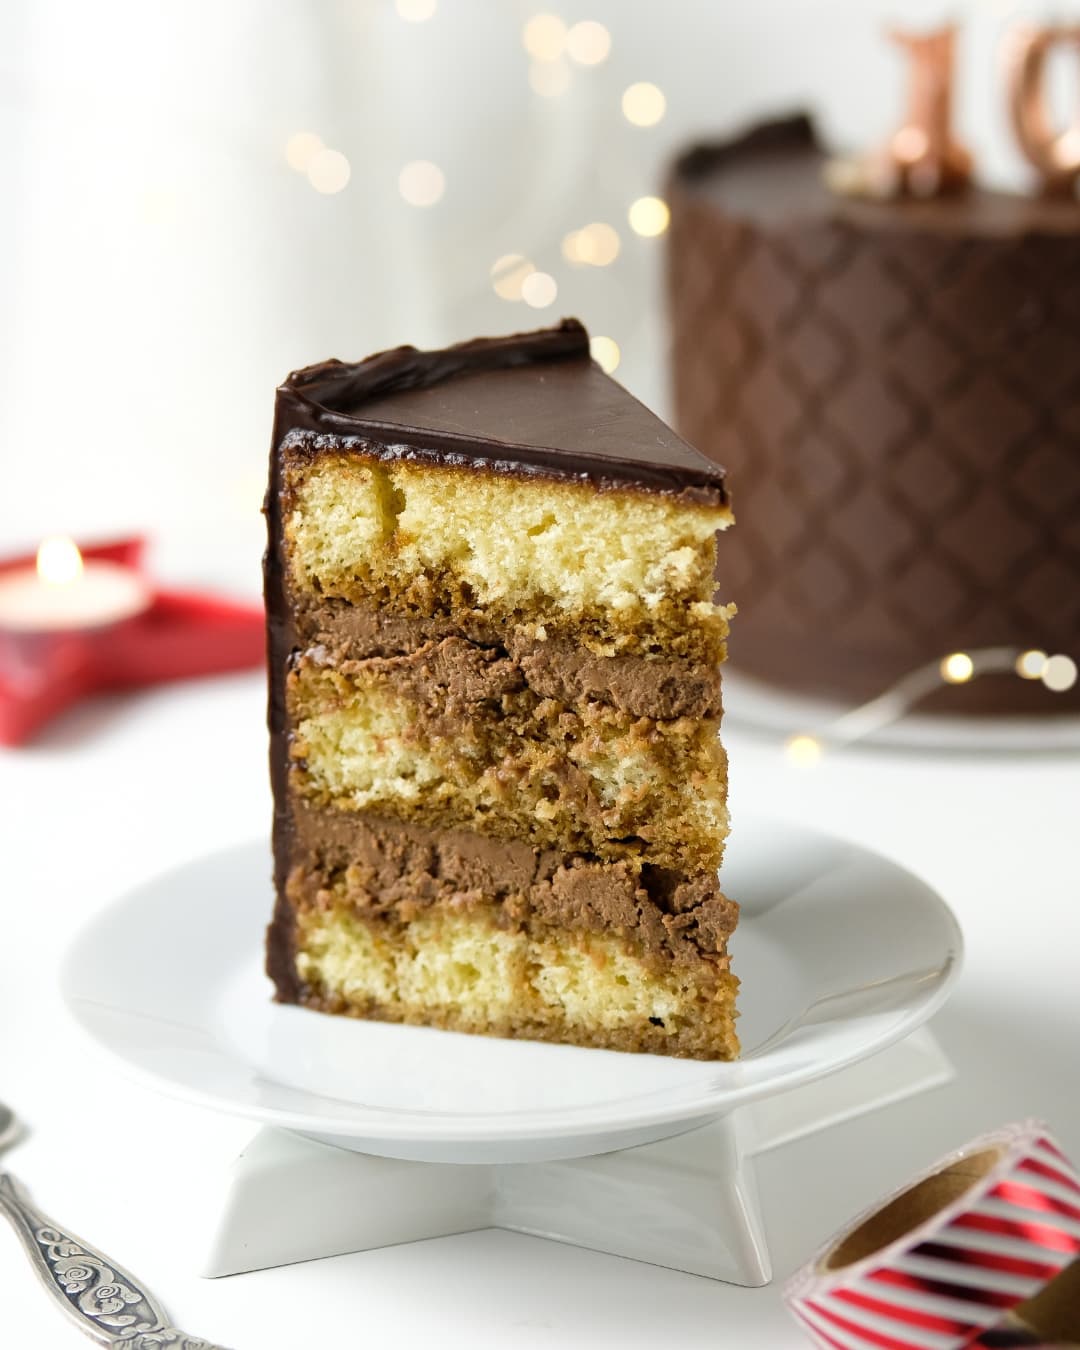
I want to tell you right away - the cake weighs 4.5 kg | 10 pounds! It is tall and large, so please do not be afraid of the number of ingredients listed. I always make large cakes, and I want the recipe to match what's in the photo. This time, I made the cake layers a bit thicker, but they soaked the cherry syrup well and turned out super soft. I also want to note that I assemble the cake exclusively in a ring mold, leave it to stabilize for 2 hours on the coldest shelf of the fridge, then level with one layer of icing. Then I wrap the cake in clingfilm, put it in a ring, and let it cool again for several hours before making the finishing icing layer (it is a little thinner). Be sure to watch the video recipe. Now, let's get started!
Step 2
All ingredients should be at room temperature. Tip: This helps achieve a smooth, even mix. In a heavy-bottomed saucepan, melt the butter in a water bath.
Step 3
In a separate bowl, combine eggs and sugar. Beat for 2-3 minutes until fluffy. Add the beaten eggs, honey, cocoa, and cream to the melted butter and stir until smooth.Tip: Use a whisk to avoid lumps.
Step 4
Continuously stirring, cook the mixture for 3-5 minutes, then add baking soda and cook until it becomes larger (about 5 minutes). Remove the ready custard base from the water bath and let it cool to room temperature for 5 minutes.
Step 5
Gradually add sifted flour to the cooled base while stirring. When the dough becomes too stiff for the whisk, sift some flour onto the work surface, place the dough on it, and gently incorporate the flour by hand. Important: Do not add too much flour! The dough should be soft and tender. Tip: Overworking the dough can make it tough. Cover the dough with cling film and let it rest for 5 minutes.
Step 6
Preheat the oven to 356°F (180°C). Divide the dough into 10 pieces, each about 150 grams (5 ounces). Roll out each piece to 21-22 cm (8.5 inches) in diameter. After baking, trim the hot cake layers to 20 cm (8 inches).
Step 7
Combine sour cream, milk, eggs, sugar, and cornstarch in a thick-bottomed saucepan. Mix with a whisk until homogeneous. Cook over low to medium heat, stirring for about 15-17 minutes until it thickens. Pour the finished frosting into a separate container, cover with cling film, cool, and then refrigerate for 3 hours.
Step 8
Combine the cooled frosting with cream cheese. Beat the chilled cream cheese in a mixer on medium speed, then fold in the frosting in batches until fully combined. The result should be an airy frosting.
Step 9
Blend thawed cherries and juice until puréed. In a heavy-bottomed saucepan, heat the puree to 104°F (40°C). Add sugar, pectin, and cornstarch while stirring. Bring to a boil and simmer for 3 more minutes. Pour into a container, cover with cling film, cool, and chill for 2 hours.
Step 10
Soak gelatin sheets in cold water. Keep the mixing bowl and whisk in the fridge to stay cold. Blend defrosted cherries and melt white chocolate separately. Heat cherry puree and sugar in a saucepan to 131°F (55°C), add melted white chocolate, and stir. Add the soaked gelatin, squeezed out of excess liquid, and stir until dissolved. Cool the mixture for 10-12 minutes. Whip the cream and fold in the cherry mixture. Distribute equally into silicone molds and freeze.
Step 11
Combine cherry jam with boiling water and stir until smooth, then let it cool.
Step 12
Follow this order: cake layer, syrup, frosting, and cherry confit. Lightly brush each cake with syrup. Apply 170-180 grams (6 ounces) of frosting and 80-90 grams (3 ounces) of cherry jam on each layer. Before adding the mousse, apply 100 grams (3.5 ounces) of frosting, then add the frozen mousse. Create small icing rims around the mousse and distribute the cherry confit in the middle. Continue assembling this way.Tip: Ensure symmetry for a balanced cake.
Step 13
Combine cooled cream cheese, room temperature butter, and powdered sugar in a mixer bowl. Whip at high speed until light and airy. Ice the cake in two stages, wrapping it in cling film after the first layer to stabilize. Apply the second layer of icing and let it sit in the fridge overnight. Decorate as desired. Bon Appetit!
Servings
Once your magnificent Chocolate Honey Cake with layers of cherry mousse and cream cheese frosting is ready, place it front and center on the prettiest cake stand you own.✨ Imagine unveiling this masterpiece at your next party – *instant hero status*! 💪 Whether as a stunning centerpiece for a birthday celebration 🎂 or a whimsical finish to a cozy family dinner 🍴, this cake fits perfectly.
Want to add an elegant touch? Garnish with fresh or maraschino cherries on top 🍒, a drizzle of dark chocolate ganache 🍫, or a sprinkle of gold dust ✨. The contrasting colors and textures will make it even more eye-catching.
This cake is tall and impressive, so slice it with a sharp knife warmed in hot water for clean, beautiful cuts. Each slice will reveal that intricate layering, making it almost too beautiful to eat – almost! Pair it with a cup of black coffee ☕ to balance its sweetness or a glass of bubbly 🥂 to elevate the experience to pure decadence.
Equipment
Essential for even cooking and preventing burn spots when preparing custard and syrup.
Stirring is paramount for smooth mixtures; a whisk helps incorporate ingredients without lumps.
For well-beaten eggs and airy frostings, a good mixer is your best friend.
Gives your cake its perfect shape and holds the layers together during assembly.
Ideal for setting the cherry mousse into perfectly even portions.
Vital for covering and resting the cake to maintain its moisture and structure.
Variations
Gluten-Free Variation:✨ Swap the regular flour with a 1:1 gluten-free baking flour blend. Ensure all other ingredients are also marked gluten-free, especially baking soda and cornstarch. Your cake will shine just as brightly without the gluten!
Vegan Variation: 🌱 Substitute the butter with plant-based butter, eggs with a mix of 1 tablespoon of flaxseed meal and 3 tablespoons of water per egg (let it sit for a few minutes until it forms a gel), and the cream cheese with a vegan cream cheese alternative. Use full-fat canned coconut milk as a replacement for cream and sour cream. Opt for a dairy-free white chocolate and ensure your gelatin is plant-based.
Faq
- Why did my cake layers turn out dense?
Ensure not to overmix the batter once you add the flour. Mixing too much can develop the gluten in the flour, making the cake dense instead of light and airy.
- Can I use a regular saucepan instead of a heavy-bottomed one?
A regular saucepan might cause uneven cooking, leading to scorching. Opt for a heavy-bottomed one to ensure even heat distribution.
- How do I prevent my mousse from separating?
Make sure all components are well mixed, particularly the chocolate and gelatin mixture with the whipped cream, to maintain a uniform texture. Do this gently to avoid breaking the mousse’s fluffiness.
- Can I make the cake layers in advance?
Absolutely! You can bake the layers, let them cool, and wrap them tightly in cling film. Store them in the fridge for up to 2 days or freeze them for up to a month.
- How can I ensure my frosting is smooth and lump-free?
Use room temperature ingredients and beat them gradually with your mixer set to medium speed, ensuring that each is fully incorporated before adding the next.
- Can I freeze the assembled cake?
Yes, you can freeze the entire assembled cake. Just ensure it is wrapped tightly in cling film, then in aluminum foil. Thaw it in the fridge overnight before serving.

