Ingredients
Main Ingredients
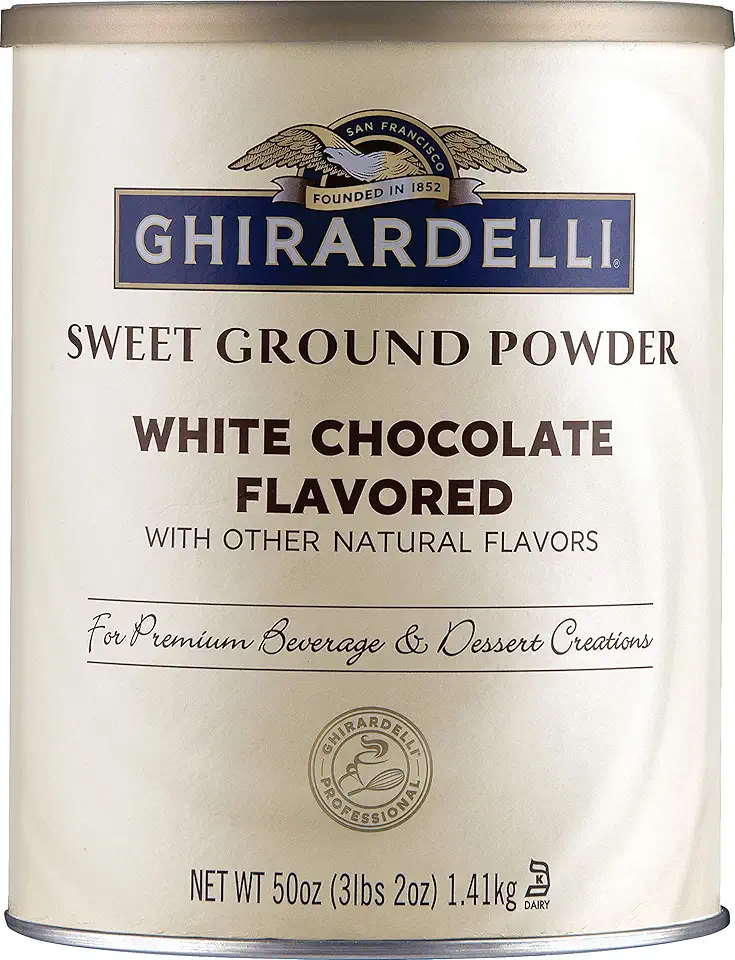 Ghirardelli Sweet Ground White Chocolate Flavor Powder, 3.12 lbs.
$19.99
View details
Prime
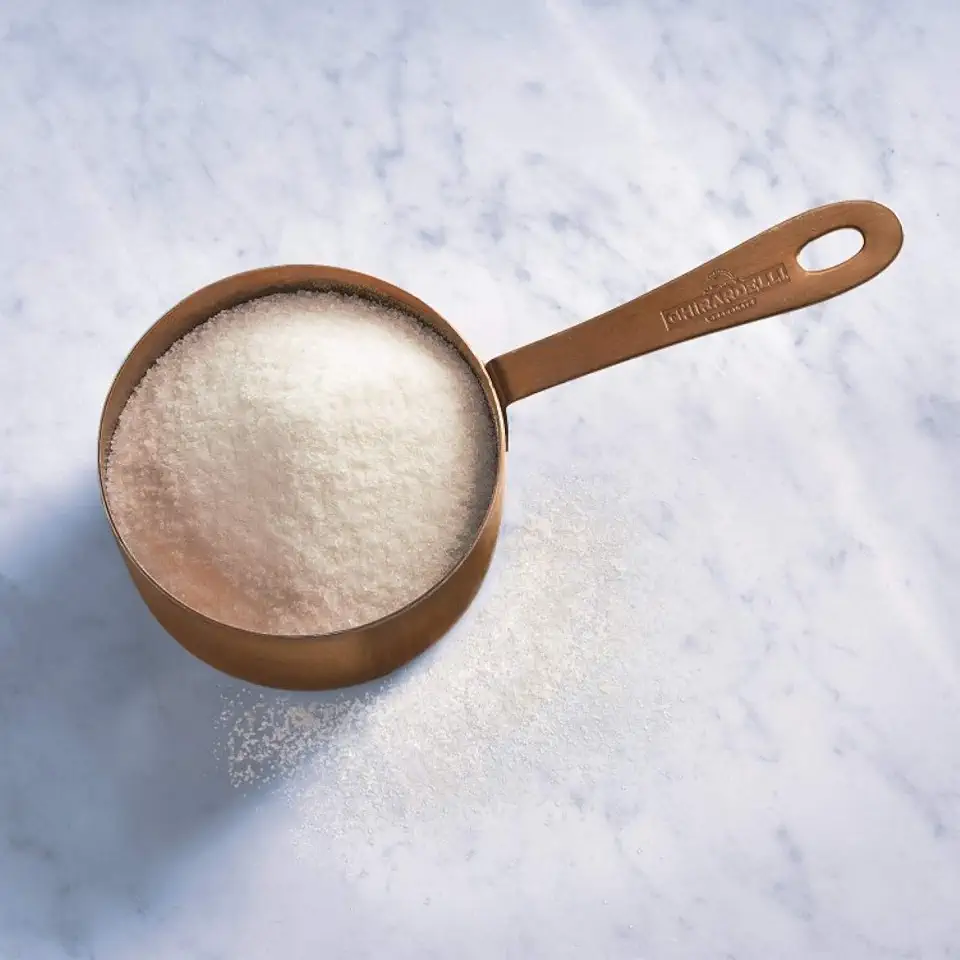 Ghirardelli Sweet Ground White Chocolate Flavored Beverage Mix, 10-Pound Package
$54.70
View details
Prime
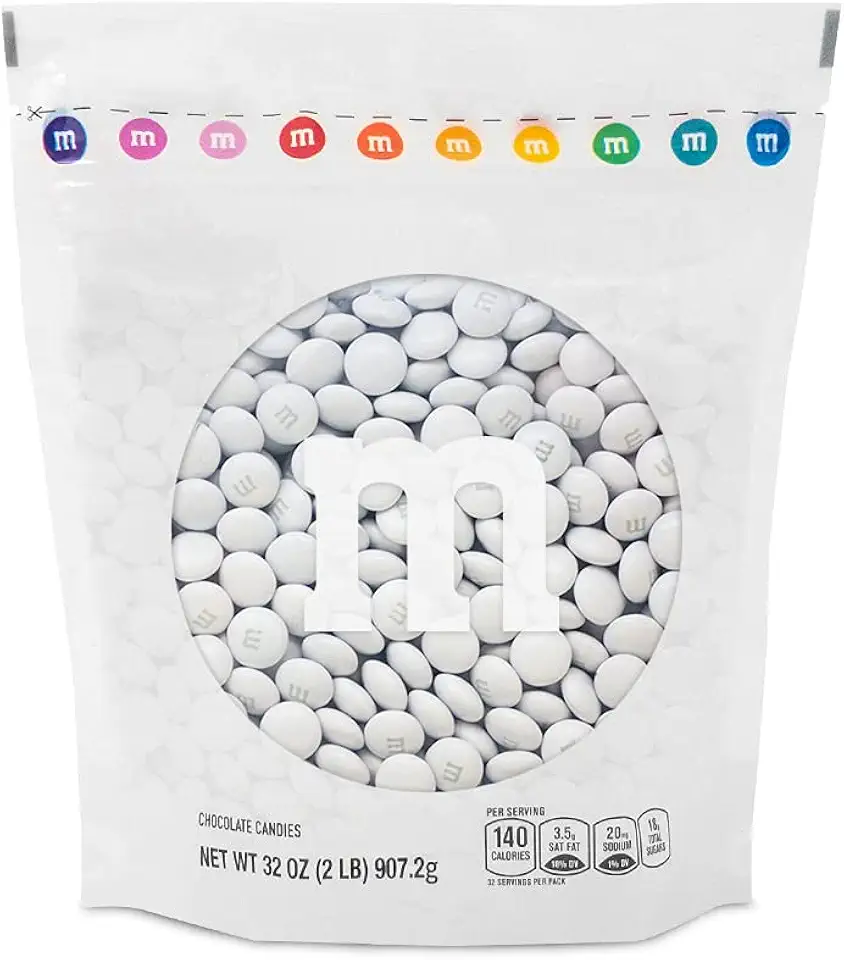 M&M’S White Milk Chocolate Candy, 2lbs Resealable Pack for Candy Bars, Wedding Receptions, Graduations, Birthday Parties, Easter, Dessert Tables & DIY Party Favors
$39.99
View details
Optional Ingredients
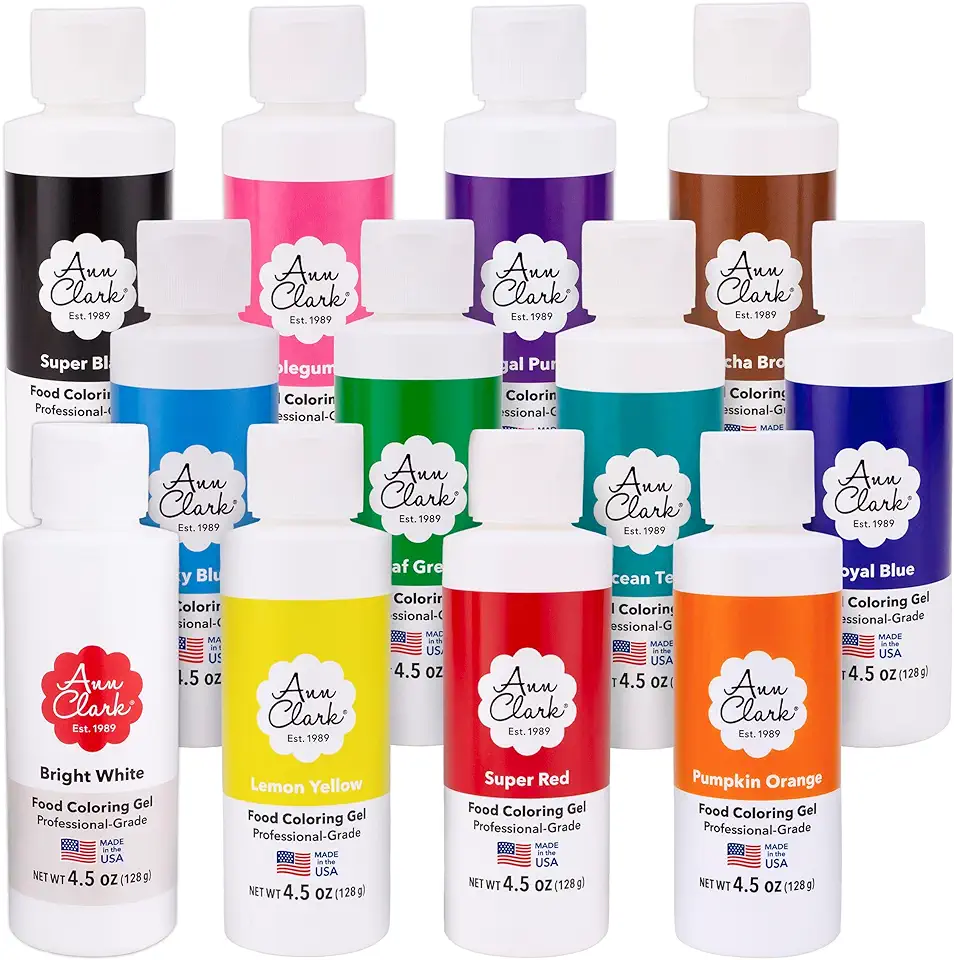 Ann Clark Professional Grade Food Coloring Gel Large 4.5 oz Bottles 12 Color Set Made in USA
$74.99
View details
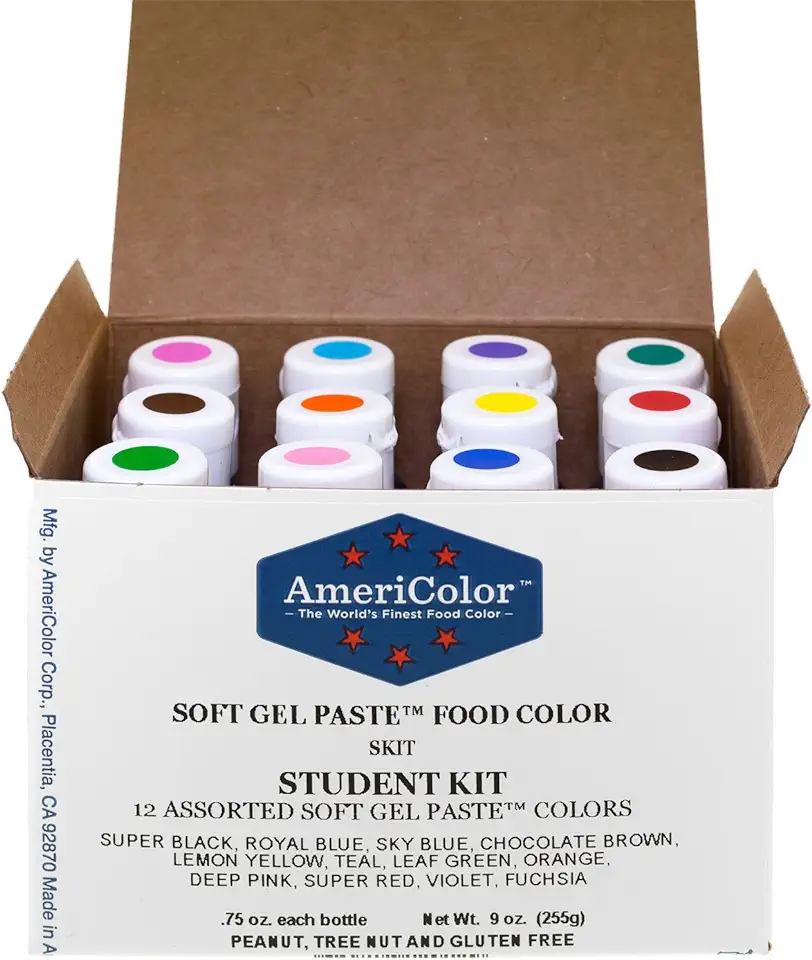 Food Coloring AmeriColor Student - Kit 12 .75 Ounce Bottles Soft Gel Paste Colors
$32.25
View details
Prime
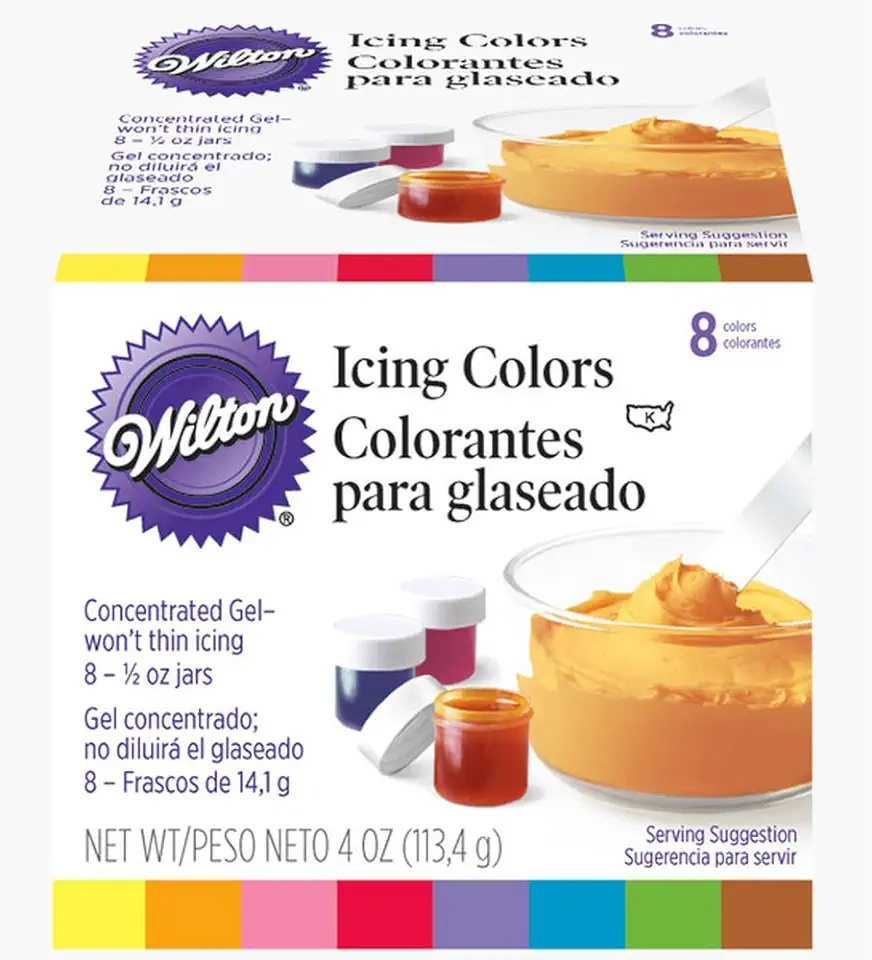 Wilton 8-Count Icing Colors for Cakes & Cupcakes, Gel-Based Colors for Frosting - Note that Packaging May Vary
$12.75
View details
Instructions
Step 1
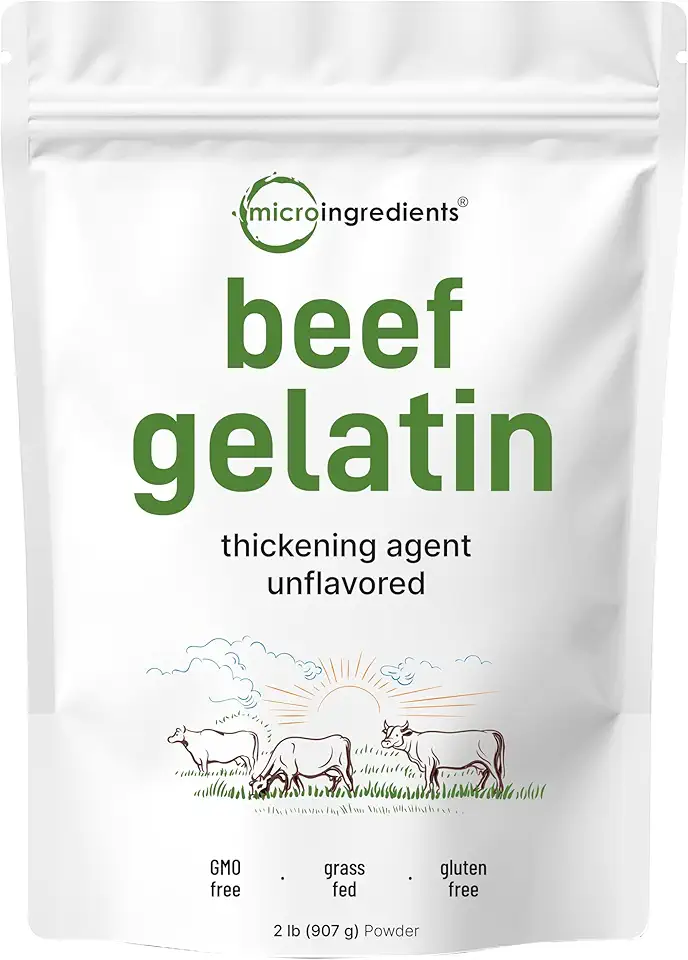
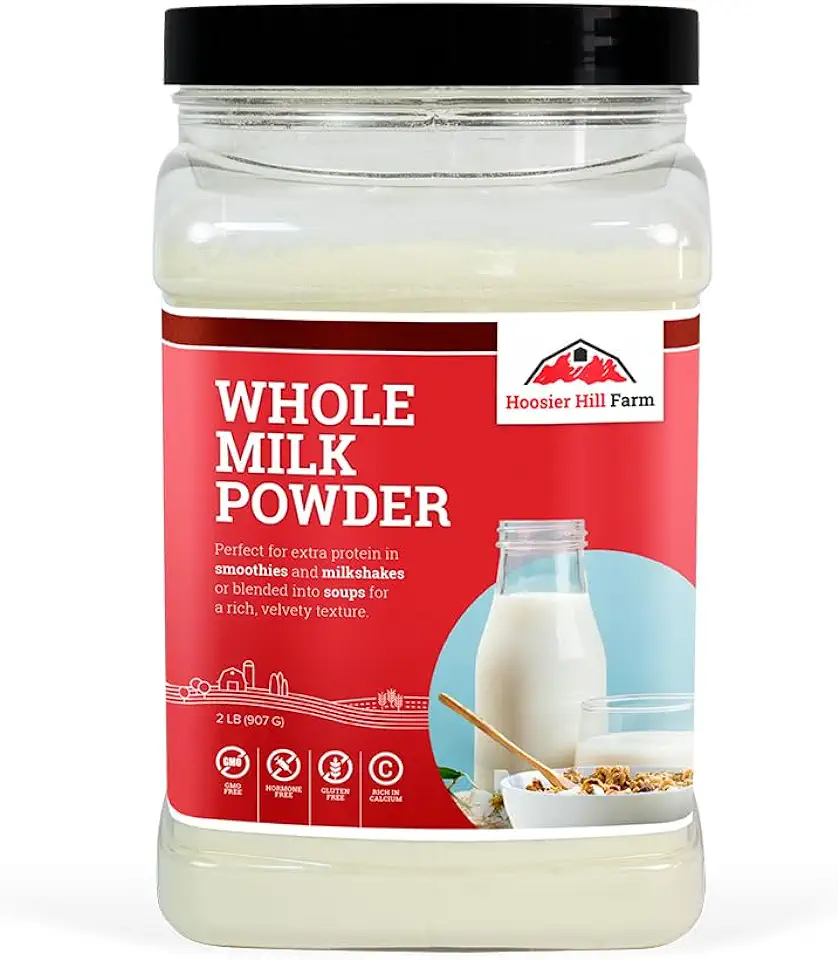
Begin by soaking the gelatin in the milk. Allow it to absorb for a few minutes until it becomes soft.
Step 2
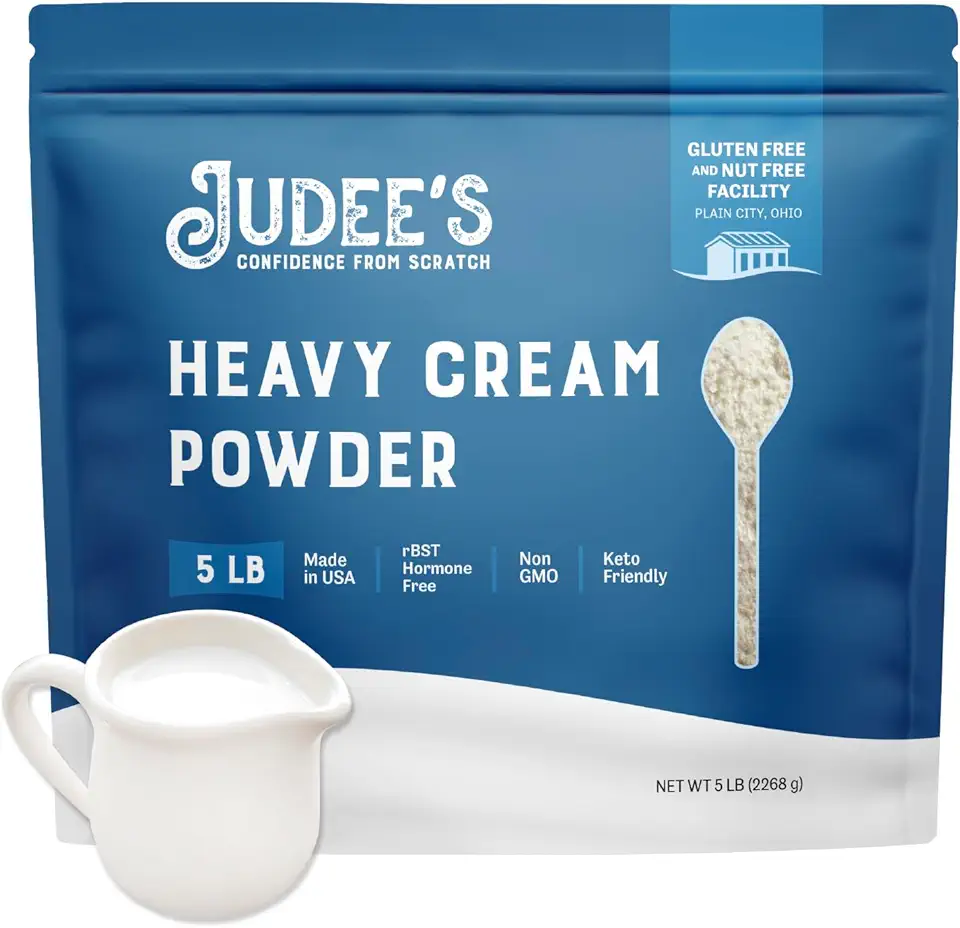
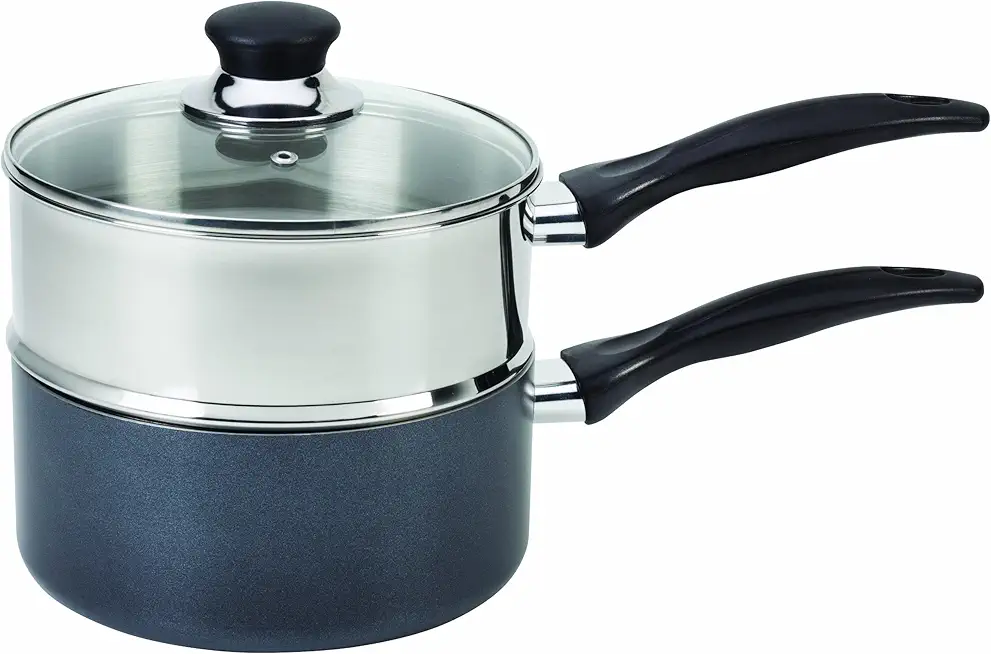
In a saucepan, gently heat the heavy cream until it is hot, but not boiling. Pour the hot cream over the chopped white chocolate in a mixing bowl.
Mix thoroughly until the chocolate is completely melted and smooth.
Step 3
Heat the soaked gelatin in the microwave briefly until it is liquid. Pour the liquid gelatin into the melted chocolate mixture.
Use a blender to blend the mixture until it is well combined and smooth.
Step 4
If desired, add your chosen food coloring to the mixture to achieve your preferred color. Stir well to ensure even coloring.
Step 5
Next, pour the chocolate mixture into flower molds, distributing it evenly. Tap the molds gently on the counter to remove any air bubbles.
Step 6
Due to its quick setting time, place the filled molds in the refrigerator or freezer until the flowers are fully set.
Servings
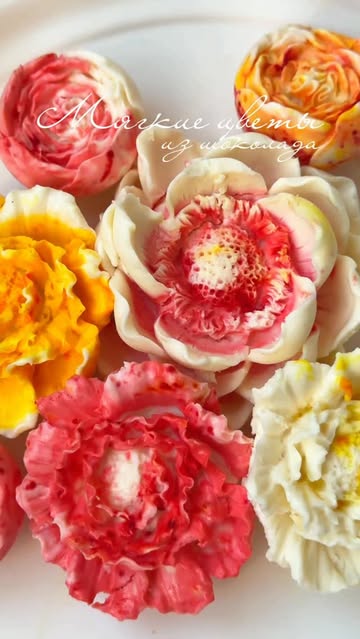
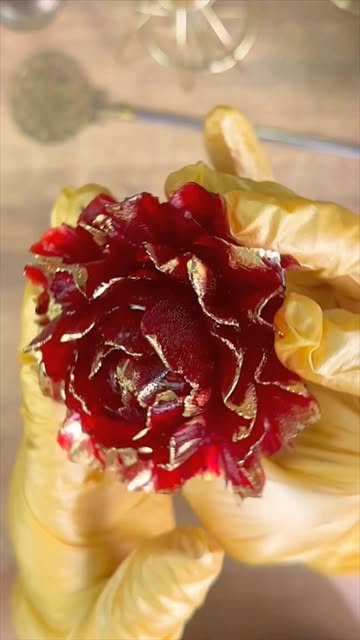
When it comes to serving your beautiful chocolate flowers, the options are endless! These delightful decorations can be placed on top of a rich chocolate cake for a pop of color. Imagine the surprise on your guests' faces as they uncover each bloom while enjoying their slice! 🌼
For a delightful afternoon tea, arrange your soft chocolate flowers on a platter alongside some freshly brewed tea or coffee. The beautiful colors and intricate shapes will not only impress but also create a lovely presentation. 🍰☕️
And let’s not forget about special occasions! Add these decorative flowers to birthday cakes or wedding desserts for an unforgettable touch. Your creations will be the star of the celebration, and you will receive all the compliments! 🎉
Equipment
It's best to use different sizes for mixing your ingredients. A larger bowl will help combine the chocolate and cream smoothly.
For melting the chocolate; ensure you melt it slowly to avoid burning!
A good hand blender will help you achieve a smooth consistency for your mixture. Ensure it's clean to prevent any flavor transfer.
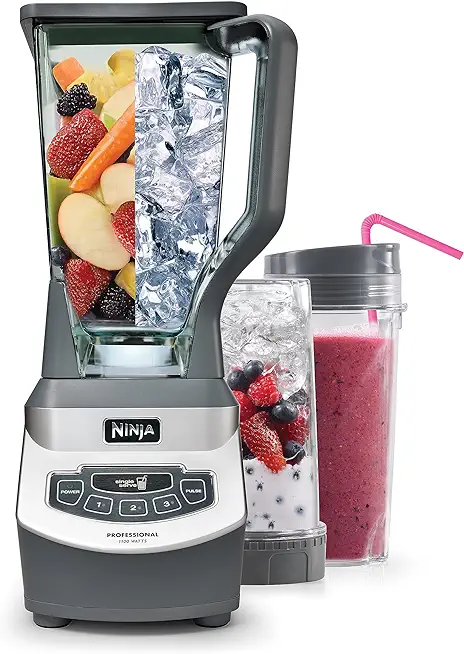 Ninja BL660 Professional Compact Smoothie & Food Processing Blender, 1100-Watts, 3 Functions -for Frozen Drinks, Smoothies, Sauces, & More, 72-oz.* Pitcher, (2) 16-oz. To-Go Cups & Spout Lids, Gray
$99.99
$119.99
View details
Prime
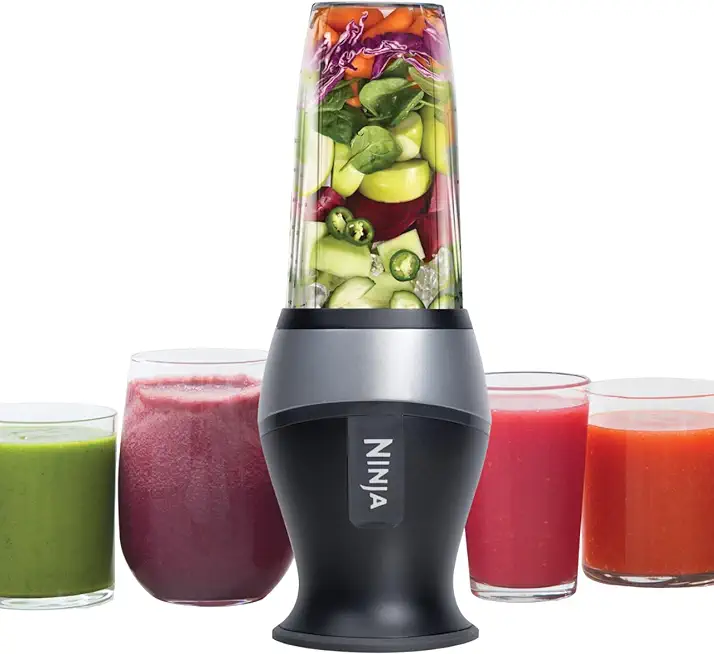 Ninja Fit Compact Personal Blender, Portable Blender for-Smoothies, Shakes, Food Prep, and Frozen Blending, 700-Watt Base, (2) 16-oz. Cups and Spout Lids, Black QB3001SS
$49.99
$69.99
View details
Prime
best seller
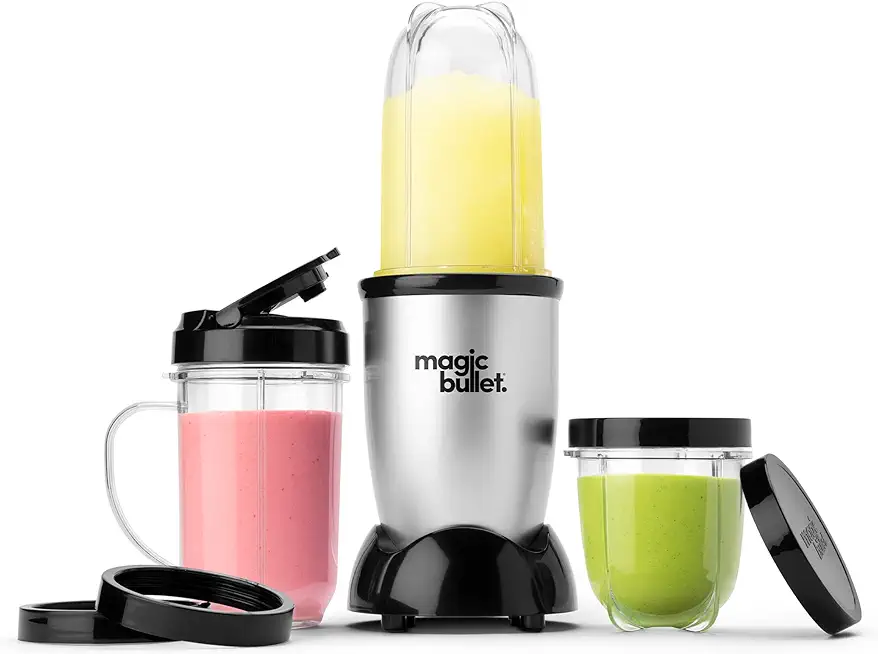 Magic Bullet Blender, Small, Silver, 11 Piece Set
$39.88
$49.99
View details
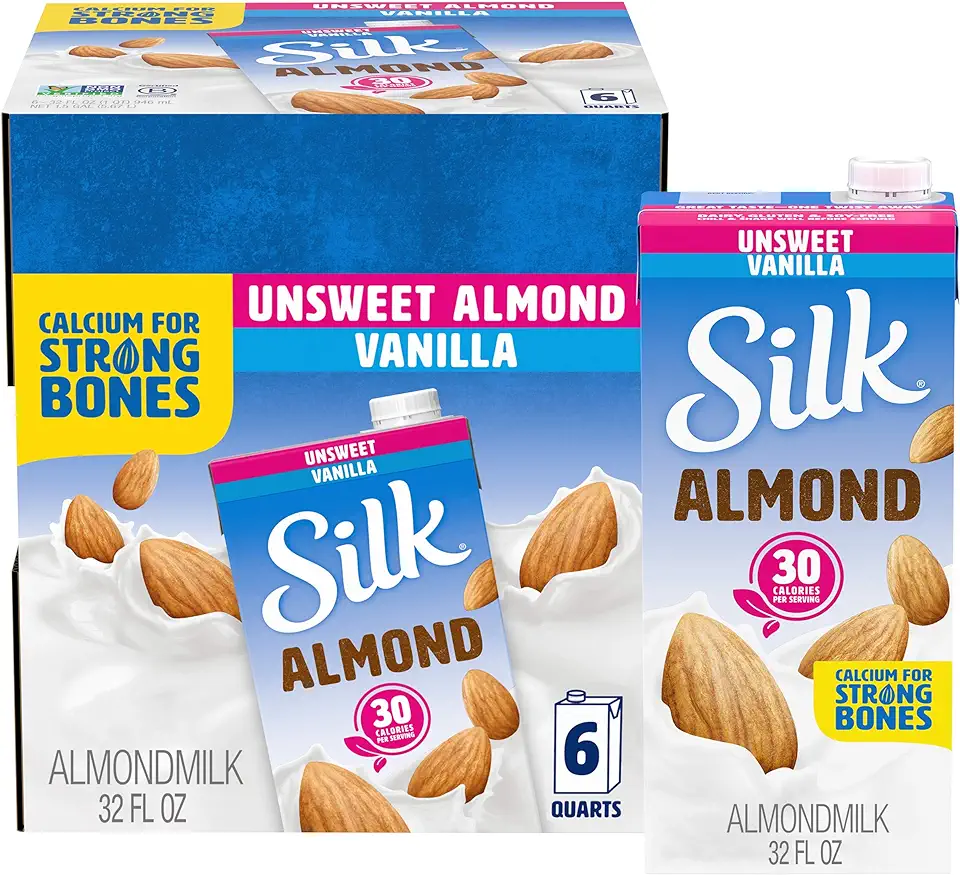
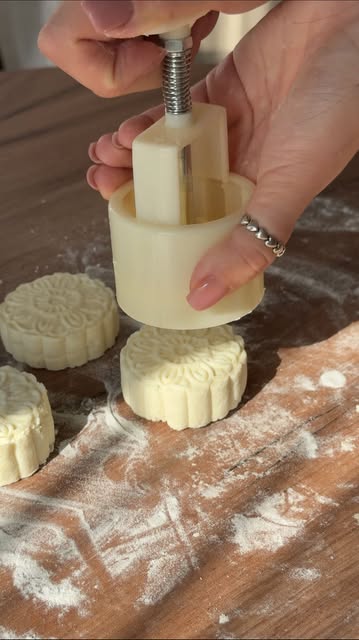
Choose molds that can help you create beautiful flower shapes. Silicone is recommended for easy release of the chocolate flowers.
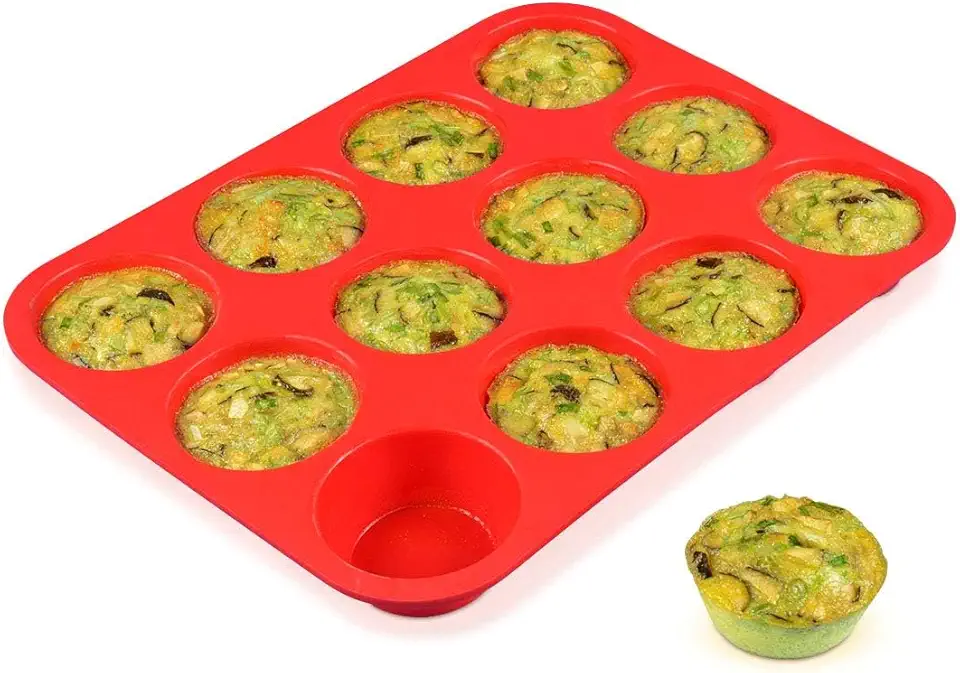 CAKETIME 12 Cups Silicone Muffin Pan - Nonstick Cupcake Pan 1 Pack Regular Size Silicone Mold for Baking
$9.98
$13.99
View details
Prime
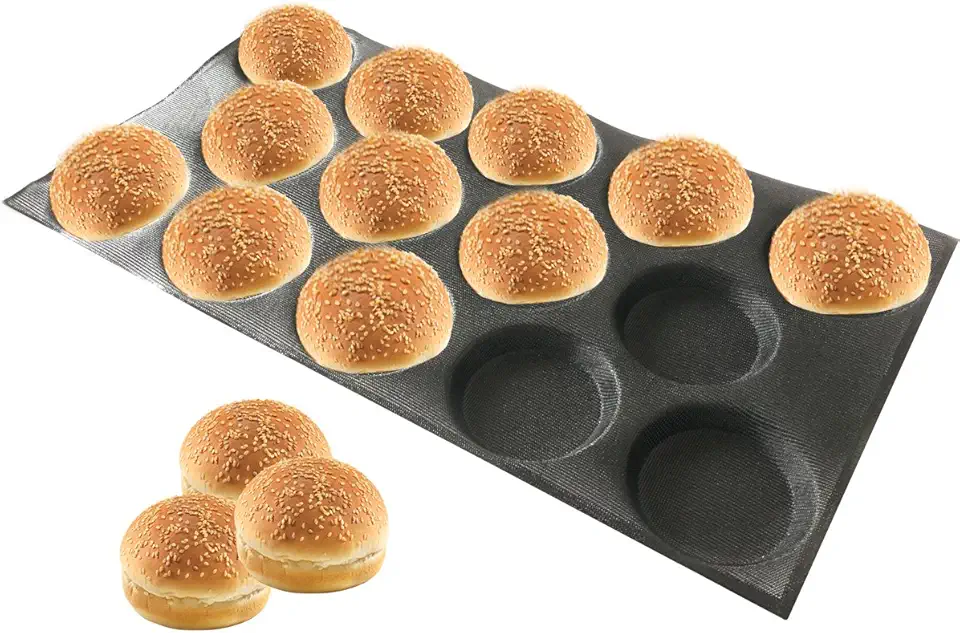 Bluedrop Silicone Hamburger Bread Forms Perforated Silicone Bakery Molds Tartlets Pita Moulds Sheets Food Grade for Industrial Large Size
$49.00
View details
Prime
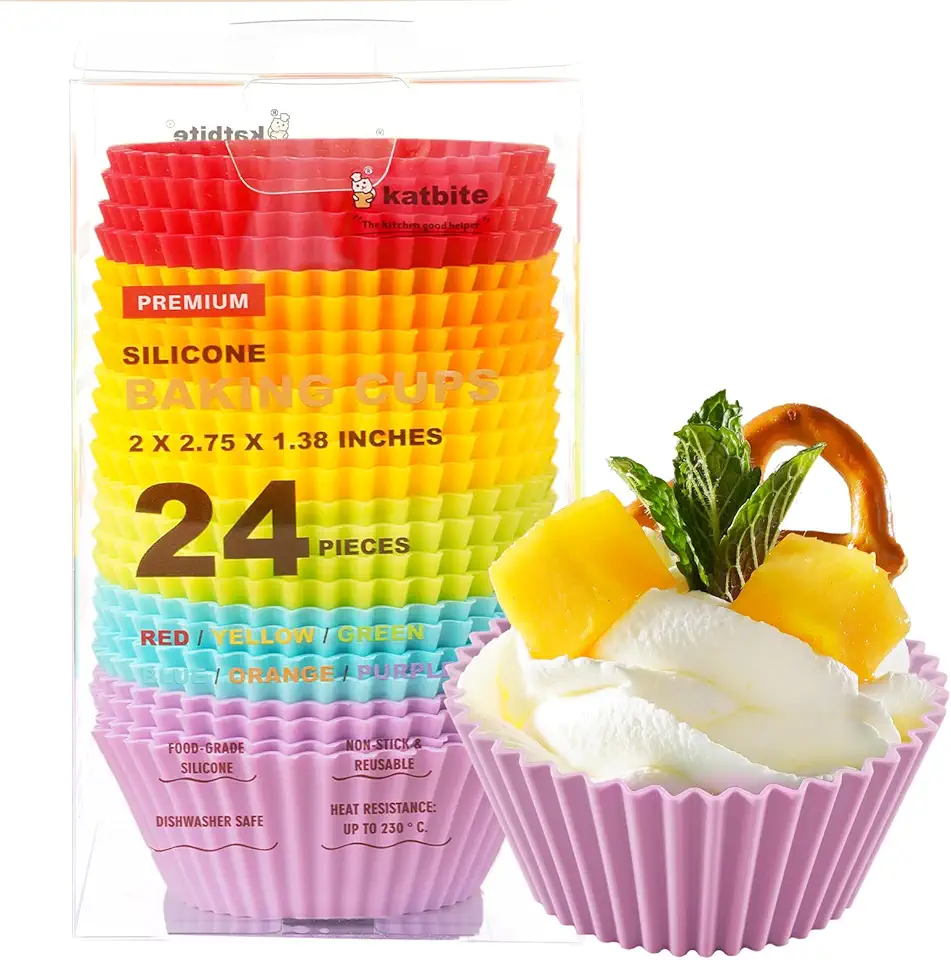 Katbite Reusable Silicone Baking Cups 24 Pack - Non-stick Muffin Cupcake Liners Set, Thick & Heavy Duty Cupcake Molds - Perfect for Party Halloween Christmas Bakery Supplies, Multicolor
$9.99
$15.99
View details
If you want to be extra creative, use a piping bag for precise decorating! Just fill it with the mixture and pipe directly into your molds.
Variations
Gluten-Free Option: This recipe is naturally gluten-free since it uses chocolate and cream. Just make sure the chocolate you choose is labeled gluten-free to avoid any cross-contamination. 🌟
Vegan Variation: Replace the white chocolate with vegan chocolate and use coconut or almond cream instead of dairy cream. For a gelatin substitute, try agar-agar. Your vegan friends will love these adorable blooms without missing out! 🌱
Faq
- I'm a beginner. How do I know if the chocolate is melted properly?
Look for a smooth and shiny consistency. If there are tiny chunks, it's not completely melted. Stir gently until fully combined!
- Do I need to let the gelatin bloom for a long time?
No, about 5-10 minutes should be sufficient for it to absorb the milk and swell up!
- As an intermediate chef, how can I make my chocolate flowers more colorful?
Using high-quality food coloring will make a significant difference! Ensure it’s water-miscible if you’re mixing directly into the chocolate.
- I want a firmer texture for my flowers. Is there a way to achieve that?
Adding a little extra gelatin can help. Just make sure to balance it carefully to avoid affecting the flavor and texture.
- I'm an experienced chef. How can I perfect the shaping of my flowers?
Experiment with different molds and practice shaking them gently after pouring the mixture to remove air bubbles. This will give your flowers a smoother finish!
- Can I store my chocolate flowers? How long will they last?
Yes! Store them in an airtight container in a cool place for up to a week. Just keep them away from direct sunlight!

