Ingredients
Sponge biscuit
Red currant confit
Chocolate & lemon mousse
Instructions
Step 1
Step 2
Step 3
Step 4
Step 5
Servings
Now that your pastry is ready, let's talk **serving suggestions**! 🌟
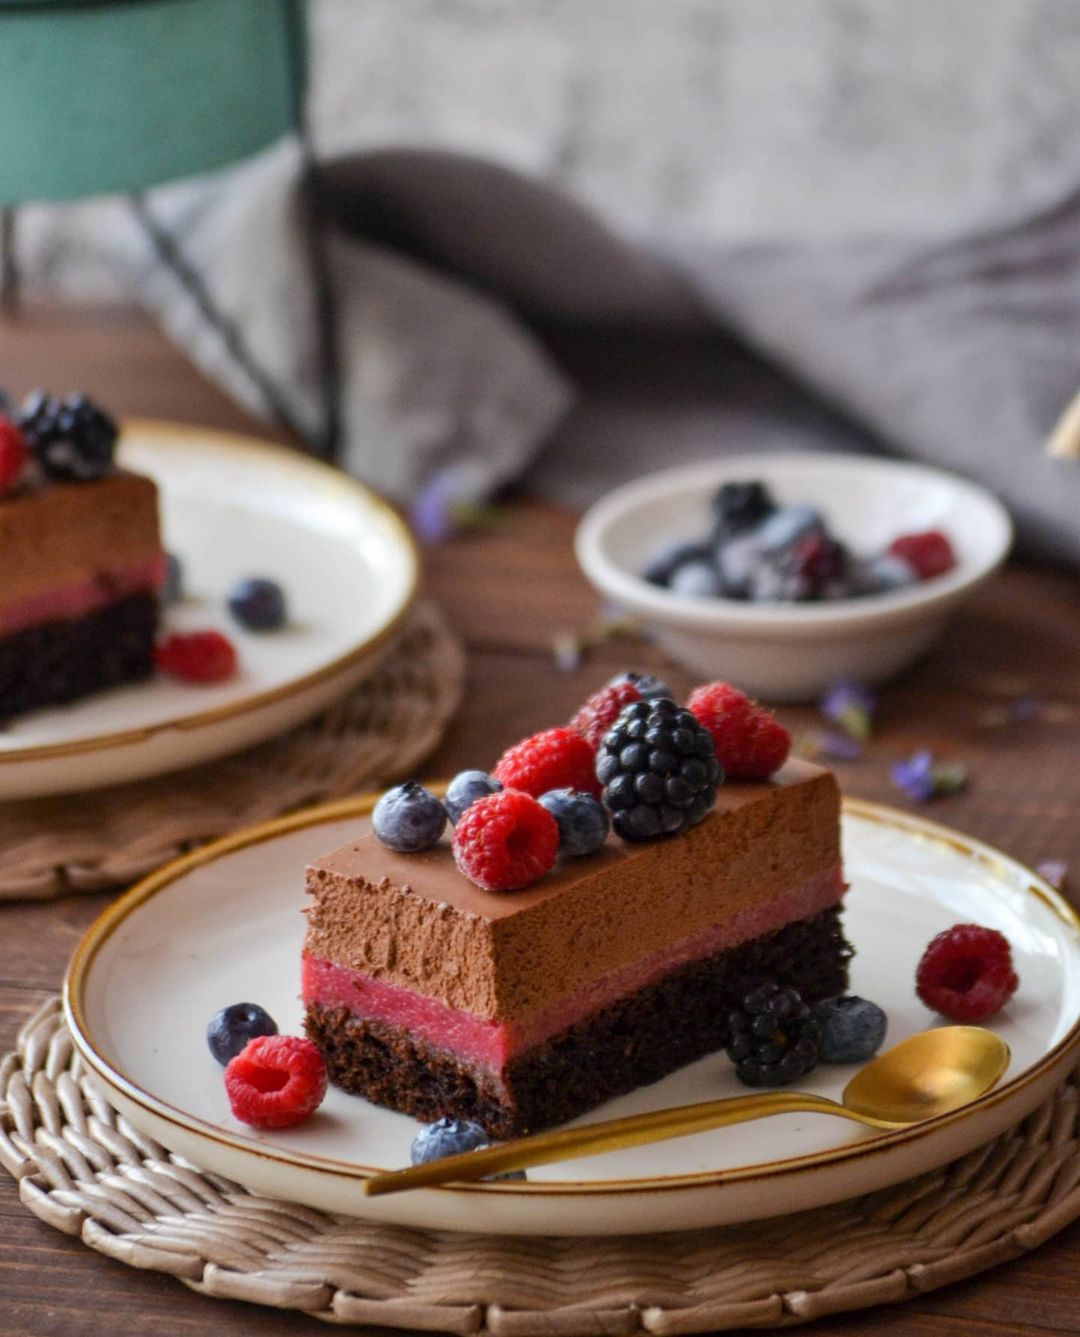
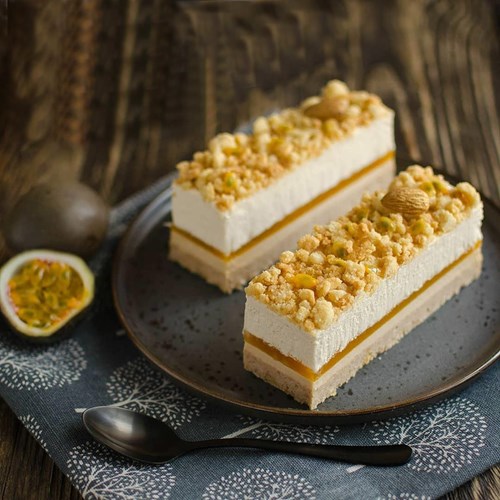
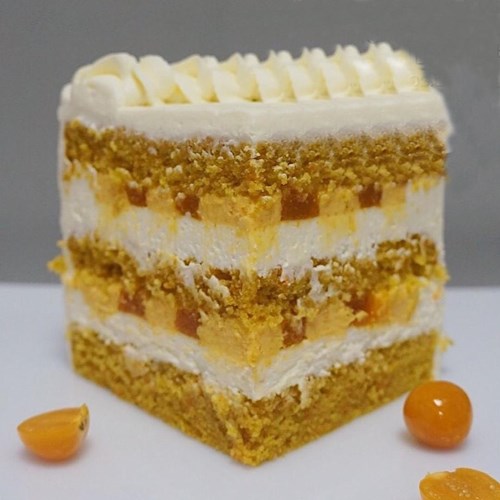
Imagine presenting these stunning layered cakes at your next gathering! They're perfect paired with a light, refreshing herbal tea. The moist sponge, the tangy red currant, and the creamy chocolate lemon mousse will have everyone coming back for more.
For an extra touch of magic, **garnish** your pastries with a mix of fresh berries, a sprinkle of cocoa powder, or even edible flowers 🌸. This will not only elevate the look but also add a burst of fresh flavors. If you're feeling fancy, drizzle a little chocolate glaze on top for that extra wow factor.
Hosting a formal event? Serve these delights on elegant dessert plates with a side of whipped cream. Or, for a more relaxed affair, keep it casual by plating them on rustic wooden boards. A sprig of mint leaves goes a long way in making your pastries Instagram-worthy 📸.
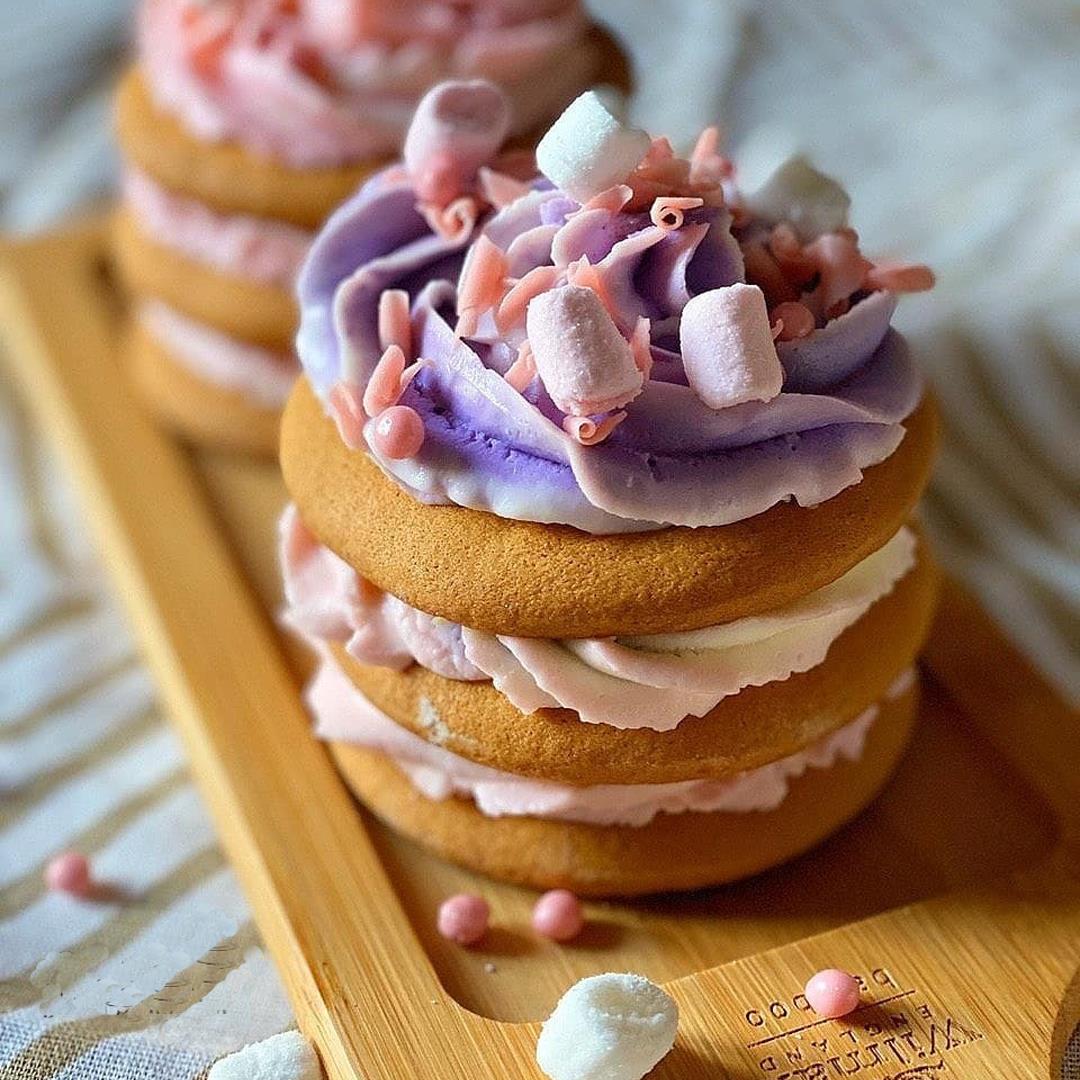
Don't forget the little ones! 🍭These cakes are the perfect size for kids' parties, Just cut them into smaller, bite-sized portions. Set up a topping station with crushed nuts, colorful sprinkles, and mini marshmallows for some interactive fun.
Equipment
Opt for a set of mixing bowls in various sizes to keep your ingredients organized. Stainless steel bowls work best for maintaining even temperatures.
A sturdy whisk is essential for whipping eggs and mixing batters. Look for a balloon whisk for best results.
A 26 x 26 cm (10.25 x 10.25 inch) frame is perfect for baking the biscuit and layering the dessert. Make sure it's non-stick or use parchment paper to avoid any mishaps.
A hand blender will make quick work of blending the mousse to a perfect consistency. Choose one with variable speed settings for more control.
A rubber spatula is ideal for gently folding ingredients together without deflating them. Ensure it's heat-resistant for versatility.
This isn't exactly kitchen gear, but you'll need ample chilling time for each layer. Make sure you have enough space in your fridge!
Variations
If you're catering to dietary needs, don't worry! We've got **gluten-free** and **vegan** variations for this recipe. 🌿
Gluten-Free Variation:
1. Substitute the regular flour with a gluten-free flour blend in the sponge biscuit.
2. Ensure all other ingredients like baking soda, cocoa, and coconut flakes are certified gluten-free to avoid any cross-contamination.
Vegan Variation:
1. Replace the eggs with a flaxseed meal (1 tablespoon ground flaxseed mixed with 3 tablespoons of water = 1 egg).
2. Use a plant-based butter and yogurt for the batter. Opt for almond milk or oat milk in the mousse and gelatin can be substituted with agar-agar for a plant-based setting agent.
With these tweaks, everyone at your table can enjoy these delectable pastries without missing out on any flavor!
Faq
- Why is my sponge biscuit dense and not fluffy?
This could be due to overmixing the batter which deflates the air bubbles necessary for a light and airy texture. Mix just until combined for best results.
- Can I use a different size frame for baking?
Yes, you can use a different size frame, but be sure to adjust the baking time accordingly. Thinner layers will bake quicker, while thicker layers may require a few extra minutes.
- How can I prevent my confit from being too runny?
Make sure to bring the puree to a proper boil and boil it a little after adding the sugar and starch. This helps in thickening the mixture effectively.
- My mousse is separating. What did I do wrong?
Separation can occur if the whipped cream is not folded in gently or if it was overwhipped. Fold the cream slowly and carefully to maintain the mousse's texture.
- Can I prepare these pastries in advance?
Absolutely! These pastries actually taste better when made a day ahead as it allows all the flavors to meld together. Just keep them refrigerated and add any garnishes right before serving.
- How can I make sure my chocolate glaze is the right consistency?
Melt the chocolate and add vegetable oil gradually while stirring constantly until you reach a smooth and pourable consistency. The working temperature for the glaze is around 86°F (30°C).

