Ingredients

Sponge Biscuit

3 eggs
100 milliliters (0.42 cups) buttermilk
65 grams (2.3 ounces) flour
10 grams (0.35 ounces) cornstarch
15 grams (0.53 ounce) cocoa powder
6 grams (0.21 ounces) sweetener or 60 grams (2.1 ounces) sugar
Pinch of baking soda and vinegar or baking powder
We recommend:

Frosting

250 grams (8.8 ounces) soft cottage cheese
250 grams (8.8 ounces) ricotta
6 grams (0.21 ounces) sweetener or 60 grams (2.1 ounces) sugar
10 grams (0.35 ounces) matcha powder

Instructions

Step 1

1. Whip the egg yolks with buttermilk, cocoa powder, flour, baking soda, and sweetener (or sugar) until smooth. In a separate bowl, whisk the egg whites with a pinch of salt until stiff peaks form. Carefully fold the whipped egg whites into the yolk mixture until just combined. Be gentle with the folding to keep the batter airy.

Step 2

2. Pour the batter into a lined baking pan and bake at 392°F (200°C) for 35-50 minutes, or until a toothpick inserted into the center comes out clean. Allow the sponge to cool completely, then wrap in cling film and refrigerate overnight. This helps to develop the flavors and makes it easier to slice.

Step 3

3. For the jam, defrost and chop the berries if necessary, then place them in a saucepan with the cornstarch. Cook over medium heat, stirring continuously, until the mixture thickens. Set aside to cool. If the jam is too thin, cook for a few more minutes.

Step 4

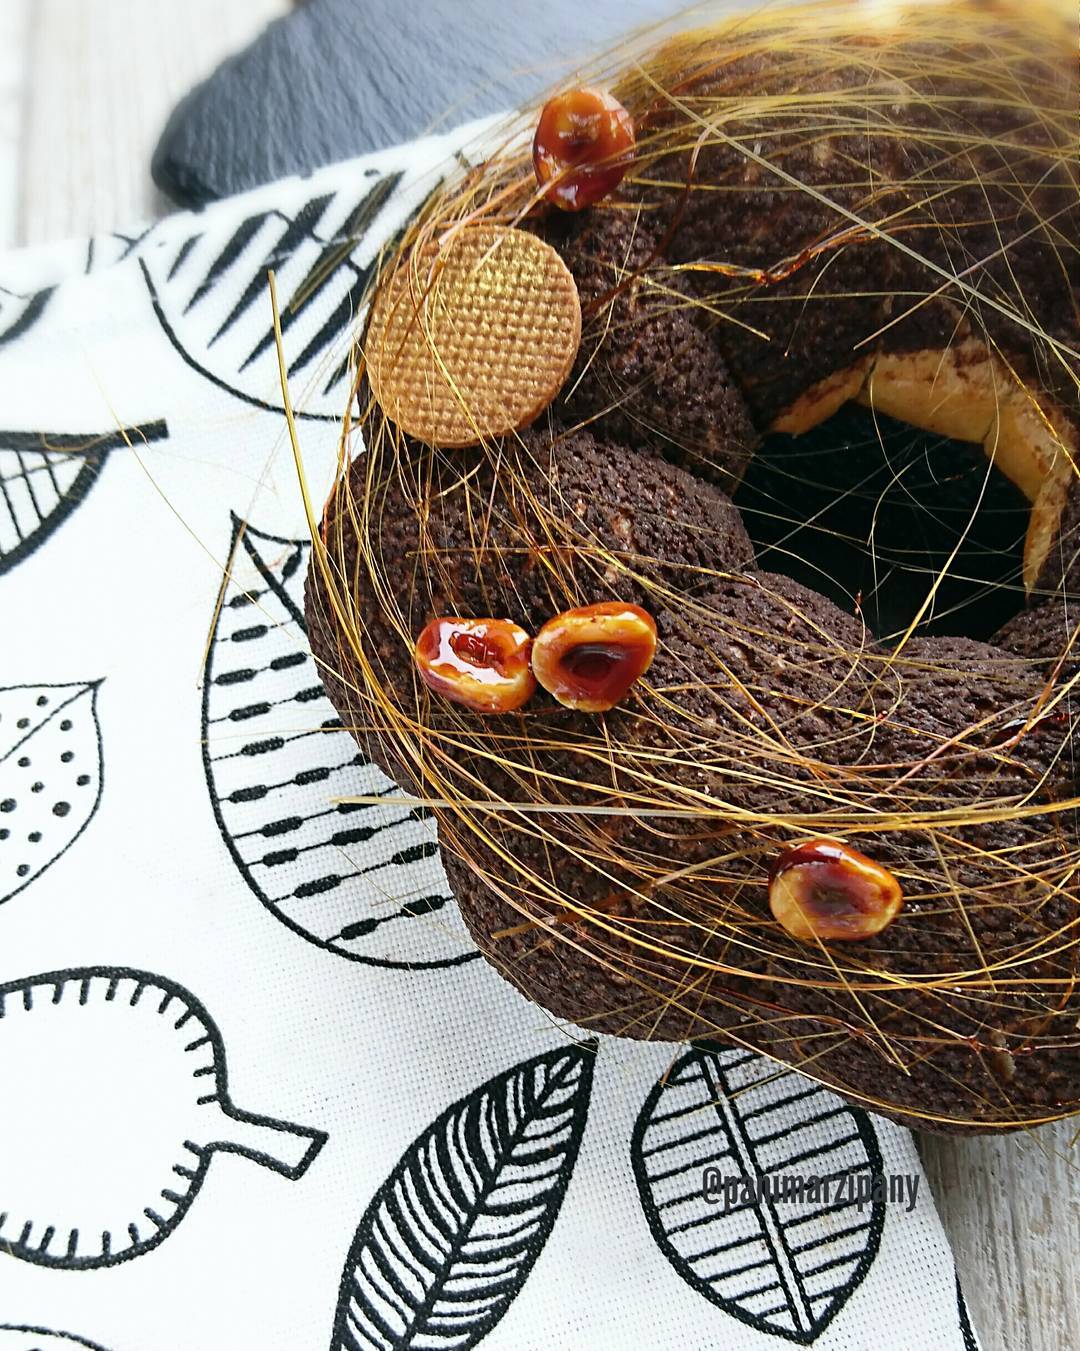
4. Soak the hazelnuts in water for 4-5 hours, then peel and roast them in a dry pan until golden brown. Roasting enhances the flavor and makes the nuts crunchier.

Step 5

5. In a large bowl, mix the soft cottage cheese, ricotta, sweetener (or sugar), and matcha powder until smooth and creamy. Ensure all ingredients are at room temperature for a smoother mix.

Step 6

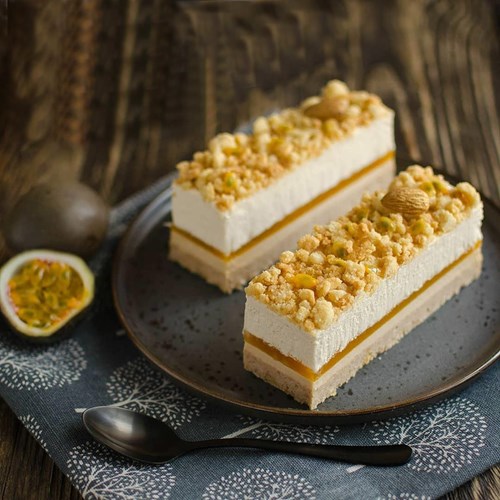
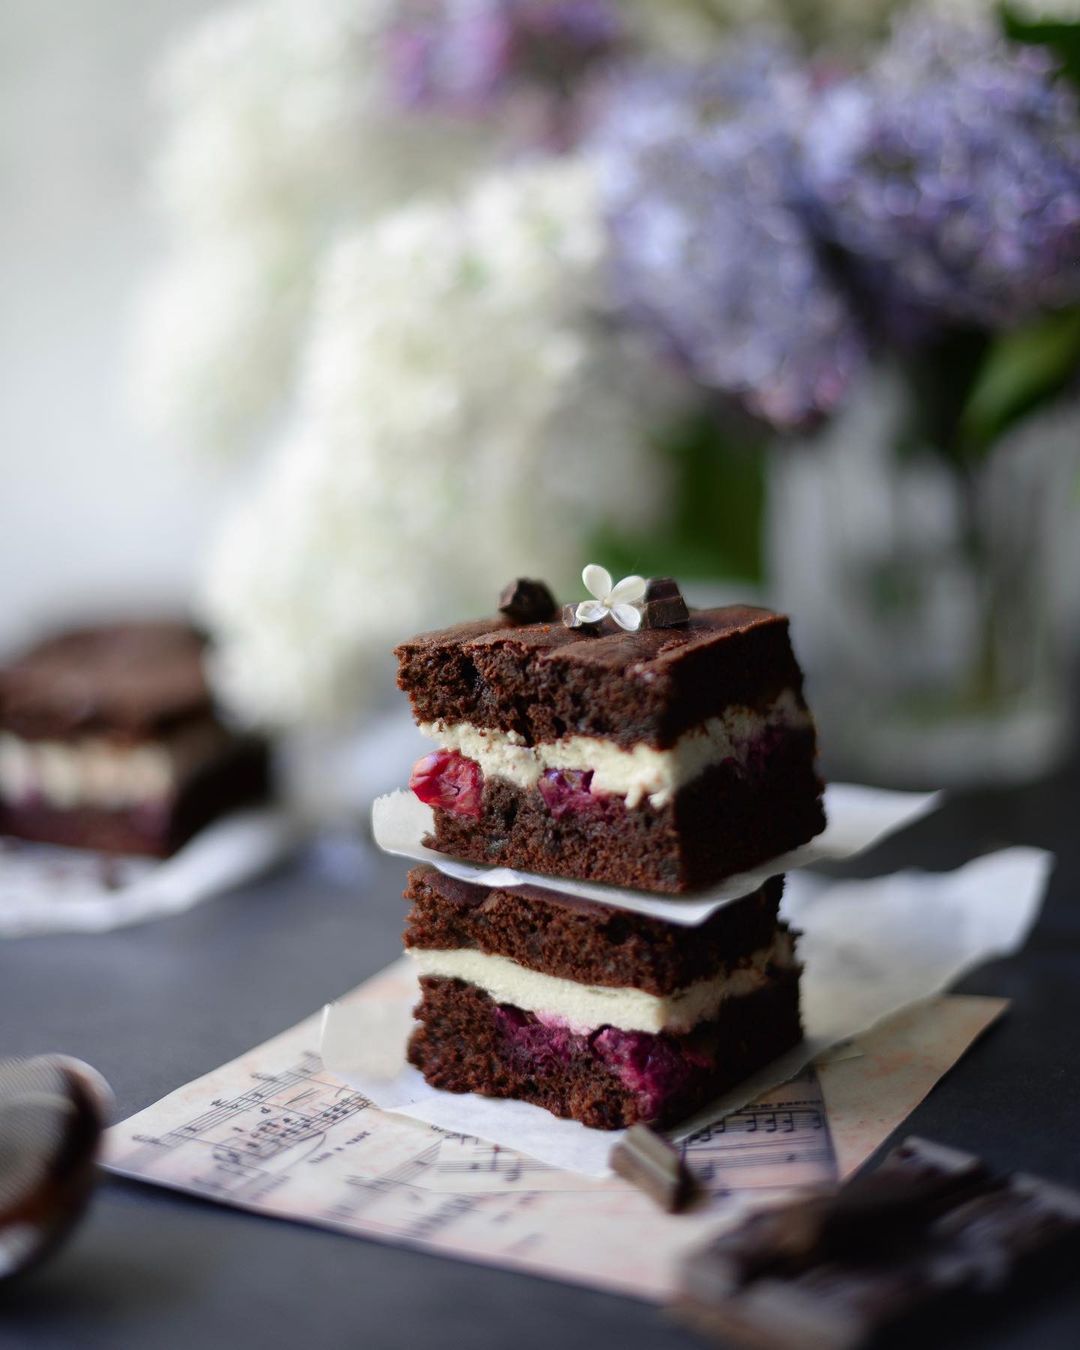
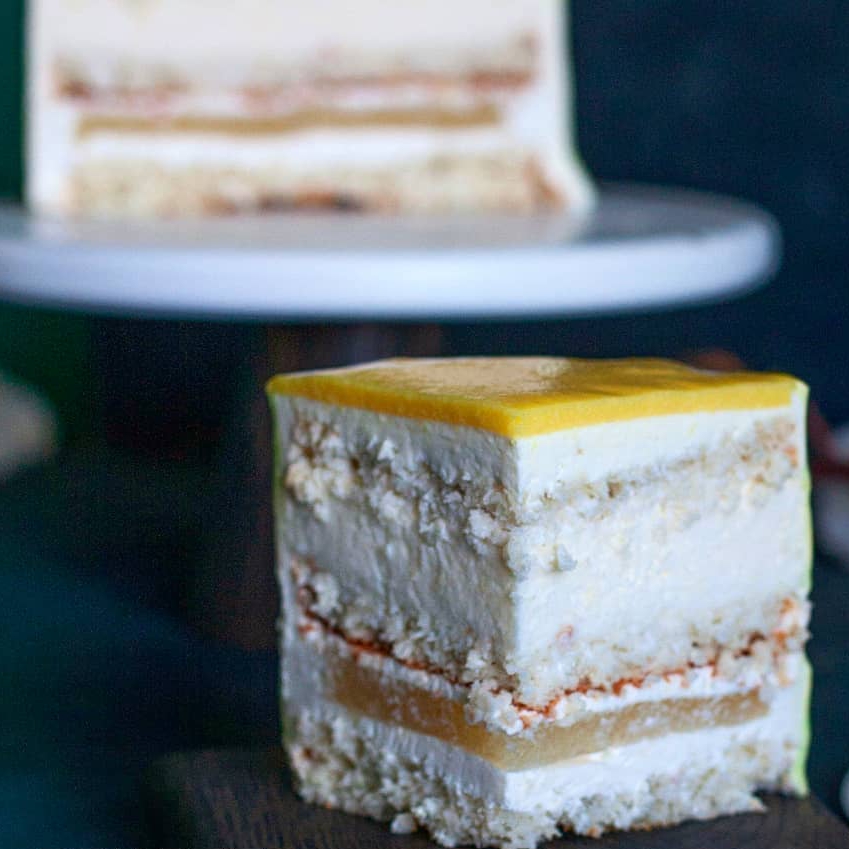
6. Slice the cooled sponge biscuit into 4 layers. Spread the frosting over the first layer, forming a border around the edges. Add the jam to the center, then place the second layer on top and spread frosting over it. Repeat with the third layer as you did with the first. Decorate the top layer with the roasted hazelnuts, and refrigerate the assembled cake overnight. Chilling the cake helps to set the layers and frosting.

Step 7

7. Enjoy your delicious creation!

Servings

Picture this: a perfectly baked, beautifully frosted cake making its grand entrance on your dessert table. This pastry is versatile and can be dressed up or down depending on your occasion. Hosting a fancy dinner party? Serve it on a pristine white platter with fresh berries on the side for a pop of color. Want to impress at a casual family get-together? Add a dollop of whipped cream and a drizzle of berry coulis to each slice. For a festive twist, consider adding a dash of edible glitter or gold leaf to captivate your audience. And don't forget your favorite hot beverage—a strong espresso or a comforting cup of tea pairs wonderfully with each bite. Your guests will revel in the delicate textures and balanced flavors, making this cake the star of your next gathering.

Equipment

Electric mixer

An electric mixer will save time and give you a smoother mixture, perfect for achieving that fluffy consistency in your sponge.

We recommend:
Cling film

Wrap your cooled sponge in cling film to keep it moist and enhance the flavors as it rests overnight in the fridge.

We recommend:

Variations

For a gluten-free version, substitute the regular flour with a gluten-free flour blend and double-check all other ingredients for any hidden gluten. You can also skip the cornstarch if necessary by using potato starch instead. For a vegan twist, replace the eggs with a suitable egg substitute like flax eggs or apple sauce, and use a dairy-free buttermilk made from almond milk and vinegar. Swap out the soft cottage cheese and ricotta with vegan cream cheese or a homemade cashew cream for a dairy-free delight. These variations will ensure that everyone, regardless of dietary preference, can enjoy this delectable pastry.

Faq

  • What is the best way to combine the yolk mixture and whipped whites without deflating it?

    Gently fold them together using a spatula, making broad, deliberate strokes from the bottom of the bowl upwards.

  • Why do I need to wrap the biscuit in cling film and refrigerate it overnight?

    This process helps the flavors to meld together and the cake to set, making it easier to handle and frost.

  • Can I use frozen berries for the jam?

    Yes, you can use frozen berries; just be sure to defrost and chop them before cooking.

  • What are some tips for achieving smooth frosting?

    Ensure all dairy products are at room temperature before mixing, and beat them on low speed to avoid incorporating too much air.

  • How can I add more layers to the cake without it collapsing?

    Make sure each layer is evenly frosted and stabilized with enough frosting to act as glue, and consider chilling the cake slightly between adding layers.

  • What’s the trick to getting the perfect matcha flavor in the frosting?

    Start with a smaller amount of matcha and gradually increase it to taste, ensuring it is well-blended to avoid any bitter clumps.
Nutrition facts

Chocolate matcha cake with berry jam and nuts
Recipe Yield:1 cake
Calories:Per whole cake
Calories (Min - Max):2800 - 3500
Total Fat:170
Saturated Fat:70
Protein:80
Total Carbohydrate:260
Total Sugars:200