Ingredients
Praline
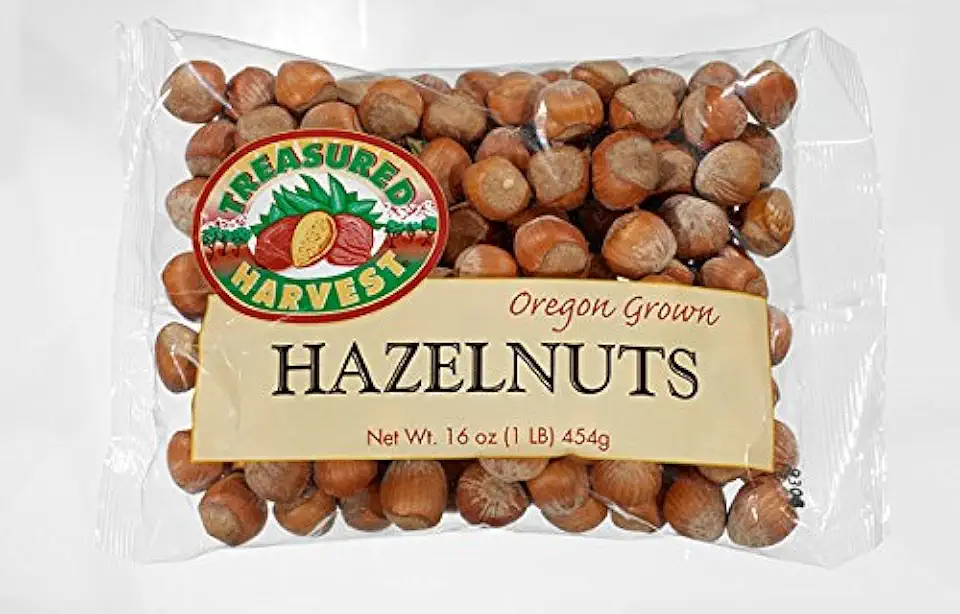 In Shell Hazelnuts (Filberts) - 24/16 oz. Bags
$83.20
View details
Prime
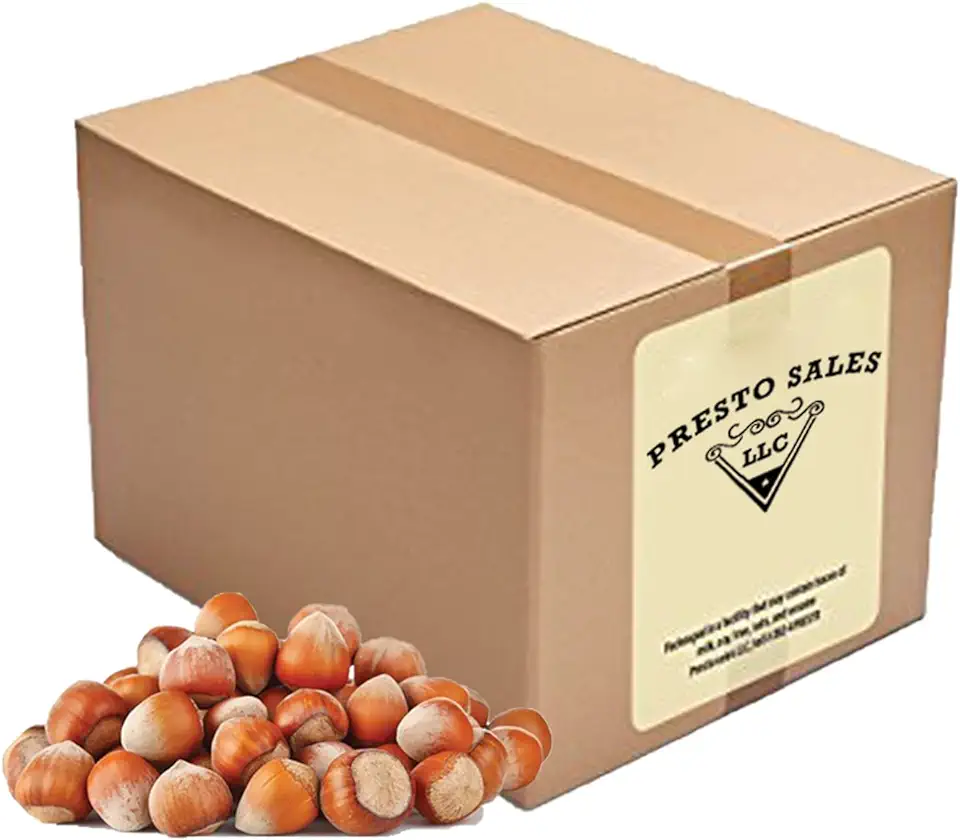 Presto Sales Filberts Hazelnuts Fresh off the tree Raw In Shell, Oregon, USA, fun to crack - 160 oz. (10 lbs.) Convenient Bag in a Box
$68.99
View details
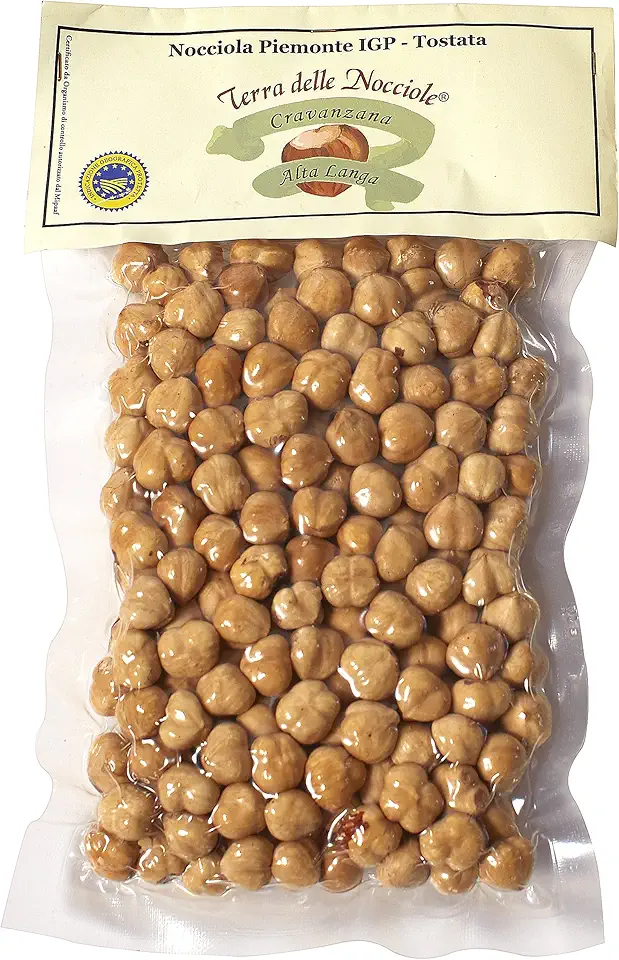 Alta Langa Hazelnuts - Terra delle Nocciole - Piemonte, Italy
$25.50
View details
 Sugar In The Raw Granulated Turbinado Cane Sugar Cubes, No Added Flavors or erythritol, Pure Natural Sweetener, Hot & Cold Drinks, Coffee, Vegan, Gluten-Free, Non-GMO,Pack of 1
$5.27
View details
Prime
 Sugar In The Raw Granulated Turbinado Cane Sugar, No Added Flavors or erythritol, Pure Natural Sweetener, Hot & Cold Drinks, Coffee, Baking, Vegan, Gluten-Free, Non-GMO, Bulk Sugar, 2lb Bag (1-Pack)
$3.74
$4.14
View details
Prime
 C&H Pure Cane Granulated White Sugar, 25-Pound Bags
$56.99
$49.98
View details
Biscuit Dough
 Kevala Cashew Butter 7 Lbs Pail
$83.62
View details
Prime
best seller
 4th & Heart Original Grass-Fed Ghee, Clarified Butter, Keto, Pasture Raised, Lactose and Casein Free, Certified Paleo (9 Ounces)
$11.49
View details
Prime
 4th & Heart Himalayan Pink Salt Grass-Fed Ghee, Clarified Butter, Keto Pasture Raised, Non-GMO, Lactose and Casein Free, Certified Paleo (9 Ounces)
$9.49
View details
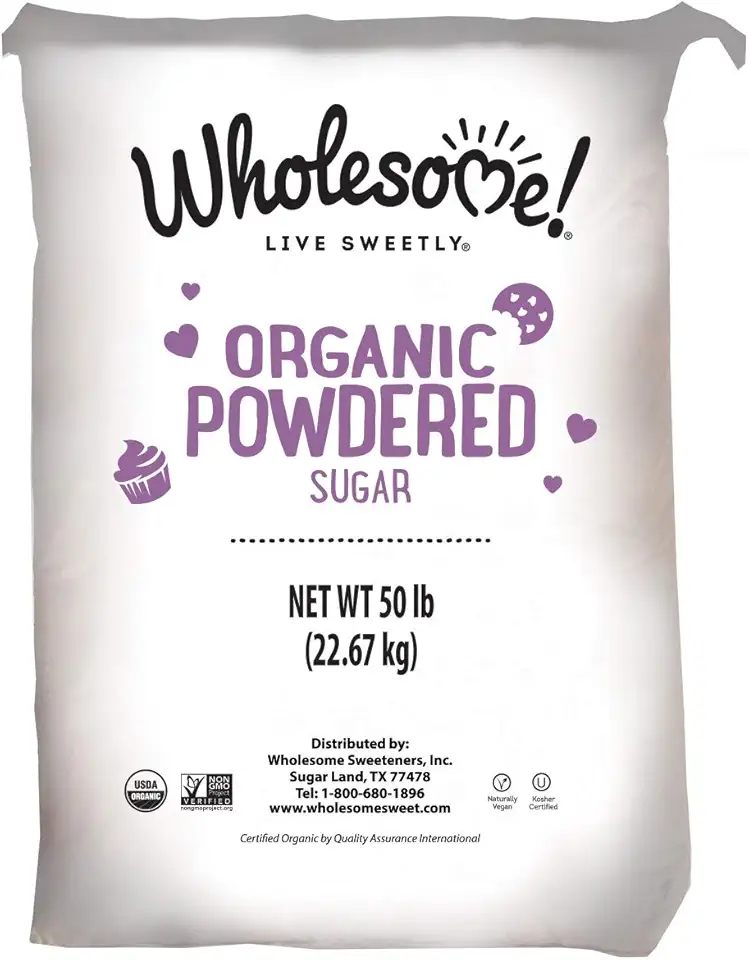 Wholesome Fair Trade Organic Powdered Sugar, Naturally Flavored Real Sugar, Non GMO & Gluten Free, 50 Pound (Pack of 1)
$106.95
View details
Prime
best seller
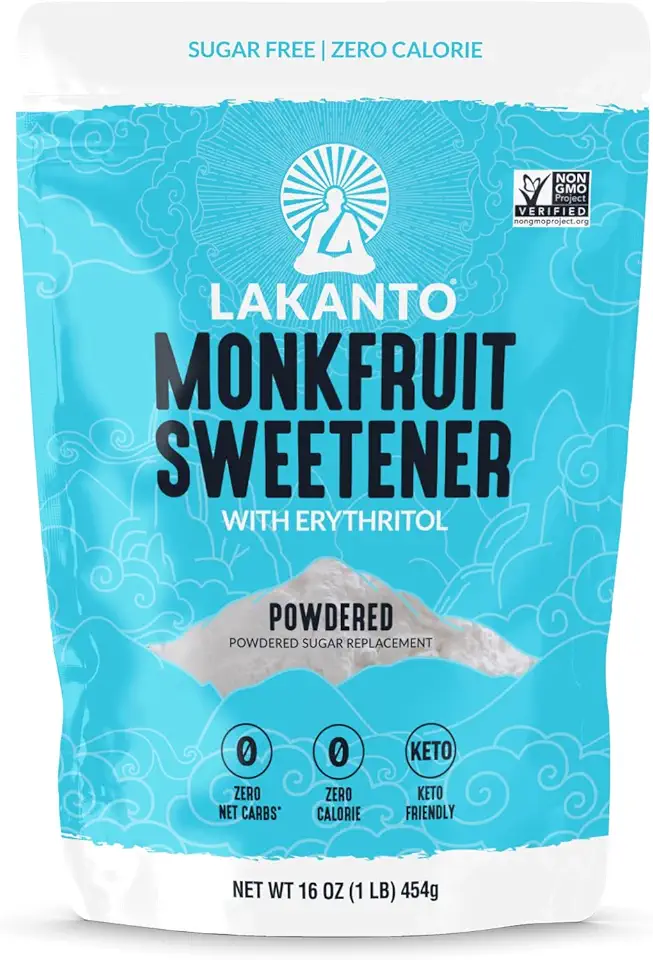 Lakanto Powdered Monk Fruit Sweetener with Erythritol - Powdered Sugar Substitute, Zero Calorie, Keto Diet Friendly, Zero Net Carbs, Baking, Extract, Sugar Replacement (Powdered - 1 lb)
$11.90
View details
Prime
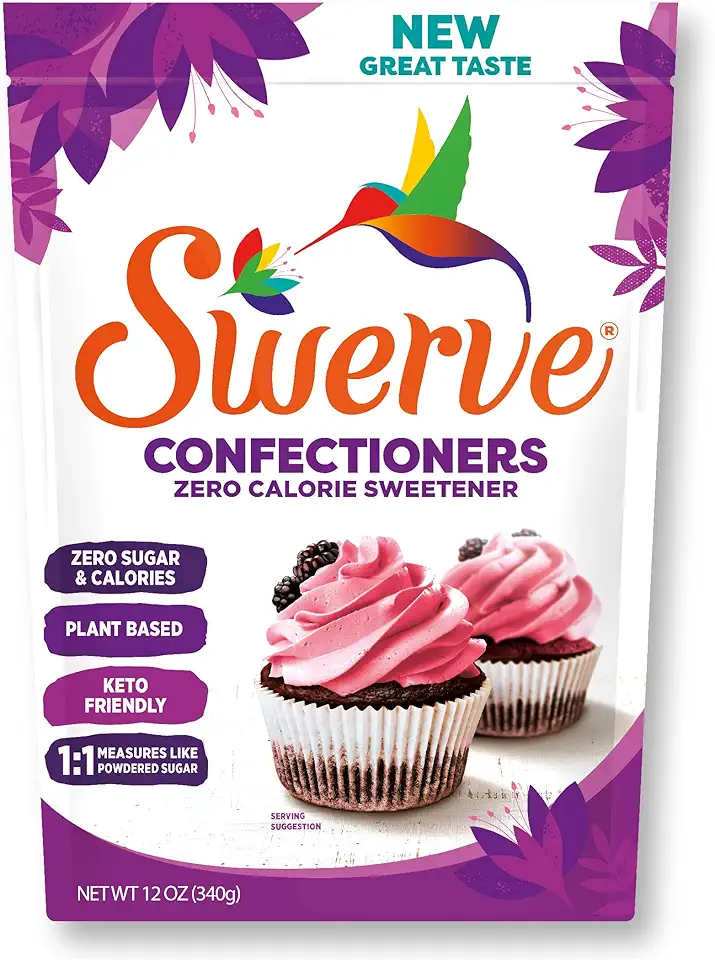 Swerve Sweetener Powder, Confectioners, 12 oz
$6.98
View details
 Bob's Red Mill Gluten Free 1-to-1 Baking Flour, 22 Ounce (Pack of 4)
$23.96
View details
Prime
 Antimo Caputo Chefs Flour - Italian Double Zero 00 - Soft Wheat for Pizza Dough, Bread, & Pasta, 2.2 Lb (Pack of 2)
$16.99
View details
Prime
best seller
 King Arthur, Measure for Measure Flour, Certified Gluten-Free, Non-GMO Project Verified, Certified Kosher, 3 Pounds, Packaging May Vary
$8.62
View details
Caramel
 Sugar In The Raw Granulated Turbinado Cane Sugar Cubes, No Added Flavors or erythritol, Pure Natural Sweetener, Hot & Cold Drinks, Coffee, Vegan, Gluten-Free, Non-GMO,Pack of 1
$5.27
View details
Prime
 Sugar In The Raw Granulated Turbinado Cane Sugar, No Added Flavors or erythritol, Pure Natural Sweetener, Hot & Cold Drinks, Coffee, Baking, Vegan, Gluten-Free, Non-GMO, Bulk Sugar, 2lb Bag (1-Pack)
$3.74
$4.14
View details
Prime
 C&H Pure Cane Granulated White Sugar, 25-Pound Bags
$56.99
$49.98
View details
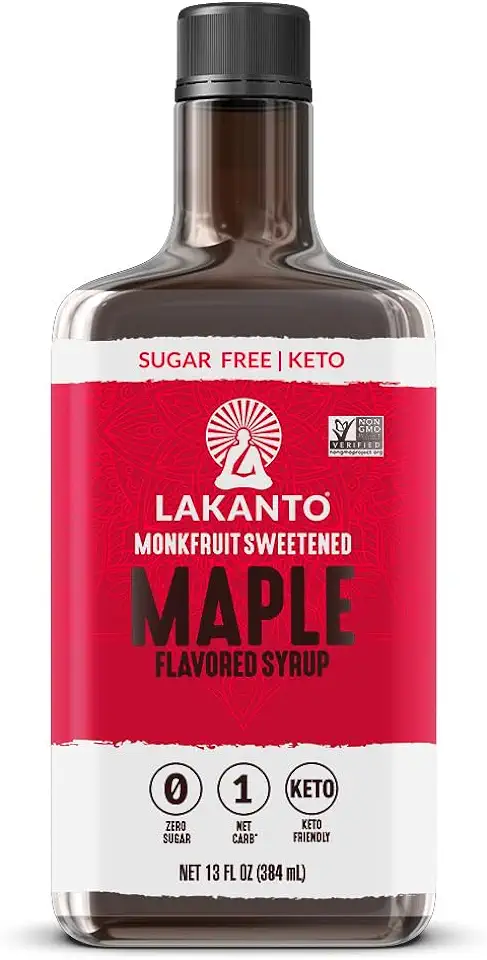 Lakanto Sugar Free Maple Syrup - Monk Fruit Sweetener, Keto Diet Friendly, Vegan, 1g Net Carbs, Pancakes, Waffles, Oatmeal, Coffee, Tea, Granola, Frosting, Marinade, Dressing (13 Fl Oz - Pack of 1)
$9.99
View details
Prime
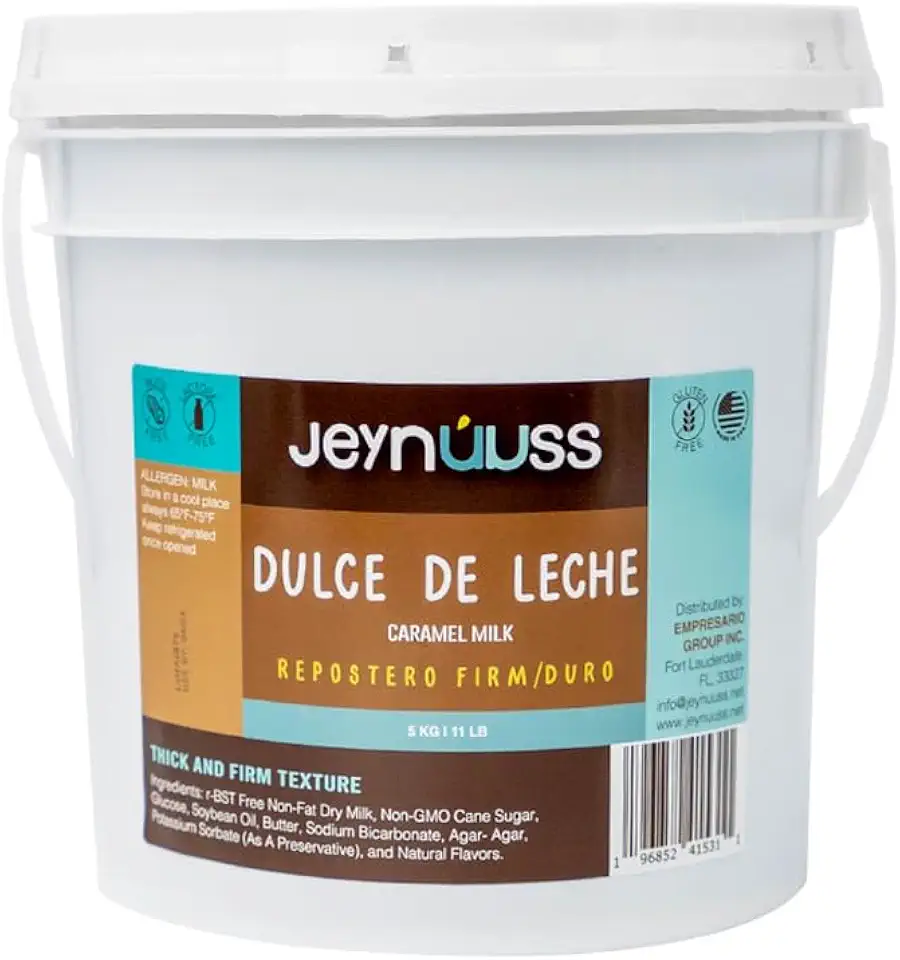 Dulce De Leche Respostero 11 LB Jeynuuss Caramel Milk Sauce Dessert Topping Gluten Free, Lactose Free, Confectioner's Thicker Milk Confiture for Bakeries.
$49.97
$52.97
View details
Prime
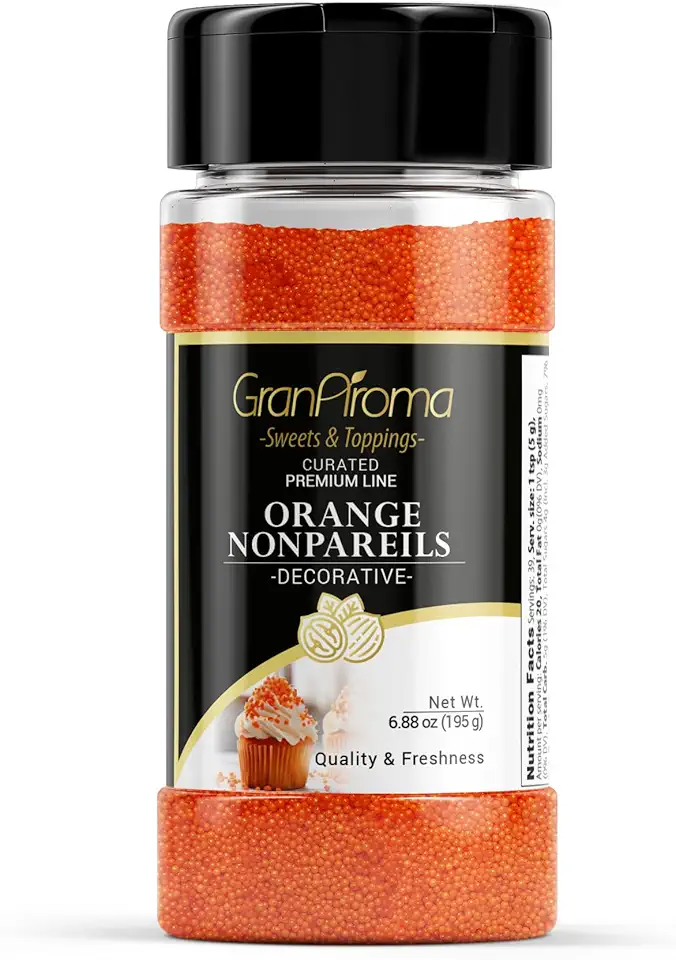 GranAroma Orange Nonpareils, Decorative Sprinkles, Cakes & Cookies, Bakery Staple (6.88 Ounce)
$9.99
View details
 Kevala Cashew Butter 7 Lbs Pail
$83.62
View details
Prime
best seller
 4th & Heart Original Grass-Fed Ghee, Clarified Butter, Keto, Pasture Raised, Lactose and Casein Free, Certified Paleo (9 Ounces)
$11.49
View details
Prime
 4th & Heart Himalayan Pink Salt Grass-Fed Ghee, Clarified Butter, Keto Pasture Raised, Non-GMO, Lactose and Casein Free, Certified Paleo (9 Ounces)
$9.49
View details
Chocolate Coating
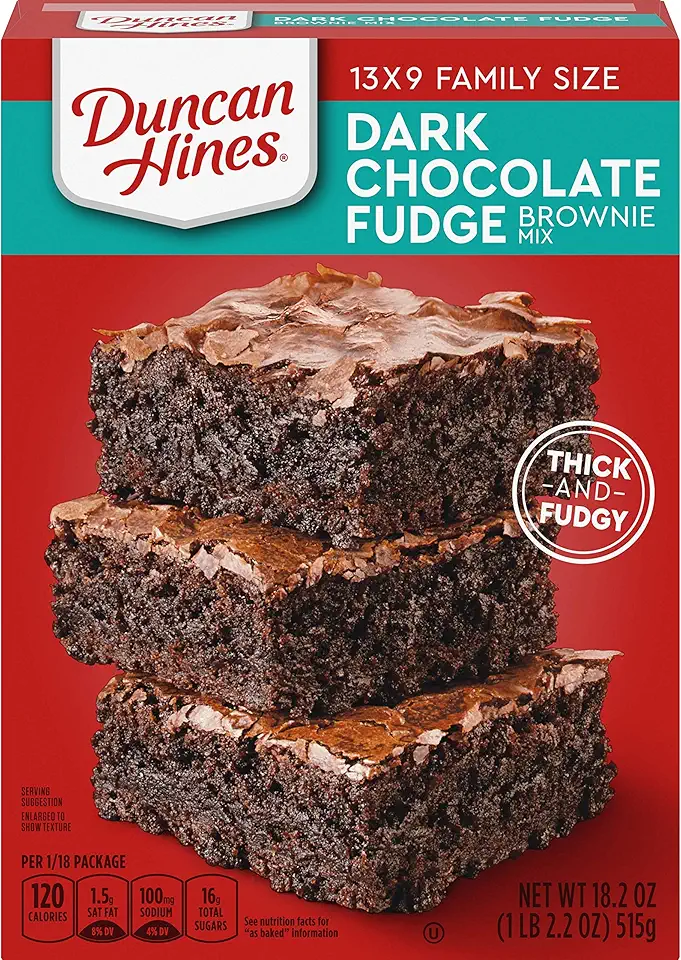 Duncan Hines Dark Chocolate Fudge Brownie Mix, 18.2 OZ
$1.54
View details
Prime
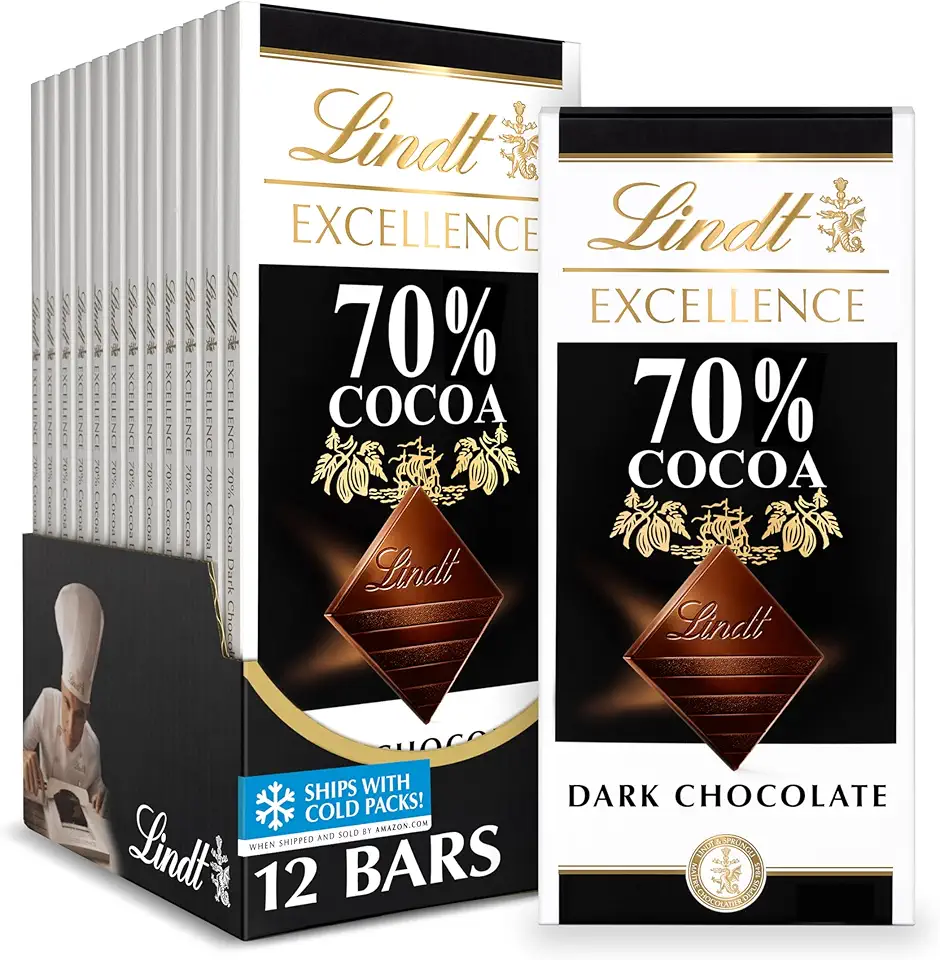 Lindt EXCELLENCE 70% Cocoa Dark Chocolate Bar, Dark Chocolate Candy, 3.5 oz. (12 Pack)
$40.44
View details
Prime
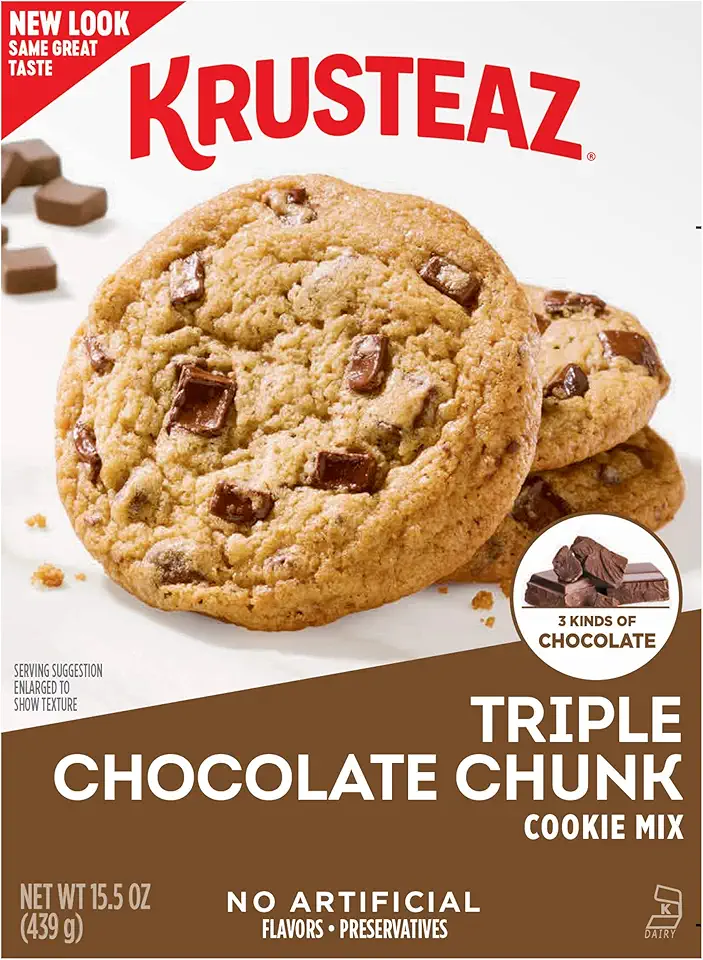 Krusteaz Triple Chocolate Chunk Cookie Mix, Bakery Style, 3 Kinds of Chocolate, 15.5 Oz Boxes (Pack of 12)
$53.95
View details
Instructions
Step 1
Start by toasting 100 grams of hazelnuts on a silicone mat. In a saucepan over medium heat, melt 100 grams of sugar until it turns an amber color. Be careful not to burn it.
Once melted, pour the sugar over the hazelnuts and let it cool completely. Once hardened, chop the mixture until it releases oil and becomes a thick paste that drips off a spoon.
Step 2
In a mixing bowl, combine 75 grams of softened butter and 75 grams of powdered sugar until smooth. Beat in 1 egg.
Gradually add 150 grams of flour and 1/2 teaspoon of baking powder, mixing gently until just combined. Avoid overmixing to keep the dough tender.
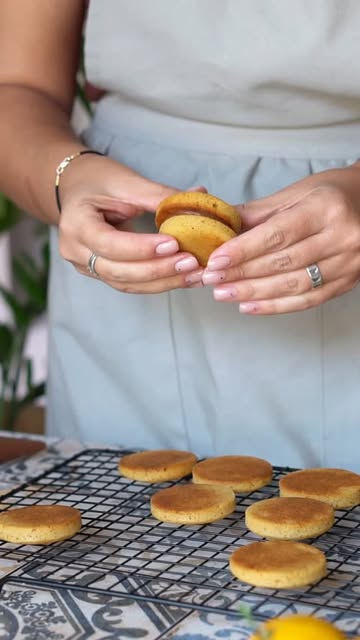
Form the dough into a disk, wrap it in plastic wrap, and refrigerate for about 30 minutes. Once chilled, roll out the dough thinly and cut out cookies according to your desired shape.
Bake these cookies in a preheated oven at 180°C (356°F) for 7-12 minutes until the edges are lightly golden. Let them cool completely.
Step 3
In a heavy-bottomed saucepan, combine 100 grams of sugar, 30 grams of glucose syrup, and 20 grams of water. Heat over medium-high heat until the mixture turns amber.
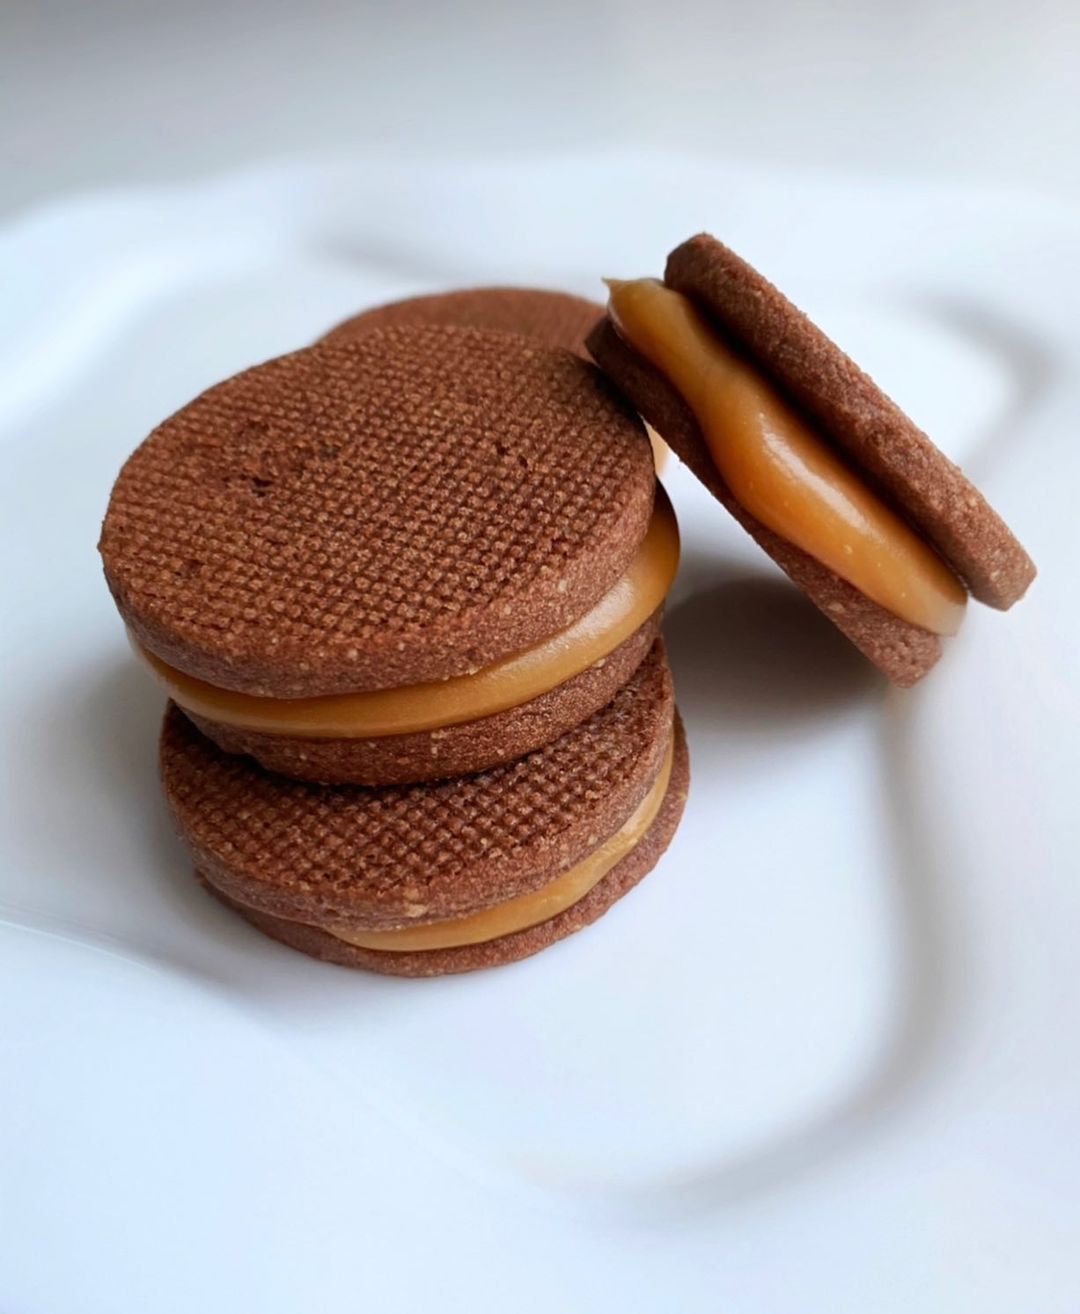
Carefully add 100 grams of hot cream into the caramel mixture. Stir continuously, reducing the heat, and cook for another 2-3 minutes.
Finally, add 30 grams of softened butter to the caramel and allow it to cool.
Step 4
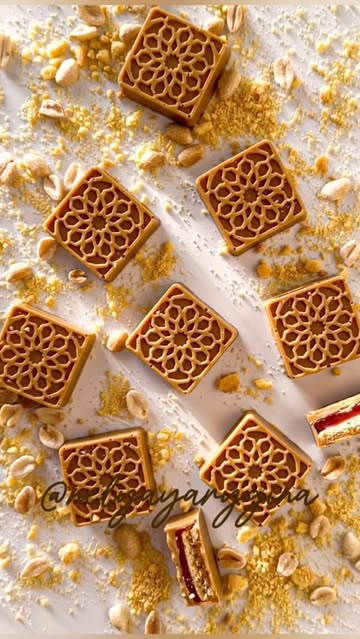
Start by coating the bottom of your chocolate molds with 180 grams of melted dark chocolate. Allow it to set slightly.
Add a layer of the praline, followed by a layer of the biscuit cookies. Top off with a layer of caramel, and place a pecan on top of each.
Optionally, you can cover the entire treat with another layer of chocolate or leave it open as desired.
Let the treats set completely before enjoying. Savor each bite of this delightful combination!
Servings
Don't forget to sprinkle on some extra pecans for a delightful crunch, too! These little bites of happiness are perfect alongside coffee or steaming cups of tea.
Serve them as an indulgent dessert after dinner, or take them along for a picnic in the park. You can be sure that these stellar sweets will bring smiles and delight. 🍫✨
Equipment
This is perfect for making praline and baking shortbread without sticking. It’s reusable and helps achieve those perfectly shaped cookies!
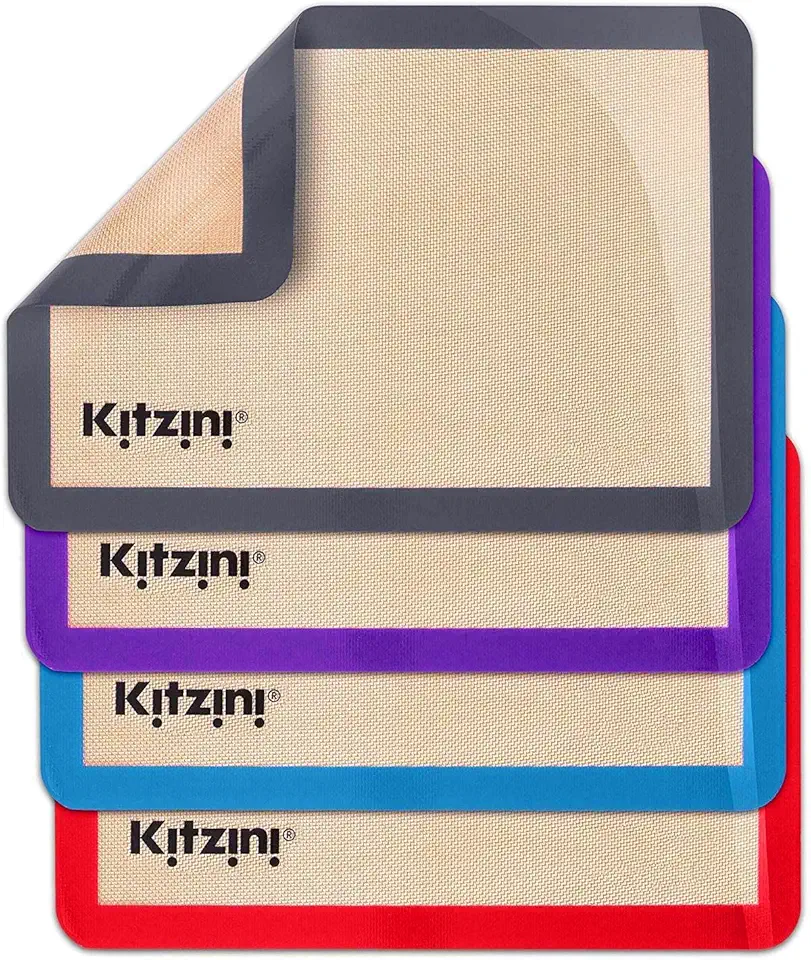 Kitzini Silicone Baking Mat Set, Non-Stick Silicone Mats for Baking, 4 Half Baking Sheets, BPA Free, Professional Grade Silicon Baking Sheet, Silicone Baking Mats for Cookies, Macarons & Pastry
$17.99
$19.99
View details
Prime
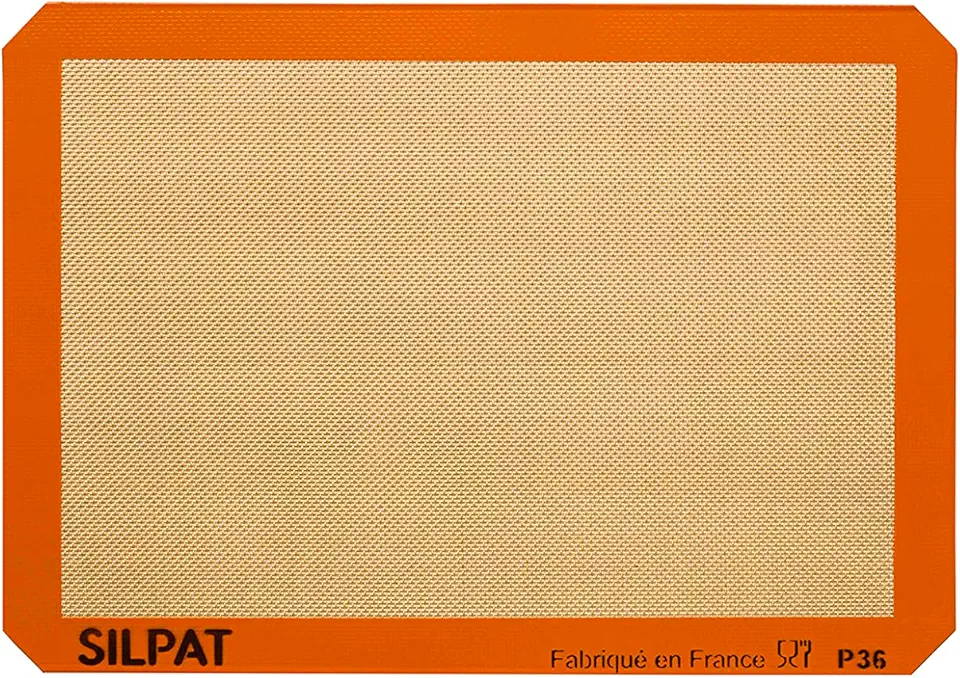 Silpat The Original Premium Non-Stick Silicone Baking Mat, Half Sheet
$17.41
$28.50
View details
For making caramel, a sturdy saucepan is essential to distribute heat evenly, preventing burning.
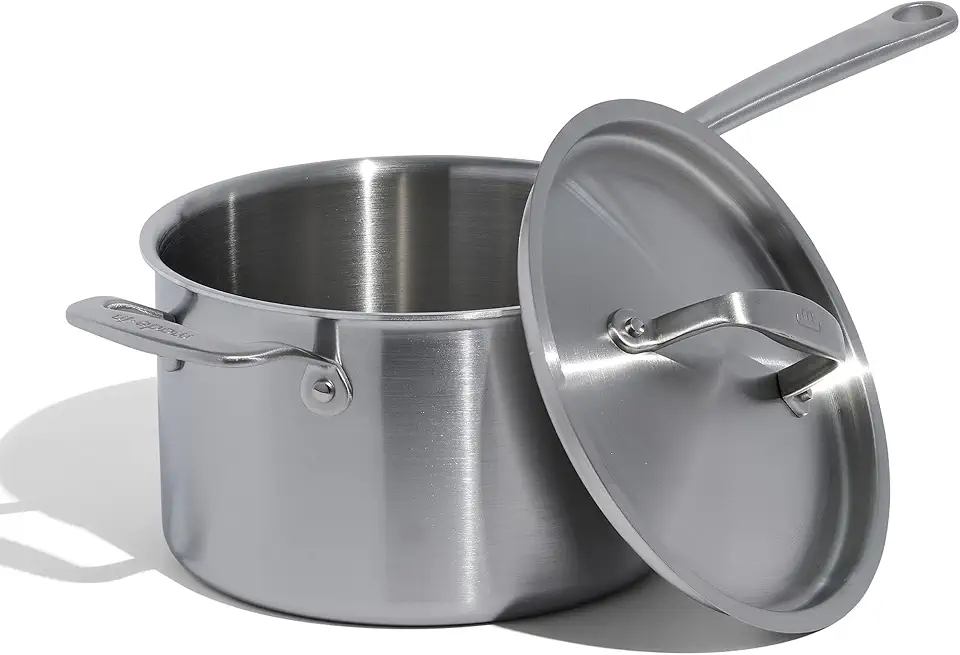 Made In Cookware - 4 Quart Stainless Steel Saucepan with Lid - 5 Ply Stainless Clad Sauce Pan - Professional Cookware - Crafted in Italy - Induction Compatible
$159.00
View details
Prime
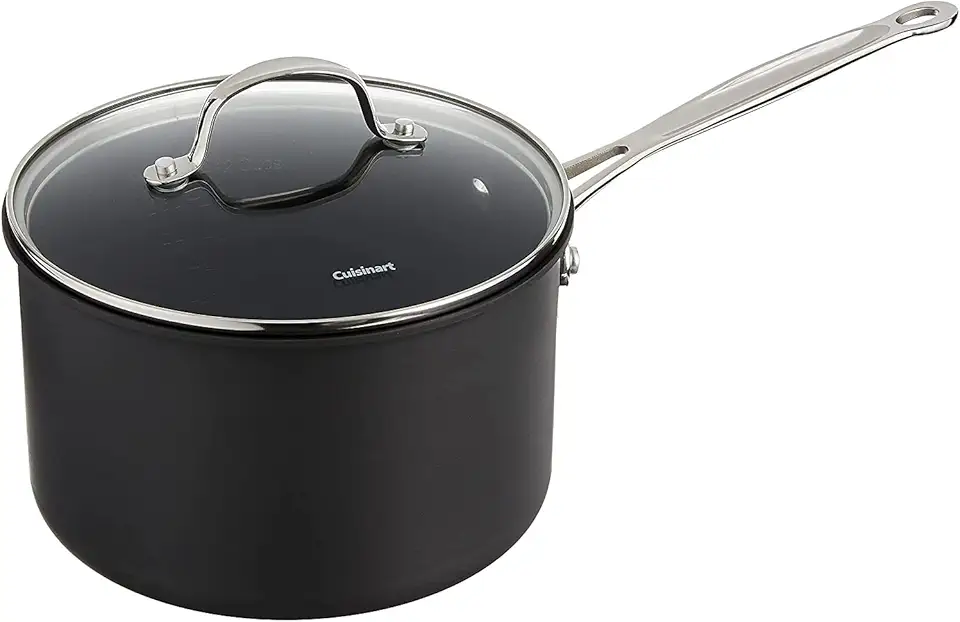 Cuisinart 6194-20 Chef's Classic 4-Quart Nonstick-Hard-Anodized, Saucepan w/Cover
$45.00
$59.95
View details
Prime
 Cuisinart Saucepan with Cover, Triple Ply 2-Quart Skillet, Multiclad Pro, MCP19-18N
$49.95
View details
This is where you'll lay out your shortbread cookies. Make sure it’s lined for easy removal!
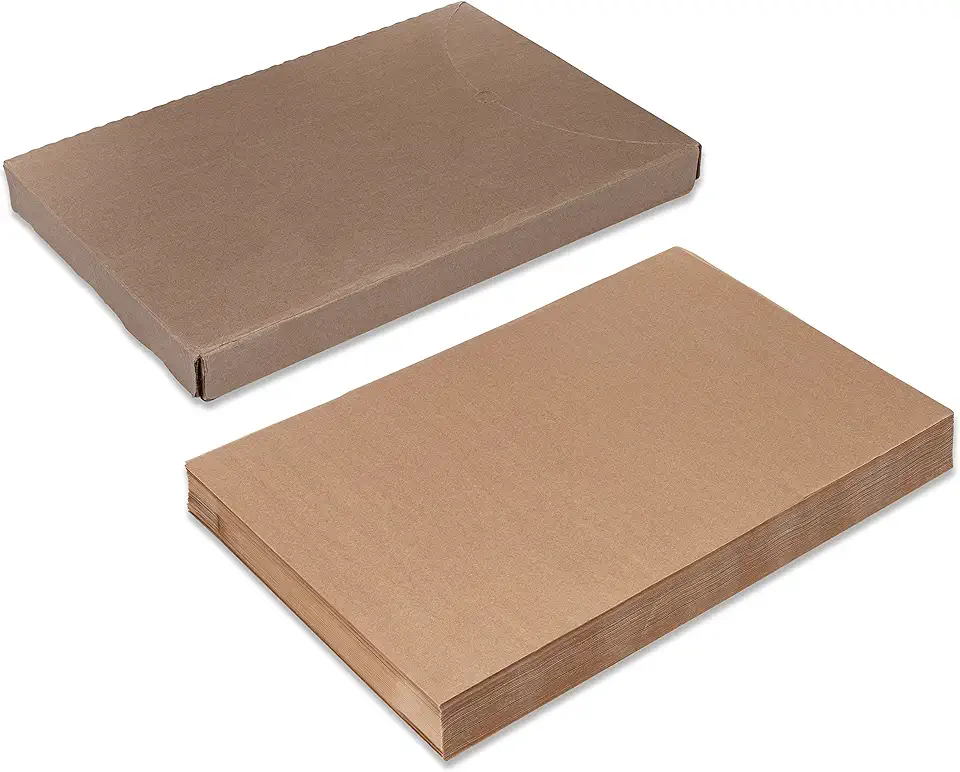 Paterson Paper 16" x 24" Full Size Unbleached Chromium-Free Reusable Baking Parchment Paper Sheets Commercial Bun/Sheet Pan Liners - 1000/Case - 425F - Non-Stick/Grease-Resistant
$169.58
View details
Prime
best seller
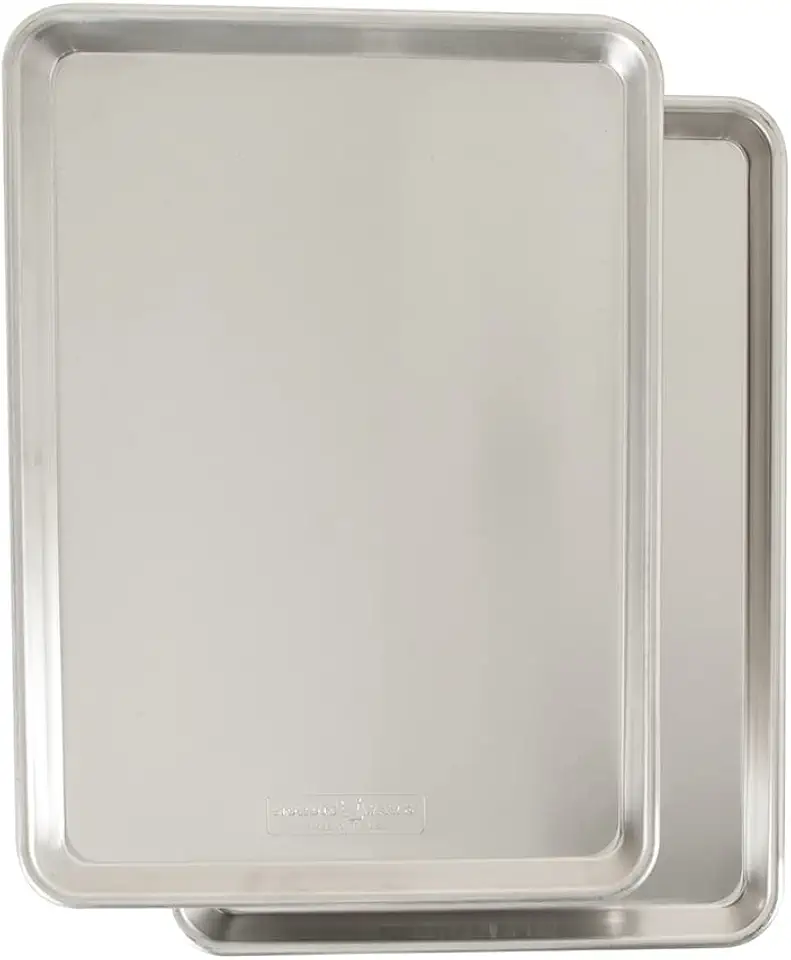 Nordic Ware Naturals Half Sheet, 2-Pack, Natural
$37.80
View details
Prime
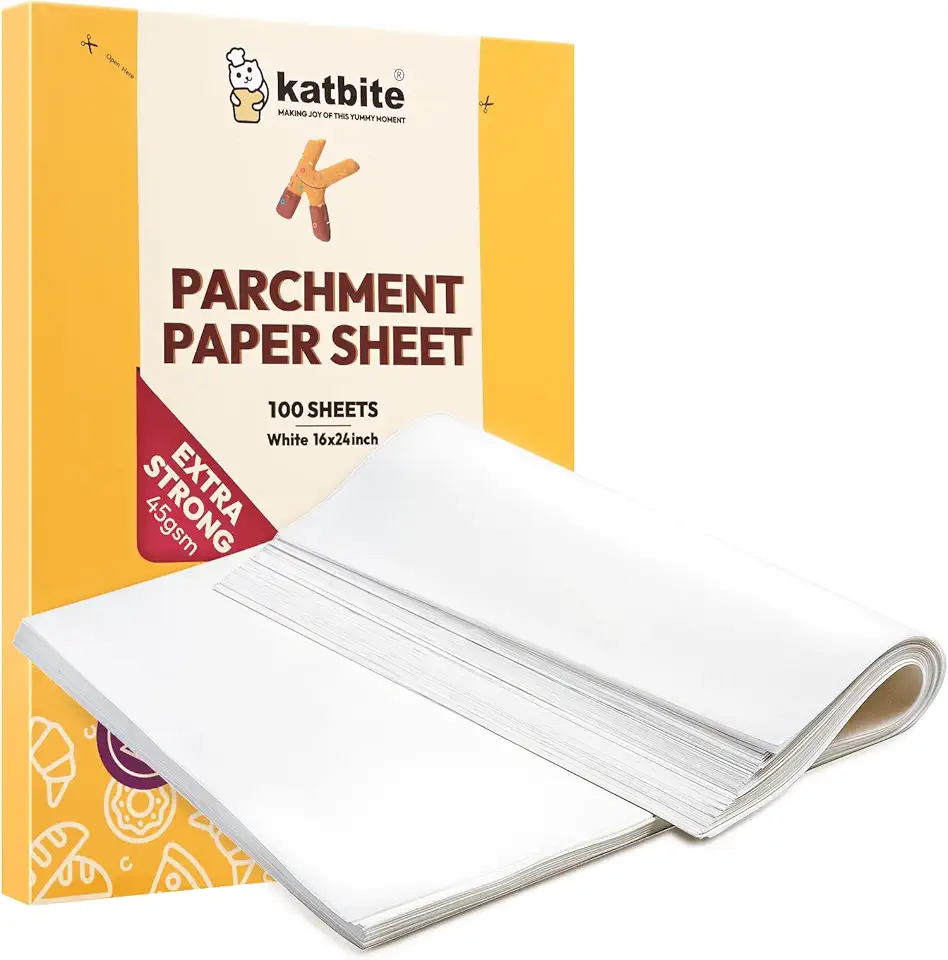 Katbite 16x24 inch Heavy Duty Parchment Paper Sheets, 100Pcs Precut Non-Stick Full Parchment Sheets for Baking, Cooking, Grilling, Frying and Steaming, Full Sheet Baking Pan Liners, Commercial Baking
$18.99
$25.99
View details
Using a mold allows for easy shaping of your chocolate shell. Silicone molds are best for smooth release!
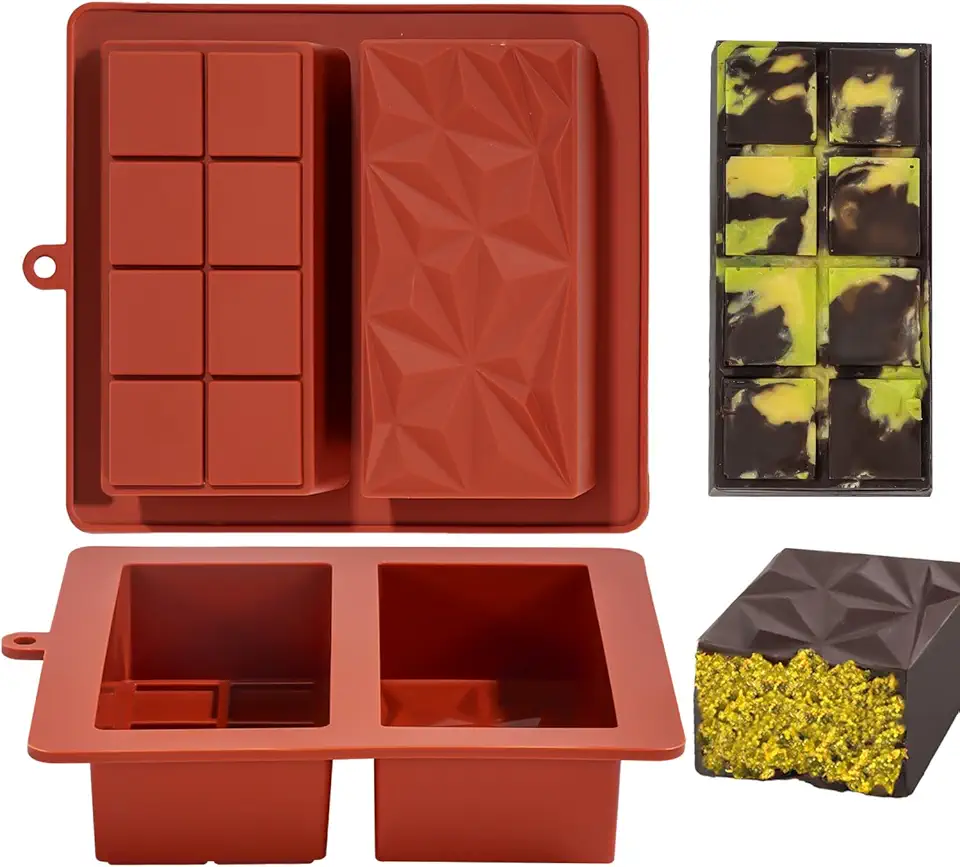 Chocolate Bar Mold Deep Dubai 2 Inch 2 Pcs Pistachio Chocolate Bar Silicone Thick Mold for Stuffed Bar, Big Candy Bar Mold for Filling
$15.99
View details
Prime
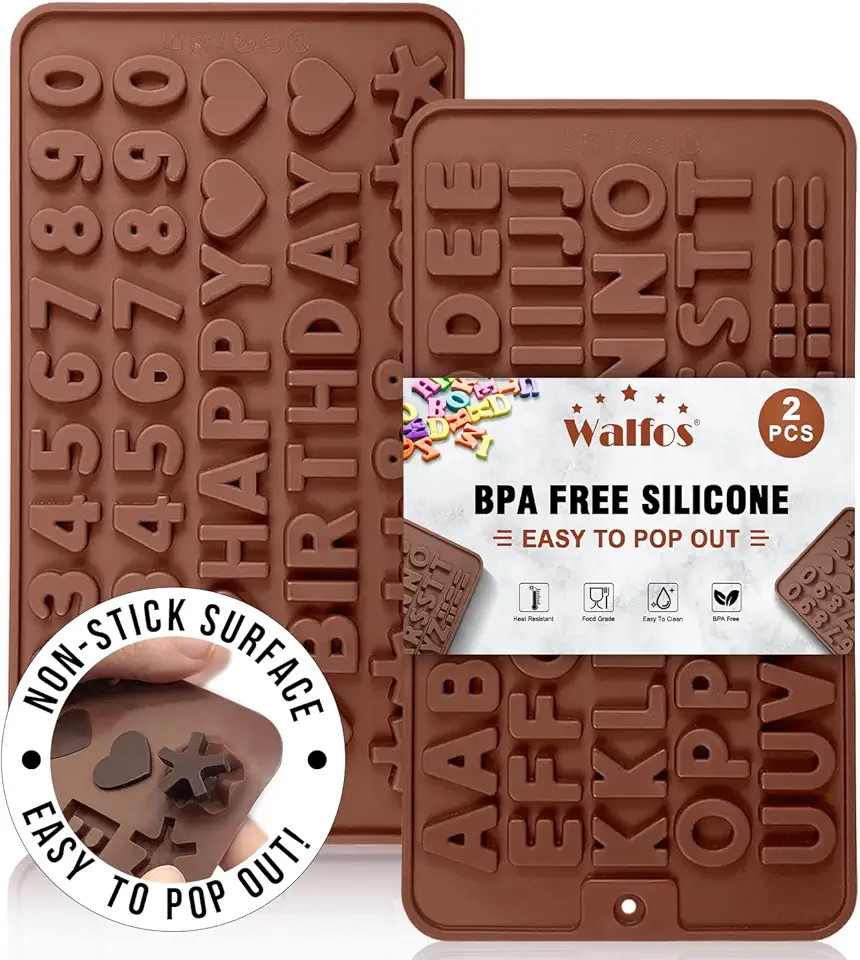 Walfos Silicone Letter Mold and Number Chocolate Molds - Non-Stick Letter Chocolate Mold, Made of Food Grade Silicone, BPA Free, Perfect for Cake Decoration, Candy, Chocolate, Birthday Party, Gummies
$8.99
$9.55
View details
Prime
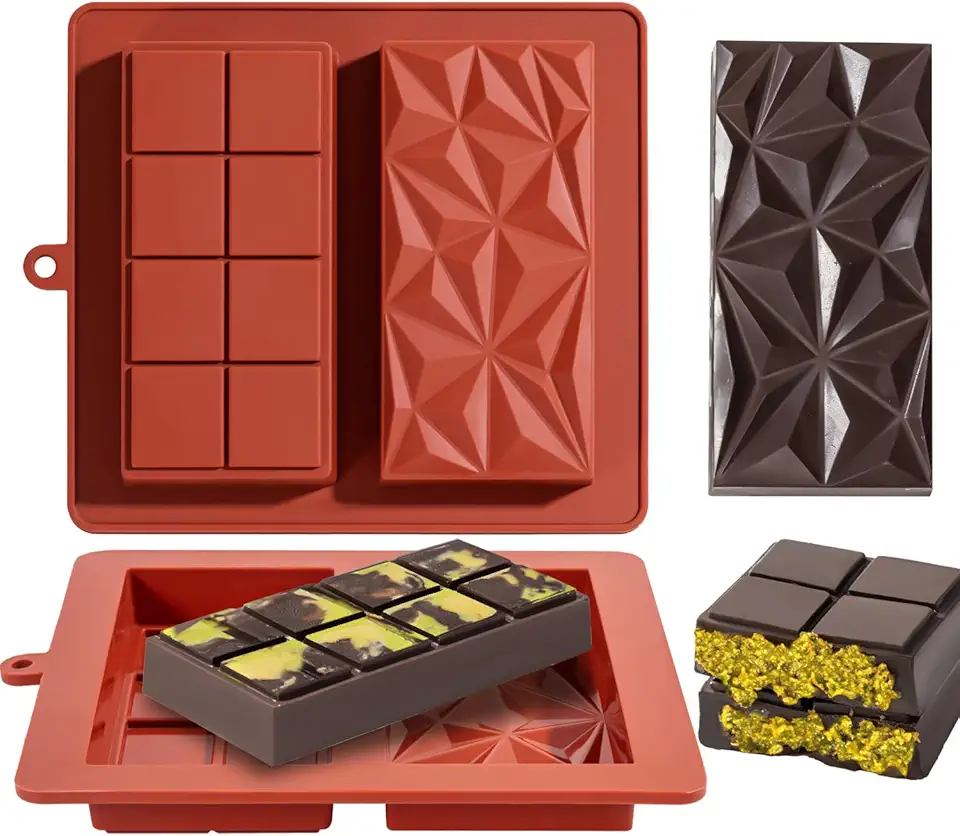 Chocolate Bar Mold Deep Dubai 1 Inch 2 Pcs Pistachio Chocolate Bar Silicone Thick Mold for Stuffed Bar, Large Candy Bar Mold for Filling
$14.99
View details
Variations
Simply substitute regular flour with a gluten-free flour blend, ensuring it contains xanthan gum for binding. Watch those incredible layers come to life without compromise! 🌾
Vegan Version:For a plant-based twist, use coconut cream instead of heavy cream for the caramel, and replace butter with a non-dairy alternative. You can also use a flax egg instead of a regular egg in the shortbread mixture! 🌱
Faq
- I'm a beginner, how do I know when my caramel is ready?
Watch closely for a rich amber color, and remember that it will continue to cook a little after you take it off the heat!
- Can I make the praline ahead of time?
Absolutely! You can prepare it a day in advance and store it in an airtight container to keep it fresh and crunchy.
- As an intermediate chef, how do I ensure my shortbread cookies come out perfectly shaped?
Chilling the dough is key! It allows for easy rolling and cutting without getting too sticky.
- Can I customize flavors in the filling layers?
Of course! Swap nuts or add extracts like vanilla or almond to match your preference. Be creative!
- As an experienced chef, what’s the best way to temper chocolate for the shell?
Use the seeding method: melt 2/3 of your chocolate, then add the remaining 1/3 while stirring until fully melted. This gives you a beautiful glossy finish!
- How can I prevent my decorated chocolates from blooming?
Store them in a cool, dry place away from moisture. Proper tempering will also help maintain a shiny surface.

