Ingredients
Essential Ingredients
 Bob's Red Mill Gluten Free 1-to-1 Baking Flour, 22 Ounce (Pack of 4)
$23.96
View details
Prime
 Antimo Caputo Chefs Flour - Italian Double Zero 00 - Soft Wheat for Pizza Dough, Bread, & Pasta, 2.2 Lb (Pack of 2)
$16.99
View details
Prime
best seller
 King Arthur, Measure for Measure Flour, Certified Gluten-Free, Non-GMO Project Verified, Certified Kosher, 3 Pounds, Packaging May Vary
$8.62
View details
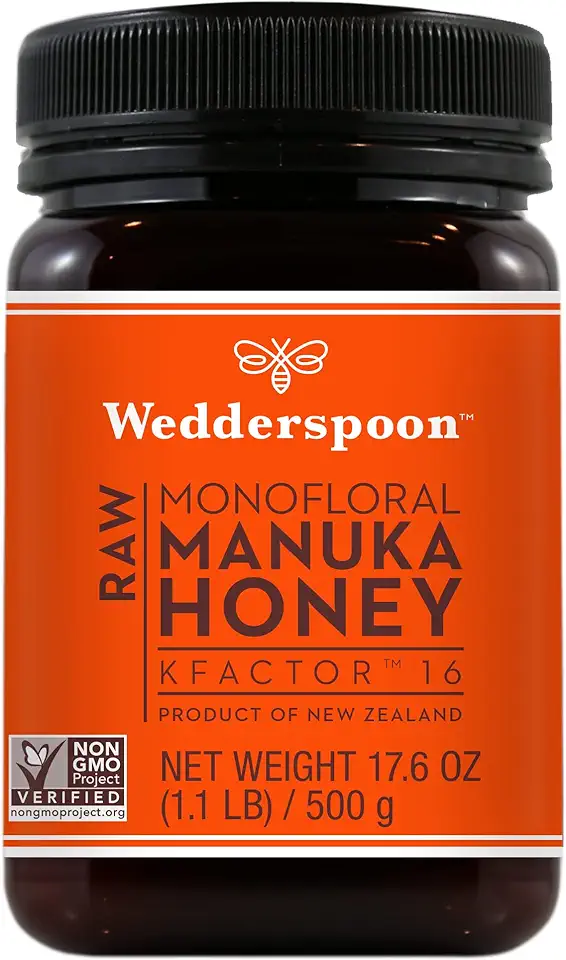 Wedderspoon Raw Premium Manuka Honey, KFactor 16, 17.6 Oz, Unpasteurized, Genuine New Zealand Honey, Traceable from Our Hives to Your Home
$34.36
$37.00
View details
Prime
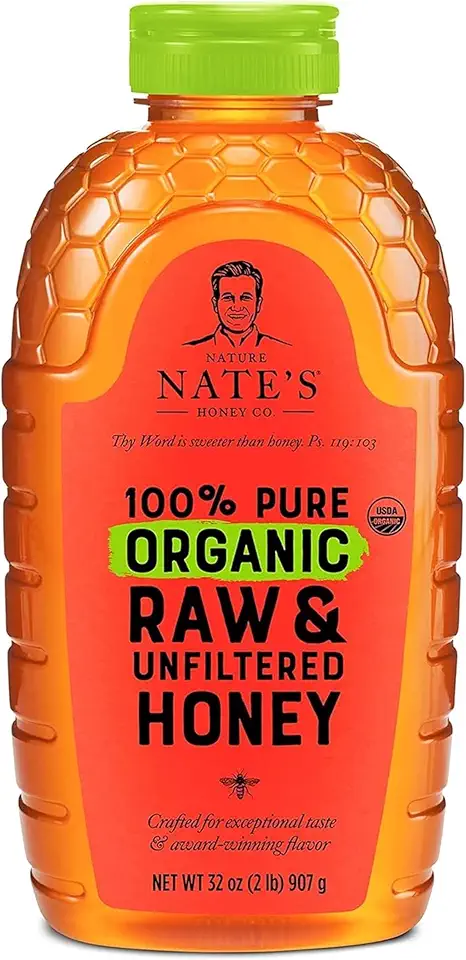 Nate's Organic 100% Pure, Raw & Unfiltered Honey - USDA Certified Organic - 32oz. Squeeze Bottle
$16.97
View details
Prime
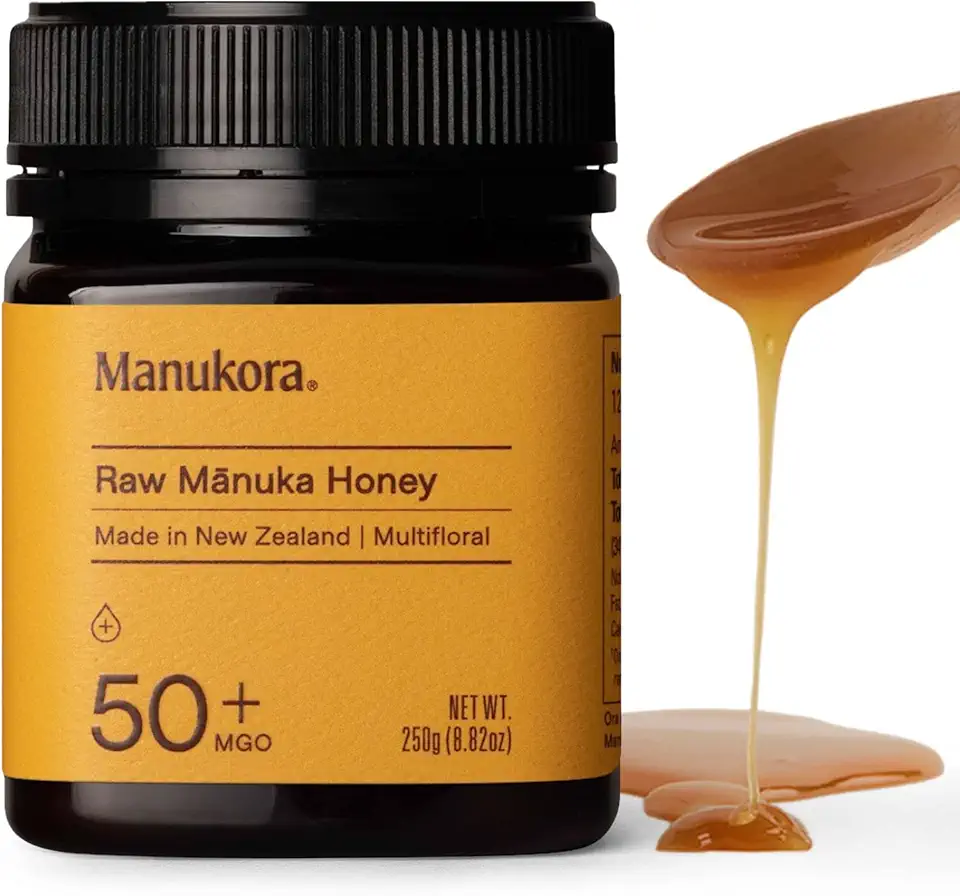 Manukora Raw Manuka Honey, MGO 50+, New Zealand Honey, Non-GMO, Traceable from Hive to Hand, Daily Wellness Support - 250g (8.82 Oz)
$13.24
View details
Instructions
Step 1
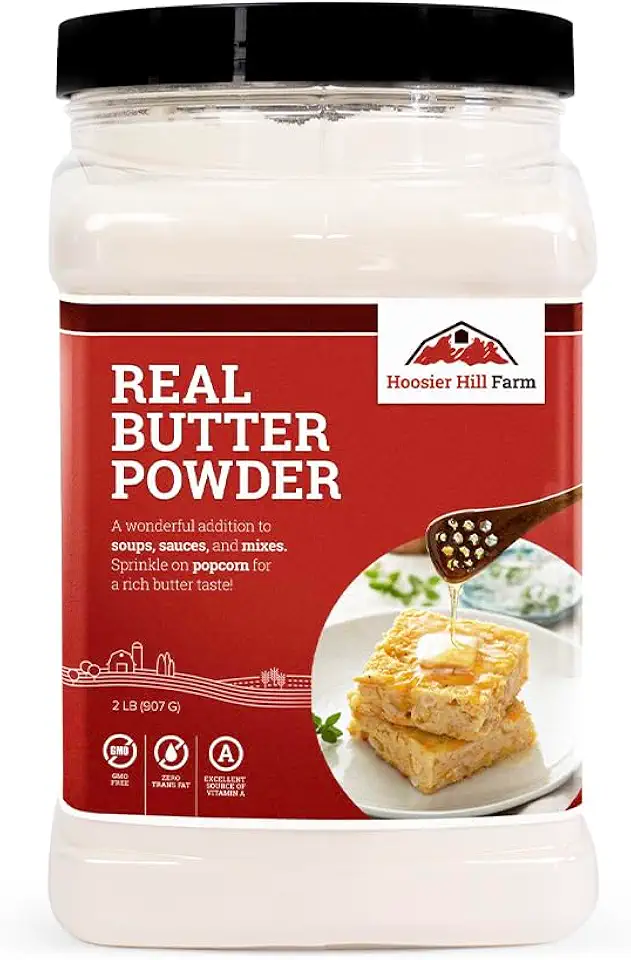
Place a small saucepan over low heat or set it up on a double boiler. Add the butter and honey into the pan. Stir continuously until the butter is completely melted.
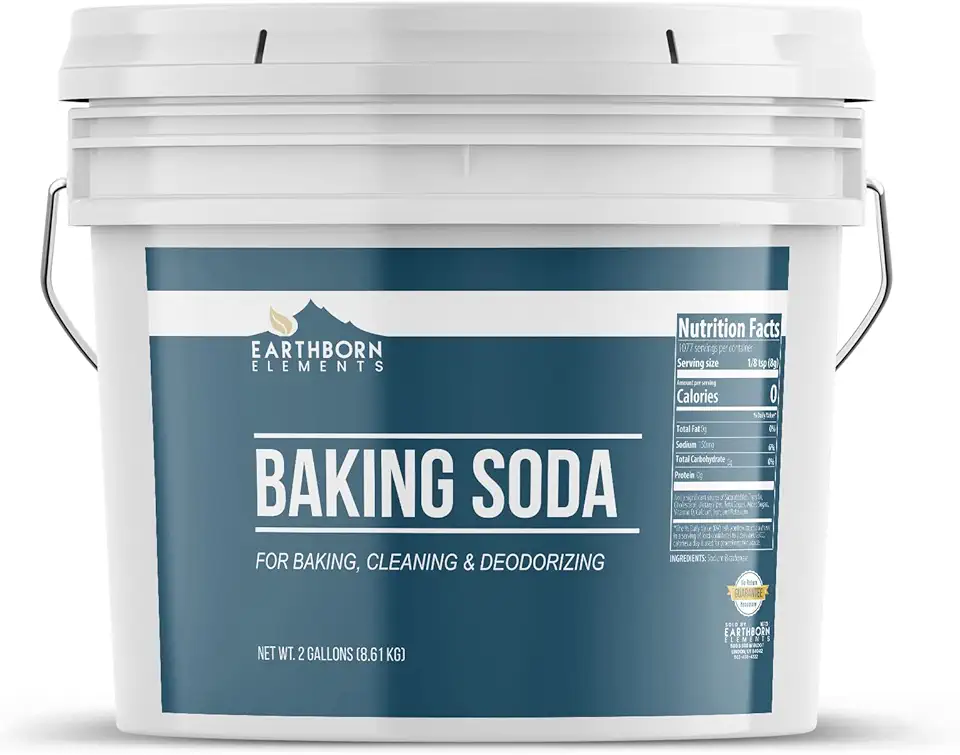
Next, add the baking soda into the mixture and keep stirring for about 7-9 minutes until the mixture turns a beautiful caramel color. Once done, remove the saucepan from heat and allow it to cool down to a slightly warm state.
Step 2
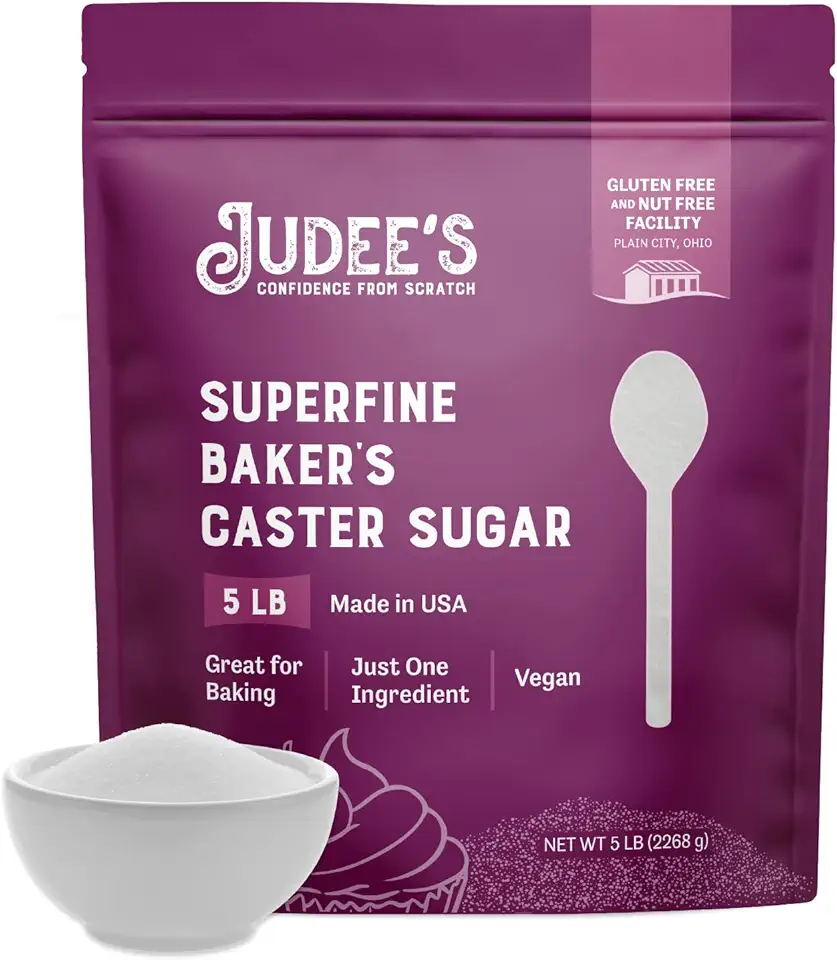
In a mixing bowl, crack the eggs and add the sugar. Use a mixer to whip them together until the mixture is fluffy, which should take about 5-7 minutes.
Step 3
Once the honey mixture has cooled down, add the whipped egg-sugar mixture into it and stir thoroughly. Gradually add the sifted flour and knead the dough. At first, the dough may seem sticky.
Transfer the dough to a floured surface and continue kneading until it becomes a soft and tender texture. Be cautious not to add too much flour to avoid toughening the dough.
Step 4
Divide the dough into 6 equal parts. On a floured surface or parchment paper, roll out each part into a circle. Remember, if the dough sticks to the rolling pin, sprinkle some extra flour on both the dough and the pin.
Before baking, pierce the surface of each cake with a fork to allow steam to escape.
Step 5
Preheat your oven to 180 degrees Celsius (350 degrees Fahrenheit). Place the cakes in the oven and bake for 3-5 minutes until they are a lovely golden brown.
Be sure not to overbake as they cook very quickly! Once they are out, use a plate of the desired diameter to cut the edges while they're still hot. Keep the trimmings aside for crumbs.
Servings
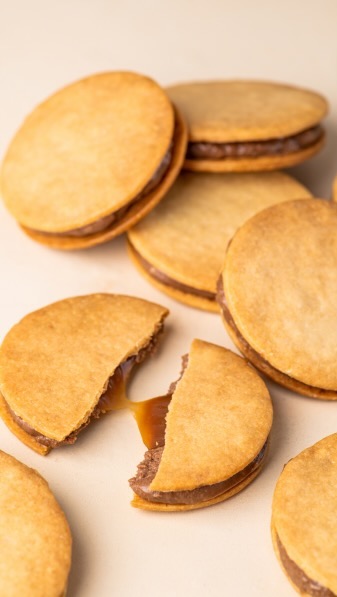
When it comes to serving, these honey cakes can shine on their own, but why not take it a step further? Pair them with a generous dollop of **whipped cream** or a scoop of ice cream 🍦 to elevate the experience!
For a touch of elegance, sprinkle a little **powdered sugar** or drizzle some **melted chocolate** over the top 🍫. These additions will not only enhance the flavor but also your presentation. Invite your friends over for a lovely afternoon picnic and bring these treats along; they're perfect for sharing and will surely delight your guests!
Equipment
Invest in a set that includes various sizes for easy mixing and transitioning of ingredients.
A sturdy whisk is essential for achieving fluffy egg mixtures without overexertion.
 OXO Good Grips 11-Inch Balloon Whisk
$10.93
$11.95
View details
Prime
best seller
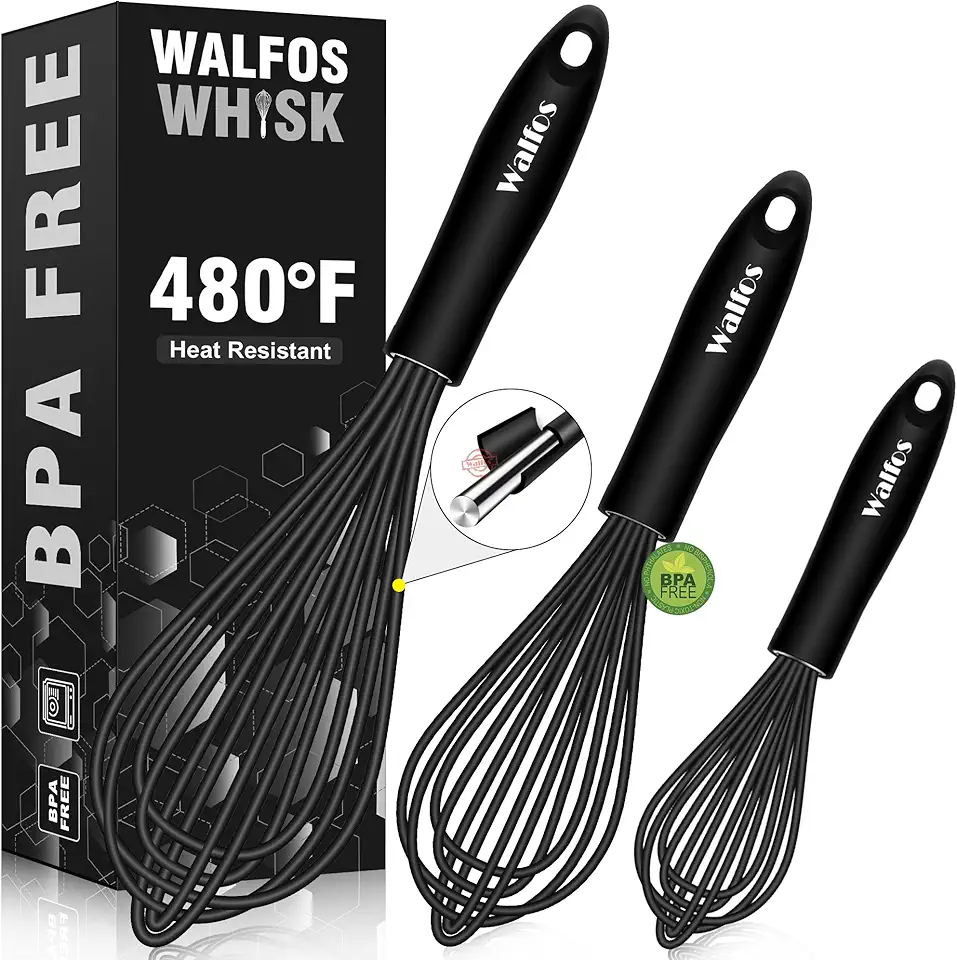 Walfos Silicone Whisk,Stainless Steel Wire Whisk Set of 3 -Heat Resistant 480°F Kitchen Whisks for Non-stick Cookware,Balloon Egg Beater Perfect for Blending,Whisking,Beating,Frothing & Stirring,Black
$11.89
$14.99
View details
Prime
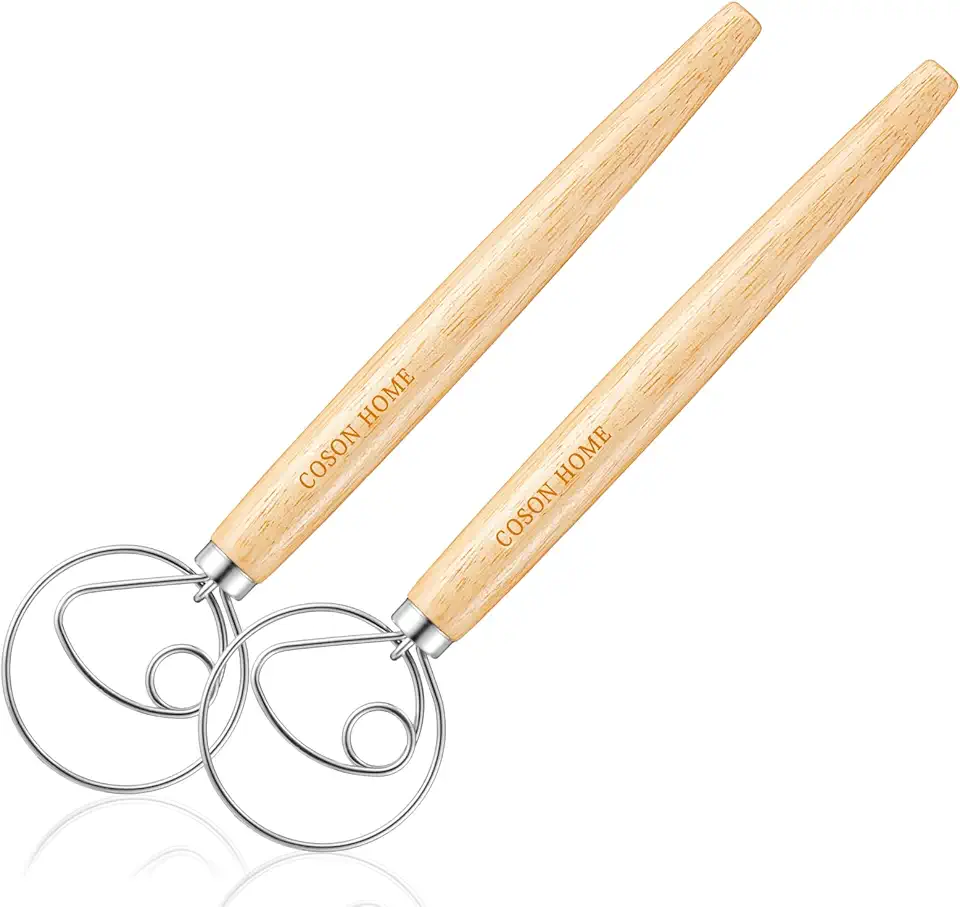 Pack of 2 Danish Dough Whisk Blender Dutch Bread Whisk Hook Wooden Hand Mixer Sourdough Baking Tools for Cake Bread Pizza Pastry Biscuits Tool Stainless Steel Ring 13.5 inches 0.22 lb/pcs…
$9.80
$14.99
View details
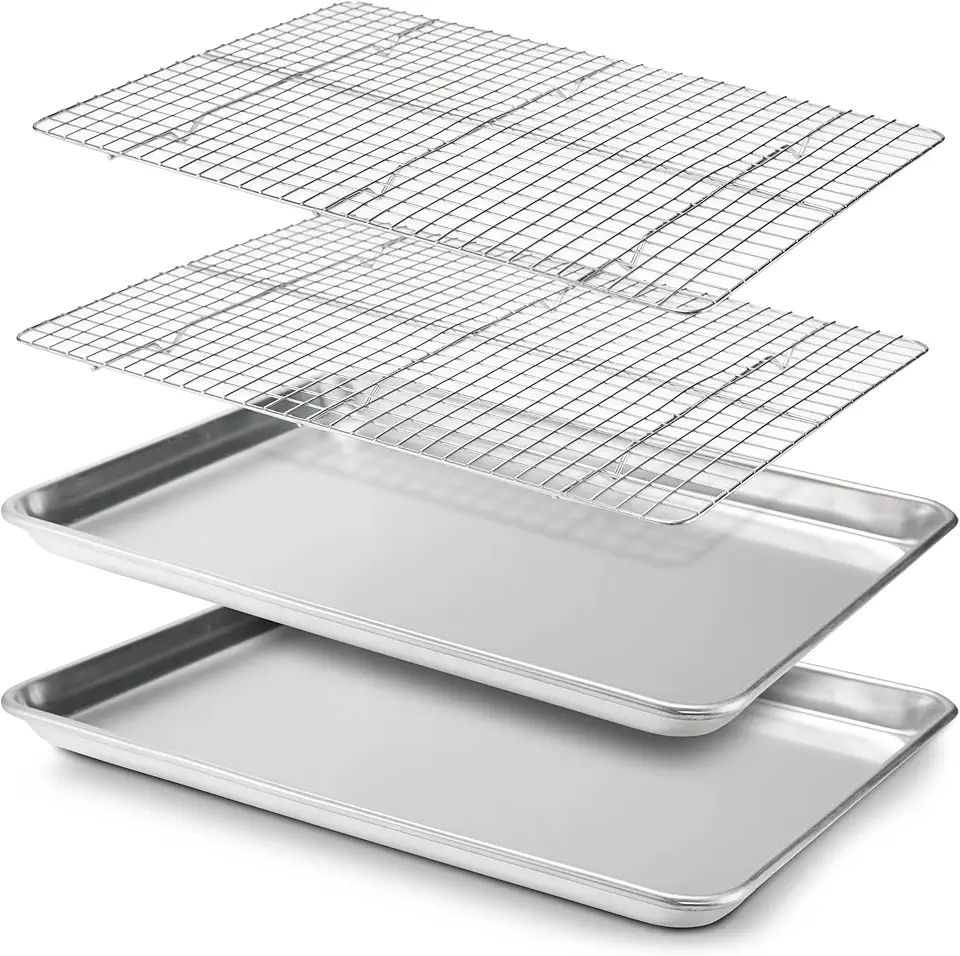
Aluminum or non-stick baking sheets work best. Make sure to have parchment paper ready for easy cake transfer!
A quality rolling pin will make rolling out your dough a breeze, ensuring even thickness for each layer.
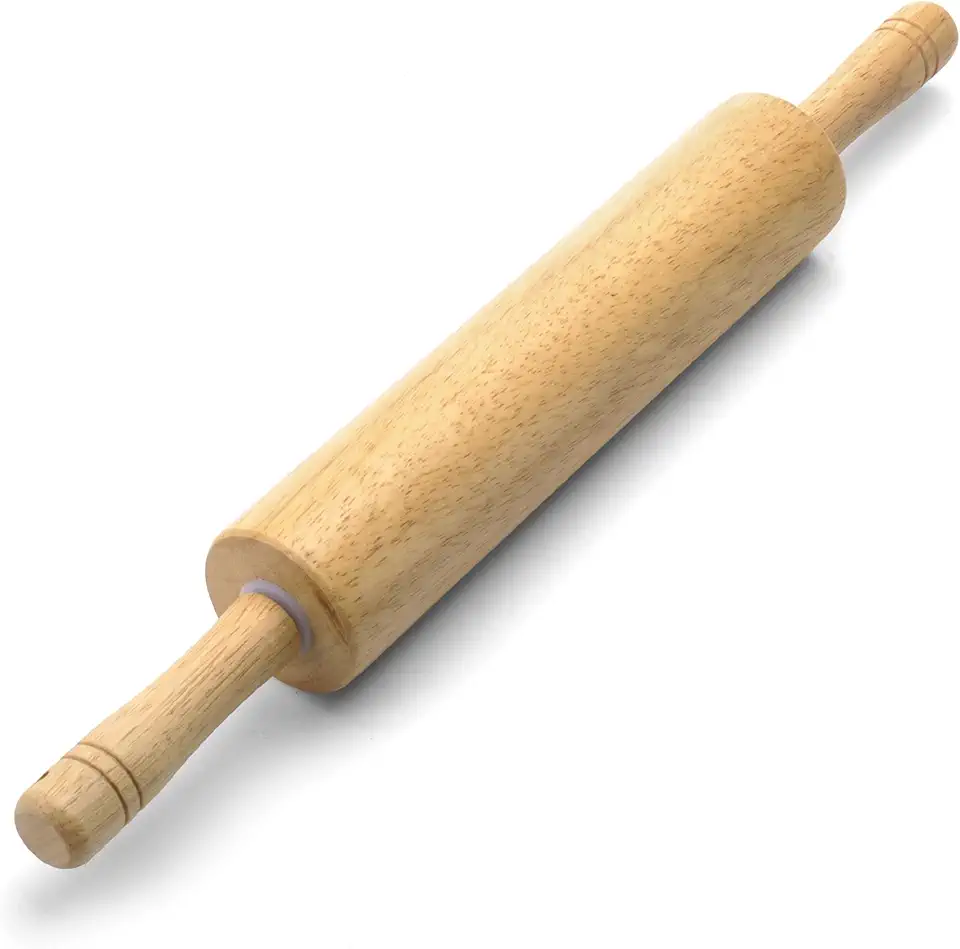 Farberware Classic Wood Rolling Pin, 17.75-Inch, Natural
$12.99
$13.99
View details
Prime
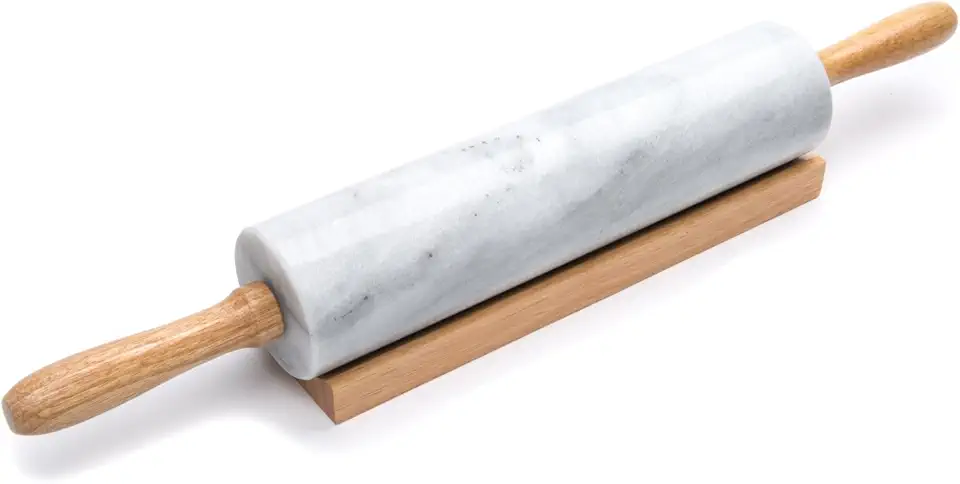 Fox Run Polished Marble Rolling Pin with Wooden Cradle, 10-Inch Barrel, White
$20.88
View details
Prime
 French Rolling Pin (17 Inches) –WoodenRoll Pin for Fondant, Pie Crust, Cookie, Pastry, Dough –Tapered Design & Smooth Construction - Essential Kitchen Utensil
$9.99
View details
Preheat your oven before you start baking to ensure even cooking temperatures from the get-go.
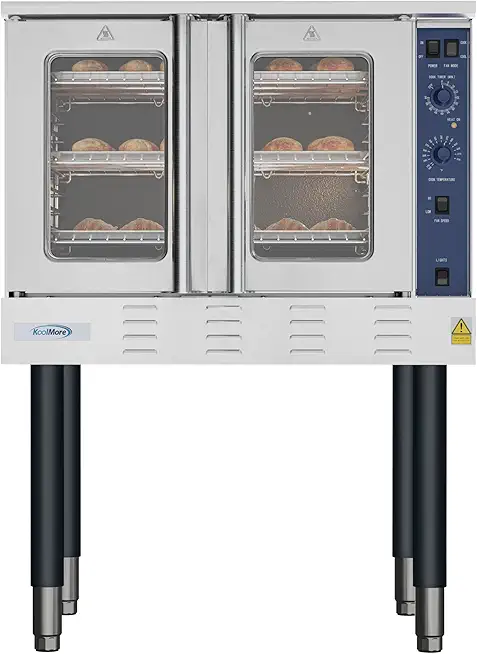 KoolMore 38 in. Full-Size Single Deck Commercial Natural Gas Convection Oven 54,000 BTU in Stainless-Steel (KM-CCO54-NG)
$3651.89
View details
Prime
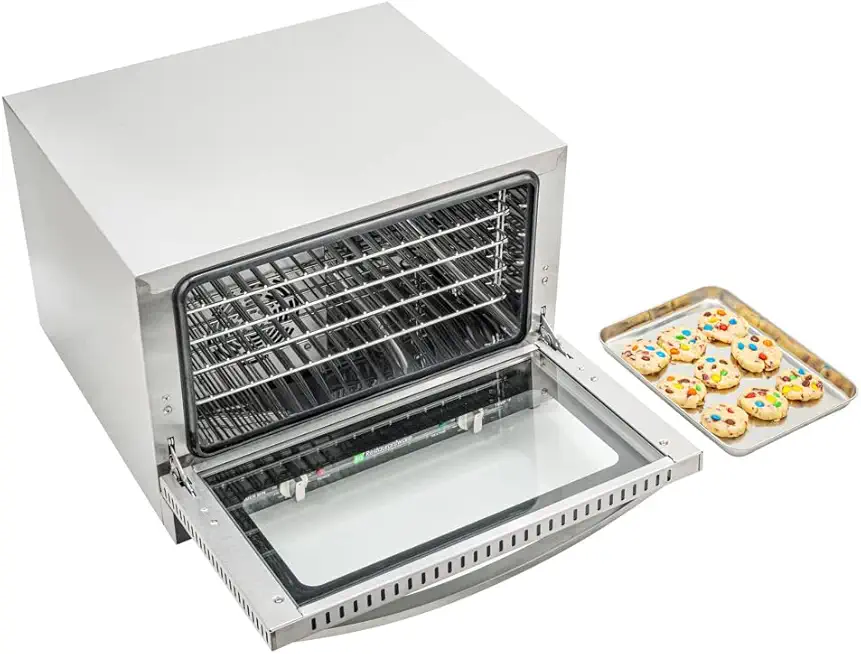 Restaurantware Hi Tek Half Size Convection Oven 1 Countertop Electric Oven - 1.5 Cu. Ft. 120V Stainless Steel Commercial Convection Oven 1600W 4 Racks Included
$1077.29
View details
Prime
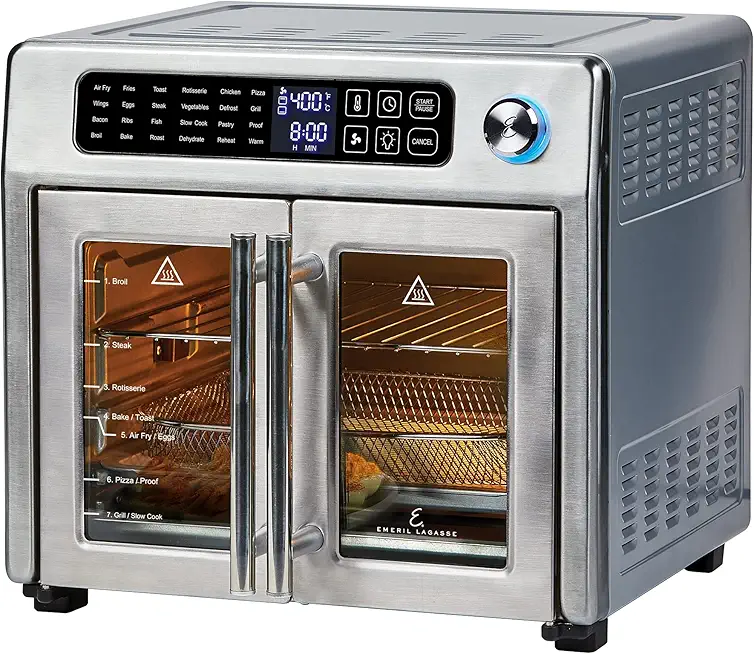 Emeril Lagasse 26 QT Extra Large Air Fryer, Convection Toaster Oven with French Doors, Stainless Steel
$189.99
View details
Variations
If you're looking to cater to special dietary needs, we have you covered! Try out these variations:
Gluten-Free: Substitute regular flour with a gluten-free blend. Make sure it contains xanthan gum for the perfect texture. You won't be able to tell the difference! 🌾
Vegan: Replace eggs with flaxseed meal (1 tablespoon of flaxseed with 2.5 tablespoons of water per egg) and switch to a plant-based butter alternative. Use maple syrup instead of honey for a sweet and tasty result! 🥑
Faq
- How do I prevent my cake layers from sticking to the pan?
Make sure to line your baking sheets with parchment paper and dust them lightly with flour before pouring the batter!
- What can I do if my dough seems too sticky?
Dust your work surface and rolling pin with flour while rolling out the dough. It’s important not to over-flour the mixture as well!
- Can I make the honey cakes ahead of time?
Absolutely! You can bake the layers and store them in an airtight container for up to 3 days before serving.
- What's the best way to stack and store the layers?
Separate each layer with parchment paper and wrap them tightly to keep them fresh and moist.
- How can I get my layers to rise evenly?
Make sure your oven temperature is accurate! An oven thermometer can help you monitor the internal temperature.
- Can I freeze the honey cake layers?
Yes, you can freeze them! Wrap each layer in plastic wrap and then in foil. They can be stored for up to 3 months!

