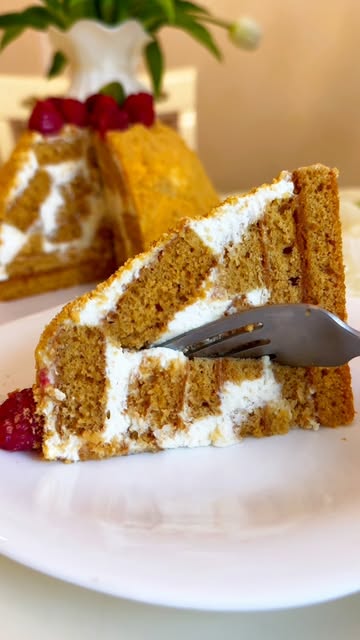
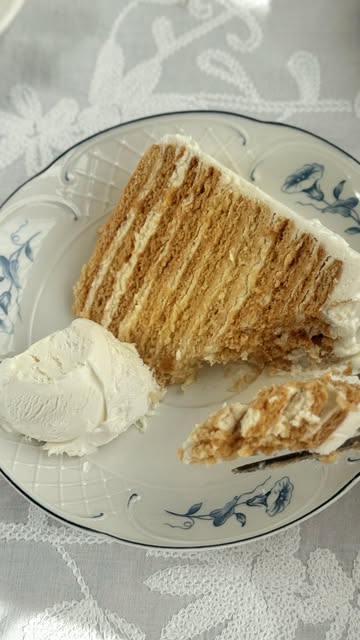
Ingredients
Cake Ingredients
 Bob's Red Mill Gluten Free 1-to-1 Baking Flour, 22 Ounce (Pack of 4)
$23.96
View details
Prime
 Antimo Caputo Chefs Flour - Italian Double Zero 00 - Soft Wheat for Pizza Dough, Bread, & Pasta, 2.2 Lb (Pack of 2)
$16.99
View details
Prime
best seller
 King Arthur, Measure for Measure Flour, Certified Gluten-Free, Non-GMO Project Verified, Certified Kosher, 3 Pounds, Packaging May Vary
$8.62
View details
 Sugar In The Raw Granulated Turbinado Cane Sugar Cubes, No Added Flavors or erythritol, Pure Natural Sweetener, Hot & Cold Drinks, Coffee, Vegan, Gluten-Free, Non-GMO,Pack of 1
$5.27
View details
Prime
 Sugar In The Raw Granulated Turbinado Cane Sugar, No Added Flavors or erythritol, Pure Natural Sweetener, Hot & Cold Drinks, Coffee, Baking, Vegan, Gluten-Free, Non-GMO, Bulk Sugar, 2lb Bag (1-Pack)
$3.74
$4.14
View details
Prime
 C&H Pure Cane Granulated White Sugar, 25-Pound Bags
$56.99
$49.98
View details
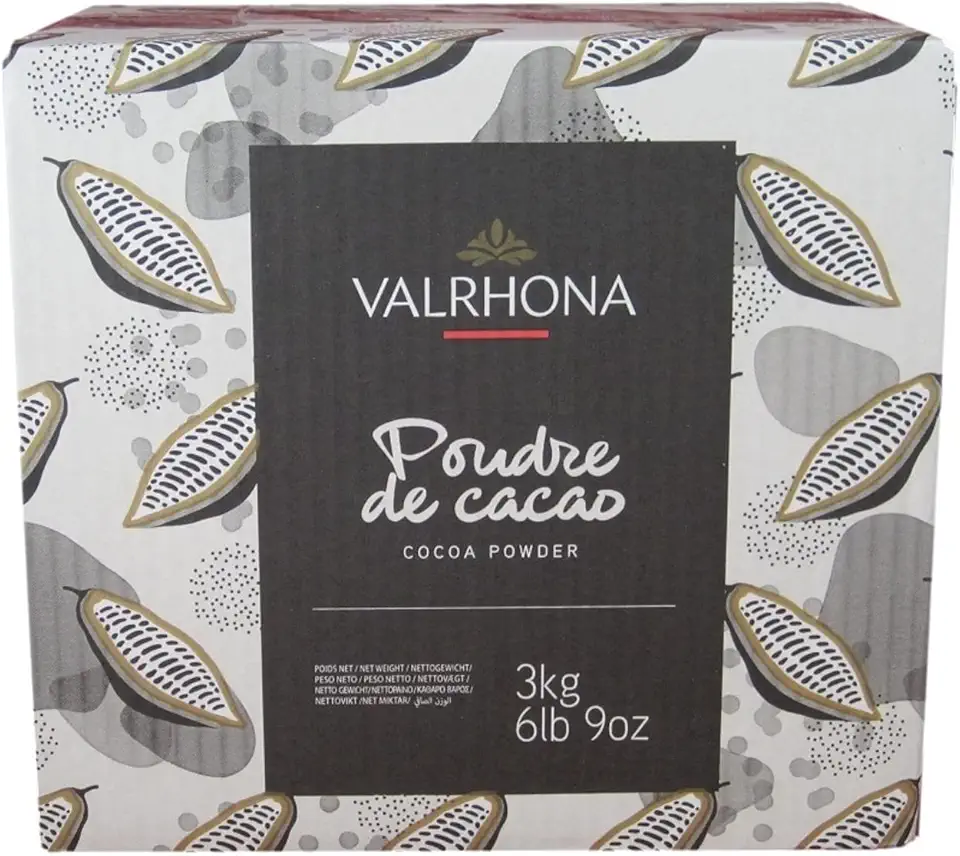 Valrhona Cocoa Powder - 3 kg
$84.95
View details
Prime
best seller
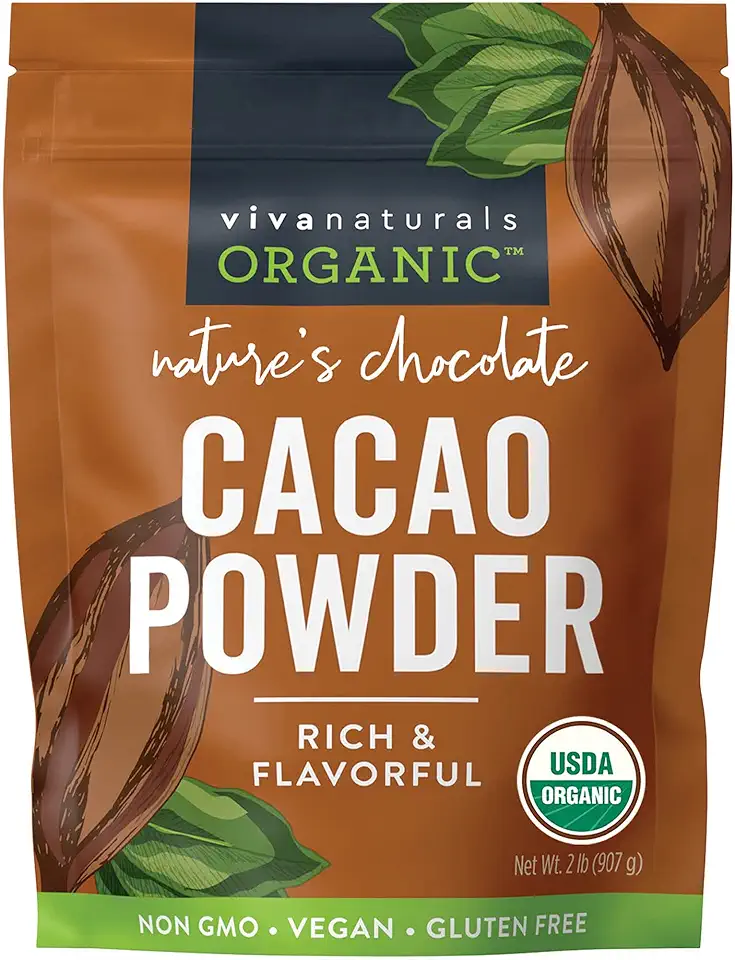 Viva Naturals Organic Cacao Powder, 2lb - Unsweetened Cocoa Powder With Rich Dark Chocolate Flavor, Perfect for Baking & Smoothies - Certified Vegan, Keto & Paleo, Non-GMO & Gluten-Free, 907 g
$20.49
View details
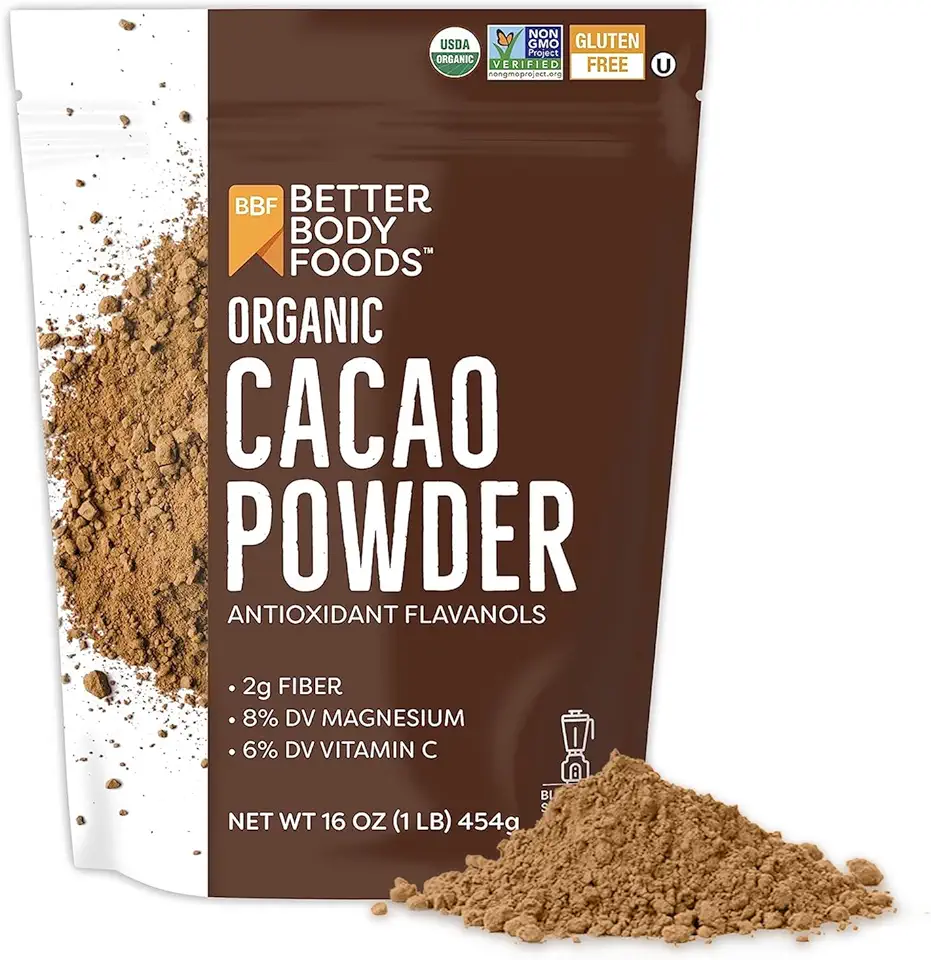 BetterBody Foods Organic Cacao Powder, Rich Chocolate Flavor, Non-GMO, Gluten-Free, Cocoa, 16 ounce, 1 lb bag
$10.41
View details
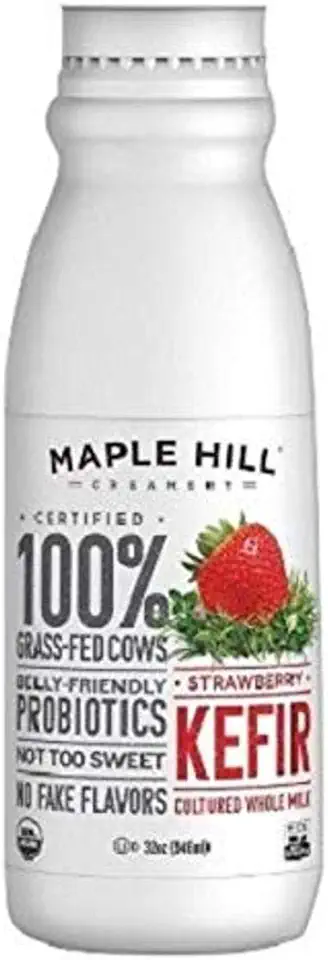 Maple Hill Creamery Kefir, Strawberry, 32 Ounce (Pack of 6)
$62.11
View details
Prime
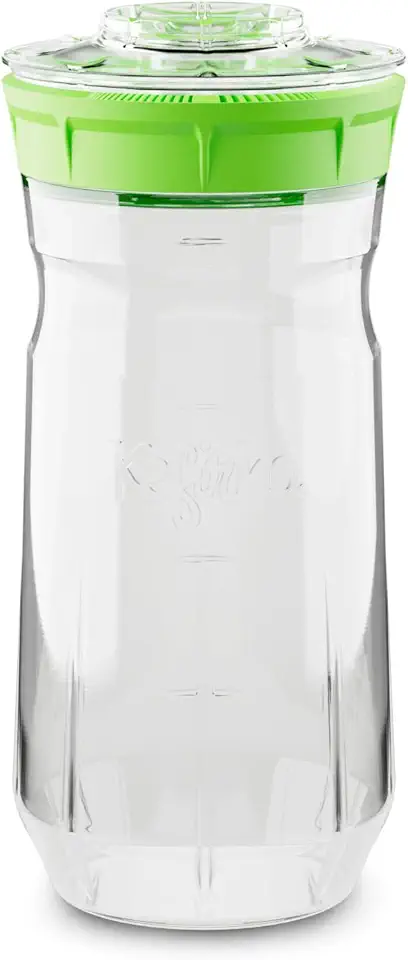 Kefirko Complete Kefir Starter Kit - Water & Milk Fermentation Kit - Easily Make Kefir at Home (1.4 Litres) (Green)
$36.99
View details
Prime
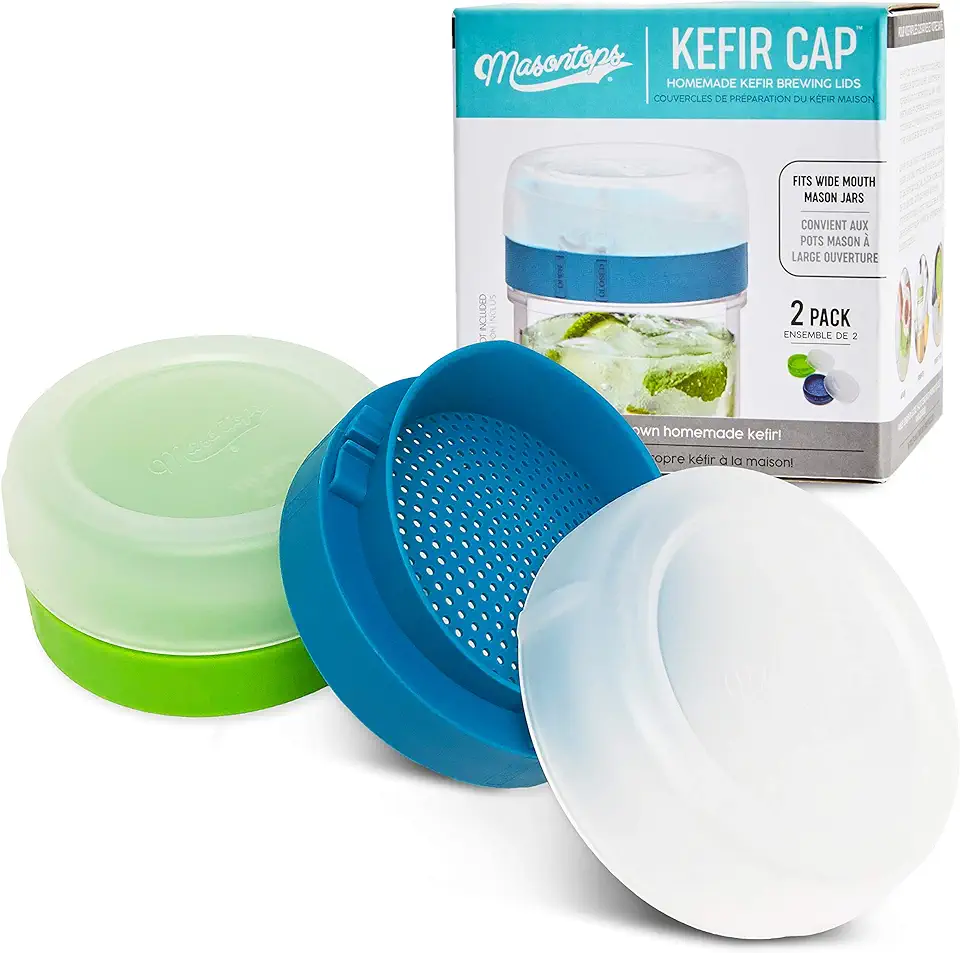 Masontops kefir lid mason jar lids wide mouth mason jar lids living culture grain drainer starter kit for home fermentation 2 packs
$14.99
View details
Cream Ingredients
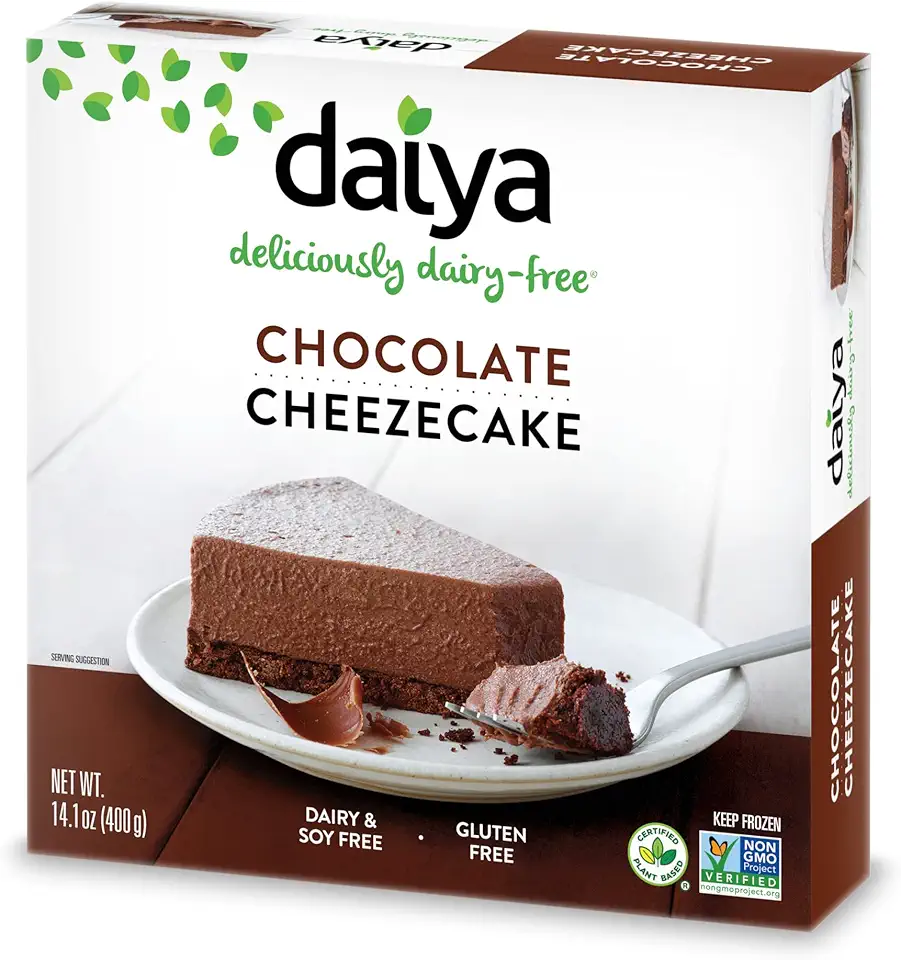 Daiya Dairy Free Gluten Free Chocolate Vegan Frozen Cheesecake, 14.1 Ounce (Pack of 8)
$107.26
View details
Prime
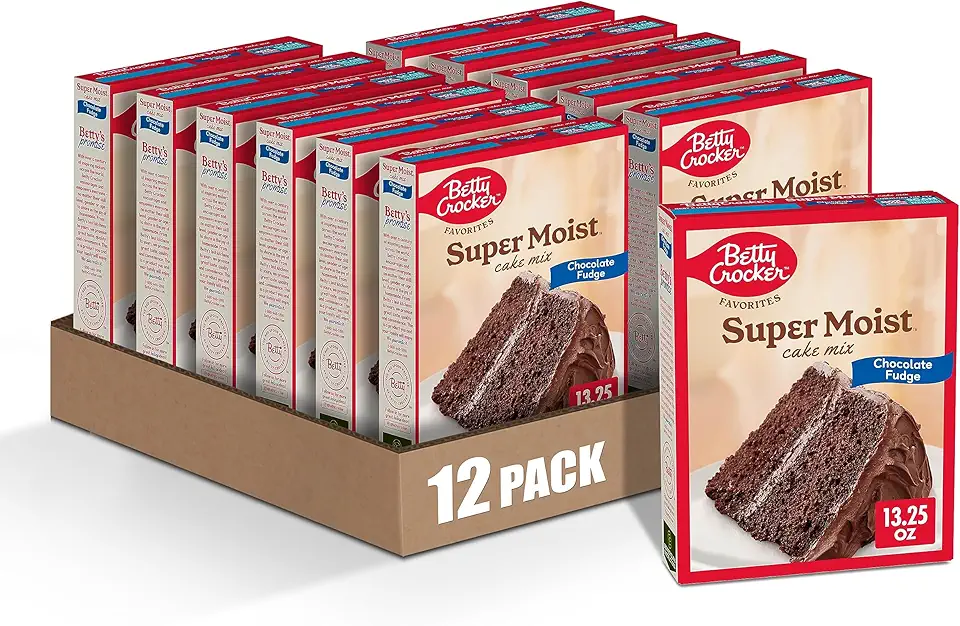 Betty Crocker Favorites Super Moist Chocolate Fudge Cake Mix, 13.25 oz (Pack of 12)
$23.04
View details
 LorAnn Lemon Bakery Emulsion, 4 ounce bottle (Pack of 2)
$16.98
View details
 Wholesome Fair Trade Organic Powdered Sugar, Naturally Flavored Real Sugar, Non GMO & Gluten Free, 50 Pound (Pack of 1)
$106.95
View details
Prime
best seller
 Lakanto Powdered Monk Fruit Sweetener with Erythritol - Powdered Sugar Substitute, Zero Calorie, Keto Diet Friendly, Zero Net Carbs, Baking, Extract, Sugar Replacement (Powdered - 1 lb)
$11.90
View details
Prime
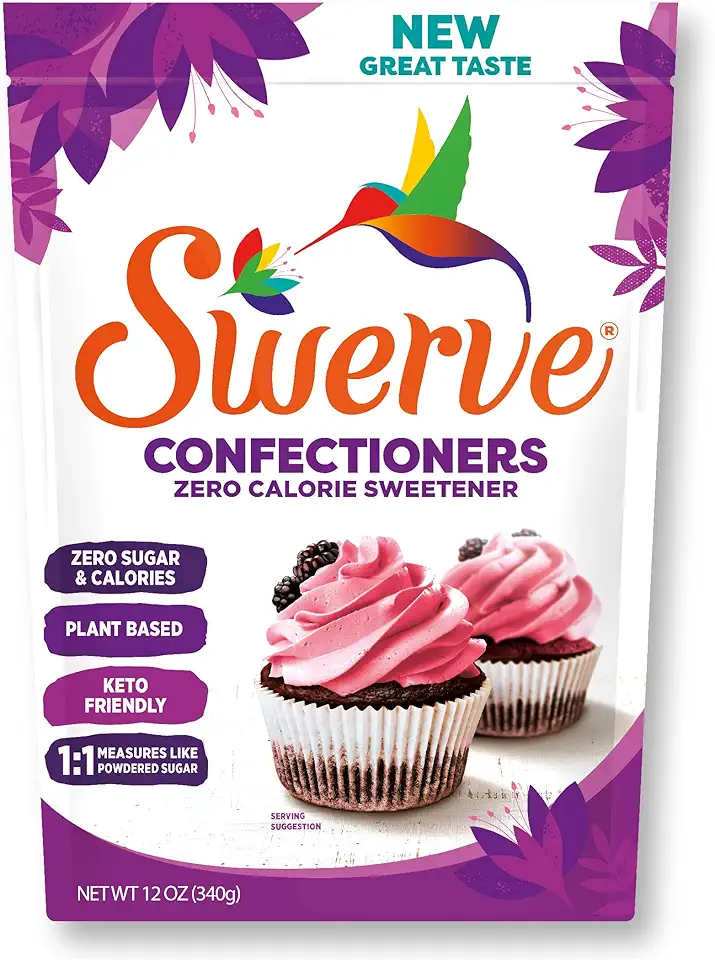 Swerve Sweetener Powder, Confectioners, 12 oz
$6.98
View details
Instructions
Step 1
Start by combining all the dry ingredients in a large mixing bowl. This includes the flour, sugar, baking powder, salt, and cocoa powder. Make sure they are evenly distributed.
In another bowl, mix the kefir and eggs together until smooth. Ensure that all ingredients are at room temperature. Gradually add the vegetable oil into this mixture and stir well.
Now, combine both mixtures and stir until just combined. Do not overmix.
Distribute the batter evenly into three prepared cake rings or a single round pan. Make sure to grease the sides with butter.
Bake the cakes in a preheated oven at 150°C (300°F) until a toothpick inserted in the center comes out clean. Once baked, remove the cakes and wrap them tightly in plastic wrap; let them cool to room temperature before refrigerating them overnight.
Step 2
For the cream, make sure the cream cheese and heavy cream are cold, just like the whisk you will use for whipping. This helps achieve the best consistency.
In a mixing bowl, whip the heavy cream and powdered sugar at high speed until soft peaks form. This generally takes a few minutes.
Then, gently introduce the cream cheese into the mixture and continue to whip at low speed until everything is well combined. Adjust the sweetness based on your taste by adding more or less powdered sugar.
Step 3
Once the cakes are chilled, use a round cutter to cut out circles from the cakes, ideally 14 cm in diameter. You can save the trimmings to use for decoration.
Layer the cut cake rounds with the prepared cream, spreading it evenly between each layer. After assembling your cake, you can use the trimmings to crumble and sprinkle on top as decoration.
Finally, refrigerate the assembled cake until ready to serve. Enjoy your delicious Classic Red Velvet Cake with friends and family!
Servings
Classic Slice: Serve a generous slice drizzled with extra cream cheese frosting on the side. This allows each guest to enjoy the rich flavors fully! 🍰
Decadent Dessert Cups: For a fun presentation, crumble your cake into dessert cups, layering with cream cheese frosting. Top with fresh berries for a pop of color and flavor! 🍓
Gourmet Pairings: Pair your Red Velvet Cake with a scoop of vanilla ice cream or pour a side of warm chocolate sauce. 😋 Your guests will love the mix of textures and temps!
🎉 Every celebration deserves a slice of joy — make it memorable with this stellar dessert!
Equipment
Sturdy and spacious mixing bowls are essential for combining your dry and wet ingredients. Consider using glass or stainless steel for durability.
An electric mixer will save you time and energy when whipping cream and blending ingredients. Make sure it's powerful enough to handle both thick cream cheese and airy whipped cream!
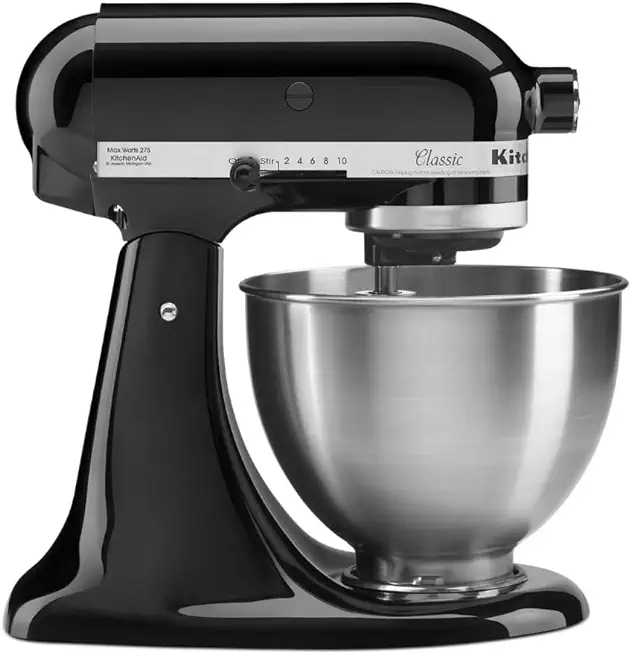 KitchenAid Classic Series 4.5 Quart Tilt-Head Stand Mixer K45SS, Onyx Black
$279.99
$329.99
View details
 Commercial Stand Mixer, 15Qt Heavy Duty Electric Food Mixer, Commercial Mixer 600W with 3 Speeds Adjustable 130/233/415RPM, Stainless Steel Bowl, Dough Hook Whisk Beater Perfect for Bakery Pizzeria
$579.99
View details
Prime
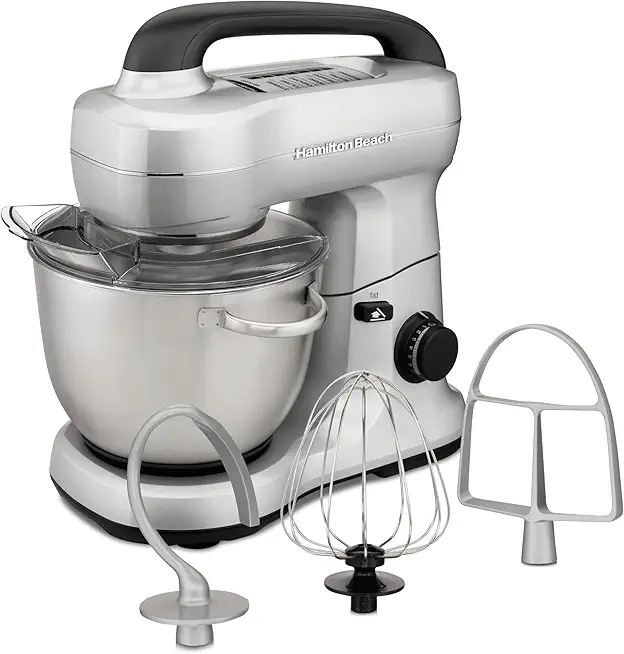 Hamilton Beach Electric Stand Mixer, 4 Quarts, Dough Hook, Flat Beater Attachments, Splash Guard 7 Speeds with Whisk, Silver
$95.99
$119.99
View details
Accurate measurements matter! Invest in quality measuring cups and spoons for precise baking.
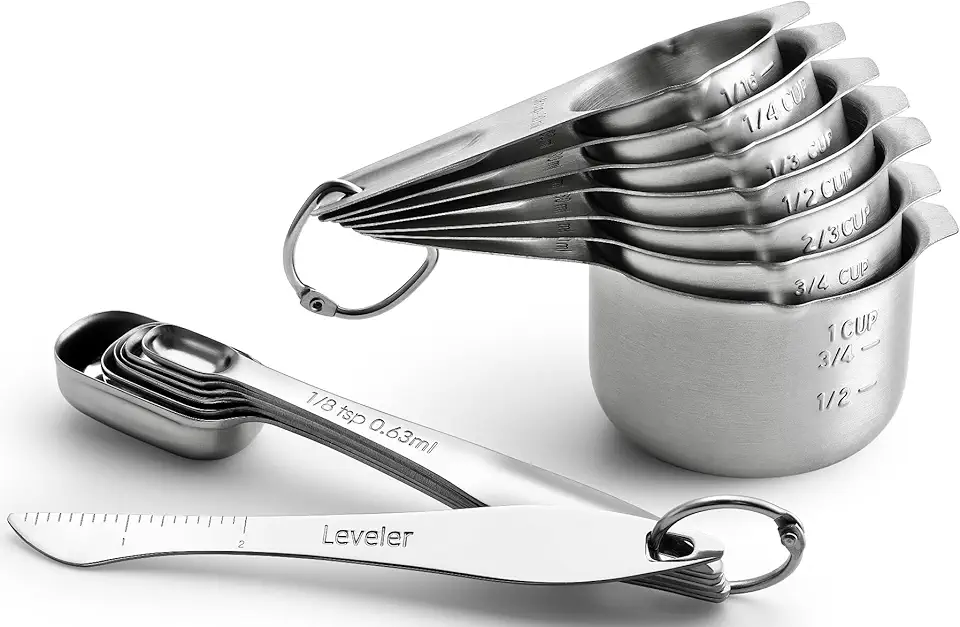 Spring Chef Stainless Steel Measuring Cups and Measuring Spoons Set of 14 with Leveler, Nesting Kitchen Metal Measuring Cups and Spoons Set for Dry and Liquid Ingredients, Perfect for Cooking & Baking
$21.99
View details
Prime
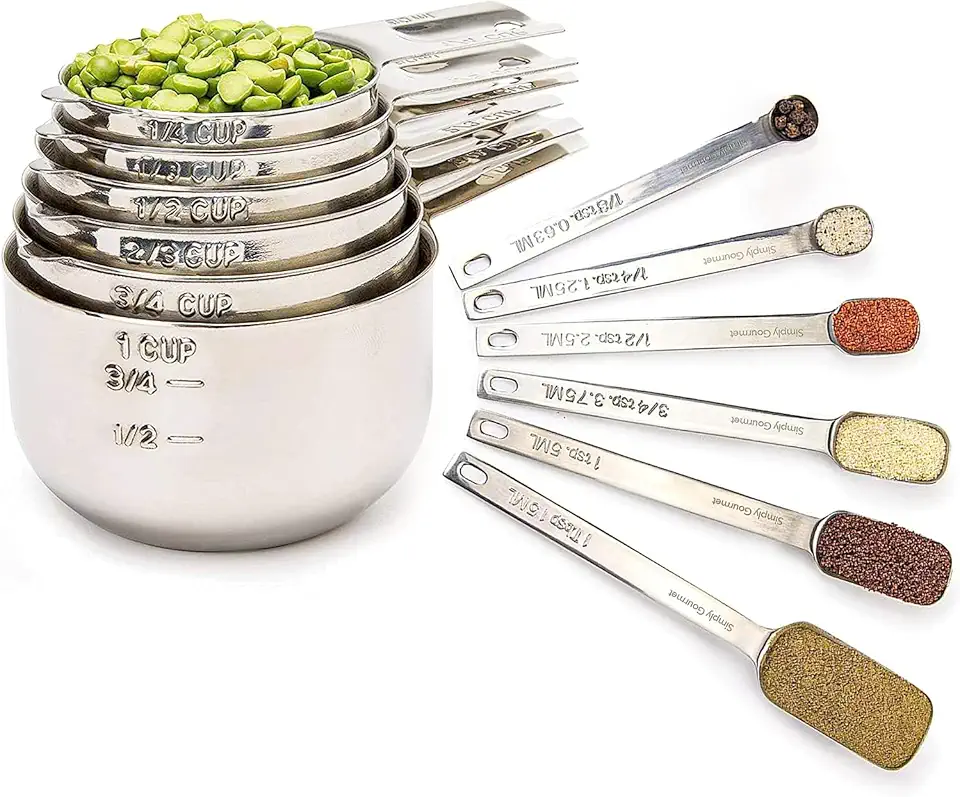 Simply Gourmet Measuring Cups and Spoons Set of 12, 304 Premium Stainless Steel, Stackable Cups Long Handle Spoons Fits Narrow Jars, Kitchen Gadgets for Liquid & Dry Ingredients Cooking Baking
$32.98
$45.99
View details
Prime
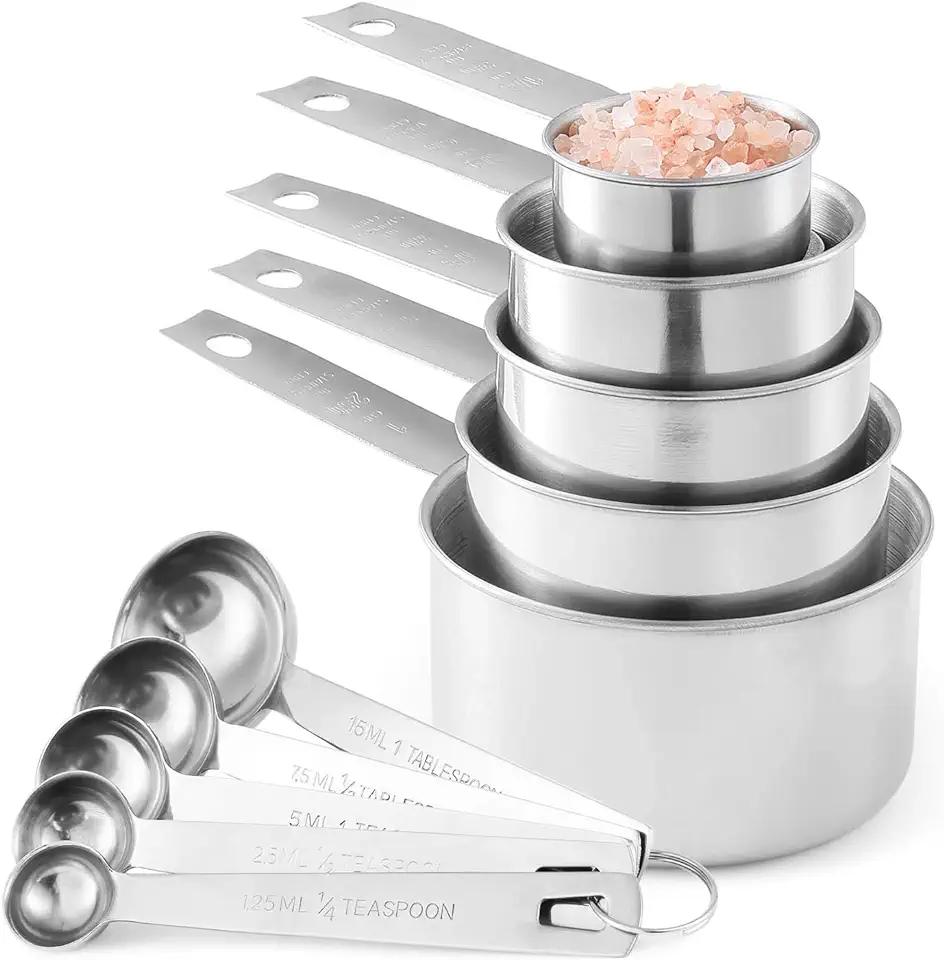 Stainless Steel Measuring Cups And Measuring Spoons 10-Piece Set, 5 Cups And 5 Spoons
$13.95
$17.98
View details
Use non-stick cake tins or line them with parchment paper for easy release. Round cake tins around 14-16 cm in diameter will give your cake the perfect shape.
Once your cakes are done baking, transfer them to a cooling rack to prevent sogginess.
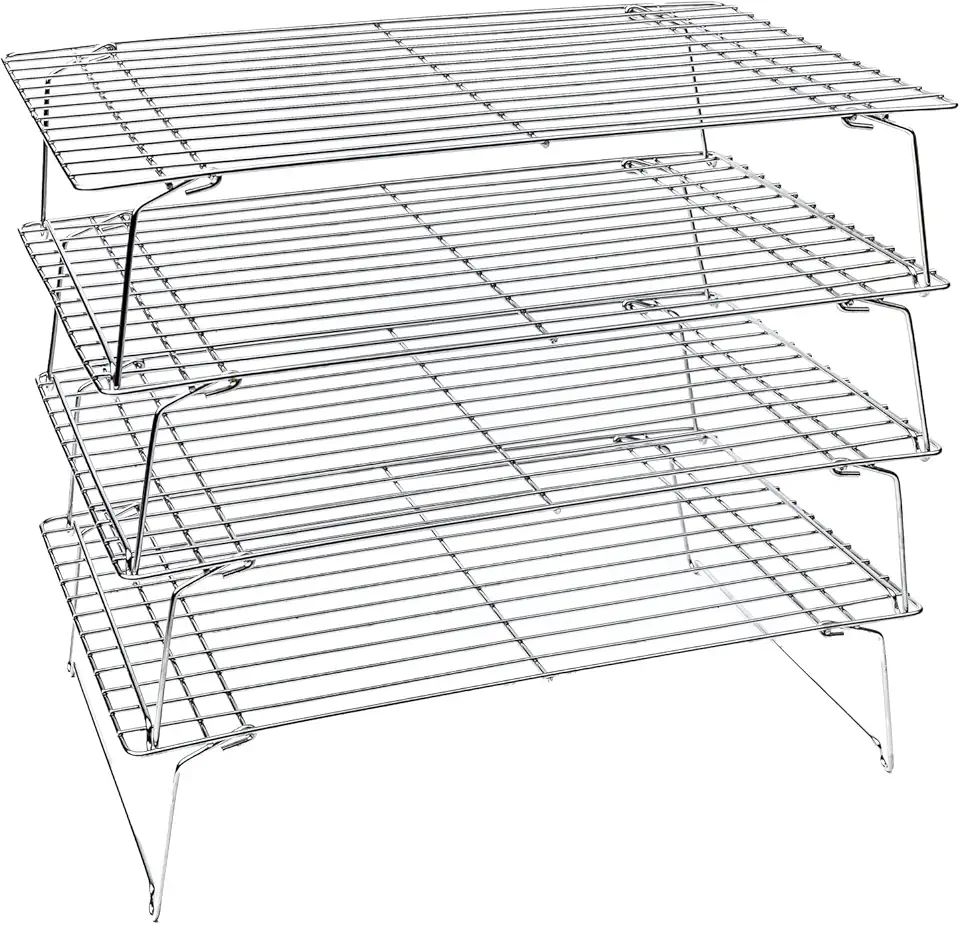 KITCHENATICS 4-Tier Stackable Cooling Racks for Baking, 100% Stainless Steel Wire Rack, Oven Safe Baking Rack, Oven Rack for Pizza, Cake, Bread, Cooling Rack for Cooking and Baking, Cookie Rack 15x10
$31.98
$45.98
View details
Prime
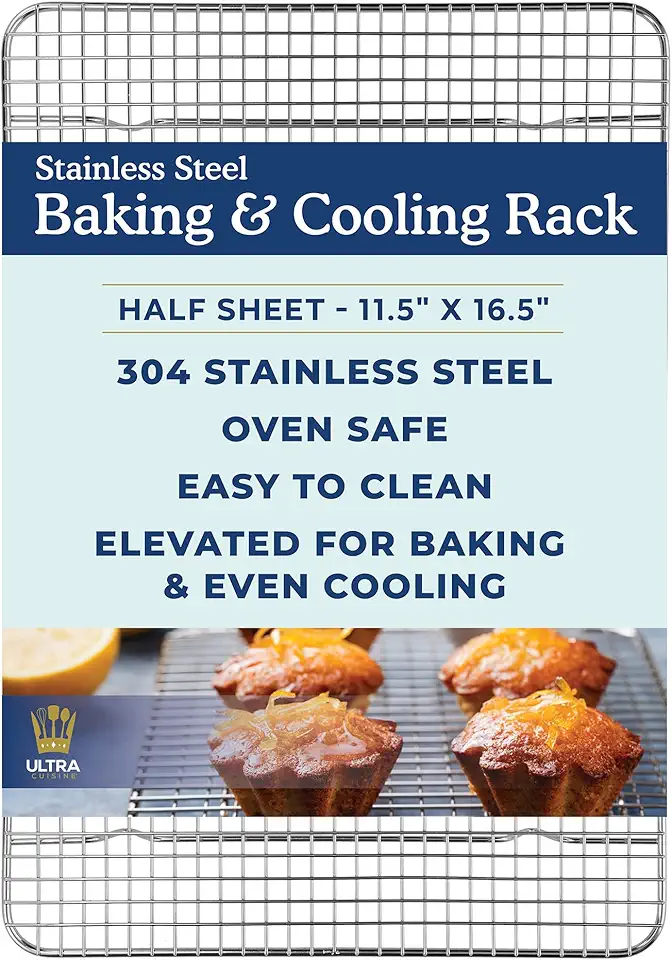 Ultra Cuisine Heavy Duty Cooling Rack for Cooking and Baking - 100% Stainless Steel Baking Rack & Wire Cooling Rack - Cookie Cooling Racks for Baking - Food Safe - Fits Half Sheet Pans - 11.5" x 16.5"
$21.99
$34.99
View details
Prime
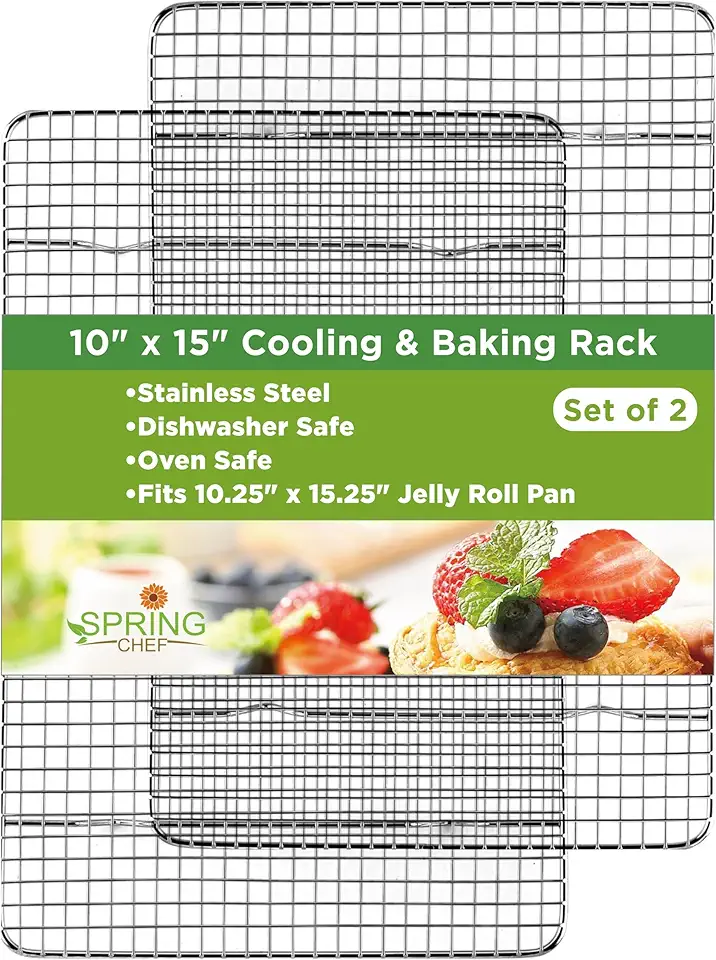 Spring Chef Cooling Rack & Baking Rack - 100% Stainless Steel Cookie Cooling Racks, Wire Rack for Baking, Oven Safe 10 x 15 Inches Fits Jelly Roll Pan - Cooling Racks for Cooking and Baking, Set of 2
$24.99
View details
Variations
If you’re looking to mix things up or cater to different dietary needs, here are some **gluten-free** and **vegan** variations of the Red Velvet Cake:
Gluten-Free Twist: Substitute regular flour with a 1:1 gluten-free flour blend. This maintains the cake's moisture and flavor without the gluten! 🌾
Vegan Delight: Replace the eggs with flaxseed meal (1 tablespoon of flaxseed mixed with 2.5 tablespoons of water = 1 egg) and use almond or coconut milk in place of buttermilk. Use a plant-based cream cheese for the frosting! 🌱
These variations ensure that everyone can enjoy the deliciousness of Red Velvet Cake!
Faq
- What can I do if my cake doesn’t rise properly?
Make sure your baking powder is fresh and pay attention to the correct oven temperature. Sometimes, over-mixing can also affect the rise!
- How do I store leftover cake?
To keep your cake fresh, wrap it in plastic wrap and store it in the fridge for up to 3 days. You can also freeze slices for a sweet treat later!
- Can I make this cake in advance?
Yes! Bake the cake layers a day ahead, cool them completely, wrap tightly in plastic wrap, and store them in the refrigerator until you're ready to frost.
- What’s the best way to frost my cake?
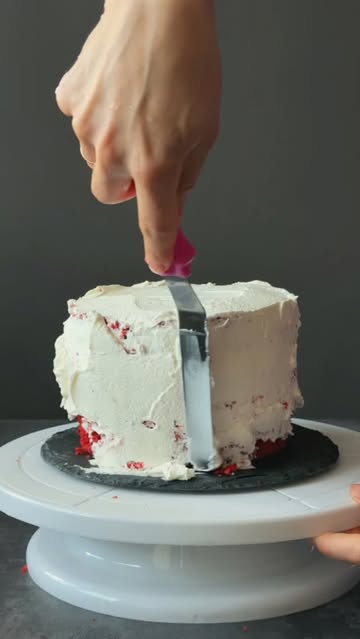
Ensure both your frosting and cake layers are cold. Use a spatula to create a smooth layer on the sides and top, and don’t hesitate to add some fun decorations for flair!
- Can I use a different type of frosting?
Absolutely! Feel free to experiment with chocolate ganache or whipped cream for a different flavor profile.
- How can I make my cake more visually appealing?
Add garnishes like edible flowers, mint leaves, or fresh berries on top for a tropical vibe! Your cake will not only taste good but look stunning too.

