Ingredients
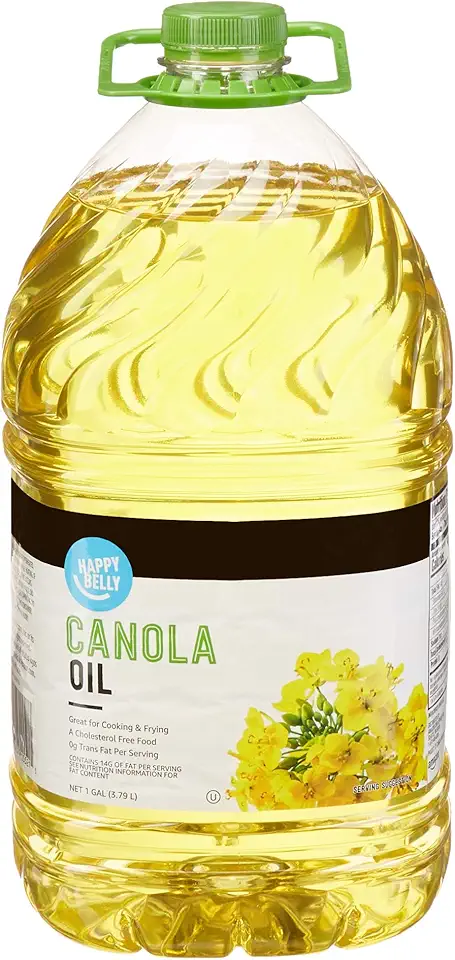
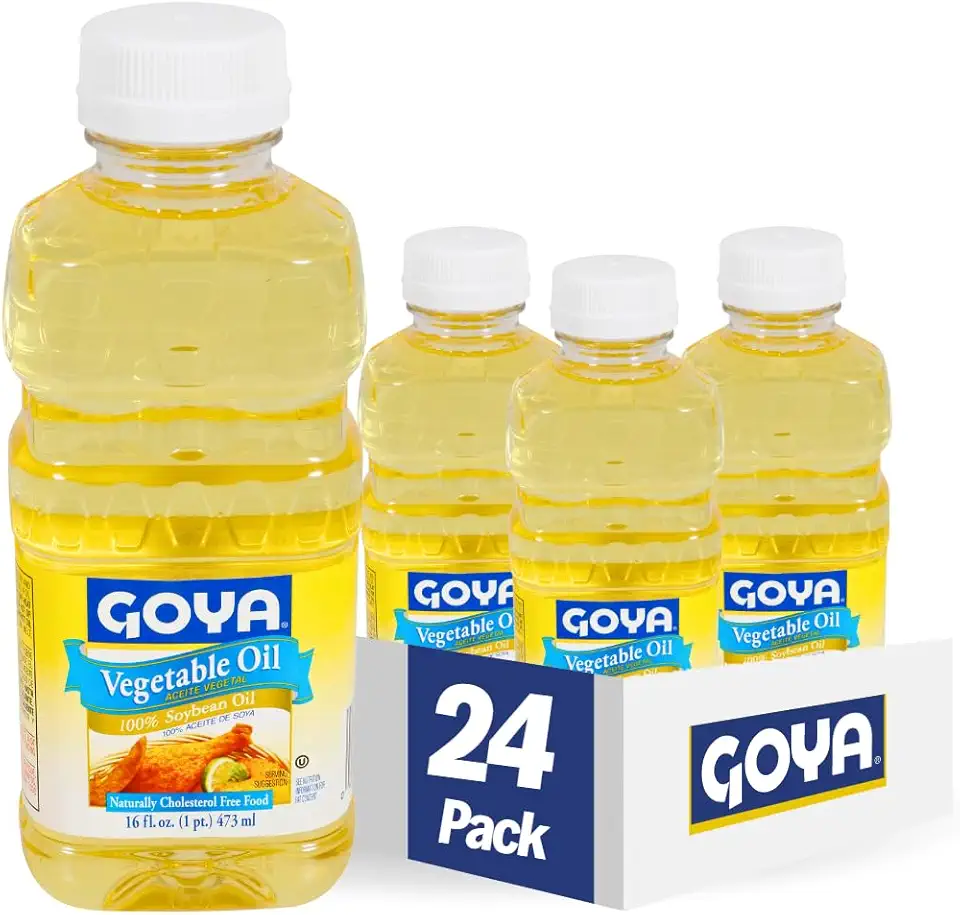
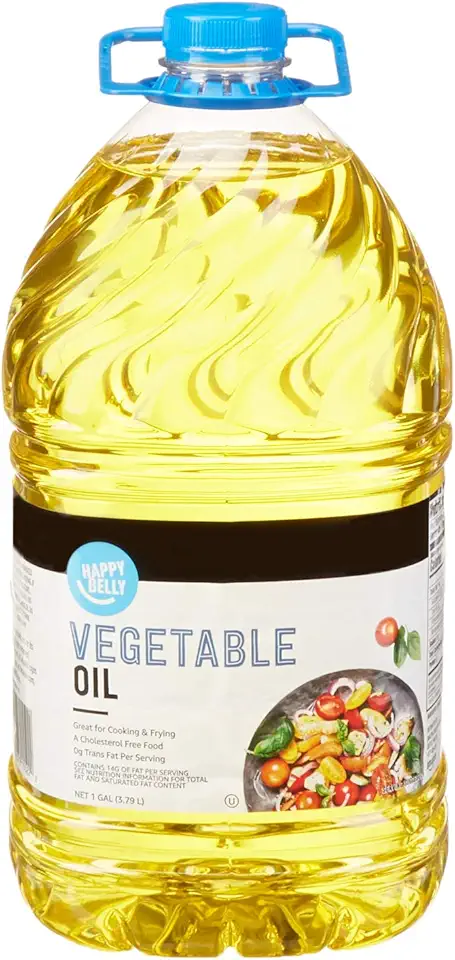
Wet Ingredients
Dry Ingredients
 Bob's Red Mill Gluten Free 1-to-1 Baking Flour, 22 Ounce (Pack of 4)
$23.96
View details
Prime
 Antimo Caputo Chefs Flour - Italian Double Zero 00 - Soft Wheat for Pizza Dough, Bread, & Pasta, 2.2 Lb (Pack of 2)
$16.99
View details
Prime
best seller
 King Arthur, Measure for Measure Flour, Certified Gluten-Free, Non-GMO Project Verified, Certified Kosher, 3 Pounds, Packaging May Vary
$8.62
View details
Instructions
Step 1
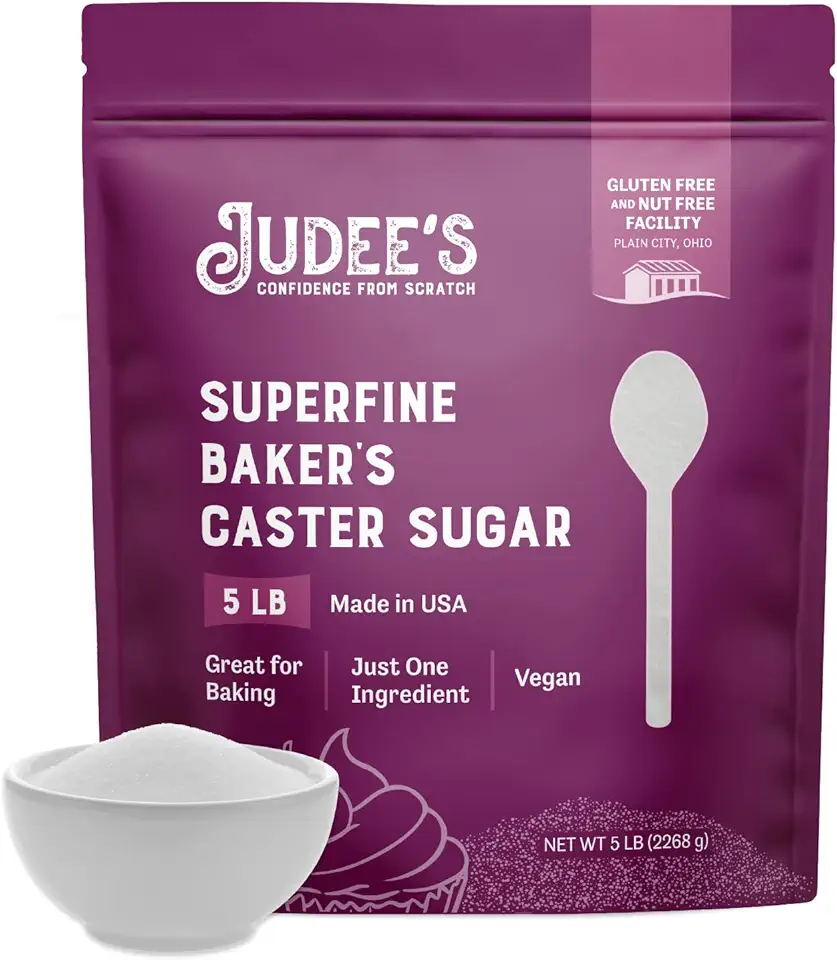
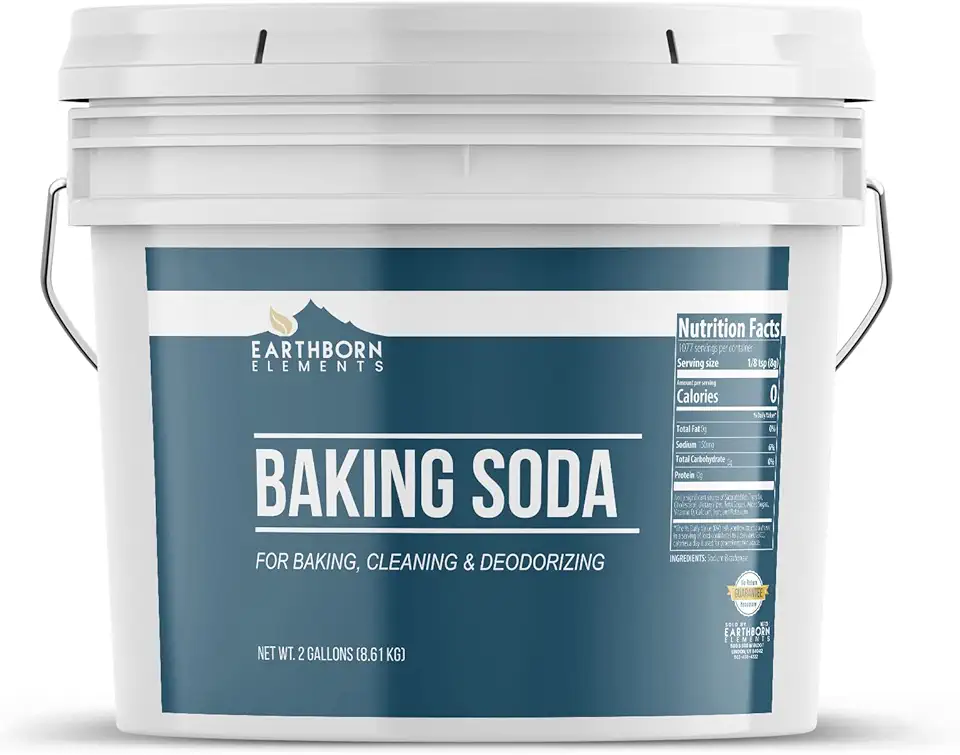
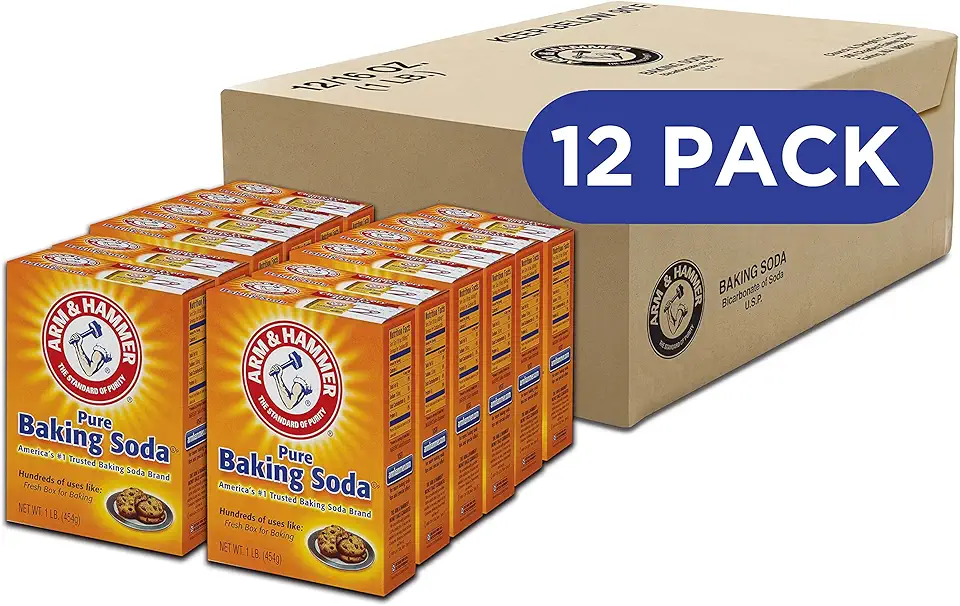
In a large mixing bowl, combine the eggs, sugar, and salt with the milk. Whisk thoroughly until well combined. Gradually add the sifted flour and baking soda, ensuring there are no lumps in the batter.
Step 2
Next, add the vegetable oil to the mixture and stir well. As you continue to mix, slowly pour in the boiling water in a thin stream. This step is crucial for achieving a smooth consistency; be sure to keep stirring.
Step 3
Once everything is well mixed, let the batter rest for about 30 minutes. This allows the flour to fully hydrate, resulting in lighter and fluffier blini.
Step 4
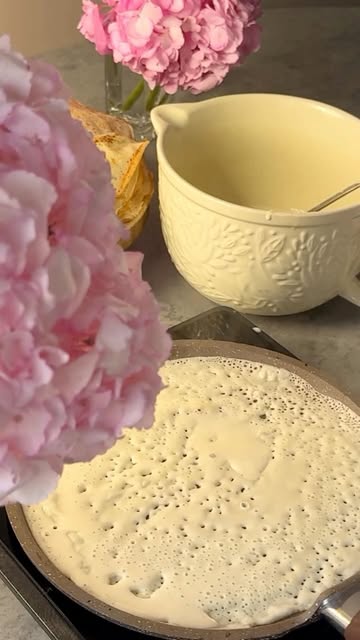
After resting, heat a non-stick skillet over medium heat. Pour in a small ladle of batter and cook until the edges begin to lift and the bottom is golden brown. Flip the blini and cook for an additional minute on the other side. Repeat with the remaining batter.
Step 5
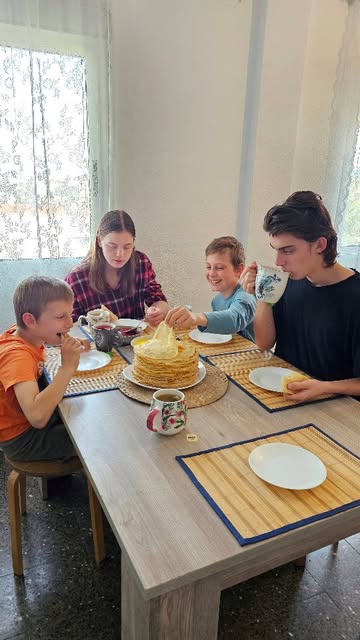
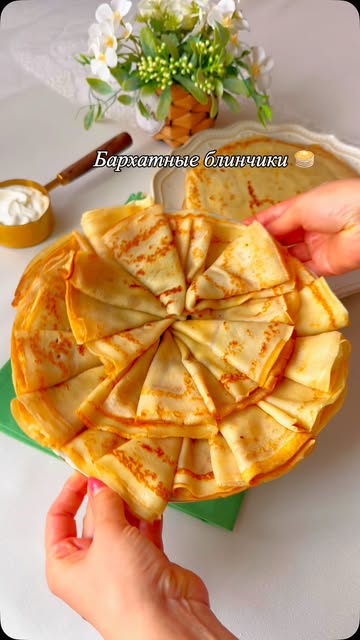
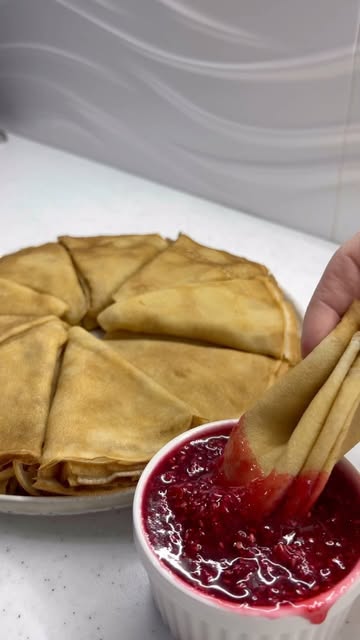
Serve your warm blini with toppings of your choice such as jams, sour cream, or even smoked salmon. Enjoy your homemade treat and make memorable moments with your family!
Servings
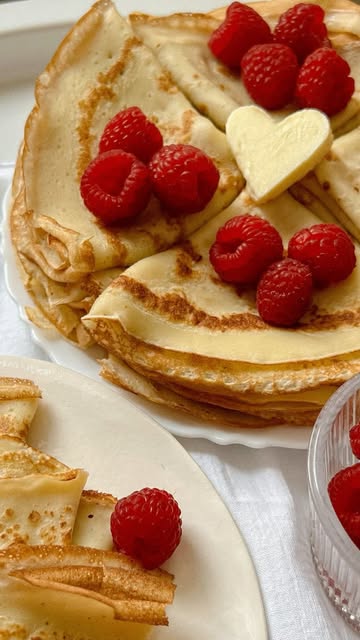
These pancakes are wonderfully versatile! Serve them hot with a drizzle of honey or a generous dollop of sour cream for a delightful treat. 🍯 If you're feeling adventurous, try adding some fresh fruit like berries or bananas on top. 🍌🍓 Not only do they look beautiful, but they add a refreshing twist to the classic recipe!
For an extra special brunch, consider serving a selection of toppings on the side, such as melted chocolate, jams, or even savory options like smoked salmon. 🌟 Imagine a delightful pancake bar where everyone can create their pancake masterpiece!
Don't forget, they also make for a fantastic dessert option! Layer them with cream and fruits to create a delicious pancake cake, perfect for any celebration. 🎉
Equipment
Choose a large bowl to give you plenty of space to mix your ingredients without spills. A glass or stainless-steel bowl is best for easy cleanup.
 YIHONG 7 Piece Mixing Bowls with Lids for Kitchen, Stainless Steel Mixing Bowls Set Ideal for Baking, Prepping, Cooking and Serving Food, Nesting Metal Mixing Bowls for Space Saving Storage
$27.99
$35.99
View details
Prime
best seller
 Pyrex Glass, 3-Piece, 3 PC Mixing Bowl Set
$17.53
View details
Prime
 REGILLER Stainless Steel Mixing Bowls (Set of 5), Non Slip Colorful Silicone Bottom Nesting Storage Bowls, Polished Mirror Finish For Healthy Meal Mixing and Prepping 1.5-2 - 2.5-3.5 - 7QT (Colorful)
$26.99
View details
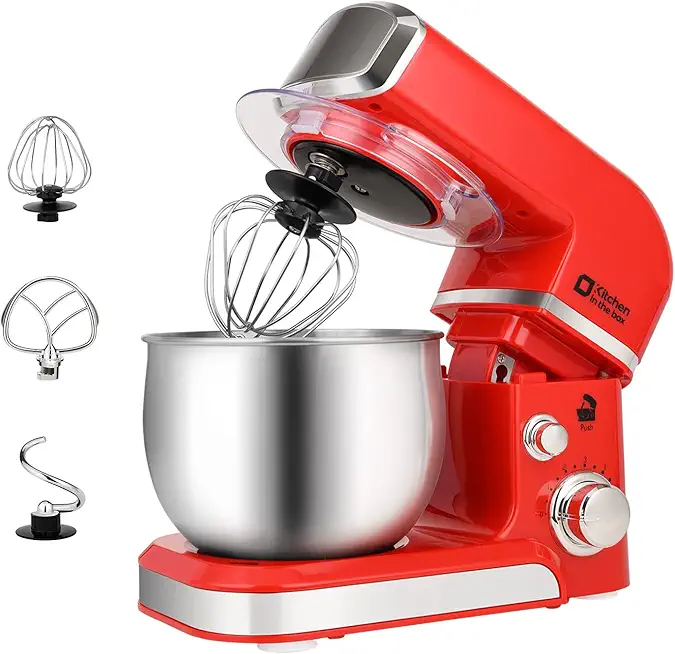
A whisk is great for blending your ingredients manually, but an electric mixer can make the job faster and ensure a lump-free batter.
The right pan is key! A non-stick surface ensures your pancakes won’t stick and makes flipping a breeze. Make sure it’s preheated before pouring in the batter!
Accuracy is crucial in baking! Use dry measuring cups for flour and liquids for milk and water to achieve perfect consistency every time.
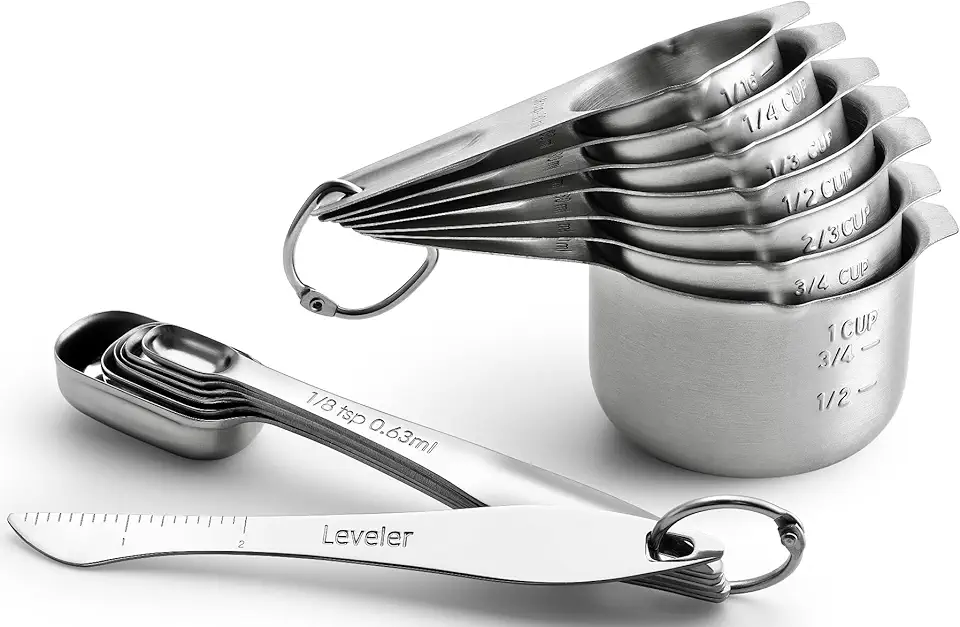 Spring Chef Stainless Steel Measuring Cups and Measuring Spoons Set of 14 with Leveler, Nesting Kitchen Metal Measuring Cups and Spoons Set for Dry and Liquid Ingredients, Perfect for Cooking & Baking
$21.99
View details
Prime
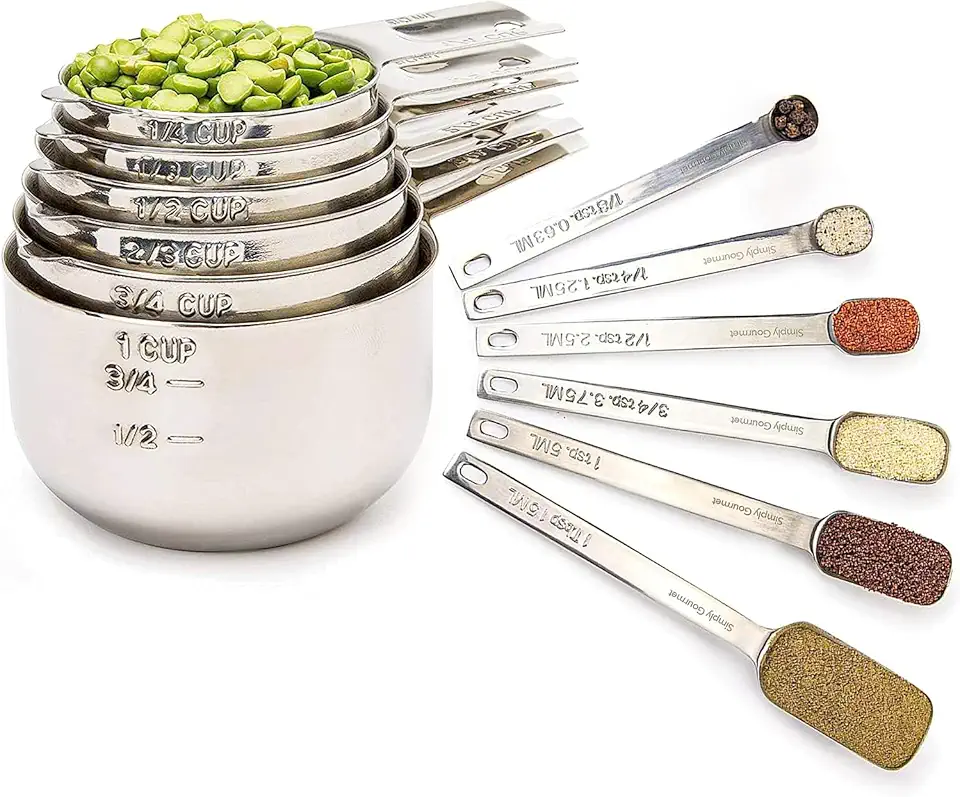 Simply Gourmet Measuring Cups and Spoons Set of 12, 304 Premium Stainless Steel, Stackable Cups Long Handle Spoons Fits Narrow Jars, Kitchen Gadgets for Liquid & Dry Ingredients Cooking Baking
$32.98
$45.99
View details
Prime
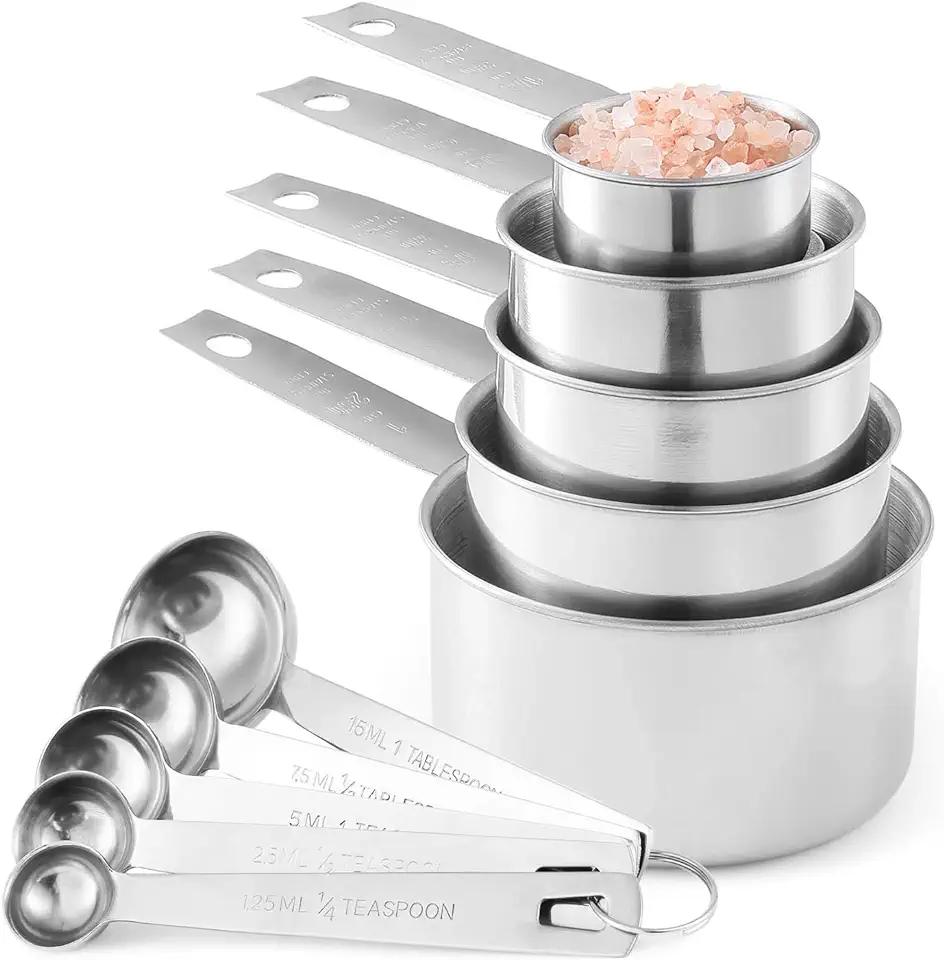 Stainless Steel Measuring Cups And Measuring Spoons 10-Piece Set, 5 Cups And 5 Spoons
$13.95
$17.98
View details
Variations
If you're looking for a gluten-free version, simply swap the regular flour for a gluten-free blend. It’s that easy! Plus, you can add just a bit of extra milk to achieve the right consistency. 🥛✨
For a vegan option, substitute the eggs with 1/4 cup of applesauce or a 'flax egg' (1 tablespoon of ground flaxseed mixed with 2.5 tablespoons of water). Use almond milk instead of regular milk, and your pancakes will be just as delightful and fluffy! 🌱💚
Faq
- What should I do if my pancake batter is too thick?
If your batter is too thick, simply add a little more water or milk until you reach your desired consistency. It should pour easily but not be too runny!
- How do I know when to flip my pancakes?
Look for bubbles forming on the surface and the edges starting to look set. Once you see that, it’s time to flip!
- Why are my pancakes coming out flat?
This could be due to overmixing the batter or not letting it rest. Mix just until combined and let it sit for 30 minutes before cooking!
- Can I make the batter ahead of time?
Yes! You can prepare the batter in advance, but try to use it within 24 hours for best results and ensure it’s kept refrigerated.
- What's the best way to keep pancakes warm while I finish cooking the rest?
Keep your oven preheated to a low temperature (around 200°F/90°C) and place the finished pancakes on a baking sheet until you're ready to serve.
- Can I freeze leftover pancakes?
Definitely! Let them cool completely, then place them in a freezer-safe bag or container. They can last for up to 2 months. Just reheat in the toaster or microwave when you're ready to enjoy!

