Ingredients
Chocolate Mixture
Instructions
Step 1
Start by *breaking the chocolate* into small pieces to ensure it melts evenly.
In a microwave-safe bowl, combine the chocolate with the vegetable oil. Heat the mixture in the microwave in *short bursts of 15 to 20 seconds*. Stir in between each interval until the chocolate is completely melted and smooth. Be sure not to overheat.
Once melted, allow the chocolate mixture to cool down to *35-38 degrees Celsius* (about *95-100 degrees Fahrenheit*).
Step 2
Once the chocolate mixture is cool, add the *wafer crumbs* into the bowl. Using a spatula, mix gently but thoroughly until the crumbs are fully coated with the chocolate mixture. This will give the layer its crispy texture.
Step 3
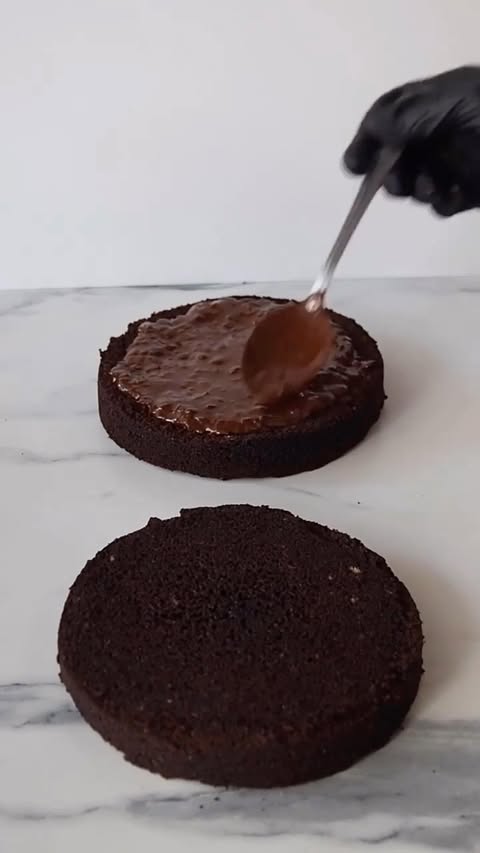
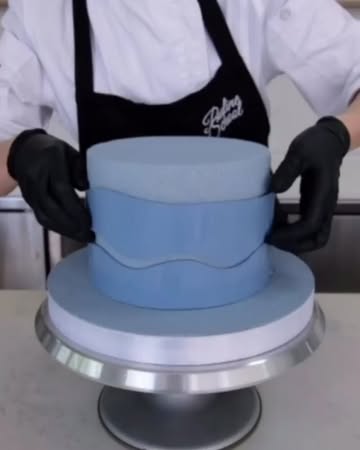
Prepare your cake base, and evenly spread the chocolate and wafer mixture on top of the biscuit layer.
To set, place the cake in the *freezer for 10 to 15 minutes*. This will help the chocolate layer firm up.
Step 4
After the chocolate layer has cooled and hardened, you can now cover the cake with your choice of *cream or frosting*.
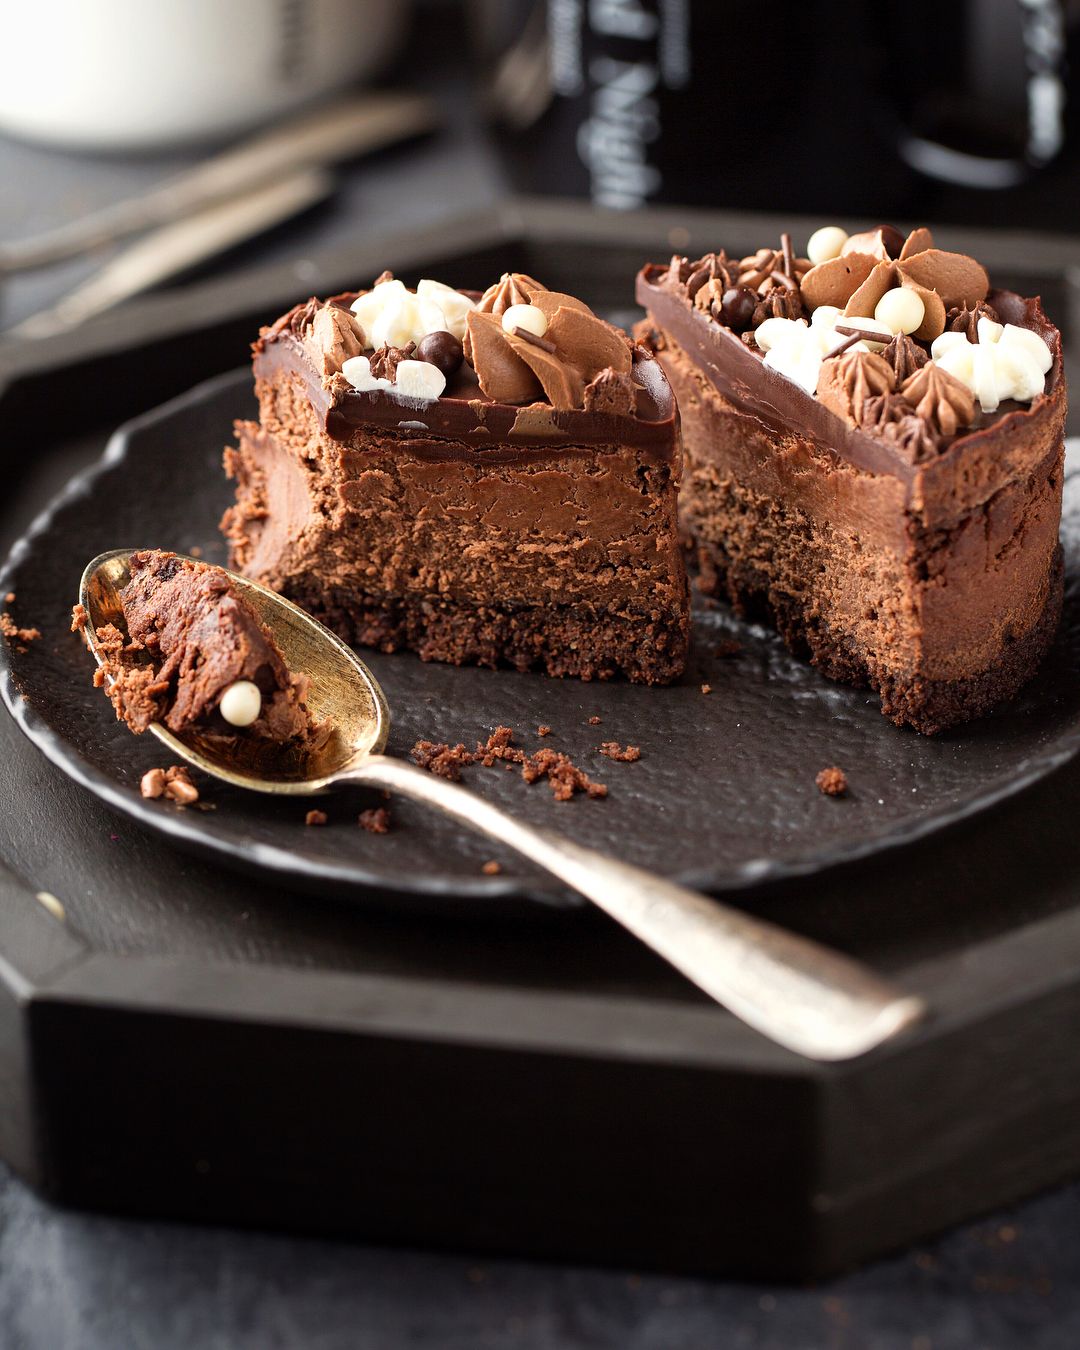
Slice and serve your cake, savoring the *crunchy chocolate layer* that adds a delightful texture to each bite!
Servings
Equipment
Essential for melting chocolate quickly and evenly. Use short intervals to avoid burning.
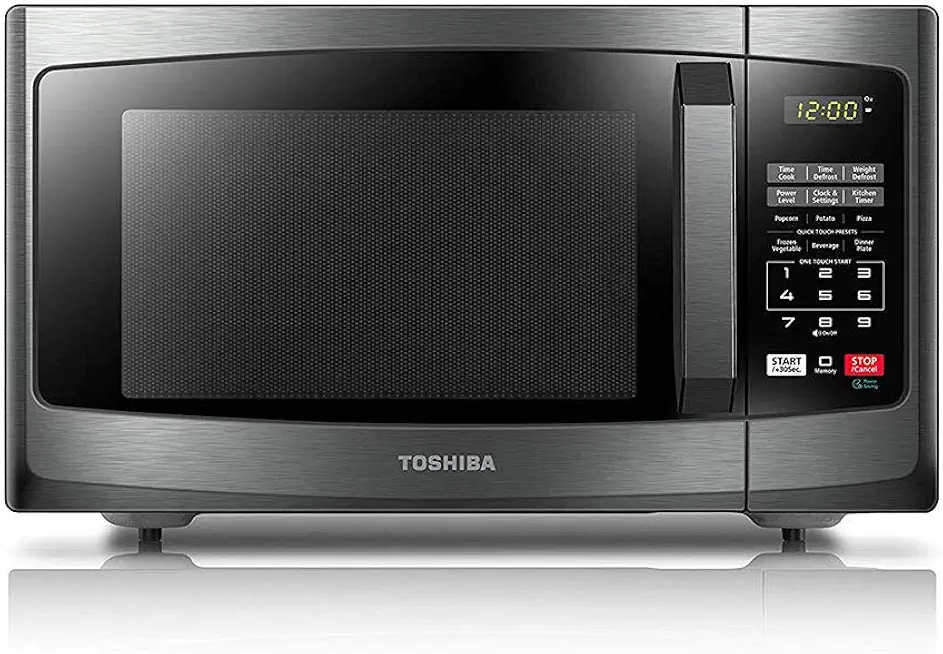 TOSHIBA EM925A5A-BS Countertop Microwave Oven, 0.9 Cu Ft With 10.6 Inch Removable Turntable, 900W, 6 Auto Menus, Mute Function & ECO Mode, Child Lock, LED Lighting, Black Stainless Steel
$104.99
$114.99
View details
Prime
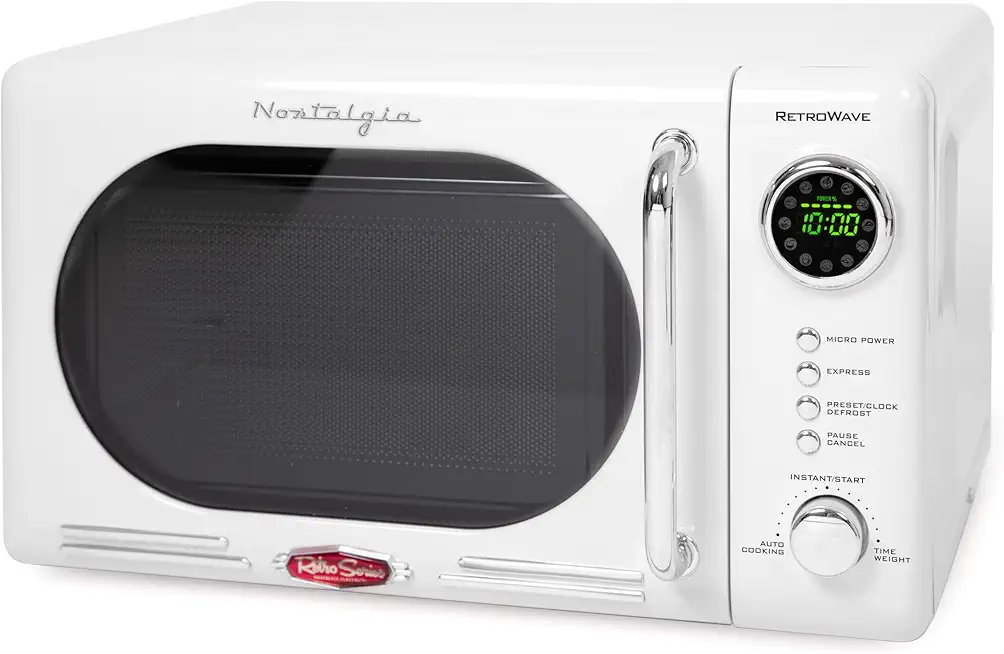 Nostalgia Retro Compact Countertop Microwave Oven - 0.7 Cu. Ft. - 700-Watts with LED Digital Display - Child Lock - Easy Clean Interior - White
$99.99
View details
Prime
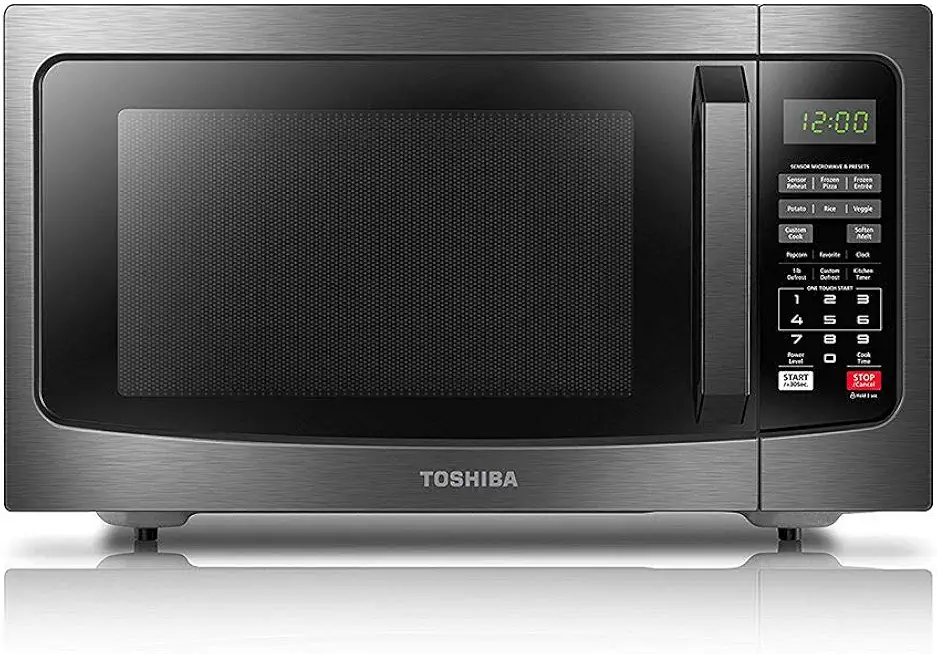 TOSHIBA EM131A5C-BS Countertop Microwave Ovens 1.2 Cu Ft, 12.4" Removable Turntable Smart Humidity Sensor 12 Auto Menus Mute Function ECO Mode Easy Clean Interior Black Color 1100W
$129.99
$149.99
View details
A medium-sized bowl will give you enough space to mix in all the ingredients thoroughly.
 YIHONG 7 Piece Mixing Bowls with Lids for Kitchen, Stainless Steel Mixing Bowls Set Ideal for Baking, Prepping, Cooking and Serving Food, Nesting Metal Mixing Bowls for Space Saving Storage
$27.99
$35.99
View details
Prime
best seller
 Pyrex Glass, 3-Piece, 3 PC Mixing Bowl Set
$17.53
View details
Prime
 REGILLER Stainless Steel Mixing Bowls (Set of 5), Non Slip Colorful Silicone Bottom Nesting Storage Bowls, Polished Mirror Finish For Healthy Meal Mixing and Prepping 1.5-2 - 2.5-3.5 - 7QT (Colorful)
$26.99
View details
A silicone spatula works best for folding in the wafer crumbs without creating excess mess.
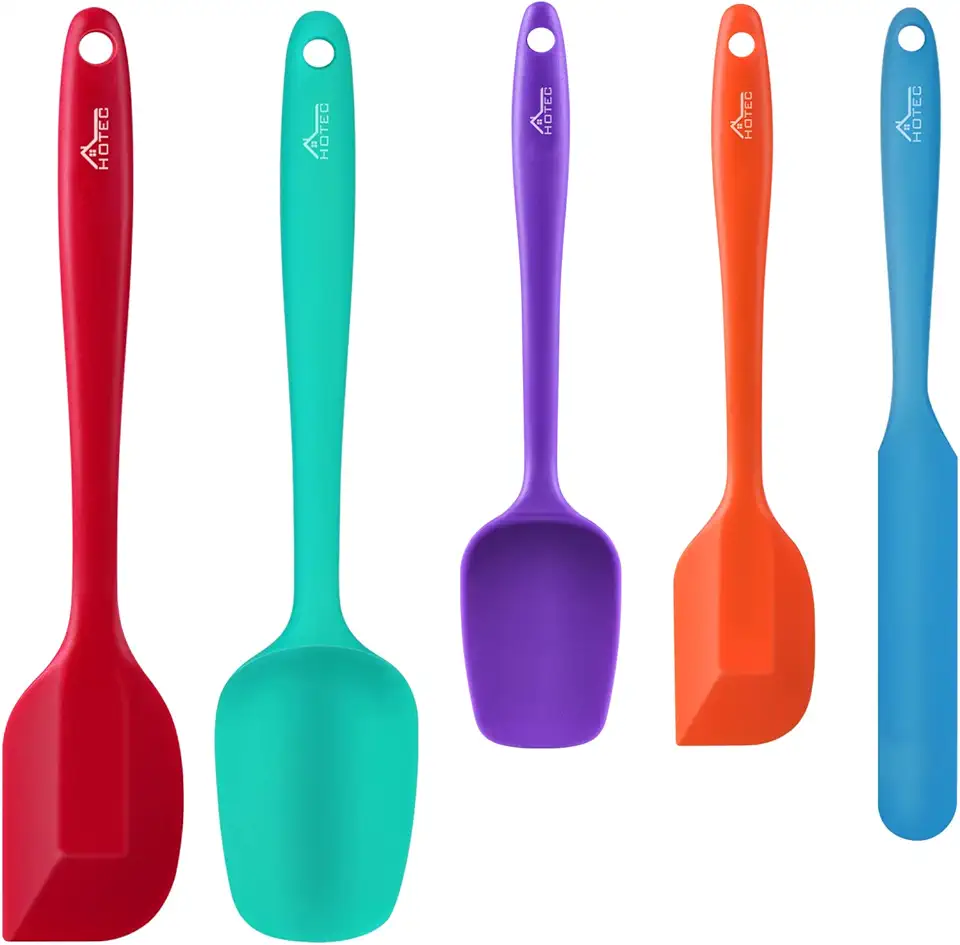 HOTEC Food Grade Silicone Rubber Spatula Set for Baking, Cooking, and Mixing High Heat Resistant Non Stick Dishwasher Safe BPA-Free Multicolor Set of 5
$9.59
$18.99
View details
Prime
 Wilton Icing Spatula - 13-Inch Angled Cake Spatula for Smoothing Frosting on Treats or Spreading Filling Between Cake Layers, Steel
$7.98
$8.75
View details
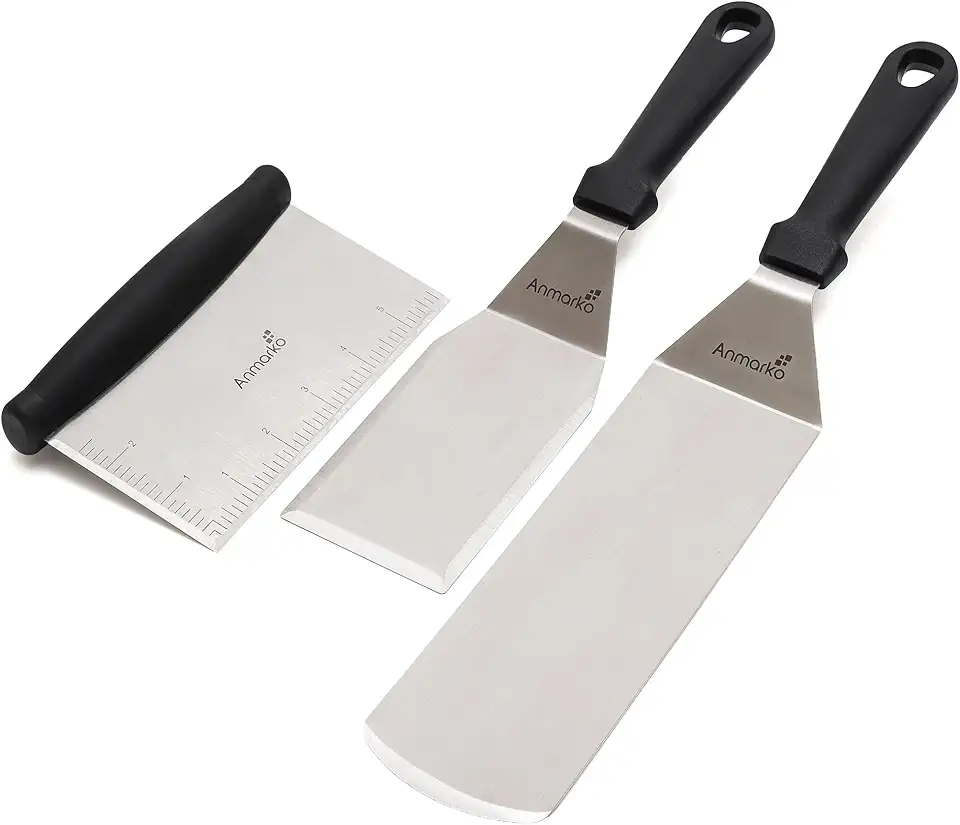 Metal Spatula Stainless Steel and Scraper - Professional Chef Griddle Spatulas Set of 3 - Heavy Duty Accessories Great for Cast Iron BBQ Flat Top Grill Skillet Pan - Commercial Grade
$19.99
$22.99
View details
Use a container that fits in your freezer to chill and set the chocolate mixture effectively.
Variations
Faq
- How do I know if the chocolate is melted properly?
The chocolate should be smooth and slightly warm to the touch. If you see lumps, it means you might need to melt it a bit longer but watch carefully to prevent burning.
- Can I use different types of chocolate?
Absolutely! Feel free to mix dark and milk chocolate for a unique flavor or use white chocolate for a sweeter taste!
- What if my crunchy layer isn't setting in the freezer?
If it’s too soft after 15 minutes, give it a little more time. Freezing might take longer in warmer kitchens, so be patient!
- Can I add extras like nuts or dried fruit to the crunchy layer?
Definitely! Just ensure that any additions are finely chopped to maintain its texture. Mix them in before putting the mixture onto the cake.
- What's the best way to serve the cake once assembled?
After assembling, let the cake set in the refrigerator for about 30 mins before slicing. This helps all the layers meld together beautifully!
- How long can this crunchy layer be stored?
Once assembled, the cake remains fresh for up to 3-4 days in the fridge. Just keep it covered to maintain its ideal texture!
