Ingredients
Chocolate Biscuit
 Bob's Red Mill Gluten Free 1-to-1 Baking Flour, 22 Ounce (Pack of 4)
$23.96
View details
Prime
 Antimo Caputo Chefs Flour - Italian Double Zero 00 - Soft Wheat for Pizza Dough, Bread, & Pasta, 2.2 Lb (Pack of 2)
$16.99
View details
Prime
best seller
 King Arthur, Measure for Measure Flour, Certified Gluten-Free, Non-GMO Project Verified, Certified Kosher, 3 Pounds, Packaging May Vary
$8.62
View details
 Sugar In The Raw Granulated Turbinado Cane Sugar Cubes, No Added Flavors or erythritol, Pure Natural Sweetener, Hot & Cold Drinks, Coffee, Vegan, Gluten-Free, Non-GMO,Pack of 1
$5.27
View details
Prime
 Sugar In The Raw Granulated Turbinado Cane Sugar, No Added Flavors or erythritol, Pure Natural Sweetener, Hot & Cold Drinks, Coffee, Baking, Vegan, Gluten-Free, Non-GMO, Bulk Sugar, 2lb Bag (1-Pack)
$3.74
$4.14
View details
Prime
 C&H Pure Cane Granulated White Sugar, 25-Pound Bags
$56.99
$49.98
View details
 Valrhona Cocoa Powder - 3 kg
$84.95
View details
Prime
best seller
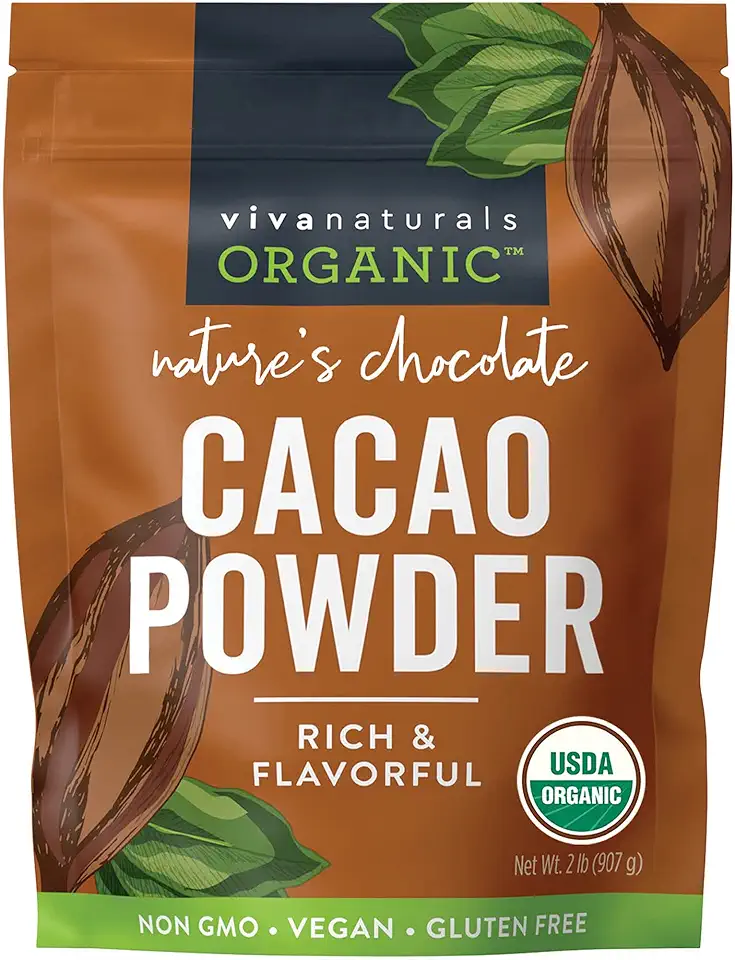 Viva Naturals Organic Cacao Powder, 2lb - Unsweetened Cocoa Powder With Rich Dark Chocolate Flavor, Perfect for Baking & Smoothies - Certified Vegan, Keto & Paleo, Non-GMO & Gluten-Free, 907 g
$20.49
View details
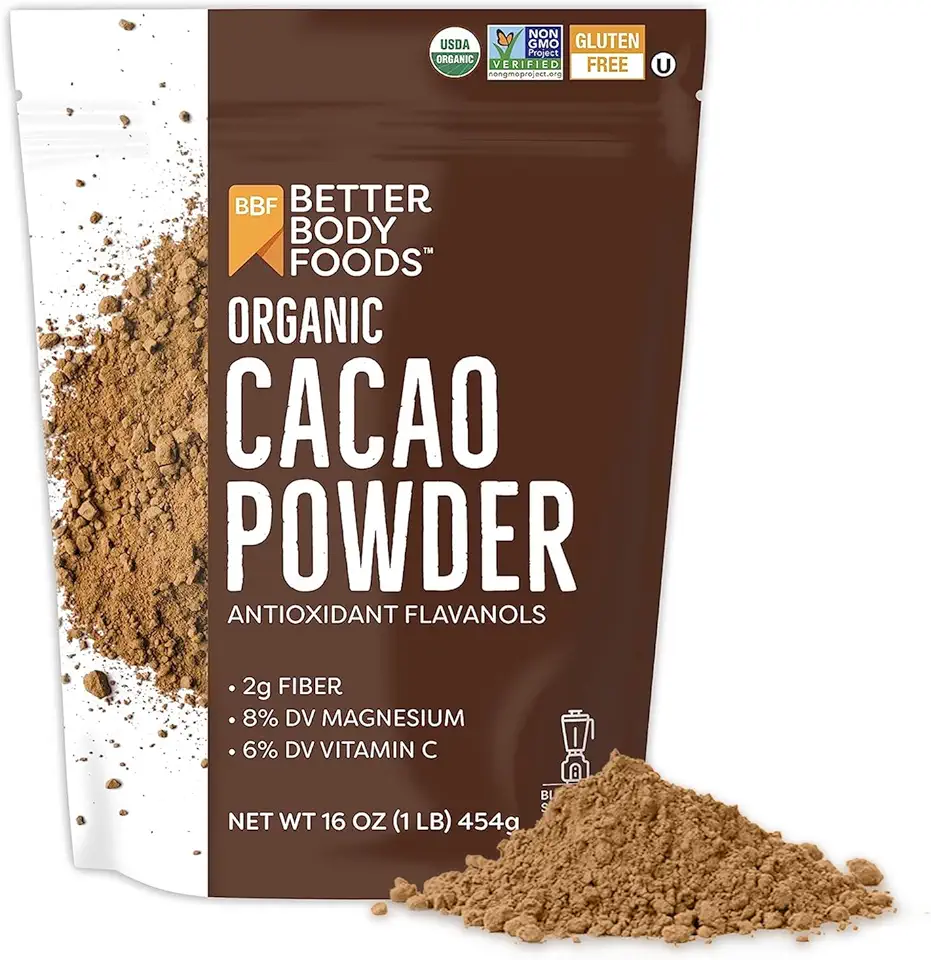 BetterBody Foods Organic Cacao Powder, Rich Chocolate Flavor, Non-GMO, Gluten-Free, Cocoa, 16 ounce, 1 lb bag
$10.41
View details
 Kevala Cashew Butter 7 Lbs Pail
$83.62
View details
Prime
best seller
 4th & Heart Original Grass-Fed Ghee, Clarified Butter, Keto, Pasture Raised, Lactose and Casein Free, Certified Paleo (9 Ounces)
$11.49
View details
Prime
 4th & Heart Himalayan Pink Salt Grass-Fed Ghee, Clarified Butter, Keto Pasture Raised, Non-GMO, Lactose and Casein Free, Certified Paleo (9 Ounces)
$9.49
View details
Cream Filling
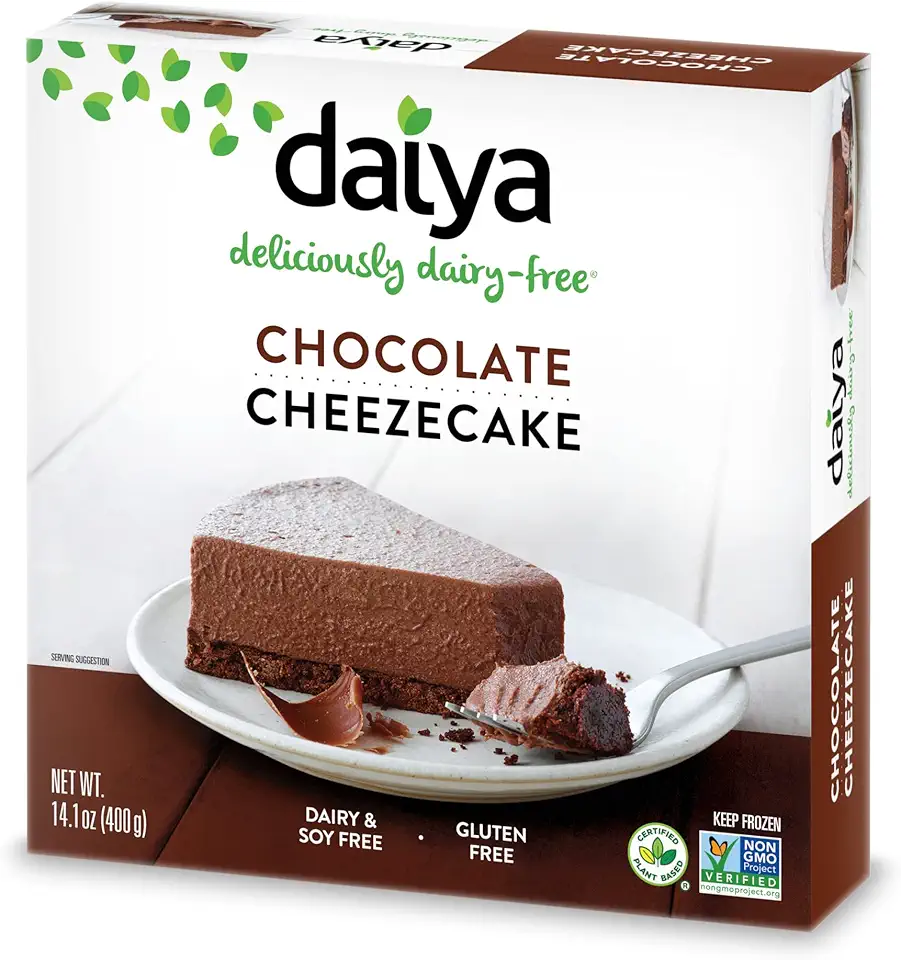 Daiya Dairy Free Gluten Free Chocolate Vegan Frozen Cheesecake, 14.1 Ounce (Pack of 8)
$107.26
View details
Prime
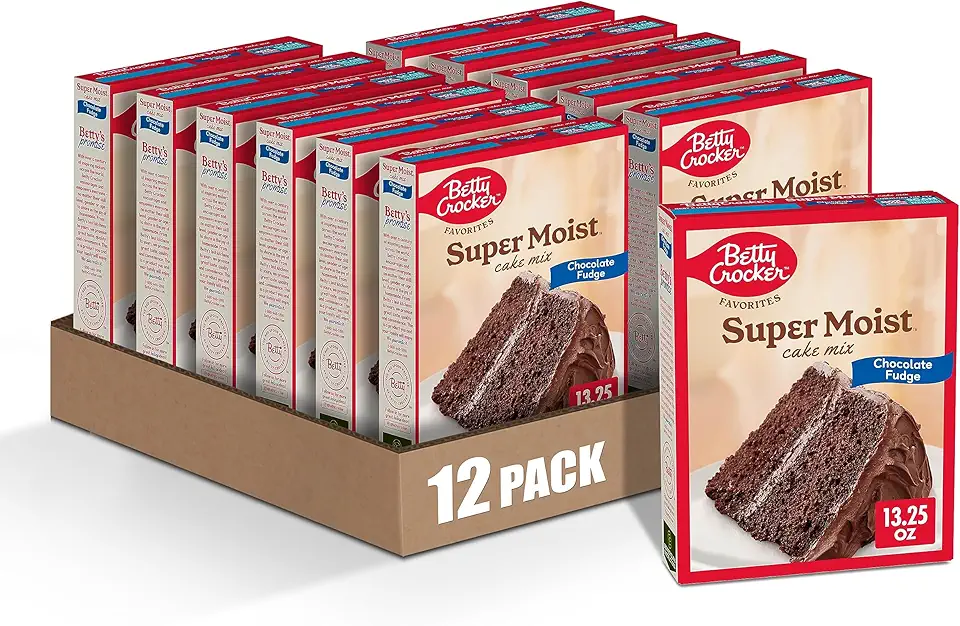 Betty Crocker Favorites Super Moist Chocolate Fudge Cake Mix, 13.25 oz (Pack of 12)
$23.04
View details
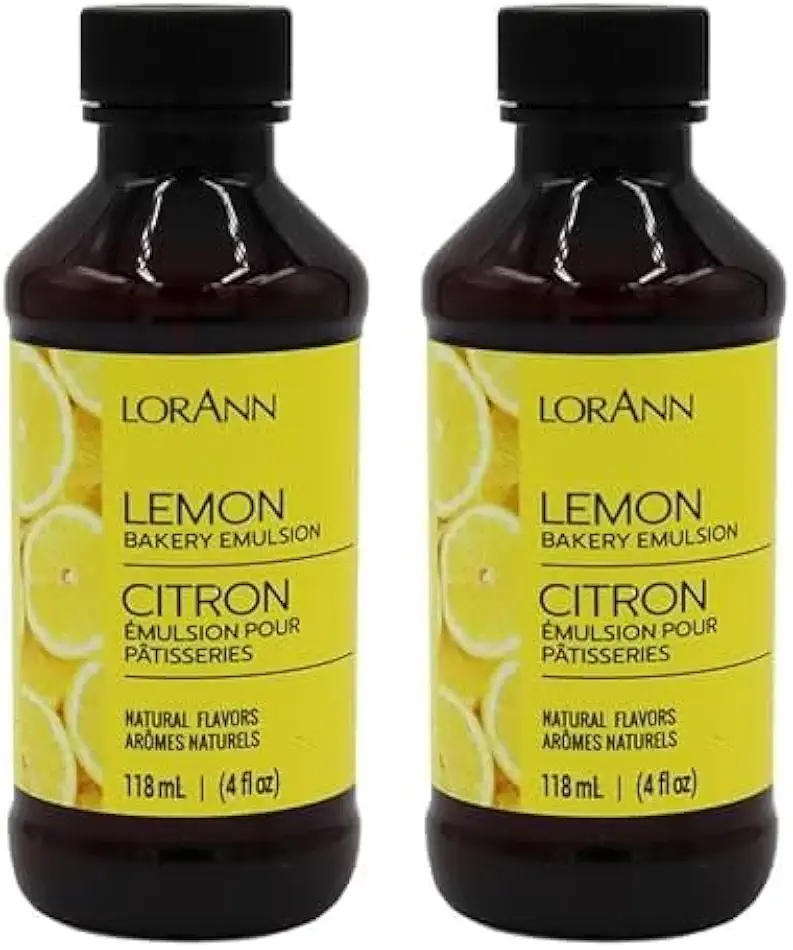 LorAnn Lemon Bakery Emulsion, 4 ounce bottle (Pack of 2)
$16.98
View details
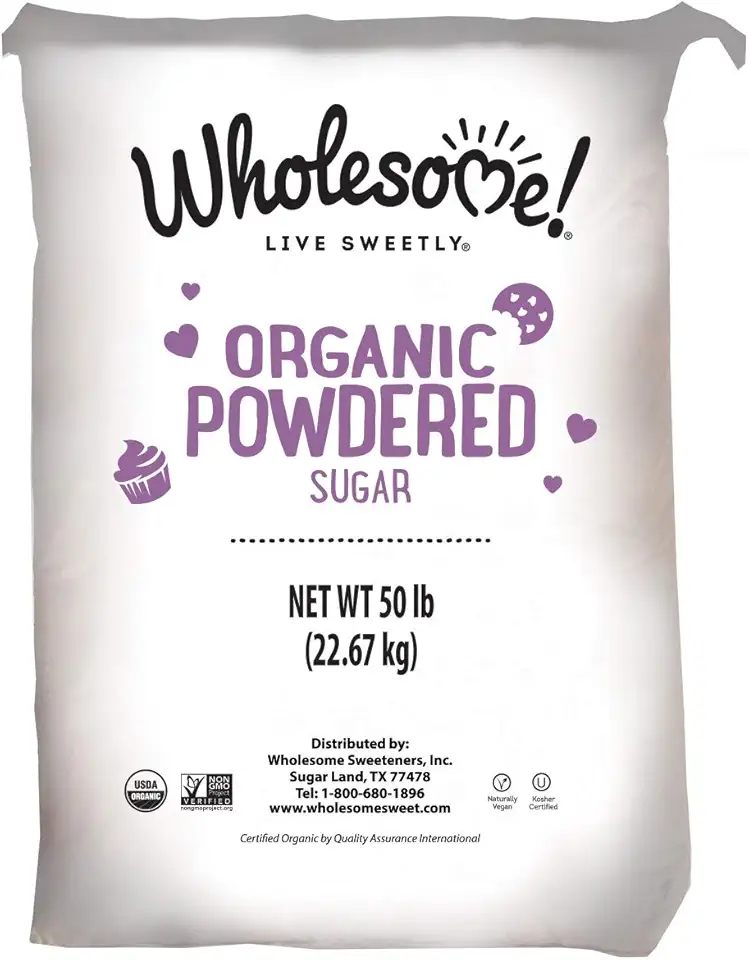 Wholesome Fair Trade Organic Powdered Sugar, Naturally Flavored Real Sugar, Non GMO & Gluten Free, 50 Pound (Pack of 1)
$106.95
View details
Prime
best seller
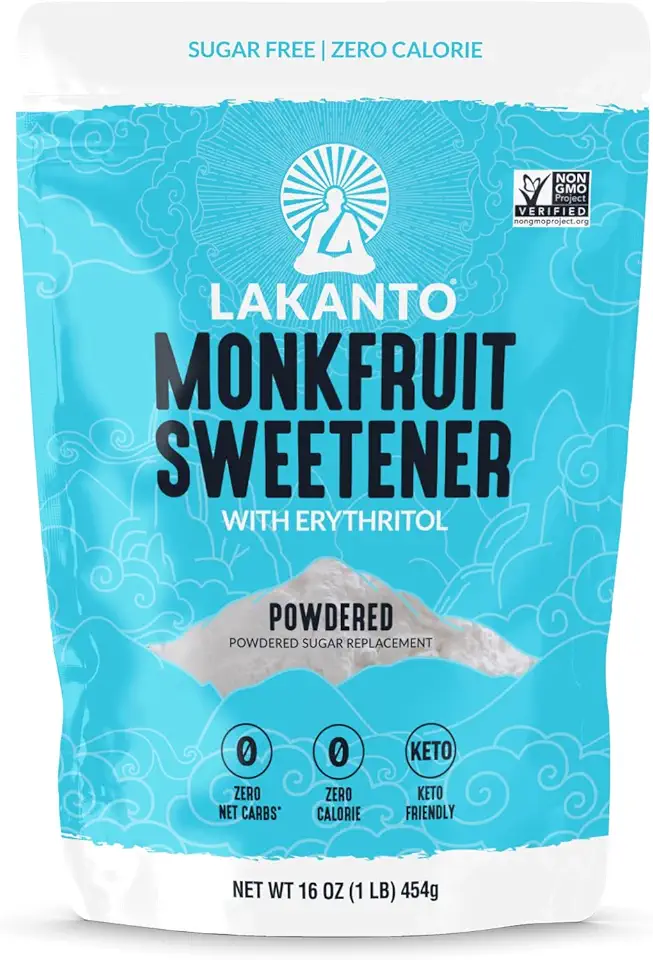 Lakanto Powdered Monk Fruit Sweetener with Erythritol - Powdered Sugar Substitute, Zero Calorie, Keto Diet Friendly, Zero Net Carbs, Baking, Extract, Sugar Replacement (Powdered - 1 lb)
$11.90
View details
Prime
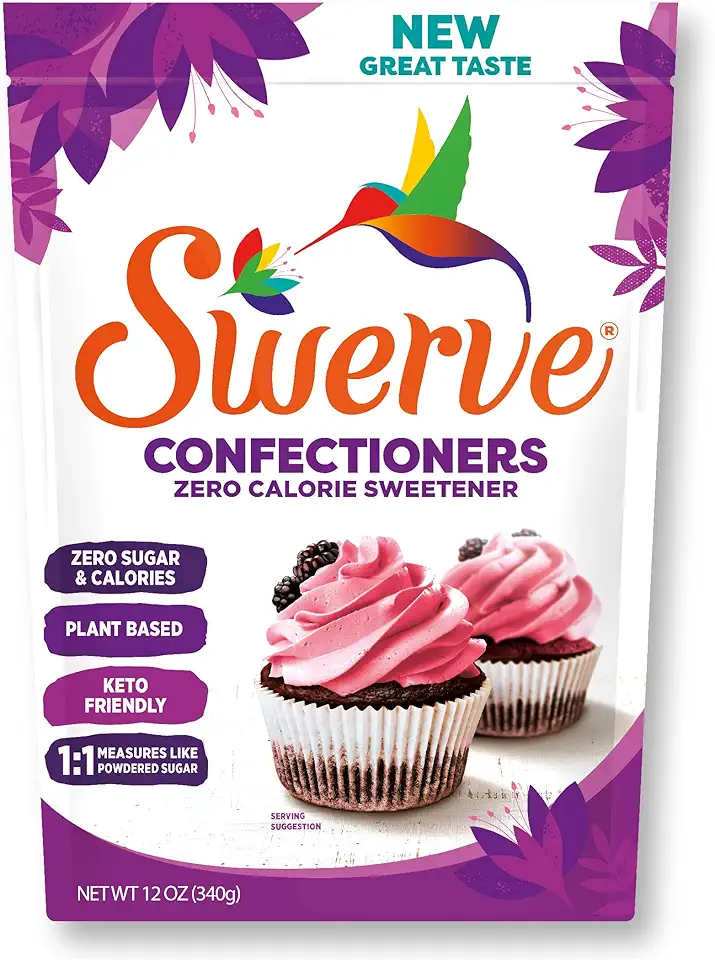 Swerve Sweetener Powder, Confectioners, 12 oz
$6.98
View details
Filling
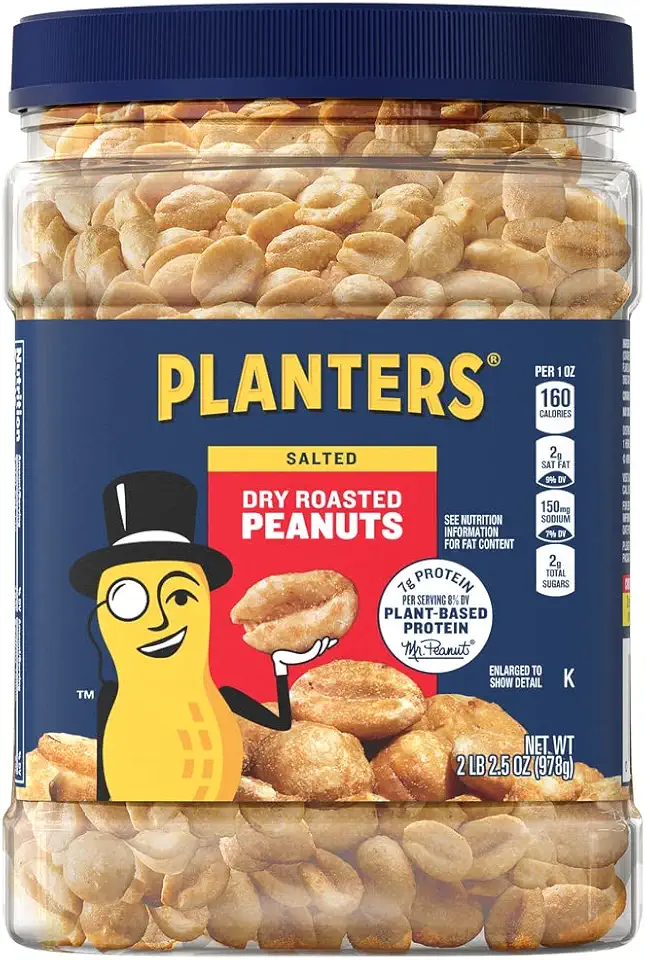 PLANTERS Dry Roasted Peanuts, 34.5 oz Resealable Plastic Jars (Pack of 6) - Peanuts with Sea Salt - Peanut Snacks - Shareable Snacks - Great School Snack or Work Snack - Kosher
$44.67
View details
Prime
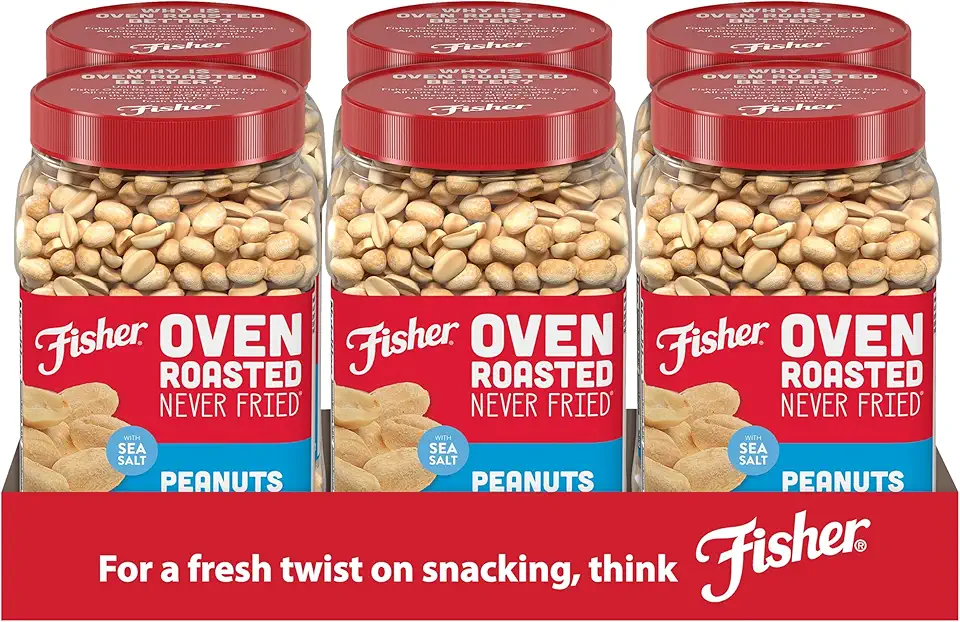 Fisher Oven Roasted Never Fried Peanuts, 24 Ounces (Pack of 6), Snacks for Adults, Made With Sea Salt, No Added Oils, Artificial Ingredients or Preservatives, Gluten Free, Vegan Protein, Bulk
$39.39
View details
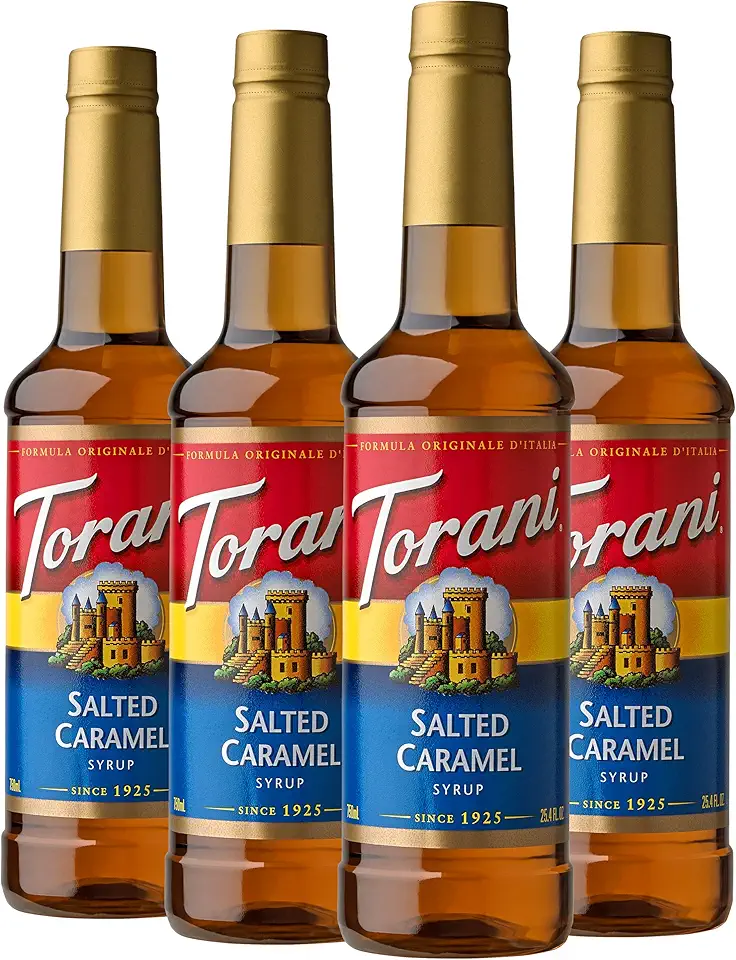 Torani Syrup, Salted Caramel, 25.4 Ounces (Pack of 4)
$39.36
View details
Prime
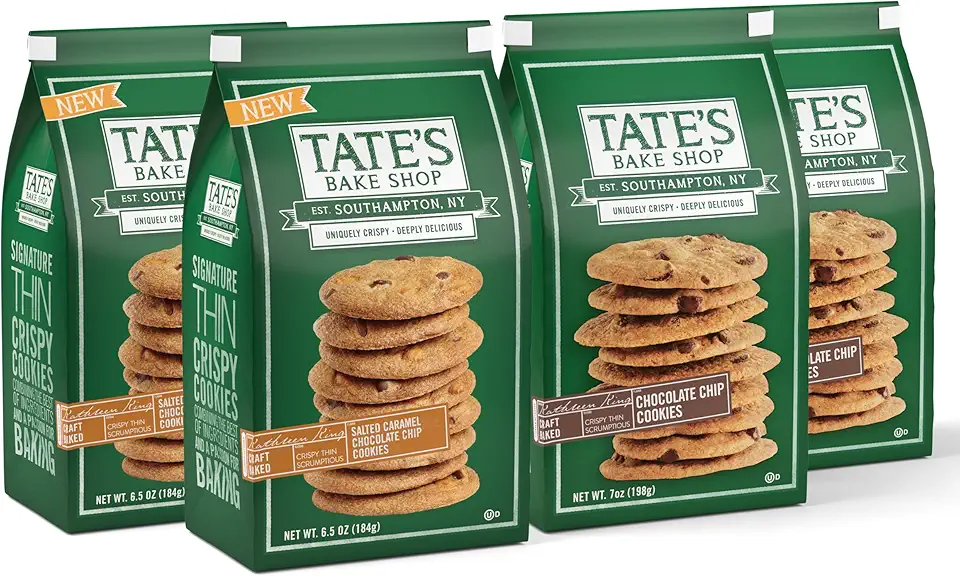 Tate's Bake Shop Cookies Variety Pack, Salted Caramel Chocolate Chip & Chocolate Chip Cookies, 4 - 7 oz Bags
$26.72
View details
Prime
best seller
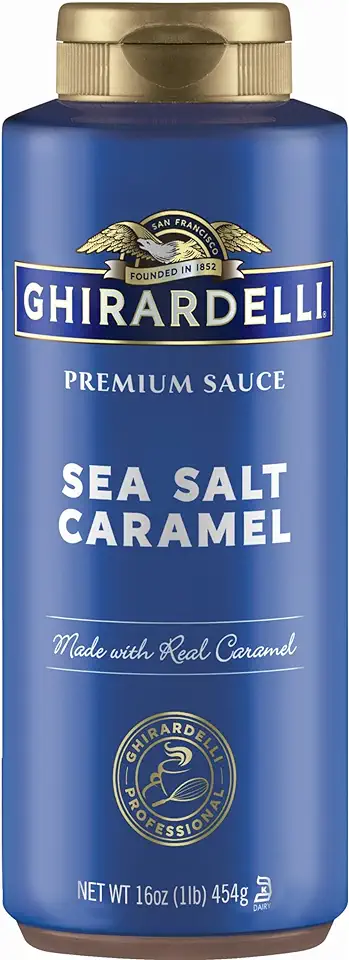 Ghirardelli Chocolate Company Sea Salt Caramel Sauce Squeeze Bottle, 16 oz (Pack of 1)
$9.89
View details
Instructions
Step 1
In a saucepan, combine milk and unsalted butter, bringing it to a boil over medium heat.
In a mixing bowl, whisk together sugar, eggs, salt, and vanilla powder until light and fluffy.
Slowly add the hot milk into the egg mixture, stirring constantly to prevent cooking the eggs.
In a separate bowl, sift together flour, cocoa powder, and baking soda.
Gradually mix in half of the dry ingredients into the wet mixture, stirring gently to combine.
Repeat with the remaining dry ingredients, then add a tablespoon of vinegar and stir quickly to combine all elements.
Transfer the batter into a greased cake pan (18-20 cm or 7-8 inches) and cover it with foil, making small holes with a toothpick to let steam escape.
Bake in a preheated oven at 160°C (320°F) for 30 minutes. Then remove the foil and bake for an additional 20 minutes at 175°C (350°F).
Once baked, allow the biscuit to cool, wrap it in plastic wrap, and refrigerate for a few hours.
Step 2
In a mixing bowl, whisk together cream cheese, heavy cream, and powdered sugar until light and fluffy.
Step 3
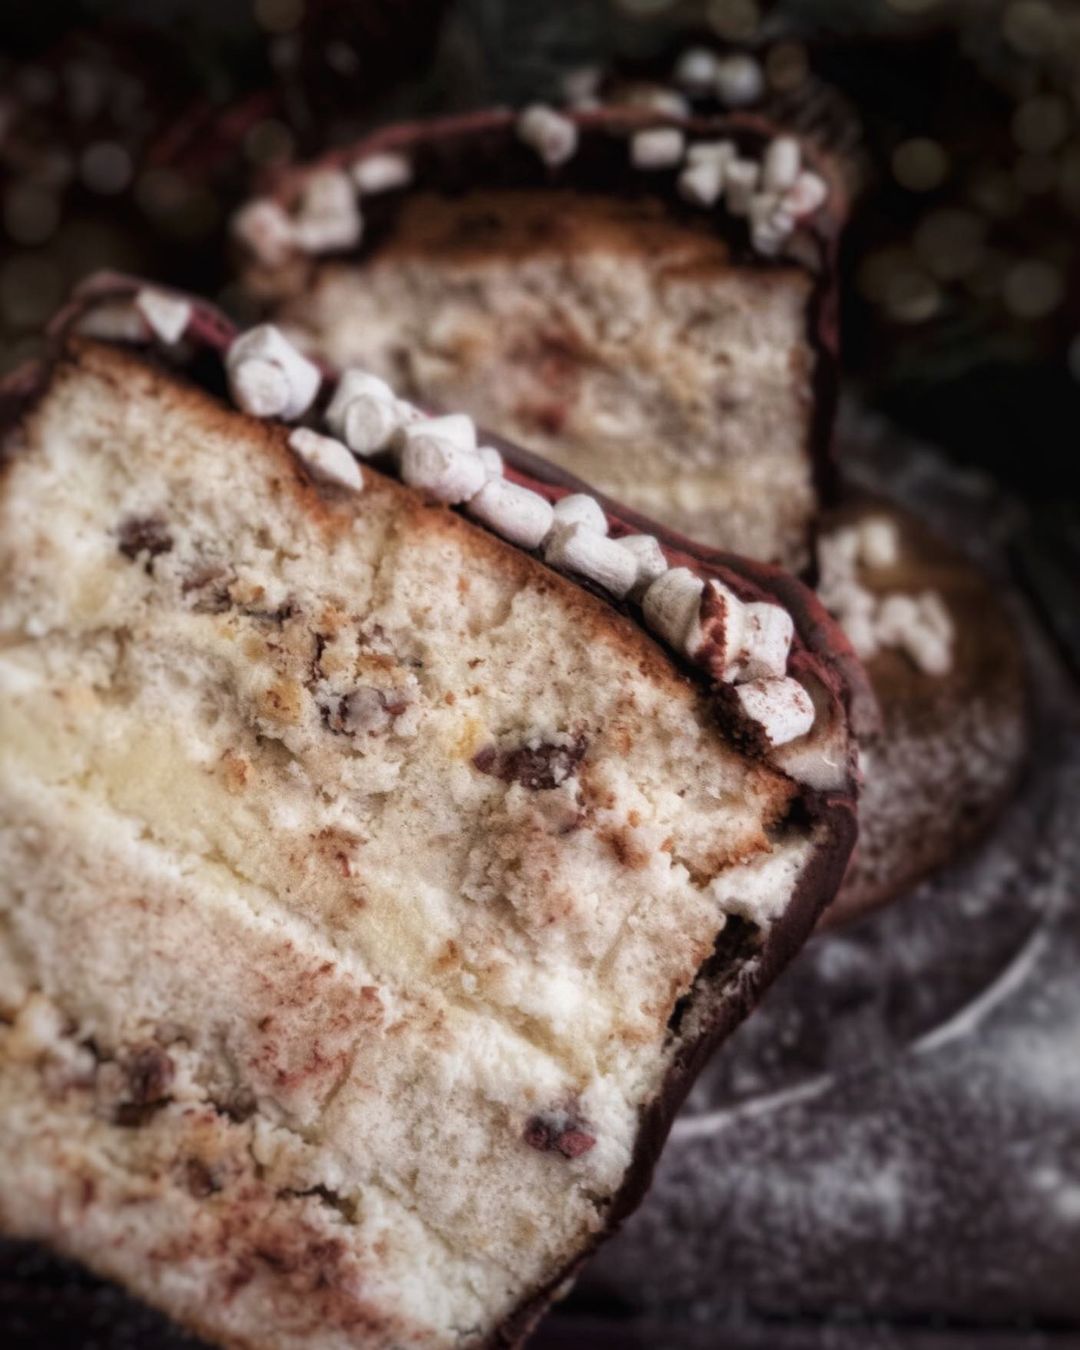
Once the biscuit is completely cooled, slice it into 3-4 equal layers.
Soak each layer with cappuccino. Spread a generous amount of cream on top of the first layer, and use a piping bag to create borders around the edges.
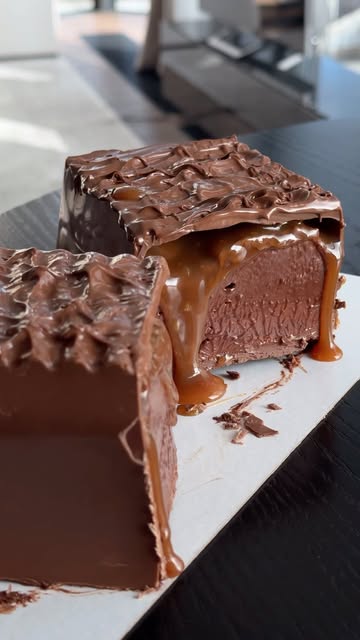
Fill the center with roasted salted peanuts and drizzle with salted caramel.
Repeat these steps with the remaining layers, finishing with cream on the top layer.
Chill the cake in the refrigerator for 1 hour to stabilize before serving.
Servings
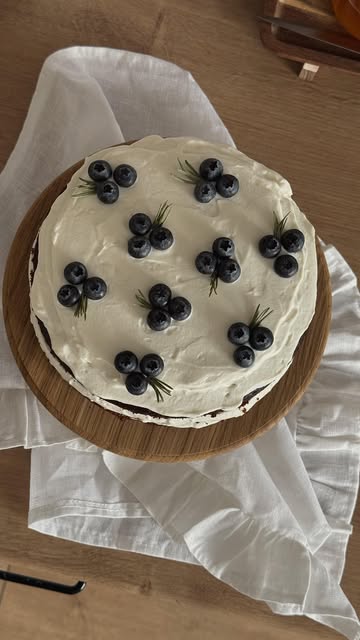
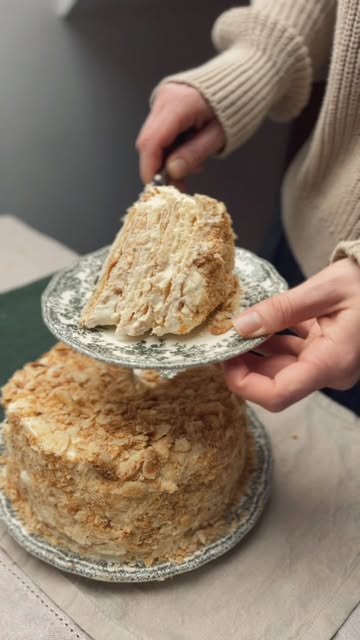
For a festive touch, garnish with additional peanuts and a drizzle of chocolate or caramel sauce on top. Not to forget, this cake makes for a perfect centerpiece for birthday parties and family gatherings. 🥳 Share it with friends at a picnic, and don’t forget to bring some extra slices to enjoy later! 🍰
Equipment
Choose large bowls for mixing your batter and cream. Glass or stainless steel are great options.
An electric mixer helps achieve a fluffy cream texture. Hand mixers work fine too!
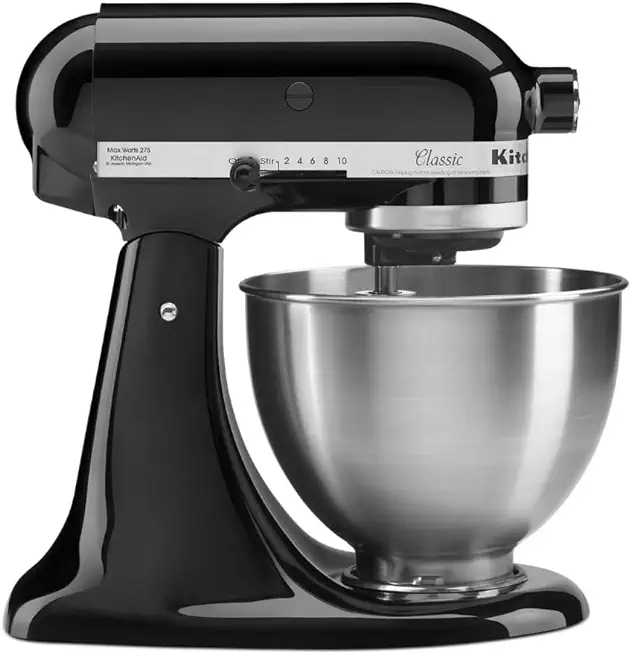 KitchenAid Classic Series 4.5 Quart Tilt-Head Stand Mixer K45SS, Onyx Black
$279.99
$329.99
View details
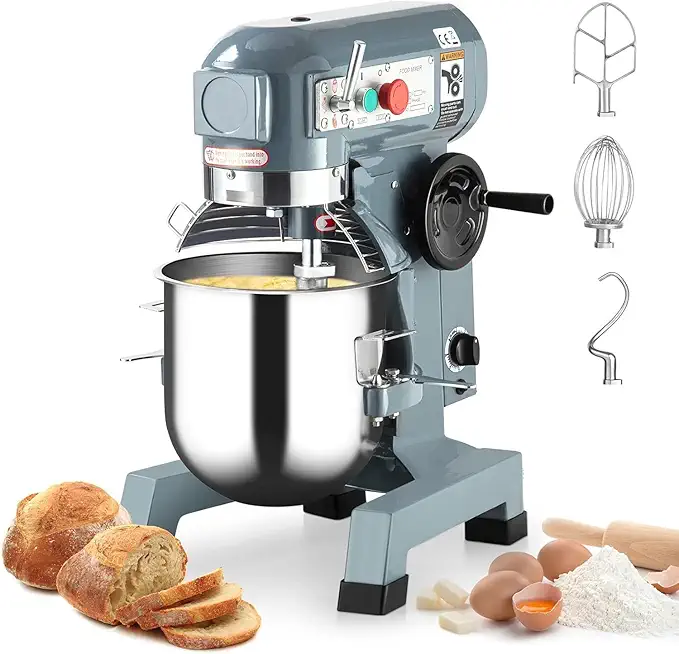 Commercial Stand Mixer, 15Qt Heavy Duty Electric Food Mixer, Commercial Mixer 600W with 3 Speeds Adjustable 130/233/415RPM, Stainless Steel Bowl, Dough Hook Whisk Beater Perfect for Bakery Pizzeria
$579.99
View details
Prime
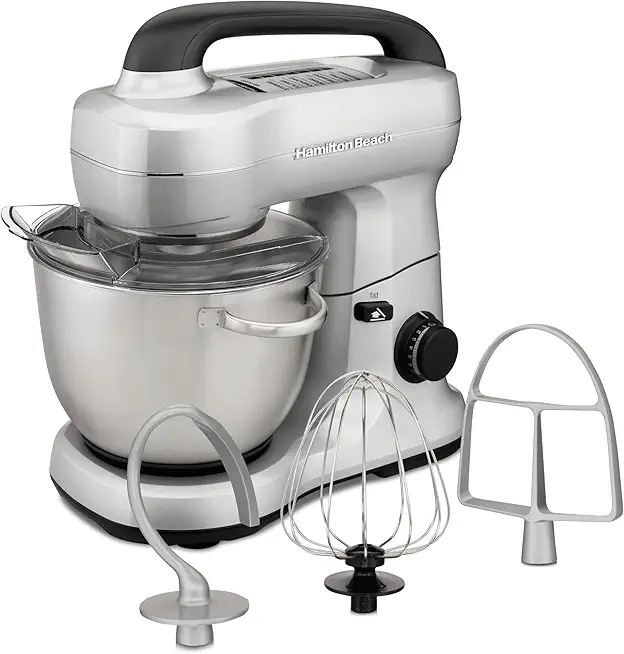 Hamilton Beach Electric Stand Mixer, 4 Quarts, Dough Hook, Flat Beater Attachments, Splash Guard 7 Speeds with Whisk, Silver
$95.99
$119.99
View details
An 18-20 cm baking pan is ideal. Make sure to line or grease it well for easy removal.
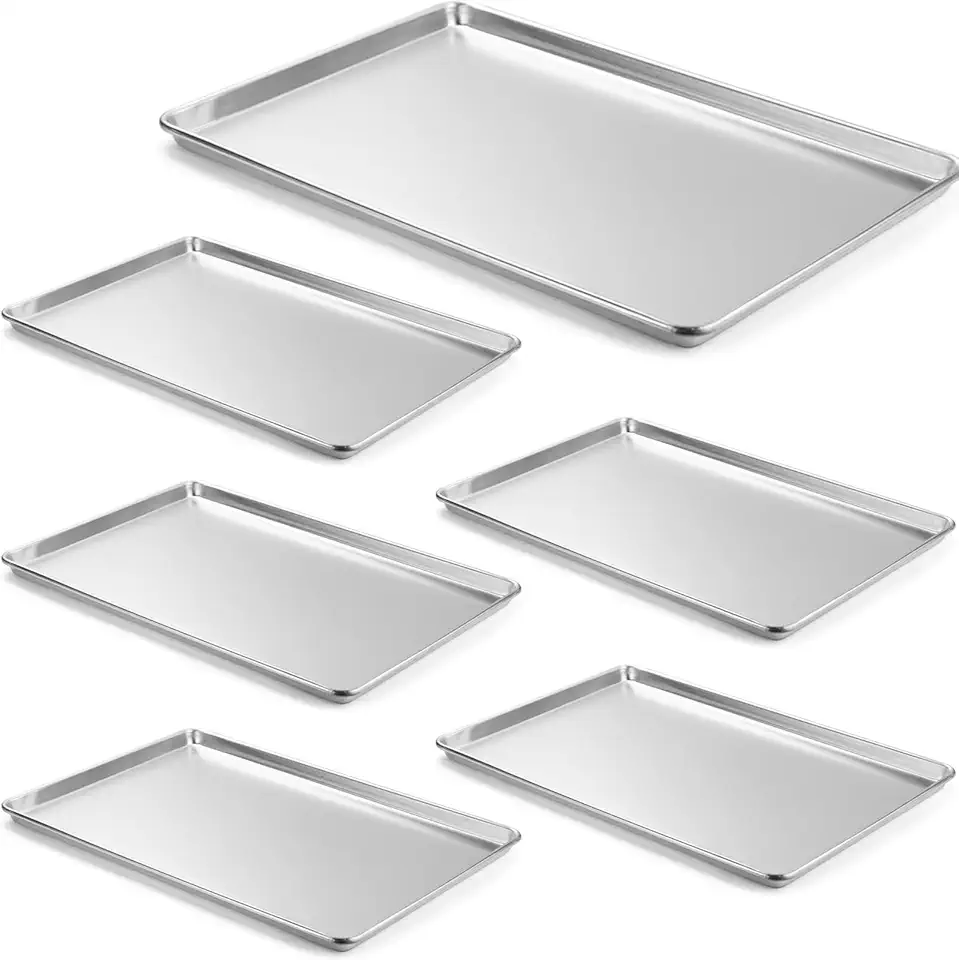 CURTA 6 Pack Aluminum Sheet Pan, NSF Listed Full Size 26 x 18 inch Commercial Bakery Cake Bun Pan, Baking Tray
$99.99
View details
Prime
best seller
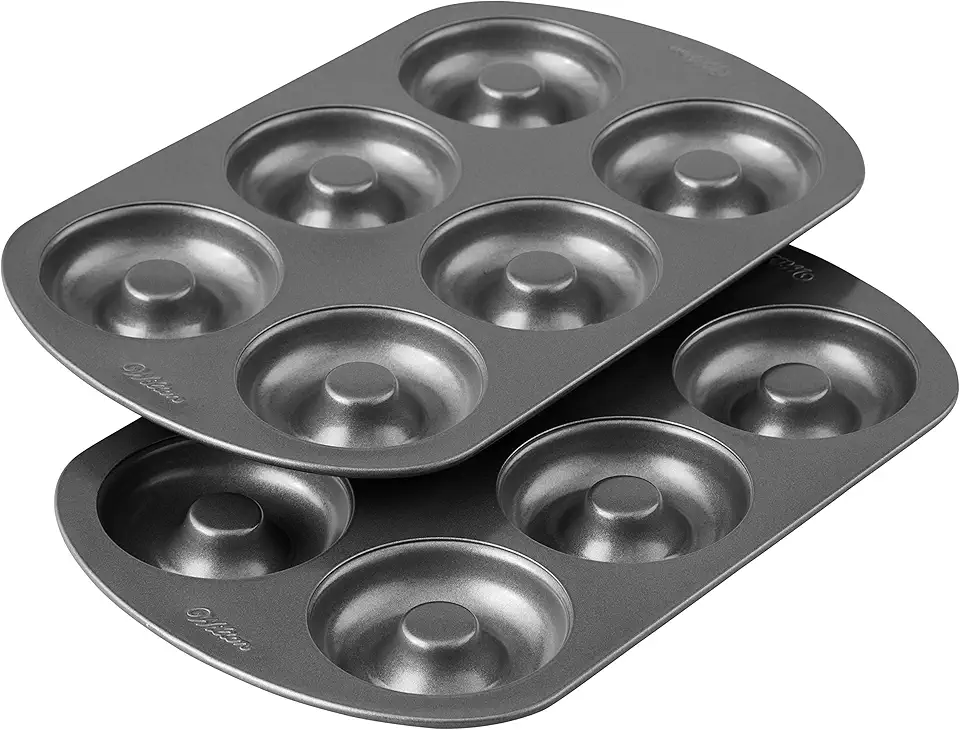 Wilton Non-Stick 6-Cavity Donut Baking Pans, 2-Count
$17.98
$20.79
View details
Prime
best seller
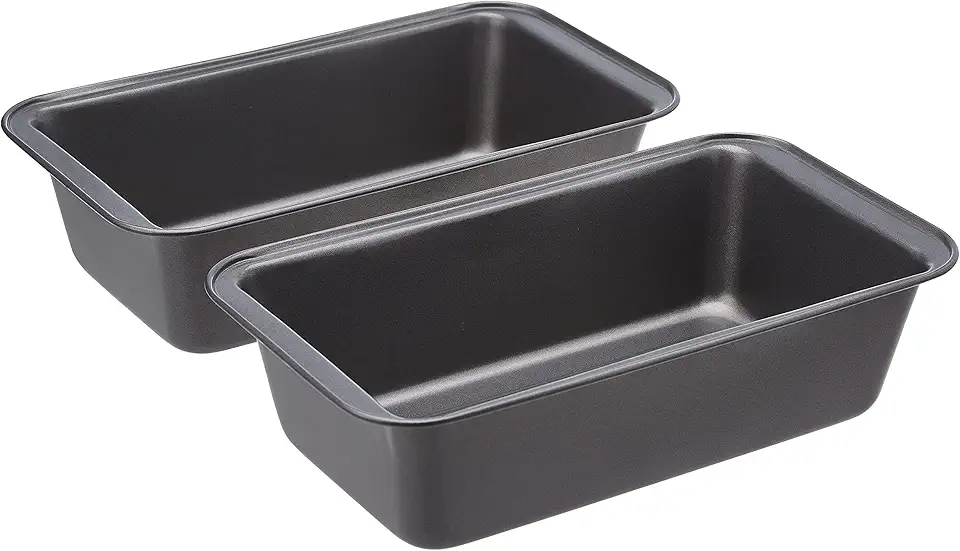 Amazon Basics Rectangular Baking Bread Loaf Pan, 9.5 x 5 Inch, Set of 2, Gray
$13.49
View details
A balloon whisk is perfect for mixing your wet ingredients. A sturdy one will make your life easier!
 OXO Good Grips 11-Inch Balloon Whisk
$10.93
$11.95
View details
Prime
best seller
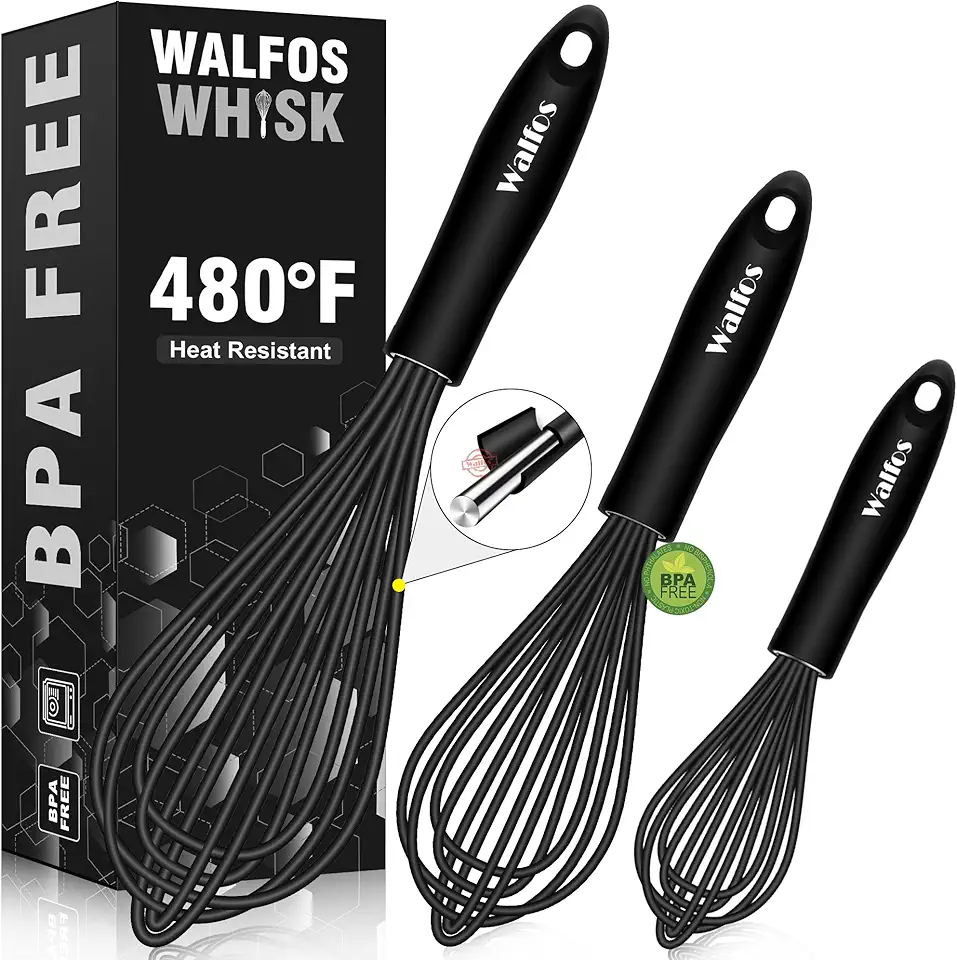 Walfos Silicone Whisk,Stainless Steel Wire Whisk Set of 3 -Heat Resistant 480°F Kitchen Whisks for Non-stick Cookware,Balloon Egg Beater Perfect for Blending,Whisking,Beating,Frothing & Stirring,Black
$11.89
$14.99
View details
Prime
 Pack of 2 Danish Dough Whisk Blender Dutch Bread Whisk Hook Wooden Hand Mixer Sourdough Baking Tools for Cake Bread Pizza Pastry Biscuits Tool Stainless Steel Ring 13.5 inches 0.22 lb/pcs…
$9.80
$14.99
View details
A silicone spatula is great for folding in dry ingredients without over-mixing.
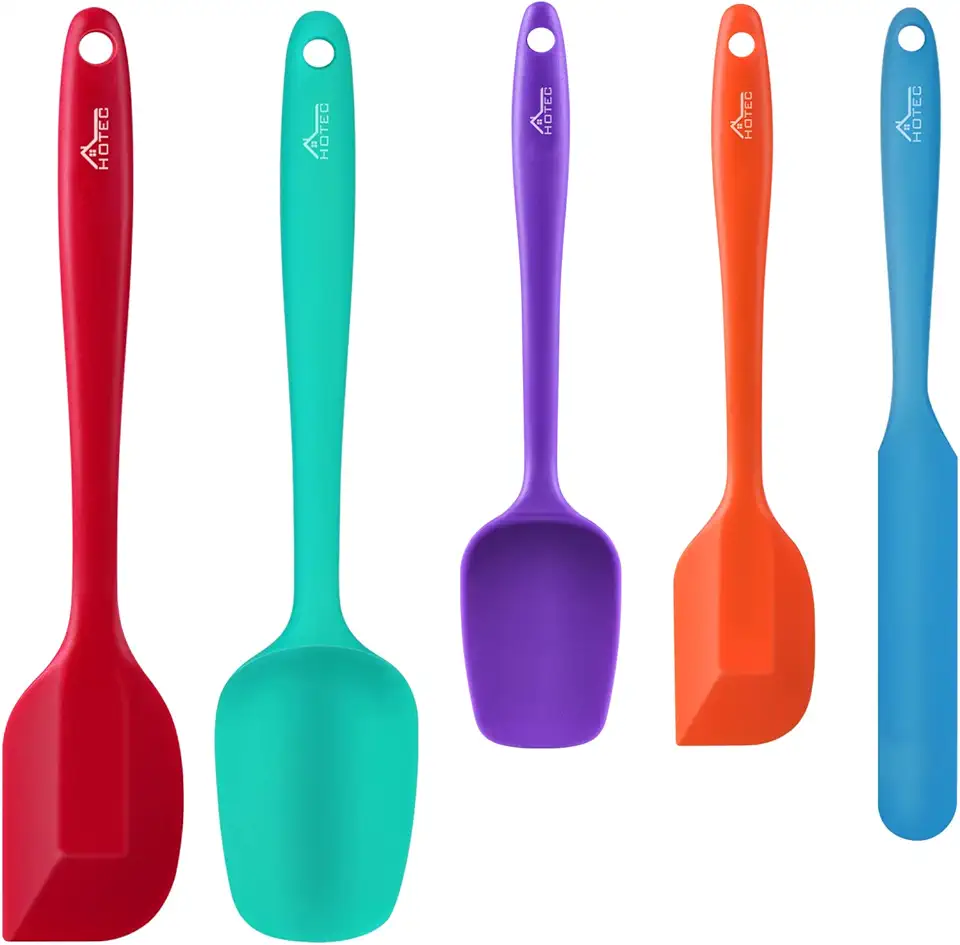 HOTEC Food Grade Silicone Rubber Spatula Set for Baking, Cooking, and Mixing High Heat Resistant Non Stick Dishwasher Safe BPA-Free Multicolor Set of 5
$9.59
$18.99
View details
Prime
 Wilton Icing Spatula - 13-Inch Angled Cake Spatula for Smoothing Frosting on Treats or Spreading Filling Between Cake Layers, Steel
$7.98
$8.75
View details
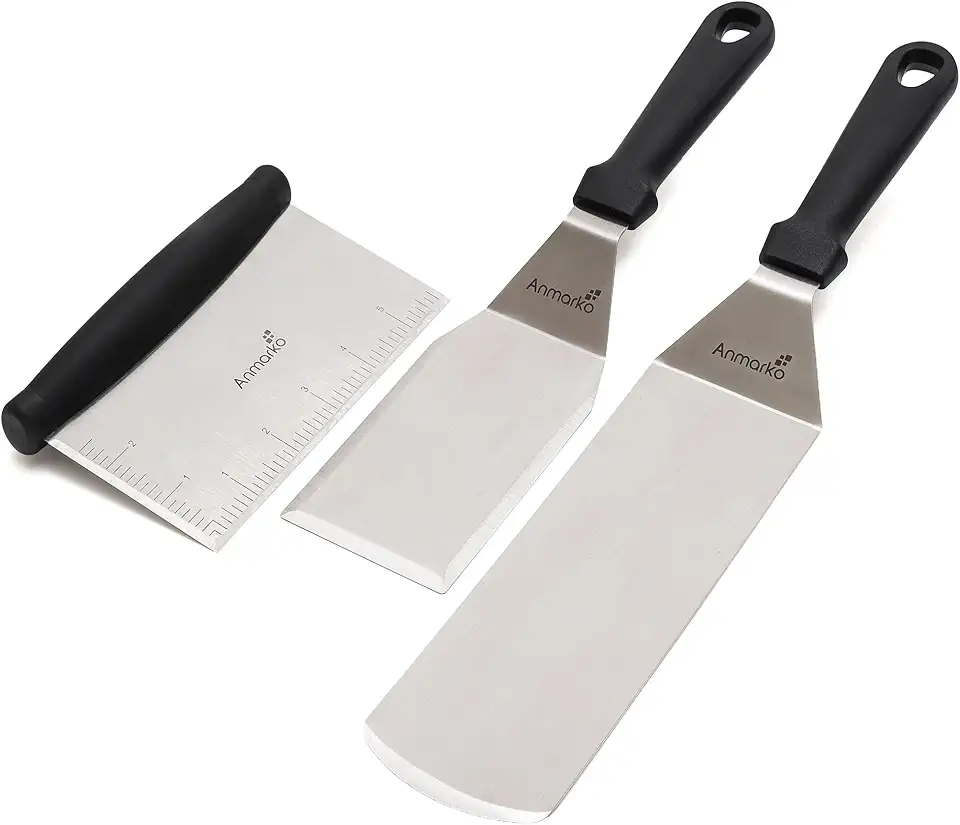 Metal Spatula Stainless Steel and Scraper - Professional Chef Griddle Spatulas Set of 3 - Heavy Duty Accessories Great for Cast Iron BBQ Flat Top Grill Skillet Pan - Commercial Grade
$19.99
$22.99
View details
This tool will help you achieve evenly cut layers. If you don't have one, a serrated knife works as well!
Variations
Vegan: Replace eggs with flax eggs (1 tablespoon of flaxseed meal mixed with 3 tablespoons of water per egg) and use almond or coconut milk instead of regular milk. For the cream, opt for a vegan cream cheese and coconut whipped cream. 🌱
Faq
- What type of cocoa powder should I use for the cake?
Use unsweetened cocoa powder for the best chocolate flavor! Natural cocoa works perfectly in this recipe.
- How do I prevent my cake from sinking in the middle?
Ensure that you properly measure your ingredients and avoid overmixing. Additionally, make sure your oven temperature is accurate!
- Can I use different fillings besides salted caramel?
Absolutely! Feel free to use caramel sauce, chocolate ganache, or even fruit preserves for a unique twist!
- What’s the best way to store leftover cake?
Store the cake in an airtight container in the fridge. It will keep well for up to 3 days!
- How do I create a smooth finish for the cream layer?
Make sure your cream is whipped to stiff peaks. Spread it evenly using a spatula and smooth the top with gentle strokes!
- Can I freeze the Snickers cake?
Yes, you can freeze the cake! Wrap it well in plastic wrap and aluminum foil. It will stay fresh for about a month in the freezer.

