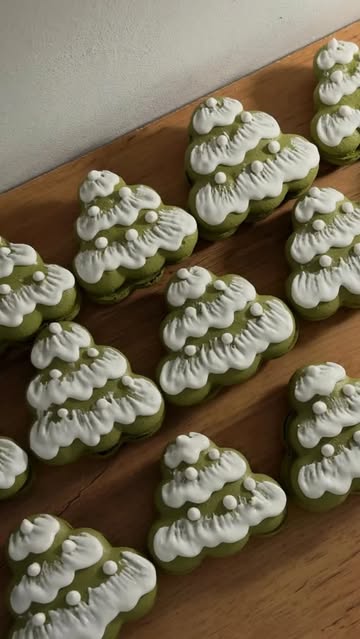
Ingredients
Decorating Ingredients
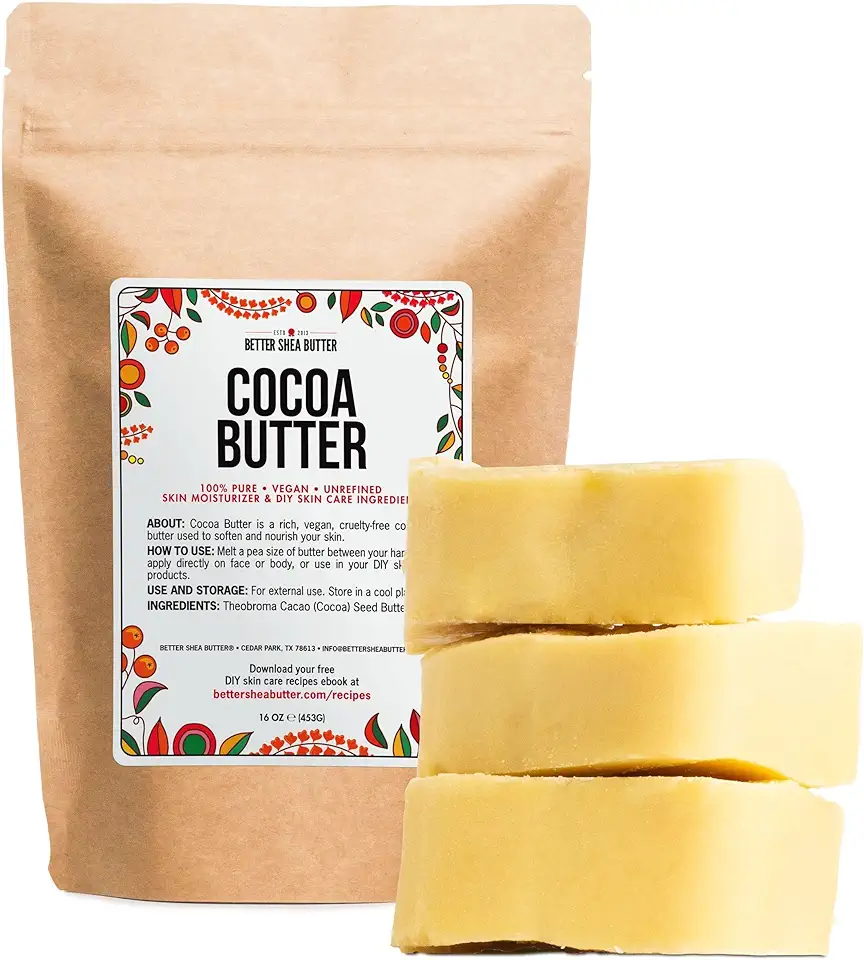 Better Shea Butter Raw Cocoa Butter - Unrefined, 100% Pure, Food Grade - Use for Cocoa Lip Balm, Stretch Marks Cream, Cacao Butter Cream, Scars Oil, Whipped Lotion - Skin & Hair Moisturizer 1LB Block
$49.50
View details
Prime
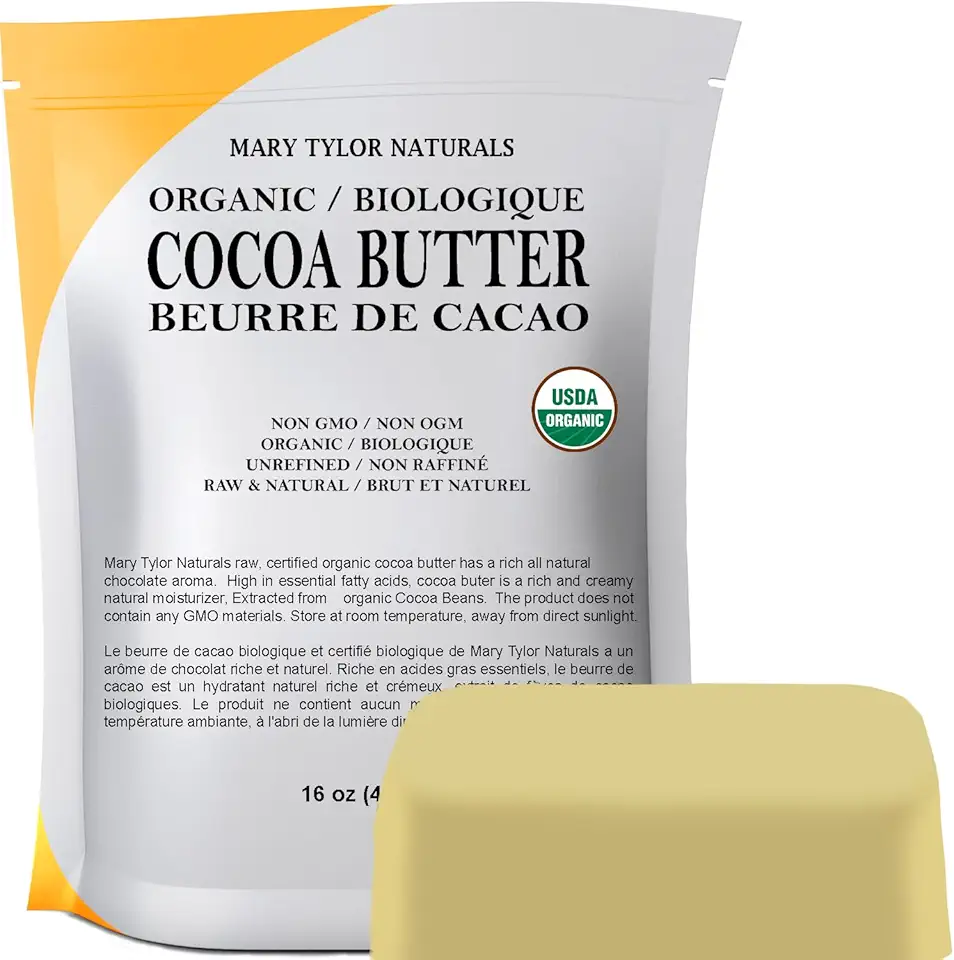 Mary Tylor Naturals Organic Cocoa Butter 1 lb — USDA Certified Raw Unrefined, Non-Deodorized, Rich In Antioxidants — for DIY Recipes, Lip Balms, Lotions, Creams, Stretch Marks
$27.95
View details
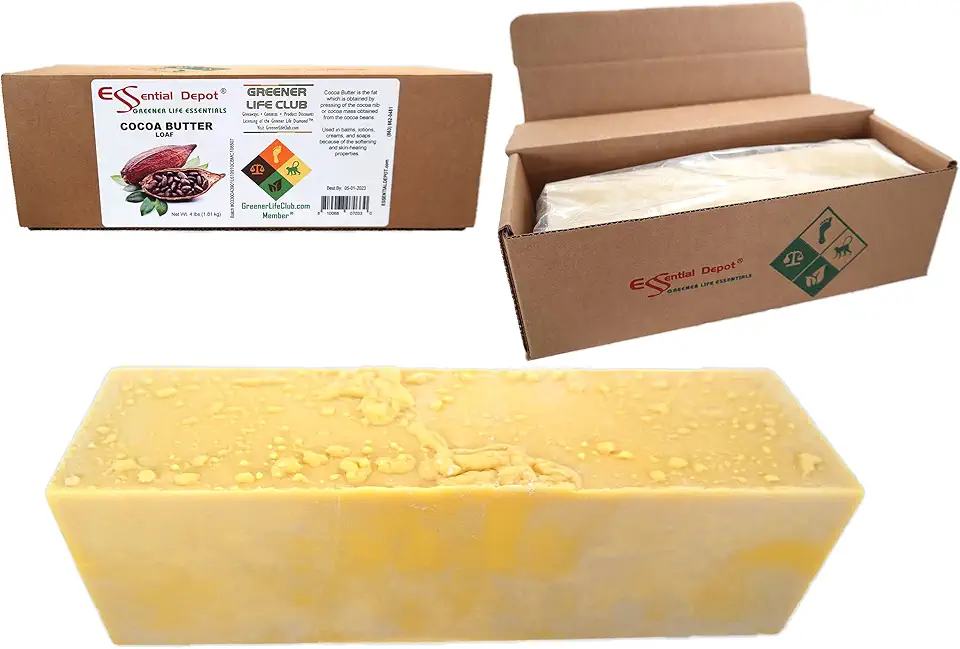 Essential Depot Cocoa Butter - Raw - Unrefined - 100% Pure - Natural Cocoa Scent - 4 lbs - Used in Creams, Lotion Bars and Sticks, Lip Balms, Body Butters and many other skin care products
$64.97
View details
Instructions
Step 1
Begin by melting the cocoa butter. You can do this in a double boiler or a microwave in short intervals to prevent overheating.
Once melted, carefully mix in the titanium dioxide until fully incorporated. This will provide a great base for your colors.
Step 2
For the eye design, use a combination of your chosen colorants. Add a small amount of blue, green, or brown to the melted mixture depending on the eye color you desire.
Using a fine brush, apply the color to create stripes closer to the center of the eyes.
Step 3
Next, use the black colorant to paint the pupils. Apply with a steady hand for best results.
To add highlights, use either white colorant or white icing to add a few white dots. This detail brings the eyes to life!
Step 4
With a very fine brush, carefully paint the eyelashes, eyebrows, and any other small details onto the figure.
Remember, the thinner the brush, the more precise the details will look! Take your time to make it unique.
Step 5
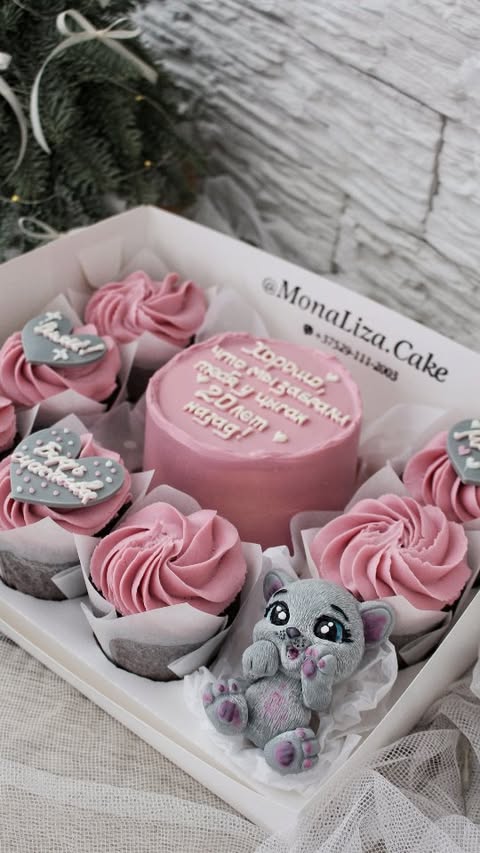
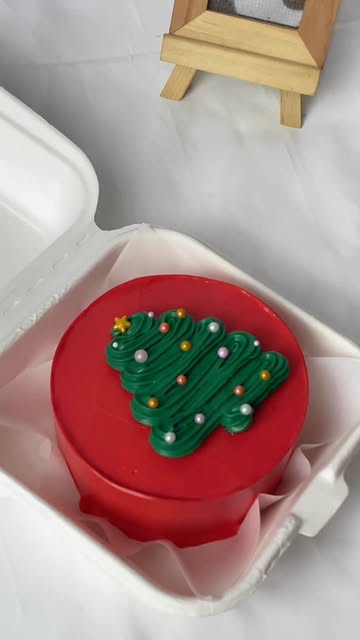
For any inscriptions on hearts or decorations, use the same cream that you utilized for your bento cake painting. This will create a coherent look throughout your design.
Your creative chocolate figure is now ready to impress!
Servings
✨ Serve your beautifully decorated chocolate figurines at a party, or as a special treat for friends and family! These delightful creations can take center stage on a dessert table, inviting everyone to admire them even before they taste them. For an extra wow factor, consider placing them in little bento boxes lined with colorful paper—this will not only enhance their appearance but also make them a fun surprise to open. 🥳
**Use these charming figures as cake toppers** for birthdays or other celebrations, adding a personal touch that’ll wow your guests! Pair them with cupcakes featuring complementary colors, or a themed dessert platter filled with tasty treats. Your chocolate figurines will elevate any event to something special! 🍰✨
Equipment
These are perfect for melting and creating a smooth base for your decorations. Ensure they're of high quality for the best results.
This will help achieve that bright white color for the eyes. Use it in small amounts to avoid clumping.
Choose food-safe colorings to achieve vibrant eye colors. Remember, a little goes a long way!
Using the right brushes is crucial for detailed work. Opt for the finest ones you can find for precise lines and details.
Variations
🌱 For a **vegan version**, you can substitute cocoa butter with **plant-based alternatives** such as coconut oil or sunflower oil, ensuring that colorings are also plant-derived.
🚫 For those with gluten sensitivities, this recipe is naturally gluten-free! Just be cautious with any decorations or approach you use when serving—always check labels to maintain a gluten-free environment.
Faq
- What if I can’t find cocoa butter wafers?
You can use pure cocoa butter blocks instead; just chop them into smaller pieces for melting!
- Can I use regular food colorings instead of fat-soluble ones?
Regular food colorings may not hold up well in fat; for best results, stick with fat-soluble options!
- How can I make sure my paint isn't too thick?
Mix your cocoa butter and coloring well, adjusting until you reach a smooth consistency that can easily flow from your brush.
- What’s the best way to clean my brushes?
Gently wash them in warm soapy water immediately after use to keep them from hardening, and reshape the bristles after rinsing.
- Can I make these decorations ahead of time?
Definitely! Just keep them in a cool, dry place until you're ready to use them, away from direct sunlight.
- How do I store leftover cocoa butter mix?
Store it in an airtight container in a cool spot, and it should keep well until you're ready to use it again!

