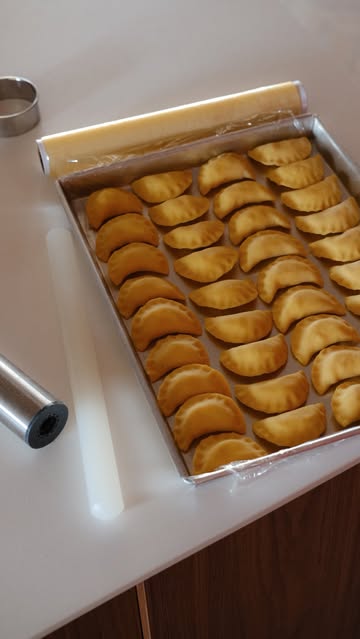
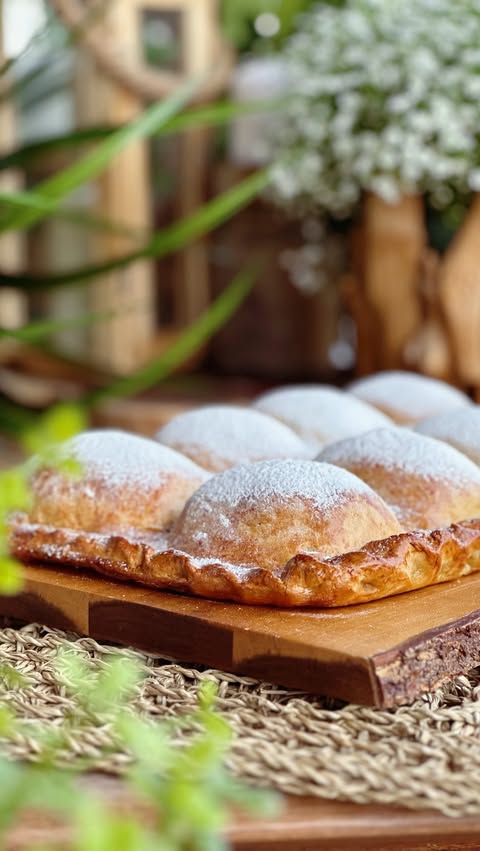
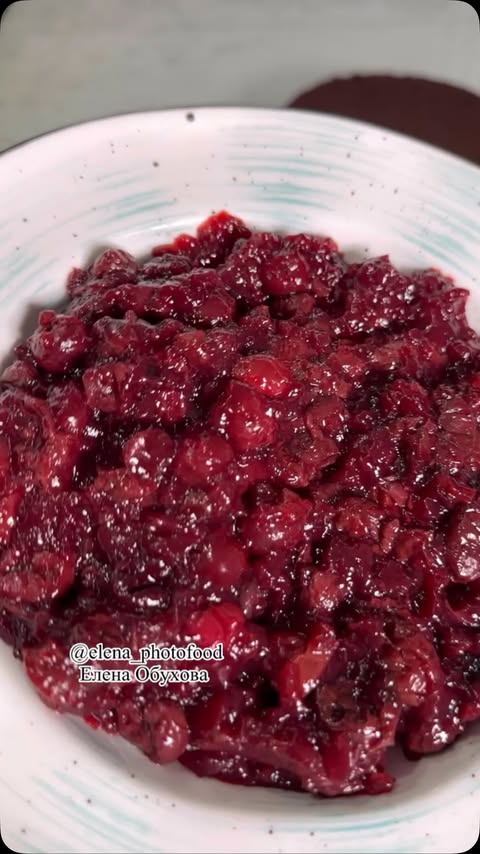
Ingredients
Dough Ingredients
 Kevala Cashew Butter 7 Lbs Pail
$83.62
View details
Prime
best seller
 4th & Heart Original Grass-Fed Ghee, Clarified Butter, Keto, Pasture Raised, Lactose and Casein Free, Certified Paleo (9 Ounces)
$11.49
View details
Prime
 4th & Heart Himalayan Pink Salt Grass-Fed Ghee, Clarified Butter, Keto Pasture Raised, Non-GMO, Lactose and Casein Free, Certified Paleo (9 Ounces)
$9.49
View details
 Bob's Red Mill Gluten Free 1-to-1 Baking Flour, 22 Ounce (Pack of 4)
$23.96
View details
Prime
 Antimo Caputo Chefs Flour - Italian Double Zero 00 - Soft Wheat for Pizza Dough, Bread, & Pasta, 2.2 Lb (Pack of 2)
$16.99
View details
Prime
best seller
 King Arthur, Measure for Measure Flour, Certified Gluten-Free, Non-GMO Project Verified, Certified Kosher, 3 Pounds, Packaging May Vary
$8.62
View details
Filling Ingredients
Apple Filling Ingredients
Instructions
Step 1
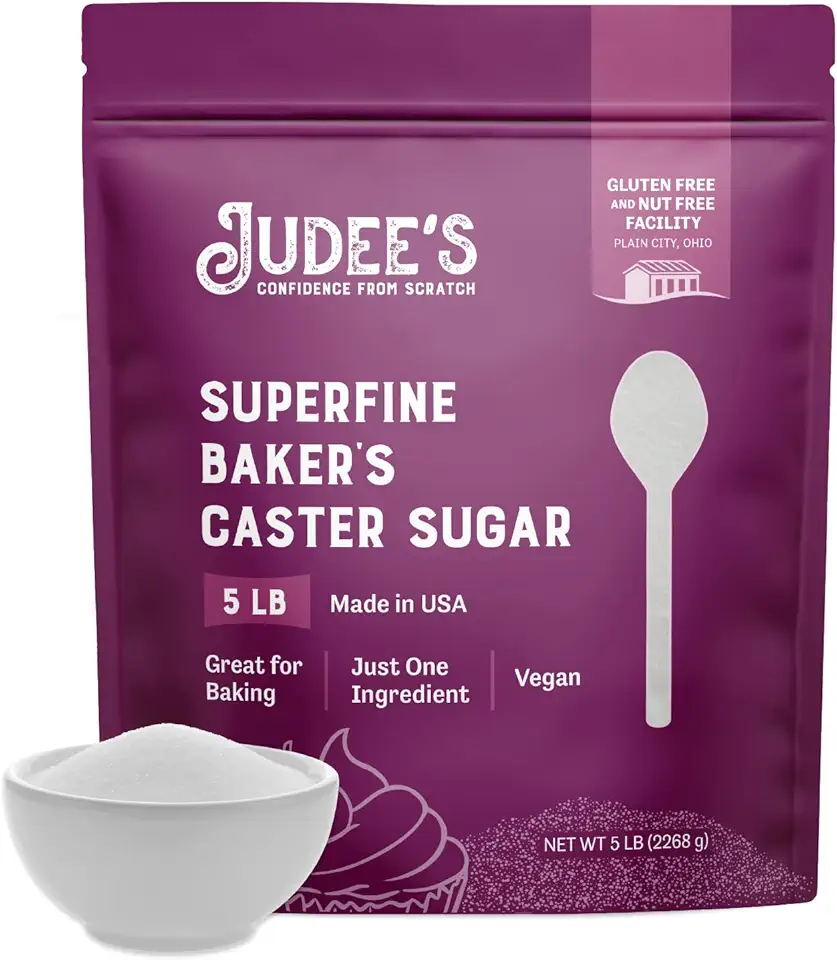
In a mixing bowl, cream together the softened unsalted butter and sugar until light and fluffy.
Add the sour cream and egg yolk to the mixture, stirring well to combine.
In a separate bowl, mix the all-purpose flour, baking powder, and salt. Gradually sift this dry mixture into the wet ingredients.
Gently mix until a smooth, elastic dough forms. As soon as it comes together, stop kneading to maintain tenderness.
Wrap the dough in plastic wrap and refrigerate for about 30 minutes.
Step 2
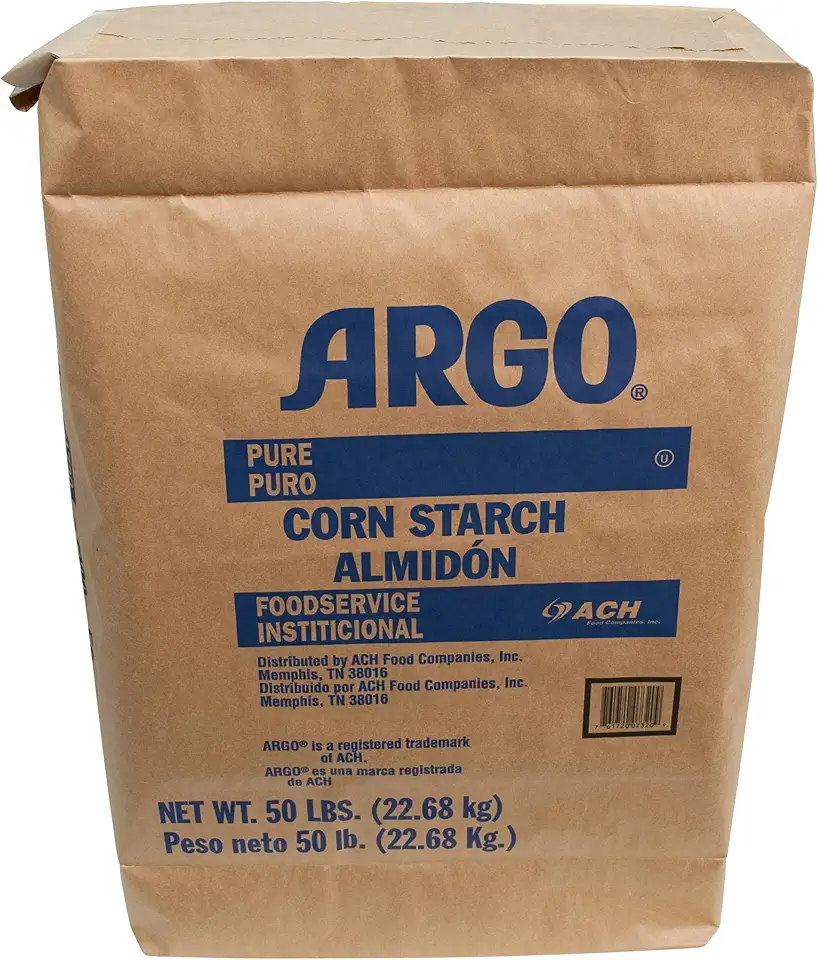
In a mixing bowl, combine the condensed milk, egg, cornstarch, and the optional lemon zest.
Whisk everything together until fully combined and set aside.
Step 3
Peel and core the medium apples, then slice them thinly.
If desired, sprinkle some cinnamon over the apple slices for added flavor.
Step 4
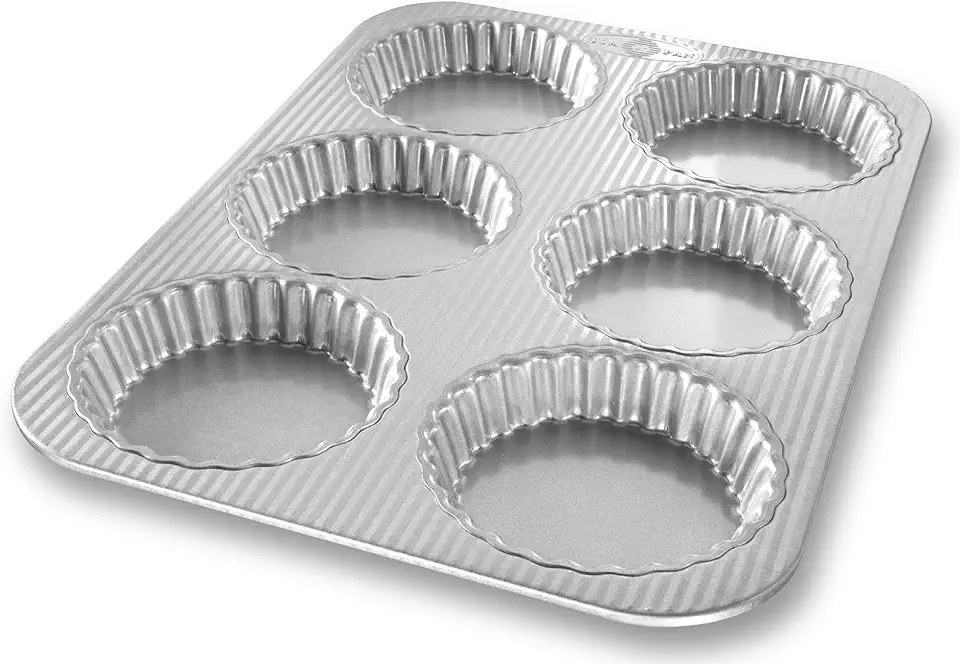
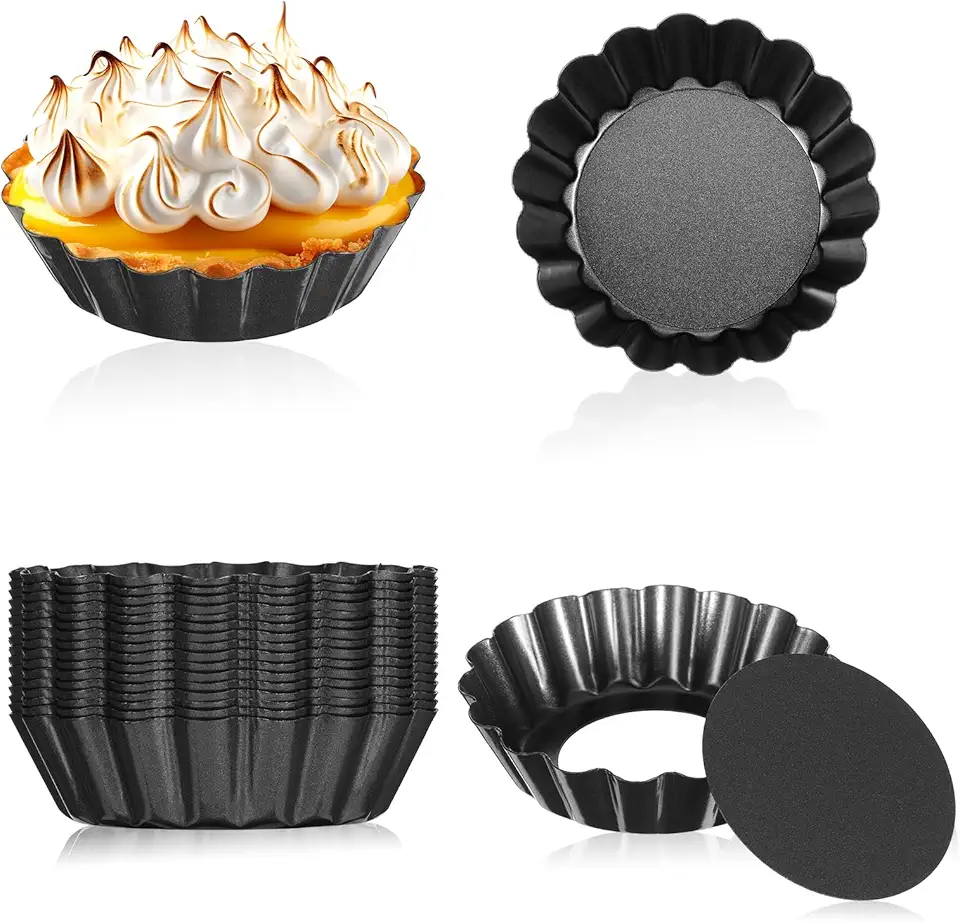
Remove the chilled dough from the refrigerator and roll it out. Carefully press the dough into the tartlet molds, evenly covering the bottom and sides.
Arrange the thin apple slices in the dough, making sure they are evenly distributed.
Pour the creamy filling over the apples, ensuring it fills the tartlet molds properly.
If desired, top with berries for decoration.
Step 5
Preheat your oven to 190 degrees Celsius (375 degrees Fahrenheit).
Place the assembled tartlets into the oven and bake for 20-25 minutes, or until the tops are golden and set.
Allow them to cool slightly before serving. Enjoy your homemade apple tartlets!
Servings
These apple tartlets are not only delicious but also super versatile. Serve them warm with a scoop of vanilla ice cream for a comforting treat that everyone will love. You can also sprinkle some powdered sugar or drizzle caramel sauce over the top to elevate their presentation. They make a gorgeous centerpiece for any dessert table and are perfect for any celebration! 🌈
Feeling adventurous? Pair these tartlets with spiced chai tea or a light prosecco for a sophisticated touch. The combination of flavors will dazzle your guests and keep them talking about your baking skills long after the last bite!
Equipment
Make sure to choose the right size tartlet pans for even baking. Non-stick options work best for easy release!
Have a couple of mixing bowls handy for combining your dough and filling. Use glass or stainless steel for best results.
A whisk is essential for blending your ingredients smoothly, especially for the filling. A fork can work in a pinch, but a whisk is worth having!
 OXO Good Grips 11-Inch Balloon Whisk
$10.93
$11.95
View details
Prime
best seller
 Walfos Silicone Whisk,Stainless Steel Wire Whisk Set of 3 -Heat Resistant 480°F Kitchen Whisks for Non-stick Cookware,Balloon Egg Beater Perfect for Blending,Whisking,Beating,Frothing & Stirring,Black
$11.89
$14.99
View details
Prime
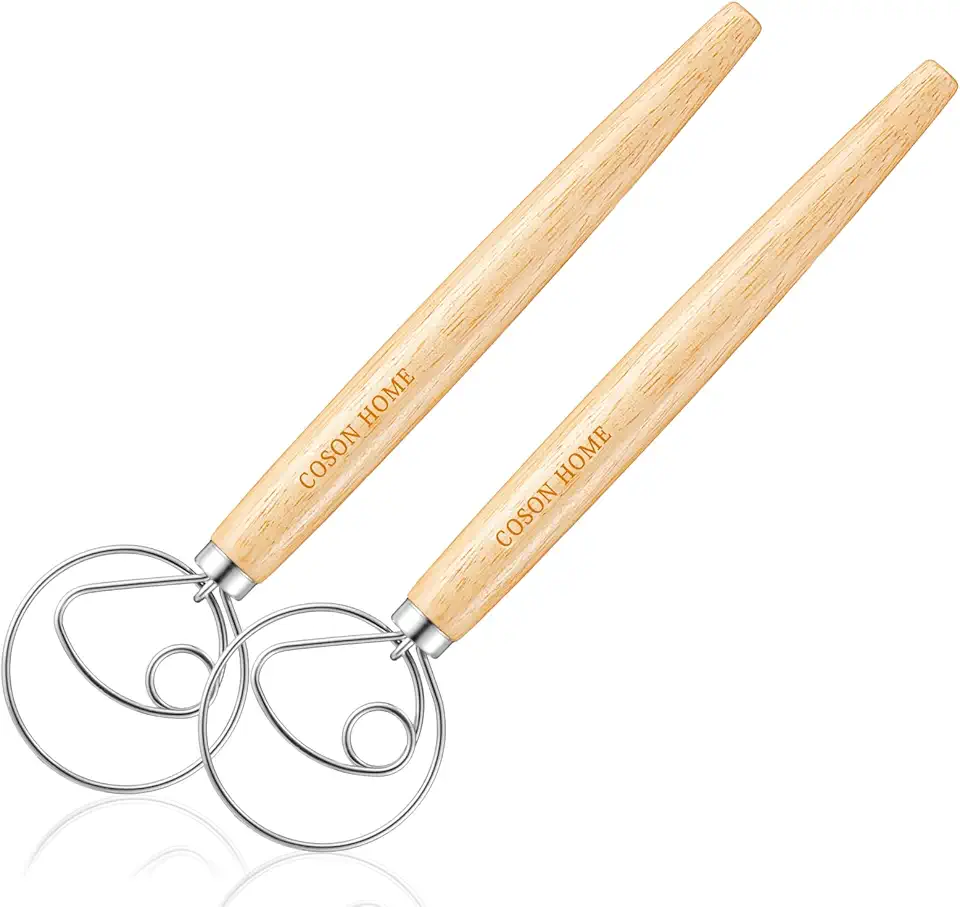 Pack of 2 Danish Dough Whisk Blender Dutch Bread Whisk Hook Wooden Hand Mixer Sourdough Baking Tools for Cake Bread Pizza Pastry Biscuits Tool Stainless Steel Ring 13.5 inches 0.22 lb/pcs…
$9.80
$14.99
View details
A good rolling pin will help you spread your dough evenly. Consider using one with measuring guides for consistent thickness.
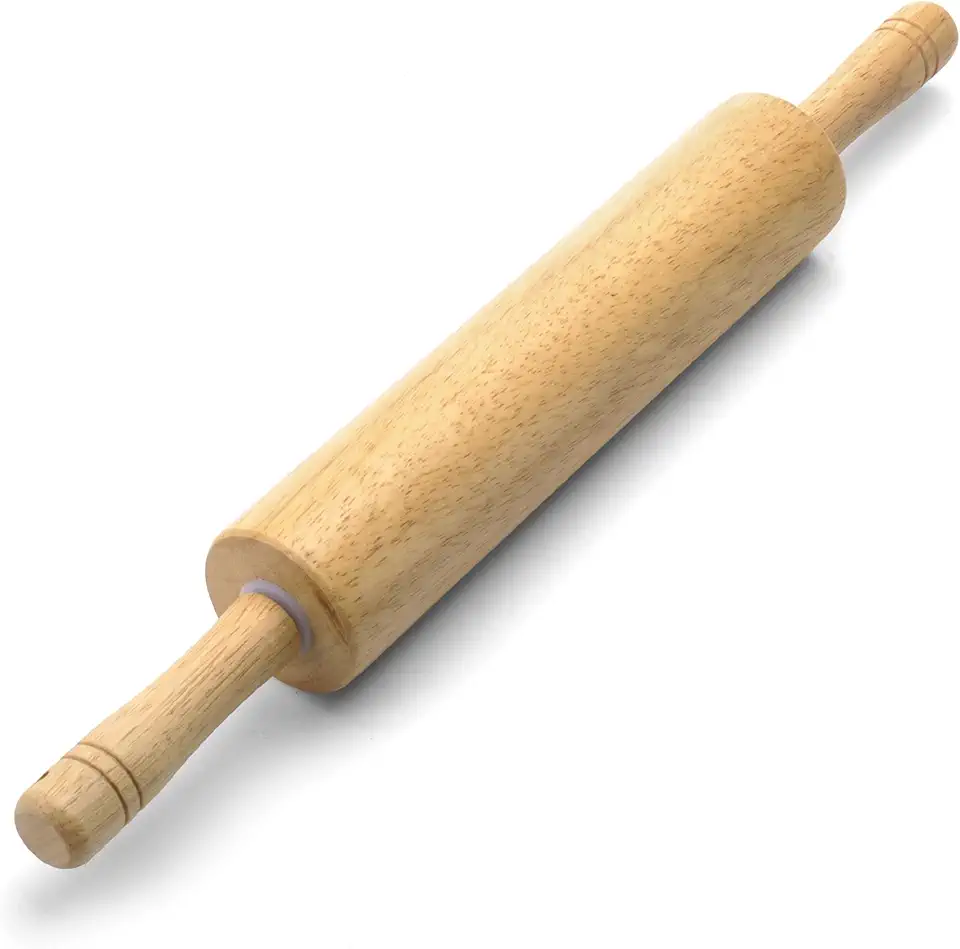 Farberware Classic Wood Rolling Pin, 17.75-Inch, Natural
$12.99
$13.99
View details
Prime
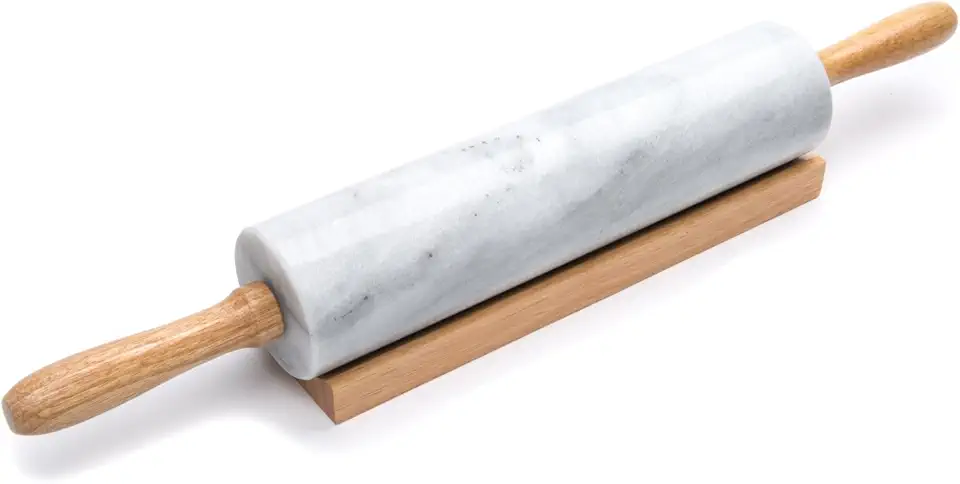 Fox Run Polished Marble Rolling Pin with Wooden Cradle, 10-Inch Barrel, White
$20.88
View details
Prime
 French Rolling Pin (17 Inches) –WoodenRoll Pin for Fondant, Pie Crust, Cookie, Pastry, Dough –Tapered Design & Smooth Construction - Essential Kitchen Utensil
$9.99
View details
Variations
Want to switch it up? Here are some amazing variations to try: You can make these tartlets gluten-free by replacing regular flour with gluten-free all-purpose flour and ensuring all other ingredients are certified gluten-free. 🌾
Looking for a vegan twist? Substitute the butter with coconut oil or a plant-based butter and use plant-based milk for the filling. This will still give you the creamy goodness without any animal products. Say hello to plant-based deliciousness! 🌿
Faq
- What if my dough is too crumbly?
If your dough feels too crumbly, try adding a tiny bit of cold water or milk, one teaspoon at a time, until it comes together.
- Can I use different fruits?
Absolutely! These tartlets are perfect for using seasonal fruits like pears, berries, or peaches. Get creative with your favorite flavors!
- How do I know when my tartlets are done baking?
Your tartlets are ready when the crust is golden brown and the filling is set. The tops should look slightly puffed, but not overly browned.
- Can I make the dough ahead of time?
Yes! You can prepare the dough in advance and refrigerate it for up to 48 hours. Just make sure to let it sit at room temperature for about 10 minutes before rolling it out.
- What is the best way to store leftover tartlets?
Store any leftover tartlets in an airtight container at room temperature for up to 2 days. For longer storage, keep them in the fridge for up to a week.
- Can I freeze the tartlets?
Yes! You can freeze baked tartlets for up to 3 months. Just ensure they are completely cooled before wrapping them tightly in plastic wrap and placing them in a freezer-friendly bag.


