Ingredients
Dry Ingredients
 Bob's Red Mill Gluten Free 1-to-1 Baking Flour, 22 Ounce (Pack of 4)
$23.96
View details
Prime
 Antimo Caputo Chefs Flour - Italian Double Zero 00 - Soft Wheat for Pizza Dough, Bread, & Pasta, 2.2 Lb (Pack of 2)
$16.99
View details
Prime
best seller
 King Arthur, Measure for Measure Flour, Certified Gluten-Free, Non-GMO Project Verified, Certified Kosher, 3 Pounds, Packaging May Vary
$8.62
View details
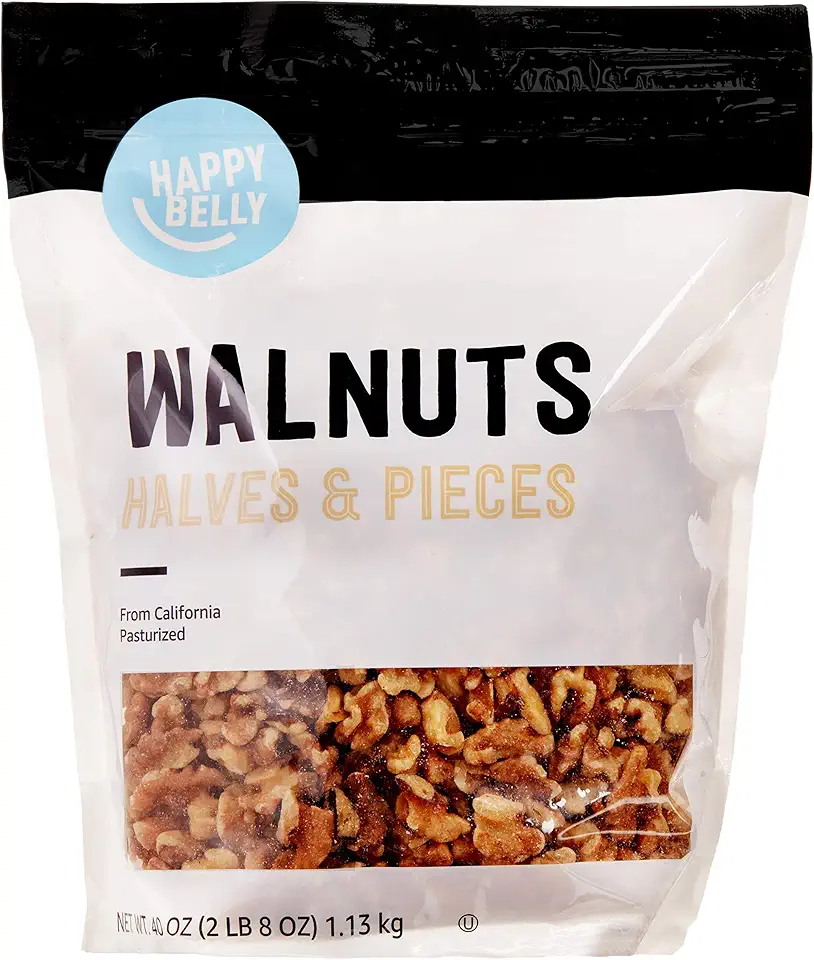 Amazon Brand - Happy Belly California Walnuts Halves and Pieces, 40 ounce
$14.20
View details
Prime
best seller
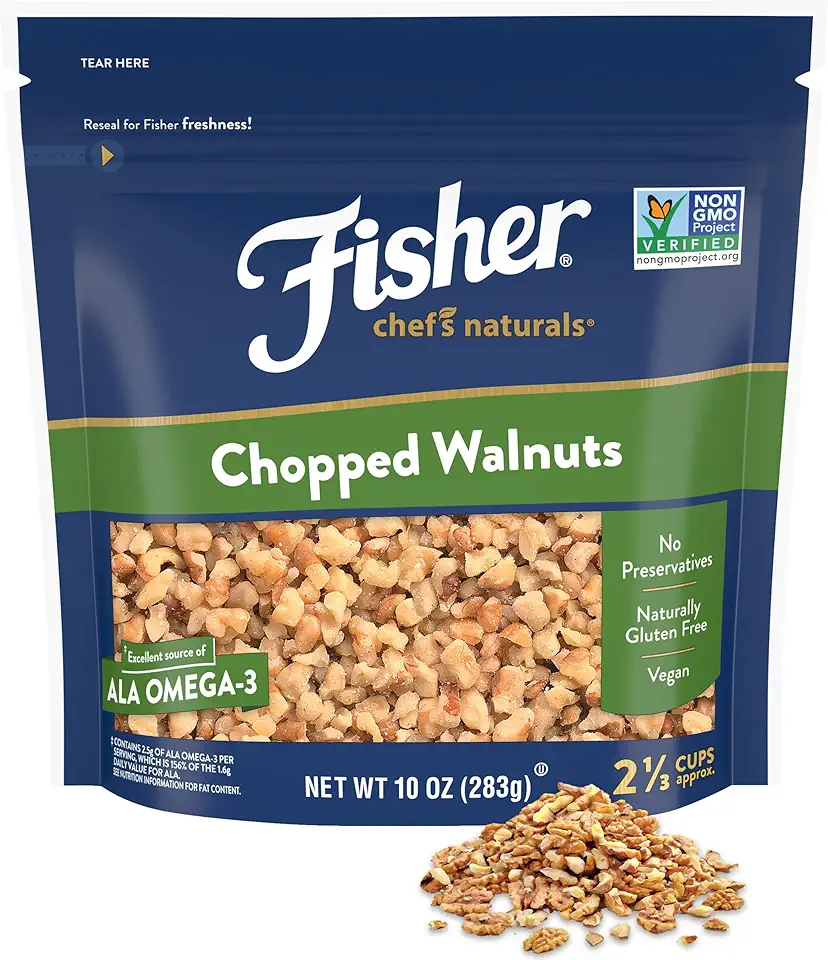 Fisher Chef's Naturals Chopped Walnuts 10 oz, 100% California Unsalted Walnuts for Baking & Cooking, Snack Topping, Resealable Bag, Great with Yogurt & Cereal, Vegan Protein, Keto Snack
$4.34
$5.06
View details
Prime
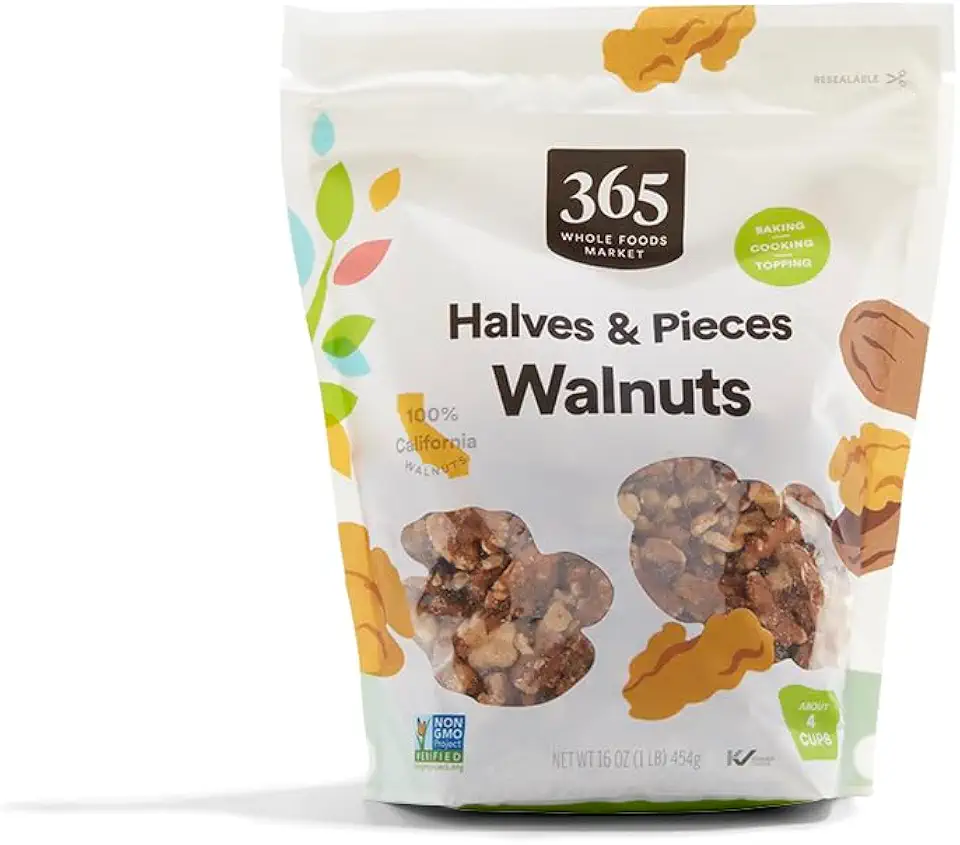 365 by Whole Foods Market, Walnut Halves And Pieces, 16 Ounce
$10.99
View details
 Sugar In The Raw Granulated Turbinado Cane Sugar Cubes, No Added Flavors or erythritol, Pure Natural Sweetener, Hot & Cold Drinks, Coffee, Vegan, Gluten-Free, Non-GMO,Pack of 1
$5.27
View details
Prime
 Sugar In The Raw Granulated Turbinado Cane Sugar, No Added Flavors or erythritol, Pure Natural Sweetener, Hot & Cold Drinks, Coffee, Baking, Vegan, Gluten-Free, Non-GMO, Bulk Sugar, 2lb Bag (1-Pack)
$3.74
$4.14
View details
Prime
 C&H Pure Cane Granulated White Sugar, 25-Pound Bags
$56.99
$49.98
View details
Wet Ingredients
 Kevala Cashew Butter 7 Lbs Pail
$83.62
View details
Prime
best seller
 4th & Heart Original Grass-Fed Ghee, Clarified Butter, Keto, Pasture Raised, Lactose and Casein Free, Certified Paleo (9 Ounces)
$11.49
View details
Prime
 4th & Heart Himalayan Pink Salt Grass-Fed Ghee, Clarified Butter, Keto Pasture Raised, Non-GMO, Lactose and Casein Free, Certified Paleo (9 Ounces)
$9.49
View details
Instructions
Step 1
Prepare the Batter
Step 2
Combine Ingredients
Step 3
Bake
Step 4
Cool and Enjoy
Servings
Equipment
Ensure it's big enough so you can easily mix all your ingredients without spilling.
 YIHONG 7 Piece Mixing Bowls with Lids for Kitchen, Stainless Steel Mixing Bowls Set Ideal for Baking, Prepping, Cooking and Serving Food, Nesting Metal Mixing Bowls for Space Saving Storage
$27.99
$35.99
View details
Prime
best seller
 Pyrex Glass, 3-Piece, 3 PC Mixing Bowl Set
$17.53
View details
Prime
 REGILLER Stainless Steel Mixing Bowls (Set of 5), Non Slip Colorful Silicone Bottom Nesting Storage Bowls, Polished Mirror Finish For Healthy Meal Mixing and Prepping 1.5-2 - 2.5-3.5 - 7QT (Colorful)
$26.99
View details
Perfect for mashing bananas; a potato masher works well too.
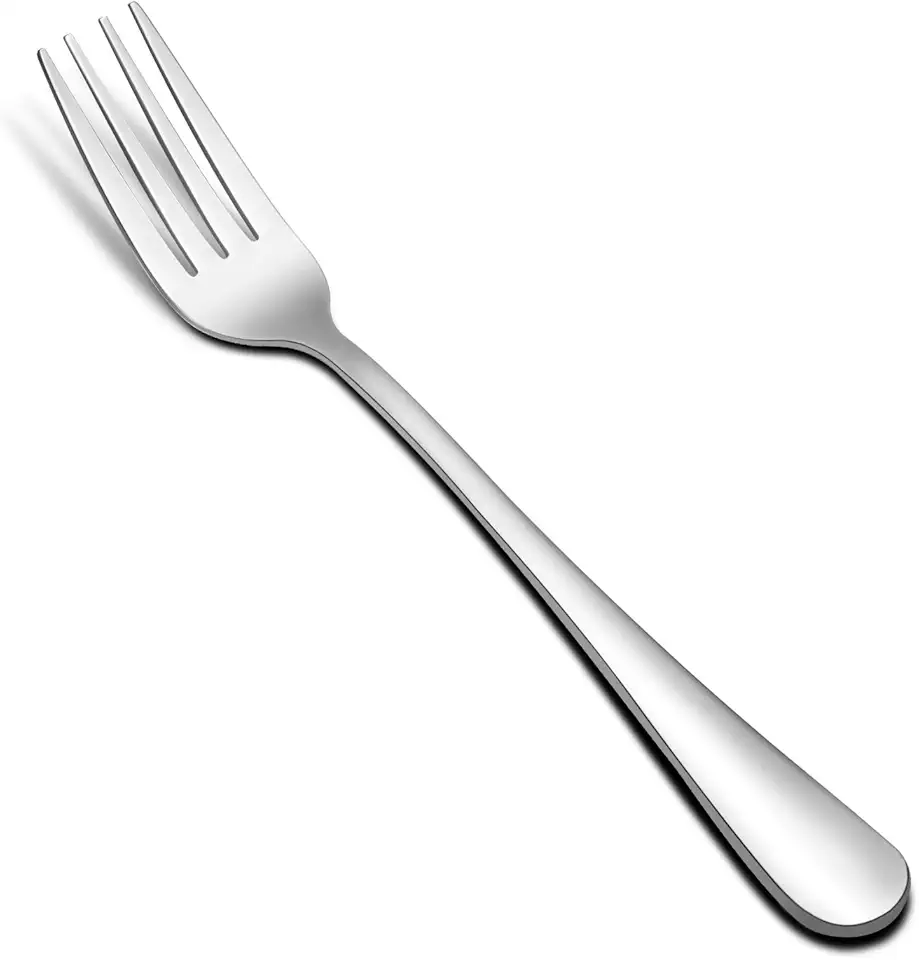 Hiware 12-piece Stainless Steel Salad Forks Dessert Forks Set, Dishwasher Safe, 6.7 Inches
$8.99
View details
Prime
 Yosoo Metal Bread Box Kitchen Countertop Multi Function Bread Fork for Bakery red
$36.91
$39.35
View details
Prime
best seller
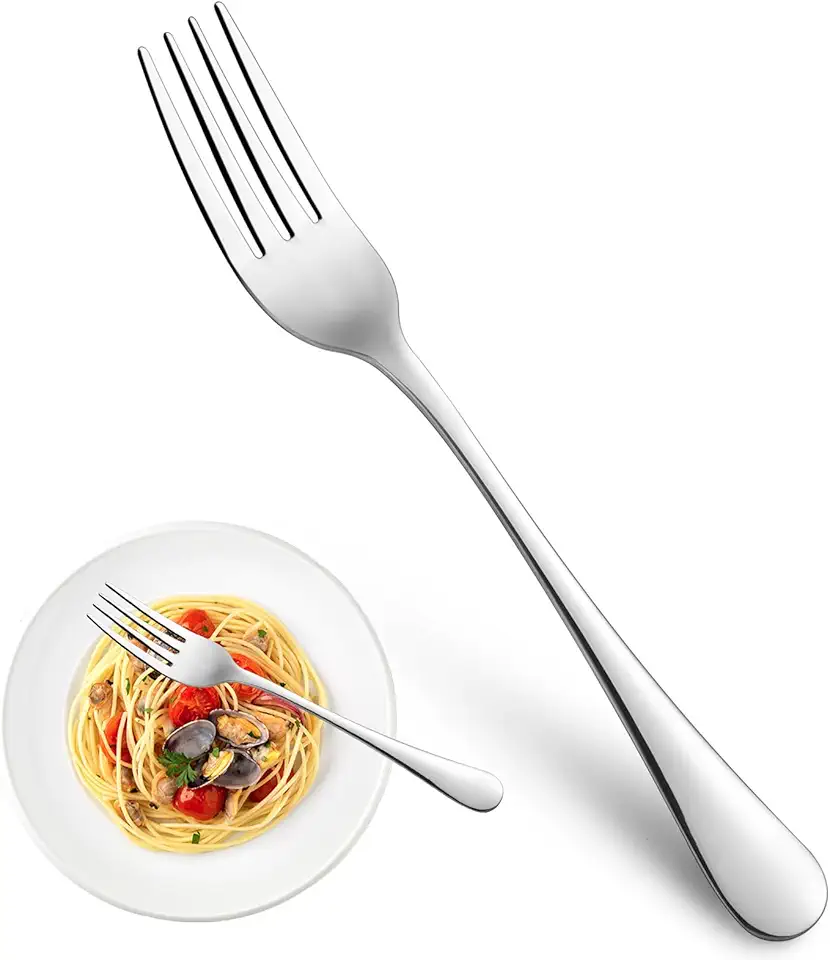 Dinner Forks,Set of 16 Top Food Grade Stainless Steel Silverware Forks,Table Forks,Flatware Forks,8 Inches,Mirror Finish & Dishwasher Safe,Use for Home,Kitchen or Restaurant
$9.99
$15.99
View details
Great for scraping down the sides of your mixing bowl to incorporate every last bit of the batter.
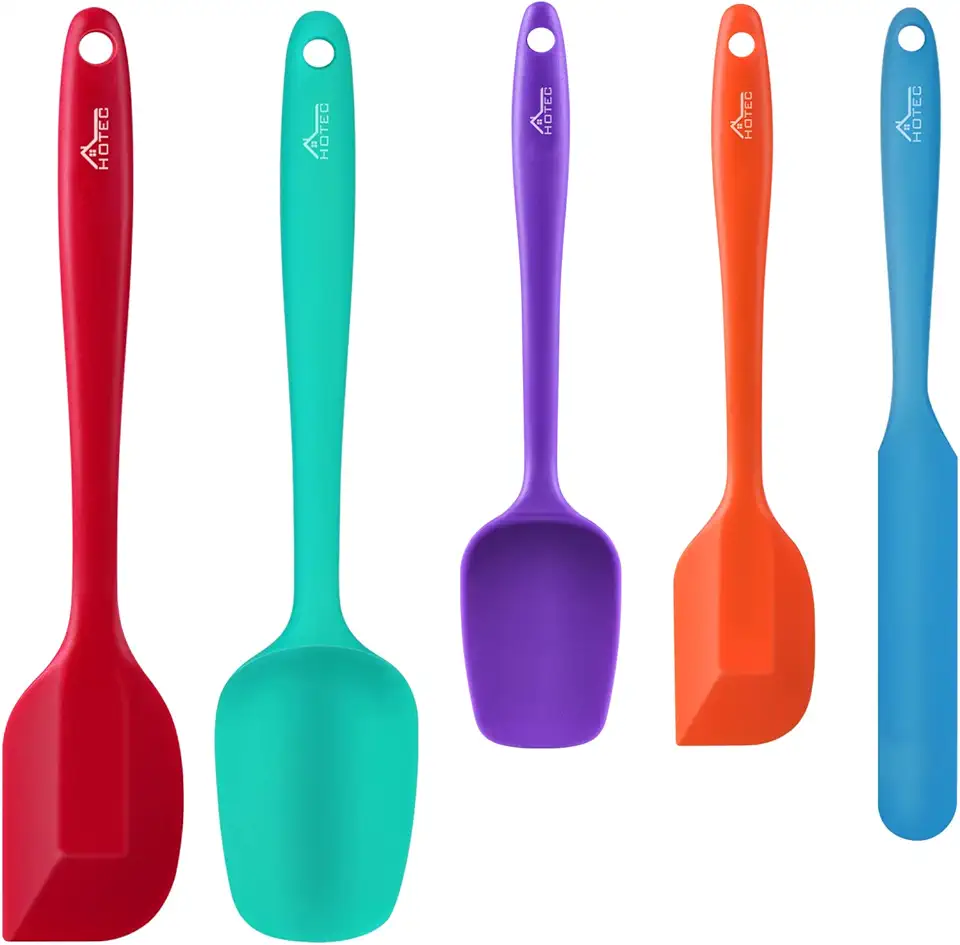 HOTEC Food Grade Silicone Rubber Spatula Set for Baking, Cooking, and Mixing High Heat Resistant Non Stick Dishwasher Safe BPA-Free Multicolor Set of 5
$9.59
$18.99
View details
Prime
 Wilton Icing Spatula - 13-Inch Angled Cake Spatula for Smoothing Frosting on Treats or Spreading Filling Between Cake Layers, Steel
$7.98
$8.75
View details
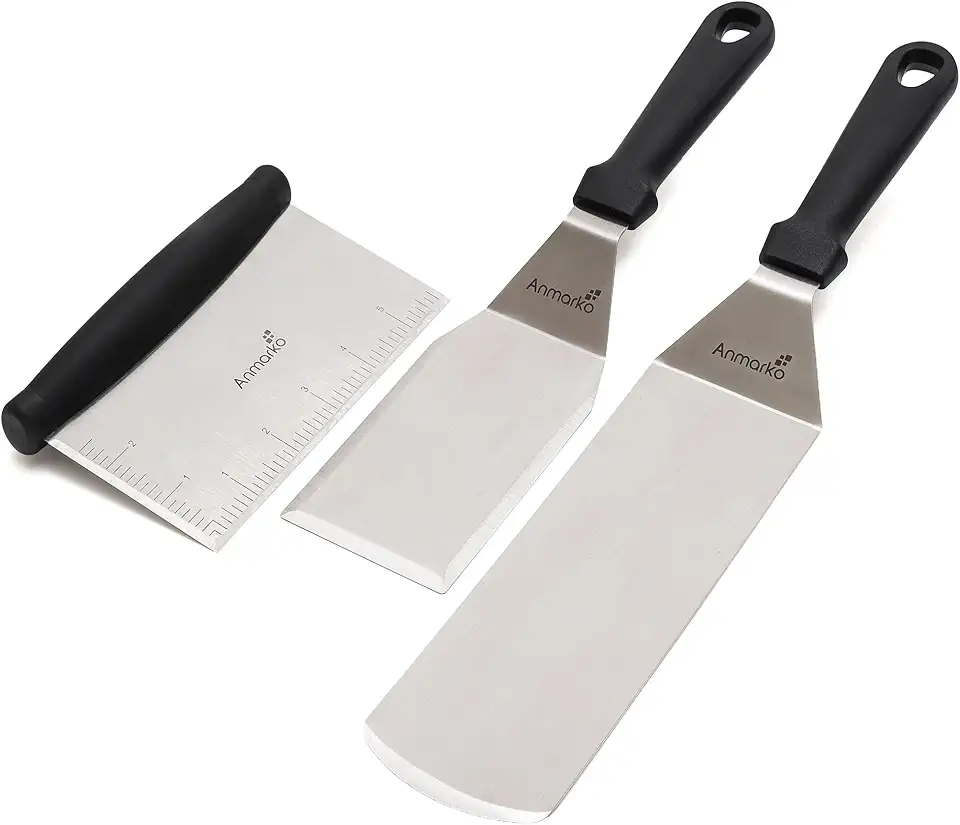 Metal Spatula Stainless Steel and Scraper - Professional Chef Griddle Spatulas Set of 3 - Heavy Duty Accessories Great for Cast Iron BBQ Flat Top Grill Skillet Pan - Commercial Grade
$19.99
$22.99
View details
Make sure to use a non-stick baking tin or grease it well with butter to ensure easy release.
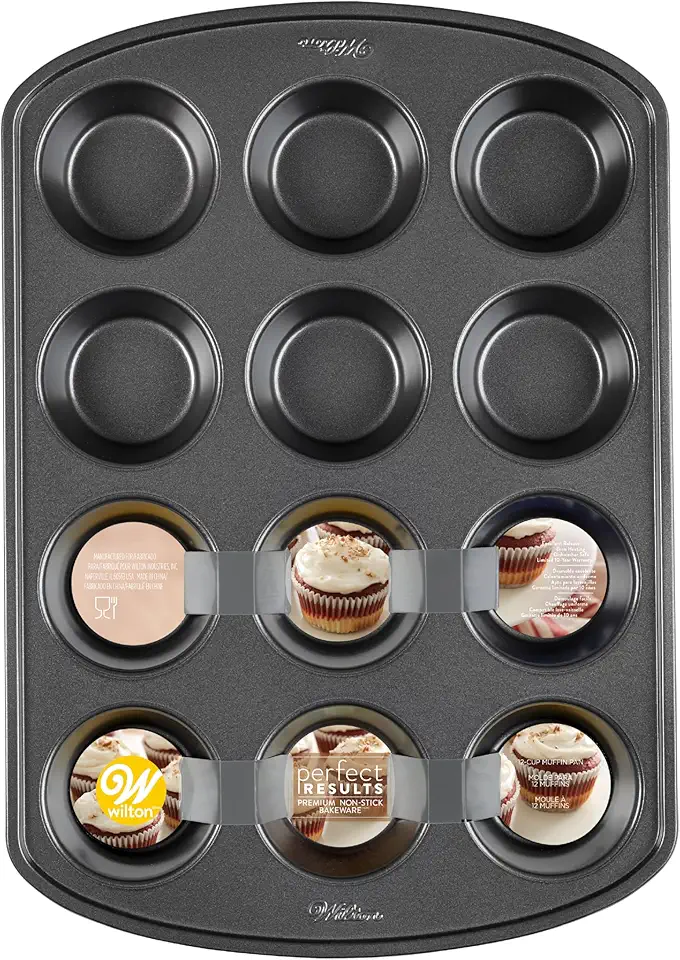 Wilton Perfect Results Premium Non-Stick Cupcake Pan, 12-Cup Muffin Tin, Steel Baking Supplies
$14.99
View details
Prime
best seller
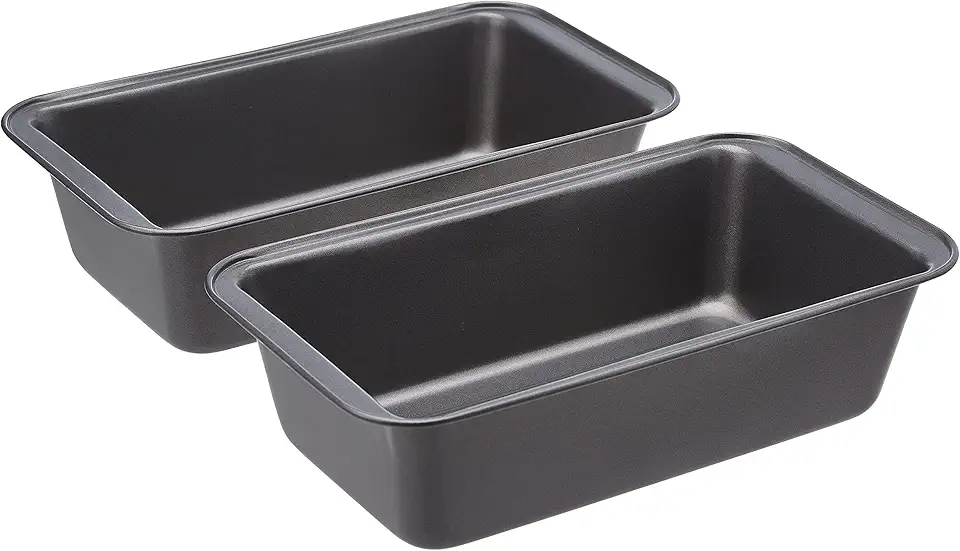 Amazon Basics Rectangular Baking Bread Loaf Pan, 9.5 x 5 Inch, Set of 2, Gray
$13.49
View details
Prime
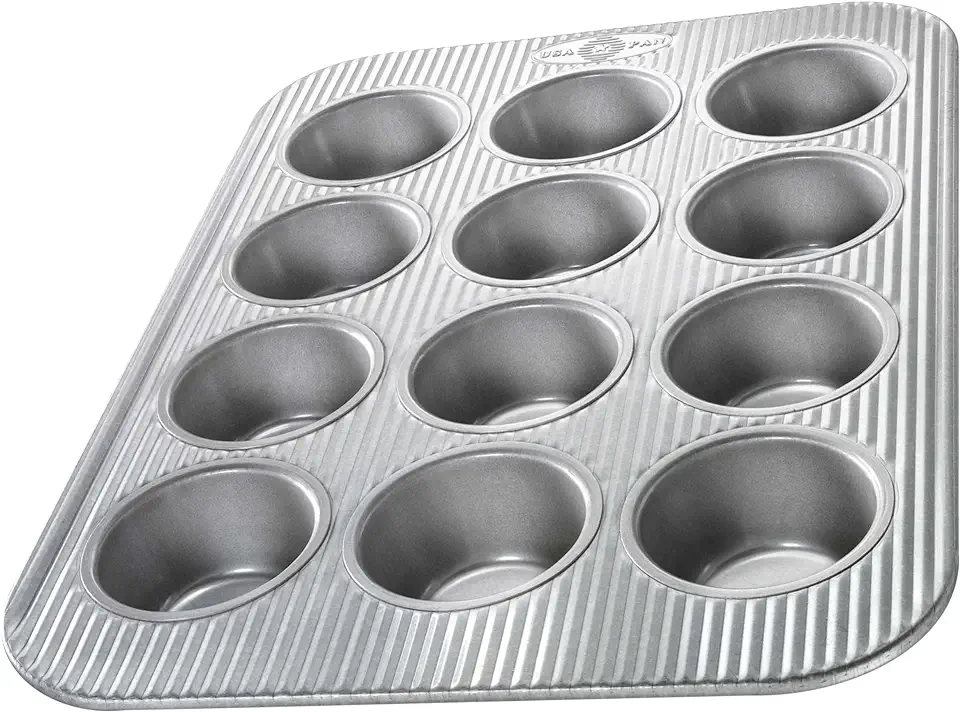 USA Pan Bakeware Muffin Pan, 12-Well, Aluminized Steel
$29.99
$31.99
View details
Preheat your oven for at least 10 minutes before baking to ensure even cooking.
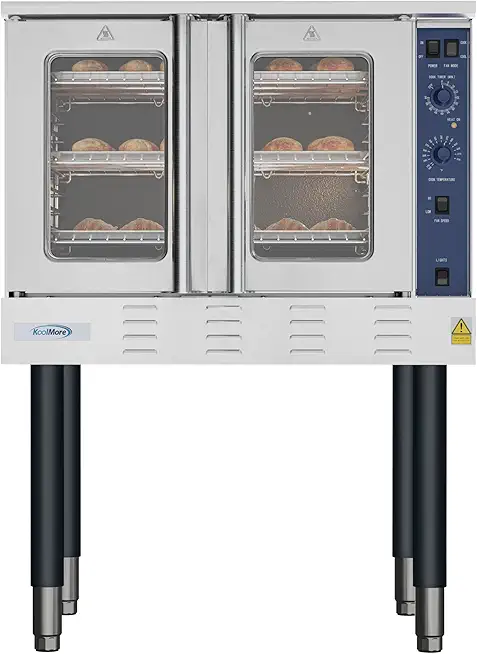 KoolMore 38 in. Full-Size Single Deck Commercial Natural Gas Convection Oven 54,000 BTU in Stainless-Steel (KM-CCO54-NG)
$3651.89
View details
Prime
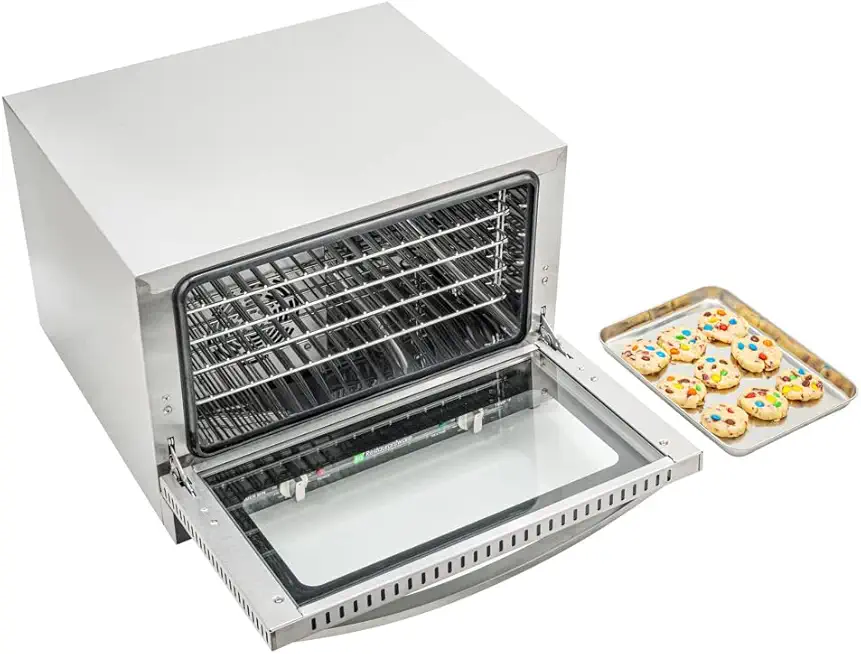 Restaurantware Hi Tek Half Size Convection Oven 1 Countertop Electric Oven - 1.5 Cu. Ft. 120V Stainless Steel Commercial Convection Oven 1600W 4 Racks Included
$1077.29
View details
Prime
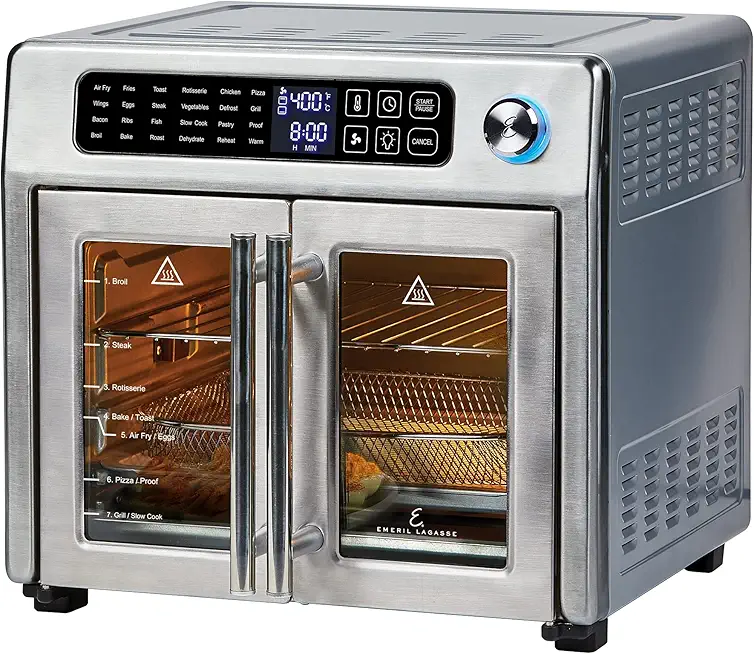 Emeril Lagasse 26 QT Extra Large Air Fryer, Convection Toaster Oven with French Doors, Stainless Steel
$189.99
View details
Useful for checking the doneness of your banana bread. If it comes out dry, you’re ready to go!
 HOPELF 12" Natural Bamboo Skewers for BBQ,Appetiser,Fruit,Cocktail,Kabob,Chocolate Fountain,Grilling,Barbecue,Kitchen,Crafting and Party. Φ=4mm, More Size Choices 6"/8"/10"/14"/16"/30"(100 PCS)
$5.98
$9.99
View details
Prime
 400PCS Natural Bamboo Skewers, Φ=4mm - 12 Inch Wooden Skewers for BBQ, Appetizers, Fruit, Cocktail, Grilling, Kabob, Chocolate Fountain - Thick Skewer Sticks for Party, Kitchen, Craft, Bouquet
$13.99
View details
Prime
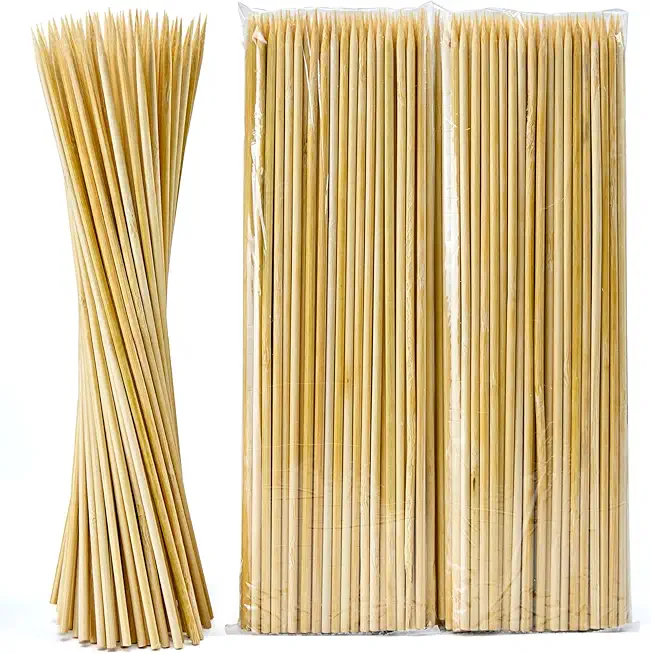 200 PCS 12inch Bamboo Skewers, Φ=4mm, Fruit Skewers | Wooden Skewers for Grilling Barbecue | Cocktail Picks for Drinks | Food Stick Organic Kitchen Gadget | Bbq Kabob Stick (UrbanAbode)
$9.99
$14.99
View details
Variations
- Replace the flour with a gluten-free flour blend in the same quantity.
- Make sure to check that all your other ingredients, especially baking soda and nuts, are certified gluten-free.
- Swap the butter with coconut oil or a vegan butter substitute.
- Use a flax egg (1 tablespoon of flaxseed meal mixed with 2.5 tablespoons of water) instead of a regular egg. 🌿
Faq
- How ripe should the bananas be?
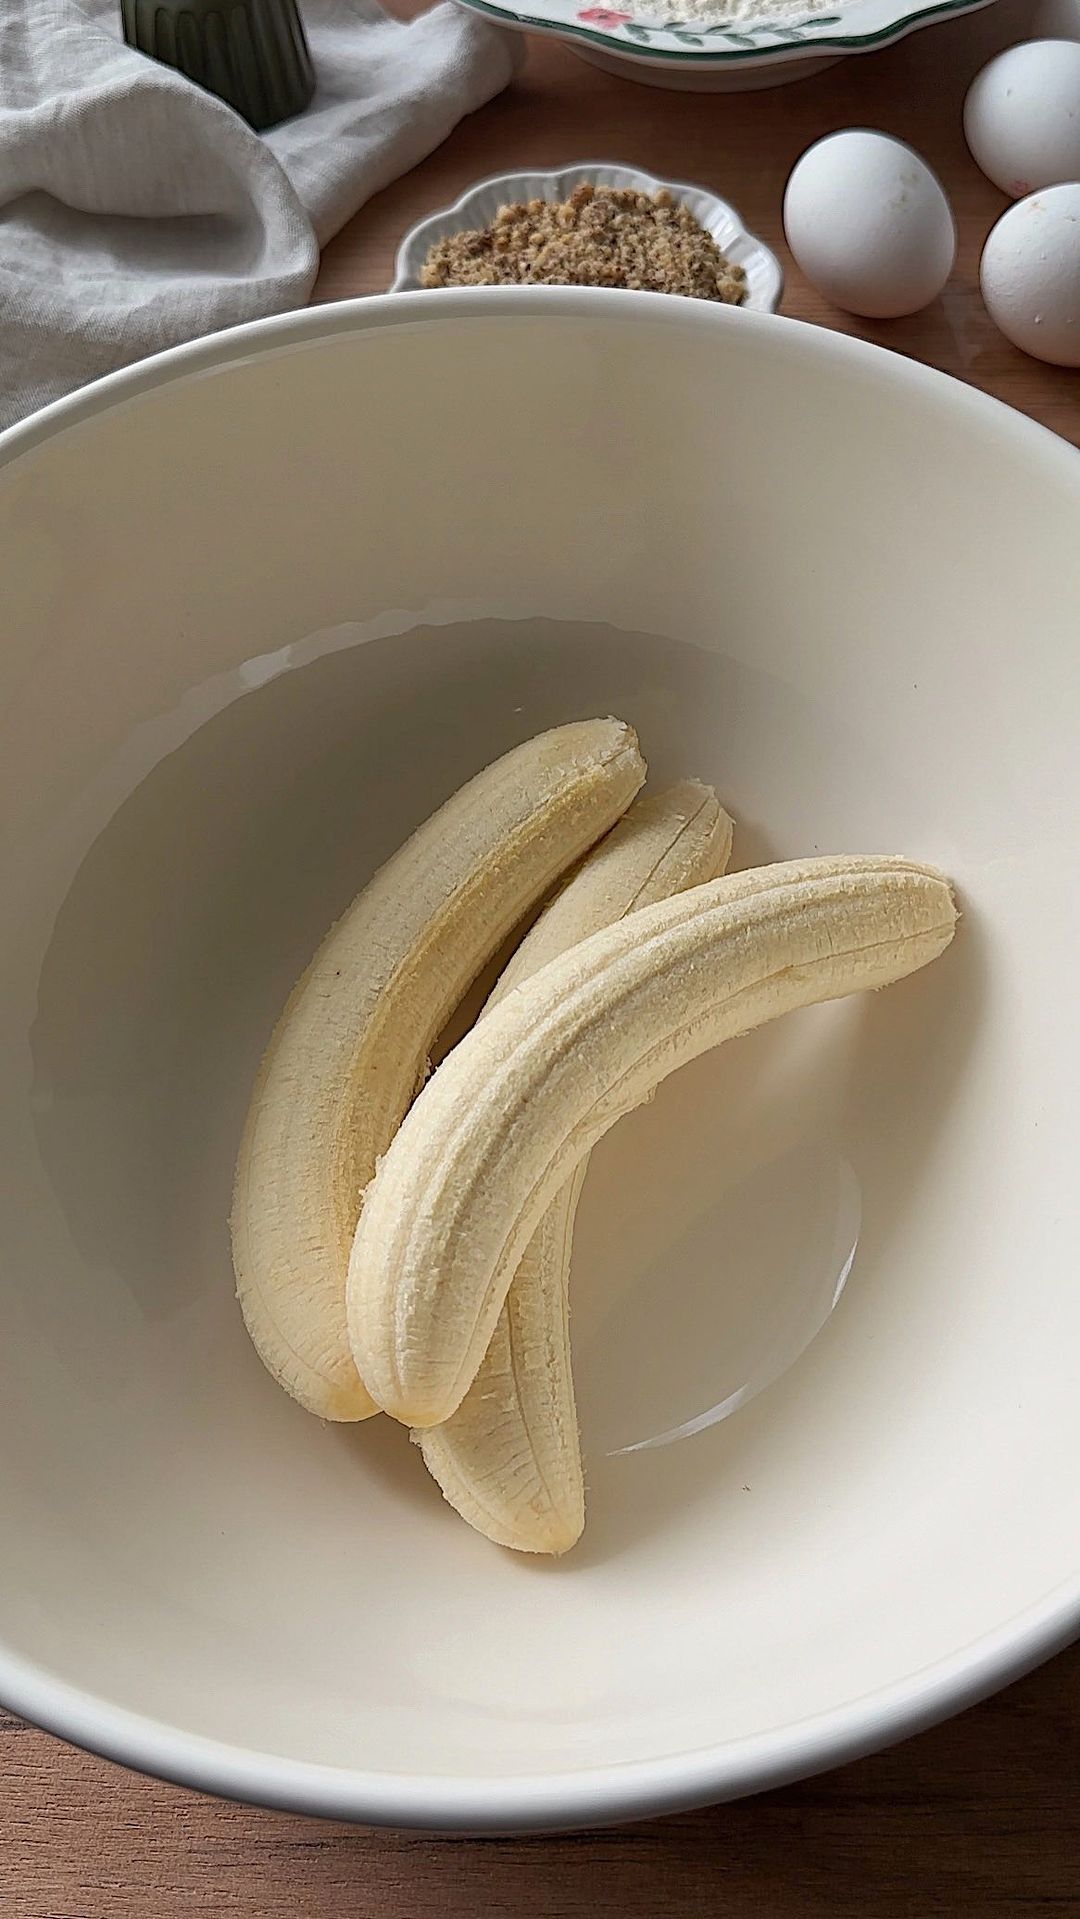
The riper, the better! Overripe bananas with brown spots will give you the sweetest flavor.
- Can I use frozen bananas?
Yes, just defrost and drain any excess water before using them.
- Why is my banana bread dense?
Overmixing your batter can cause it to become dense. Mix just until everything is combined.
- Can I add other ingredients?
Absolutely! Chocolate chips, dried fruits, or different nuts can add exciting flavors and textures.
- How should I store the banana bread?
Wrap it in plastic wrap or place it in an airtight container. It stays fresh for about 3-4 days at room temperature.
- Can I freeze the banana bread?
Yes! Wrap it tightly and it can be frozen for up to 3 months. Thaw it at room temperature when ready to eat.

