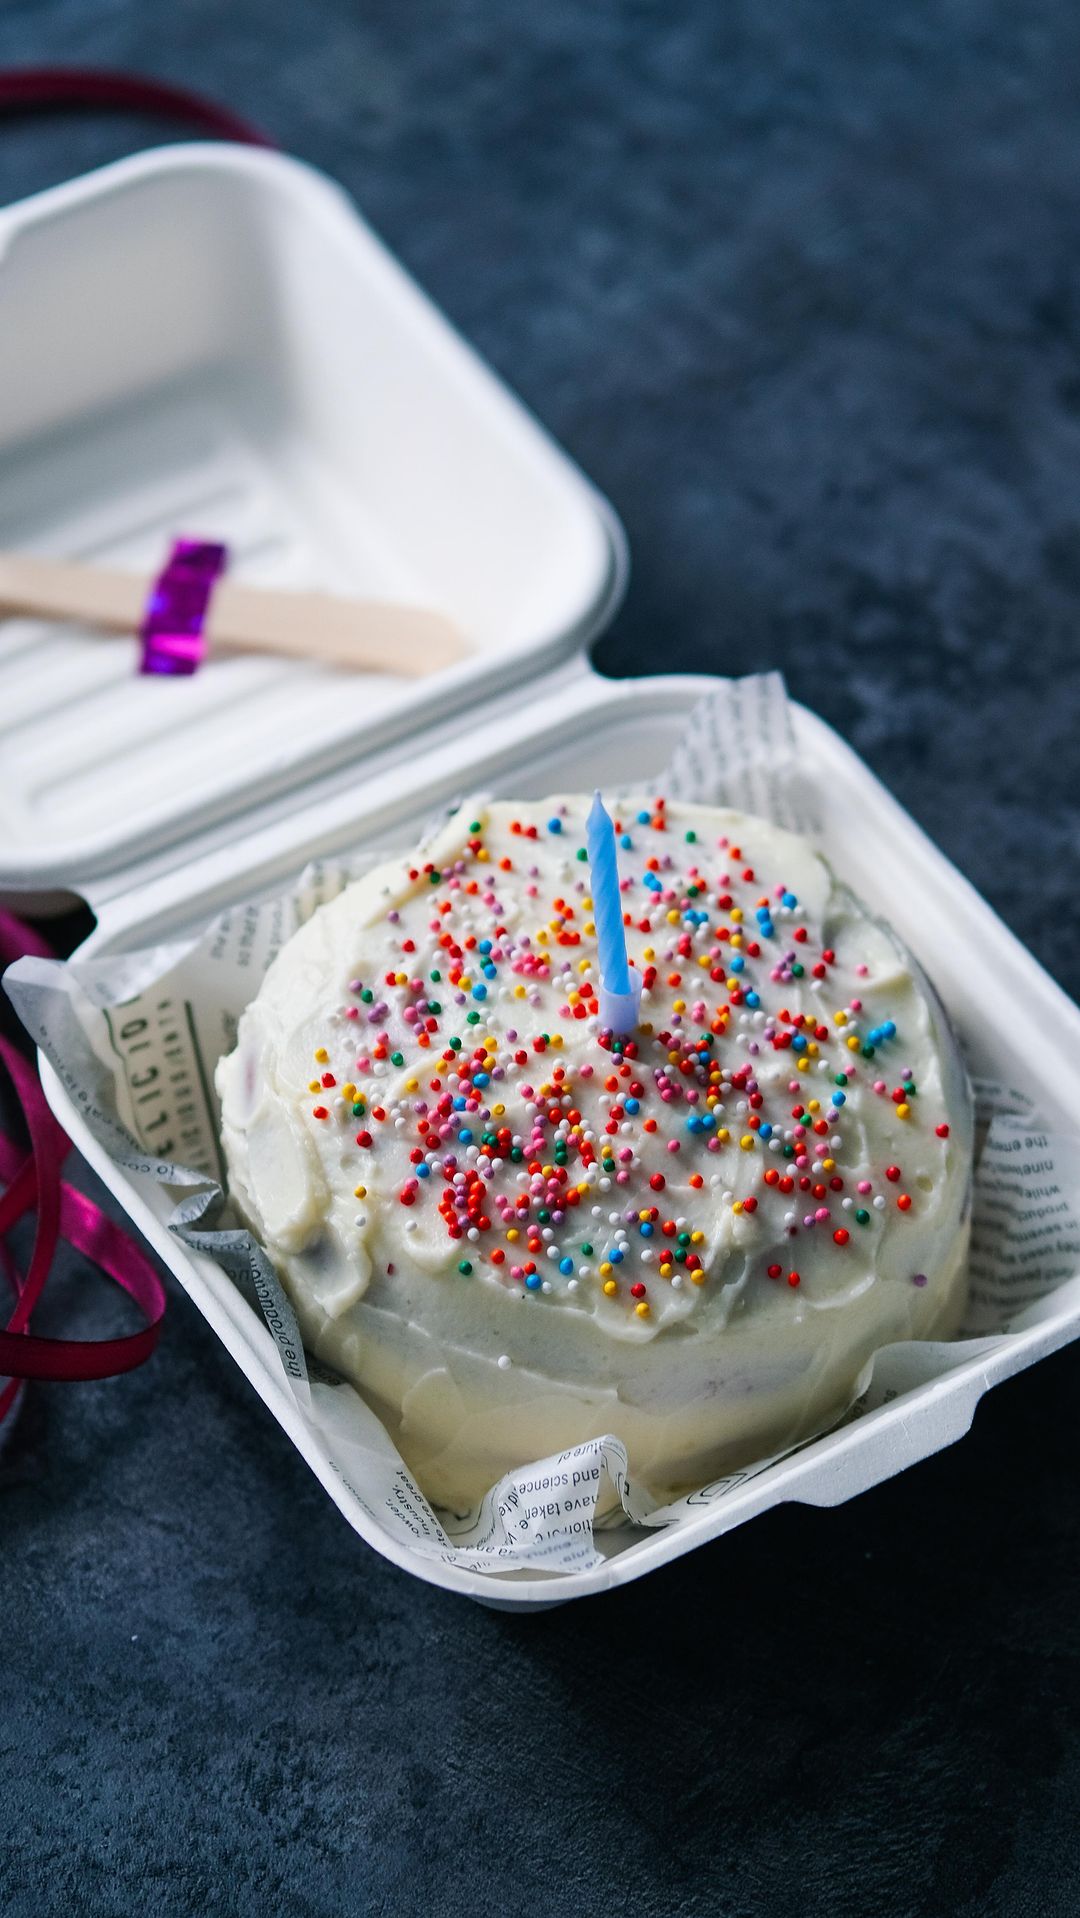
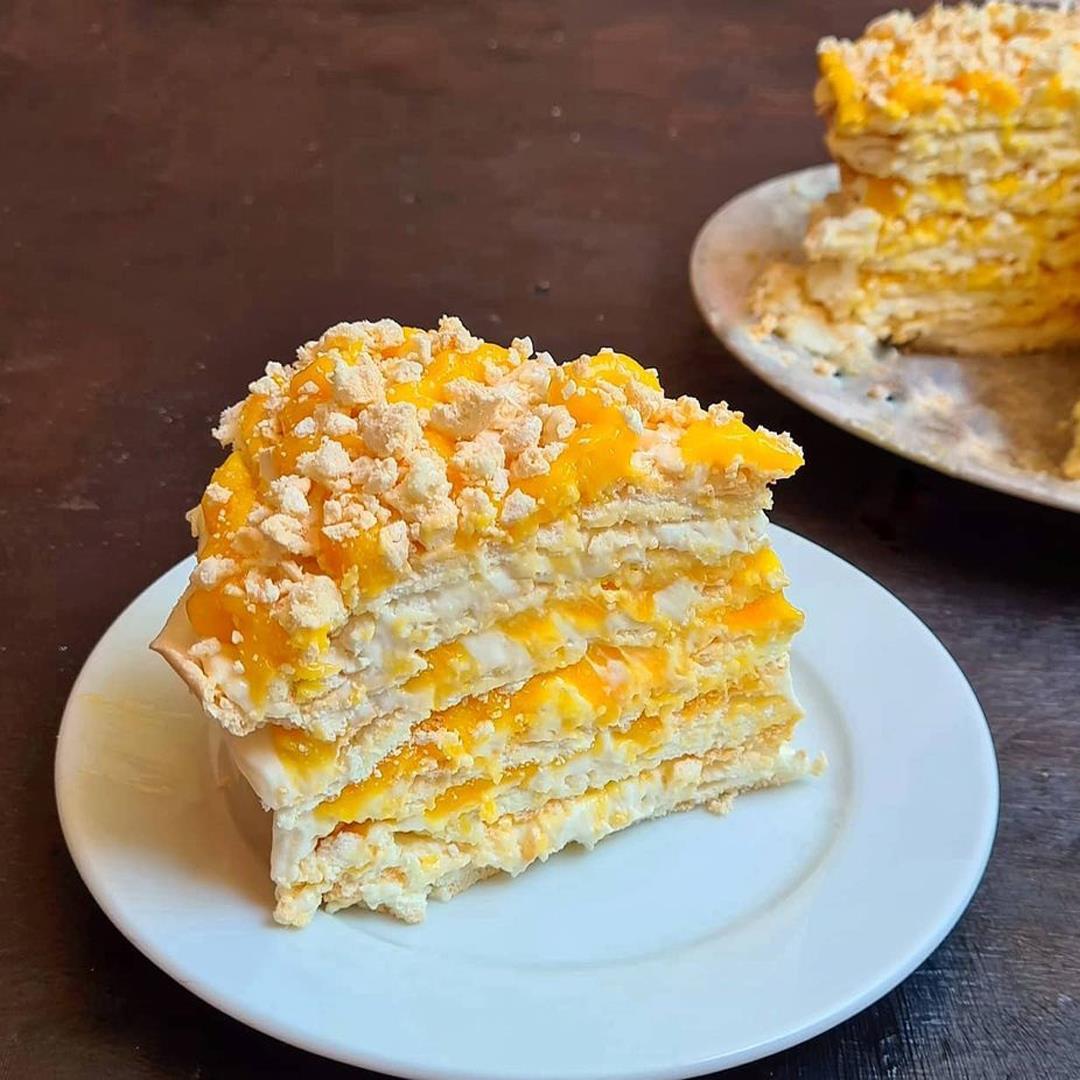
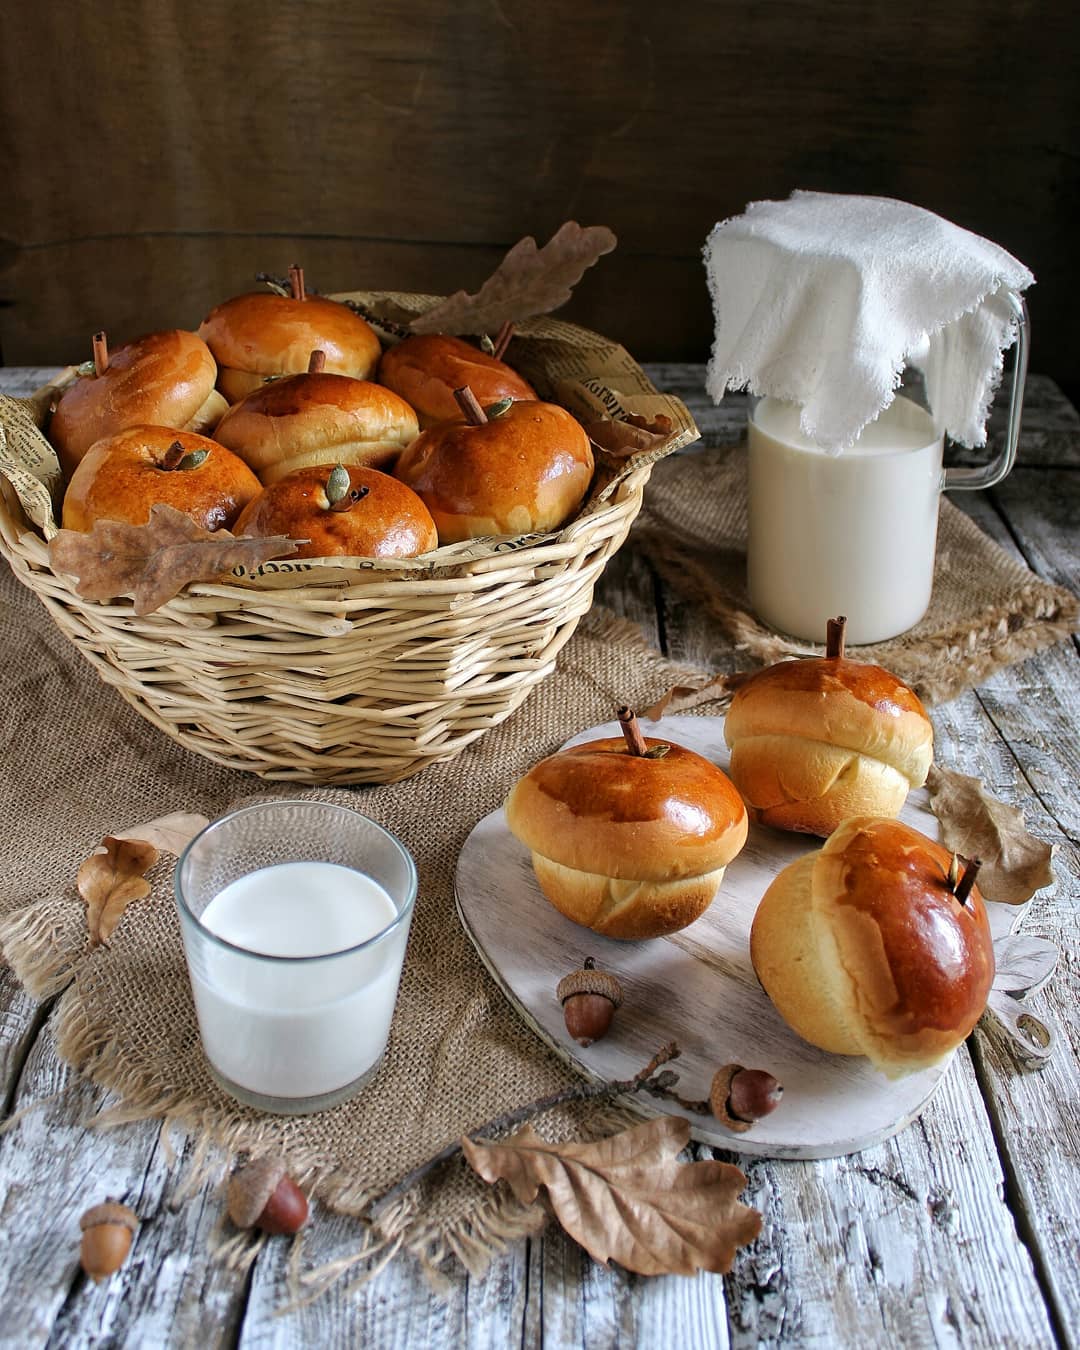
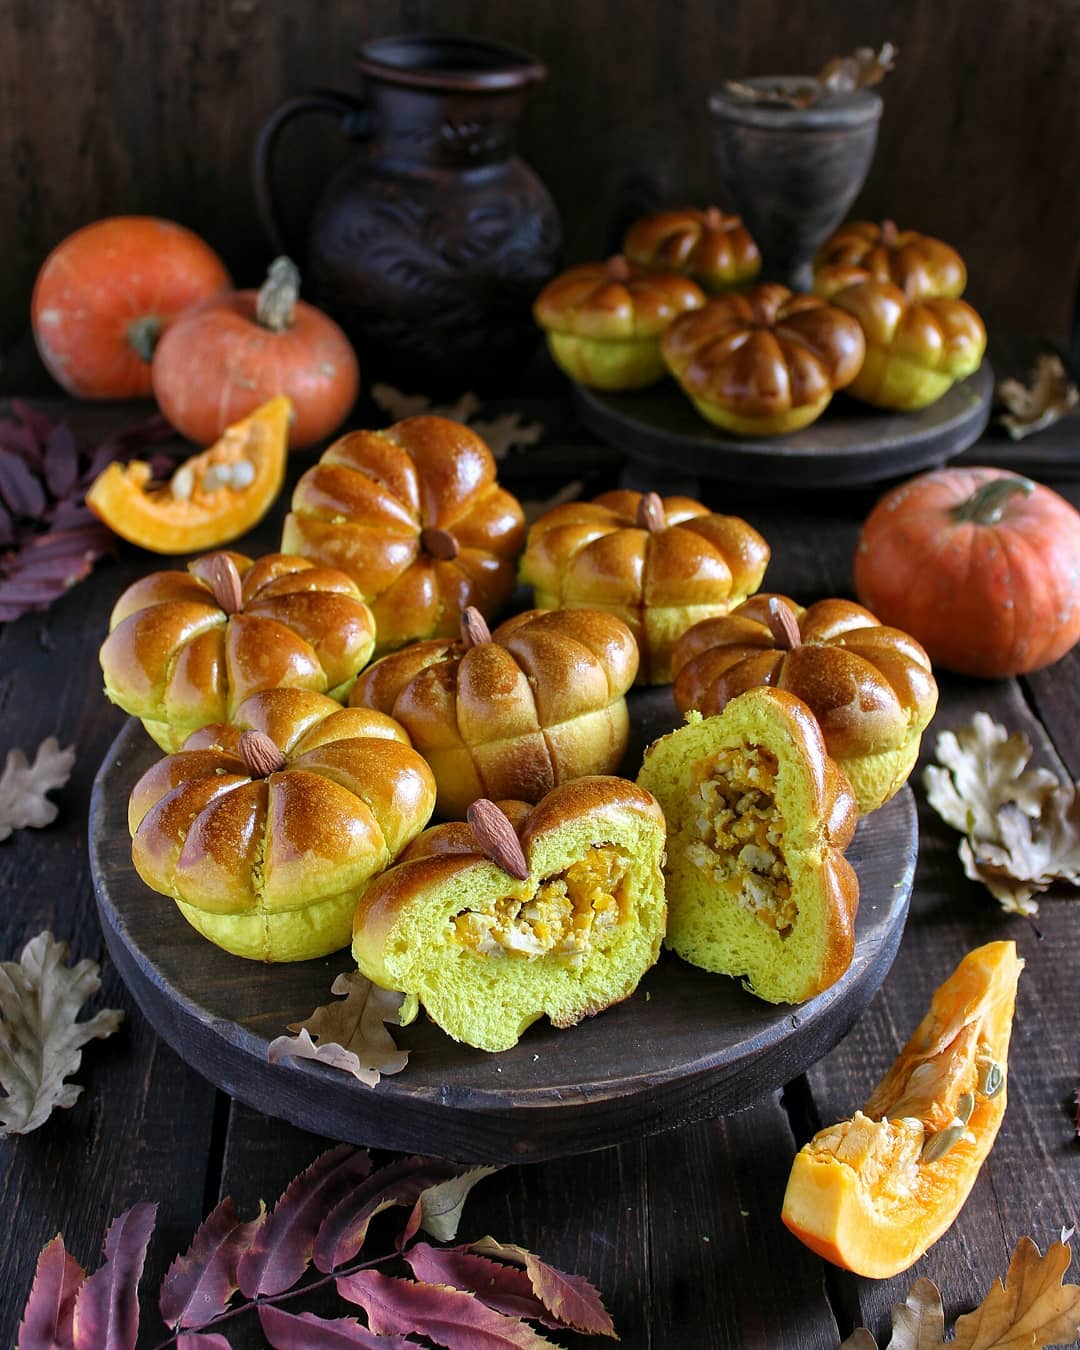
Ingredients
For the Biscuit:
For the Cream:
For the Filling:
Instructions
Step 1
Prepare the Biscuit
Step 2
Make the Cream
Step 3
Prepare the Filling
Step 4
Assemble the Cake
Servings
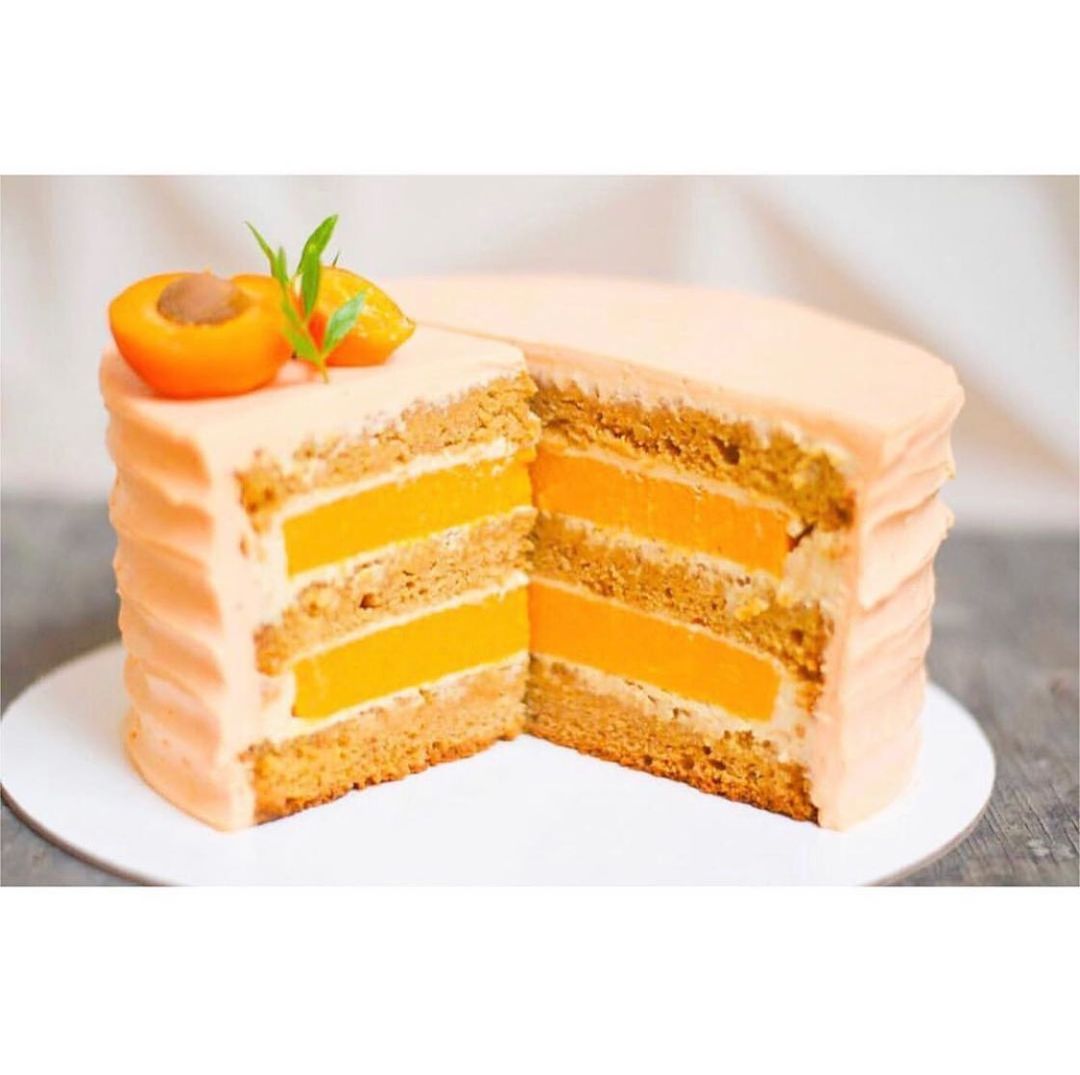
Once your pastry is ready and has fully stabilized in the refrigerator, you'll want to display it in the most beautiful way possible. **Here are a few serving suggestions and ideas** to make your dessert the star of the show:
**Serve it chilled or at room temperature** for the perfect texture. Use a cake stand or a beautiful platter to showcase your creation. You can garnish with a few fresh berries on top for a pop of color and a hint of what’s inside. 🍓
**Pair it with a cup of tea or coffee** for an afternoon treat, or enjoy it as a sweet ending to a lovely dinner. For extra flair, sprinkle a light dusting of powdered sugar over the top. A little sprig of mint can also add a nice touch.
**Turn your serving into an experience**! Share the story behind the recipe with your guests, and watch their faces light up with each delicious bite. If you’re feeling adventurous, layer two different types of fruit fillings for a delightful surprise. 😉
Equipment
You'll need a few mixing bowls for combining wet and dry ingredients. Glass or stainless steel bowls work best as they're non-reactive.
A hand mixer is versatile and easy to use, but if you have a stand mixer, it can save you some effort, especially when beating the egg and sugar mix to that perfect fluffy texture.
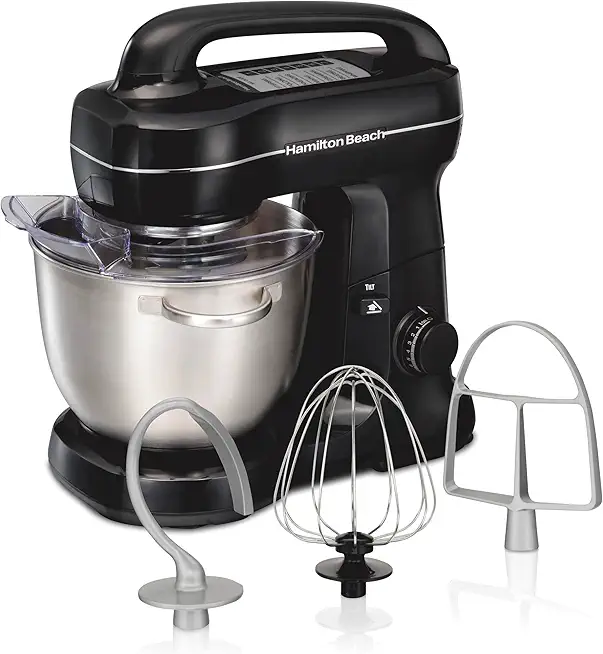 Hamilton Beach Electric Stand Mixer, 4 Quarts, Dough Hook, Flat Beater Attachments, Splash Guard 7 Speeds with Whisk, Black with Top Handle
$91.99
$114.99
View details
Prime
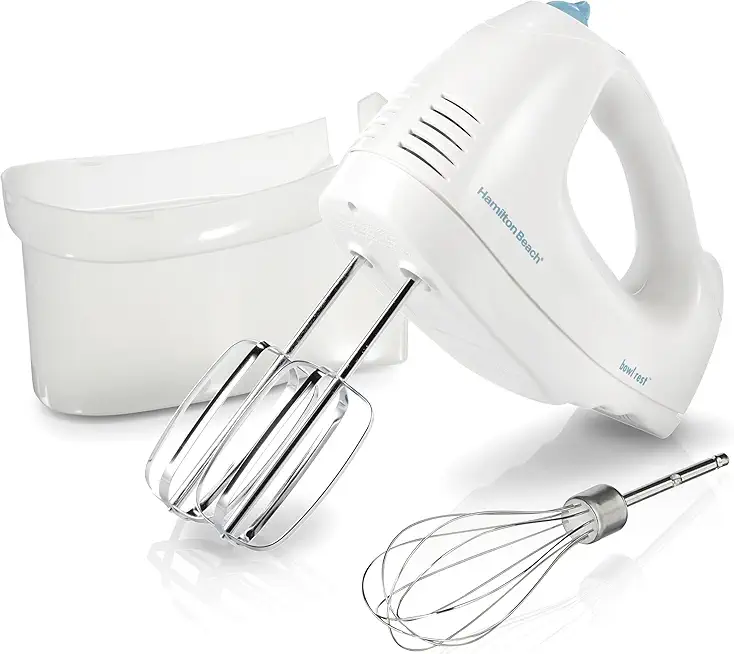 Hamilton Beach 6-Speed Electric Hand Mixer with Whisk, Traditional Beaters, Snap-On Storage Case, 250 Watts, White
$21.99
View details
Prime
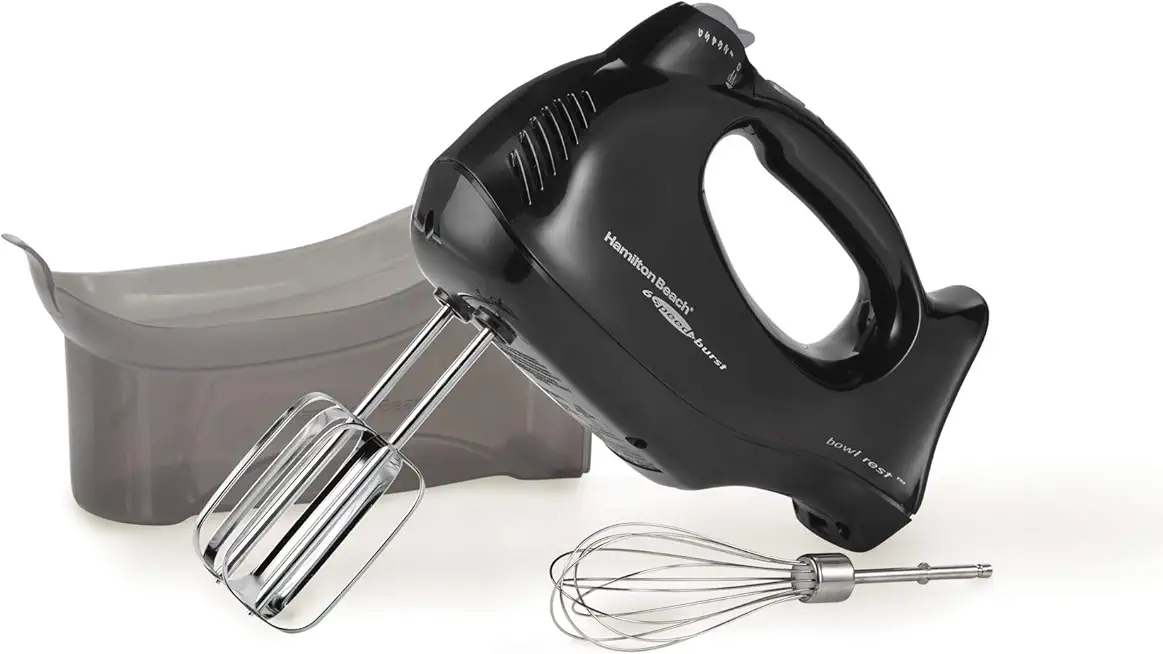 Hamilton Beach 6-Speed Electric Hand Mixer with Snap-On Case, Beaters, Whisk, Black (62692)
$19.99
$24.99
View details
Use a non-stick cake form with a diameter of 12-14 cm (5-6 inches). Lining it with parchment paper can make removing the biscuit easier.
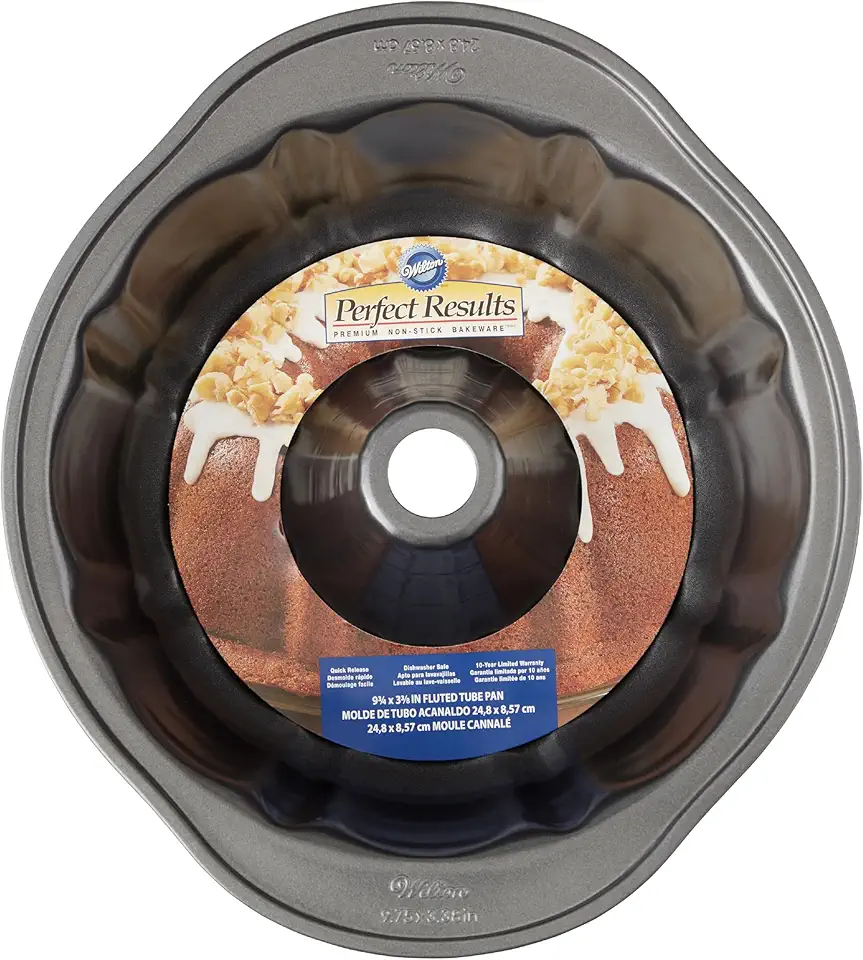 Wilton Perfect Results Premium Non-Stick 9.51-Inch Fluted Tube Pan, Steel Cake Pan
$19.74
View details
Prime
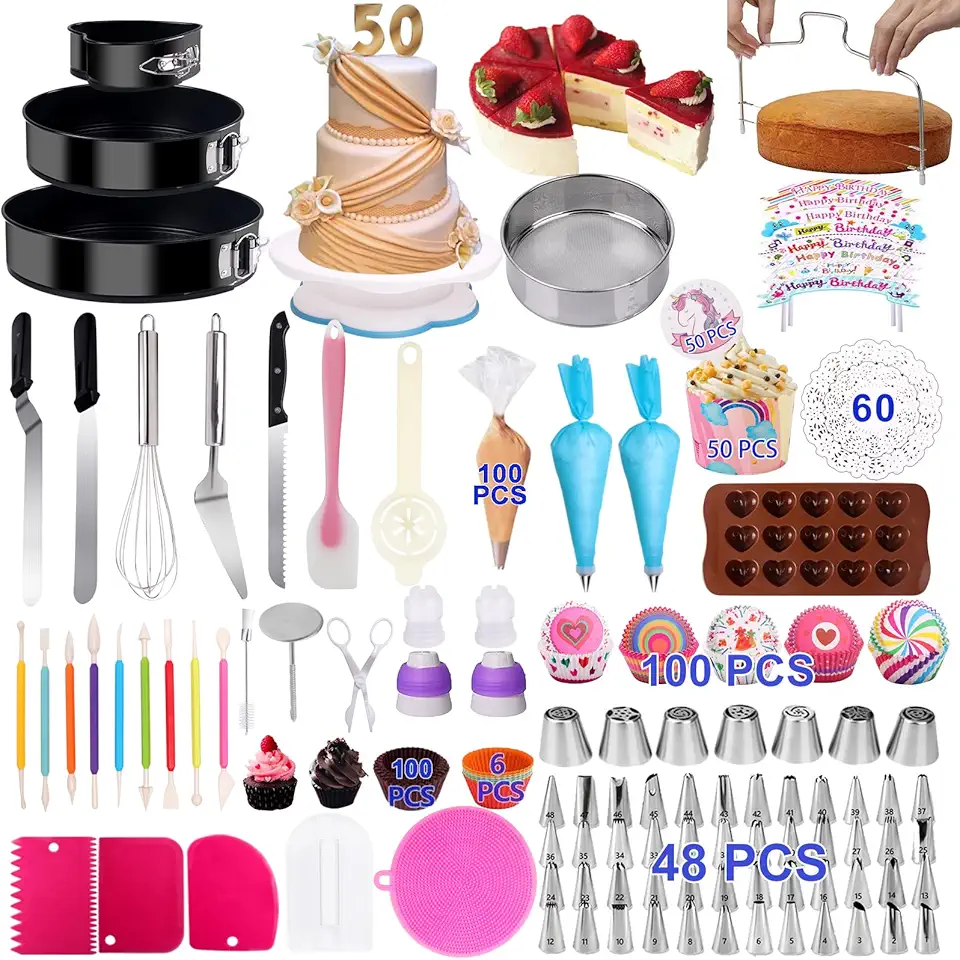 567 PCS Cake Decorating Kit Baking Supplies with 3 Springform Pans Set, Cake Decorating Supplies Rotating Turntable, Decorating Tools, Cake Baking Supplies Set for Beginners and Cake Lovers
$35.79
View details
Prime
best seller
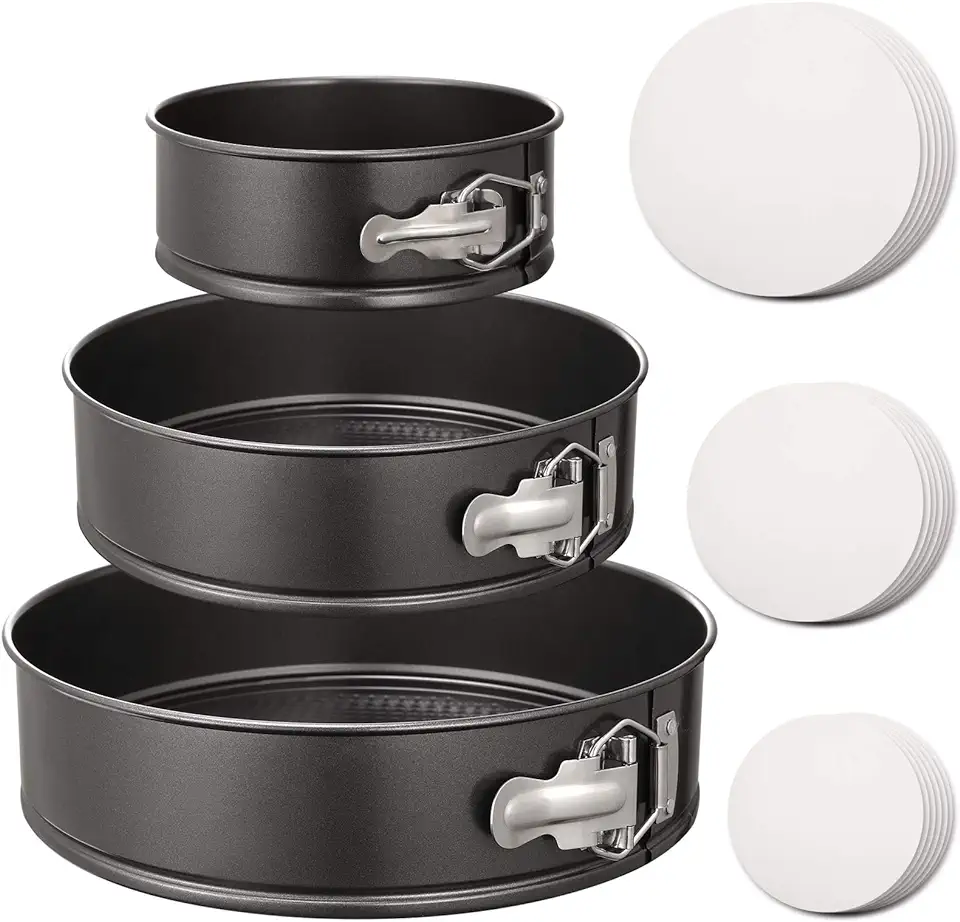 HIWARE Springform Pan Set of 3 Non-stick Cheesecake Pan, Leakproof Round Cake Pan Set Includes 3 Pieces 6" 8" 10" Springform Pans with 150 Pcs Parchment Paper Liners
$23.99
$29.00
View details
The plastic wrap is essential for preserving the moisture in your freshly baked biscuit.
 Glad® Press'n Seal® Plastic Food Wrap - 100 Square Foot Roll - 3 Pack (Package May Vary)
$12.72
$14.97
View details
Prime
best seller
 Morepack Clear Self Sealing Cellophane Bags,4x6 Inches 200 Pcs Cookie Bags Resealable Cellophane Bag for Packaging Cookies, Candy and Products
$7.21
$8.49
View details
Prime
 Glad Press'n Seal Plastic Food Wrap - 70 Square Foot Roll
$4.49
$7.84
View details
For checking the doneness of your biscuit, a simple toothpick will do the job.
 200PCS Back to School Cocktail Picks, 5.1 inches Fancy Toothpicks for Appetizers Decorative Bamboo Cocktail Sticks Food Desserts Charcuterie Fruit Skewers for First Day of School Party Supplies
$11.93
View details
Prime
 JtmyAota 100 Pack Tulip Toothpicks for Appetizers, 4.7 Inch Natural Bamboo Cocktail Picks for Cake Dessert Food Picks Wedding Birthday Party Decoration
$8.88
View details
Prime
 200 Pcs Cocktail Picks, 4.7 Inch Toothpicks for Appetizers, Bamboo Cocktail Sticks Skewers for Drinks, Desserts, Charcuterie, Wedding Party Fancy Toothpicks, Gold Pearl Mini Food Picks Decorative
$8.97
$12.97
View details
Variations
For those looking to make this delightful pastry gluten-free or vegan, here are some easy adjustments:
**Gluten-Free Variation:**
- Substitute the regular flour with a gluten-free flour blend. Make sure to check that your baking powder is also gluten-free.
**Vegan Variation:**
- Replace the egg with a flax egg (1 tablespoon ground flaxseed mixed with 3 tablespoons water). Allow it to sit for a few minutes to thicken.
- Use a vegan butter substitute for the cream and any plant-based milk (like almond or soy) instead of dairy milk.
- Opt for vegan cream cheese for the cream filling.
- Ensure your sugar is vegan, as some sugar is processed with bone char.
With these tweaks, you can enjoy a delicious and inclusive pastry that everyone will love! 🌱
Faq
- How do I know when my biscuit is fully baked?
Insert a toothpick into the center of the biscuit. If it comes out clean, it's done. The top should also be golden brown.
- Can I use frozen fruits instead of fresh for the filling?
Yes, you can use frozen fruits. Just make sure to thaw and drain them well before cooking.
- What is the best way to beat the butter and sugar for the cream?
Use a hand mixer or stand mixer on medium speed until the mixture is light and fluffy. This usually takes about 3-5 minutes.
- How do I prevent my cake from sticking to the form?
Line the cake form with parchment paper and lightly grease it with oil or butter to prevent sticking.
- Can I make the biscuit ahead of time and freeze it?
Yes, you can bake the biscuit, let it cool completely, and then wrap it tightly in plastic wrap before freezing. Thaw it in the refrigerator overnight before using.
- How can I ensure my cream cheese doesn't curdle when making the cream?
Make sure your cream cheese and butter are both at room temperature before you start mixing them together. This will help achieve a smooth consistency.

