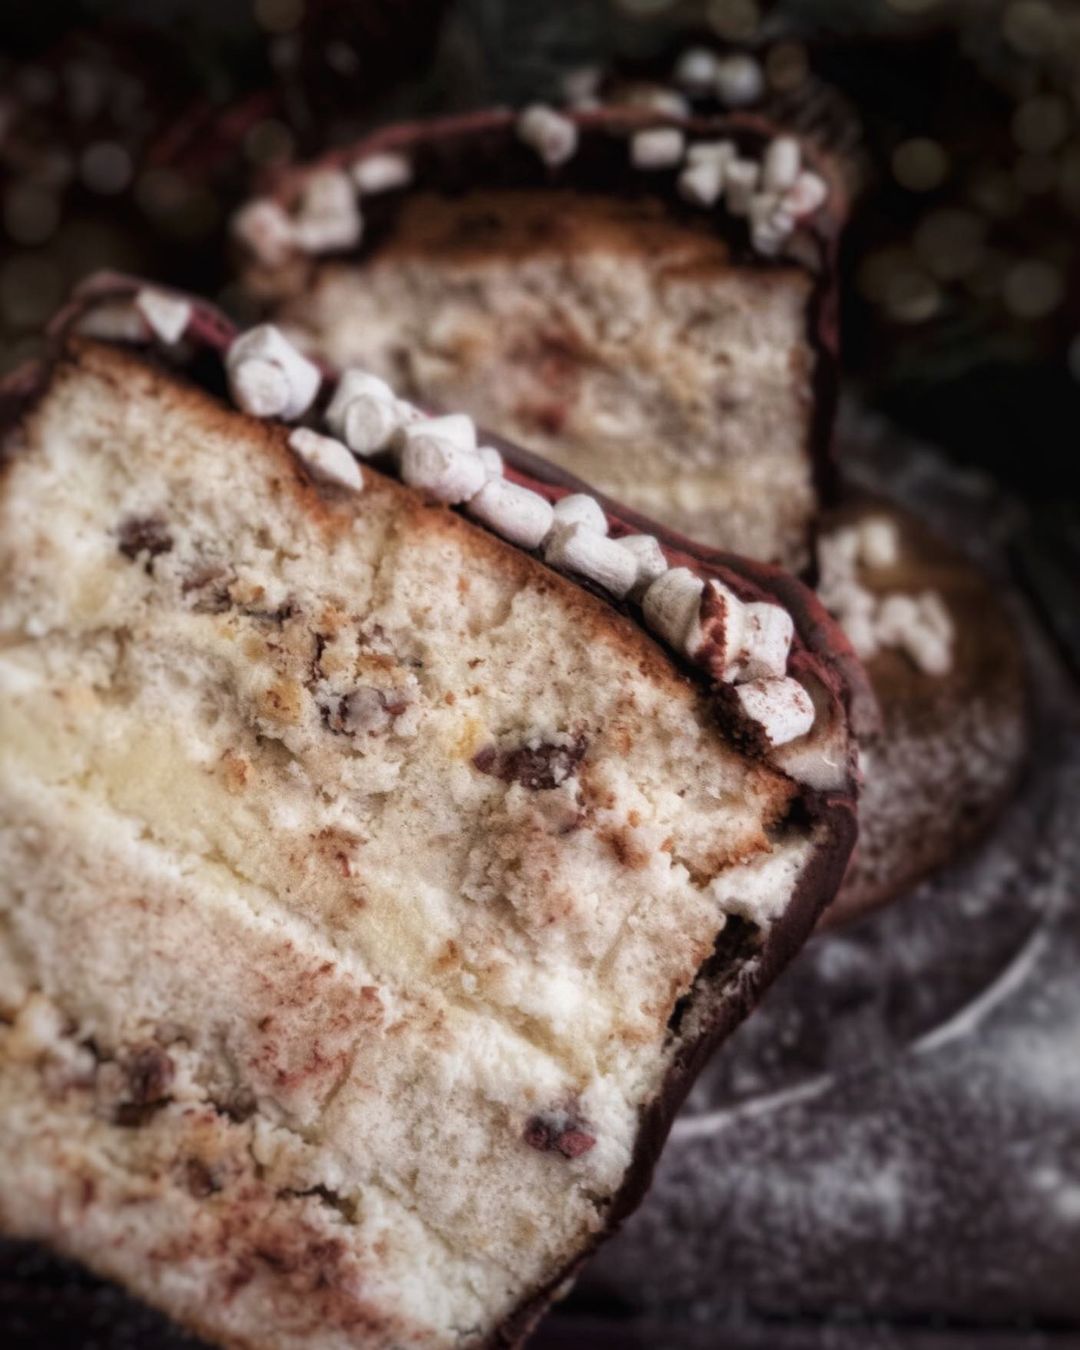
Ingredients
Biscuit Base
 Bob's Red Mill Gluten Free 1-to-1 Baking Flour, 22 Ounce (Pack of 4)
$23.96
View details
Prime
 Antimo Caputo Chefs Flour - Italian Double Zero 00 - Soft Wheat for Pizza Dough, Bread, & Pasta, 2.2 Lb (Pack of 2)
$16.99
View details
Prime
best seller
 King Arthur, Measure for Measure Flour, Certified Gluten-Free, Non-GMO Project Verified, Certified Kosher, 3 Pounds, Packaging May Vary
$8.62
View details
 Sugar In The Raw Granulated Turbinado Cane Sugar Cubes, No Added Flavors or erythritol, Pure Natural Sweetener, Hot & Cold Drinks, Coffee, Vegan, Gluten-Free, Non-GMO,Pack of 1
$5.27
View details
Prime
 Sugar In The Raw Granulated Turbinado Cane Sugar, No Added Flavors or erythritol, Pure Natural Sweetener, Hot & Cold Drinks, Coffee, Baking, Vegan, Gluten-Free, Non-GMO, Bulk Sugar, 2lb Bag (1-Pack)
$3.74
$4.14
View details
Prime
 C&H Pure Cane Granulated White Sugar, 25-Pound Bags
$56.99
$49.98
View details
 Kevala Cashew Butter 7 Lbs Pail
$83.62
View details
Prime
best seller
 4th & Heart Original Grass-Fed Ghee, Clarified Butter, Keto, Pasture Raised, Lactose and Casein Free, Certified Paleo (9 Ounces)
$11.49
View details
Prime
 4th & Heart Himalayan Pink Salt Grass-Fed Ghee, Clarified Butter, Keto Pasture Raised, Non-GMO, Lactose and Casein Free, Certified Paleo (9 Ounces)
$9.49
View details
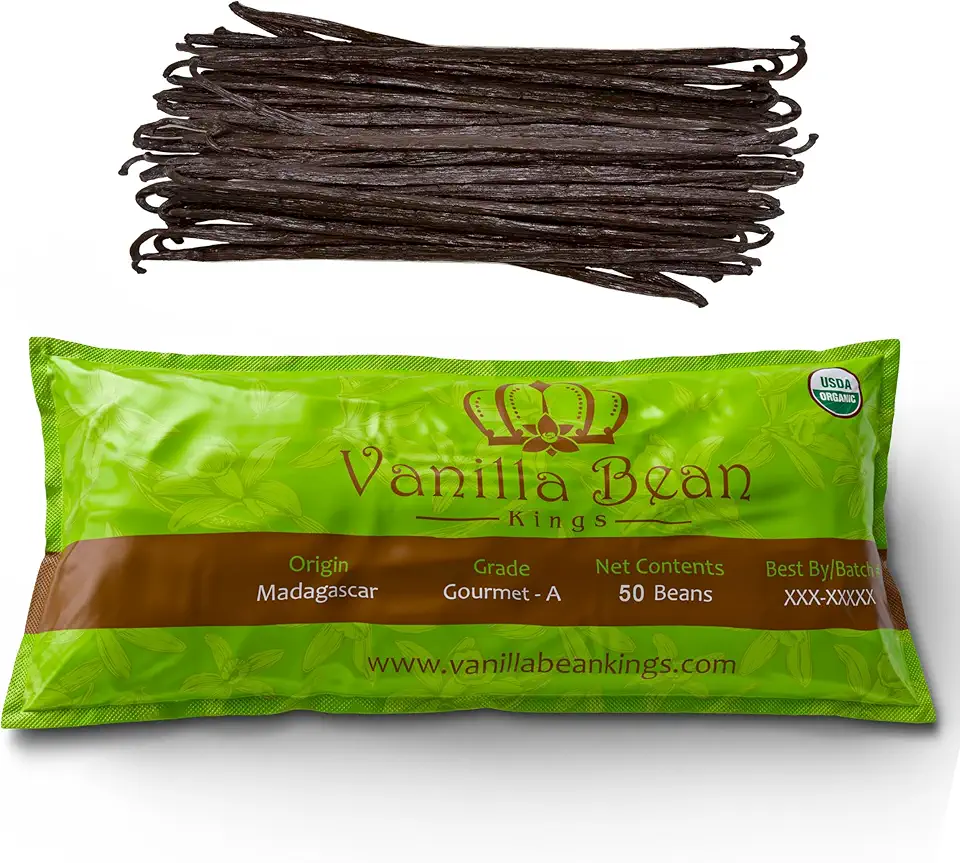 50 Organic Madagascar Vanilla Beans. Whole Grade A Vanilla Pods for Vanilla Extract and Baking
$39.99
View details
Prime
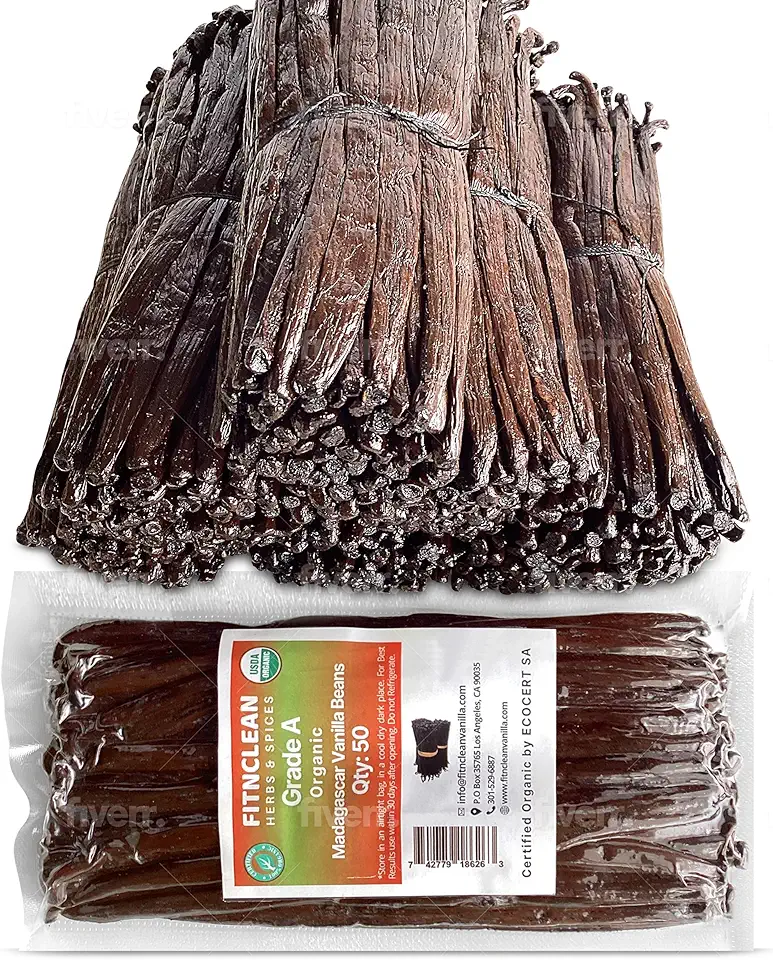 50 Organic Grade A Madagascar Vanilla Beans. Certified USDA Organic for Extract and all things Vanilla by FITNCLEAN VANILLA. ~5" Bulk Fresh Bourbon NON-GMO Pods.
$37.99
View details
Prime
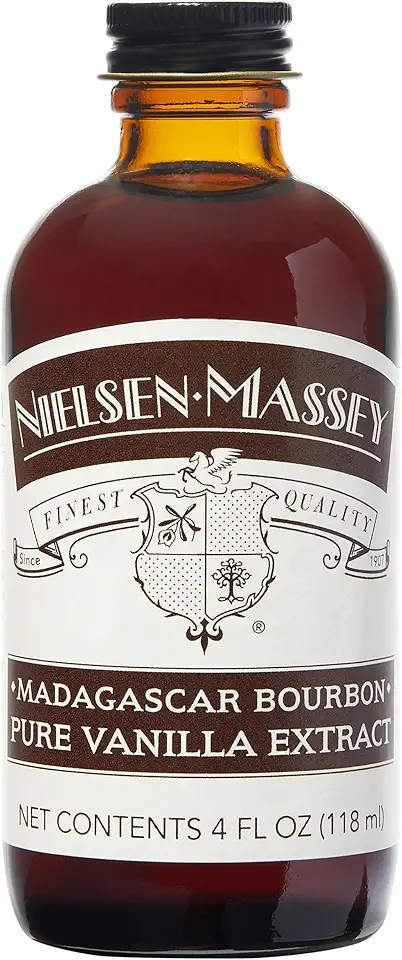 Nielsen-Massey Madagascar Bourbon Pure Vanilla Extract for Baking and Cooking, 4 Ounce Bottle
$19.95
View details
Filling and Frosting
 50 Organic Madagascar Vanilla Beans. Whole Grade A Vanilla Pods for Vanilla Extract and Baking
$39.99
View details
Prime
 50 Organic Grade A Madagascar Vanilla Beans. Certified USDA Organic for Extract and all things Vanilla by FITNCLEAN VANILLA. ~5" Bulk Fresh Bourbon NON-GMO Pods.
$37.99
View details
Prime
 Nielsen-Massey Madagascar Bourbon Pure Vanilla Extract for Baking and Cooking, 4 Ounce Bottle
$19.95
View details
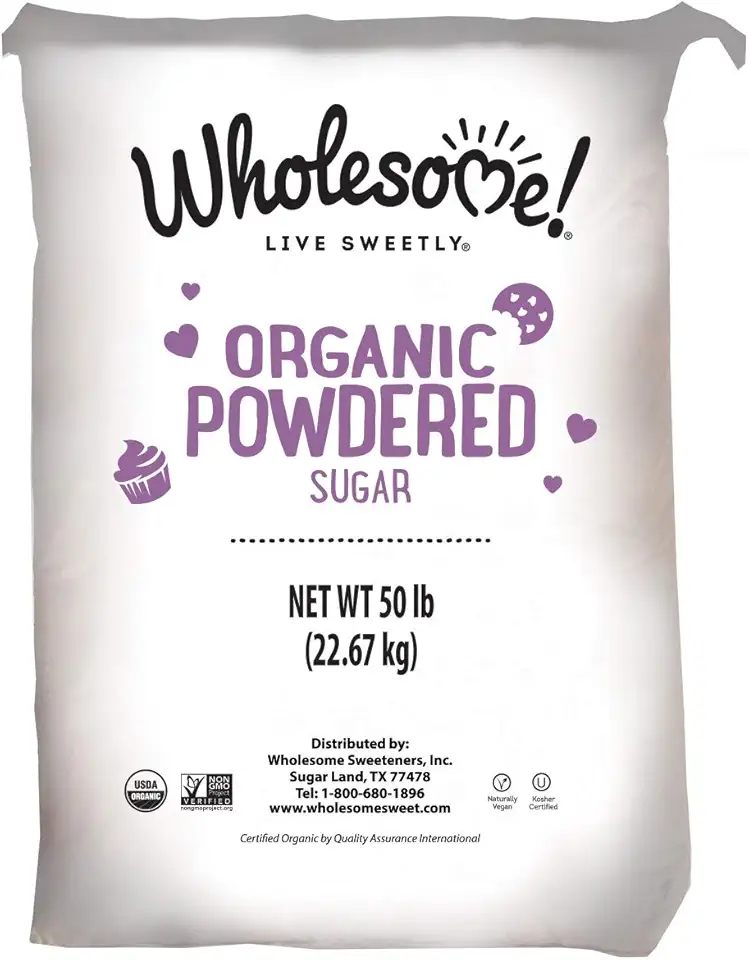 Wholesome Fair Trade Organic Powdered Sugar, Naturally Flavored Real Sugar, Non GMO & Gluten Free, 50 Pound (Pack of 1)
$106.95
View details
Prime
best seller
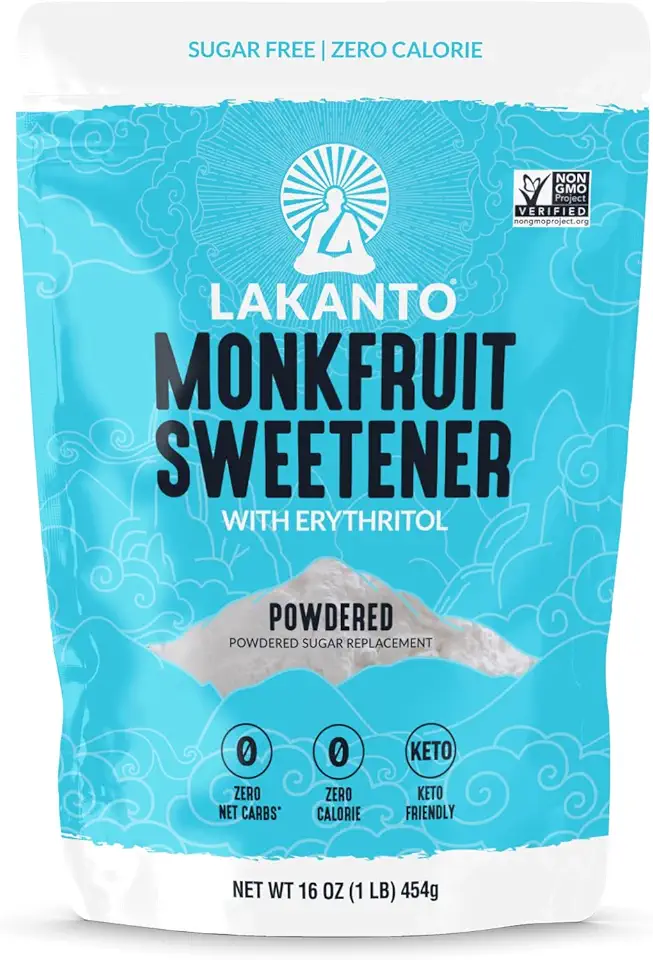 Lakanto Powdered Monk Fruit Sweetener with Erythritol - Powdered Sugar Substitute, Zero Calorie, Keto Diet Friendly, Zero Net Carbs, Baking, Extract, Sugar Replacement (Powdered - 1 lb)
$11.90
View details
Prime
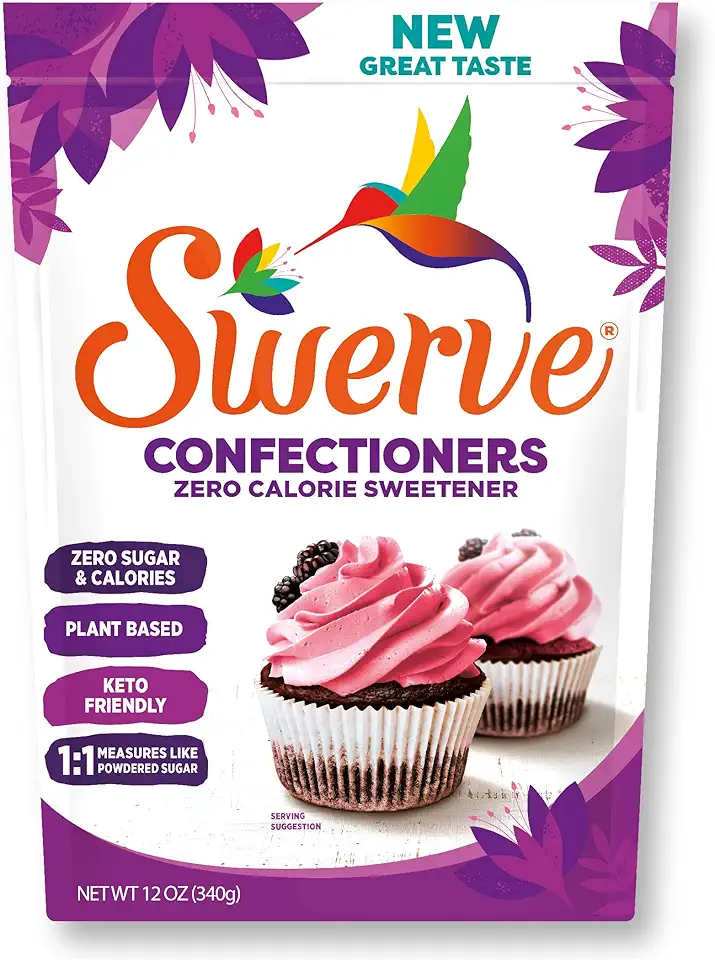 Swerve Sweetener Powder, Confectioners, 12 oz
$6.98
View details
Instructions
Step 1
Start by preheating your oven to 180 degrees Celsius (350 degrees Fahrenheit). In a large mixing bowl, combine the *all-purpose flour*, *granulated sugar*, and *baking powder*. Mix thoroughly to ensure all dry ingredients are well blended.
In another bowl, whisk together the *softened butter*, *eggs*, *milk*, and *vanilla extract* until well combined. Gradually add this mixture to the dry ingredients, stirring gently until you achieve a smooth batter. Be careful not to overmix.
Pour the batter into a greased cake pan and smooth the top with a spatula. Bake for about *25-30 minutes*, or until a toothpick inserted in the center comes out clean. Once baked, let it cool completely on a wire rack.
Step 2
While the biscuit base is cooling, prepare the frosting. In a mixing bowl, use a hand mixer to beat the *heavy cream* until it starts to thicken. Gradually add in the *powdered sugar* and *vanilla extract*, continuing to beat until soft peaks form.
Next, if you're using berries, wash and dry them carefully. You can slice them if they are large, to ensure even distribution within the cake.
Step 3
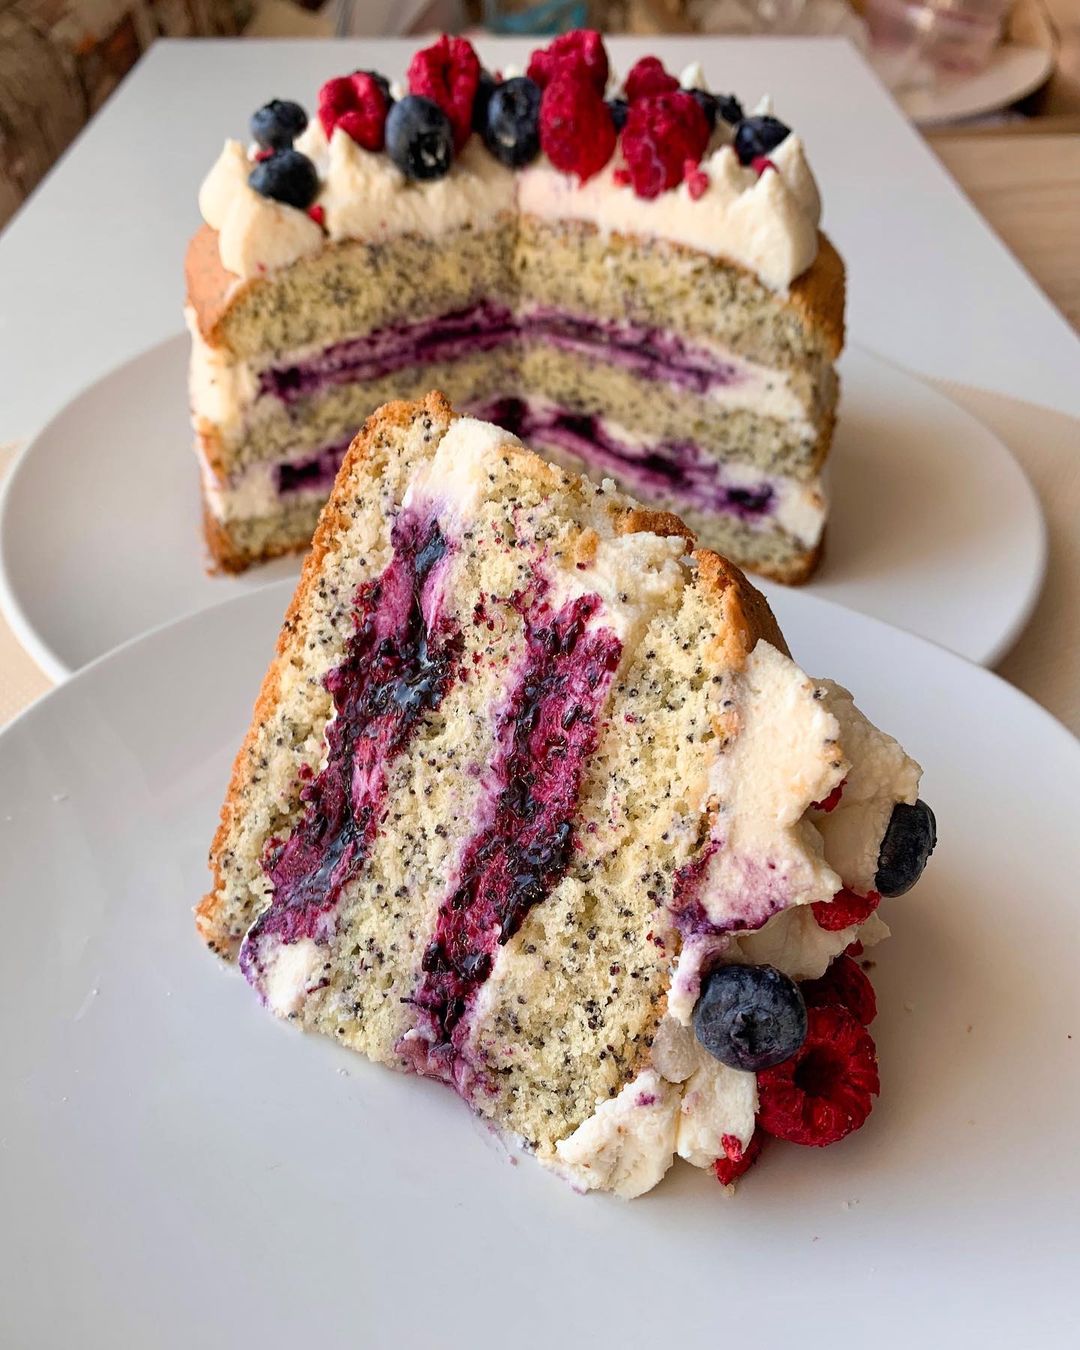
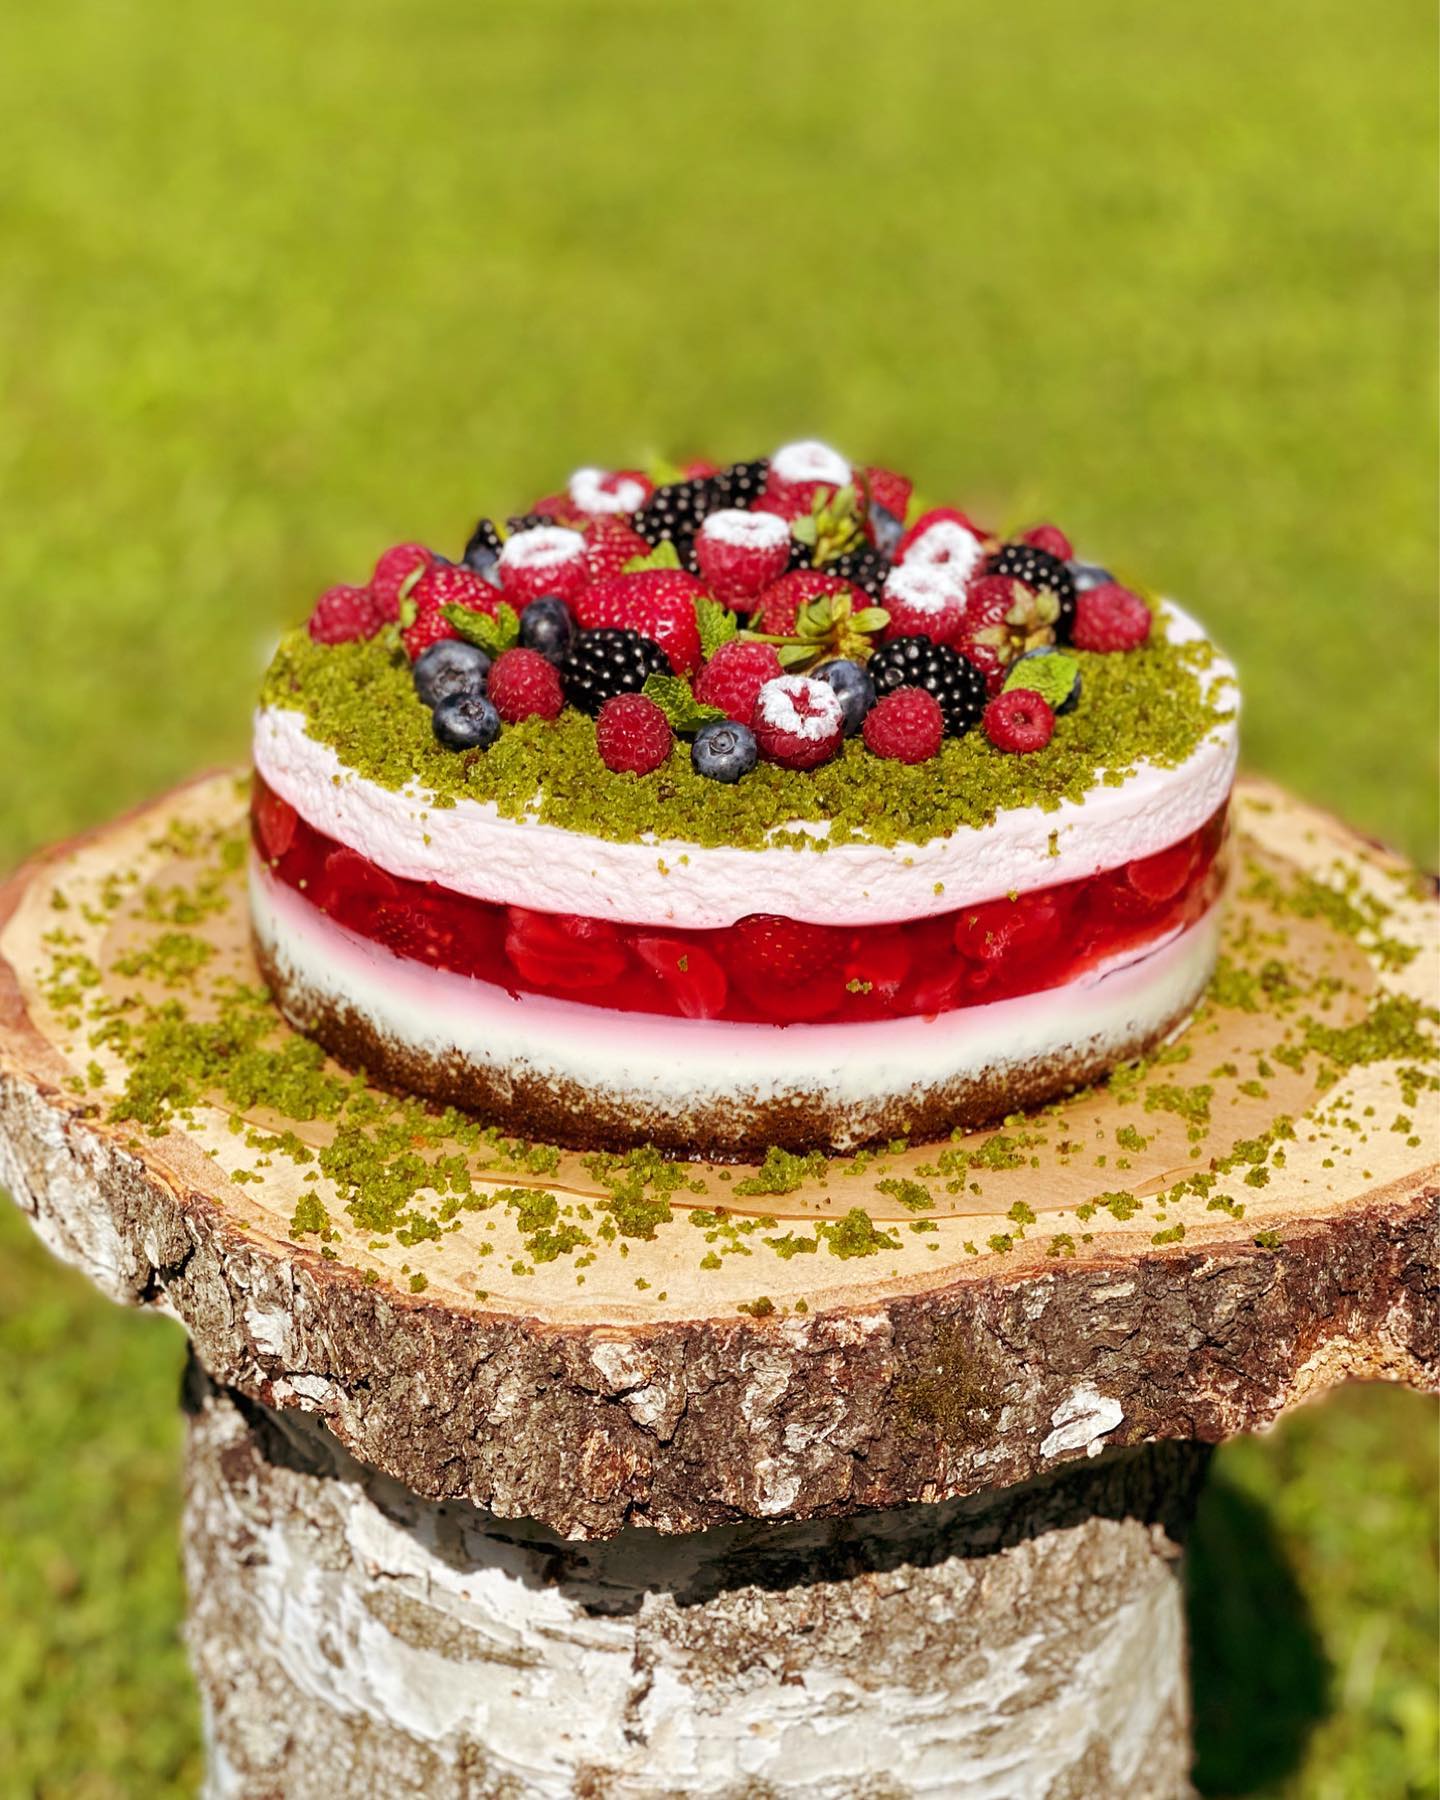
Once the biscuit base has cooled completely, slice it in half horizontally to create two layers. Spread a generous layer of the whipped cream frosting over the first layer. Top it with the *assorted berries*, spreading them evenly over the cream.
Place the second layer of biscuit on top and gently press down. Finally, spread the remaining whipped cream frosting on top and garnish with more *berries* for a delightful presentation.
Refrigerate the cake for at least *30 minutes* before serving. Enjoy your delicious biscuit cake with friends and family!
Servings
Pair them with a **fresh fruit compote** for a tangy contrast or serve them alongside a cup of rich coffee or tea to complement the sweetness. ☕🍓 If you're feeling festive, generously dust them with **powdered sugar** or drizzle some **chocolate glaze** on top. Your guests will absolutely love these little touches! 🎉
For a more casual setting, why not bring a box of these pastries to a picnic? Lay them out on a blanket, along with some **cheese and crackers**, and enjoy a delightful afternoon outdoors! 🧺🍰
Equipment
Choose a large mixing bowl to hold all your ingredients. A glass or stainless steel bowl works best for easy mixing and cleaning.
 YIHONG 7 Piece Mixing Bowls with Lids for Kitchen, Stainless Steel Mixing Bowls Set Ideal for Baking, Prepping, Cooking and Serving Food, Nesting Metal Mixing Bowls for Space Saving Storage
$27.99
$35.99
View details
Prime
best seller
 Pyrex Glass, 3-Piece, 3 PC Mixing Bowl Set
$17.53
View details
Prime
 REGILLER Stainless Steel Mixing Bowls (Set of 5), Non Slip Colorful Silicone Bottom Nesting Storage Bowls, Polished Mirror Finish For Healthy Meal Mixing and Prepping 1.5-2 - 2.5-3.5 - 7QT (Colorful)
$26.99
View details
A hand whisk will help blend your ingredients smoothly. If you have an electric mixer, it's great for mixing in a flash!
 OXO Good Grips 11-Inch Balloon Whisk
$10.93
$11.95
View details
Prime
best seller
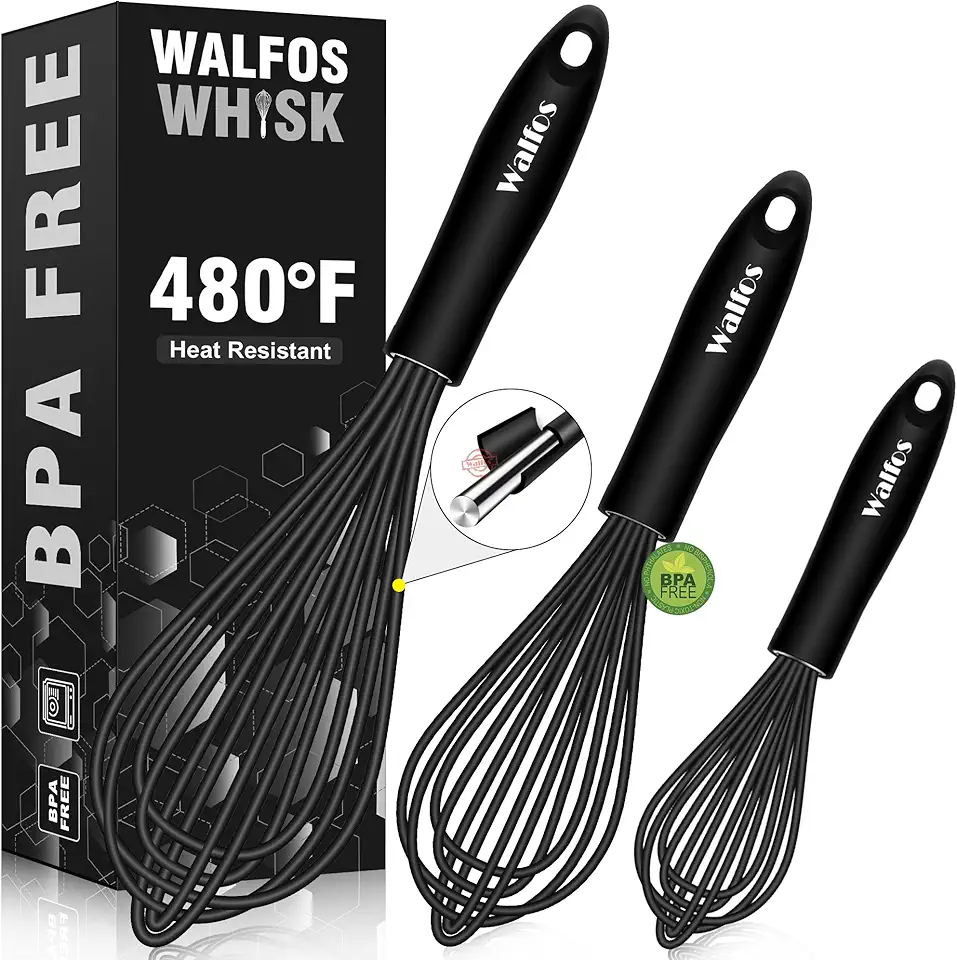 Walfos Silicone Whisk,Stainless Steel Wire Whisk Set of 3 -Heat Resistant 480°F Kitchen Whisks for Non-stick Cookware,Balloon Egg Beater Perfect for Blending,Whisking,Beating,Frothing & Stirring,Black
$11.89
$14.99
View details
Prime
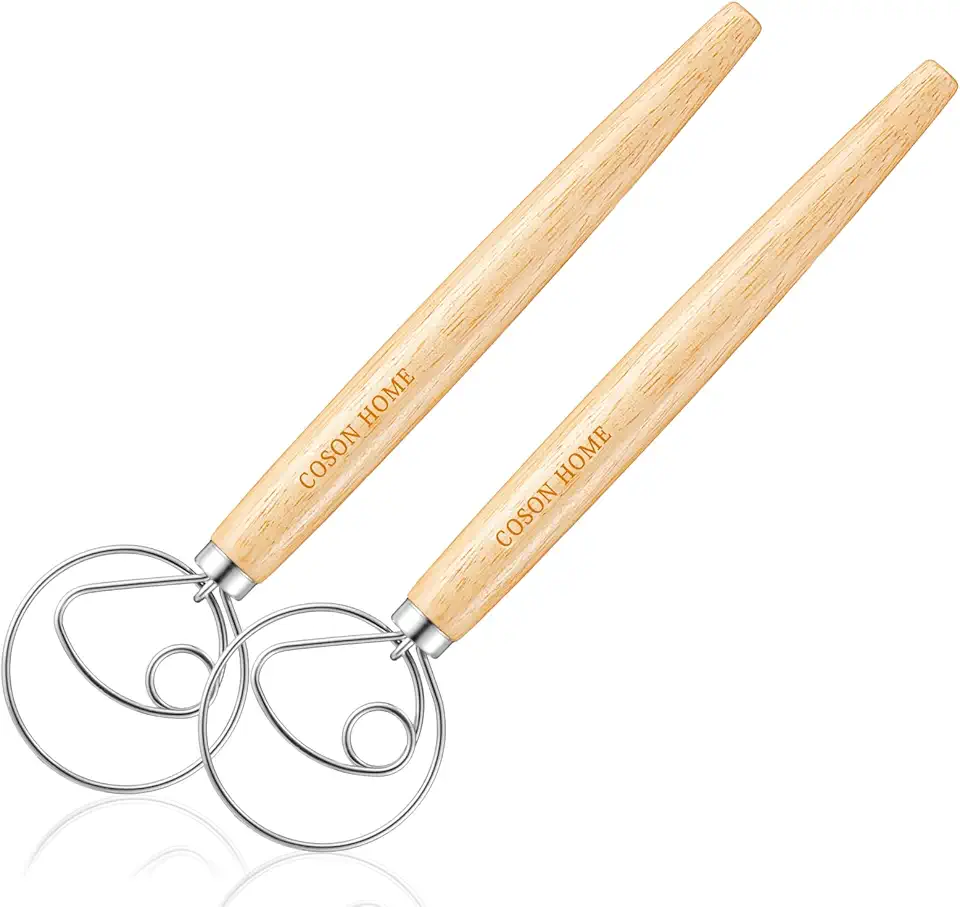 Pack of 2 Danish Dough Whisk Blender Dutch Bread Whisk Hook Wooden Hand Mixer Sourdough Baking Tools for Cake Bread Pizza Pastry Biscuits Tool Stainless Steel Ring 13.5 inches 0.22 lb/pcs…
$9.80
$14.99
View details
Opt for a non-stick baking sheet for perfect pastries every time. Make sure it's flat to ensure even baking!
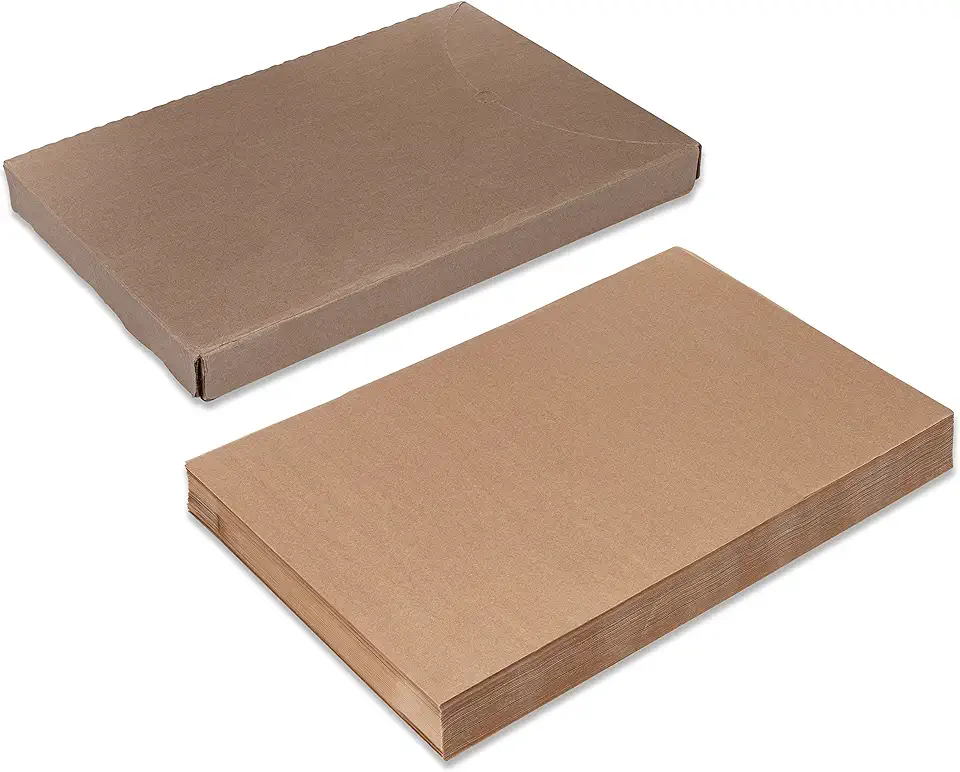 Paterson Paper 16" x 24" Full Size Unbleached Chromium-Free Reusable Baking Parchment Paper Sheets Commercial Bun/Sheet Pan Liners - 1000/Case - 425F - Non-Stick/Grease-Resistant
$169.58
View details
Prime
best seller
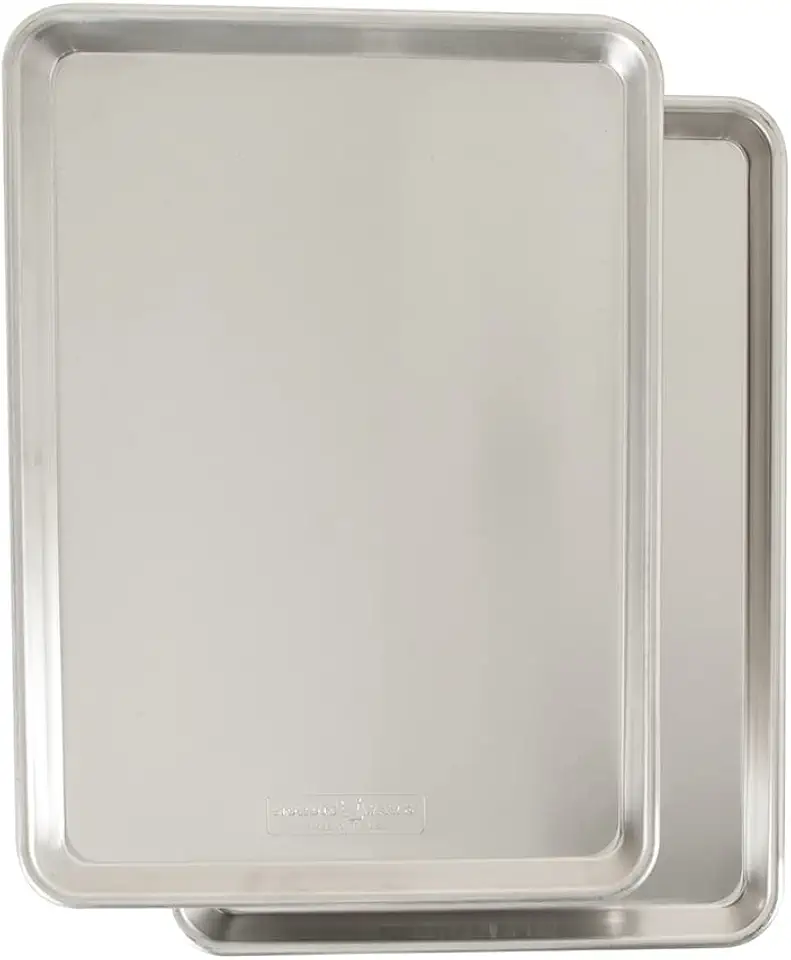 Nordic Ware Naturals Half Sheet, 2-Pack, Natural
$37.80
View details
Prime
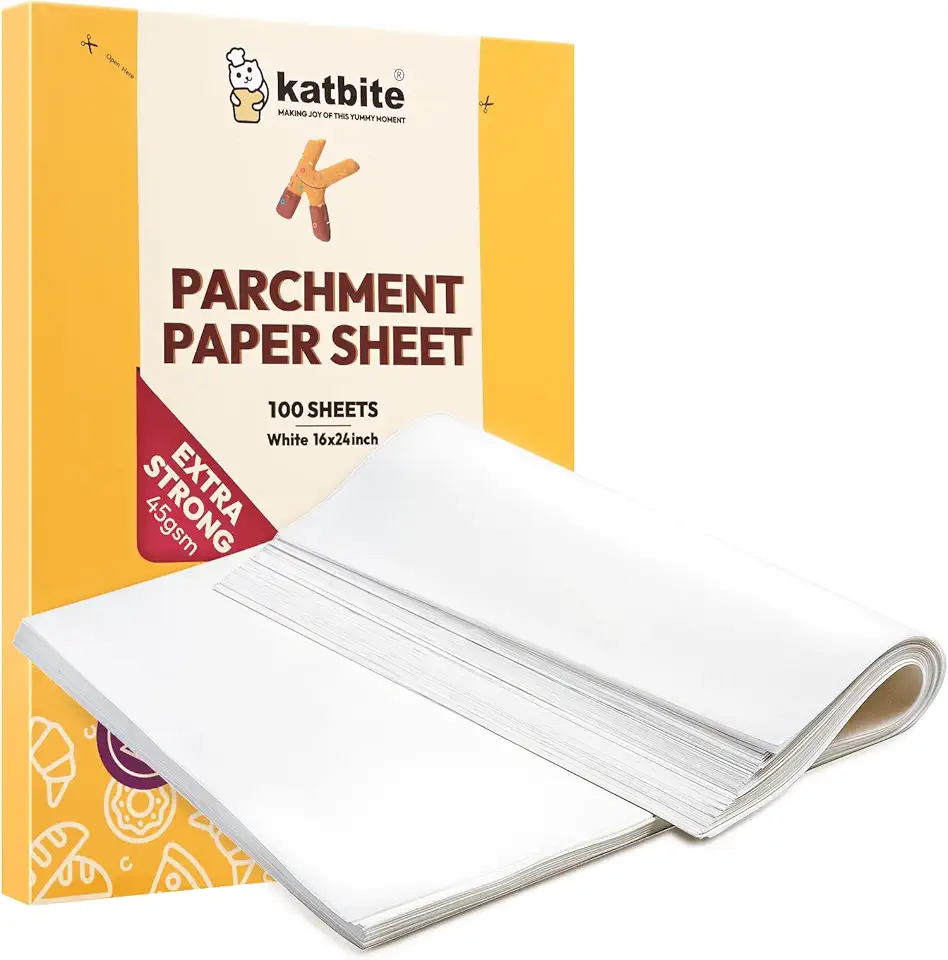 Katbite 16x24 inch Heavy Duty Parchment Paper Sheets, 100Pcs Precut Non-Stick Full Parchment Sheets for Baking, Cooking, Grilling, Frying and Steaming, Full Sheet Baking Pan Liners, Commercial Baking
$18.99
$25.99
View details
This is your pastry's best friend! Line your baking sheet to prevent sticking and to make cleanup a breeze.
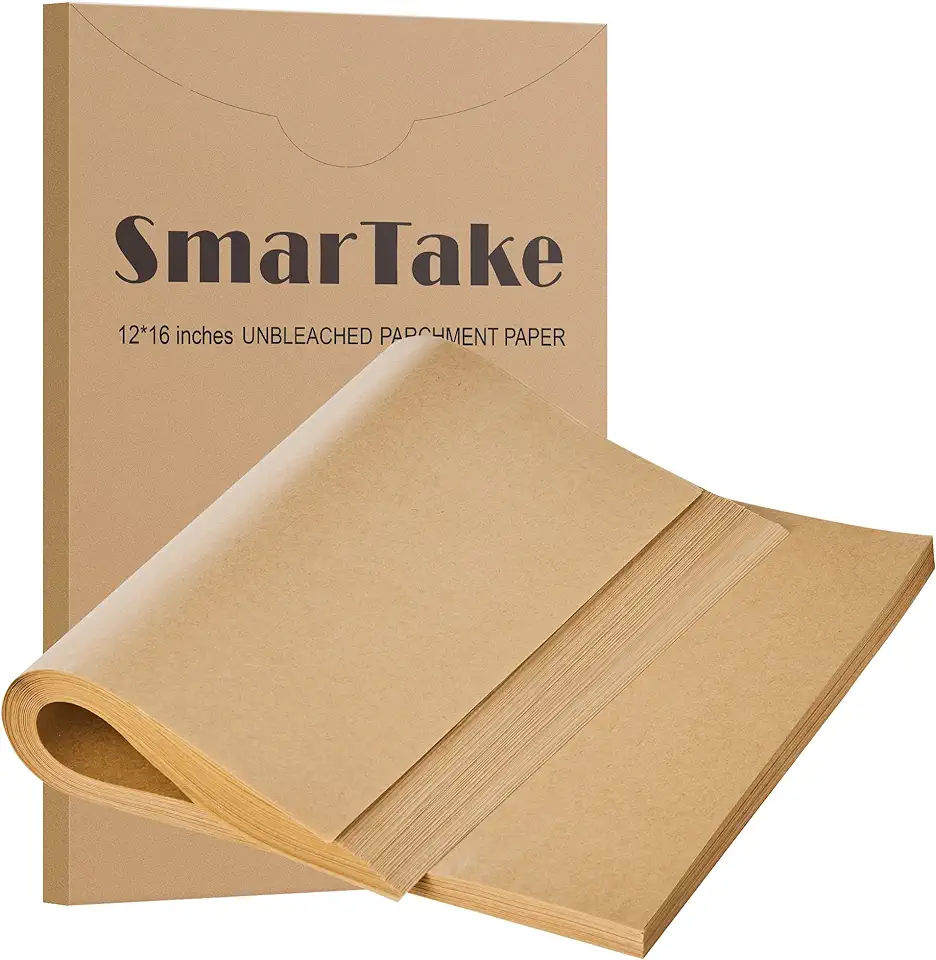 SMARTAKE 200 Pcs Parchment Paper Baking Sheets, 12x16 Inches Non-Stick Precut Baking Parchment, for Baking Grilling Air Fryer Steaming Bread Cup Cake Cookie and More (Unbleached)
$16.99
$20.99
View details
Prime
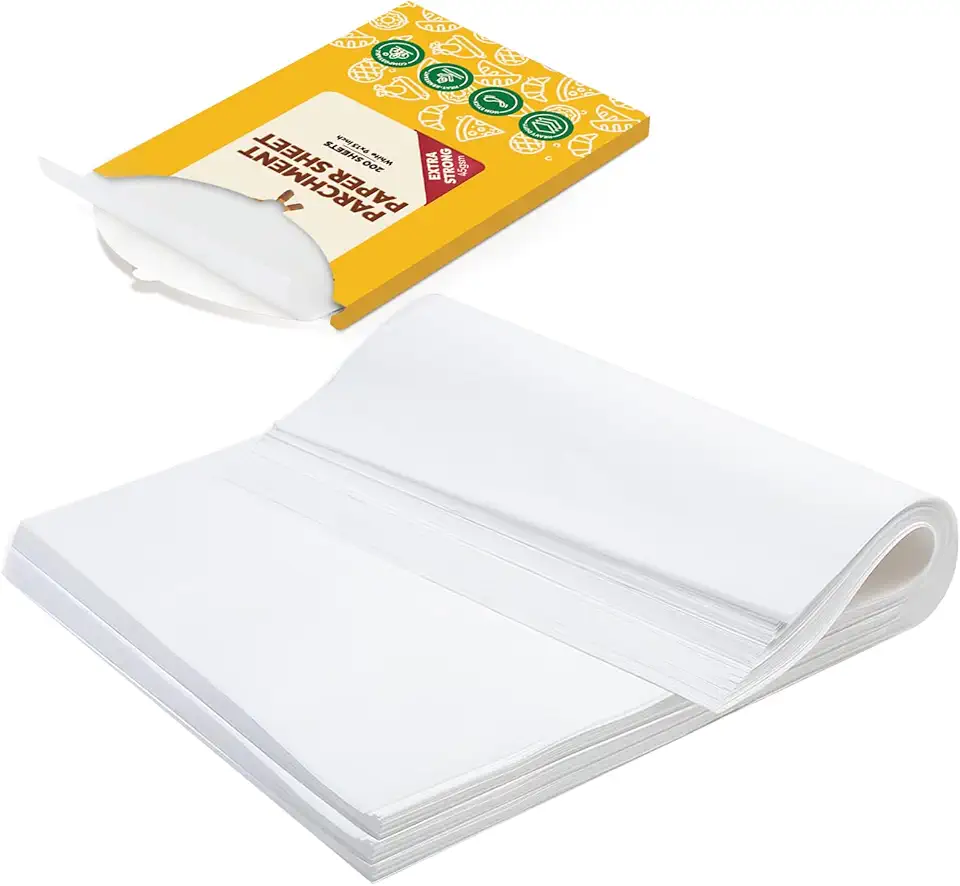 katbite 200Pcs 9x13 inch Heavy Duty Parchment Paper Sheets, Precut Parchment Paper for Quarter Sheet Pans Liners, Baking Cookies, Bread, Meat, Pizza, Toaster Oven (9"x13")
$13.99
View details
Prime
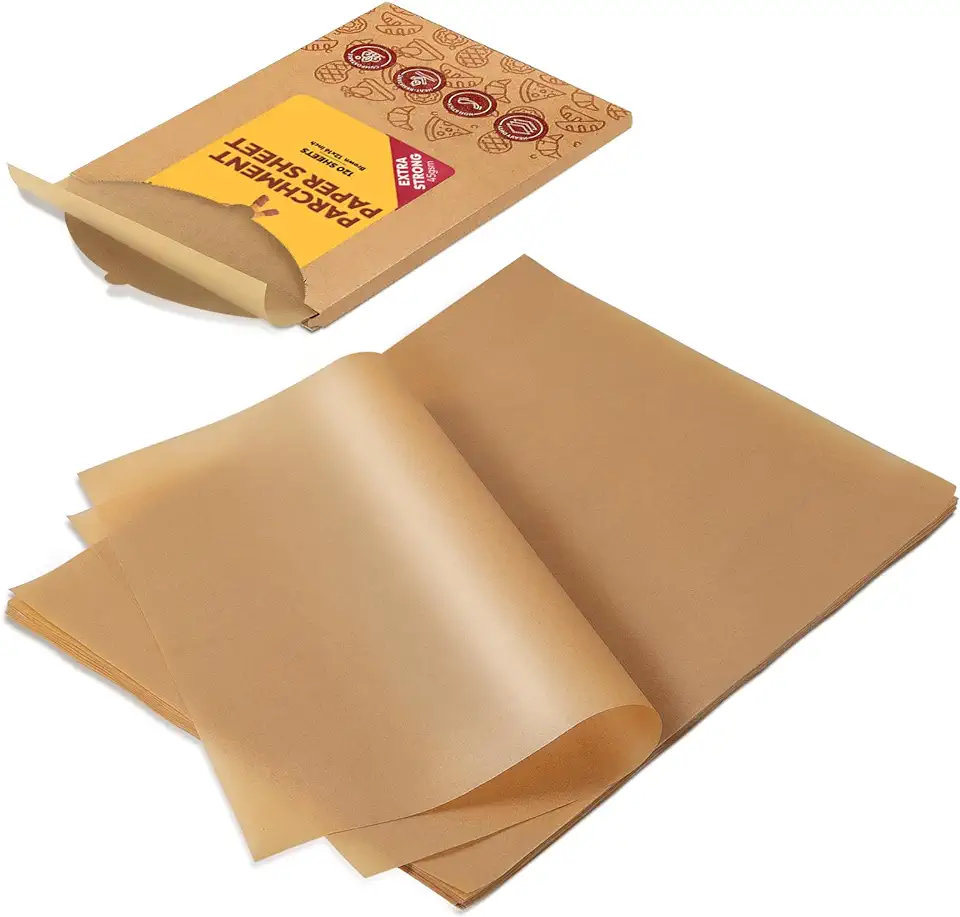 Katbite Unbleached Parchment Paper Baking Sheets, 120Pcs 12x16 Inch Precut Parchment Paper for Baking, Heavy Duty & Non-stick, Half Sheet Paper for Baking, Cooking, Steaming, Oven Paper
$12.99
View details
A pastry brush is essential for glazing your pastries for that golden, shiny finish.
Variations
For a **gluten-free version**, simply replace regular flour with a gluten-free all-purpose blend. Make sure it contains xanthan gum for the perfect texture. You won't notice the difference!
If you're interested in making **vegan pastries**, swap out the eggs with flaxseed meal mixed with water (1 tablespoon of flaxseed meal to 3 tablespoons of water). Use coconut oil or vegan butter in place of regular butter. These changes ensure everyone can enjoy these delightful treats without sacrificing taste! 🌟
Faq
- What can I do if my pastry dough is too sticky?
If your dough is too sticky, try adding a bit of flour, one tablespoon at a time, until it reaches the right consistency. Be careful not to add too much, or your pastries may become tough!
- Can I make the pastry dough ahead of time?
Absolutely! You can prepare the dough ahead of time and refrigerate it for up to 24 hours. Just make sure to wrap it tightly in plastic wrap to keep it fresh.
- How do I know when my pastries are baked perfectly?
Keep an eye on them towards the end of the baking time! They should be golden brown and puffed up. A gentle tap on the bottom should sound hollow.
- Is it possible to freeze baked pastries?
Yes! You can freeze them after baking. Let them cool completely, then place them in an airtight container or freezer bag. They can be frozen for up to three months!
- How can I prevent my pastries from deflating after baking?
Make sure your oven is fully preheated and avoid opening the oven door too soon. Also, remember to handle the dough gently when shaping it before baking.
- Can I use different fillings for my pastries?
Definitely! Get creative! From fruit jams to chocolate to cream cheese, the options are endless. Just make sure not to overfill them to prevent leaking.

