Ingredients
Filling Ingredients
Other Ingredients
Instructions
Step 1
Start by cutting the flatbreads into strips. This will make them easier to fill and fold later. Ensure that the strips are wide enough to hold a good amount of filling.
Once cut, spread a layer of processed cheese over the flatbread strips. This not only adds flavor but also helps to seal the edges, preventing the filling from leaking out during cooking.
Step 2
In a bowl, combine the Suluguni cheese, cottage cheese, fresh herbs, and sour cream or mayonnaise. Mix everything until well combined. This mixture should be creamy yet thick enough to stay inside the flatbread without spilling out.
Step 3
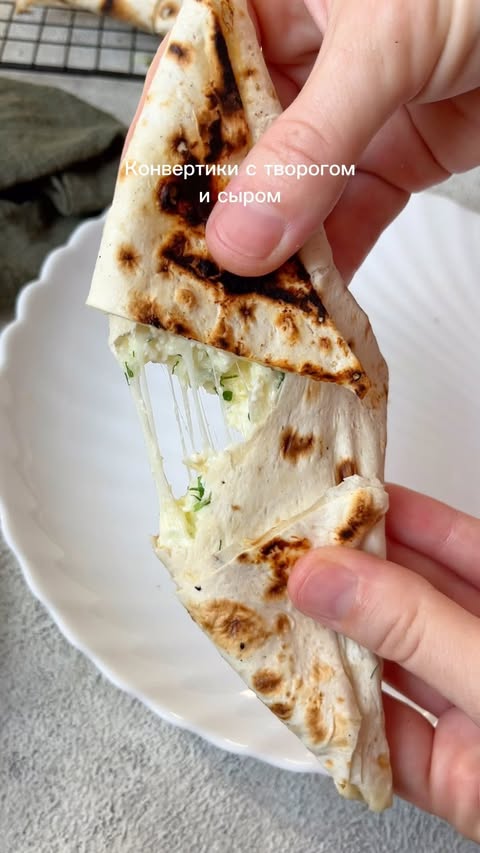
Take a flatbread strip and place a generous amount of the cheese mixture at one end. Make sure not to overfill it, as this could cause the pockets to burst when cooking.
Carefully roll the flatbread from the filling end to the other end to form a pocket. Press the edges to seal the filling inside.
Step 4
Heat a dry skillet or grill on low to medium heat. Cook the pockets on each side until golden brown and slightly crispy. Make sure to monitor the heat closely; too high may burn the flatbread before the cheese has a chance to melt.
If you find that the cheese isn't melting as desired, place the cooked pockets in the microwave for 20-40 seconds to gently warm them through.
Servings
Imagine setting out a platter of these gorgeous **tortilla pockets** at your next gathering or picnic. They pair wonderfully with a **zesty sour cream dip** or a homemade salsa for that extra kick! 🌶️ You can serve them hot, right off the skillet, or allow them to cool slightly for easy snacking.
Another fun idea is to create a **cheese lover's bar**. Offer different kinds of dips, herbs, and spices so that everyone can customize their own tortilla pockets. 🧀❤️
These pockets also work wonderfully as lunchbox staples. Just pop them into your kid's lunch with a side of veggies or fruit, and watch them disappear! 🍏🥕 It's the ultimate way to sneak in some nutrition without the fuss.
Equipment
Using fresh lavash or tortillas yields the best texture and flavor. Make sure they are soft and pliable for easy folding.
A high-quality non-stick skillet is essential to prevent the pockets from sticking while they cook and ensures a crispy finish.
This is handy for melting cheese if it doesn't stretch perfectly when cooking. A 20-40 second burst will usually do the trick!
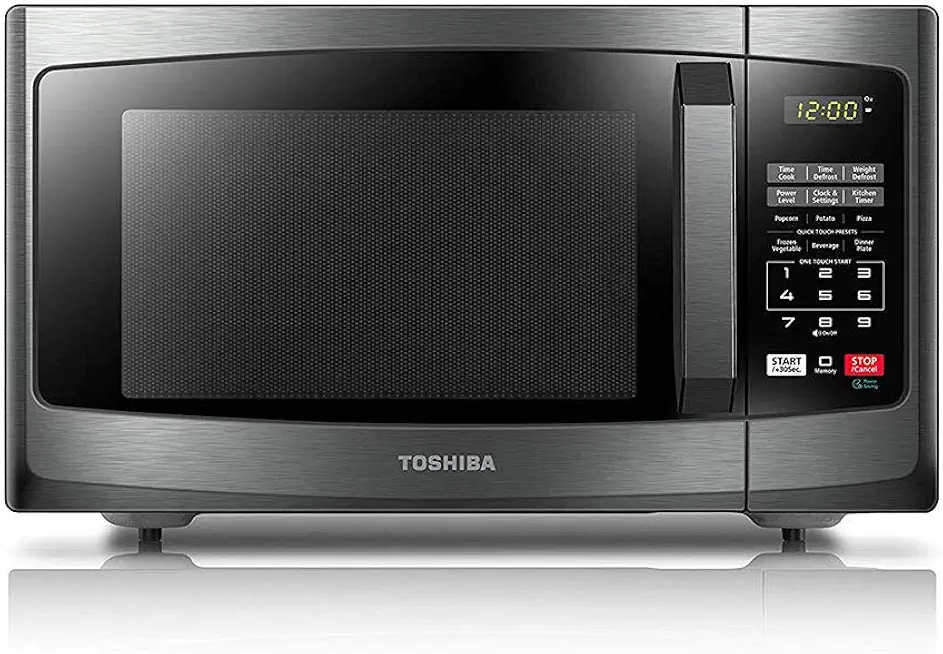 TOSHIBA EM925A5A-BS Countertop Microwave Oven, 0.9 Cu Ft With 10.6 Inch Removable Turntable, 900W, 6 Auto Menus, Mute Function & ECO Mode, Child Lock, LED Lighting, Black Stainless Steel
$104.99
$114.99
View details
Prime
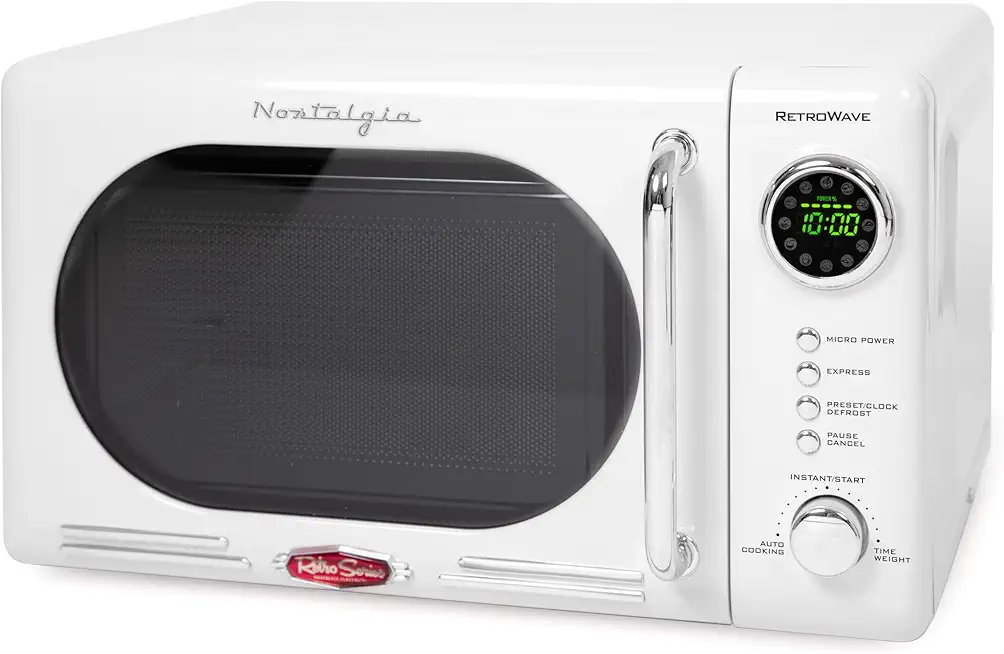 Nostalgia Retro Compact Countertop Microwave Oven - 0.7 Cu. Ft. - 700-Watts with LED Digital Display - Child Lock - Easy Clean Interior - White
$99.99
View details
Prime
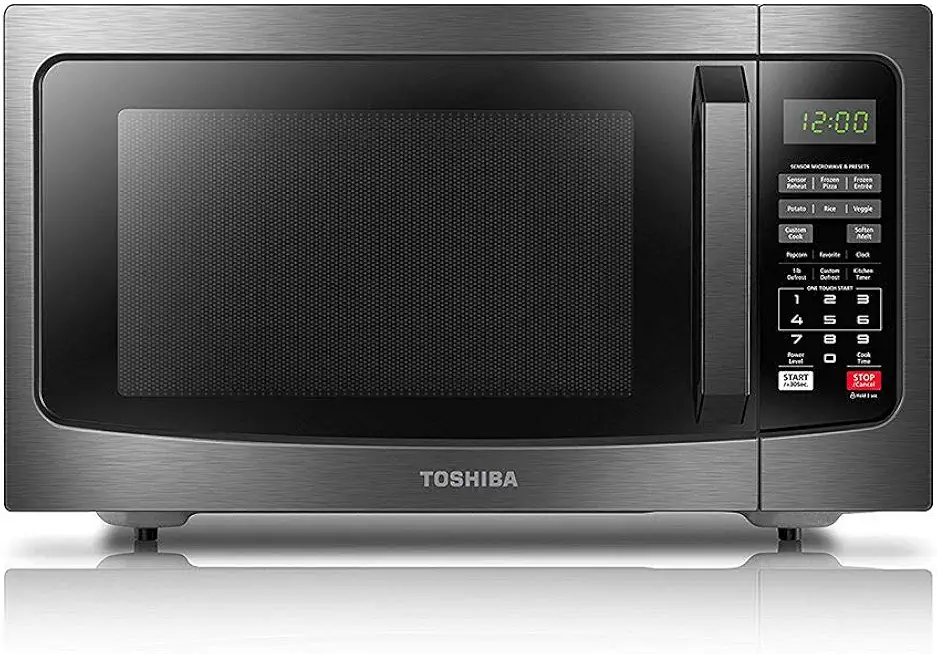 TOSHIBA EM131A5C-BS Countertop Microwave Ovens 1.2 Cu Ft, 12.4" Removable Turntable Smart Humidity Sensor 12 Auto Menus Mute Function ECO Mode Easy Clean Interior Black Color 1100W
$129.99
$149.99
View details
Variations
If you have dietary restrictions, don’t worry! You can easily make these pockets gluten-free by opting for a gluten-free tortilla or lavash. 🌾✨
Vegan enthusiasts can swap the cheese for a delicious **nut-based cheese** or a mixture of **silken tofu** blended with nutritional yeast for that cheesy flavor. Just ensure your tortillas are vegan-friendly! 🍽️💚 You can also fill them with an assortment of sautéed vegetables for a fresh and vibrant filling option.
Faq
- What if my cheese doesn’t melt properly?
If your cheese isn't melting as expected, pop the pockets in the microwave for 20-40 seconds to help it along!
- Can I prepare these in advance?
Absolutely! Prepare the filling and assemble the pockets, store them in the fridge, and cook them just before serving for the best texture.
- How do I ensure the lavash doesn't burn?
Cook on low heat and flip them carefully. Monitor closely to avoid burning while still ensuring the cheese melts perfectly.
- Can I add extra ingredients to the filling?
Yes! Feel free to mix in your favorite herbs, spices, or even some sautéed veggies to enhance the flavor!
- Is it possible to freeze these pockets?
Yes! Just cook them slightly less, allow them to cool completely, and then freeze. When you're ready, reheat in a skillet or microwave.
- What are some great dipping sauces for these pockets?
Try serving with sour cream, guacamole, or a spicy salsa for a delightful contrast that will elevate each bite!

