Ingredients
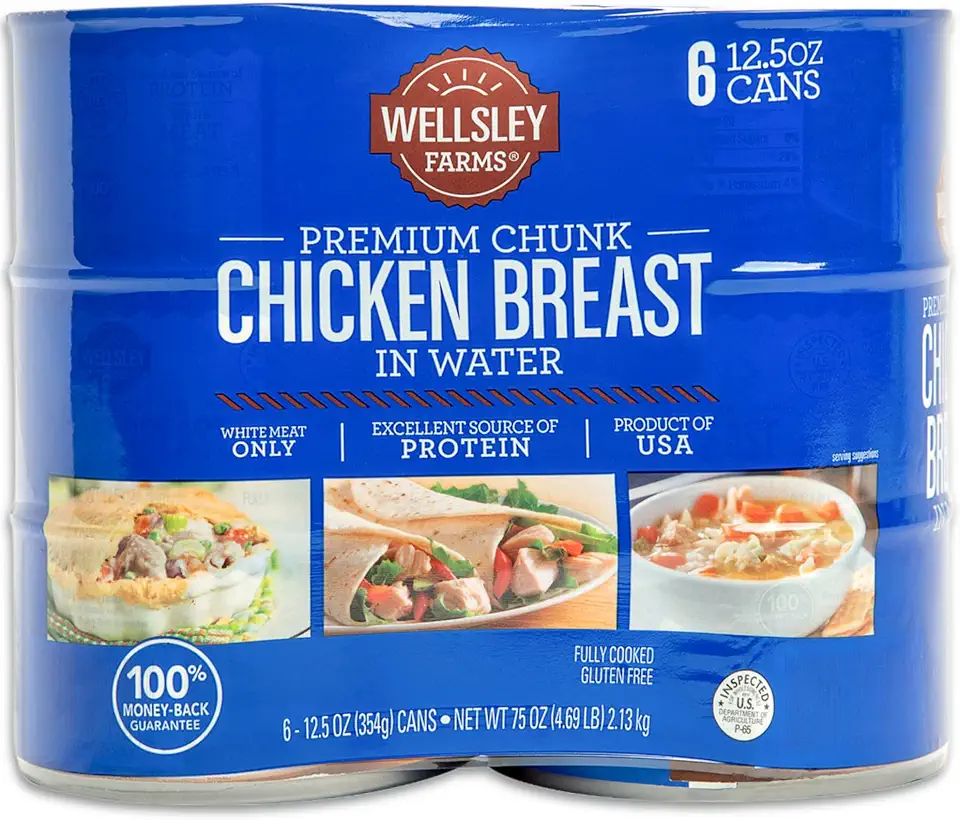
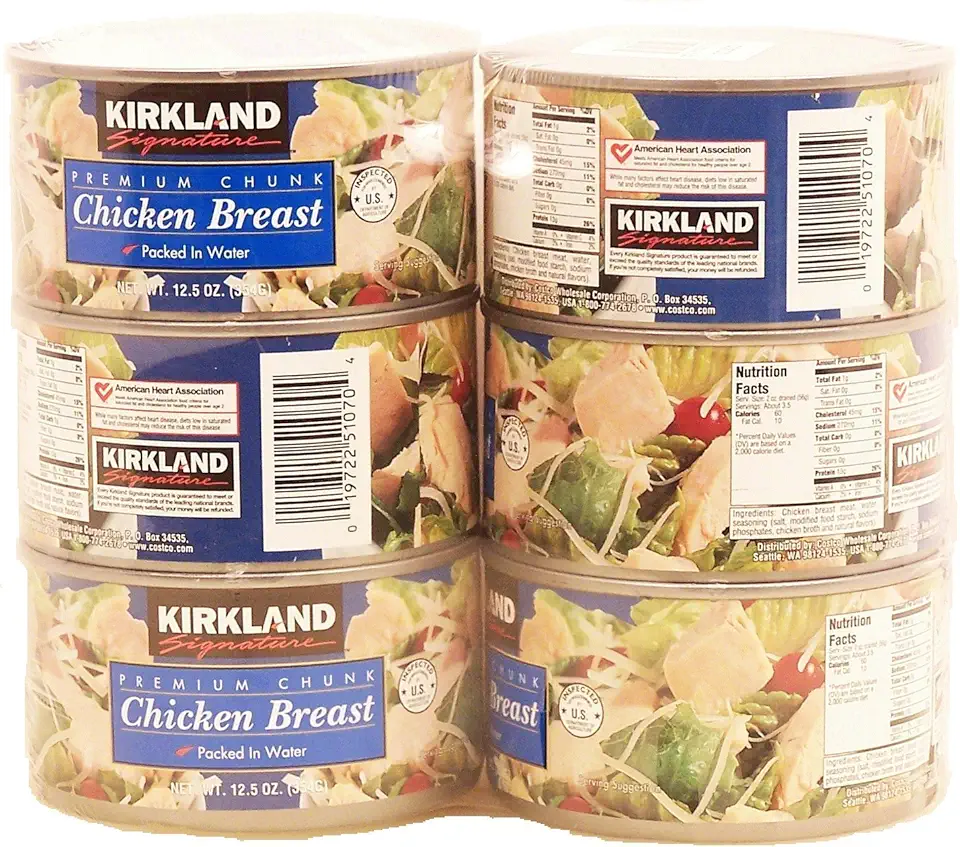
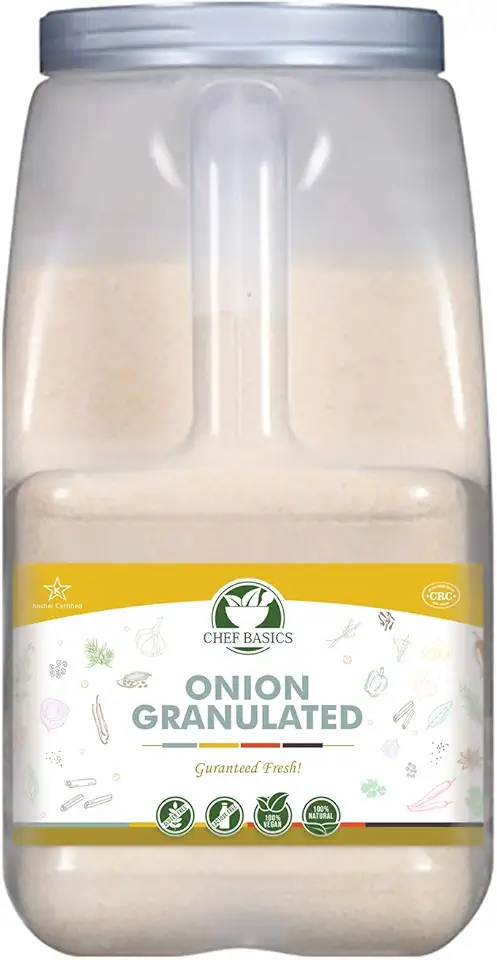
For the Chicken Mixture
For the Topping
 Chocolate Caramel Pecan Cheesecake 10" - Pre-sliced 14 pcs. Creamy Cheesecake Topped With Clumps of Chewy Pecans Drenched In A Coating Of Caramel, Fresh Bakery Dessert Great Gift Idea for Women, Men
$54.95
View details
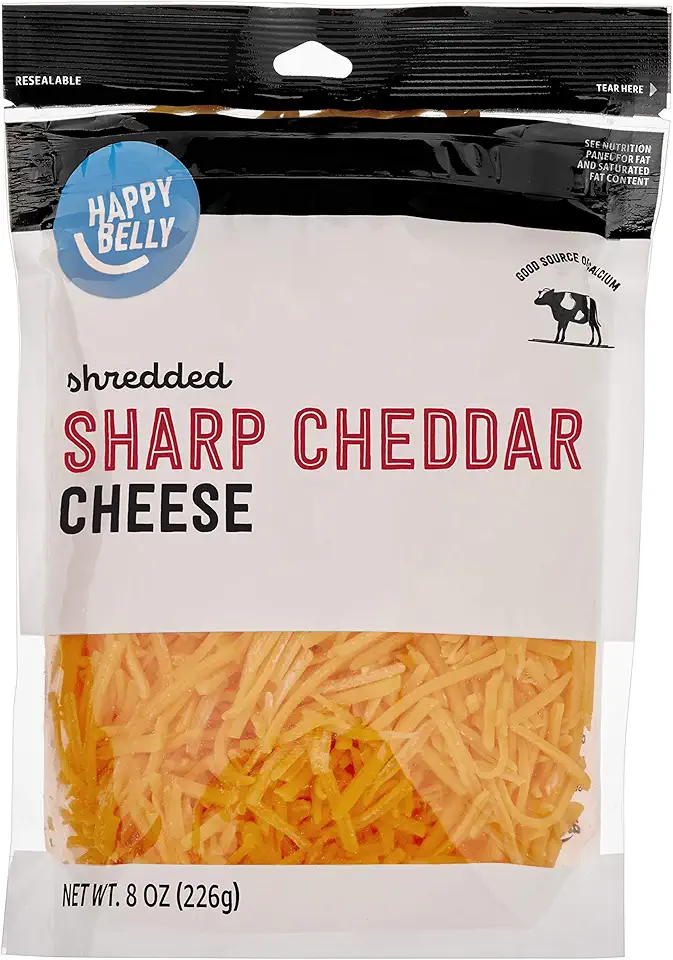 Amazon Brand - Happy Belly Shredded Sharp Cheddar Cheese, 8 oz
$2.39
View details
Instructions
Step 1
Start by finely chopping the onion. In a mixing bowl, combine the chopped onion with the chicken breast fillet and chicken thigh fillet.
Add your favorite spices and salt to taste, making sure to mix everything together thoroughly.
Step 2
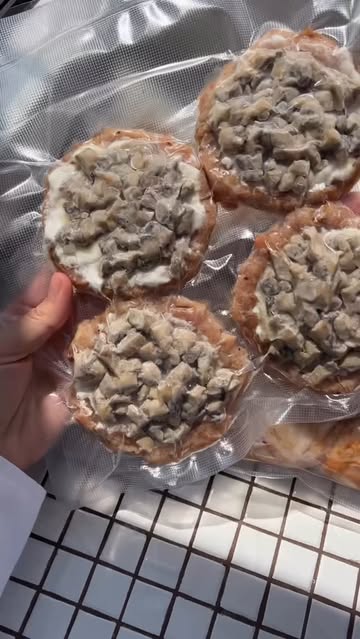
Using your hands, form round patties from the chicken mixture.
With a spoon, create indentations in the center of each patty to hold the filling later.
Step 3
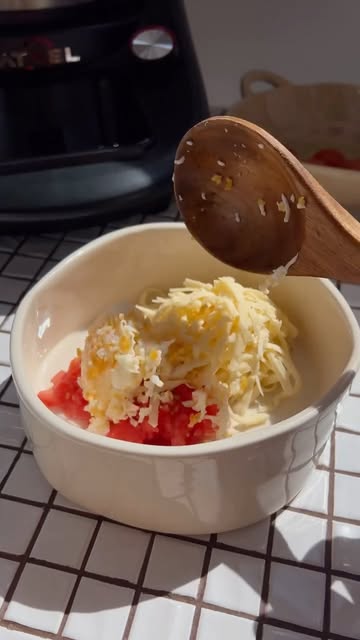
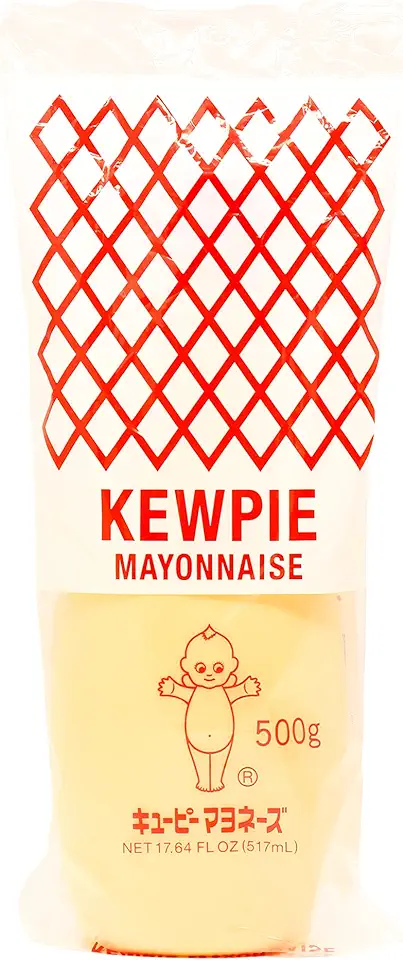
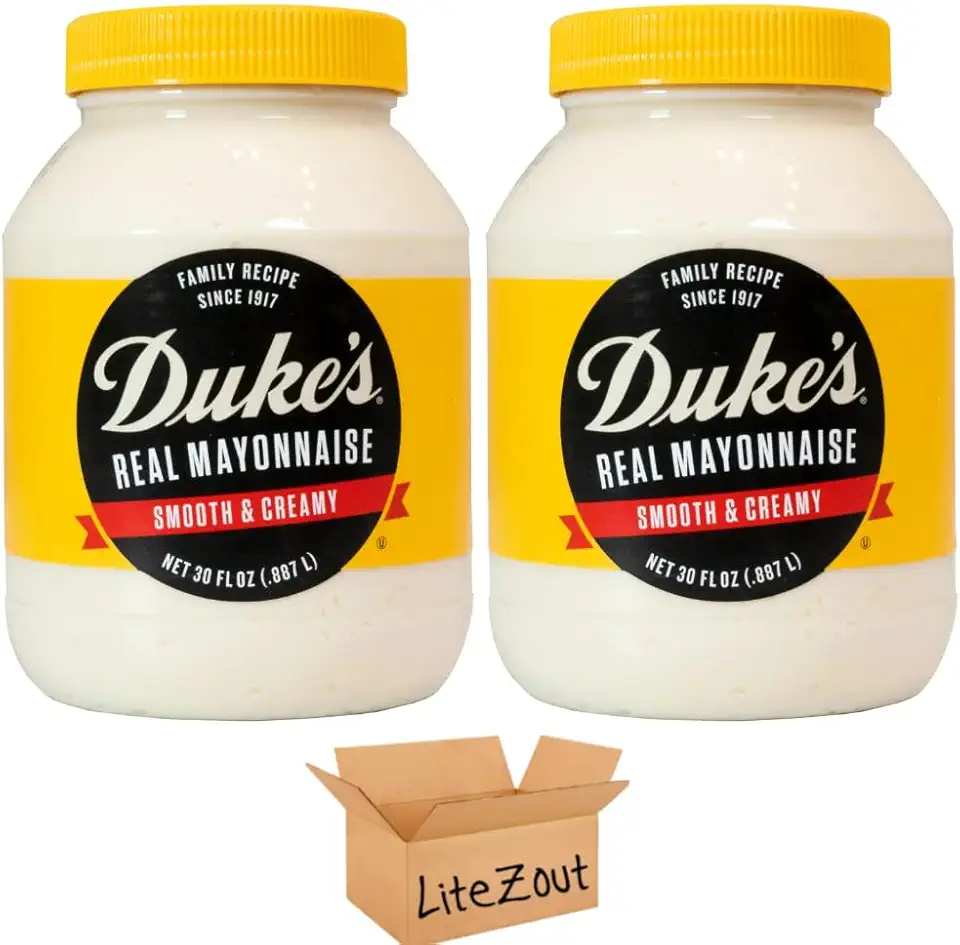
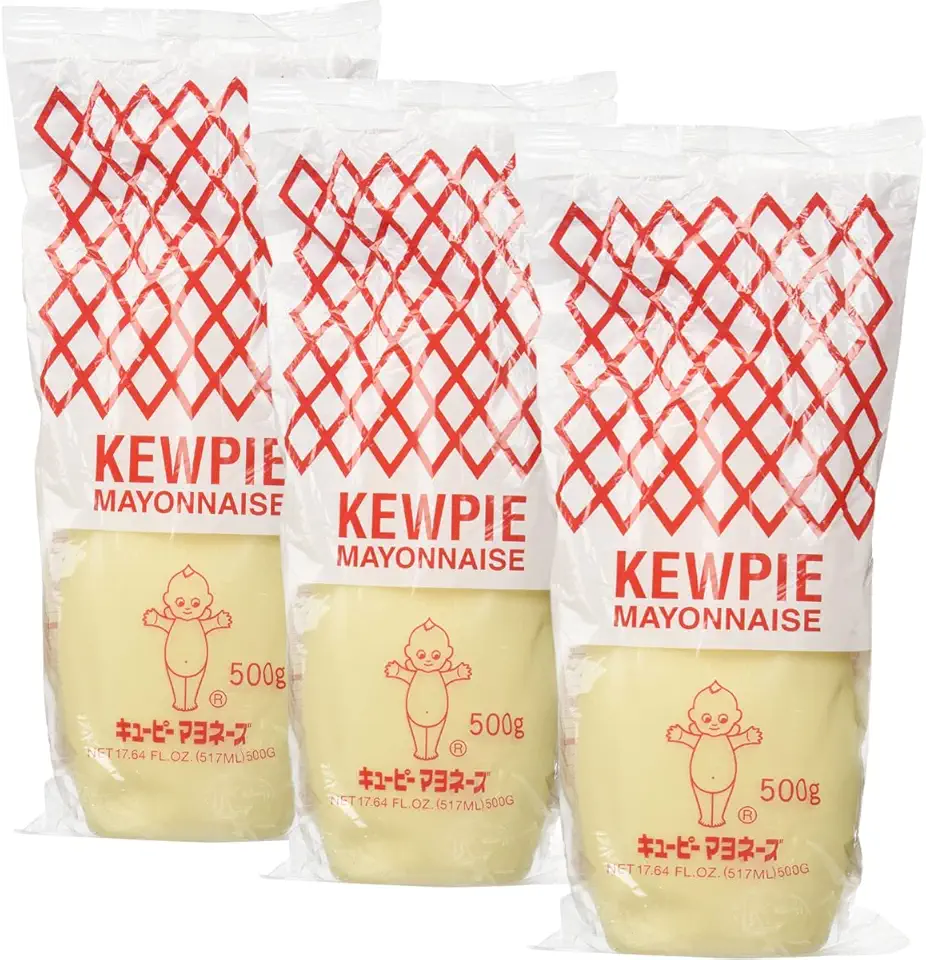
Dice the tomato and chop the hard-boiled eggs. In a small bowl, blend the diced tomato, chopped eggs, and mayonnaise together until well combined.
Grate the cheese and set it aside for use in the next step.
Step 4
Carefully fill the indentations of the chicken patties with the prepared topping mixture.
Sprinkle the grated cheese generously on top of each filled patty.
Step 5
Preheat your oven to 180 degrees Celsius (356 degrees Fahrenheit).
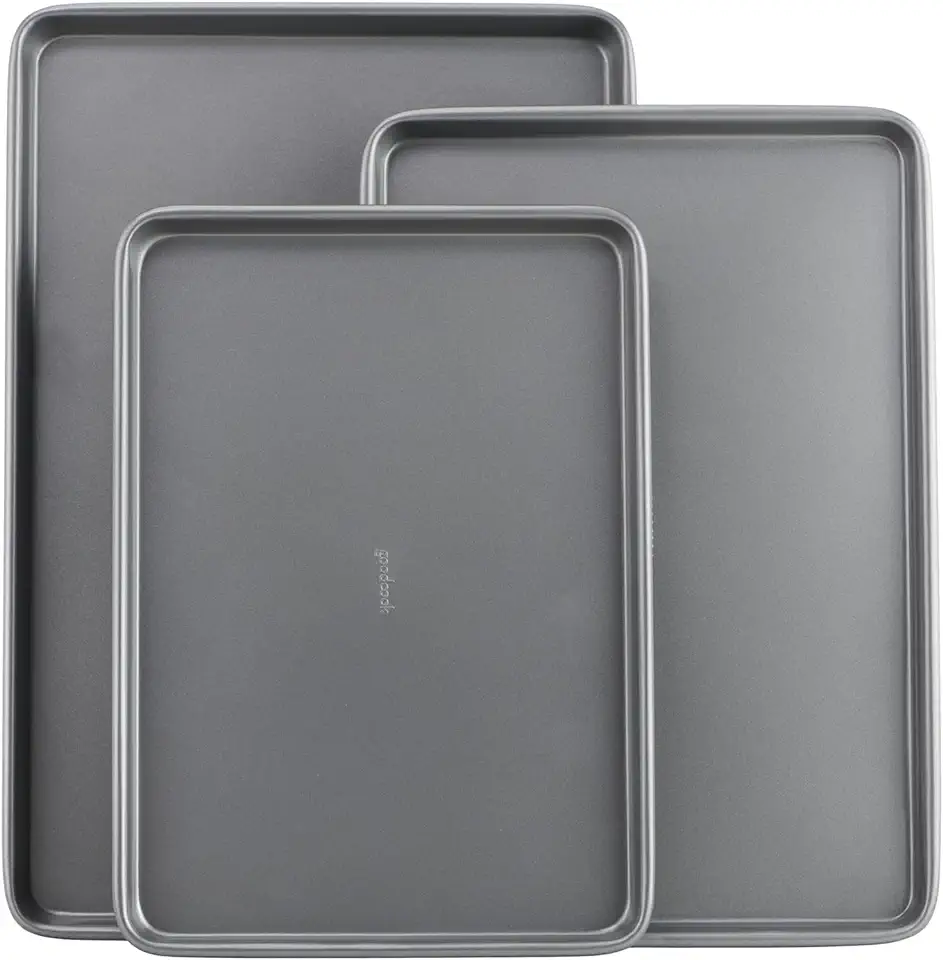
Place the prepared nests on a baking tray and bake in the oven for 30-40 minutes or until the chicken is cooked through and the cheese is golden.
Step 6
Once baked, remove the nests from the oven and let them cool slightly before serving.
These nests make for a delicious appetizer that everyone will love! Enjoy your meal!
Servings
Pair them with a fresh garden salad for some crunch and color. For an extra pop of flavor, consider a drizzle of homemade garlic aioli or spicy sriracha mayo on the side; trust us, your guests will rave about it!
Feeling adventurous? Serve with fluffy quinoa or aromatic rice for a wholesome meal—perfect for satisfying appetites and impressing everyone at your table! 🍽️ Don’t forget to garnish with fresh herbs like parsley or basil to elevate the presentation.
Equipment
This handy gadget will save you time and effort while chopping and mixing. Make sure it’s properly assembled and that the blades are sharp for quick and efficient meat preparation.
Preheat your oven to 180°C (356°F) before you begin putting your dish together. A well-heated oven ensures even cooking and crispy edges for your meatballs.
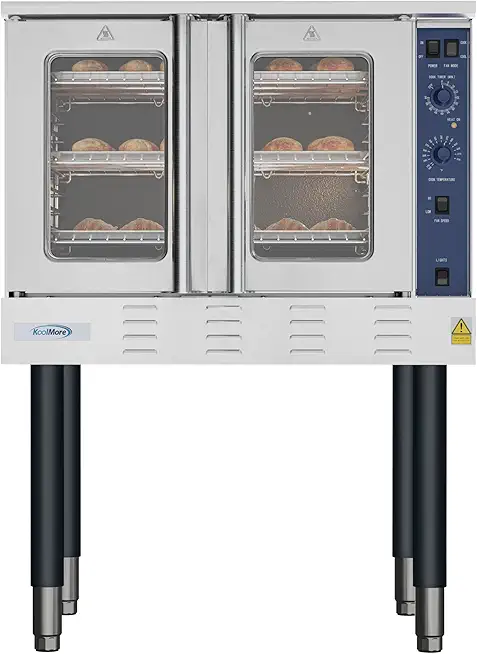 KoolMore 38 in. Full-Size Single Deck Commercial Natural Gas Convection Oven 54,000 BTU in Stainless-Steel (KM-CCO54-NG)
$3651.89
View details
Prime
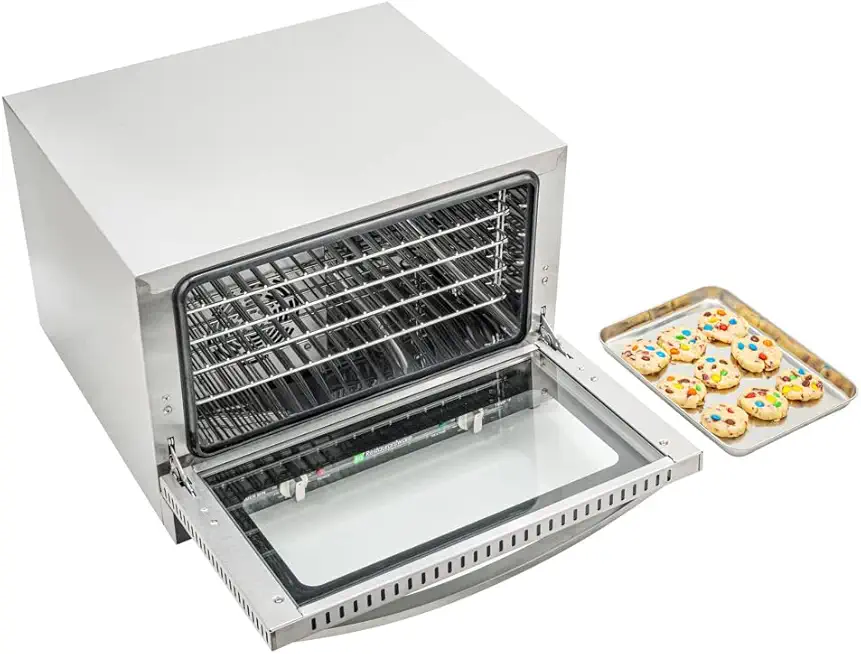 Restaurantware Hi Tek Half Size Convection Oven 1 Countertop Electric Oven - 1.5 Cu. Ft. 120V Stainless Steel Commercial Convection Oven 1600W 4 Racks Included
$1077.29
View details
Prime
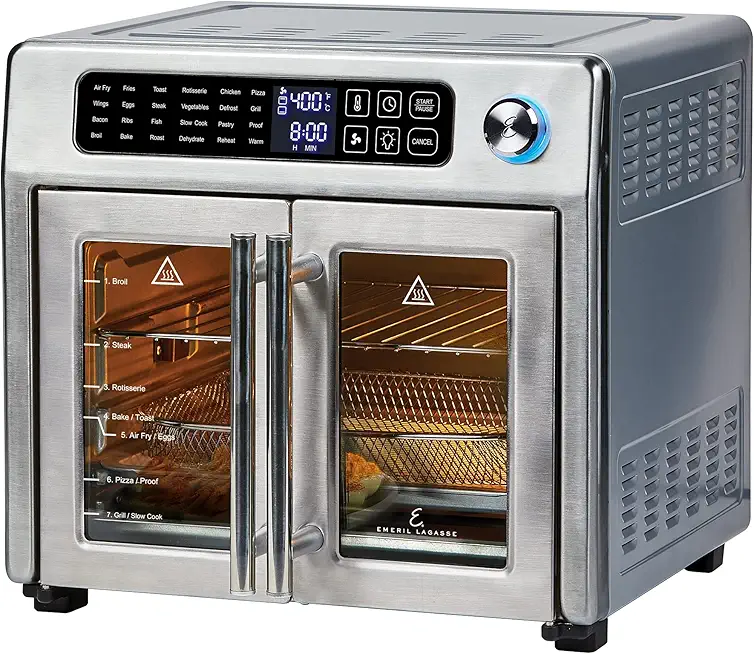 Emeril Lagasse 26 QT Extra Large Air Fryer, Convection Toaster Oven with French Doors, Stainless Steel
$189.99
View details
Line your tray with parchment paper for easy clean-up and to prevent sticking. This is crucial for achieving the perfect golden finish on your chicken nests.
Use large bowls to mix your ingredients thoroughly without creating a mess. This will help ensure that flavors are combined evenly throughout the dish.
Variations
Gluten-Free Version: Substitute regular breadcrumbs with gluten-free breadcrumbs or finely crushed rice cakes to keep your nests fluffy and light.
Vegan Option: Replace chicken with a mixture of mashed chickpeas and tofu for a protein-packed, plant-based version. Use vegan mayonnaise and check the cheese label to ensure it’s dairy-free. Your guests will love these alternatives just as much! 🌱
Faq
- What type of chicken should I use for the meatballs?
Using a mixture of chicken breast and thigh gives the best flavor and moisture. Ground chicken can work too, but fresh fillets provide a better texture.
- Can I make the chicken nests ahead of time?
Yes! Prepare them and store them uncooked in the fridge for up to 24 hours, or freeze them for later baking. Just adjust the cooking time if baking from frozen.
- How do I know when they're cooked through?
Insert a meat thermometer into the center of a meatball; it should read 75°C (165°F) for safe consumption. Also, the juices should run clear without any pink meat.
- Can I bake them longer for a crunchier texture?
Absolutely! If you prefer a crunchier exterior, you can bake them for an additional 5-10 minutes. Just keep an eye on them to prevent burning.
- How can I add more flavor to the filling?
Experiment with herbs, spices, or finely chopped vegetables like bell peppers or fresh spinach to elevate the taste even further!
- Do I have to use cheese in the topping?
No, you can leave it out or substitute with a dairy-free alternative if you prefer. The meatballs will still be delicious!

