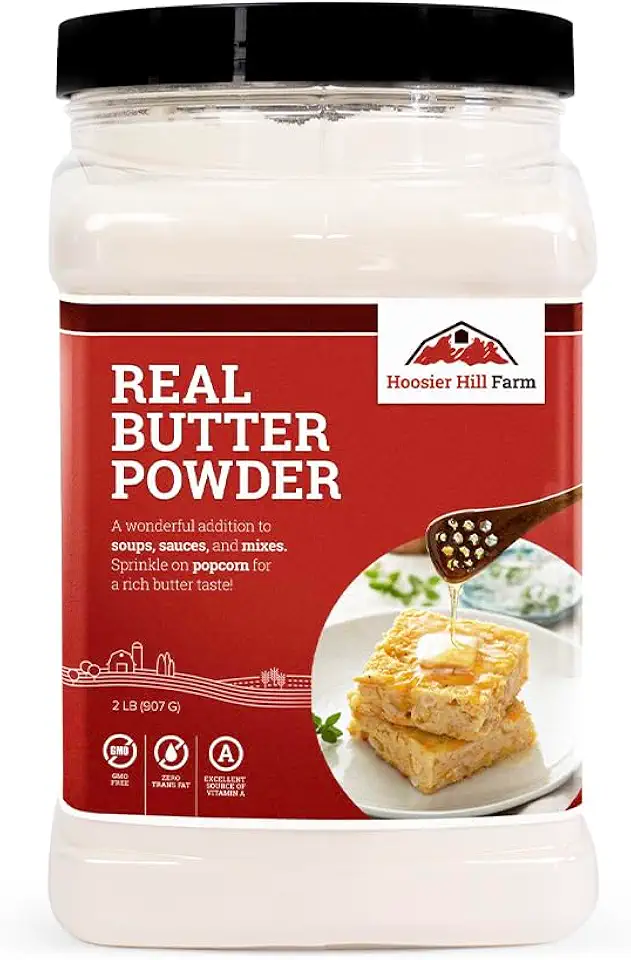
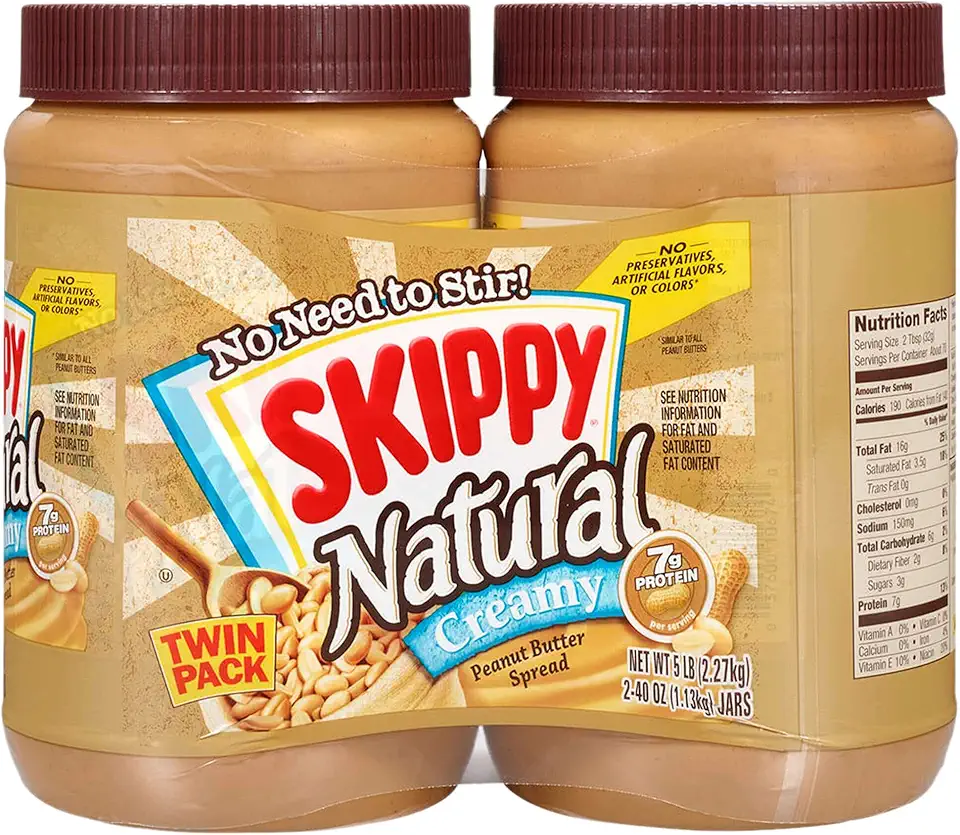
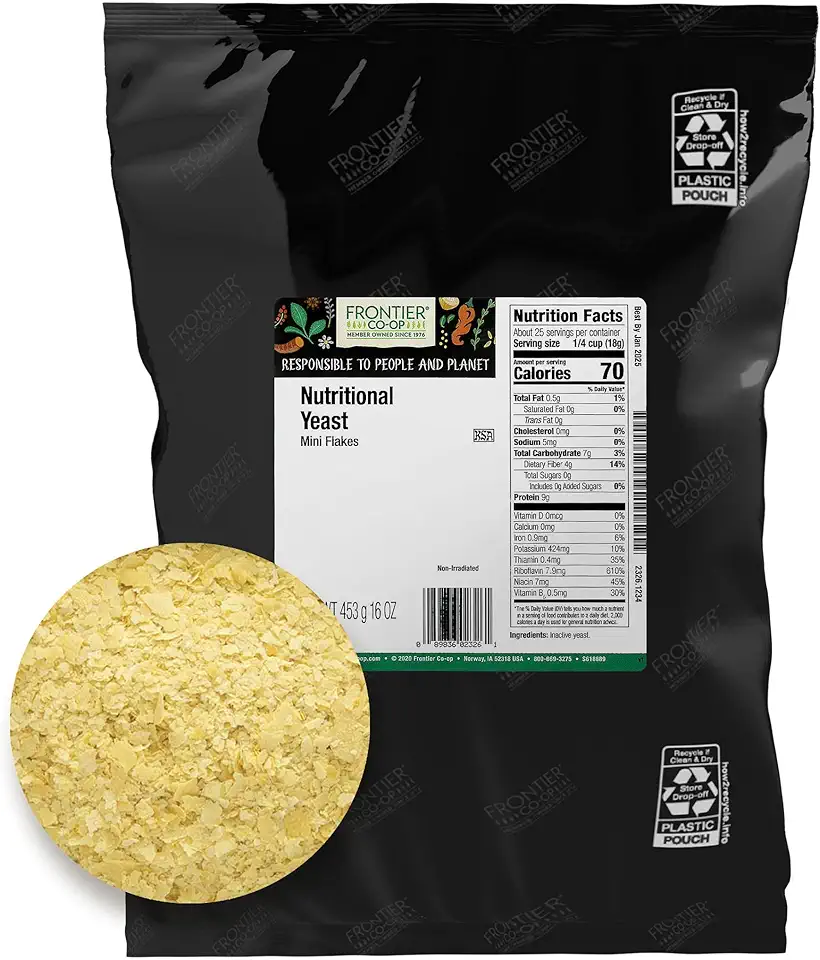
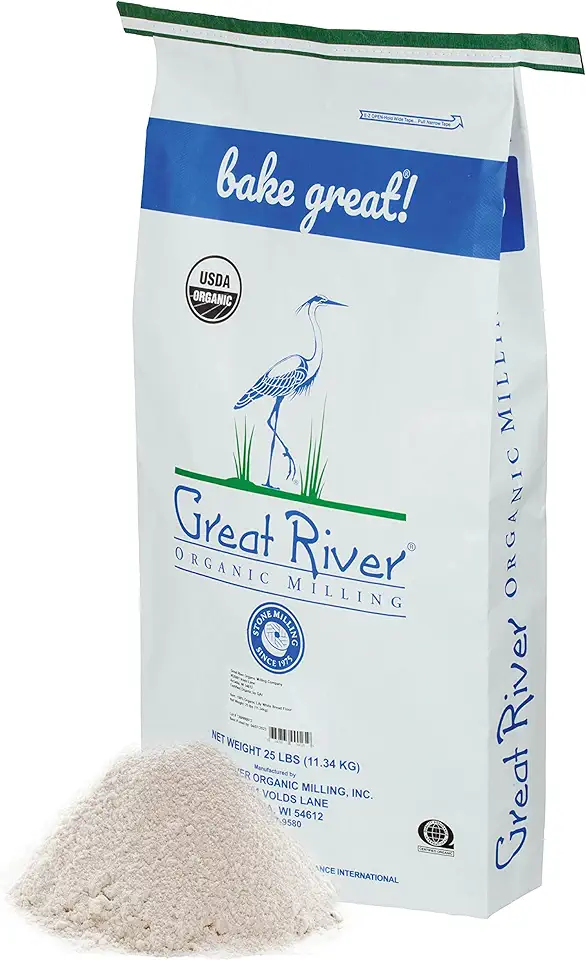
Ingredients
Vanilla Dough Ingredients
Chocolate Dough Ingredients
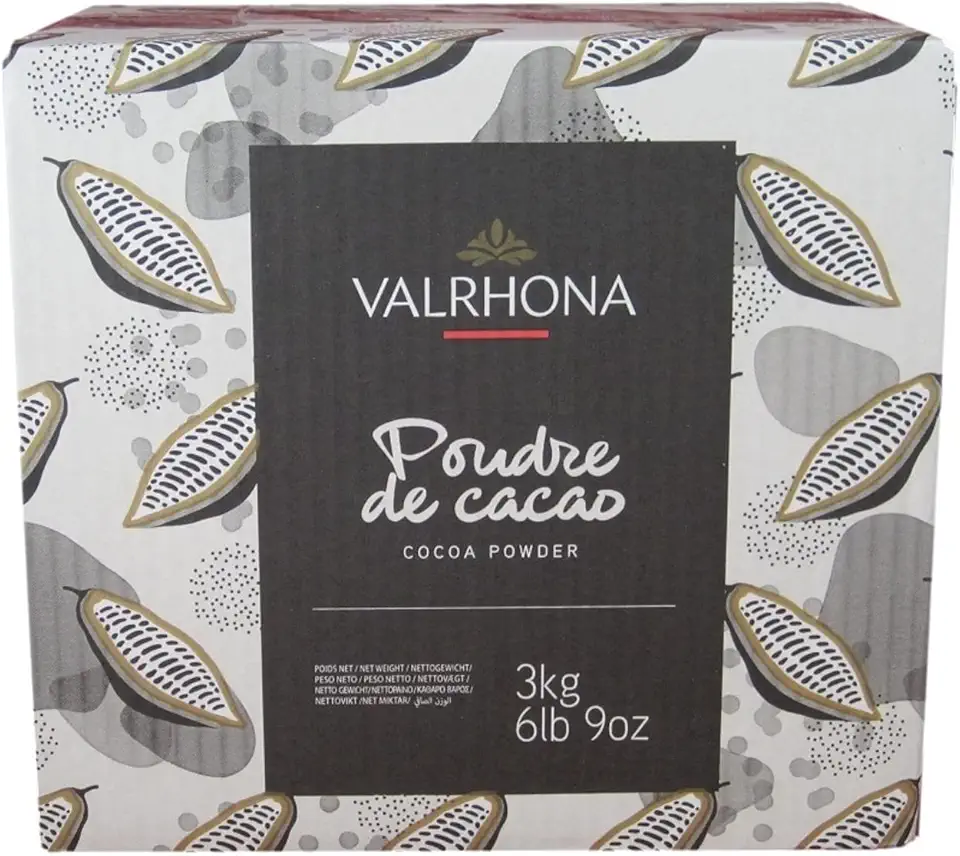 Valrhona Cocoa Powder - 3 kg
$84.95
View details
Prime
best seller
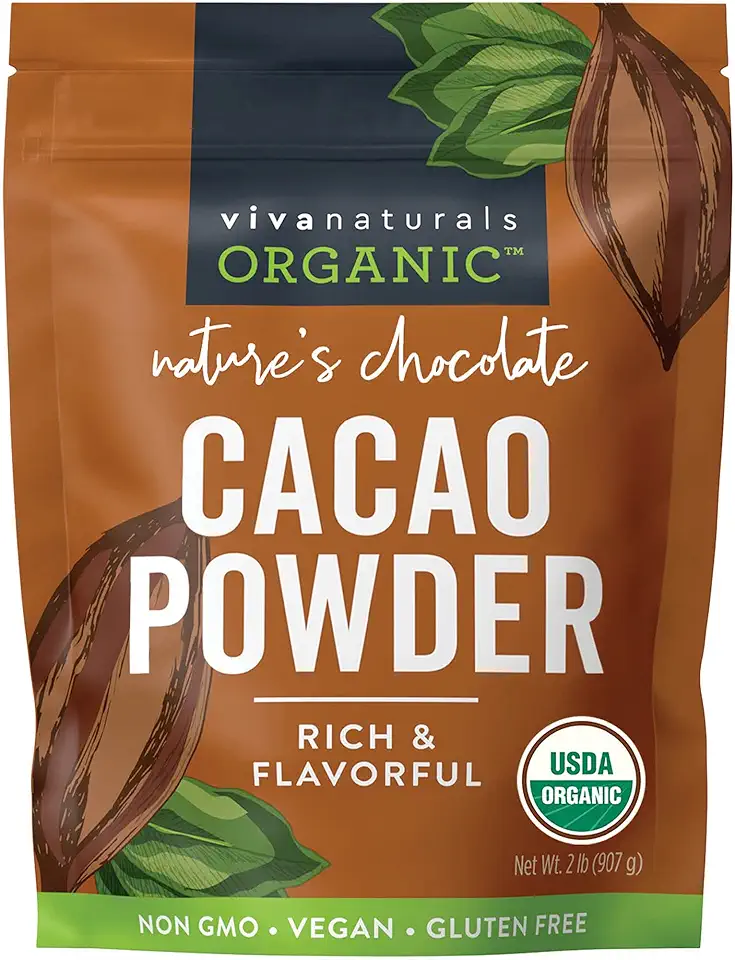 Viva Naturals Organic Cacao Powder, 2lb - Unsweetened Cocoa Powder With Rich Dark Chocolate Flavor, Perfect for Baking & Smoothies - Certified Vegan, Keto & Paleo, Non-GMO & Gluten-Free, 907 g
$20.49
View details
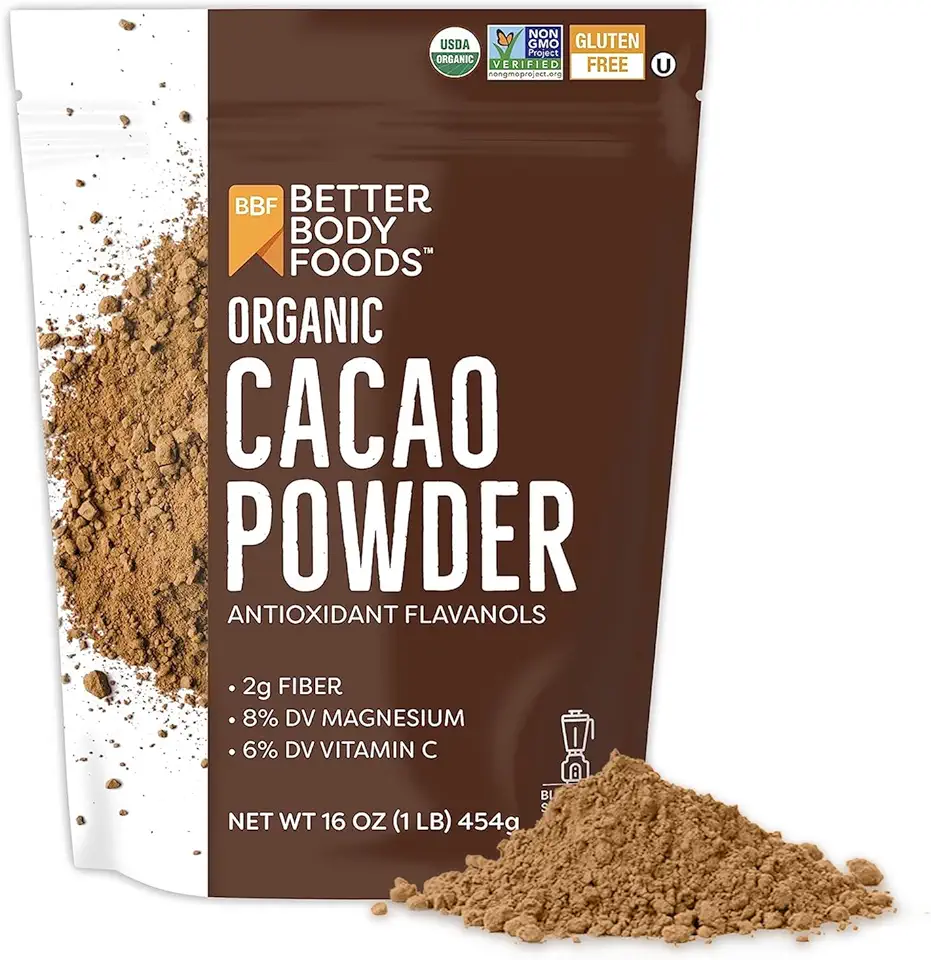 BetterBody Foods Organic Cacao Powder, Rich Chocolate Flavor, Non-GMO, Gluten-Free, Cocoa, 16 ounce, 1 lb bag
$10.41
View details
Filling and Glaze
Instructions
Step 1
In two separate bowls, pour in 200 ml of warm milk into each. Add 0.5 tablespoons of yeast and 100 grams of sugar to both bowls. Let the mixture sit for about 15 minutes until a frothy layer forms on top.
This foaming indicates that the yeast is active and ready for the next steps.
Step 2
After the yeast mixture is ready, add 1 egg, 30 ml of vegetable oil, and 30 grams of melted butter to both bowls. In the first bowl, mix in 10 grams of vanilla sugar, and in the second bowl, add 3 tablespoons of cocoa powder.
Mix well until combined.
Step 3
Gradually add the sifted flour to each bowl. Knead the dough until it is smooth and elastic, ensuring there are no lumps.
Once kneaded, cover the bowls with a cloth and let the dough rise in a warm place for about 1.5 hours until doubled in size.
Step 4
After the dough has risen, take small portions and roll them into balls. Leave them to rest for about 10 minutes.
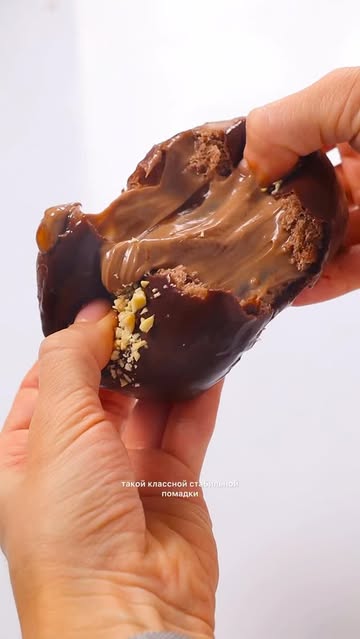
Then, roll each ball into a rectangle shape. Spread the chocolate spread over the surface and roll it up tightly to form a bun shape.
Step 5
Place the formed rolls on a baking tray lined with parchment paper. Cover with a cloth and let them rest for another 10 minutes in a warm area.
Meanwhile, preheat your oven to 180°C (356°F). Brush the tops of the rolls with the egg and milk mixture before placing them in the oven.
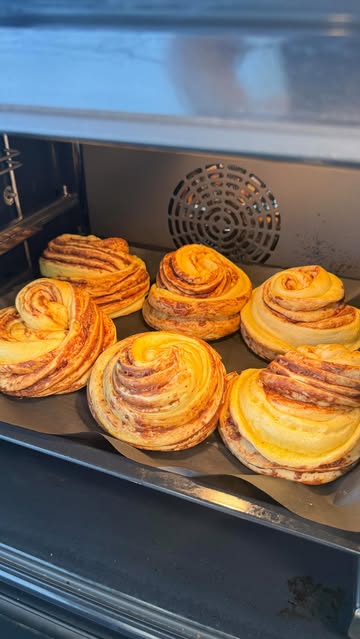
Bake the rolls for approximately 20 minutes or until golden brown.
Step 6
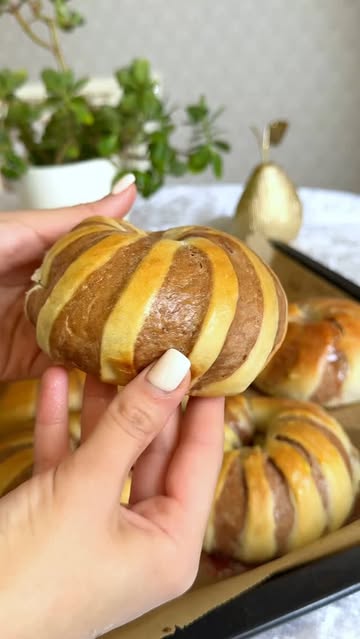
Your delicious chocolate and vanilla sweet rolls are now ready! Allow them to cool slightly, then enjoy them warm or at room temperature.
Bon Appétit!
Servings
Imagine the scene: friends gathered around a warm table, the aroma of freshly baked chocolate buns in the air. 🌟 Serve them slightly warm, drizzled with melted chocolate or a sprinkle of powdered sugar for an extra touch of sweetness. Pair them with your favorite cup of coffee or a steaming cup of tea ☕ to elevate your snack game. These buns are not just a treat; they’re a moment to savor, perfect for brunch or a cozy afternoon delight.
Feeling adventurous? Try slicing these buns in half and slathering them with a spread of hazelnut or almond butter for an exquisite flavor twist. Each bite becomes an exciting blend of texture and taste. 🎉 For those who are hosting a fancy garden party, why not assemble a cute dessert platter with these chocolate buns alongside some seasonal fruits? It’s a feast for the eyes!
Equipment
Choose glass or stainless steel bowls that are easy to clean and can withstand heat. A larger bowl is ideal for mixing dough and raising your pastry.
A good rolling pin will help you achieve the perfect thickness for your dough. Opt for a lightweight, smooth surface for easy handling.
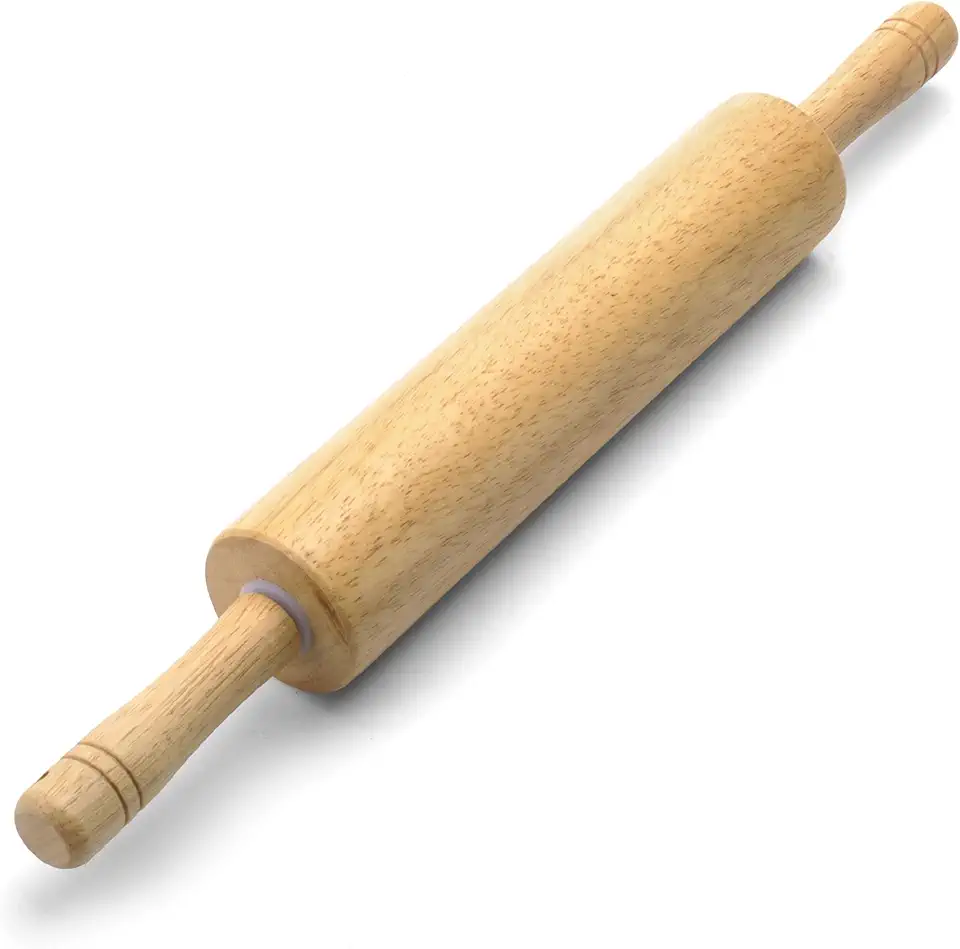 Farberware Classic Wood Rolling Pin, 17.75-Inch, Natural
$12.99
$13.99
View details
Prime
 Fox Run Polished Marble Rolling Pin with Wooden Cradle, 10-Inch Barrel, White
$20.88
View details
Prime
 French Rolling Pin (17 Inches) –WoodenRoll Pin for Fondant, Pie Crust, Cookie, Pastry, Dough –Tapered Design & Smooth Construction - Essential Kitchen Utensil
$9.99
View details
Use quality baking sheets to ensure even cooking. If you have parchment paper, it’s a great way to prevent sticking.
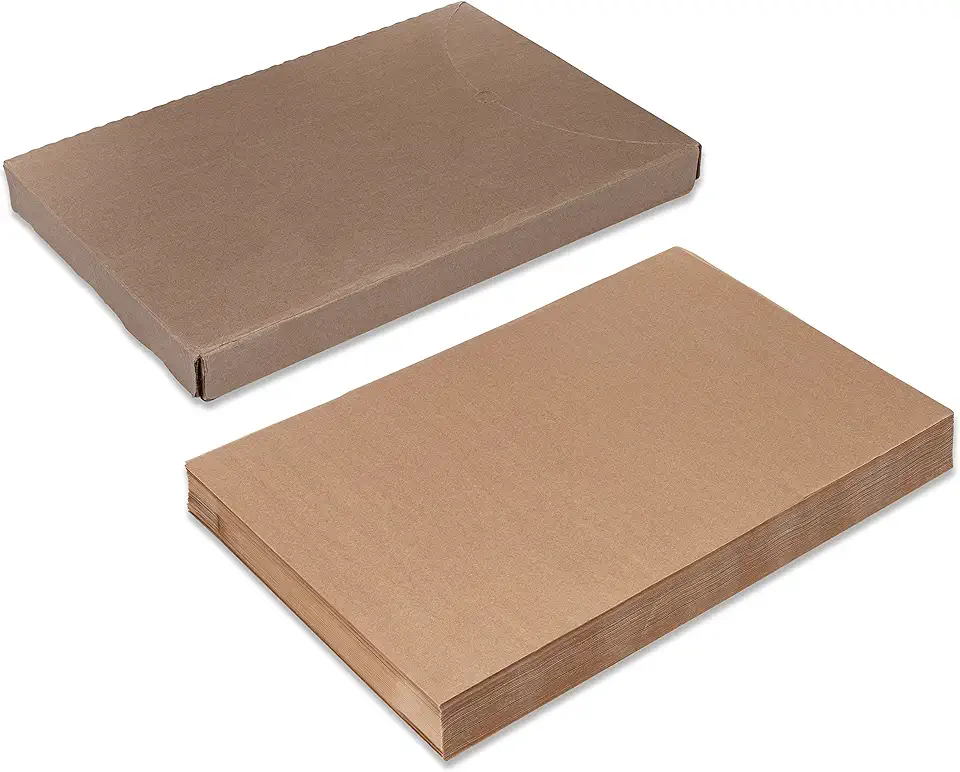 Paterson Paper 16" x 24" Full Size Unbleached Chromium-Free Reusable Baking Parchment Paper Sheets Commercial Bun/Sheet Pan Liners - 1000/Case - 425F - Non-Stick/Grease-Resistant
$169.58
View details
Prime
best seller
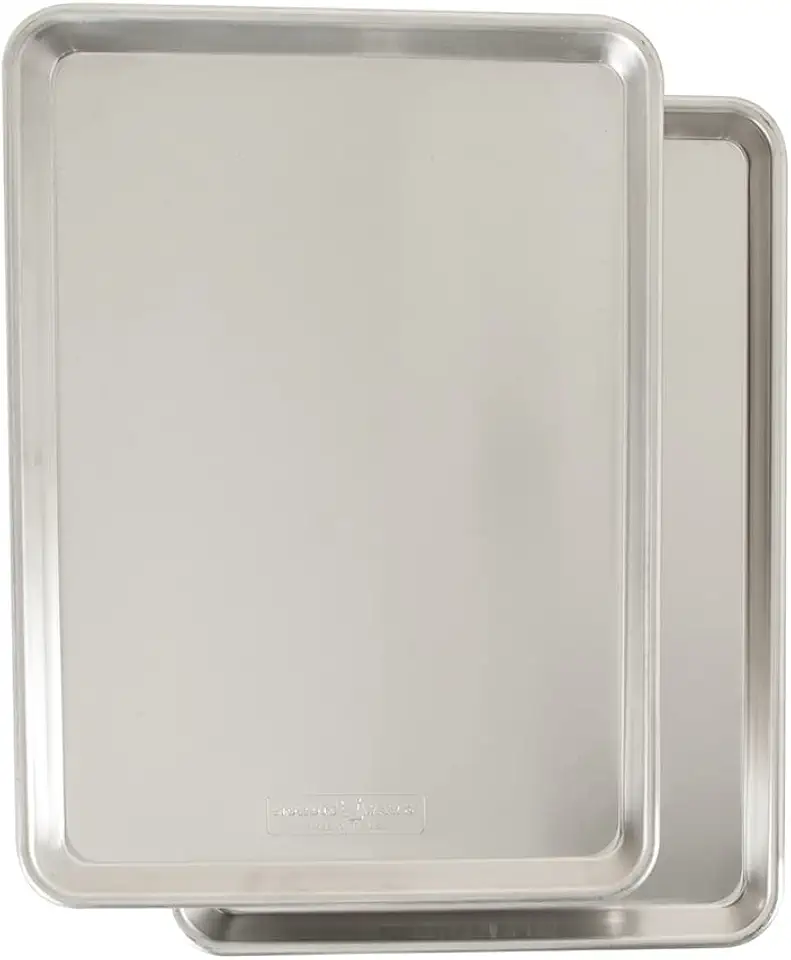 Nordic Ware Naturals Half Sheet, 2-Pack, Natural
$37.80
View details
Prime
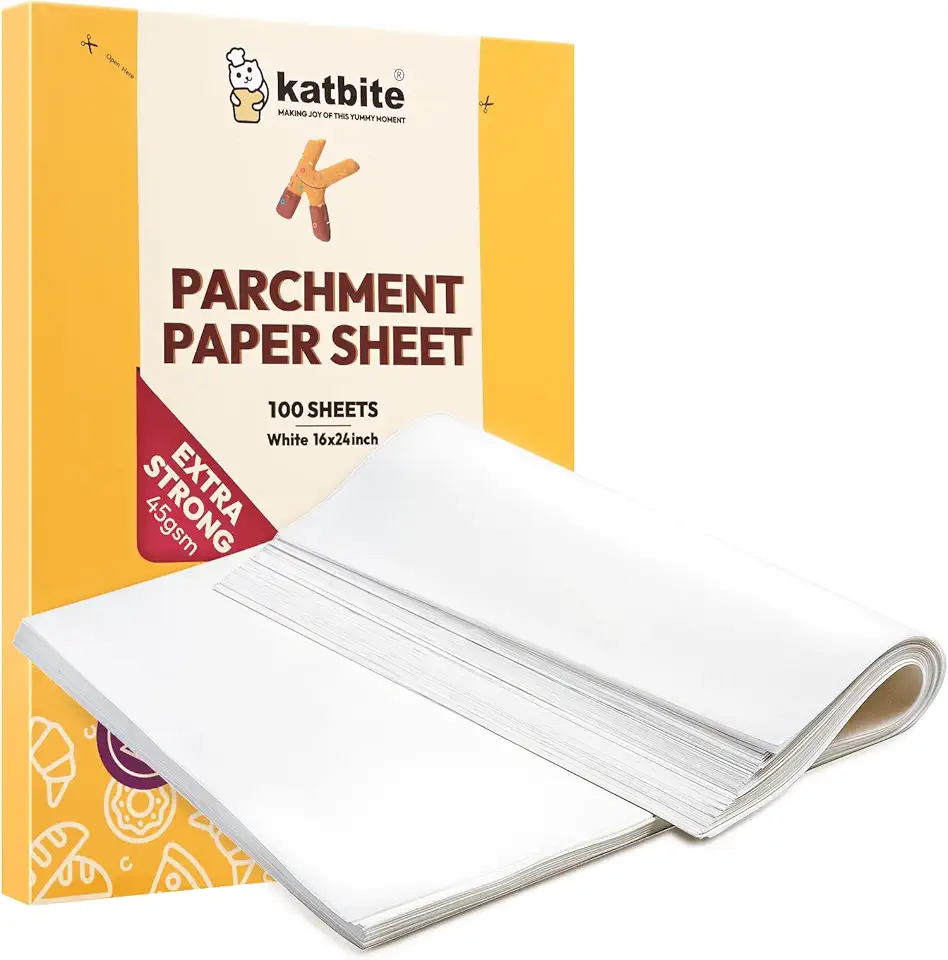 Katbite 16x24 inch Heavy Duty Parchment Paper Sheets, 100Pcs Precut Non-Stick Full Parchment Sheets for Baking, Cooking, Grilling, Frying and Steaming, Full Sheet Baking Pan Liners, Commercial Baking
$18.99
$25.99
View details
To guarantee your oven is at the right temperature, an oven thermometer is crucial for perfect baking.
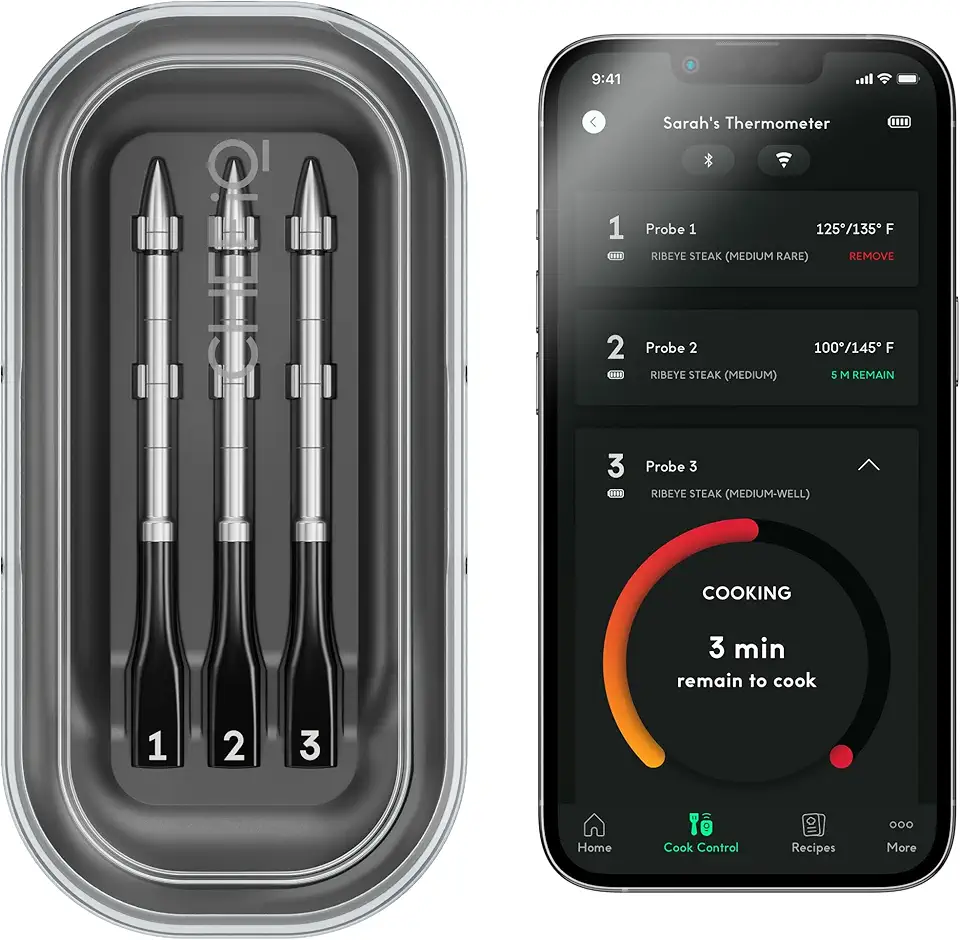 CHEF iQ Sense Smart Wireless Meat Thermometer with 3 Ultra-Thin Probes, Unlimited Range Bluetooth Meat Thermometer, Digital Food Thermometer for Remote Monitoring of BBQ Grill, Oven
$139.99
$219.99
View details
Prime
 Meat Thermometer Digital Wireless, 800FT Long Range Bluetooth Cooking Thermometer, Food Thermometer for Remote Monitoring of Grill, Oven, Smoker, Air Fryer, Rotisserie, iOS & Android App
$99.99
$139.99
View details
Prime
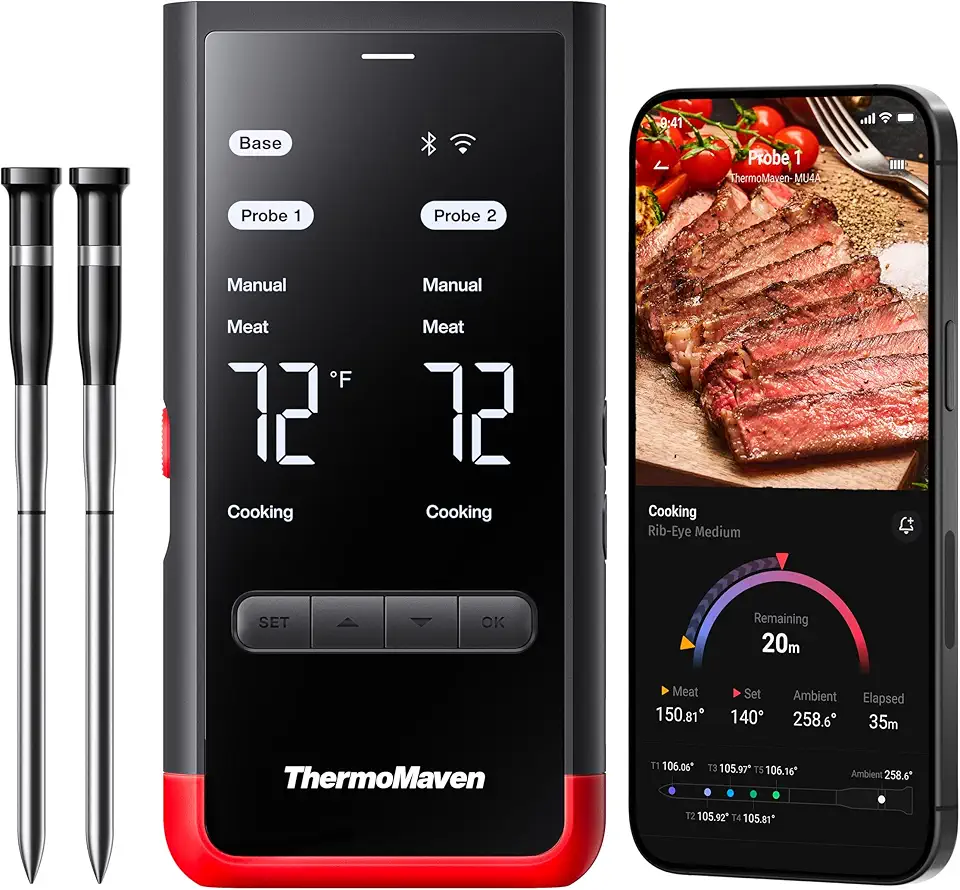 Wireless Bluetooth Smart Meat Thermometer: Standalone Base, WiFi Unlimited Range, 6 Sensors with NIST Certified Accuracy, 2 Probes, for BBQ, Grill, Oven, Smoker, Rotisserie (Red)
$120.00
$149.99
View details
Variations
For Gluten-Free Lovers 🎉: Simply swap the all-purpose flour with a quality gluten-free blend and add a bit of xanthan gum for texture. Your chocolate buns will be just as fluffy and delicious without the gluten!
Vegan Version 🌱: To make this recipe vegan, substitute the milk with almond or oat milk, use aquafaba for the egg, and replace butter with coconut oil or a plant-based alternative. Your buns will be soft, moist, and completely animal-product free!
Faq
- Q: How can I avoid my buns being too dry?
A: Make sure to measure your flour accurately and do not overbake them! Checking for doneness a few minutes early can help.
- Q: Can I use other types of fillings for the buns?
A: Absolutely! Feel free to experiment with fruit jams, cream cheese, or even peanut butter. Just keep the consistency in mind.
- Q: How can I achieve a better rise in my dough?
A: Ensure your yeast is fresh and proof it properly before mixing it with the other ingredients. Temperature plays a huge role in yeast activation.
- Q: What should I do if my dough is too sticky?
A: You can add a little more flour gradually until you reach the right consistency. Be careful not to add too much!
- Q: Can I store these buns? If so, how?
A: Yes! Store them in an airtight container at room temperature for up to 3 days, or freeze them for future snacking.
- Q: What’s the best way to reheat the buns for maximum fluffiness?
A: Microwave them for about 10 seconds or warm them in an oven preheated to 350°F for a few minutes. This will restore their soft texture!

