Ingredients
Ingredients for Pastry
Ingredients for Glaze
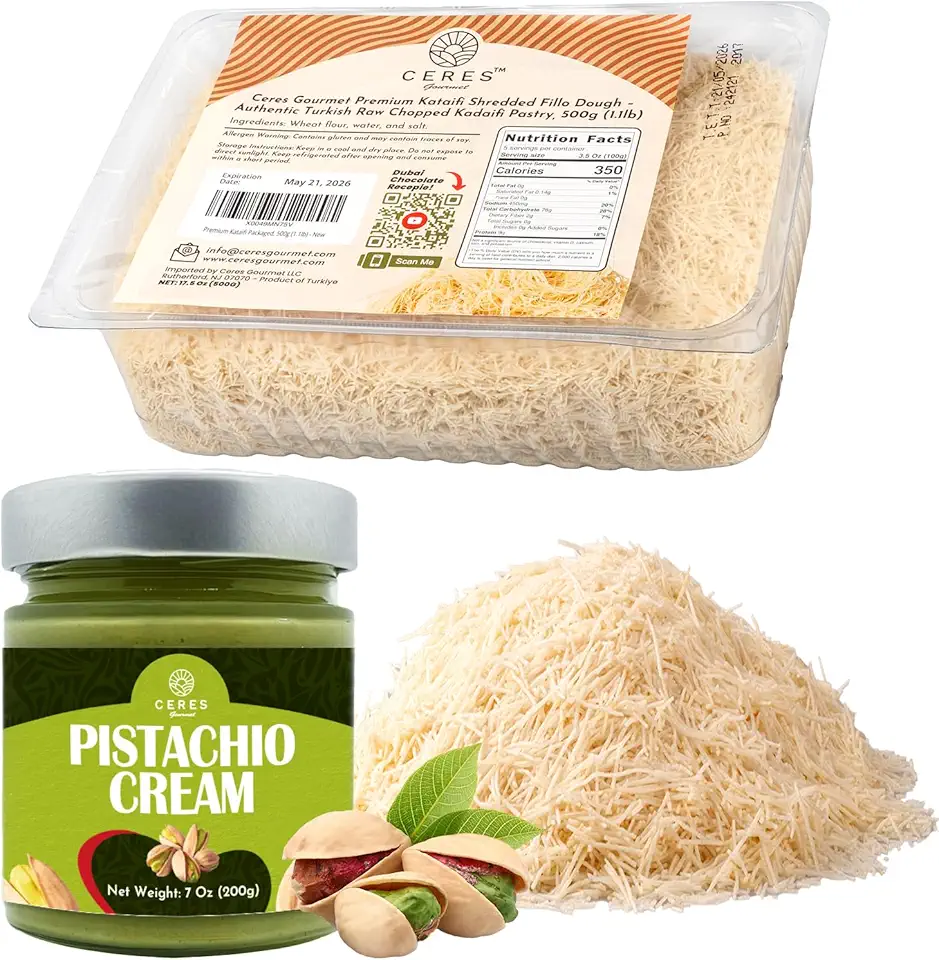 Premium Kataifi Shredded Fillo Dough & Pistachio Butter Spread Bundle for Viral Dubai Chocolate – Authentic Turkish Raw Chopped Kataifi Pastry (500g) and Sweet Pistachio Nut Cream (7.76 Oz), Ideal for Kunafa, Baklava, and Gourmet Desserts
$34.95
View details
Prime
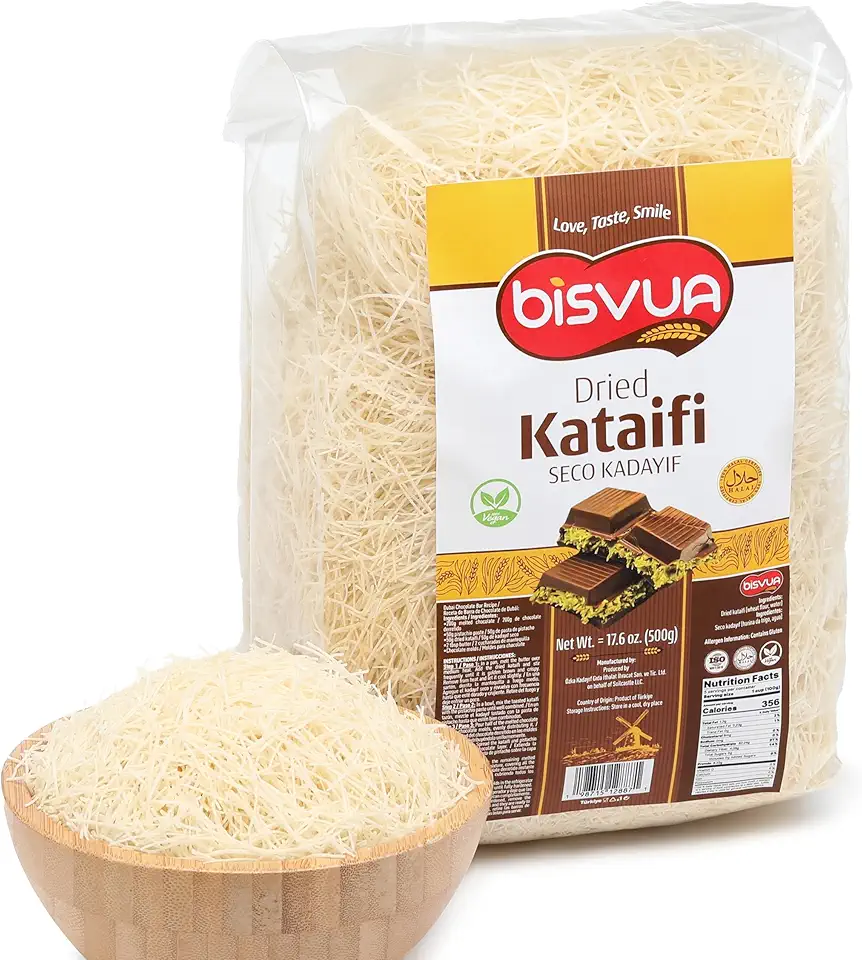 BISVUA Premium Dried Kataifi 500g (17.6 oz) - Perfect for Viral Dubai Chocolate Bar Pistachio Stuffed Desserts knafeh, Kunafa, and Middle Eastern Pastries - kataifi shredded fillo dough
$25.78
View details
Instructions
Step 1
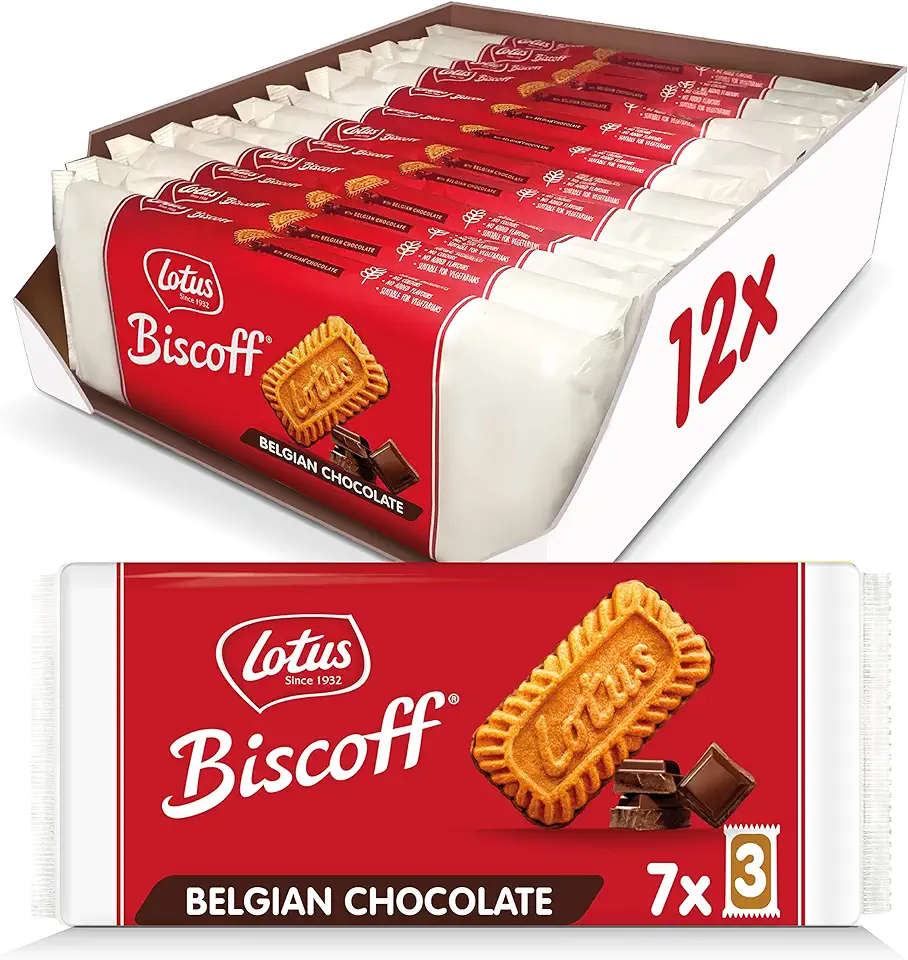
Start by finely crushing the chocolate biscuits until they turn into crumb-like consistency. Make sure the crumbs are uniform to allow for even mixing.
This will be the base for your delicious pastry.
Step 2
In a mixing bowl, combine the crushed chocolate biscuit crumbs with cheese cream. Stir them together until you achieve a *thick, moldable mass*.
This mixture will help form the structure of the pastries.
Step 3
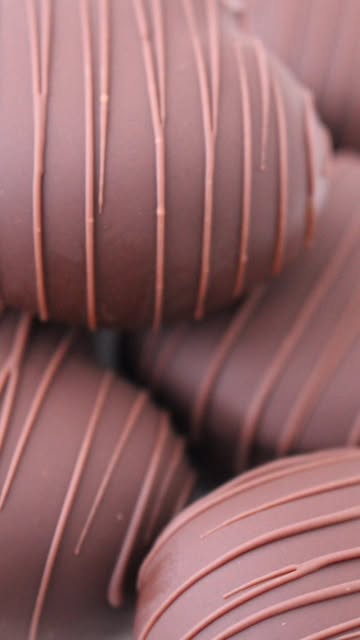
Using your hands, take portions of the mixture and shape them into small, oval pastries. Ensure each one is compact and uniform for the best presentation.
Set the formed pastries aside as you get ready for the next step.
Step 4
Place the shaped pastries in the refrigerator and let them cool for *3 to 5 hours*. This step helps them to firm up and hold their shape.
Don't rush this part; proper chilling enhances the texture.
Step 5
While the pastries are chilling, melt the chocolate for the glaze in a microwave or over a double boiler. Stir until it is *smooth and free of lumps*.
Once melted, allow the chocolate to cool slightly before glazing.
Step 6
Take the chilled pastries out of the refrigerator and dip each one into the chocolate glaze until it is fully coated.
Let any excess glaze drip off before placing them back on a baking sheet lined with parchment paper.
Step 7
Once all pastries are coated, return them to the refrigerator to cool again for at least *30 minutes*. This will set the glaze onto the pastry.
And just like that, your chocolate potato pastries are ready to enjoy!
Servings
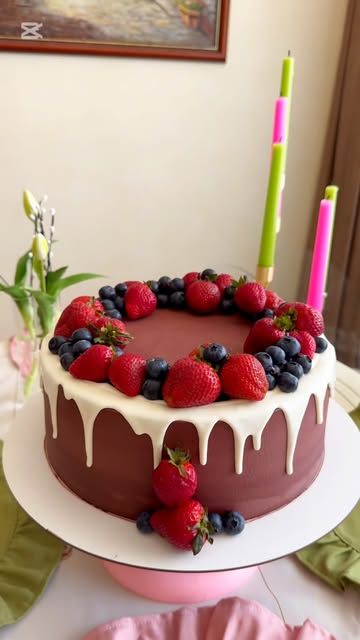
When it comes to enjoying these Chocolate Potatoes, the possibilities are endless! Pair them with a dollop of whipped cream or a scoop of your favorite ice cream for a **decadent** dessert experience. 🌟 You can also serve these beauties alongside **fresh berries** for a pop of color and a refreshing twist! 🍓
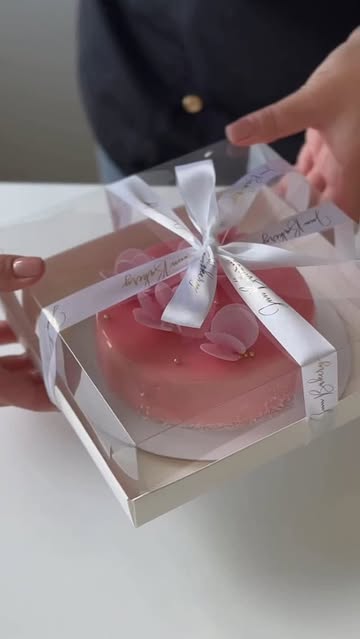
For a unique touch, consider presenting them in a lovely candy box as gifts. Your friends and family will be thrilled to receive these delicious pastries, adding a personal touch to any celebration! 🎁✨
Don't forget to sprinkle some cocoa powder on top or drizzle extra chocolate for that Instagram-worthy finish! 📷💖
Equipment
A sturdy mixing bowl is essential for combining your ingredients. Make sure it's large enough to prevent any messy spills during mixing.
 YIHONG 7 Piece Mixing Bowls with Lids for Kitchen, Stainless Steel Mixing Bowls Set Ideal for Baking, Prepping, Cooking and Serving Food, Nesting Metal Mixing Bowls for Space Saving Storage
$27.99
$35.99
View details
Prime
best seller
 Pyrex Glass, 3-Piece, 3 PC Mixing Bowl Set
$17.53
View details
Prime
 REGILLER Stainless Steel Mixing Bowls (Set of 5), Non Slip Colorful Silicone Bottom Nesting Storage Bowls, Polished Mirror Finish For Healthy Meal Mixing and Prepping 1.5-2 - 2.5-3.5 - 7QT (Colorful)
$26.99
View details
If you want a quick way to crumble the cake, a food processor will save you lots of time. Just pulse until you achieve a fine texture.
A baking sheet lined with parchment paper will help keep your pastries from sticking and makes for easy cleanup!
You'll need some space in your fridge for chilling the pastries. It's key for achieving the right texture before adding the chocolate glaze.
 2 Door 49 Cu.Ft Commercial Refrigerator Dynamic Cooling OmniSmart Temperature Control 33℉~41℉ Stainless Steel Reach In 6 Shelves 54" W Commercial Refrigerator LED Light Digital Thermostat
$2499.00
View details
![KoolMore KM-MDR-1D-6C 6 Cu. Ft. Commercial One Glass Door Display Upright Beverage Refrigerator Cooler Merchandiser-22.8 in. x 21.4 in. x 52.7 in. [Black] KoolMore KM-MDR-1D-6C 6 Cu. Ft. Commercial One Glass Door Display Upright Beverage Refrigerator Cooler Merchandiser-22.8 in. x 21.4 in. x 52.7 in. [Black]](https://1mincake.azureedge.net/affiliate/B0C86JGM58.jpg) KoolMore KM-MDR-1D-6C 6 Cu. Ft. Commercial One Glass Door Display Upright Beverage Refrigerator Cooler Merchandiser-22.8 in. x 21.4 in. x 52.7 in. [Black]
$696.93
View details
KoolMore KM-MDR-1D-6C 6 Cu. Ft. Commercial One Glass Door Display Upright Beverage Refrigerator Cooler Merchandiser-22.8 in. x 21.4 in. x 52.7 in. [Black]
$696.93
View details
 KoolMore CDC-165-WH 35 in. Self-Service Countertop Bakery Display Refrigerator in White
$1194.19
View details
Variations
If you're looking to customize your Chocolate Potatoes, here are some fantastic variations you can try! For a **gluten-free** option, simply substitute the chocolate cake with a store-bought or homemade gluten-free cake mix. 🍰✨
For those on a **vegan** diet, use a plant-based cream cheese alternative in place of the traditional cream. You can also choose dairy-free chocolate for the glaze. Your treats will still be just as rich and satisfying! 🌱💚
Faq
- Can I use a different type of cream for the filling?
Absolutely! Feel free to experiment with different flavors of cream, such as vanilla or fruit-flavored. Just make sure it’s thick enough to hold the structure.
- How do I know when my pastries are ready to be pulled from the fridge?
Let them chill for 3-5 hours. They should feel firm to the touch and hold their shape when removed.
- Can I freeze these Chocolate Potatoes?
Yes! Once they are fully chilled, you can freeze them for up to one month. Just make sure to wrap them well to avoid freezer burn.
- What can I do to make the chocolate glaze smoother?
Try adding a little vegetable oil to the melted chocolate. It’ll give you a glossy finish and help the glaze flow easily.
- What’s the best way to store leftovers?
Keep them in an airtight container in the fridge for up to five days. Enjoy them chilled for the best taste!
- Can I use different toppings for the glaze?
Of course! Feel free to add nuts, sprinkles, or flaky sea salt for an exciting twist and added texture!

