Ingredients
Base Ingredients
Filling Ingredients
Instructions
Step 1
Start by finely grinding the cookies and then mixing them with the melted unsalted butter. Ensure that all the cookie crumbs are coated evenly.
Press the mixture into the base of a tart pan, spreading it out evenly, and place it in a preheated oven at 170°C (340°F) for 10 minutes to set.
Step 2
While the crust is baking, bring the heavy cream to a gentle boil in a saucepan. Once boiling, pour the hot cream over the chopped chocolate and unsalted butter.
Stir this mixture until smooth and well combined. Then, add in the large eggs and mix until fully incorporated.
Step 3
Once the crust is ready, pour the chocolate filling over it. Make sure to spread the filling evenly in the tart pan.
Bake the tart at 150°C (300°F) for 20-30 minutes. The edges should be set but the center should have a slight jiggle.
Step 4
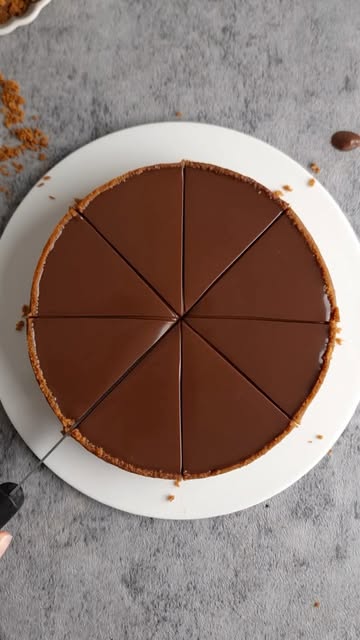
Once baked, remove the tart from the oven and allow it to cool at room temperature.
Refrigerate it for at least 4 hours before slicing to allow it to firm up. This waiting period enhances the flavors, making it even more delightful!
Enjoy your delicious chocolate tart!
Servings
- ✨ Top with freshly whipped cream for an airy touch that balances the rich chocolate.
- 🍓 Add a sprinkle of fresh berries—raspberries or strawberries can elevate the flavors and add a pop of color.
- 🍦 Serve alongside a scoop of vanilla ice cream to create a warm-cold contrast that’s simply irresistible!
- ☕ For an adult twist, drizzle a shot of espresso or a splash of coffee liqueur over your slice to enhance the chocolate notes.
- 🎉 Don’t forget a bite-sized piece in a goodie bag for your guests to take home—they’ll love you for it!
Equipment
A good quality mixing bowl is essential for combining ingredients smoothly. Opt for a stainless steel or glass bowl, as they are durable and easy to clean.
 YIHONG 7 Piece Mixing Bowls with Lids for Kitchen, Stainless Steel Mixing Bowls Set Ideal for Baking, Prepping, Cooking and Serving Food, Nesting Metal Mixing Bowls for Space Saving Storage
$27.99
$35.99
View details
Prime
best seller
 Pyrex Glass, 3-Piece, 3 PC Mixing Bowl Set
$17.53
View details
Prime
 REGILLER Stainless Steel Mixing Bowls (Set of 5), Non Slip Colorful Silicone Bottom Nesting Storage Bowls, Polished Mirror Finish For Healthy Meal Mixing and Prepping 1.5-2 - 2.5-3.5 - 7QT (Colorful)
$26.99
View details
This type of pan ensures that your chocolate pie comes out beautifully. It allows easy release without damaging the edges. Don't forget to grease it lightly!
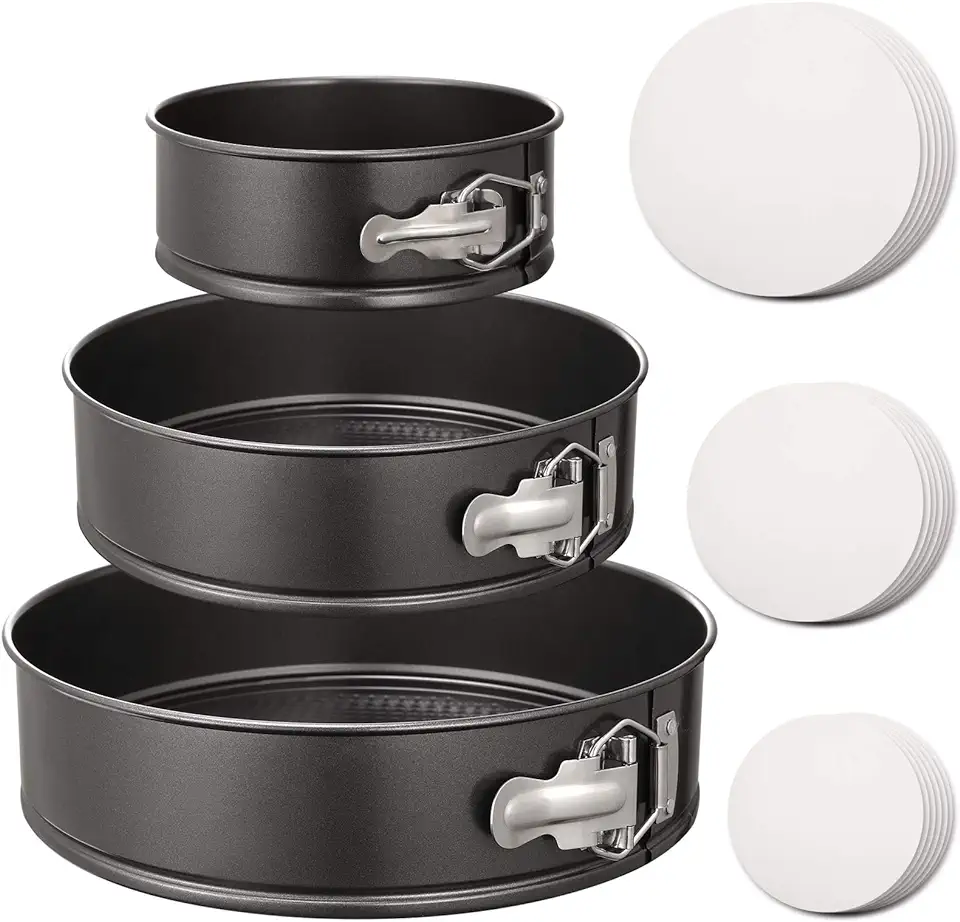 HIWARE Springform Pan Set of 3 Non-stick Cheesecake Pan, Leakproof Round Cake Pan Set Includes 3 Pieces 6" 8" 10" Springform Pans with 150 Pcs Parchment Paper Liners
$23.99
$29.00
View details
Prime
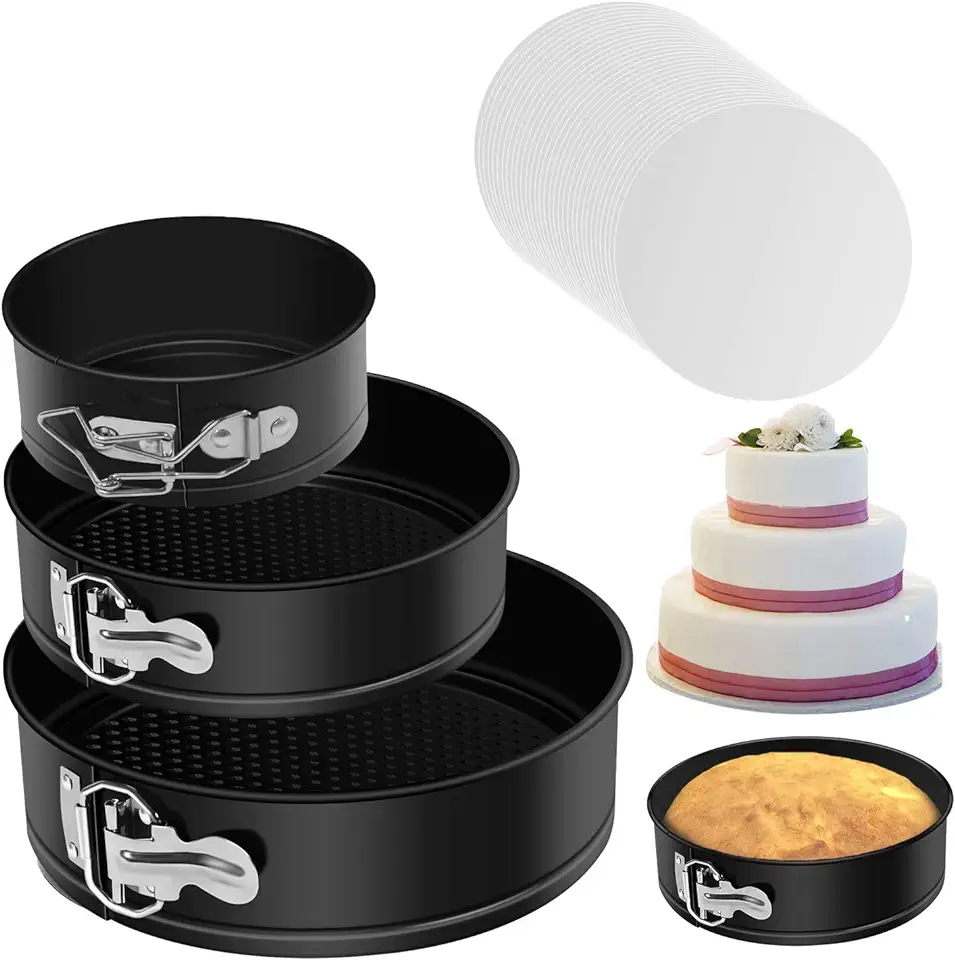 Springform Cake Pan Set of 3 - Nonstick Leakproof Round Cheesecake Pan with Removable Bottom, Circle 3 Tiered 4" 7" 9 inch Spring form Pans for Baking with 50 Pcs Parchment Paper Liners
$18.99
$25.99
View details
Prime
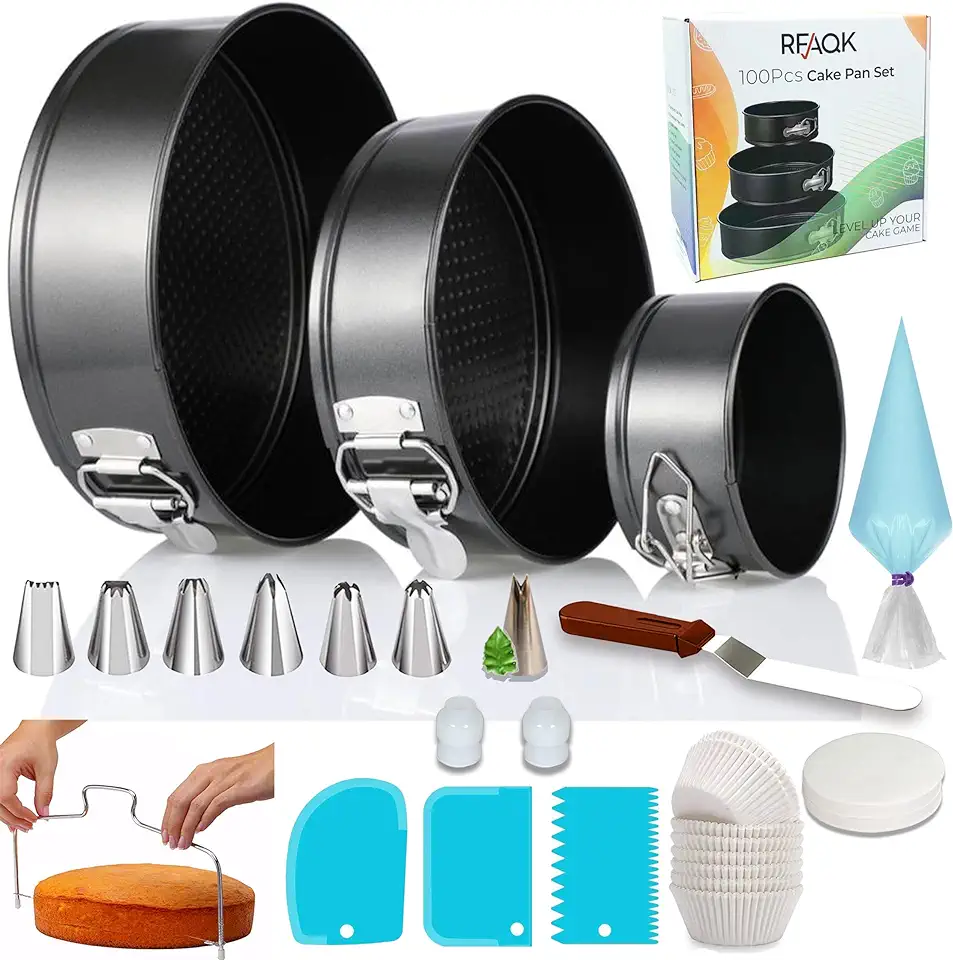 RFAQK 100PCs Cake Pan Sets for Baking + Cake Decorating Kit: 3 Non-Stick Springform Pans Set (4, 7, 9 inches), Piping Tips, Cake Leveler – Multi-functional Leak-Proof CheeseCake Pan & eBook
$23.99
$29.99
View details
A sharp knife is crucial for cutting the chocolate and biscuit base evenly. Safety first: always cut away from your body!
 Nature’s Bakery Whole Wheat Fig Bars, Original Fig, Real Fruit, Vegan, Non-GMO, Snack bar, 1 box with 12 twin packs (12 twin packs)
$9.98
View details
Prime
 Three Dog Bakery Lick'n Crunch Sandwich Cookies Premium Dog Treats with No Artificial Flavors, Golden & Vanilla Flavor, 13 Ounces
$7.99
View details
Make sure your oven is preheated for the best results. Invest in an oven thermometer to ensure accurate temperatures!
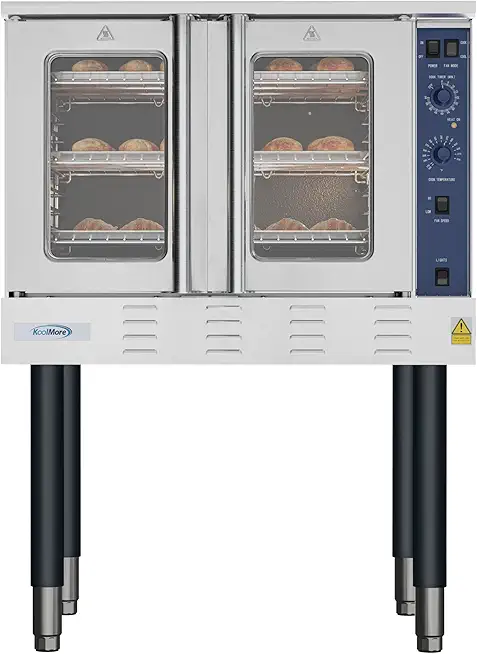 KoolMore 38 in. Full-Size Single Deck Commercial Natural Gas Convection Oven 54,000 BTU in Stainless-Steel (KM-CCO54-NG)
$3651.89
View details
Prime
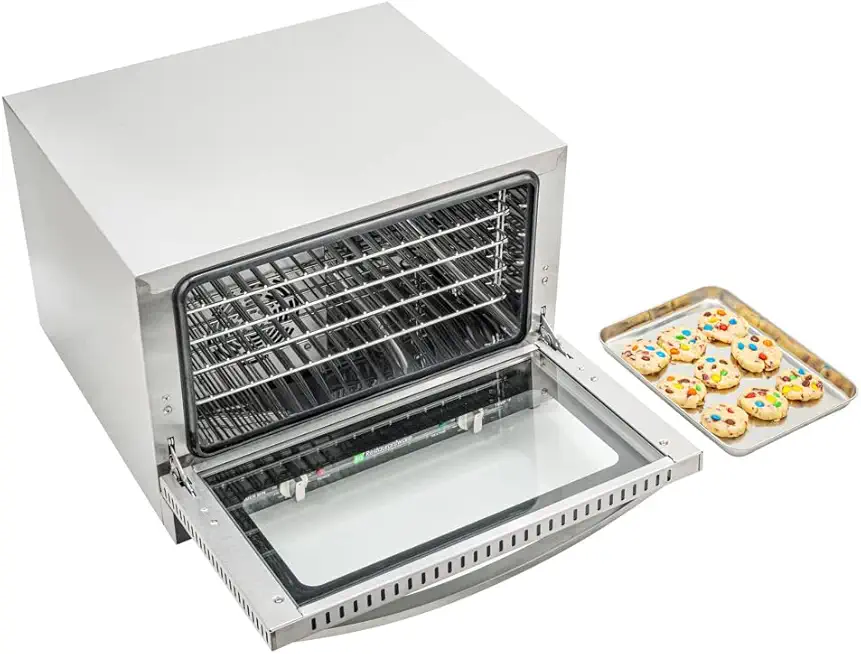 Restaurantware Hi Tek Half Size Convection Oven 1 Countertop Electric Oven - 1.5 Cu. Ft. 120V Stainless Steel Commercial Convection Oven 1600W 4 Racks Included
$1077.29
View details
Prime
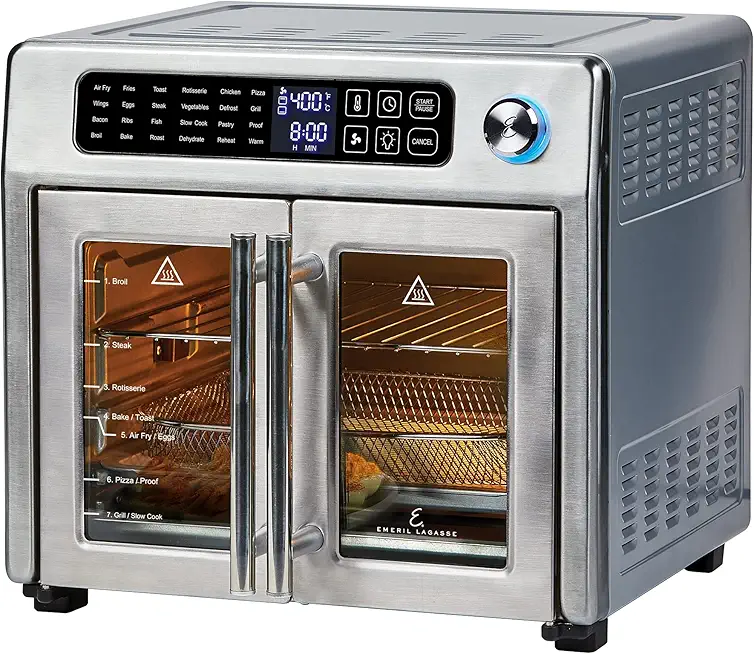 Emeril Lagasse 26 QT Extra Large Air Fryer, Convection Toaster Oven with French Doors, Stainless Steel
$189.99
View details
Variations
- 🌾 **Gluten-Free Chocolate Pie**: Swap traditional biscuits for gluten-free alternatives made from almond flour or oat flour. Ensure your chocolate is also certified gluten-free!
- 🌱 **Vegan Chocolate Pie**: Substitute the eggs with a flaxseed meal or applesauce for binding, and use coconut milk or almond milk instead of cream for a creamy filling. Opt for dark chocolate that’s dairy-free.
- 🥥 For a tropical twist, consider adding some shredded coconut into the crust for additional texture and flavor!
Faq
- What type of chocolate should I use for the filling?
Using high-quality dark chocolate (70% cocoa or more) gives the best flavor. Feel free to play around with milk chocolate for a sweeter pie.
- How can I tell when the pie is done baking?
Look for the edges to be set while the center slightly jiggles. It will continue to cook as it cools down!
- I’m an intermediate baker. Can I add flavors to the filling?
Absolutely! You can infuse flavors like orange zest or peppermint extract into the chocolate mixture for a unique twist!
- What if my pie crust is too crumbly?
You might not have added enough melted butter. Ensure that the biscuit mixture is fully moistened before pressing into the pan!
- As an experienced baker, what’s the best way to store leftovers?
Keep it in an airtight container in the fridge. It can last for up to 5 days, but trust me, it'll be gone before then!
- Can I freeze the chocolate pie?
Yes, it freezes well! Just wrap it tightly in plastic wrap and aluminum foil. Thaw it in the refrigerator overnight before serving.

