Ingredients
Coconut Chocolate Cream Ingredients
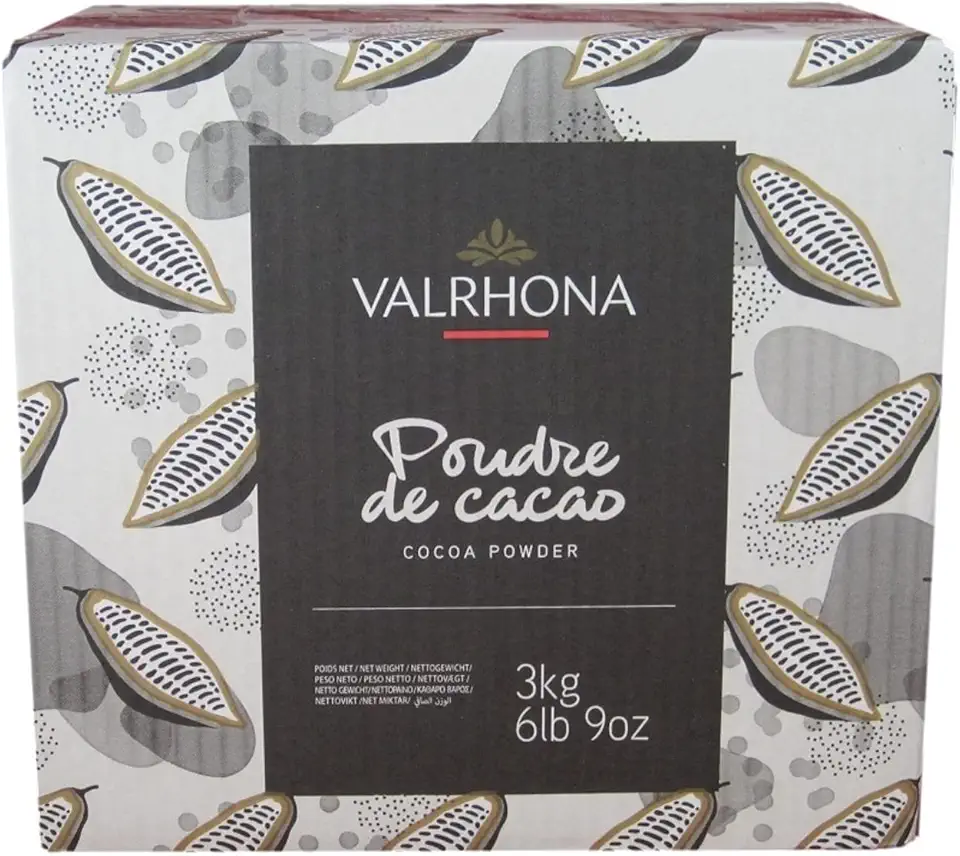 Valrhona Cocoa Powder - 3 kg
$84.95
View details
Prime
best seller
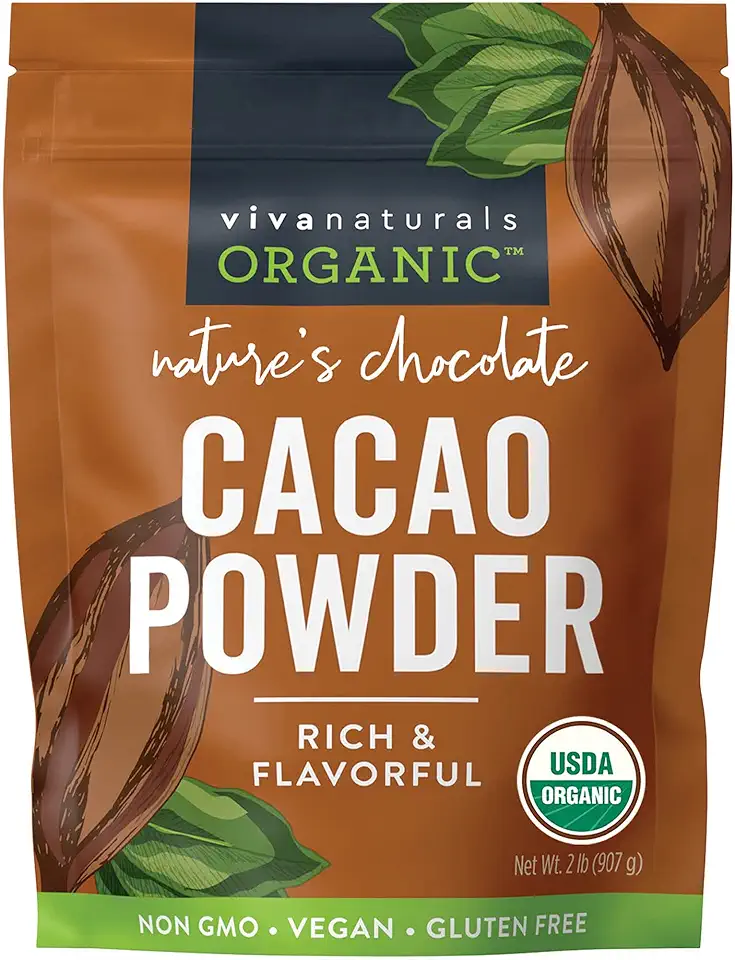 Viva Naturals Organic Cacao Powder, 2lb - Unsweetened Cocoa Powder With Rich Dark Chocolate Flavor, Perfect for Baking & Smoothies - Certified Vegan, Keto & Paleo, Non-GMO & Gluten-Free, 907 g
$20.49
View details
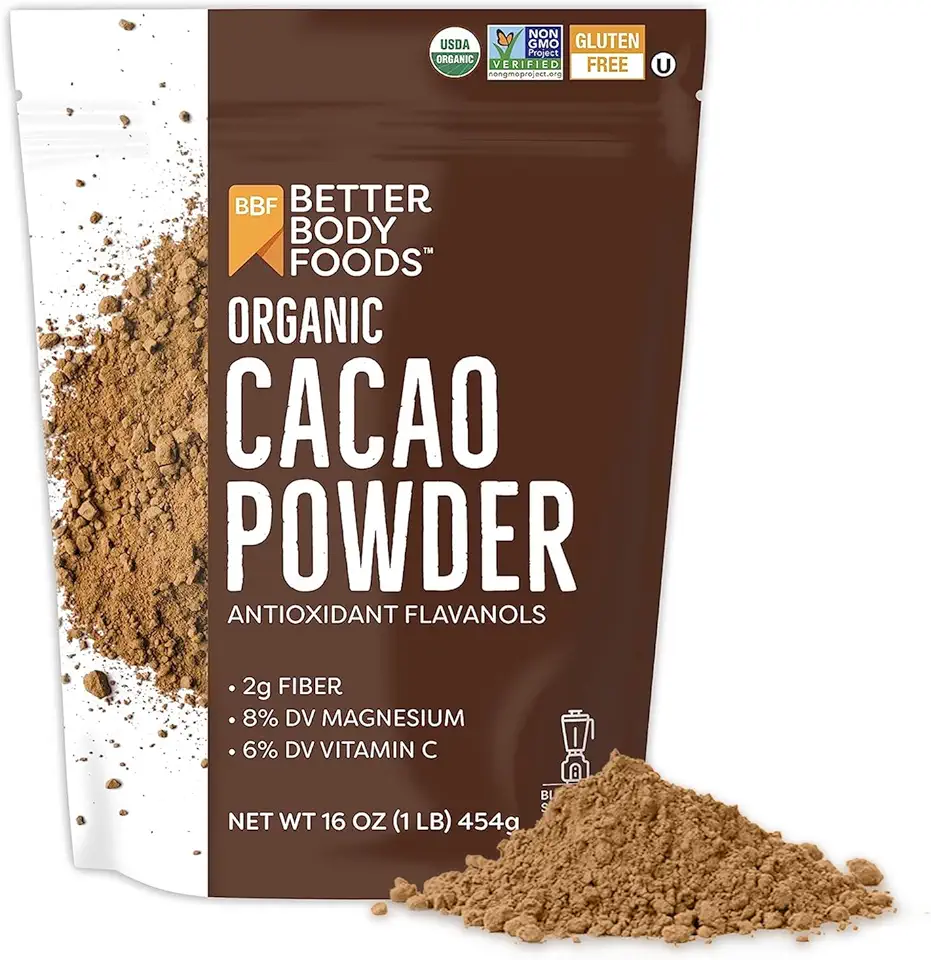 BetterBody Foods Organic Cacao Powder, Rich Chocolate Flavor, Non-GMO, Gluten-Free, Cocoa, 16 ounce, 1 lb bag
$10.41
View details
Biscuit Ingredients
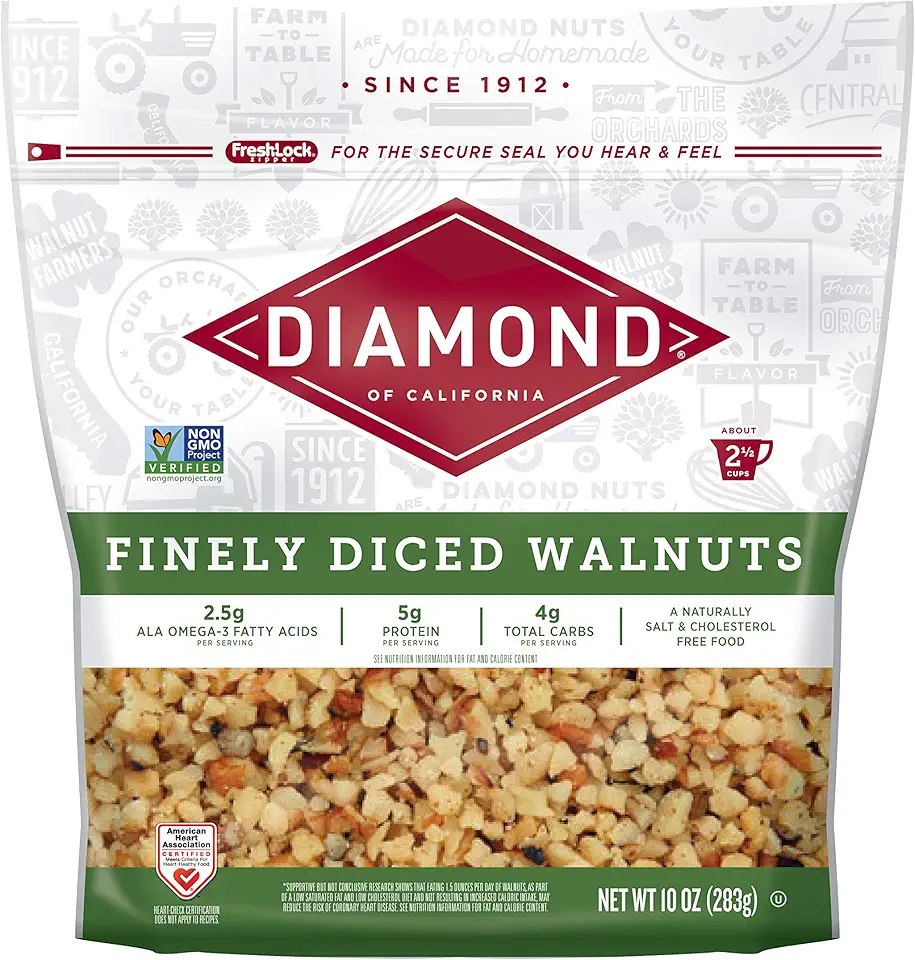 Diamond of California Finely Diced Walnuts, 10 oz, 12 Pack
$74.51
View details
Prime
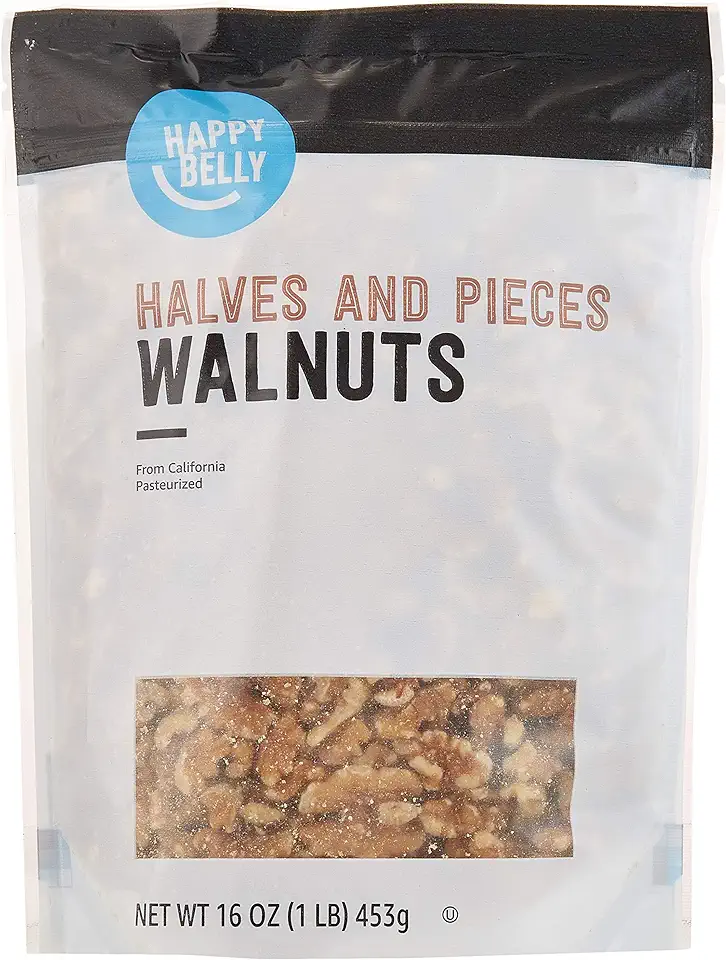 Amazon Brand - Happy Belly California Walnuts Halves and Pieces, 16 ounce (Pack of 2)
$15.84
View details
Prime
best seller
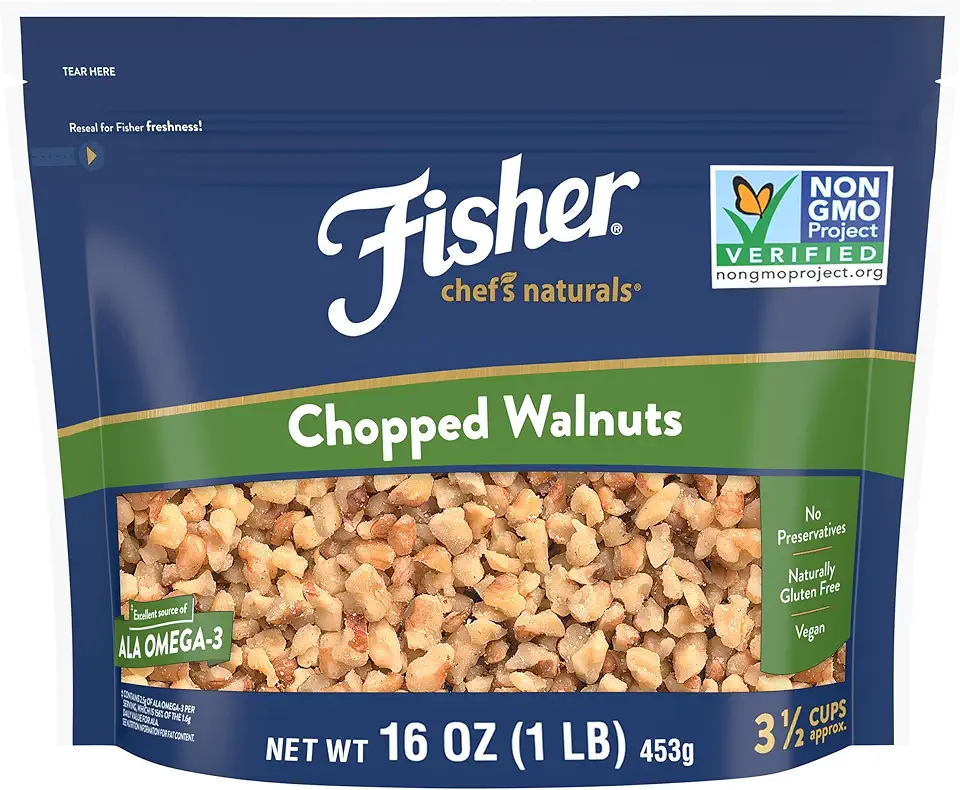 Fisher Chef's Naturals Chopped Walnuts 1 lb, 100% California Unsalted Walnuts for Baking & Cooking, Snack Topping, Resealable Bag, Great with Yogurt & Cereal, Vegan Protein, Keto Snack, Gluten Free
$6.16
$6.94
View details
 LorAnn Orange Bakery Emulsion, 4 ounce bottle
$6.91
View details
Prime
 Nielsen-Massey Pure Orange Extract for Baking, Cooking and Drinks, 2 Ounce Bottle
$12.49
View details
Prime
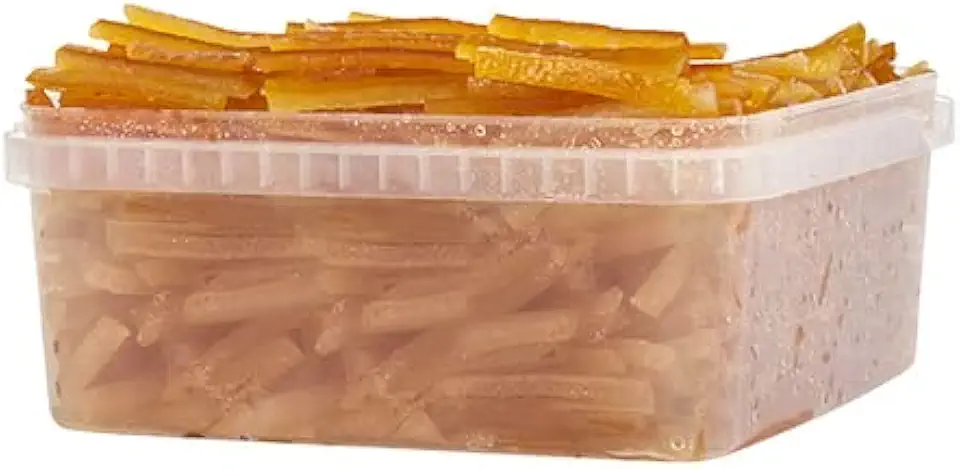 Amifruit Candied Orange Peel Strips 2.2lbs. Ready To Eat, Slowly Candied In Sugar Syrup, Certified Kosher, Gluten Free, GMO Free, Trans Fat Free
$41.79
$44.94
View details
Instructions
Step 1
In a mixing bowl, combine 350 milliliters of thick chilled coconut cream with your desired amount of sweetener.
Add in vanilla extract and 2-3 tablespoons of cocoa powder. Using an electric mixer, whip the mixture for about a minute.
The coconut cream will not double in size but should achieve a smooth and silky texture. Make sure to use the coconut cream only, as the water should be drained off!
Step 2
Once you have your biscuit (ensure it’s allowed to sit overnight or for a day at room temperature), crumble it into fine crumbs.
To the crumbs, add your prepared coconut chocolate cream and mix well. If you have good-quality psyllium husk that doesn't crunch, consider adding it to the mixture at this stage for a unique texture.
Cover the mixture and refrigerate for several hours or overnight to firm it up.
Step 3
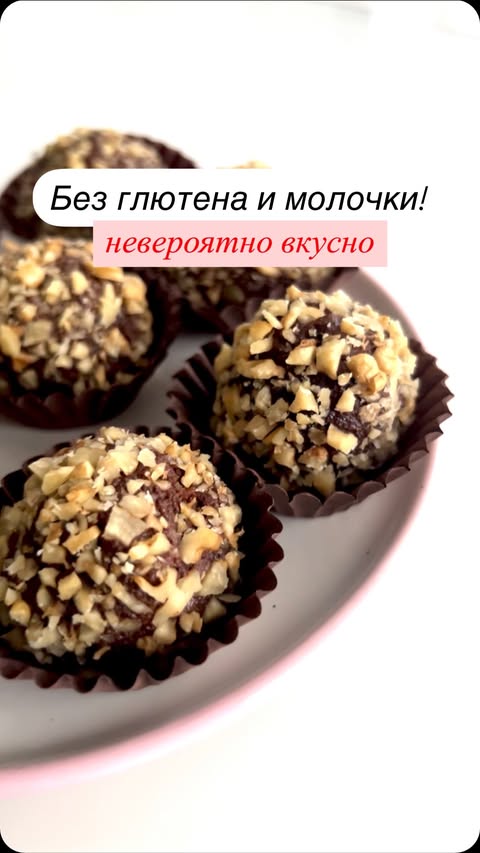
Once the mixture is set, take portions of it and roll them into your desired shapes—typically resembling small balls or potato shapes.
For an extra touch, roll the cake balls in cocoa powder or crushed nuts. You can also enhance the flavor by adding orange zest or chopped walnuts into the mixture before forming the balls.
Step 4
After shaping the cake balls, place them back in the refrigerator for a few hours before serving. This will help them to firm up further, making them delightful and ready to enjoy!
Servings
Feeling whimsical? Arrange these treats on a delightful platter with slices of fresh orange or a side of berry compote for *extra flavor adventures*! They'll be a hit at your next gathering. 🥳✨ Don't forget to capture the moment with some great photos before they disappear!
Equipment
A sturdy mixing bowl is essential for combining the creamy coconut and chocolate ingredients effectively. Make sure it's large enough for easy mixing!
 YIHONG 7 Piece Mixing Bowls with Lids for Kitchen, Stainless Steel Mixing Bowls Set Ideal for Baking, Prepping, Cooking and Serving Food, Nesting Metal Mixing Bowls for Space Saving Storage
$27.99
$35.99
View details
Prime
best seller
 Pyrex Glass, 3-Piece, 3 PC Mixing Bowl Set
$17.53
View details
Prime
 REGILLER Stainless Steel Mixing Bowls (Set of 5), Non Slip Colorful Silicone Bottom Nesting Storage Bowls, Polished Mirror Finish For Healthy Meal Mixing and Prepping 1.5-2 - 2.5-3.5 - 7QT (Colorful)
$26.99
View details
An electric mixer will make your life easier by whipping the coconut cream to the perfect silky texture in just a minute. If you don’t have one, a whisk can work too, but be ready for a workout!
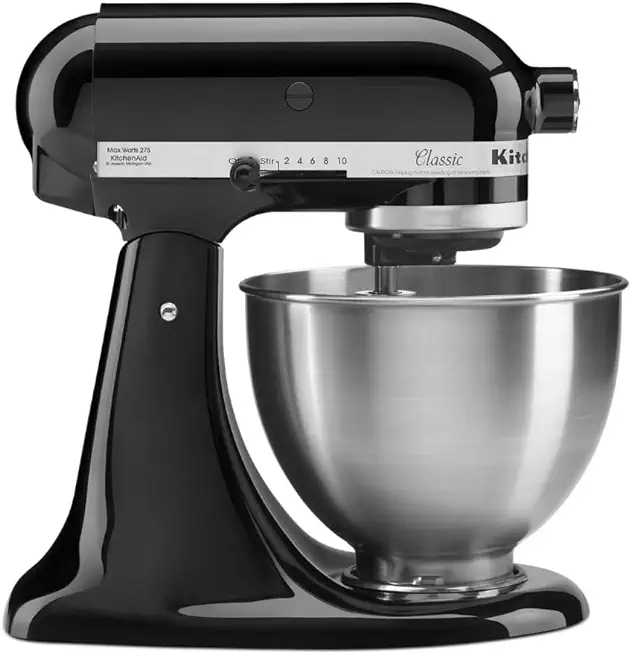 KitchenAid Classic Series 4.5 Quart Tilt-Head Stand Mixer K45SS, Onyx Black
$279.99
$329.99
View details
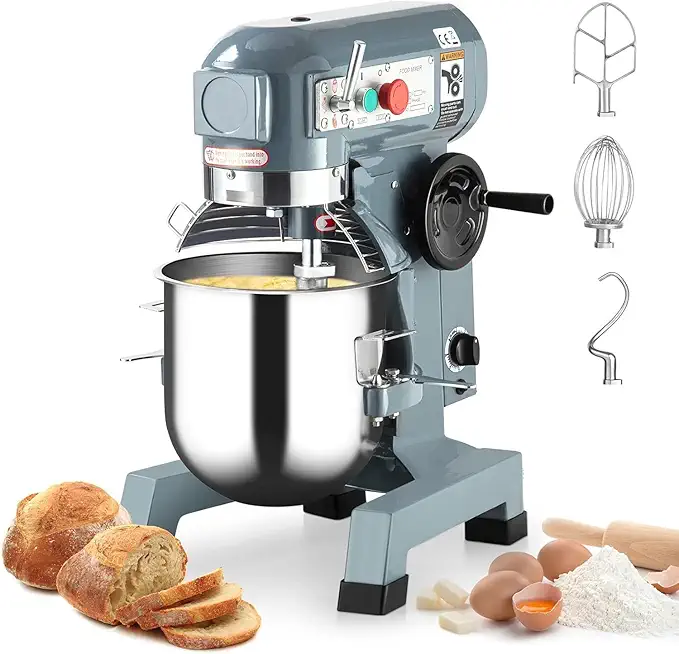 Commercial Stand Mixer, 15Qt Heavy Duty Electric Food Mixer, Commercial Mixer 600W with 3 Speeds Adjustable 130/233/415RPM, Stainless Steel Bowl, Dough Hook Whisk Beater Perfect for Bakery Pizzeria
$579.99
View details
Prime
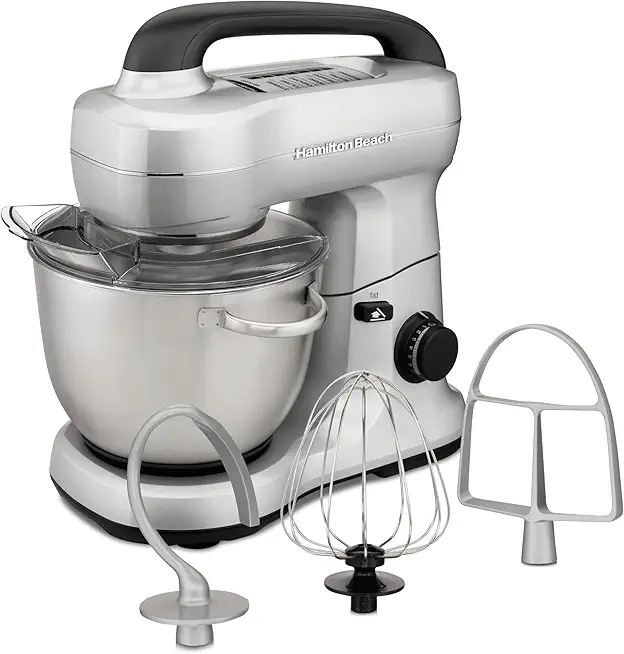 Hamilton Beach Electric Stand Mixer, 4 Quarts, Dough Hook, Flat Beater Attachments, Splash Guard 7 Speeds with Whisk, Silver
$95.99
$119.99
View details
Use parchment paper to line your baking surfaces for easy cleanup and to prevent sticking when chilling your pastries.
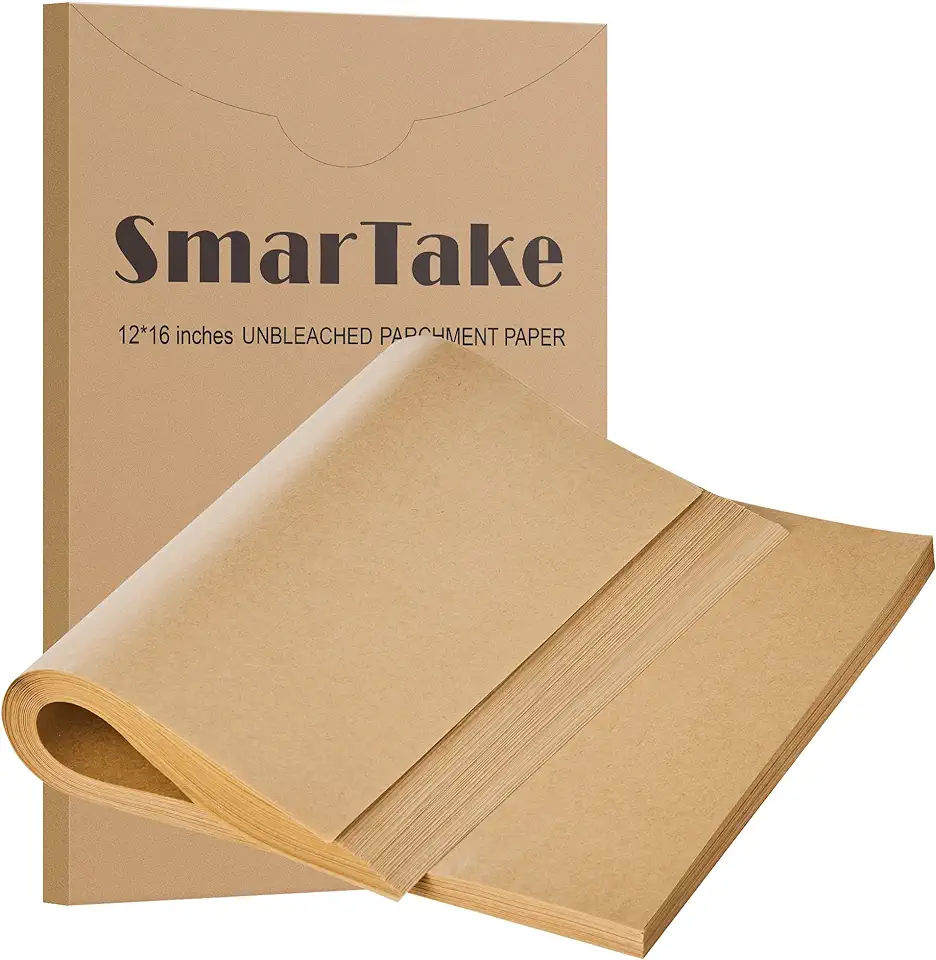 SMARTAKE 200 Pcs Parchment Paper Baking Sheets, 12x16 Inches Non-Stick Precut Baking Parchment, for Baking Grilling Air Fryer Steaming Bread Cup Cake Cookie and More (Unbleached)
$16.99
$20.99
View details
Prime
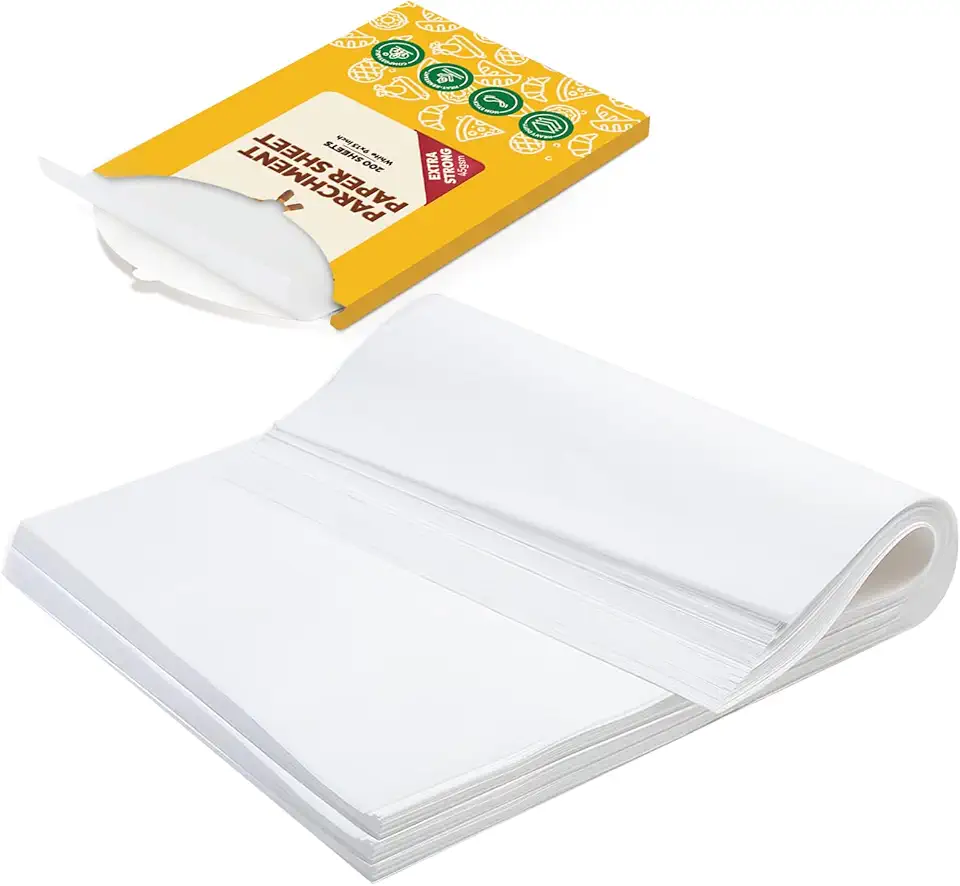 katbite 200Pcs 9x13 inch Heavy Duty Parchment Paper Sheets, Precut Parchment Paper for Quarter Sheet Pans Liners, Baking Cookies, Bread, Meat, Pizza, Toaster Oven (9"x13")
$13.99
View details
Prime
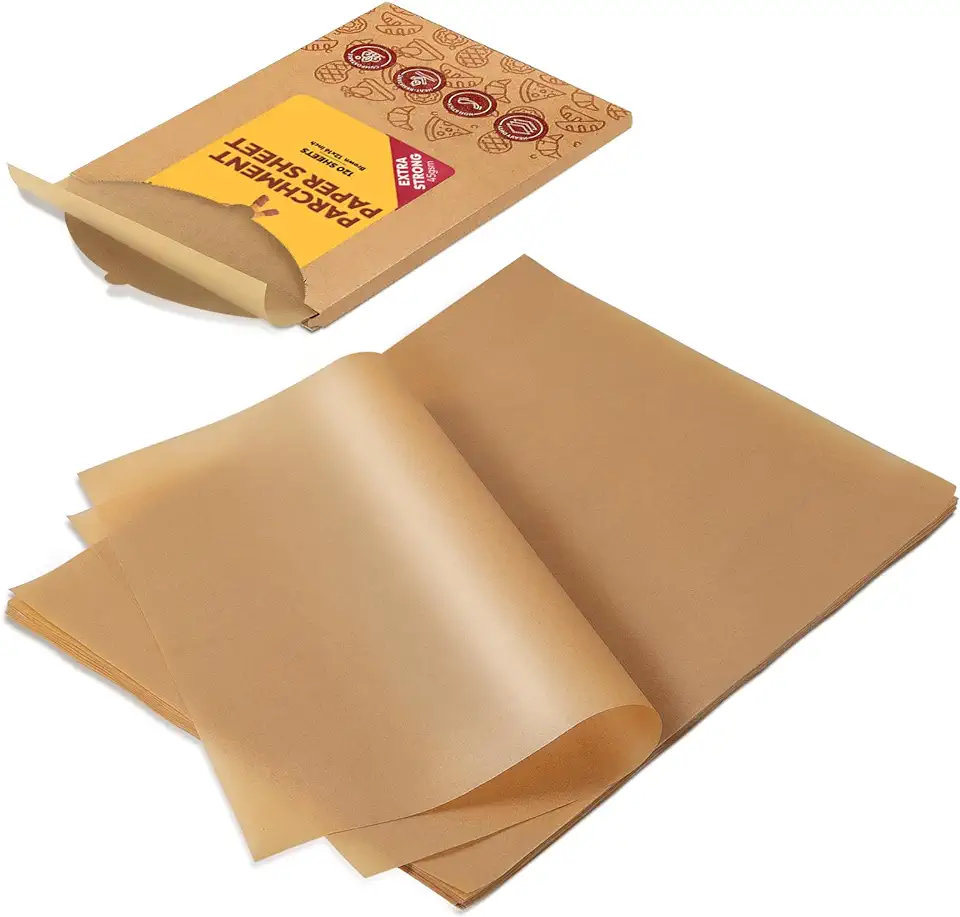 Katbite Unbleached Parchment Paper Baking Sheets, 120Pcs 12x16 Inch Precut Parchment Paper for Baking, Heavy Duty & Non-stick, Half Sheet Paper for Baking, Cooking, Steaming, Oven Paper
$12.99
View details
For perfectly shaped pastry balls, a cookie scoop will help you form uniform sizes, leading to consistent baking and presentation.
 Professional 18/8 Stainless Steel Medium Cookie Scoop, Size 40
$15.75
View details
Prime
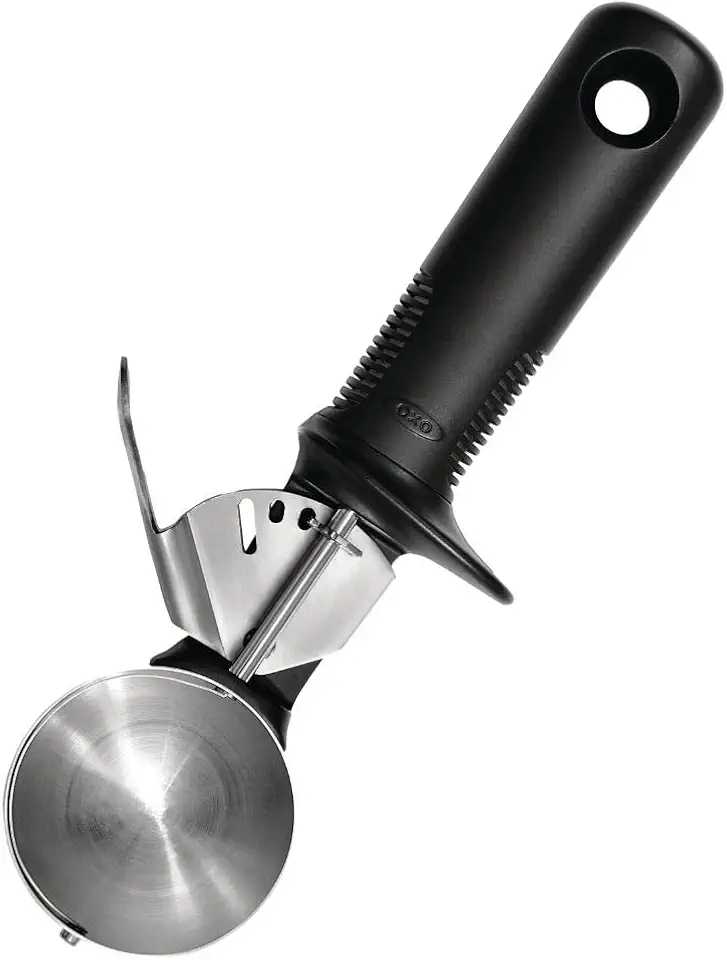 OXO Good Grips Classic Ice Cream Scoop,Black
$14.99
View details
Prime
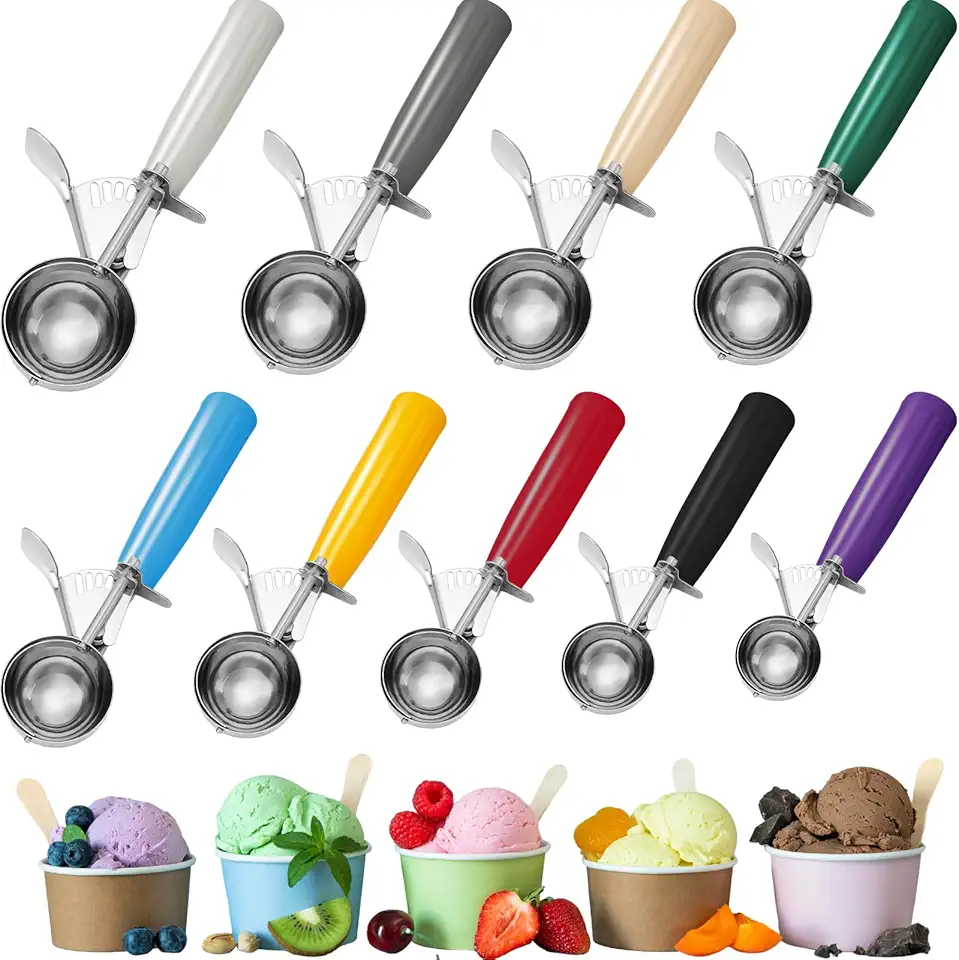 Hsei Ice Cream Scoop Cookie Scoops Portion Scoop Stainless Steel Ice Cream Scooper with Handle for Baking Food Cookie Dough Cupcake Batter(Many Color, 40mm to 78mm, 9 Pcs)
$40.99
View details
Variations
For a **gluten-free** treat, simply use gluten-free biscuits or cake crumbs instead of traditional ones. You can savor the same amazing texture and flavor without the gluten! 🌿
If you want to make this dessert **vegan**, replace the coconut cream with your favorite plant-based whipping cream and ensure your biscuits are vegan-friendly. The flavor will still be rich and delicious while catering to dietary preferences! 🥑🌱
Faq
- How long does the coconut cream need to chill?
The coconut cream should chill in the refrigerator for at least 3 days to separate the water fully. This step is key for achieving that silky texture in your cream.
- What can I use to sweeten the cream?
You can use powdered sugar, maple syrup, or any sweetener of your choice. Just remember to adjust the sweetness to your taste!
- What makes this dessert unique?
This dessert stands out due to its combination of coconut and chocolate, creating a flavor profile that’s both rich and tropical!
- Can I add other flavors to the mixture?
Absolutely! Add-ins like orange zest or even a splash of coffee can enhance the flavor and make your dessert unique!
- How should I store the pastries?
After shaping the pastries, store them in the refrigerator for several hours to firm up before serving for best results!
- What if I don't have cocoa powder?
You can substitute cocoa powder with carob powder for a different yet tasty twist, or simply enjoy them plain!

