Ingredients
Coffee Biscuit
 Bob's Red Mill Gluten Free 1-to-1 Baking Flour, 22 Ounce (Pack of 4)
$23.96
View details
Prime
 Antimo Caputo Chefs Flour - Italian Double Zero 00 - Soft Wheat for Pizza Dough, Bread, & Pasta, 2.2 Lb (Pack of 2)
$16.99
View details
Prime
best seller
 King Arthur, Measure for Measure Flour, Certified Gluten-Free, Non-GMO Project Verified, Certified Kosher, 3 Pounds, Packaging May Vary
$8.62
View details
 Sugar In The Raw Granulated Turbinado Cane Sugar Cubes, No Added Flavors or erythritol, Pure Natural Sweetener, Hot & Cold Drinks, Coffee, Vegan, Gluten-Free, Non-GMO,Pack of 1
$5.27
View details
Prime
 Sugar In The Raw Granulated Turbinado Cane Sugar, No Added Flavors or erythritol, Pure Natural Sweetener, Hot & Cold Drinks, Coffee, Baking, Vegan, Gluten-Free, Non-GMO, Bulk Sugar, 2lb Bag (1-Pack)
$3.74
$4.14
View details
Prime
 C&H Pure Cane Granulated White Sugar, 25-Pound Bags
$56.99
$49.98
View details
Creamy Halva Ganache
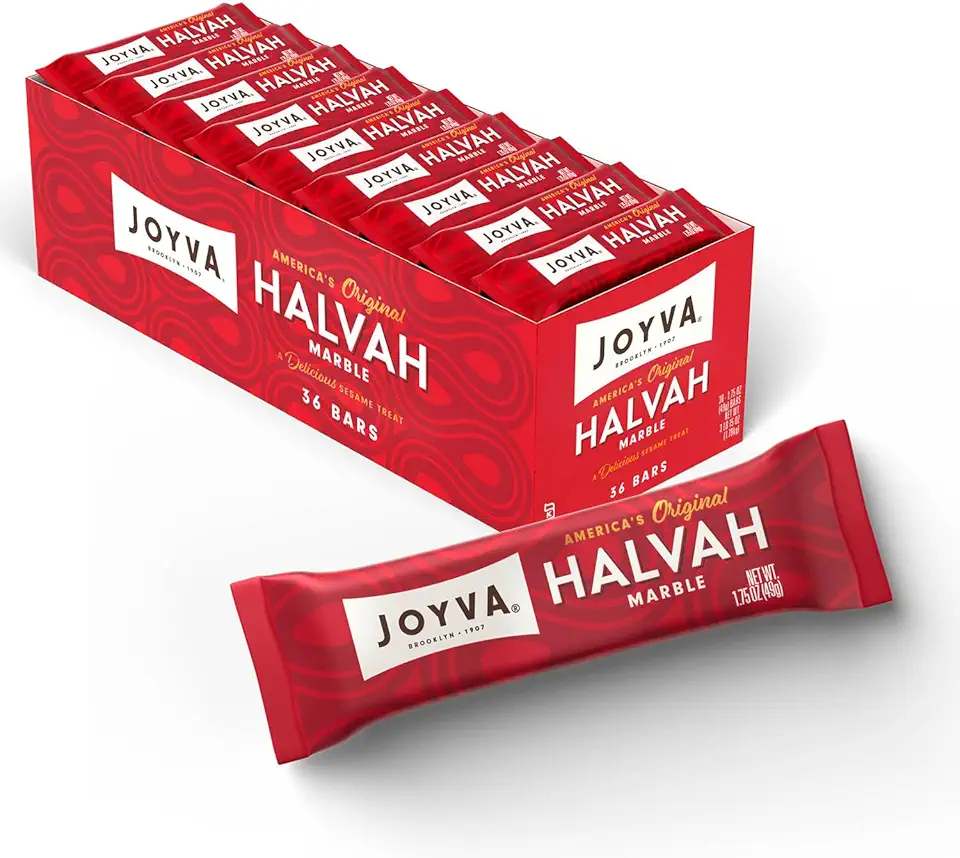 Joyva Halvah – Marble, 1.75oz Pack of 36 | A Delicious Sesame Treat | Dairy Free, Gluten-Free & Kosher Parve | Handcrafted in Brooklyn
$39.79
View details
Prime
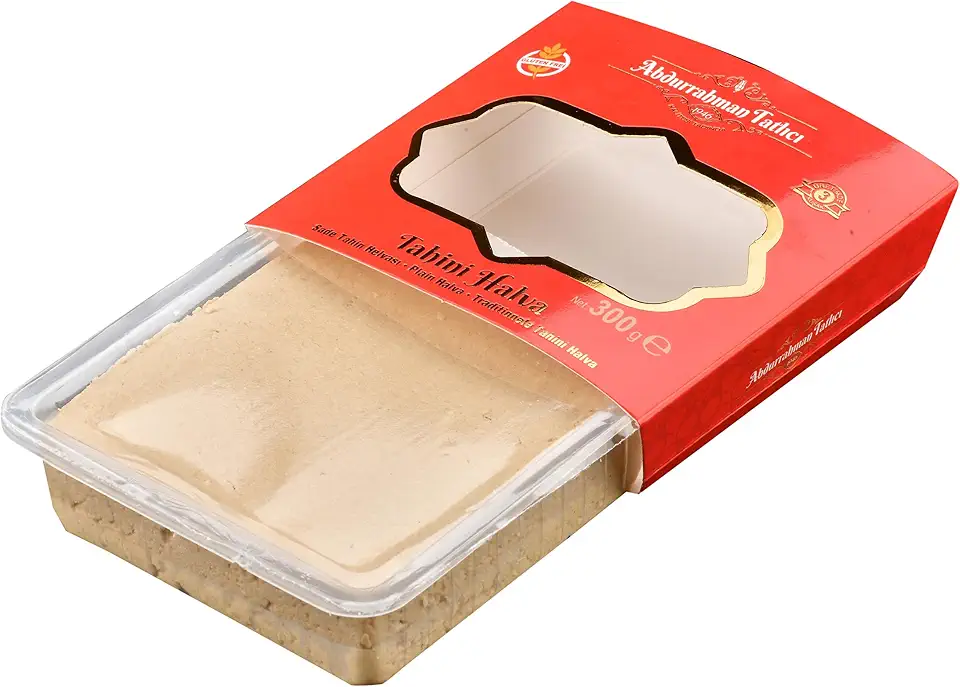 Abdurrahman Tatlıcı Halvah, 10.6oz, Turkish Halva, Tahini Halva, Plain Halva Candy, Traditional Sesame Halvah Dessert, Vegan, Gluten Free Halva, Non-GMO, Halwa, Halawa
$9.99
View details
Prime
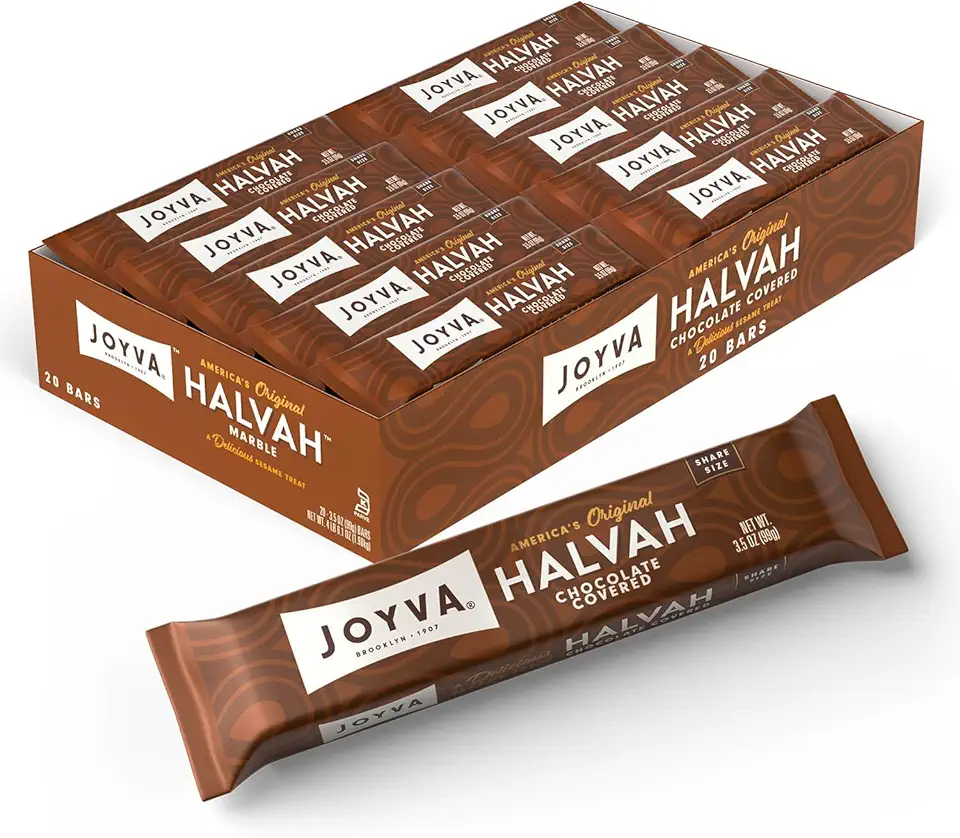 Joyva Halvah – Chocolate Covered, 3.5oz Pack of 20 | A Delicious Sesame Treat | Dairy Free, Gluten-Free & Kosher Parve | Handcrafted in Brooklyn
$45.00
View details
Crispy Layer
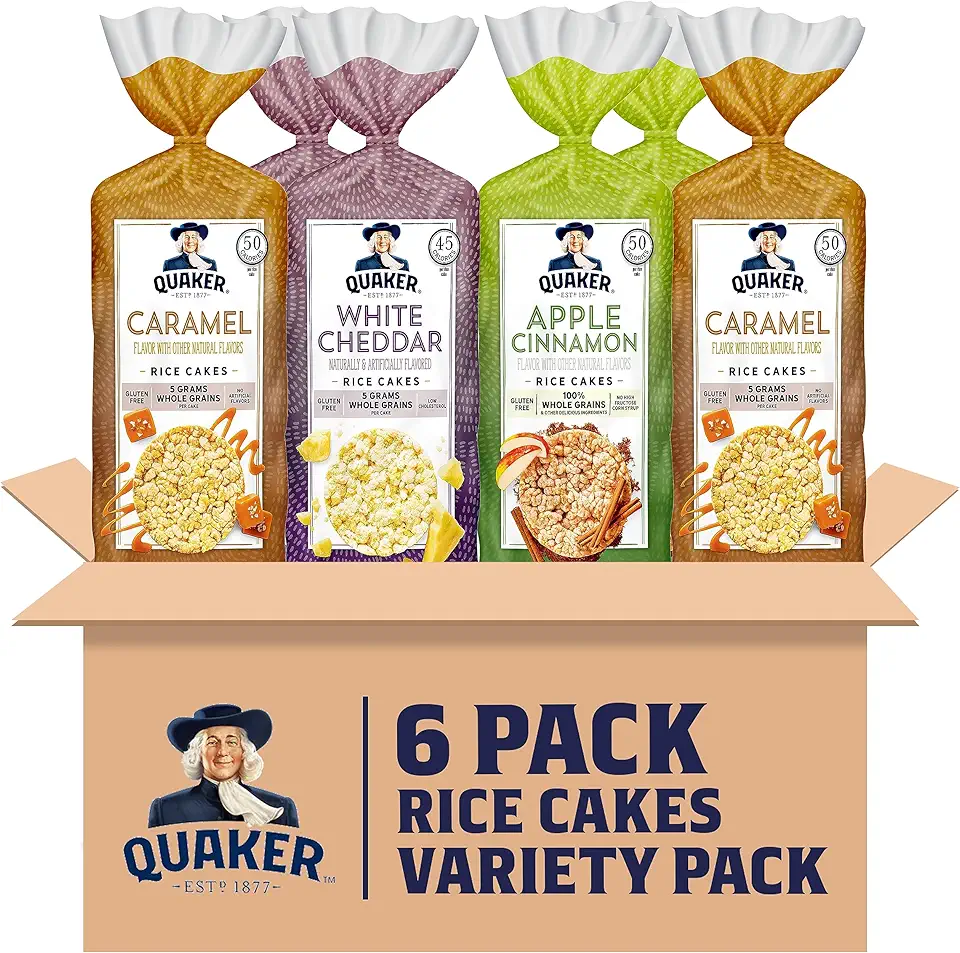 Quaker Large Rice Cakes, Gluten Free, 3 Flavor Variety Pack, 6 Count
$17.78
View details
Prime
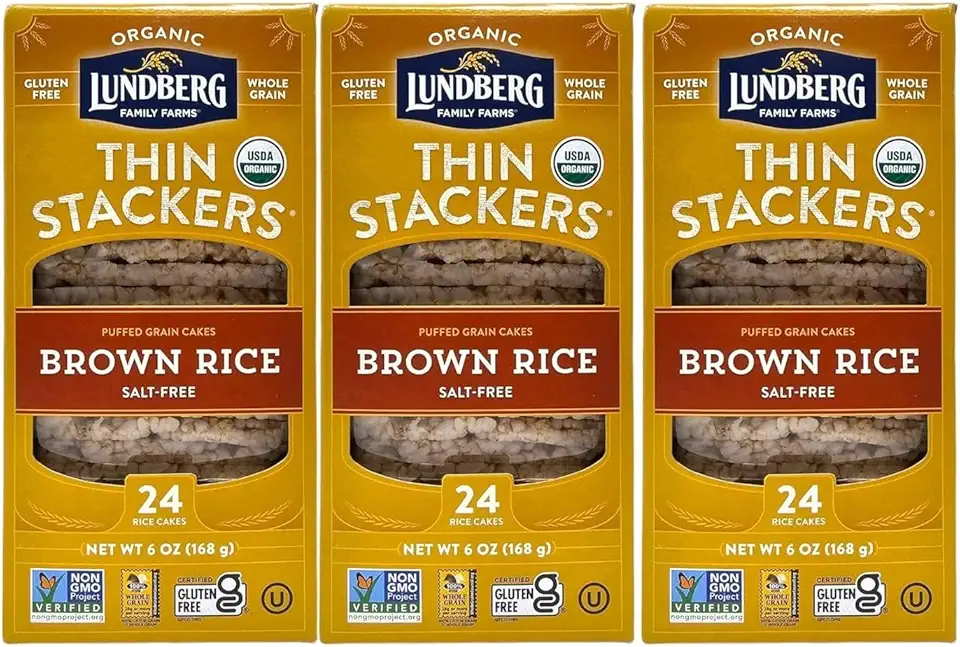 (Pack of 3) Thin Stackers, Organic Puffed Grain Brown Rice Cakes, Gluten Free, Salt Free, Whole Grain Low-Calorie Snacks, Organic Snacks, Non-GMO (6 Oz each)
$21.97
View details
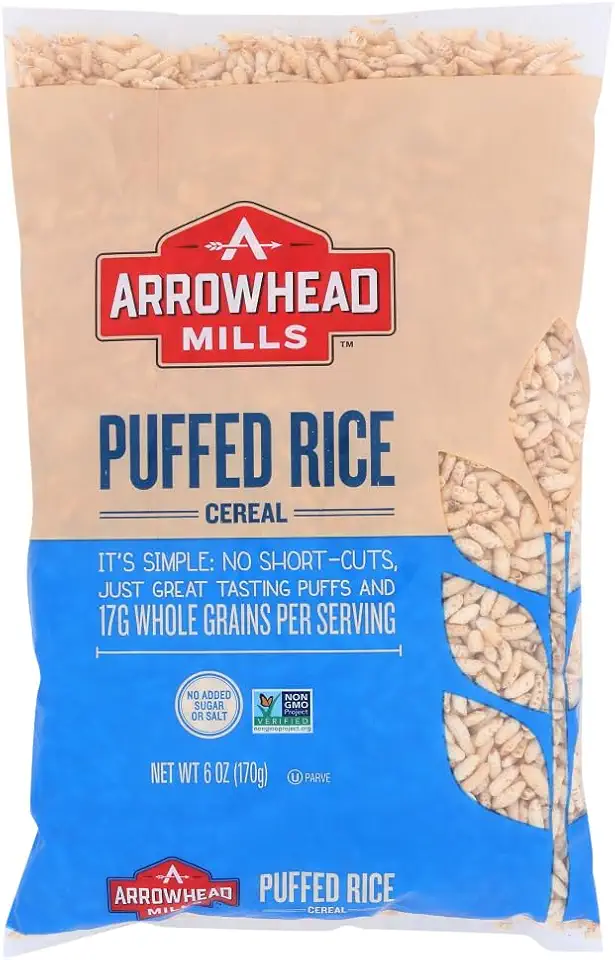 Arrowhead Mills Puffed Rice Cereal, 6 oz (Pack of 4)
$21.07
$24.40
View details
Halva Mousse
 Joyva Halvah – Marble, 1.75oz Pack of 36 | A Delicious Sesame Treat | Dairy Free, Gluten-Free & Kosher Parve | Handcrafted in Brooklyn
$39.79
View details
Prime
 Abdurrahman Tatlıcı Halvah, 10.6oz, Turkish Halva, Tahini Halva, Plain Halva Candy, Traditional Sesame Halvah Dessert, Vegan, Gluten Free Halva, Non-GMO, Halwa, Halawa
$9.99
View details
Prime
 Joyva Halvah – Chocolate Covered, 3.5oz Pack of 20 | A Delicious Sesame Treat | Dairy Free, Gluten-Free & Kosher Parve | Handcrafted in Brooklyn
$45.00
View details
 Sugar In The Raw Granulated Turbinado Cane Sugar Cubes, No Added Flavors or erythritol, Pure Natural Sweetener, Hot & Cold Drinks, Coffee, Vegan, Gluten-Free, Non-GMO,Pack of 1
$5.27
View details
Prime
 Sugar In The Raw Granulated Turbinado Cane Sugar, No Added Flavors or erythritol, Pure Natural Sweetener, Hot & Cold Drinks, Coffee, Baking, Vegan, Gluten-Free, Non-GMO, Bulk Sugar, 2lb Bag (1-Pack)
$3.74
$4.14
View details
Prime
 C&H Pure Cane Granulated White Sugar, 25-Pound Bags
$56.99
$49.98
View details
Chocolate Velvet Spray
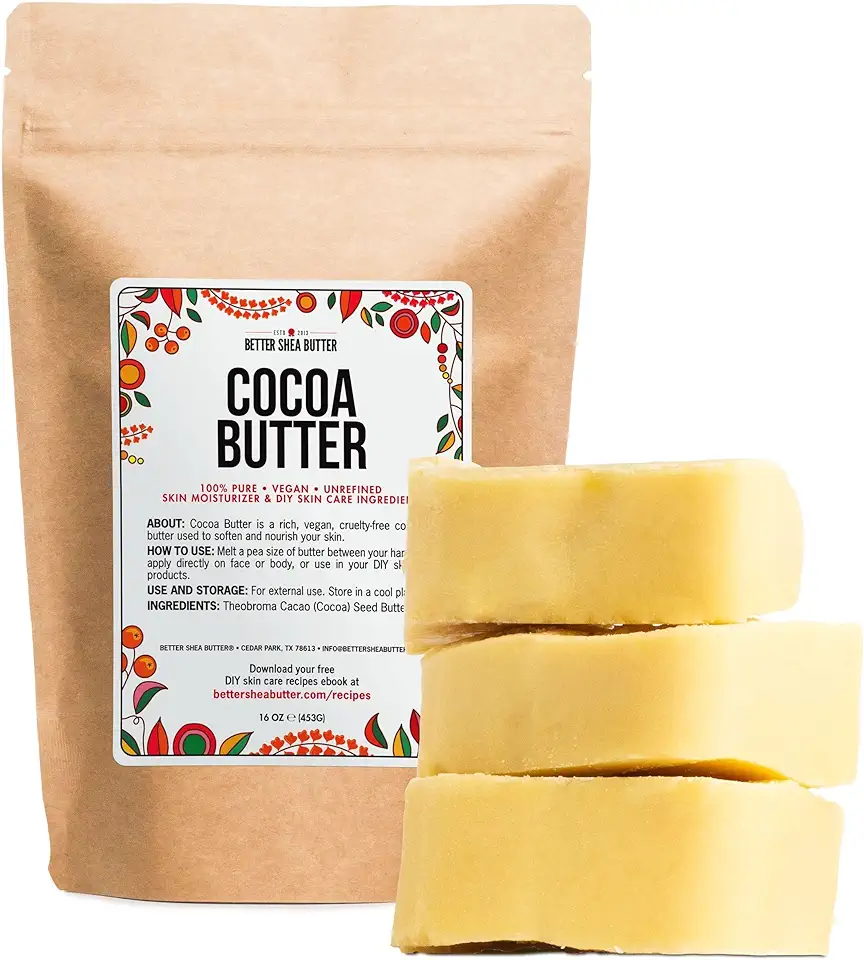 Better Shea Butter Raw Cocoa Butter - Unrefined, 100% Pure, Food Grade - Use for Cocoa Lip Balm, Stretch Marks Cream, Cacao Butter Cream, Scars Oil, Whipped Lotion - Skin & Hair Moisturizer 1LB Block
$49.50
View details
Prime
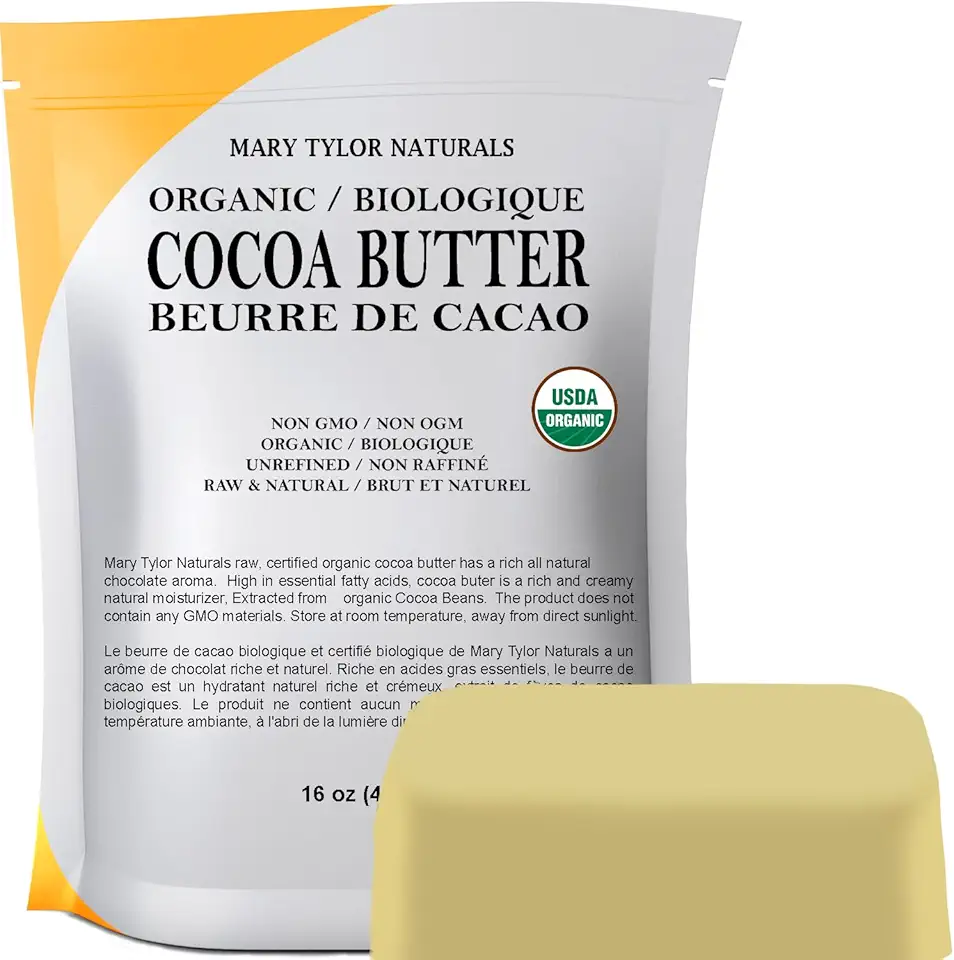 Mary Tylor Naturals Organic Cocoa Butter 1 lb — USDA Certified Raw Unrefined, Non-Deodorized, Rich In Antioxidants — for DIY Recipes, Lip Balms, Lotions, Creams, Stretch Marks
$27.95
View details
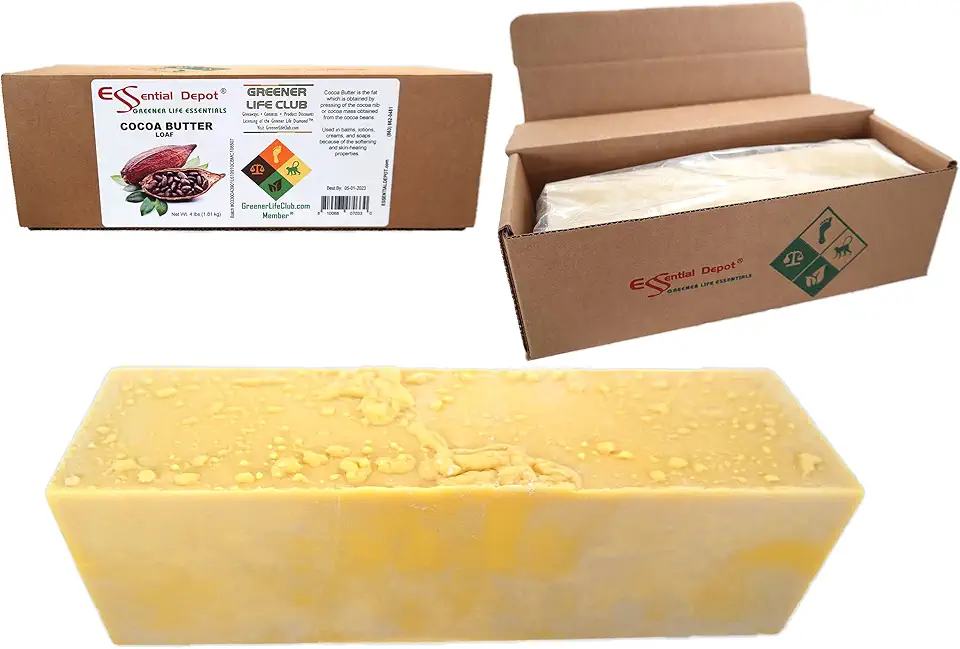 Essential Depot Cocoa Butter - Raw - Unrefined - 100% Pure - Natural Cocoa Scent - 4 lbs - Used in Creams, Lotion Bars and Sticks, Lip Balms, Body Butters and many other skin care products
$64.97
View details
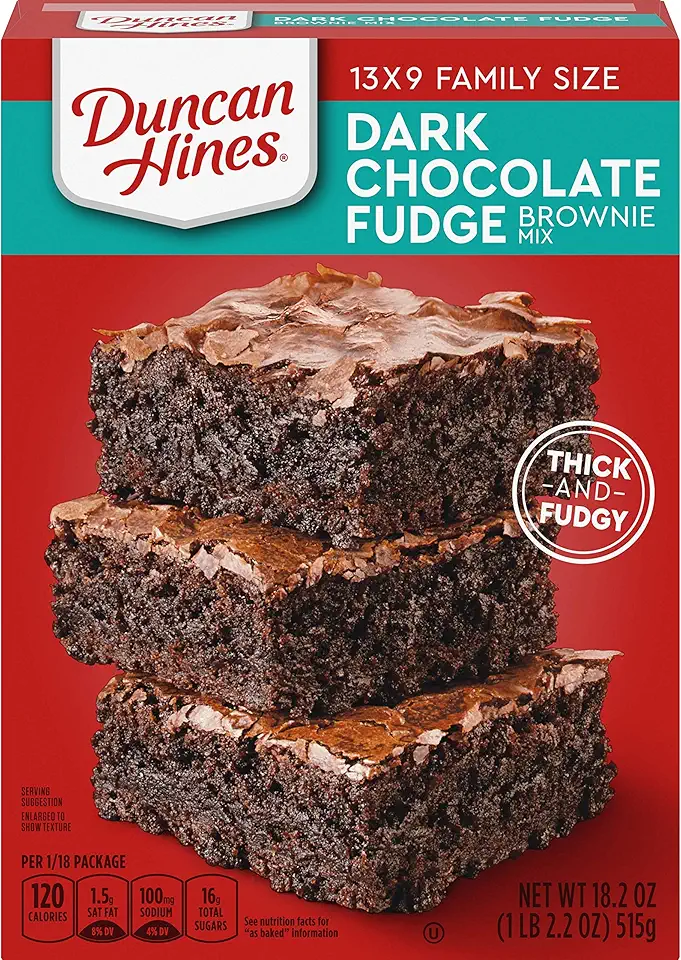 Duncan Hines Dark Chocolate Fudge Brownie Mix, 18.2 OZ
$1.54
View details
Prime
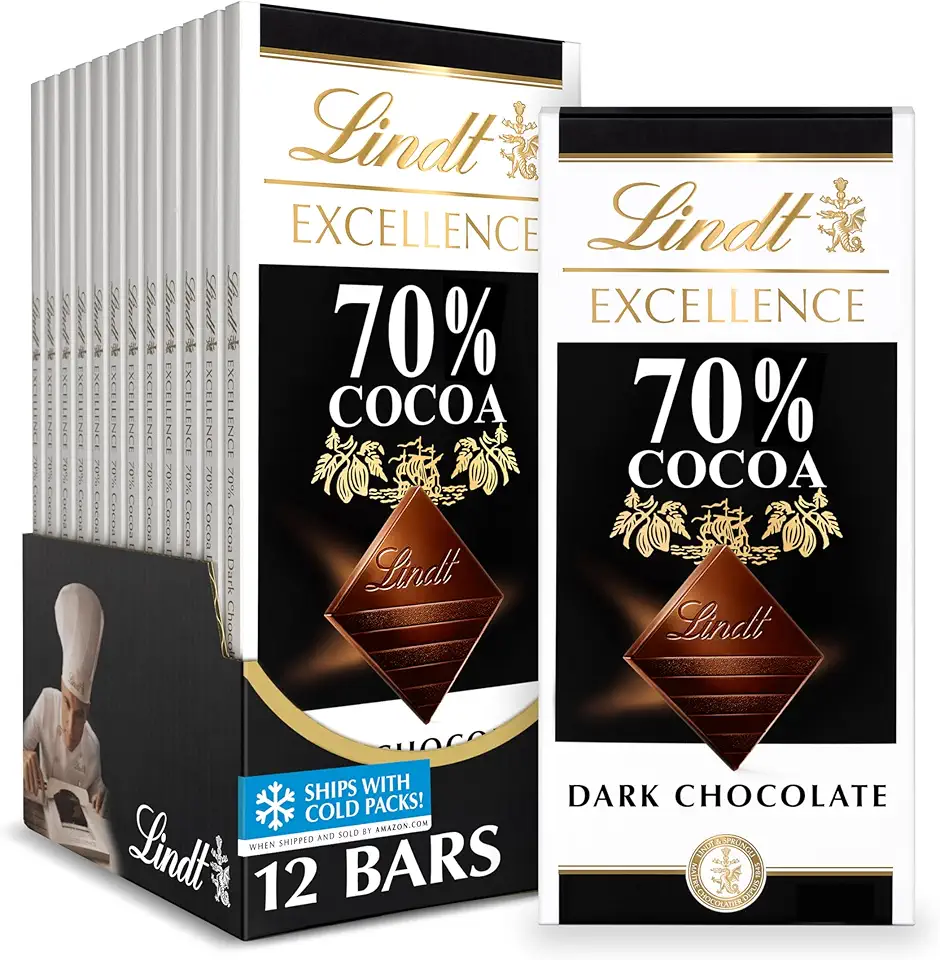 Lindt EXCELLENCE 70% Cocoa Dark Chocolate Bar, Dark Chocolate Candy, 3.5 oz. (12 Pack)
$40.44
View details
Prime
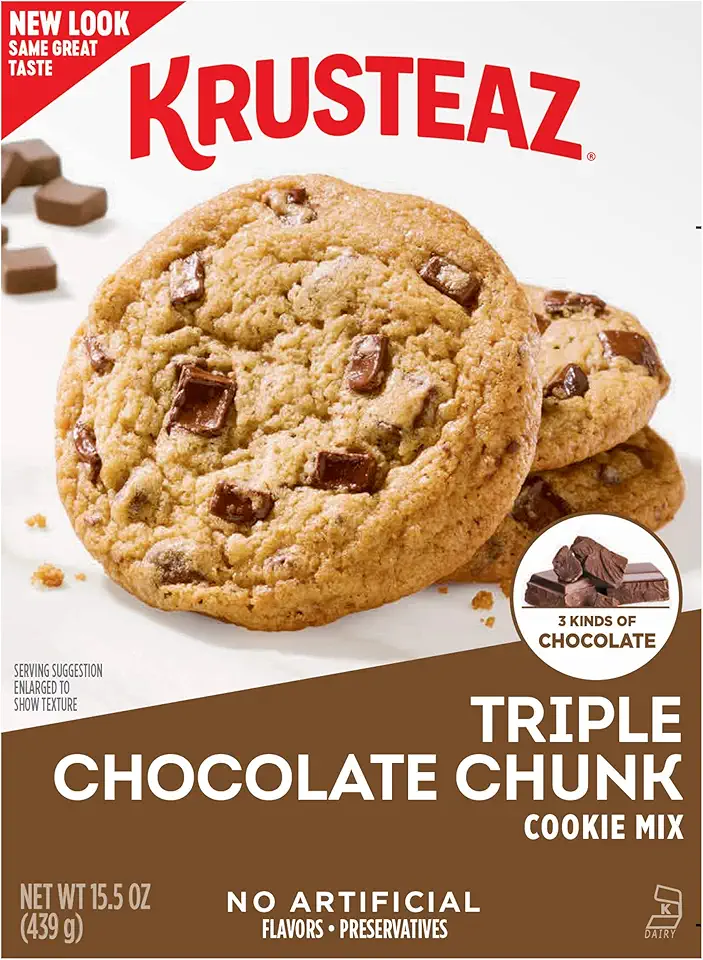 Krusteaz Triple Chocolate Chunk Cookie Mix, Bakery Style, 3 Kinds of Chocolate, 15.5 Oz Boxes (Pack of 12)
$53.95
View details
Instructions
Step 1
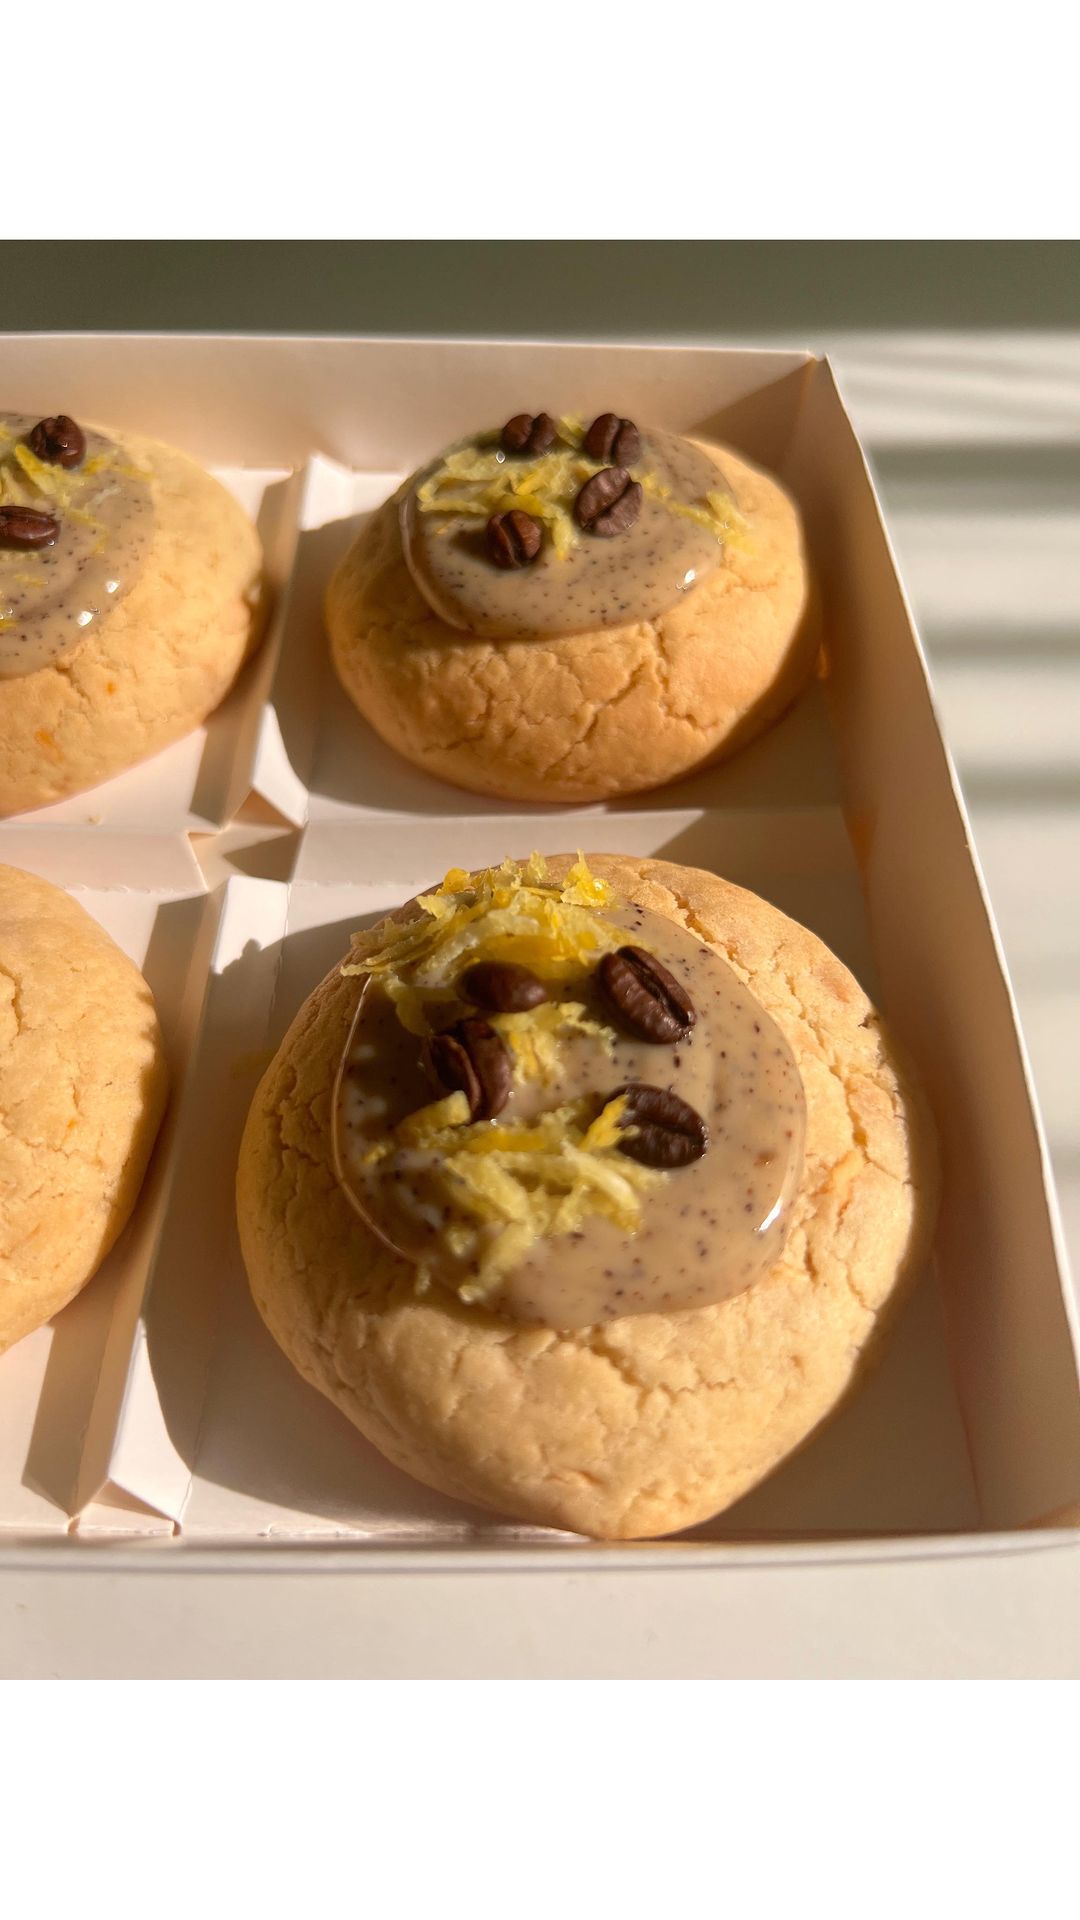
Start by preheating your oven to 180°C (350°F). Grease and flour a round cake pan. In a bowl, mix together the egg and sugar until it becomes light and fluffy. Gradually add the brewed coffee and continue mixing.
In a separate bowl, sift together the flour, baking powder, and salt. Gently fold the dry ingredients into the wet mixture until just combined. Pour the batter into the prepared pan and bake for 25-30 minutes or until a toothpick comes out clean.
Step 2
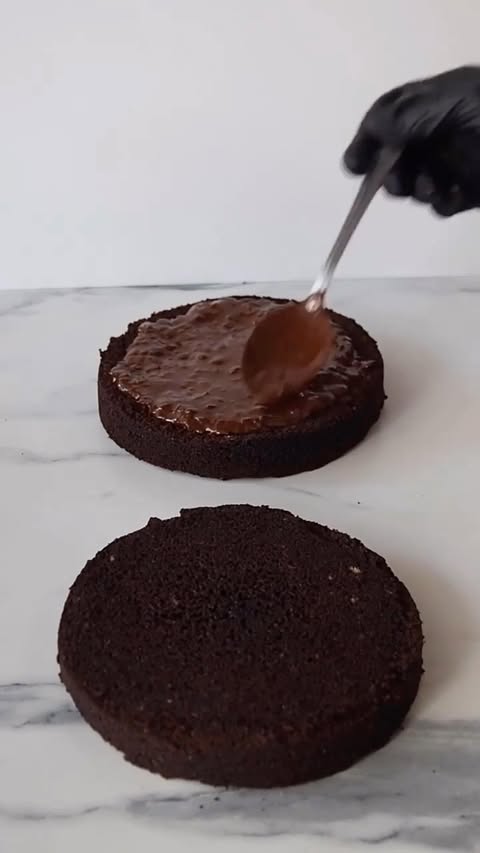
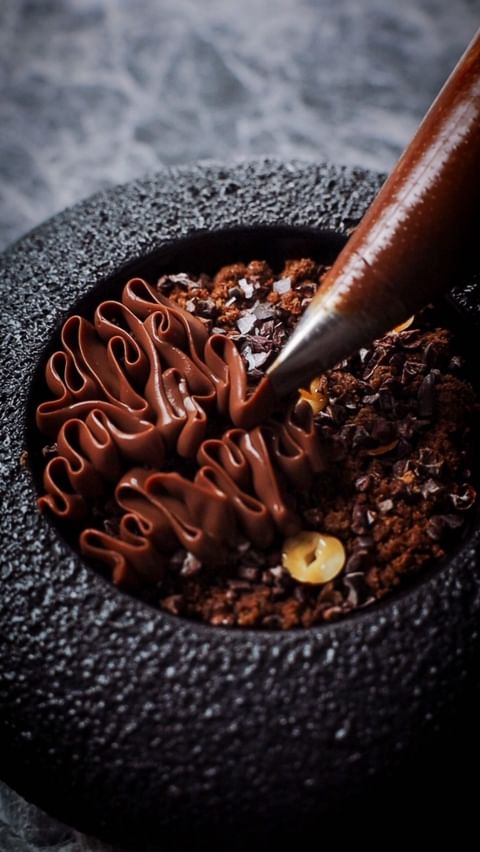
While the biscuit is baking, prepare the only ganache. Heat the heavy cream in a saucepan until just boiling. Remove from heat and add the chopped milk chocolate. Let it sit for a minute before stirring until smooth.
Then fold in the crumbled halva. Let the ganache cool to room temperature before using it to layer in the cake.
Step 3
To prepare the crispy layer, melt the milk chocolate over a double boiler. Once melted, mix in the puffed rice until evenly coated. Spread the mixture onto a lined baking sheet and let it cool completely.
Step 4
Next, whip the heavy cream in a mixing bowl until soft peaks form. In another bowl, beat together the sugar and eggs until thick and pale.
Gently fold in the crumbled halva followed by the whipped cream, ensuring not to deflate the mixture. Chill the mousse in the refrigerator for at least 30 minutes before assembling the cake.
Step 5
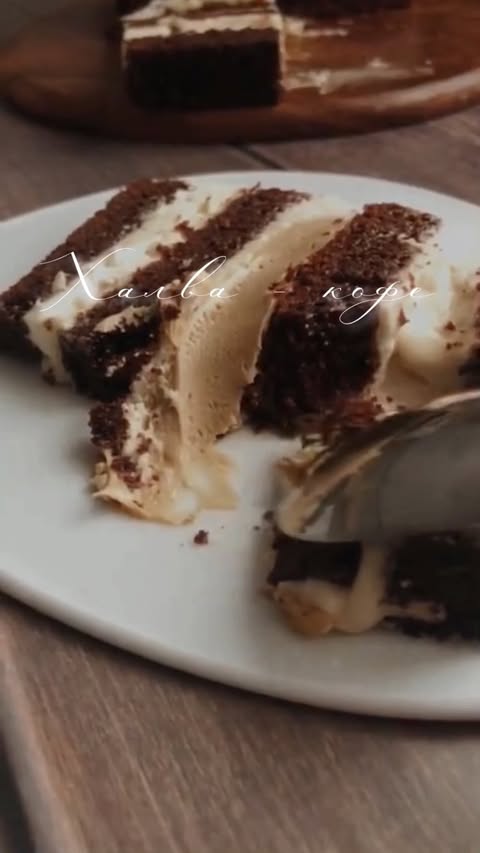
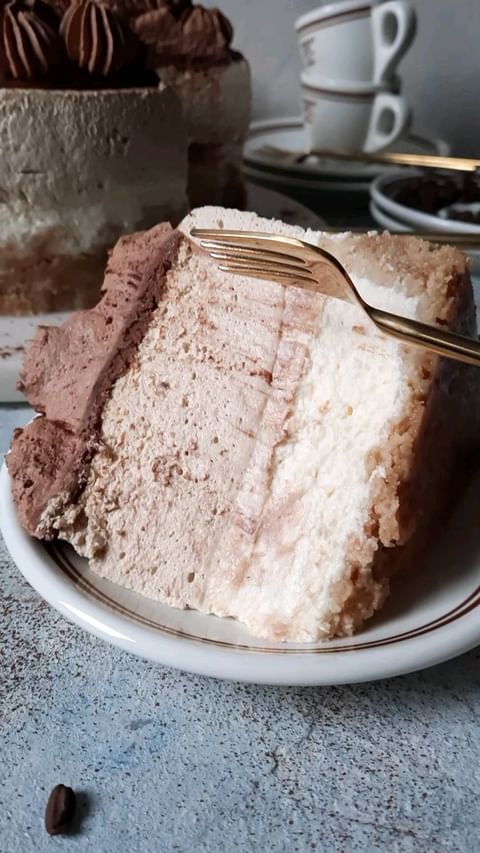
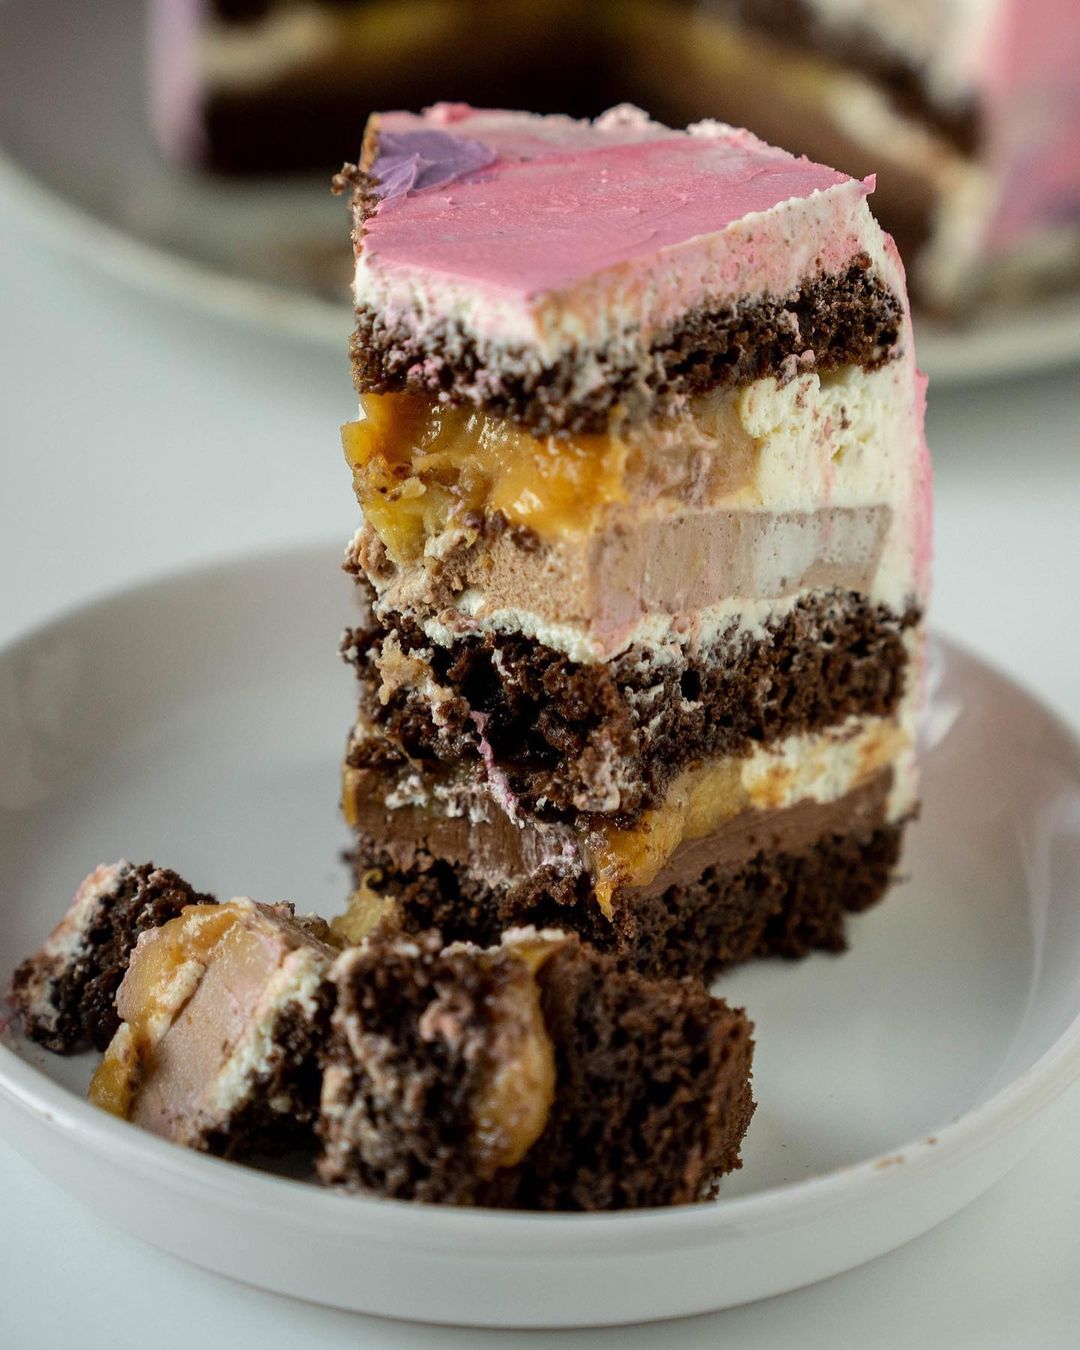
Once the coffee biscuit has cooled, slice it into layers. Start with the first layer, adding a generous spread of the halva ganache. Then, add the crispy layer on top followed by the halva mousse.
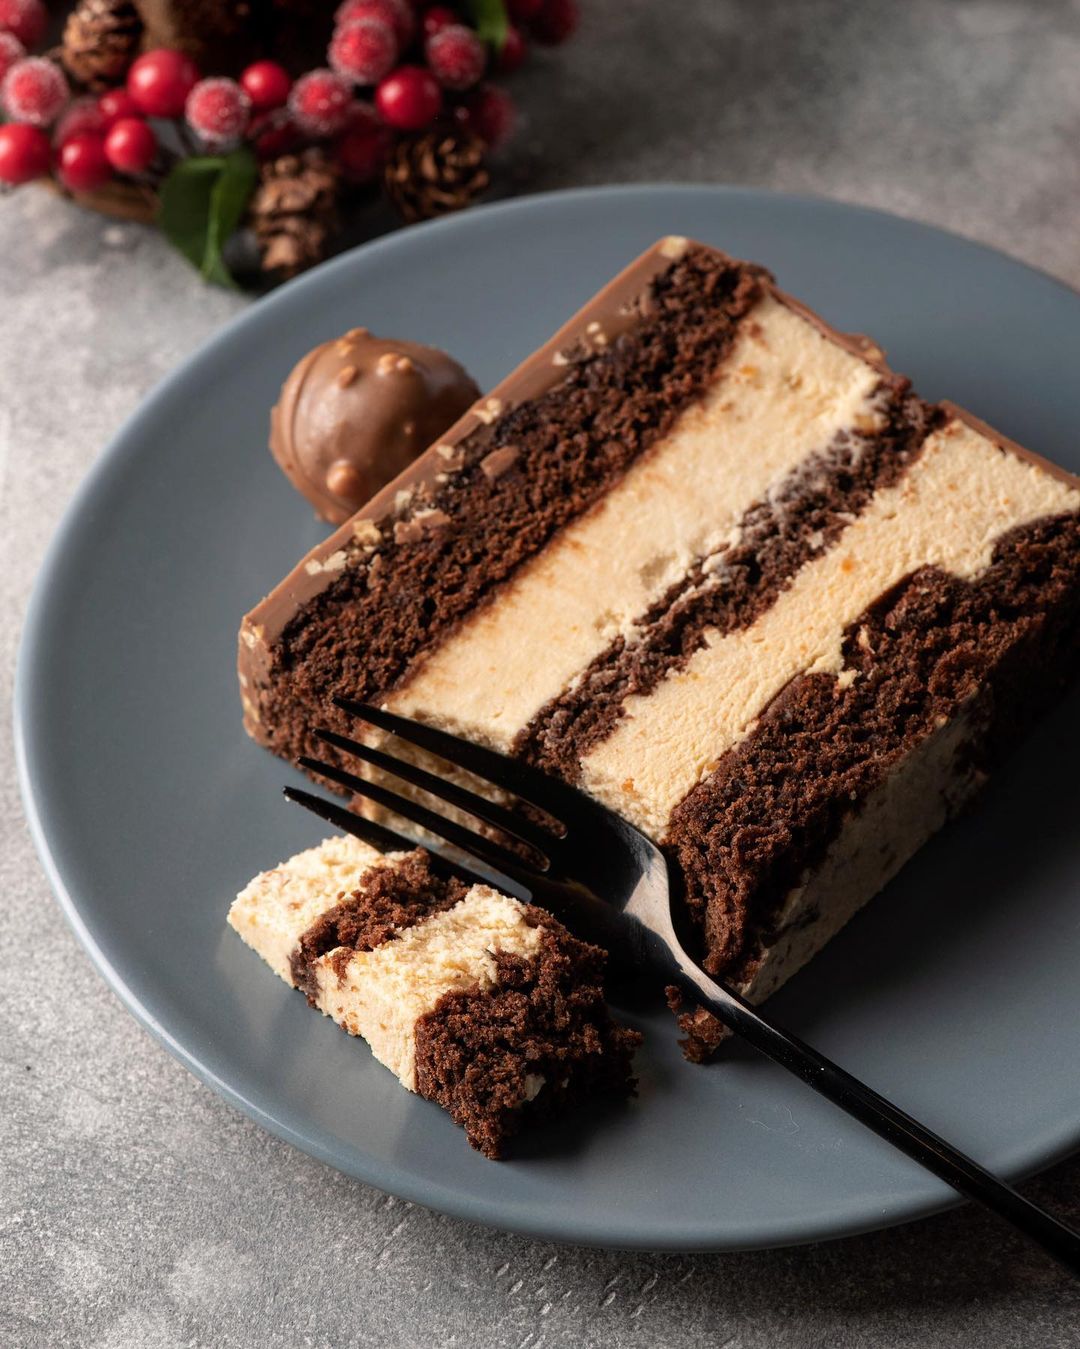
Repeat the layers until all components are used, finishing with the mousse on top. Refrigerate the assembled cake for at least 2 hours to set properly.
Step 6
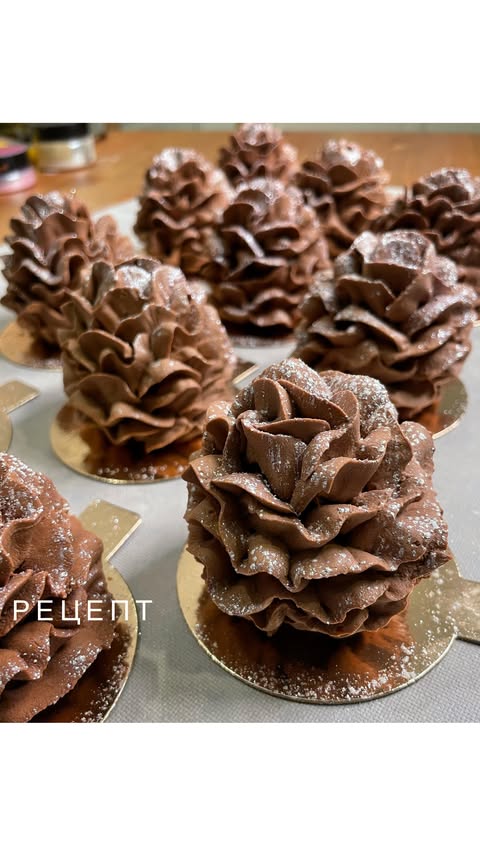
To finish, melt together the cocoa butter and dark chocolate. Using a spray bottle, evenly coat the chilled cake for a beautiful, velvety finish. Allow it to set at room temperature for a few minutes before serving.
Servings
For a fun twist, consider plating it with fresh berries and a drizzle of chocolate sauce. The vibrant colors of the fruit contrast beautifully with the elegant mousse, turning every slice into a work of art! 🍓🥭 Don't forget to sprinkle some crushed nuts on top for an extra crunch. After all, who can resist that extra layer of **deliciousness**? 🎉
Equipment
Having various sizes is key for mixing your batters and creams without spilling. Opt for glass or stainless steel for easy cleaning.
This will help you achieve the perfect texture without tiring your arm. A stand mixer is great for high-volume recipes, while a hand mixer works for smaller batches.
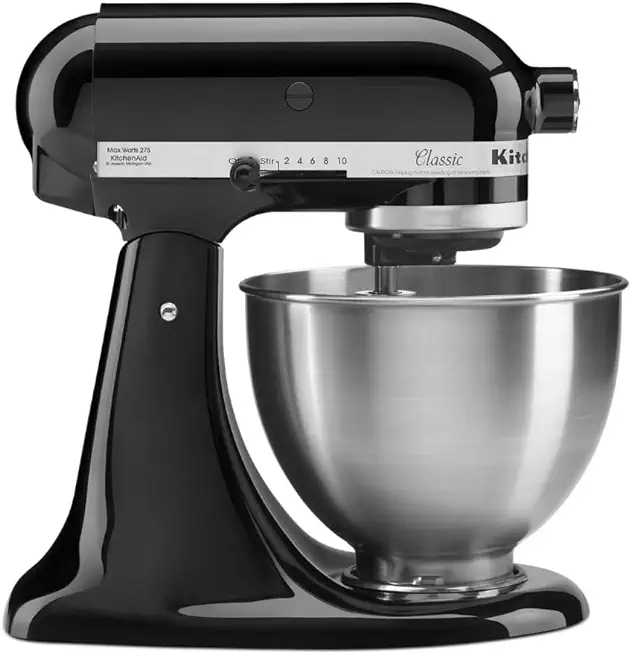 KitchenAid Classic Series 4.5 Quart Tilt-Head Stand Mixer K45SS, Onyx Black
$279.99
$329.99
View details
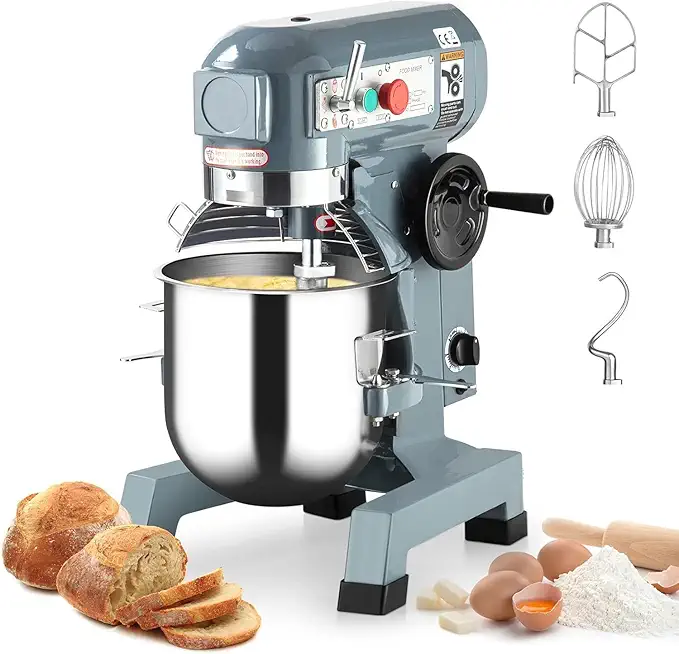 Commercial Stand Mixer, 15Qt Heavy Duty Electric Food Mixer, Commercial Mixer 600W with 3 Speeds Adjustable 130/233/415RPM, Stainless Steel Bowl, Dough Hook Whisk Beater Perfect for Bakery Pizzeria
$579.99
View details
Prime
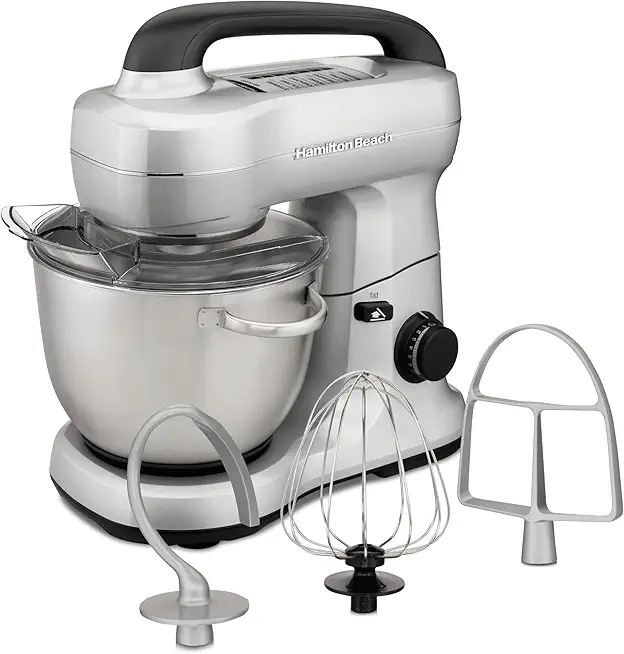 Hamilton Beach Electric Stand Mixer, 4 Quarts, Dough Hook, Flat Beater Attachments, Splash Guard 7 Speeds with Whisk, Silver
$95.99
$119.99
View details
A round, non-stick baking pan is essential. Make sure it’s well-greased to ensure easy release.
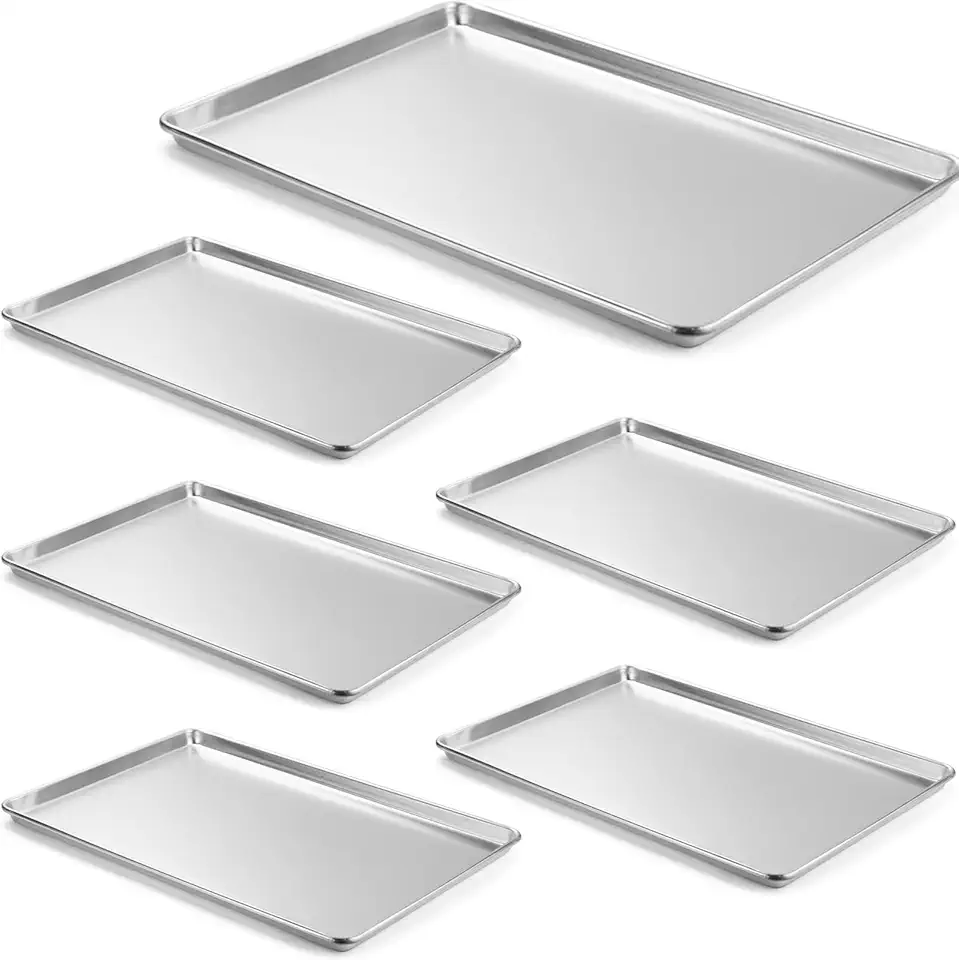 CURTA 6 Pack Aluminum Sheet Pan, NSF Listed Full Size 26 x 18 inch Commercial Bakery Cake Bun Pan, Baking Tray
$99.99
View details
Prime
best seller
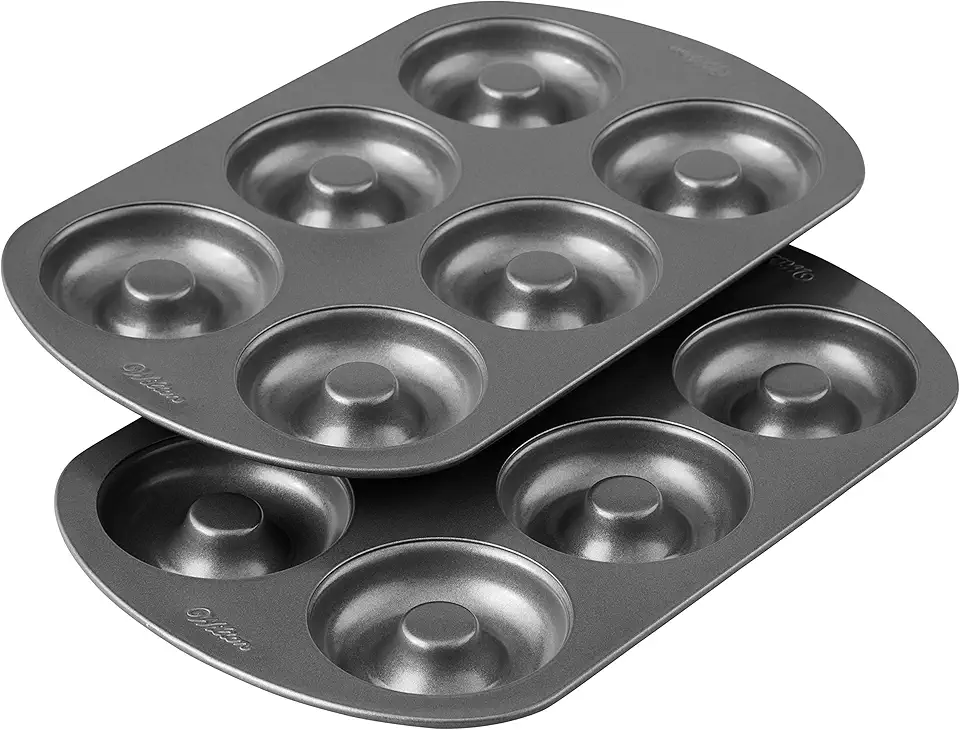 Wilton Non-Stick 6-Cavity Donut Baking Pans, 2-Count
$17.98
$20.79
View details
Prime
best seller
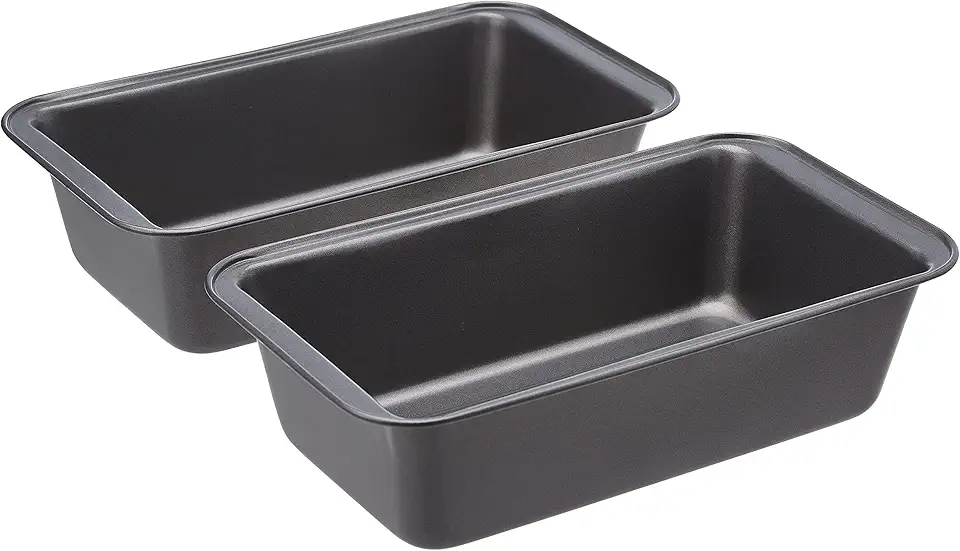 Amazon Basics Rectangular Baking Bread Loaf Pan, 9.5 x 5 Inch, Set of 2, Gray
$13.49
View details
A silicone spatula is perfect for folding ingredients gently to maintain that light mousse texture.
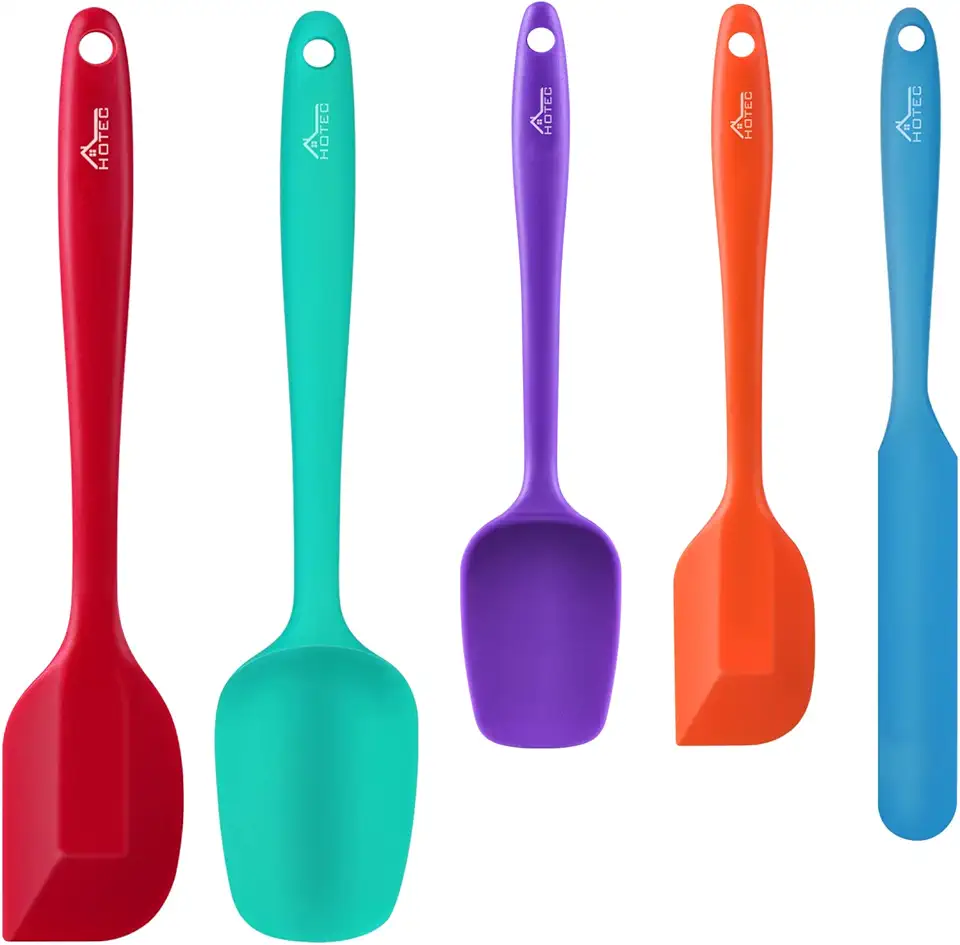 HOTEC Food Grade Silicone Rubber Spatula Set for Baking, Cooking, and Mixing High Heat Resistant Non Stick Dishwasher Safe BPA-Free Multicolor Set of 5
$9.59
$18.99
View details
Prime
 Wilton Icing Spatula - 13-Inch Angled Cake Spatula for Smoothing Frosting on Treats or Spreading Filling Between Cake Layers, Steel
$7.98
$8.75
View details
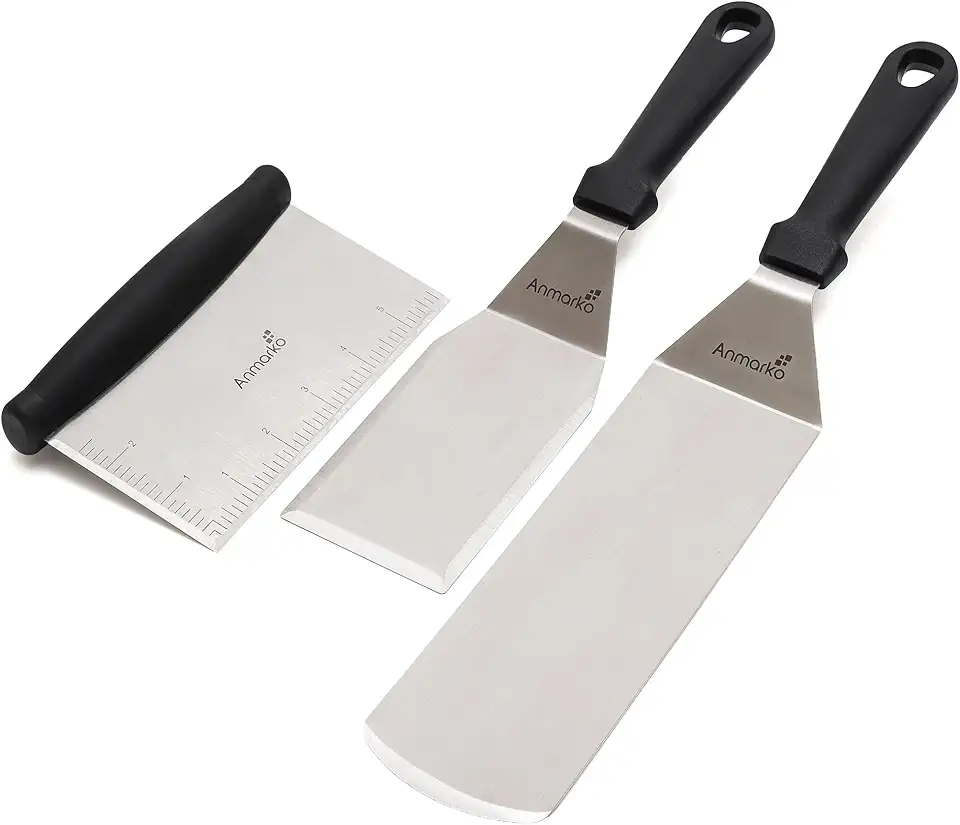 Metal Spatula Stainless Steel and Scraper - Professional Chef Griddle Spatulas Set of 3 - Heavy Duty Accessories Great for Cast Iron BBQ Flat Top Grill Skillet Pan - Commercial Grade
$19.99
$22.99
View details
Having a good whisk on hand is crucial for achieving fluffy egg whites or whipped cream. Choose one with a comfortable grip!
 OXO Good Grips 11-Inch Balloon Whisk
$10.93
$11.95
View details
Prime
best seller
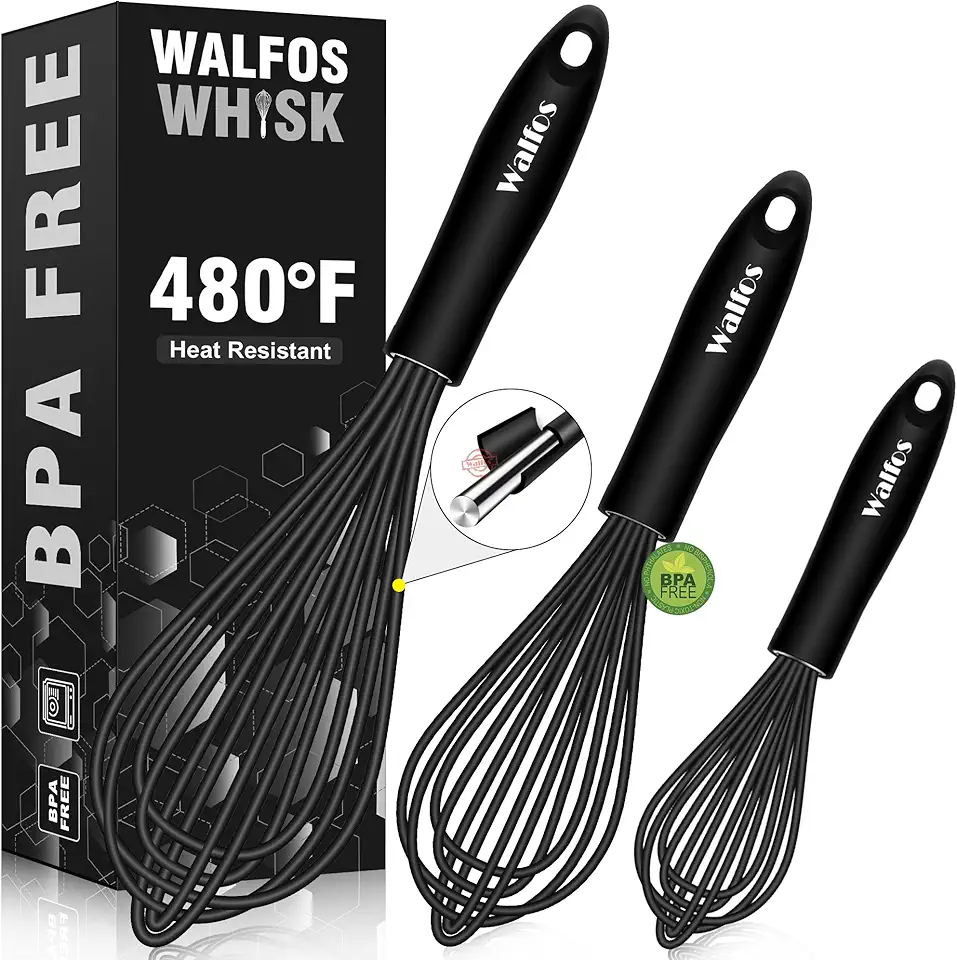 Walfos Silicone Whisk,Stainless Steel Wire Whisk Set of 3 -Heat Resistant 480°F Kitchen Whisks for Non-stick Cookware,Balloon Egg Beater Perfect for Blending,Whisking,Beating,Frothing & Stirring,Black
$11.89
$14.99
View details
Prime
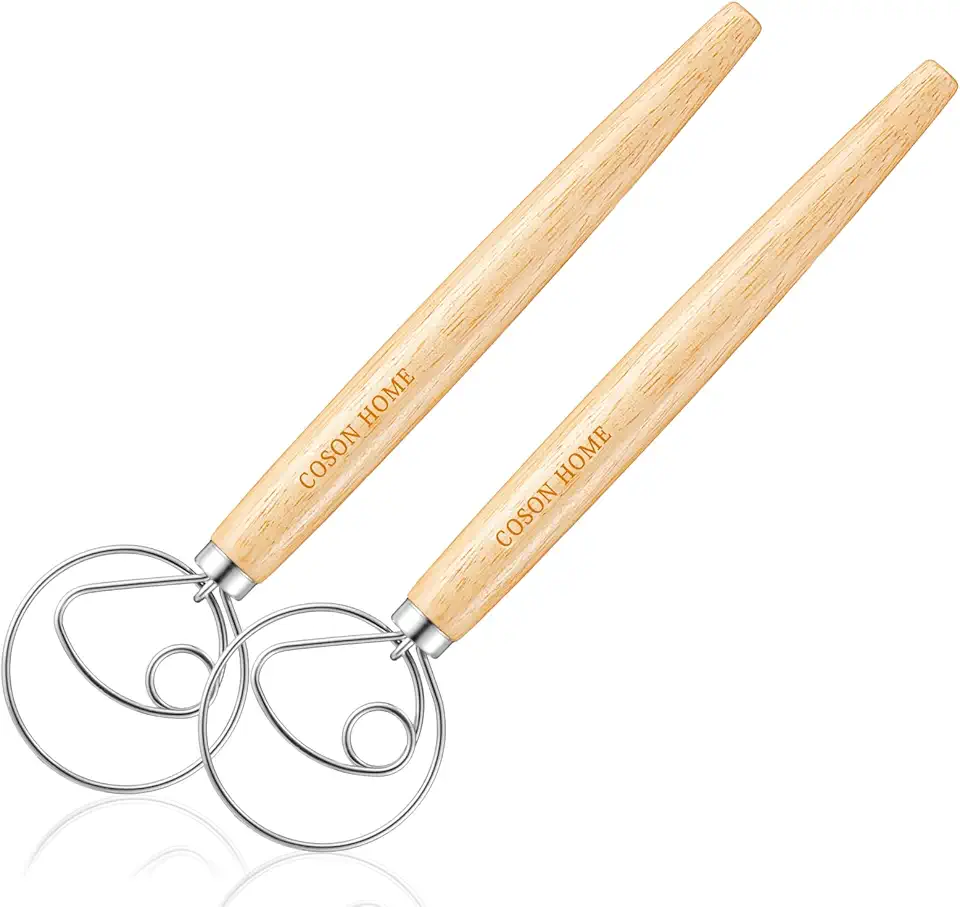 Pack of 2 Danish Dough Whisk Blender Dutch Bread Whisk Hook Wooden Hand Mixer Sourdough Baking Tools for Cake Bread Pizza Pastry Biscuits Tool Stainless Steel Ring 13.5 inches 0.22 lb/pcs…
$9.80
$14.99
View details
Variations
Vegan Version: For a vegan twist, replace the eggs with flaxseed meal or applesauce, use plant-based milk, and substitute dairy cream with coconut cream. This way, you get all the flavors without any animal products. 🌱💚
Faq
- How do I know when my mousse is ready?
The mousse is ready when it forms soft peaks and holds its shape. Be careful to not overwhip, as it can become grainy.
- Can I make the cake ahead of time?
Absolutely! In fact, it’s best to let the flavors meld by chilling it in the fridge overnight before serving.
- What can I do if the sponge cake doesn't rise?
Make sure your baking powder or baking soda is fresh, and avoid overmixing the batter. Gently folding in the ingredients is key!
- How can I achieve a shiny velour coating?
Be sure that your ganache is at the right temperature (not too hot or too cold) before applying it to achieve that glossy finish!
- What's the best way to store leftovers?
Keep any leftovers in an airtight container in the refrigerator. It will stay fresh for a couple of days.
- Can I freeze this cake?
Yes! You can freeze slices of the cake. Just make sure to wrap them tightly to prevent freezer burn.

