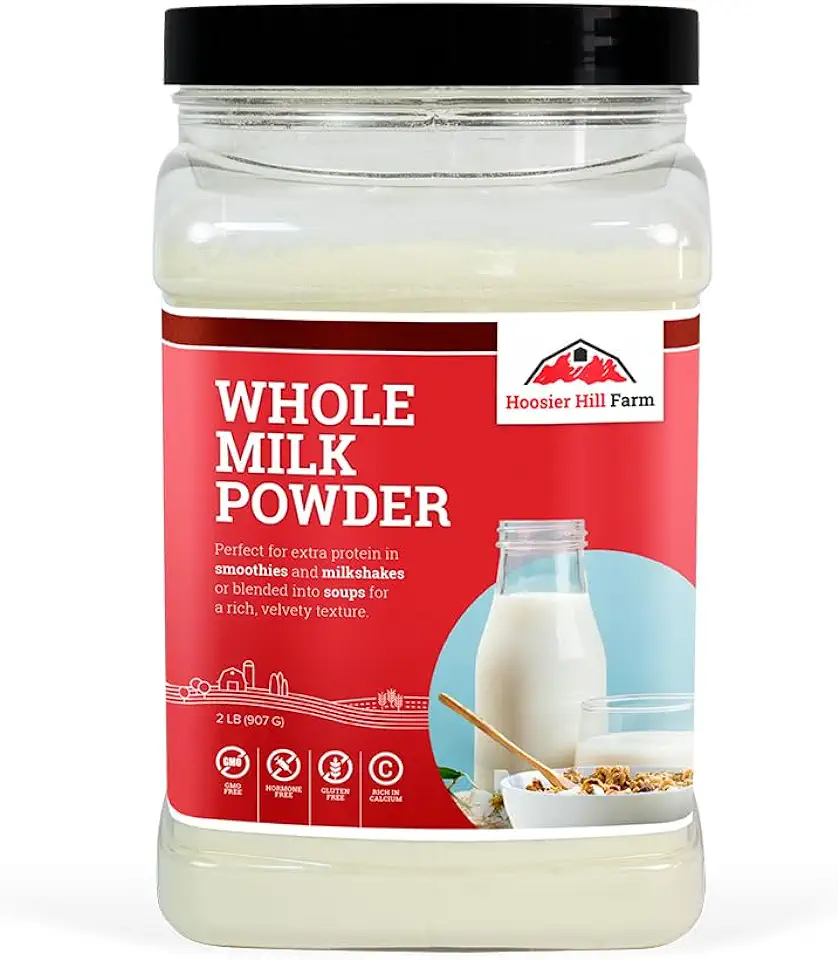
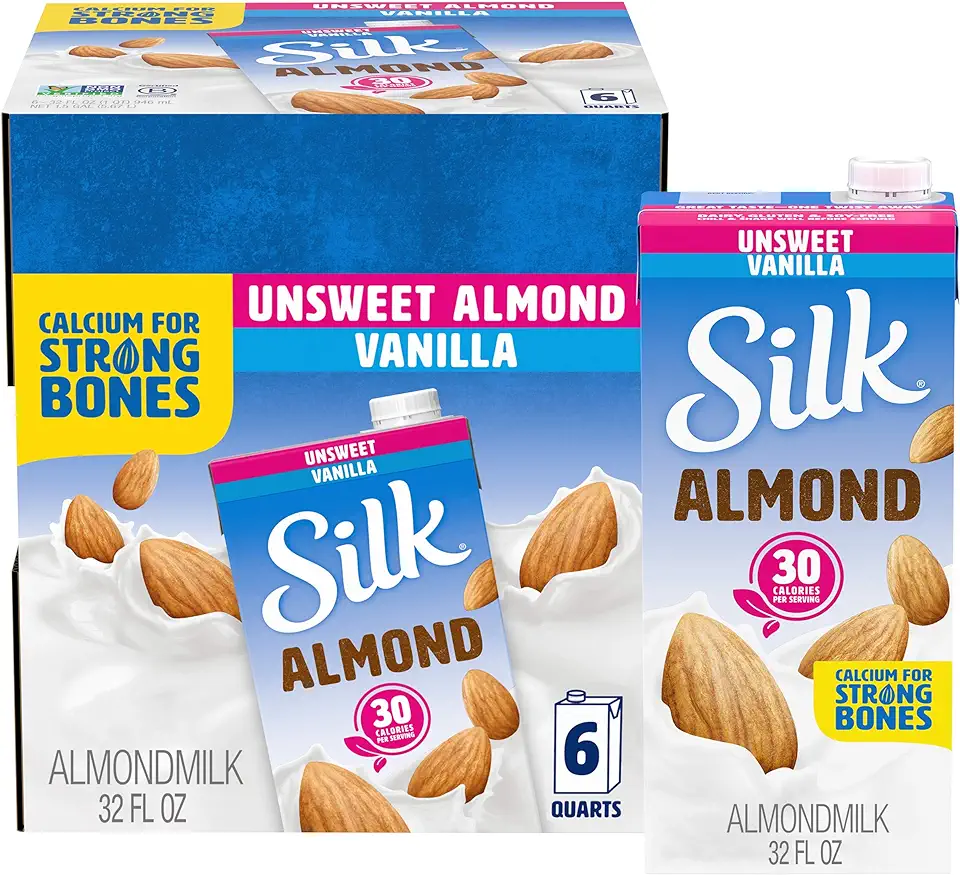
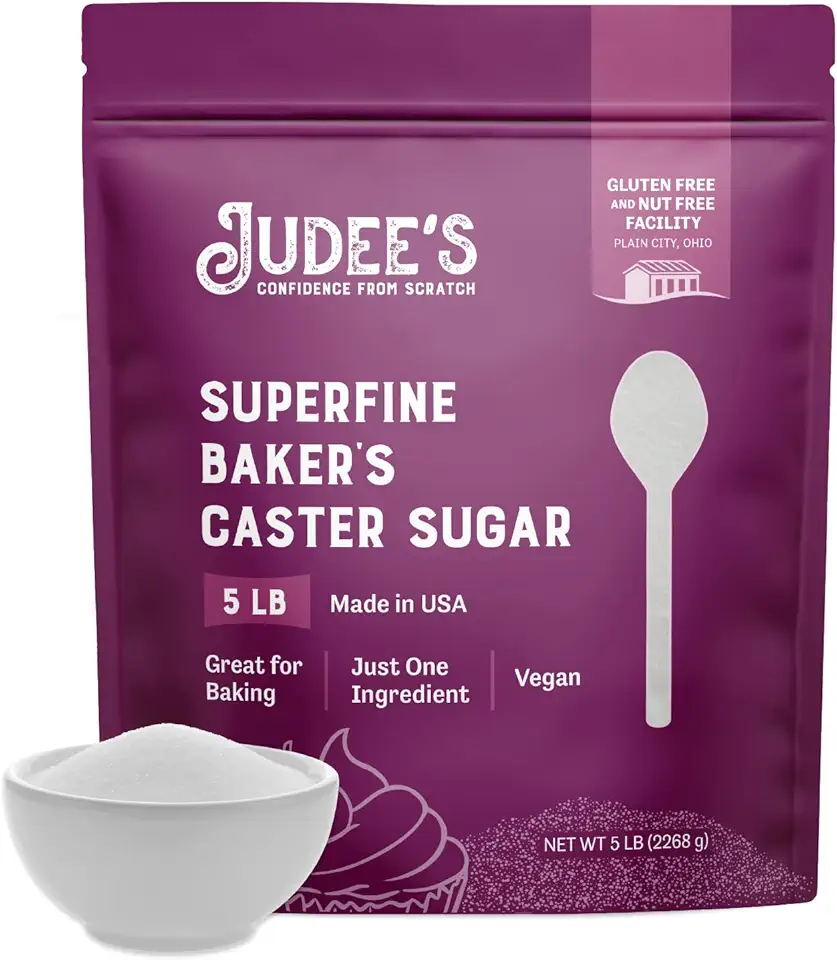
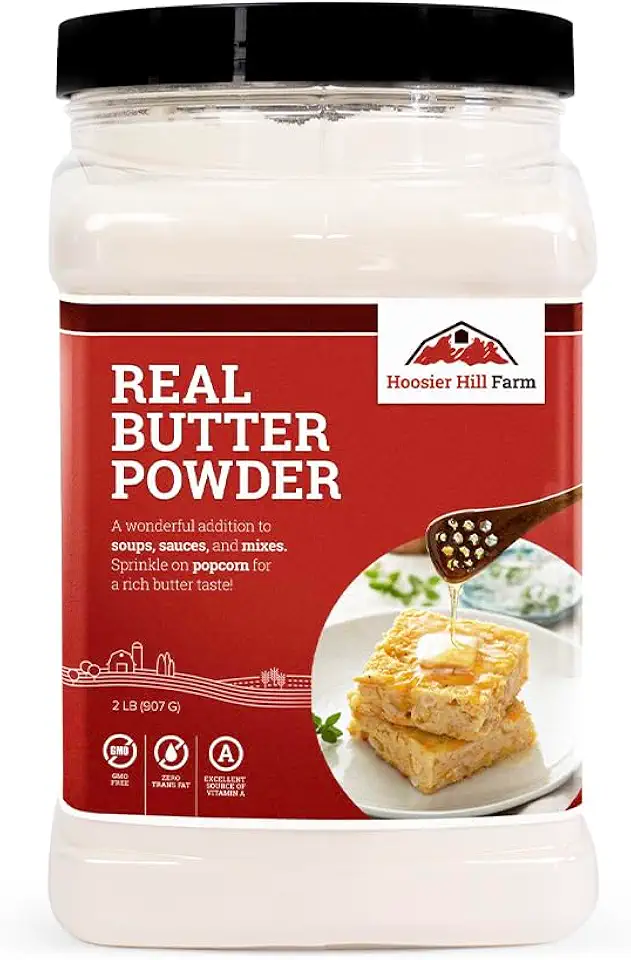
Ingredients
Dough Ingredients
 Bragg Premium Nutritional Yeast Seasoning - Vegan, Gluten Free – Good Source of Protein & Vitamins – Nutritious Savory Parmesan Cheese Substitute (Original, 12 Ounce (Pack of 1))
$14.99
View details
Prime
 Saf Instant Yeast, 1 Pound Pouch
$9.49
View details
Prime
 Fleischmann’s Yeast, Fleischmann’s Instant Dry Yeast, 16 Ounce - 1 Pack, Fast-Acting, Gluten Free, No Preservatives
$9.38
View details
Fruit and Flavor Additions
Instructions
Step 1
Begin by soaking the dried fruits such as raisins, cranberries, and candied fruits in orange juice and zest for 24 hours, if desired.
After soaking, drain any excess liquid before adding them to the dough to prevent excess moisture.
Step 2
In a bowl, mix the warm milk (not exceeding 40 degrees Celsius or 104 degrees Fahrenheit), dry yeast, one tablespoon of sugar, and one tablespoon of flour from the total amount.
Cover the bowl and place it in a warm area for about 15 minutes until it becomes frothy.
Step 3
In a blender, combine the cottage cheese, egg, egg yolks, remaining sugar, salt, and melted butter.
Blend until the mixture is smooth and creamy to ensure even distribution of ingredients.
Step 4
Once the starter is ready, add it to the blended mixture along with one tablespoon of any strong alcohol (like rum) to keep the cakes from getting stale.
Mix well before gradually adding the sifted flour along with the baking powder.
Step 5
Knead the dough for about 15 to 20 minutes using a mixer with a dough hook or by hand.
The dough should become *elastic and pliable*. Avoid adding too much flour, as a slightly sticky dough is normal for this recipe.
Step 6
Cover the dough with a damp cloth and let it rise in a warm space for 1.5 to 2 hours, or until it has doubled or tripled in size.
An effective method is to preheat the oven to 50 degrees Celsius (122 degrees Fahrenheit), then turn it off, leaving only the light on and placing the dough inside.
Step 7
After the dough has risen, divide it into three equal parts and shape them into rounds by twisting the dough on the table.
Place each portion into prepared cake molds and let them rest in a warm area for another 40 minutes until they rise to the height of the molds.
Step 8
Preheat the oven to 180 degrees Celsius (356 degrees Fahrenheit) and bake the cakes for approximately 30 to 40 minutes on the upper heating setting, or until they are golden brown.
Once baked, remove them from the oven and let them cool completely, preferably covered with a towel to maintain their shape.
Step 9
For the finishing touch, decorate the cooled cakes with icing. You can follow a simple icing recipe or use your favorite toppings.
Enjoy baking and sharing this delightful Easter treat!
Servings
Serving suggestions for your kulich can be as varied as your creativity allows! 🌼
**Serve Warm**: Enjoy your kulich fresh out of the oven, slightly warm, and perhaps with a dollop of butter for that extra richness. It melts perfectly into the soft crumb! 🧈
**Creative Toppings**: Drizzle a sweet glaze or sprinkle powdered sugar atop your kulich for a festive touch. Imagine the smiles as your family digs into the beautifully decorated bread at the table! 🎉
**Perfect for Pairing**: This kulich also pairs wonderfully with a cup of tea or coffee, making it a perfect addition to your Easter brunch spread. Set up a delightful brunch table with fresh fruit, cheeses, and of course, this glorious bread! 🍓🧀
Equipment
A sturdy mixing bowl is essential for combining your ingredients. Opt for a larger size to accommodate the dough as it rises!
 YIHONG 7 Piece Mixing Bowls with Lids for Kitchen, Stainless Steel Mixing Bowls Set Ideal for Baking, Prepping, Cooking and Serving Food, Nesting Metal Mixing Bowls for Space Saving Storage
$27.99
$35.99
View details
Prime
best seller
 Pyrex Glass, 3-Piece, 3 PC Mixing Bowl Set
$17.53
View details
Prime
 REGILLER Stainless Steel Mixing Bowls (Set of 5), Non Slip Colorful Silicone Bottom Nesting Storage Bowls, Polished Mirror Finish For Healthy Meal Mixing and Prepping 1.5-2 - 2.5-3.5 - 7QT (Colorful)
$26.99
View details
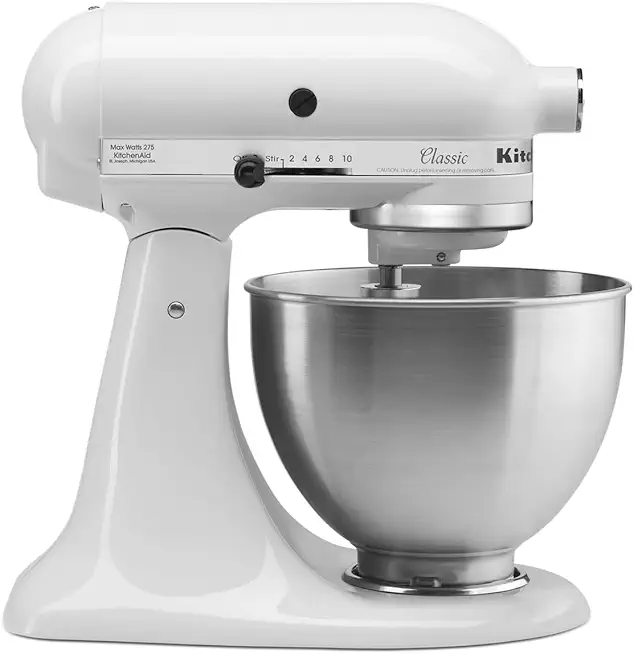
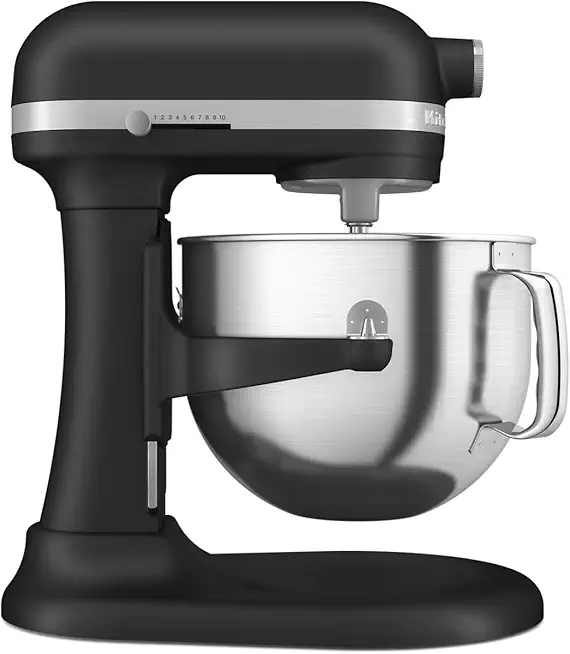
Using a stand mixer with a dough hook will make kneading easier, but a hand mixer works just fine if you’re looking for a workout!
Your kulich will need a good home to rise and bake. Make sure it's greased well to prevent sticking.
A kitchen scale is a great tool for measuring your ingredients accurately, leading to better results. It’s handy for this dough!
Variations
Looking to switch things up? Here are some **gluten-free and vegan variations** for your kulich! 🌱✨
Gluten-Free Option: Use a high-quality gluten-free flour blend that includes xanthan gum to achieve that desirable structure. Be cautious with the liquid measurements as gluten-free doughs can vary in hydration needs.
Vegan Option: Substitute the cottage cheese with a blend of silken tofu and plant-based yogurt. Replace eggs with a flaxseed meal mixture (1 tablespoon ground flaxseed mixed with 2.5 tablespoons of water) for binding. These swaps keep the moisture and flavor intact!
Faq
- How can I tell when my kulich is done baking?
The best way to check is by inserting a toothpick in the center. If it comes out clean or with just a few crumbs, your kulich is done!
- Why is my dough too sticky?
Don’t worry! This is normal. Avoid adding too much flour, as it can affect the rise. Just use oiled hands to help manage the sticky dough.
- How can I enhance the flavor of my kulich?
Consider adding citrus zest or spices like cardamom to your dough for an aromatic twist!
- Can I prepare the dough in advance?
Yes! You can prepare the dough and let it rise in the fridge overnight. Just bring it back to room temperature before shaping.
- What can I do if my kulich doesn't rise enough?
If your dough didn’t rise as expected, it could be due to inactive yeast. Check the expiration date of your yeast next time!
- How should I store left-over kulich?
Keep any leftover kulich in an airtight container at room temperature for up to three days, or refrigerate for longer freshness!


