Ingredients
Mousse Ingredients
 Duncan Hines Dark Chocolate Fudge Brownie Mix, 18.2 OZ
$1.54
View details
Prime
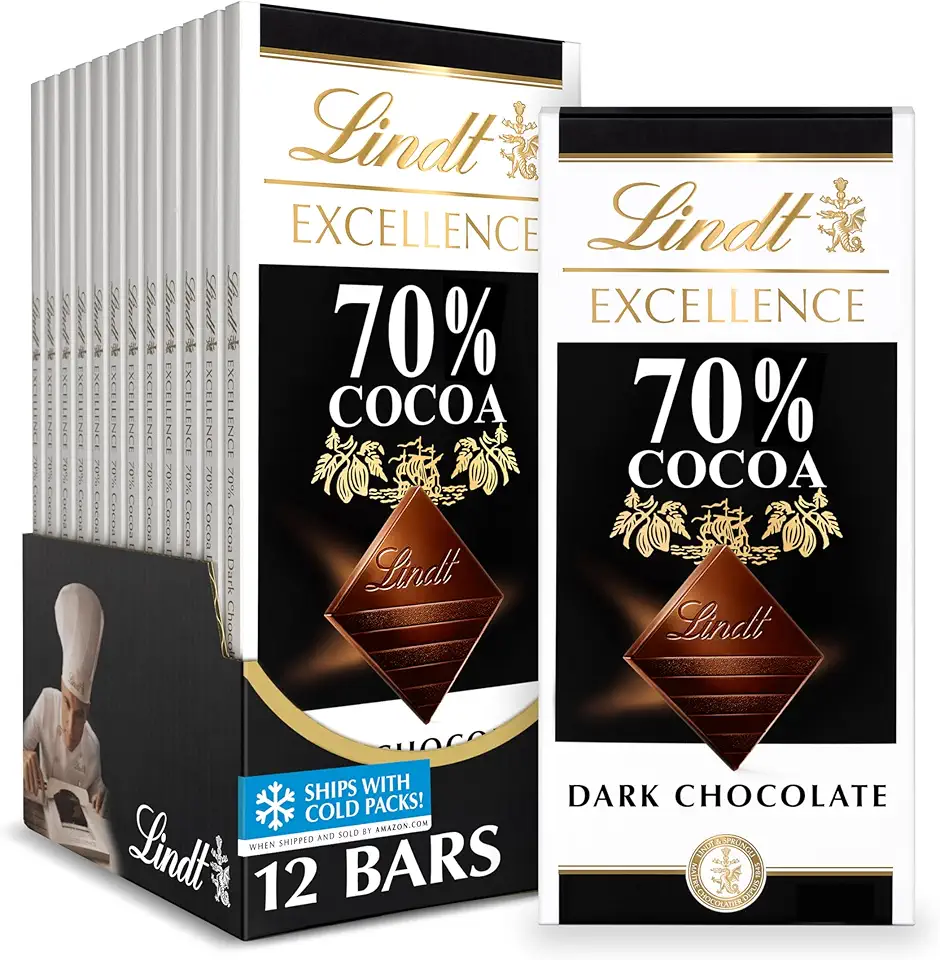 Lindt EXCELLENCE 70% Cocoa Dark Chocolate Bar, Dark Chocolate Candy, 3.5 oz. (12 Pack)
$40.44
View details
Prime
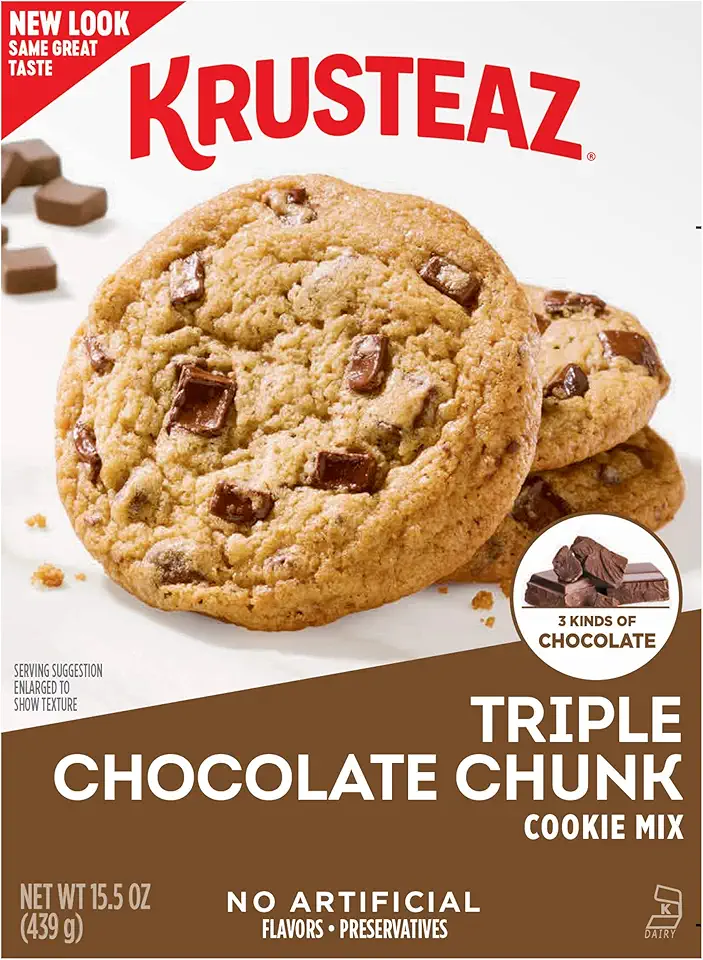 Krusteaz Triple Chocolate Chunk Cookie Mix, Bakery Style, 3 Kinds of Chocolate, 15.5 Oz Boxes (Pack of 12)
$53.95
View details
 Sugar In The Raw Granulated Turbinado Cane Sugar Cubes, No Added Flavors or erythritol, Pure Natural Sweetener, Hot & Cold Drinks, Coffee, Vegan, Gluten-Free, Non-GMO,Pack of 1
$5.27
View details
Prime
 Sugar In The Raw Granulated Turbinado Cane Sugar, No Added Flavors or erythritol, Pure Natural Sweetener, Hot & Cold Drinks, Coffee, Baking, Vegan, Gluten-Free, Non-GMO, Bulk Sugar, 2lb Bag (1-Pack)
$3.74
$4.14
View details
Prime
 C&H Pure Cane Granulated White Sugar, 25-Pound Bags
$56.99
$49.98
View details
Decoration Ingredients
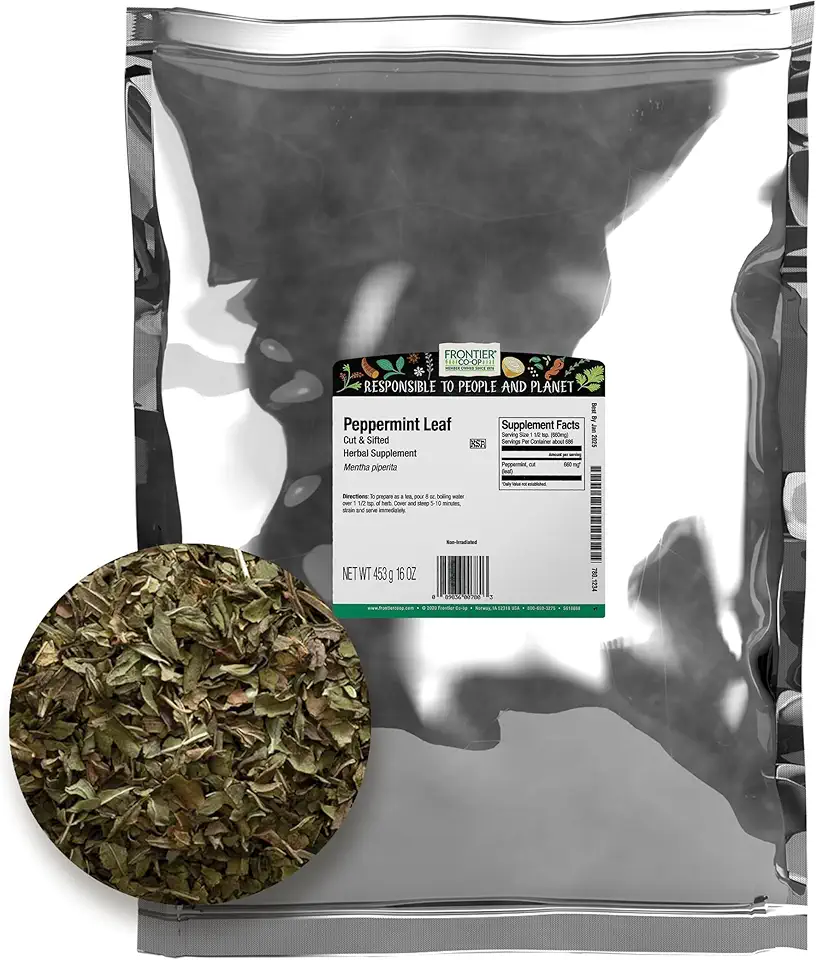 Frontier Co-op Bulk Peppermint Leaf, 1 Pound, Cut, Sifted Peppermint For Tea & Cooking, Cool, Refreshing Scent
$15.74
View details
Prime
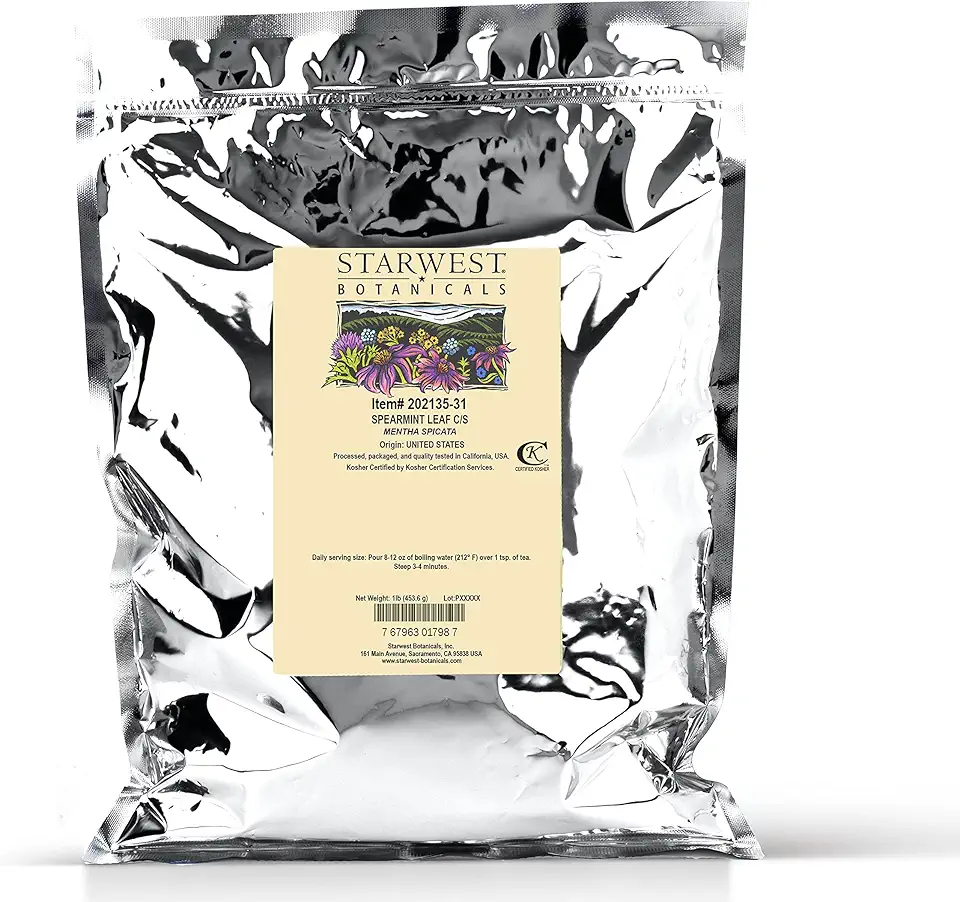 Starwest Botanicals Spearmint Leaves Cut/Sifted, 1 LB | For Tea, Cooking, & More
$21.14
View details
Prime
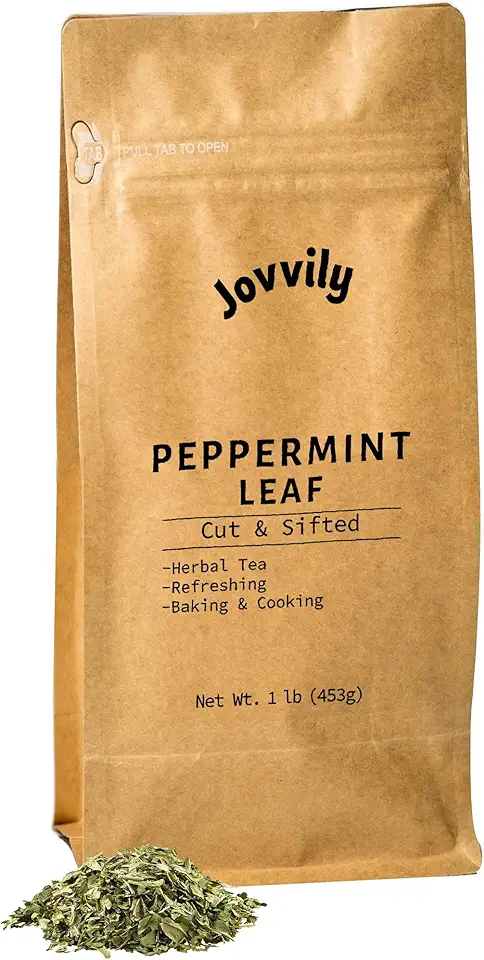 Jovvily Peppermint Leaf, 1 lb, Cut & Sifted, Herbal Tea, Refreshing
$13.49
View details
Instructions
Step 1
Start by melting 200 grams of dark chocolate in a heatproof bowl over simmering water. Stir it gently until it's completely smooth.
In a separate bowl, whisk together 3 large eggs with 100 grams of granulated sugar until light and frothy. This mixture should double in size.
Gradually fold the melted chocolate into the egg mixture until fully combined. Be careful not to deflate the mixture.
In another bowl, whip 300 milliliters of heavy cream until soft peaks form, then gently fold this into the chocolate mixture, ensuring a light and airy texture.
Step 2
Once your mousse is well combined, transfer it into dessert cups or bowls. Allow them to chill in the refrigerator for at least 2 hours.
This chilling process will help the mousse set properly and develop its full flavor.
Step 3
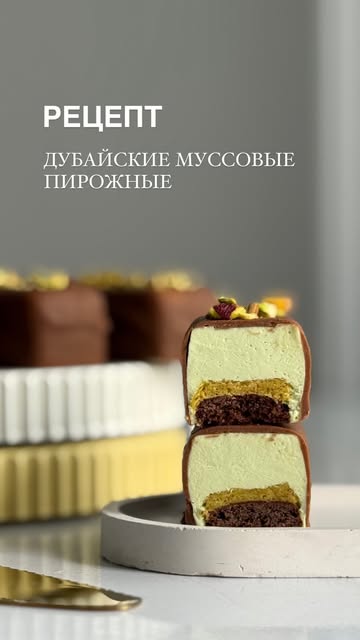
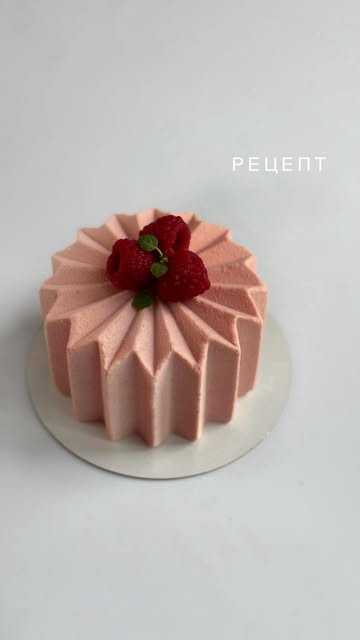
After chilling, remove the mousse cups from the refrigerator. For a beautiful presentation, garnish with fresh mint leaves and edible flowers.
These decorations add a vibrant flair and bring a touch of elegance to your delicious mousse pastries.
Servings
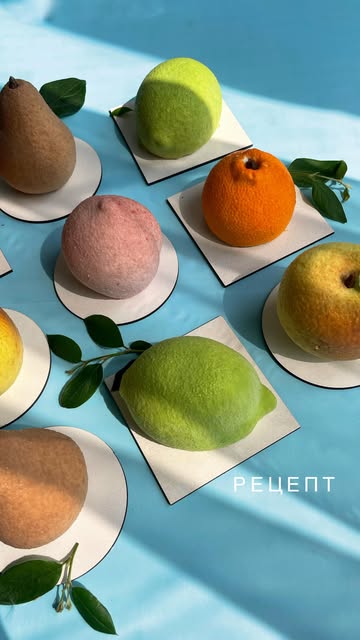
When it comes to serving these dreamy mousse pastries, think outside the box! You can **elegantly plate** them on bright colored dessert squares to contrast their creamy textures. Top each pastry with a sprinkle of **crushed pistachios** or a dollop of whipped cream to add an extra flair. 🍰✨
For a cozy gathering, serve these pastries alongside **hot beverages** like coffee or chai for a delightful warm contrast. You can even create a mini dessert bar where guests can choose their toppings, like fresh berries or **drizzles of chocolate sauce**! 🍓🍫
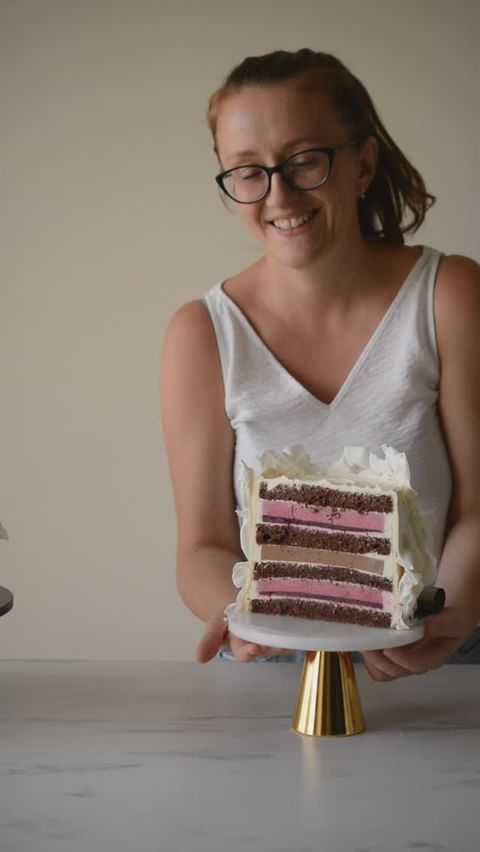
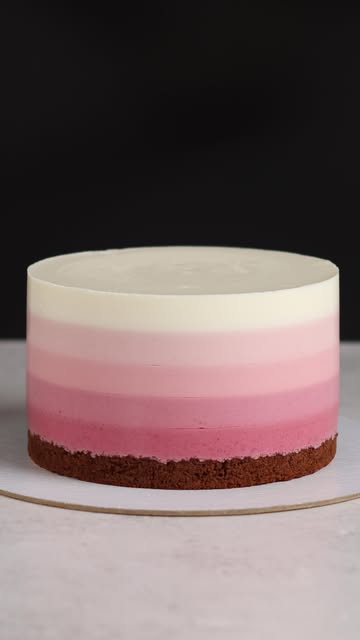
Remember, presentation is everything! Consider using glass cups or jars for individual servings, showcasing those stunning layers. Your friends won't be able to resist taking photos before taking a bite! 📸🥳
Equipment
Use sturdy mixing bowls that prevent slipping. Glass or stainless steel is ideal for a clean mix.
A hand or stand mixer makes whipping up the mousse a breeze! Ensure your mixer is at a medium speed to avoid over-whipping.
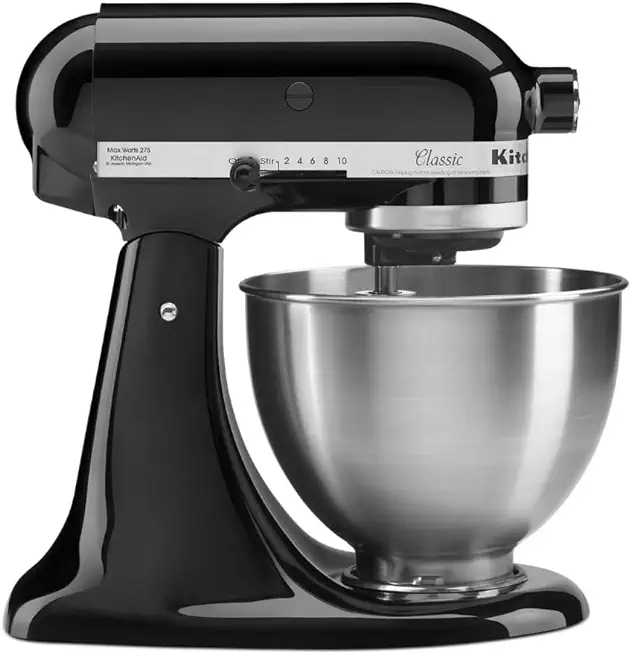 KitchenAid Classic Series 4.5 Quart Tilt-Head Stand Mixer K45SS, Onyx Black
$279.99
$329.99
View details
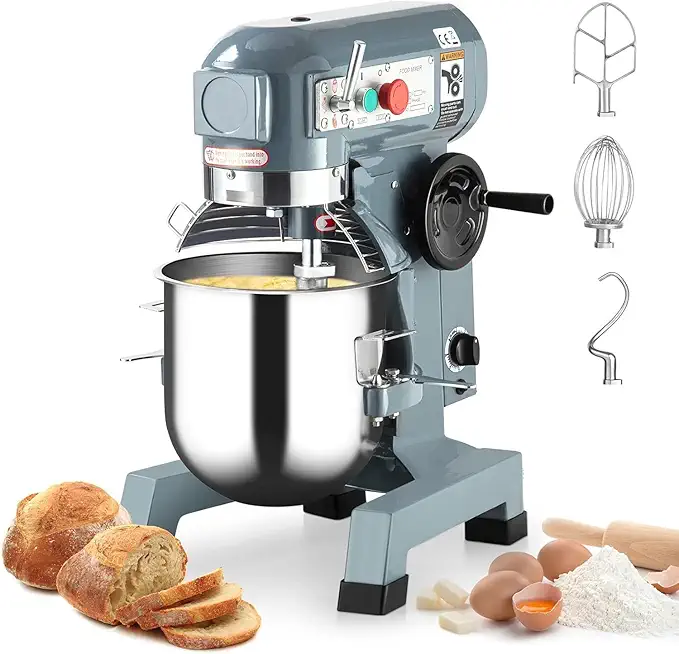 Commercial Stand Mixer, 15Qt Heavy Duty Electric Food Mixer, Commercial Mixer 600W with 3 Speeds Adjustable 130/233/415RPM, Stainless Steel Bowl, Dough Hook Whisk Beater Perfect for Bakery Pizzeria
$579.99
View details
Prime
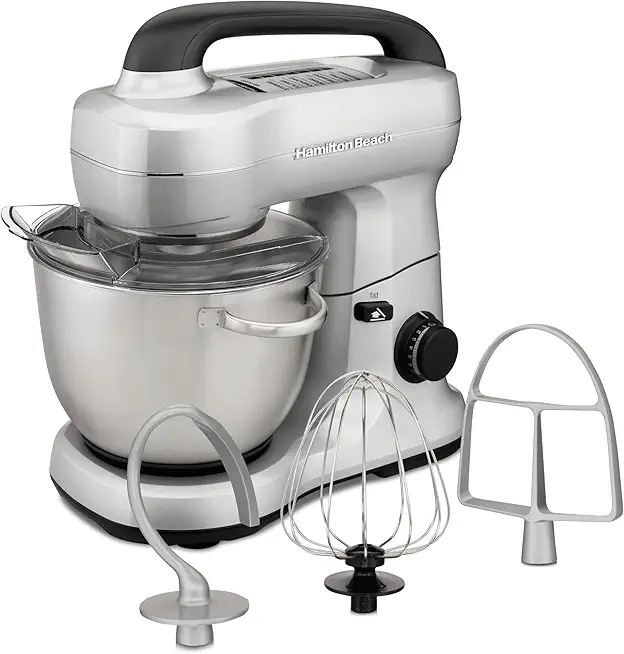 Hamilton Beach Electric Stand Mixer, 4 Quarts, Dough Hook, Flat Beater Attachments, Splash Guard 7 Speeds with Whisk, Silver
$95.99
$119.99
View details
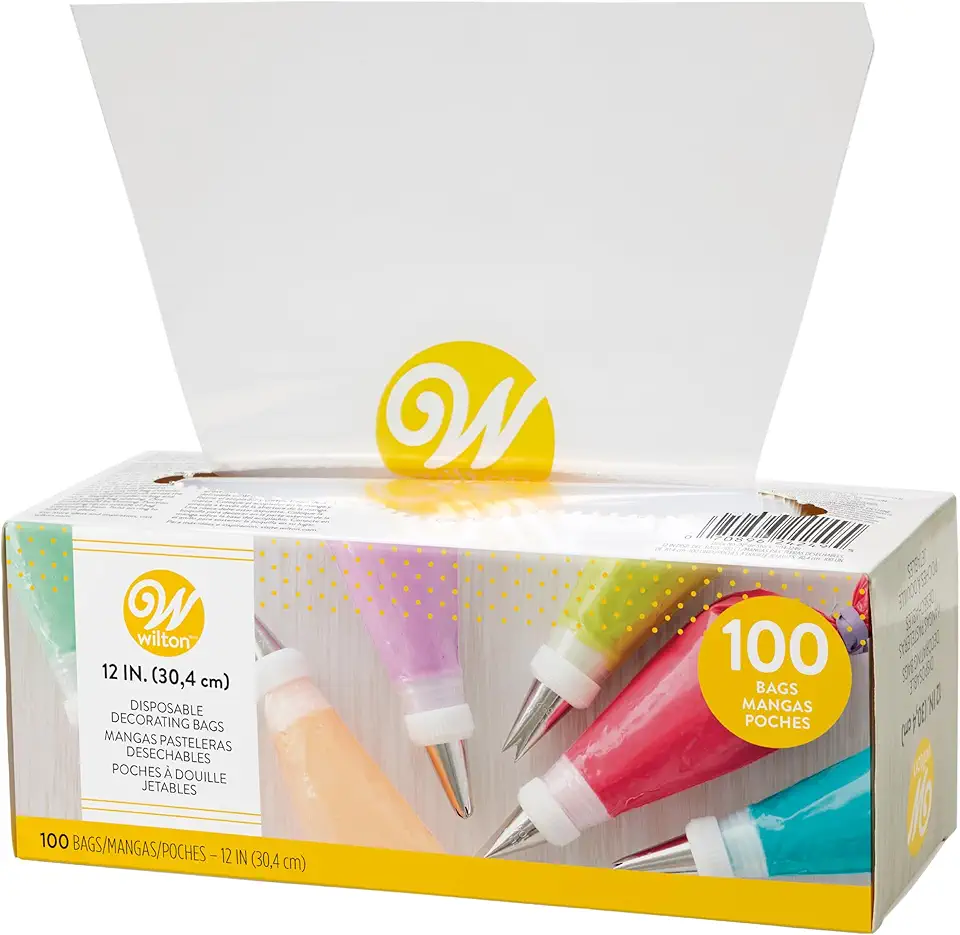
For those immaculate presentation touches, use disposable piping bags. They are easy to clean and perfect for layered designs.
A silicone spatula is key for folding gently to keep the mousse airy and light. Make sure it's durable for repeated use!
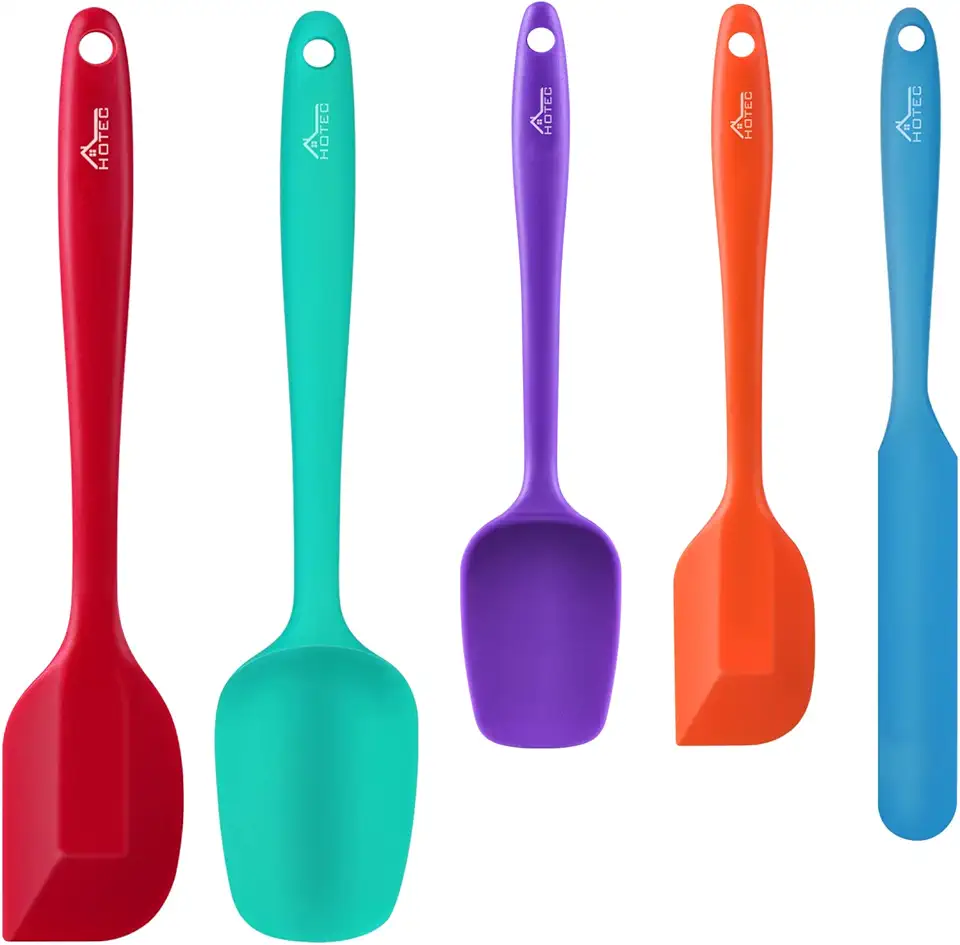 HOTEC Food Grade Silicone Rubber Spatula Set for Baking, Cooking, and Mixing High Heat Resistant Non Stick Dishwasher Safe BPA-Free Multicolor Set of 5
$9.59
$18.99
View details
Prime
 Wilton Icing Spatula - 13-Inch Angled Cake Spatula for Smoothing Frosting on Treats or Spreading Filling Between Cake Layers, Steel
$7.98
$8.75
View details
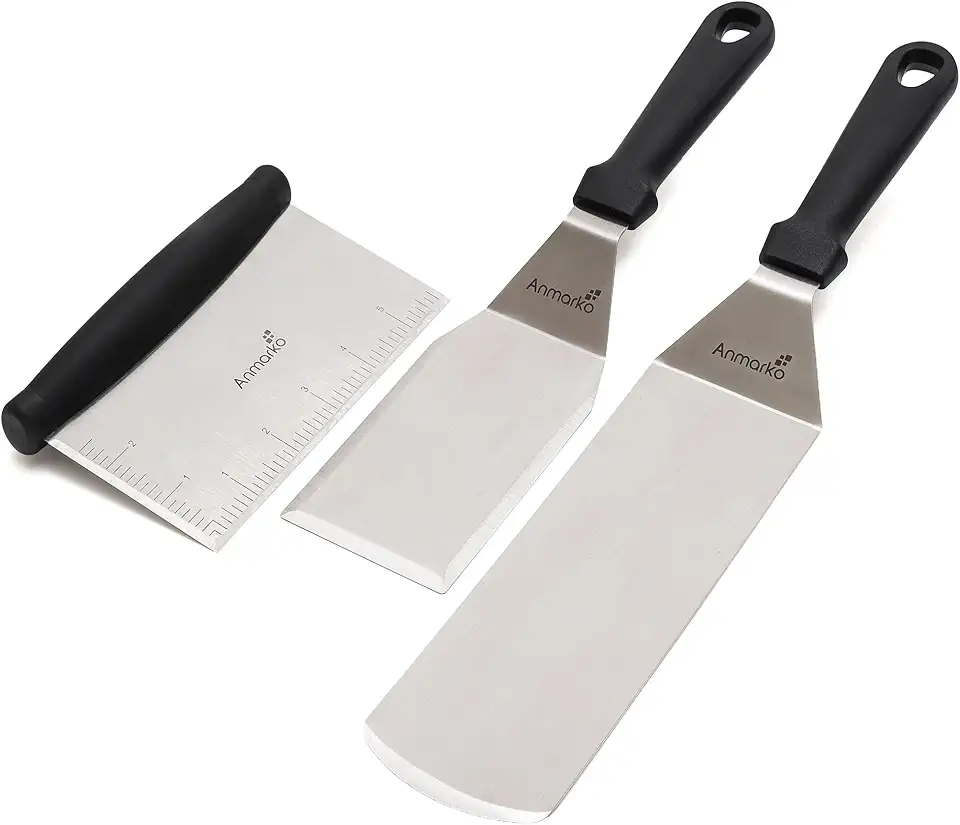 Metal Spatula Stainless Steel and Scraper - Professional Chef Griddle Spatulas Set of 3 - Heavy Duty Accessories Great for Cast Iron BBQ Flat Top Grill Skillet Pan - Commercial Grade
$19.99
$22.99
View details
Variations
If you're looking to cater to different dietary needs, we’ve got you covered! To make these mousse pastries gluten-free, simply substitute traditional flour with **almond or coconut flour**. This keeps the texture rich without compromising its deliciousness! 🌾❌
For a vegan version, replace eggs with **aquafaba** (the liquid from canned chickpeas) for the airy consistency. Use coconut cream instead of heavy cream for a luscious, dairy-free mousse that everyone can enjoy! 🥥🌱
Feel free to experiment with flavors too! Adding vanilla, orange zest, or even cardamom can give your mousse that extra zing, impressing even the pickiest of eaters. 🍊🌟
Faq
- What flavor variations can I try for these mousse pastries?
You can get creative with flavors like chocolate, coffee, or fruit purees! Just remember to balance sweetness for optimal taste.
- How do I know when my mousse is fully whipped?
A proper mousse should form soft peaks. Go for a light and airy consistency, but avoid over-whipping—it should flow easily but maintain its shape!
- Can I freeze these mousse pastries for later use?
Yes! You can freeze them for a couple of weeks. Just be sure to wrap them tightly in plastic wrap to maintain moisture!
- What’s the best way to serve them if made ahead of time?
Chill them in the refrigerator until serving time, and add your toppings just before serving to keep things fresh!
- How can I achieve a perfect mousse texture?
Make sure your cream is cold before whipping, and fold carefully to retain air. Gentle mixing is key!
- Any tips on making the layers visually striking?
Use piping bags to add each layer cleanly. Experiment with contrasting colors for an eye-catching presentation!

