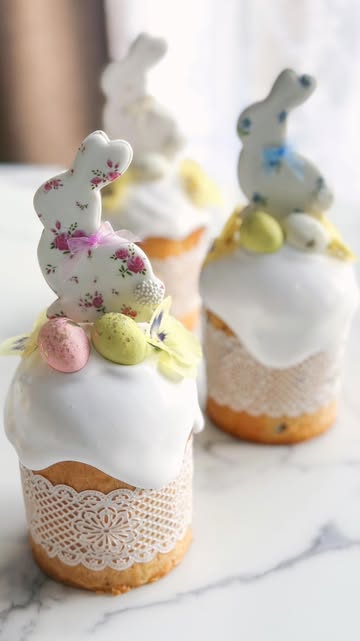
Ingredients
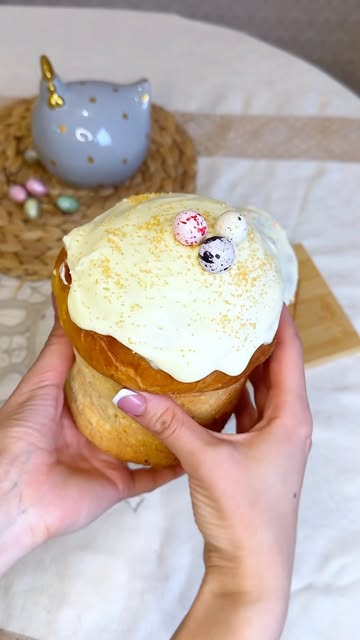
Ingredients for Kulich
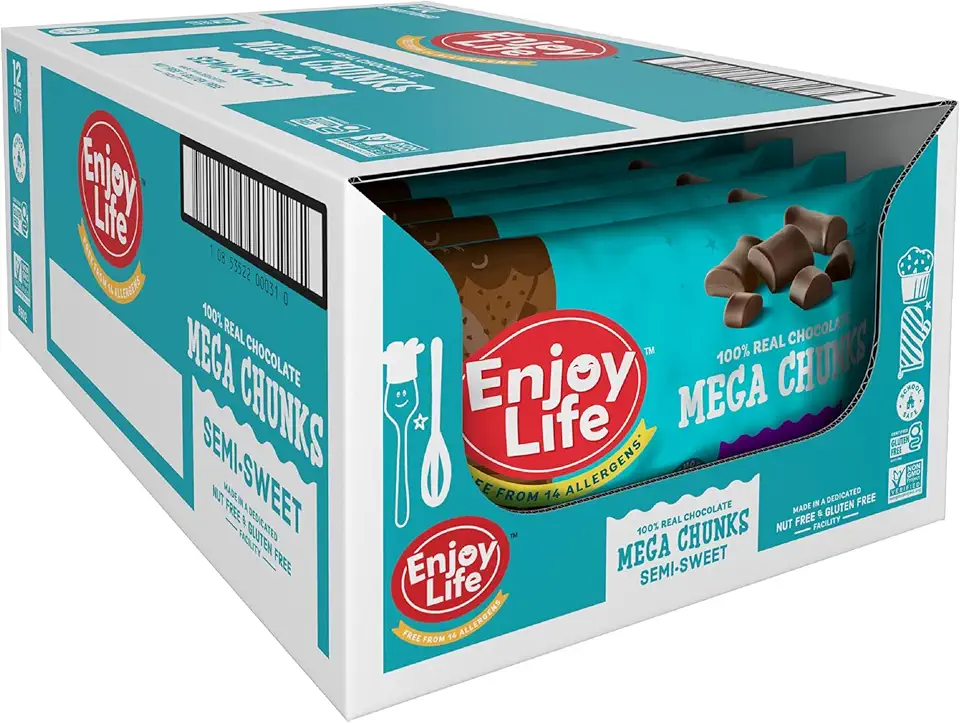 Enjoy Life Baking Chocolate Semi-Sweet Mega Chunks, Dairy Free Chocolate Chips, Soy Free, Nut Free, Non GMO, Gluten Free, Vegan Chocolate Chips, 12 Bags (10 oz) Bulk Chocolate
$79.95
View details
Prime
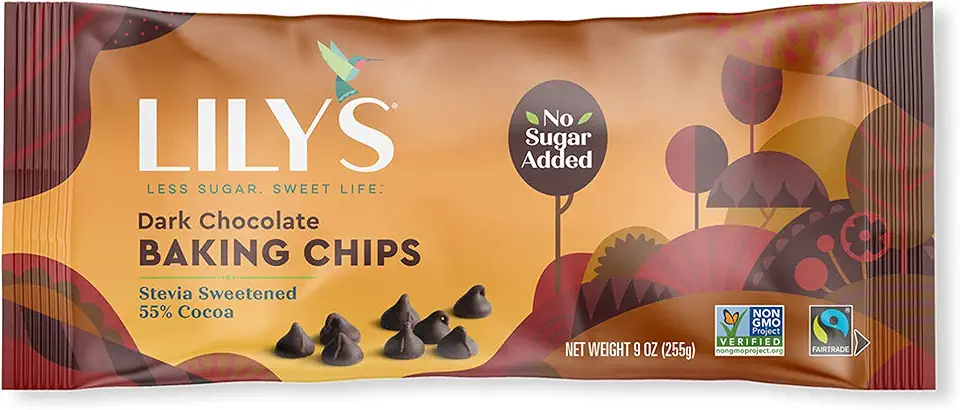 Dark Chocolate Chips by Lily's | Stevia Sweetened, No Added Sugar, Low-Carb, Keto Friendly | 55% Cocoa | Fair Trade, Gluten-Free & Non-GMO | 9 ounce, 3-Pack, Brown, 4001A3
$31.95
View details
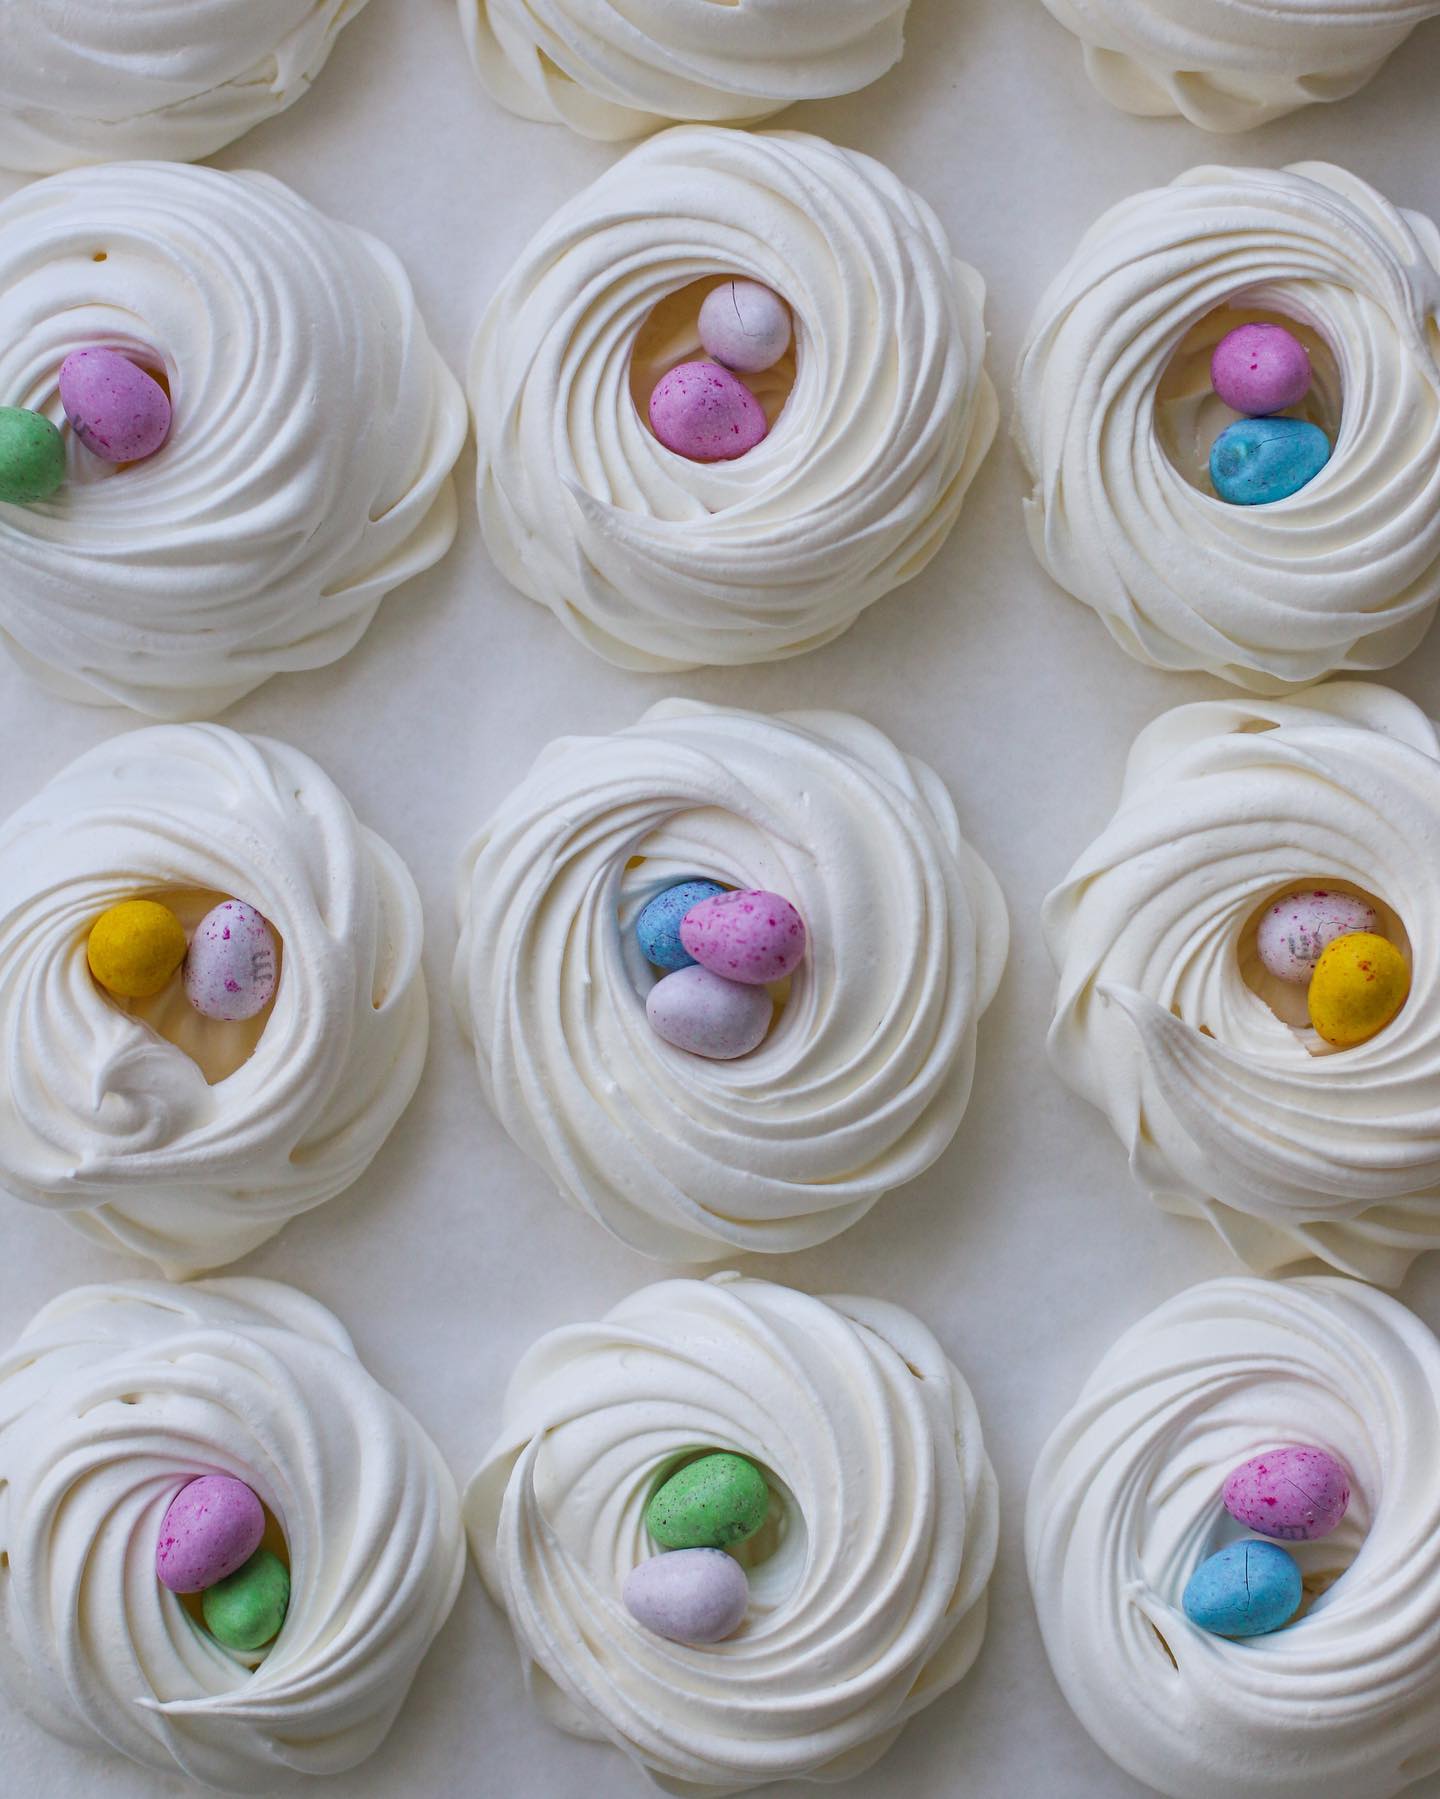
For the nests
Instructions
Step 1
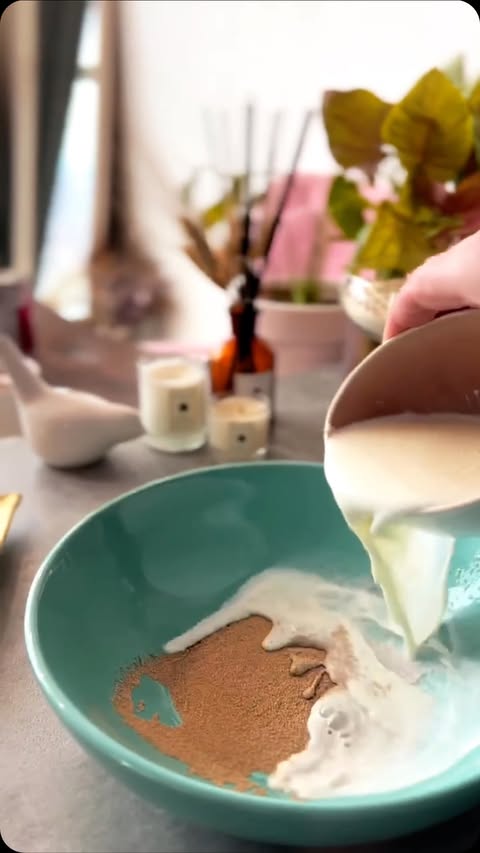
In a bowl, whisk together the eggs, sugar, vanilla sugar, and a pinch of salt until the mixture becomes frothy and white, which should take about 2-3 minutes.
Next, slowly incorporate the melted butter and cottage cheese, mixing them well until fully combined.
Step 2
In a separate bowl, sift together the flour and baking powder.
Gradually add the dry mixture to the egg mixture, stirring until a smooth batter forms.
Step 3
Take your baking molds, and fill them halfway with the batter. Ensure that the tops are flat by smoothing them with a spoon dabbed in oil.
Preheat your oven to 170 degrees Celsius (340 degrees Fahrenheit) and place the kulich in the oven.
Bake for 35-40 minutes until golden on top. You can check readiness by inserting a toothpick; it should come out clean.
Step 4
Once baked, remove the kulich from the oven and allow it to cool completely.
If you wish, you can create small holes in the tops to fill them with your favorite cream, jam, or paste.
Step 5
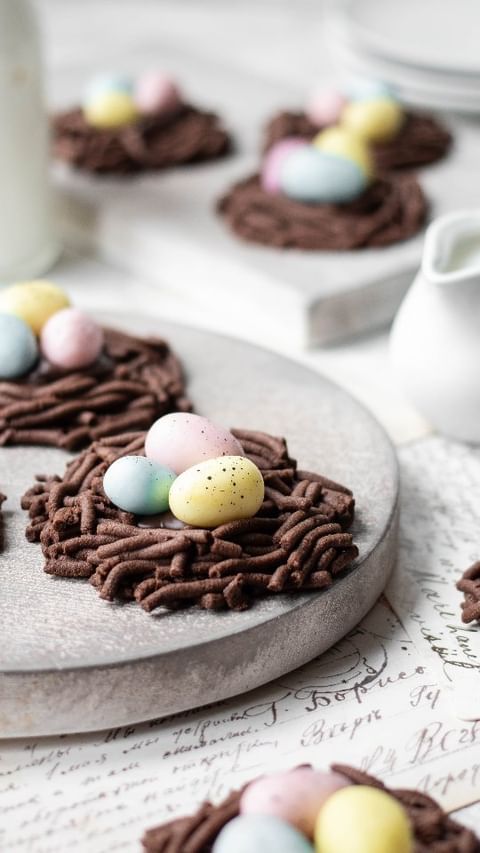
Melt your favorite chocolate and mix it with crumbled snacks to create a sticky mixture.
Shape the mixture into small nests on a tray and place them in the refrigerator or freezer to harden.
Servings
Equipment
Essential for blending your ingredients smoothly. Use a larger bowl for the wet ingredients and a smaller one for the dry.
Accurate measurements ensure perfect results, so don’t skip this step!
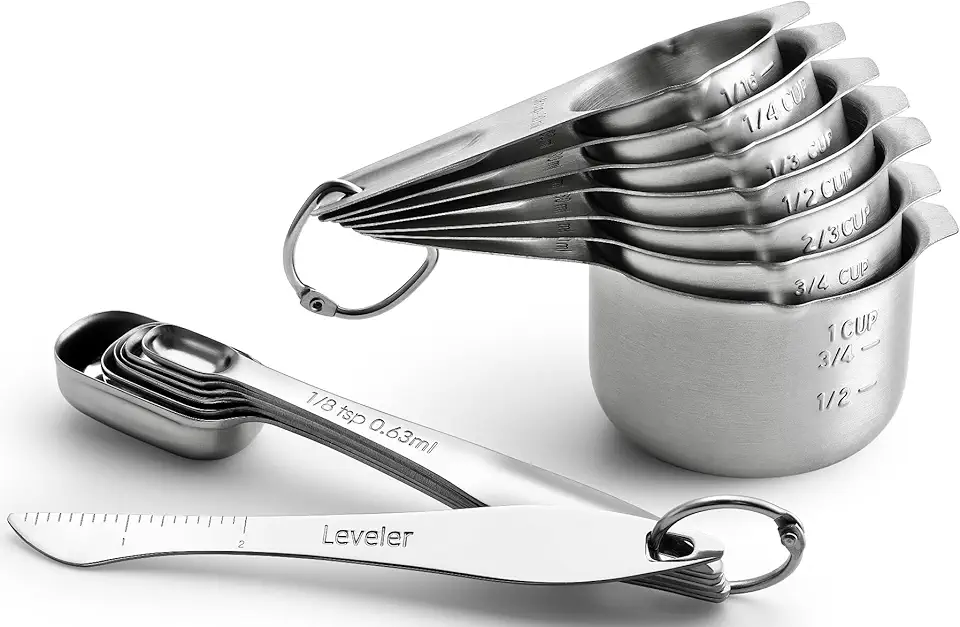 Spring Chef Stainless Steel Measuring Cups and Measuring Spoons Set of 14 with Leveler, Nesting Kitchen Metal Measuring Cups and Spoons Set for Dry and Liquid Ingredients, Perfect for Cooking & Baking
$21.99
View details
Prime
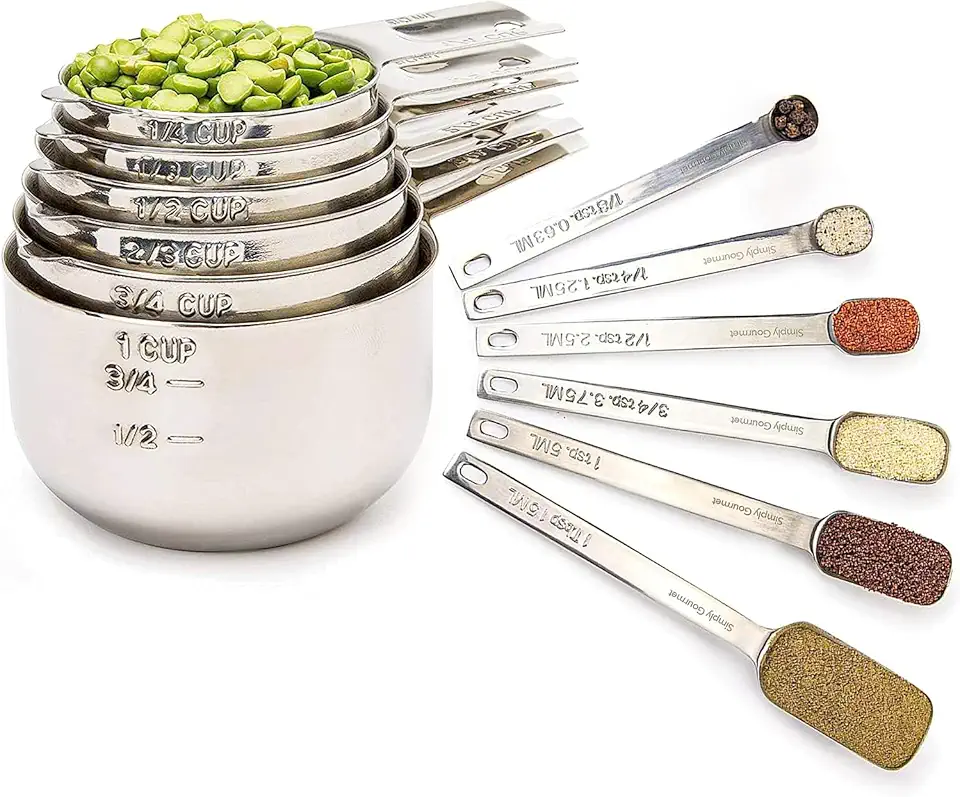 Simply Gourmet Measuring Cups and Spoons Set of 12, 304 Premium Stainless Steel, Stackable Cups Long Handle Spoons Fits Narrow Jars, Kitchen Gadgets for Liquid & Dry Ingredients Cooking Baking
$32.98
$45.99
View details
Prime
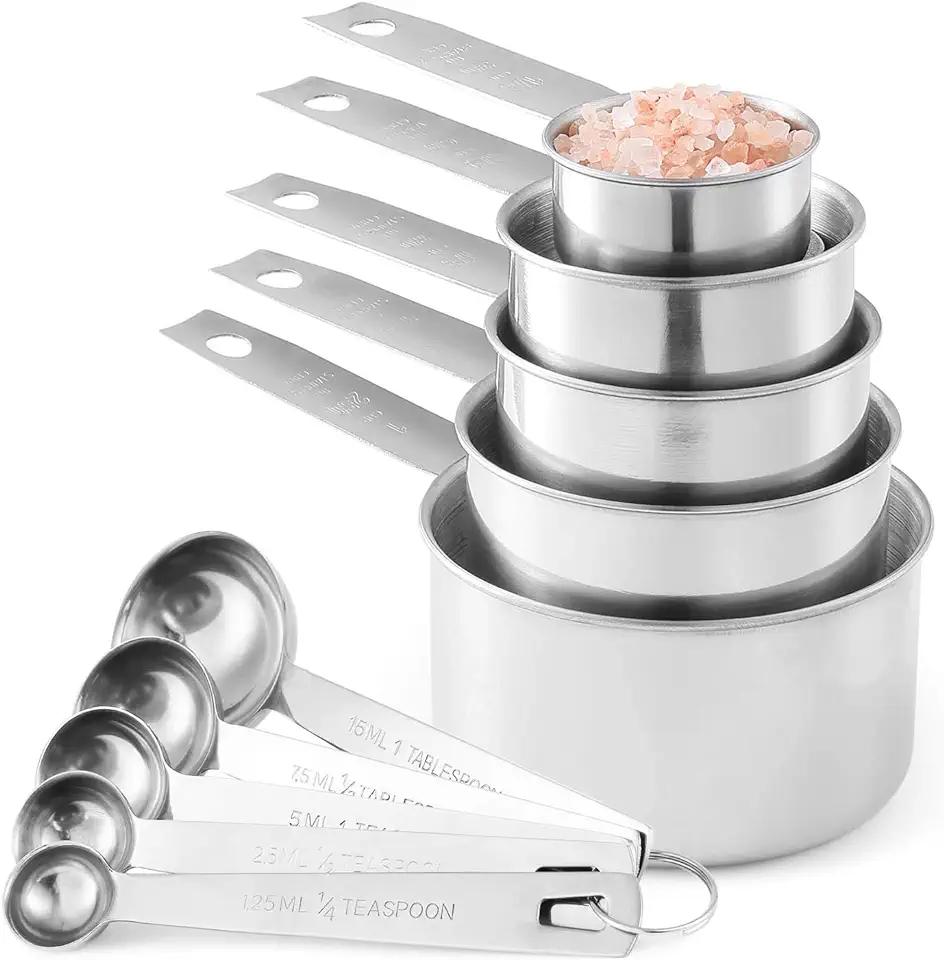 Stainless Steel Measuring Cups And Measuring Spoons 10-Piece Set, 5 Cups And 5 Spoons
$13.95
$17.98
View details
A whisk works wonders for incorporating air into your eggs, creating a lovely fluffy texture.
 OXO Good Grips 11-Inch Balloon Whisk
$10.93
$11.95
View details
Prime
best seller
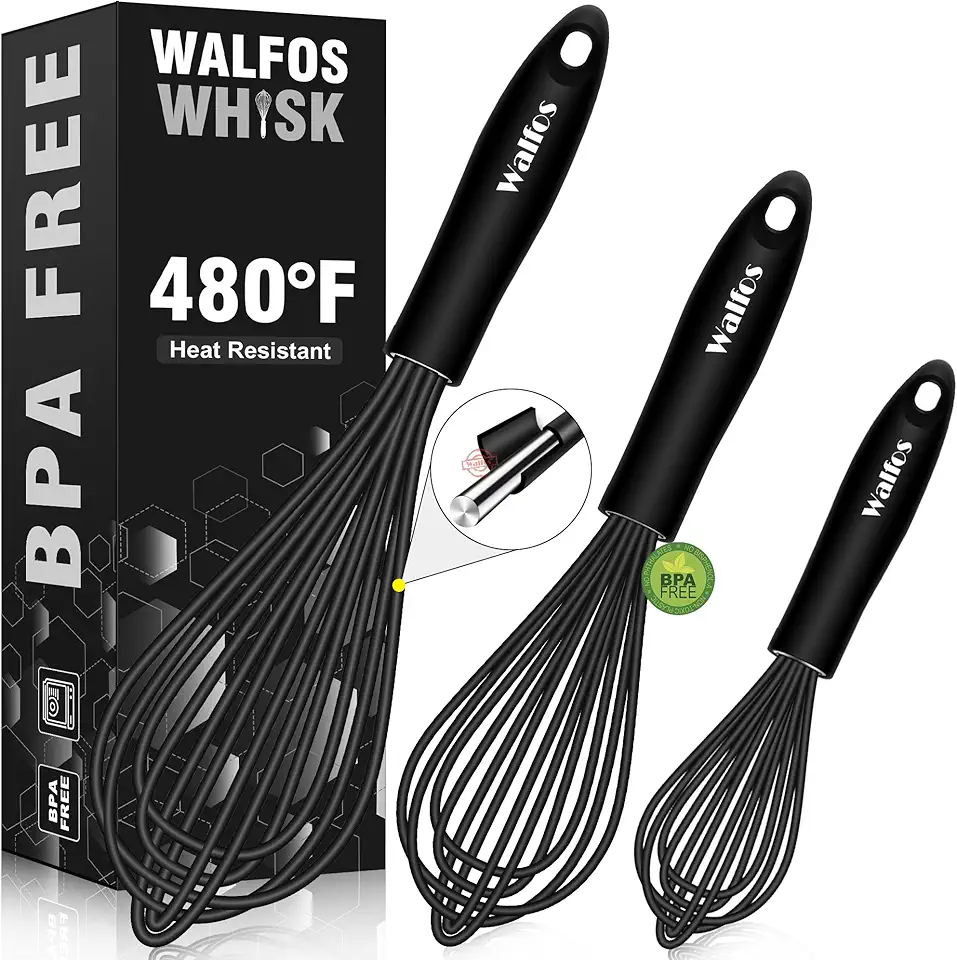 Walfos Silicone Whisk,Stainless Steel Wire Whisk Set of 3 -Heat Resistant 480°F Kitchen Whisks for Non-stick Cookware,Balloon Egg Beater Perfect for Blending,Whisking,Beating,Frothing & Stirring,Black
$11.89
$14.99
View details
Prime
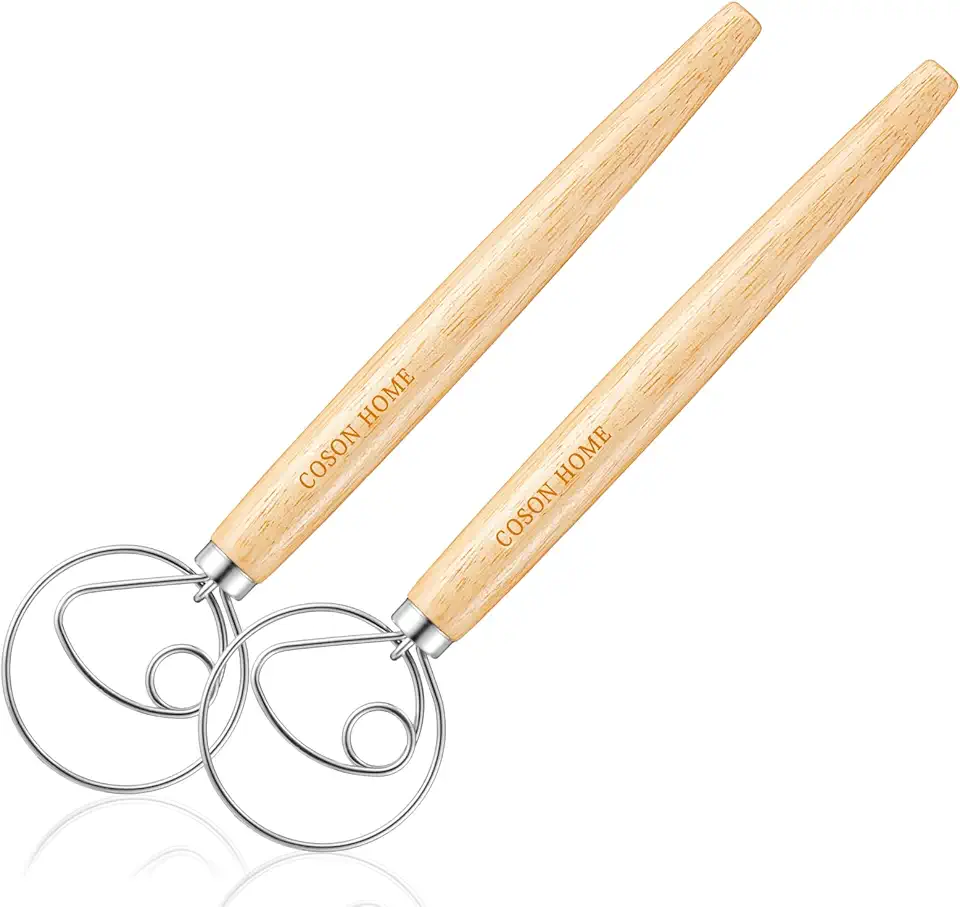 Pack of 2 Danish Dough Whisk Blender Dutch Bread Whisk Hook Wooden Hand Mixer Sourdough Baking Tools for Cake Bread Pizza Pastry Biscuits Tool Stainless Steel Ring 13.5 inches 0.22 lb/pcs…
$9.80
$14.99
View details
Opt for 9 cm diameter molds to achieve the ideal size. Grease them well to avoid sticking.
Make sure it’s preheated to 170°C to ensure your cakes bake evenly.
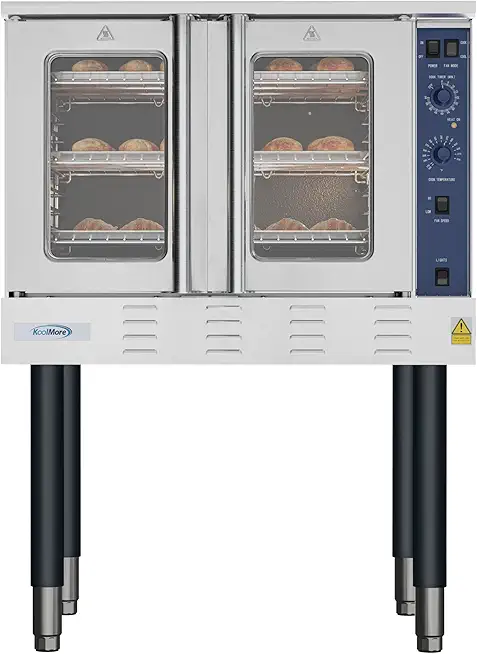 KoolMore 38 in. Full-Size Single Deck Commercial Natural Gas Convection Oven 54,000 BTU in Stainless-Steel (KM-CCO54-NG)
$3651.89
View details
Prime
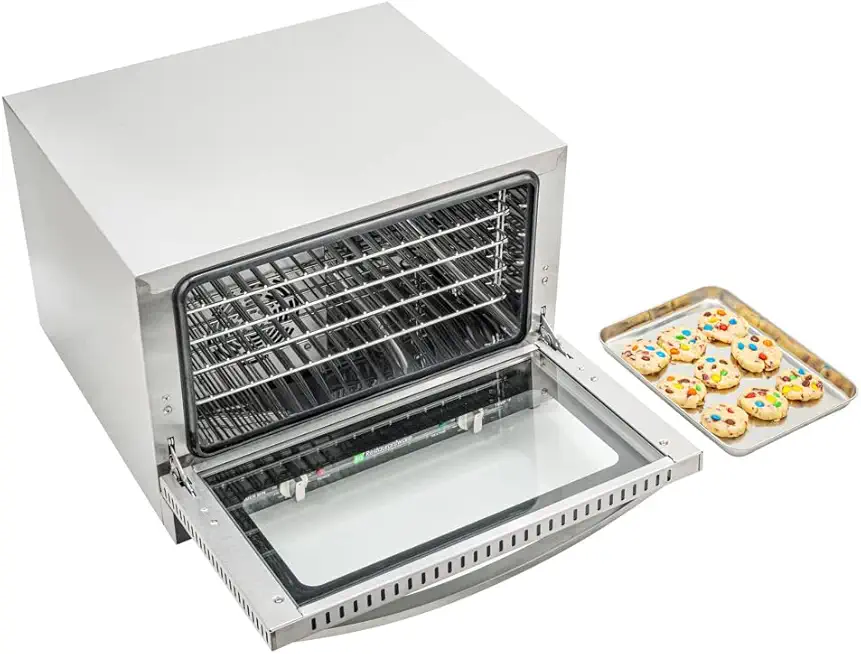 Restaurantware Hi Tek Half Size Convection Oven 1 Countertop Electric Oven - 1.5 Cu. Ft. 120V Stainless Steel Commercial Convection Oven 1600W 4 Racks Included
$1077.29
View details
Prime
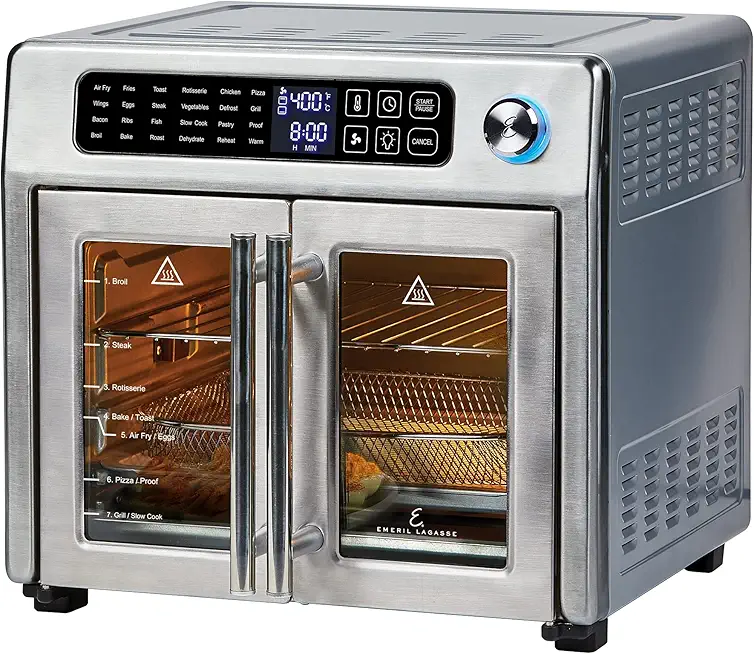 Emeril Lagasse 26 QT Extra Large Air Fryer, Convection Toaster Oven with French Doors, Stainless Steel
$189.99
View details
Variations
Vegan Variation: For a vegan version, replace the eggs with flaxseed meal mixed with water (1 tablespoon flaxseed meal with 3 tablespoons water for each egg) and use plant-based butter or coconut oil in place of the butter. The cottage cheese can be substituted with silken tofu blended until smooth for a creamy texture. 🥥💕
Faq
- What if my cheese cakes stick to the mold?
Ensure that you grease your molds well before pouring in the batter. You can also line the bottoms with parchment paper for easy removal.
- How can I tell when my cheese cakes are done baking?
Insert a toothpick in the center; if it comes out clean or with just a few crumbs, they are ready. Keep an eye on the color; they should be golden brown on top.
- Can I add fruit to the batter?
Absolutely! Fresh or dried fruits like raisins, cranberries, or even chocolate chips make fantastic additions. Just be sure to chop larger fruits into small pieces.
- What type of filling works best?
Feel free to get creative! Nutella and preserves are great options, but you can also use lemon curd or even cream cheese frosting for a different flavor twist.
- How long can I store the leftovers?
These cakes can last 3-4 days in the fridge. Just make sure they are stored in an airtight container to keep them fresh.
- Can I freeze these cheese cakes?
Yes! You can freeze them for up to 3 months. Just wrap them tightly in plastic wrap and then foil before freezing.

