Ingredients
Wet Ingredients
Dry Ingredients
 Bob's Red Mill Gluten Free 1-to-1 Baking Flour, 22 Ounce (Pack of 4)
$23.96
View details
Prime
 Antimo Caputo Chefs Flour - Italian Double Zero 00 - Soft Wheat for Pizza Dough, Bread, & Pasta, 2.2 Lb (Pack of 2)
$16.99
View details
Prime
best seller
 King Arthur, Measure for Measure Flour, Certified Gluten-Free, Non-GMO Project Verified, Certified Kosher, 3 Pounds, Packaging May Vary
$8.62
View details
 Sugar In The Raw Granulated Turbinado Cane Sugar Cubes, No Added Flavors or erythritol, Pure Natural Sweetener, Hot & Cold Drinks, Coffee, Vegan, Gluten-Free, Non-GMO,Pack of 1
$5.27
View details
Prime
 Sugar In The Raw Granulated Turbinado Cane Sugar, No Added Flavors or erythritol, Pure Natural Sweetener, Hot & Cold Drinks, Coffee, Baking, Vegan, Gluten-Free, Non-GMO, Bulk Sugar, 2lb Bag (1-Pack)
$3.74
$4.14
View details
Prime
 C&H Pure Cane Granulated White Sugar, 25-Pound Bags
$56.99
$49.98
View details
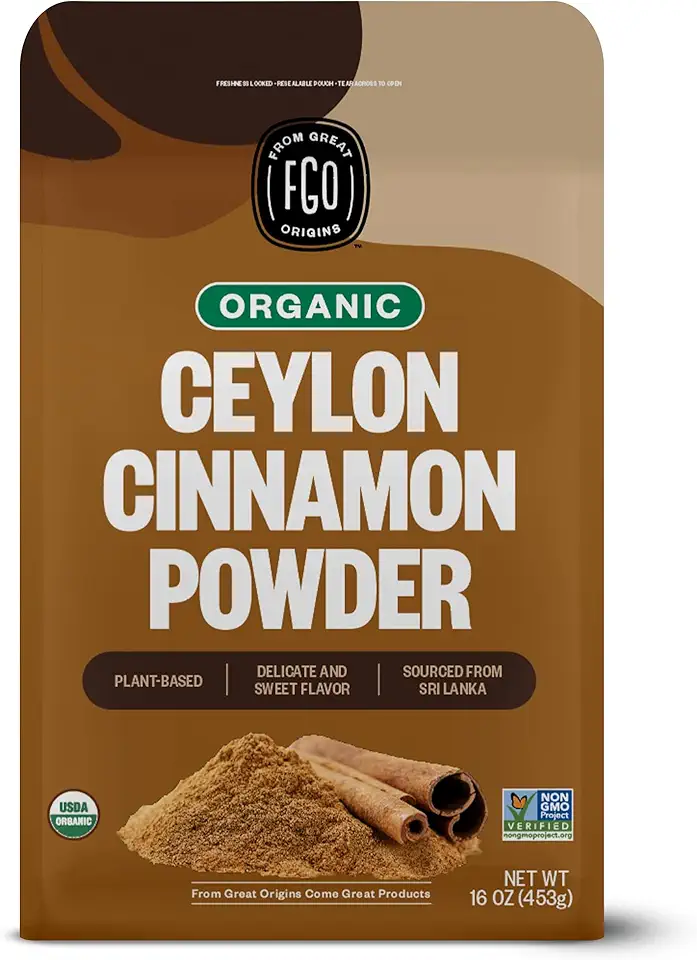 FGO Organic Ceylon Cinnamon Powder, 100% Raw from Sri Lanka, 16oz, Packaging May Vary (Pack of 1)
$19.99
View details
Prime
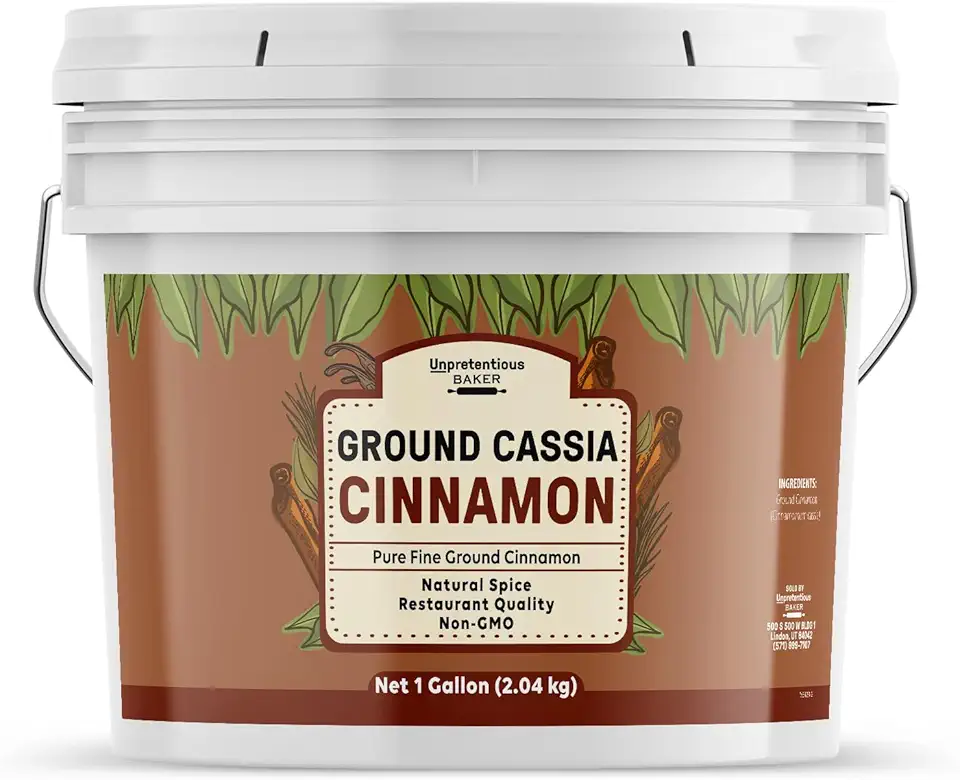 Unpretentious Ground Cassia Cinnamon, 1 Gallon, Baking & Cooking
$45.99
View details
Prime
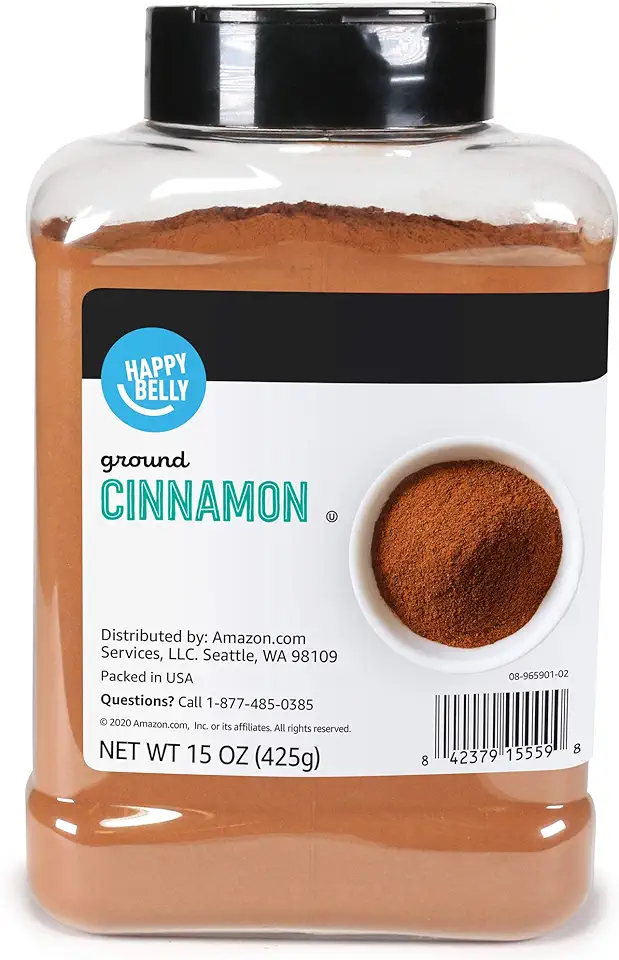 Amazon Brand - Happy Belly Cinnamon, Ground, 15 ounce (Pack of 1)
$9.02
$10.31
View details
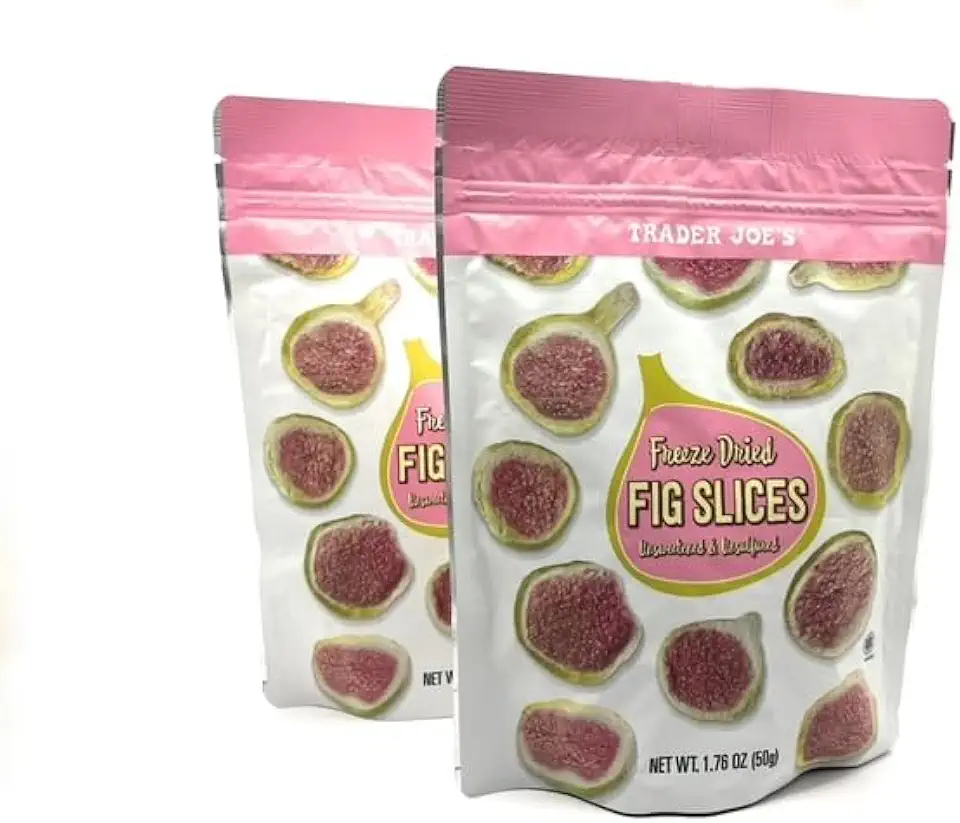 Freeze-Dried Fig Slices Unsweetened & Unsulfured by Trader Joes 1.76 oz (50g) – Pack of 2
$24.99
View details
Prime
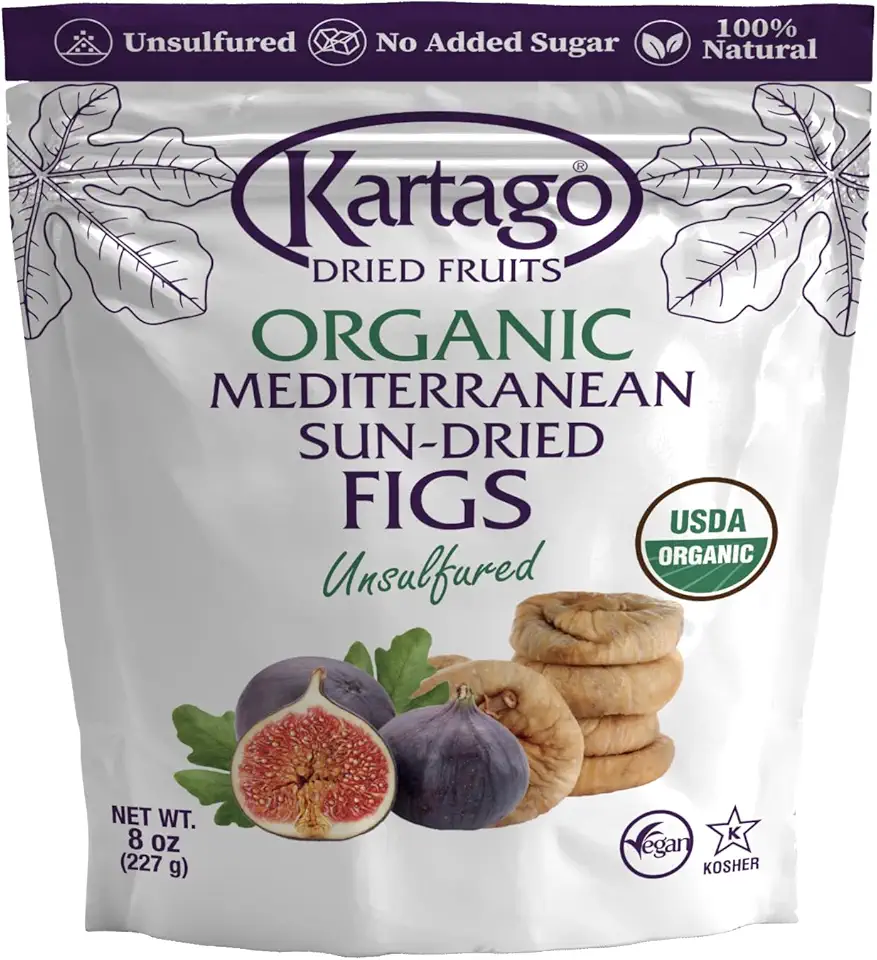 Kartago Organic Dried Figs - Unsulfured Mediterranean Sun Dried Figs - Vegan, Kosher, Gluten Free, No Added Sugar - Healthy Natural Vegan Snacks - 8oz (2-pack)
$14.99
View details
Prime
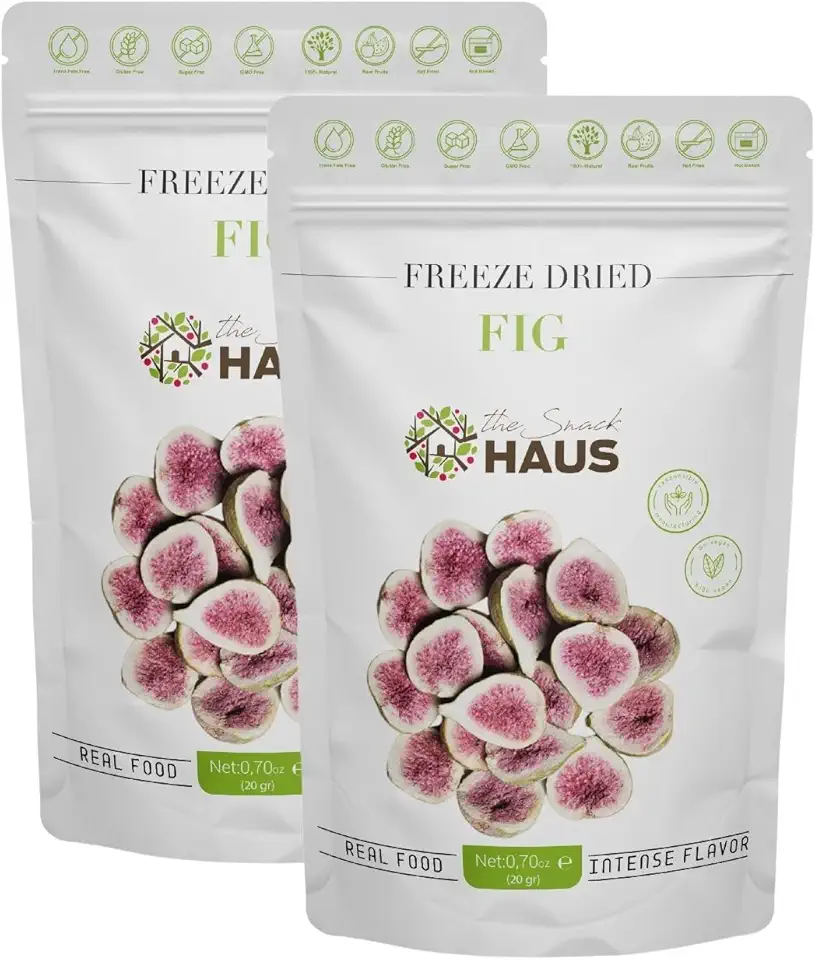 The Snack Haus Freeze-Dried Figs (2 Pack) | All-Natural, No Preservatives | Nutrient-Rich, High Fiber Snack | Perfect for Yogurt, Granola, or On-The-Go! (0.70 Oz/Pack)
$11.99
View details
Frosting Ingredients
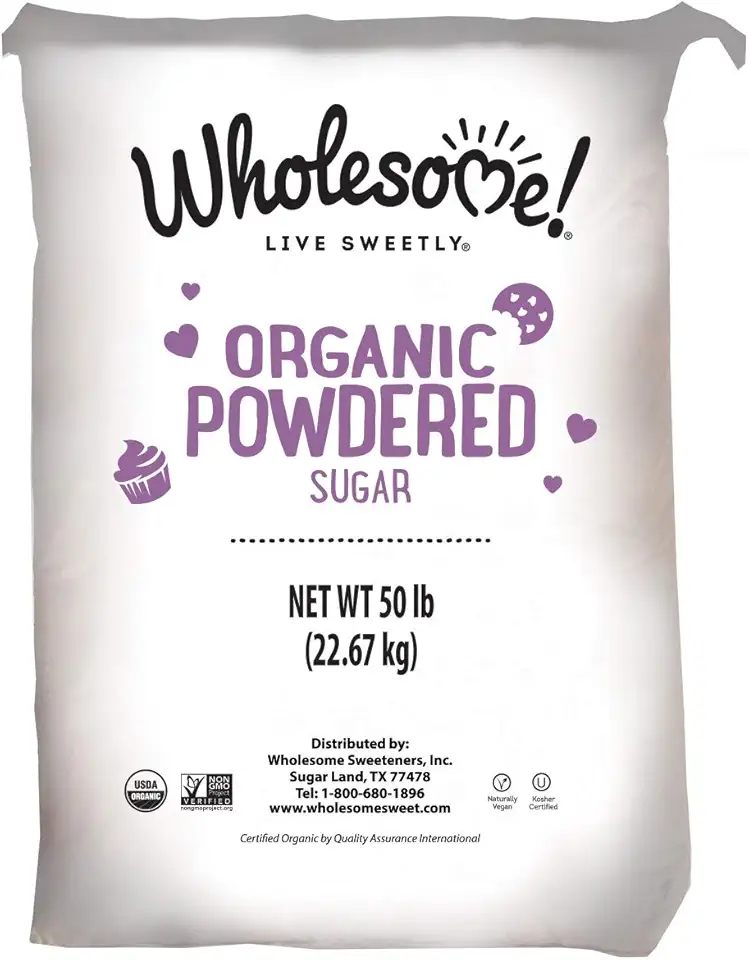 Wholesome Fair Trade Organic Powdered Sugar, Naturally Flavored Real Sugar, Non GMO & Gluten Free, 50 Pound (Pack of 1)
$106.95
View details
Prime
best seller
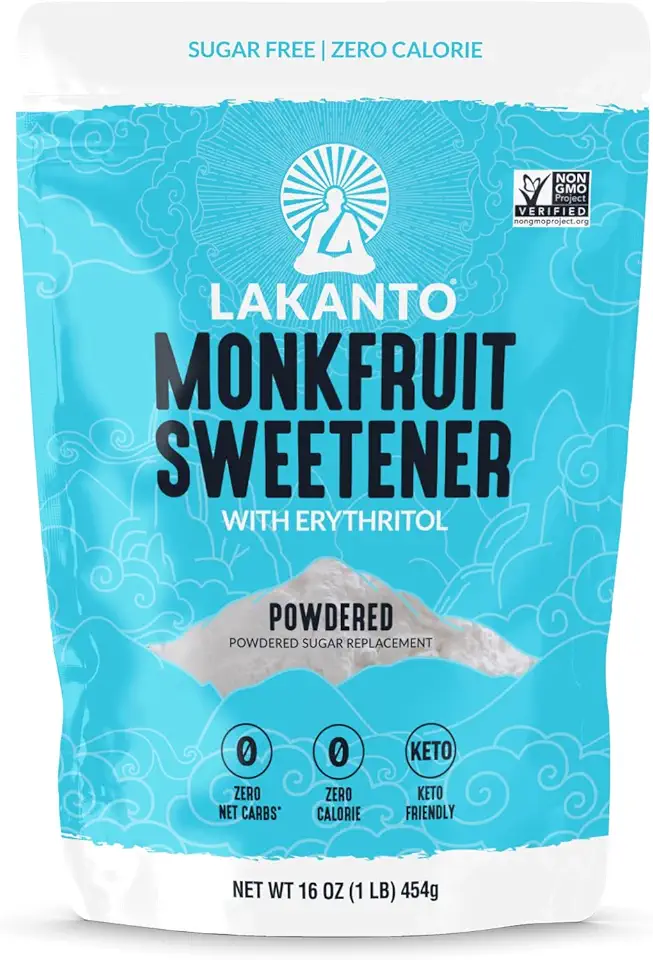 Lakanto Powdered Monk Fruit Sweetener with Erythritol - Powdered Sugar Substitute, Zero Calorie, Keto Diet Friendly, Zero Net Carbs, Baking, Extract, Sugar Replacement (Powdered - 1 lb)
$11.90
View details
Prime
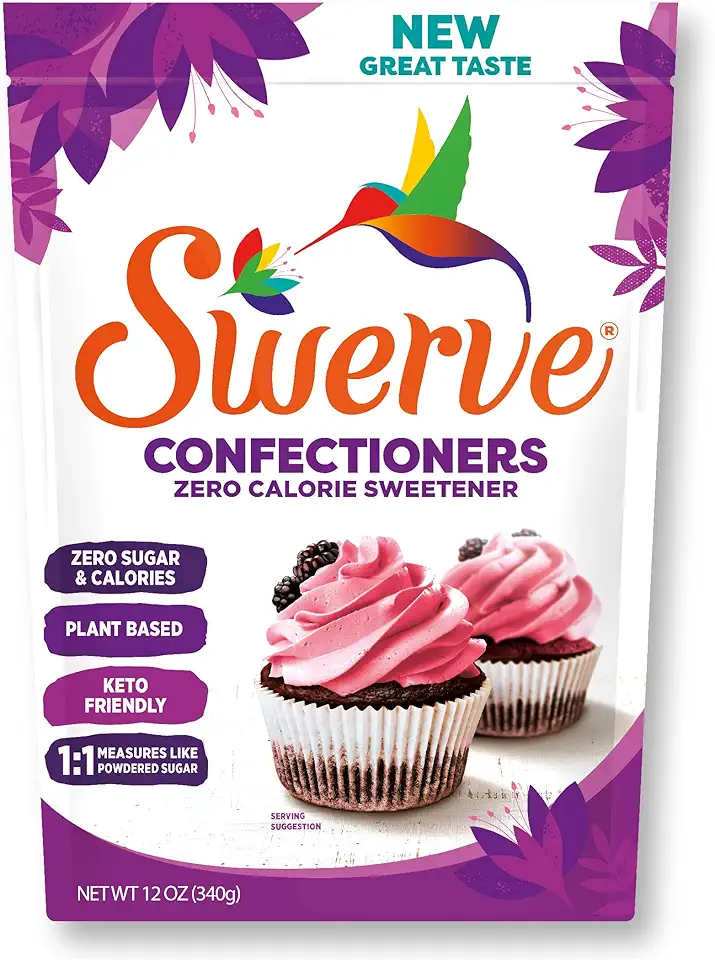 Swerve Sweetener Powder, Confectioners, 12 oz
$6.98
View details
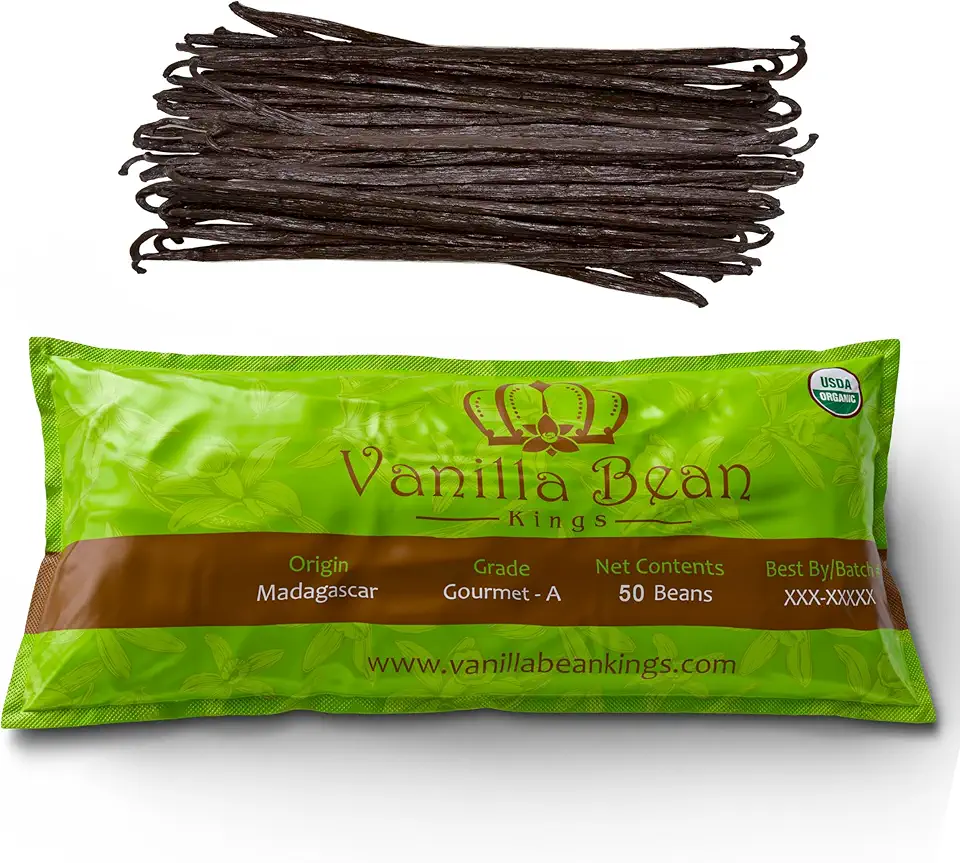 50 Organic Madagascar Vanilla Beans. Whole Grade A Vanilla Pods for Vanilla Extract and Baking
$39.99
View details
Prime
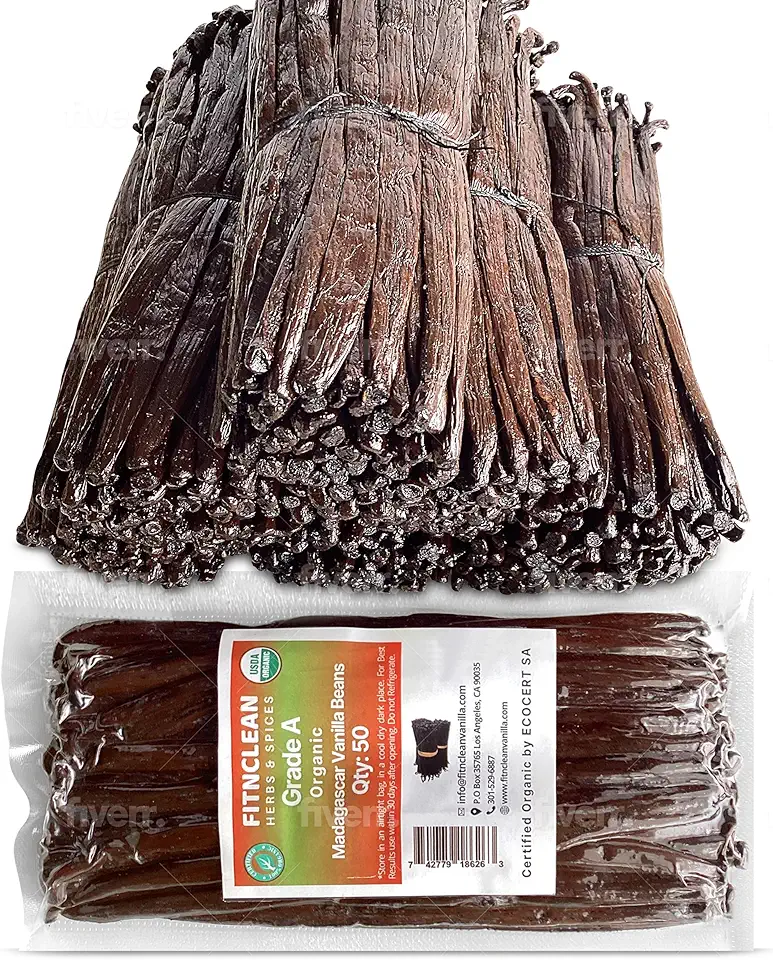 50 Organic Grade A Madagascar Vanilla Beans. Certified USDA Organic for Extract and all things Vanilla by FITNCLEAN VANILLA. ~5" Bulk Fresh Bourbon NON-GMO Pods.
$37.99
View details
Prime
 Nielsen-Massey Madagascar Bourbon Pure Vanilla Extract for Baking and Cooking, 4 Ounce Bottle
$19.95
View details
Instructions
Step 1
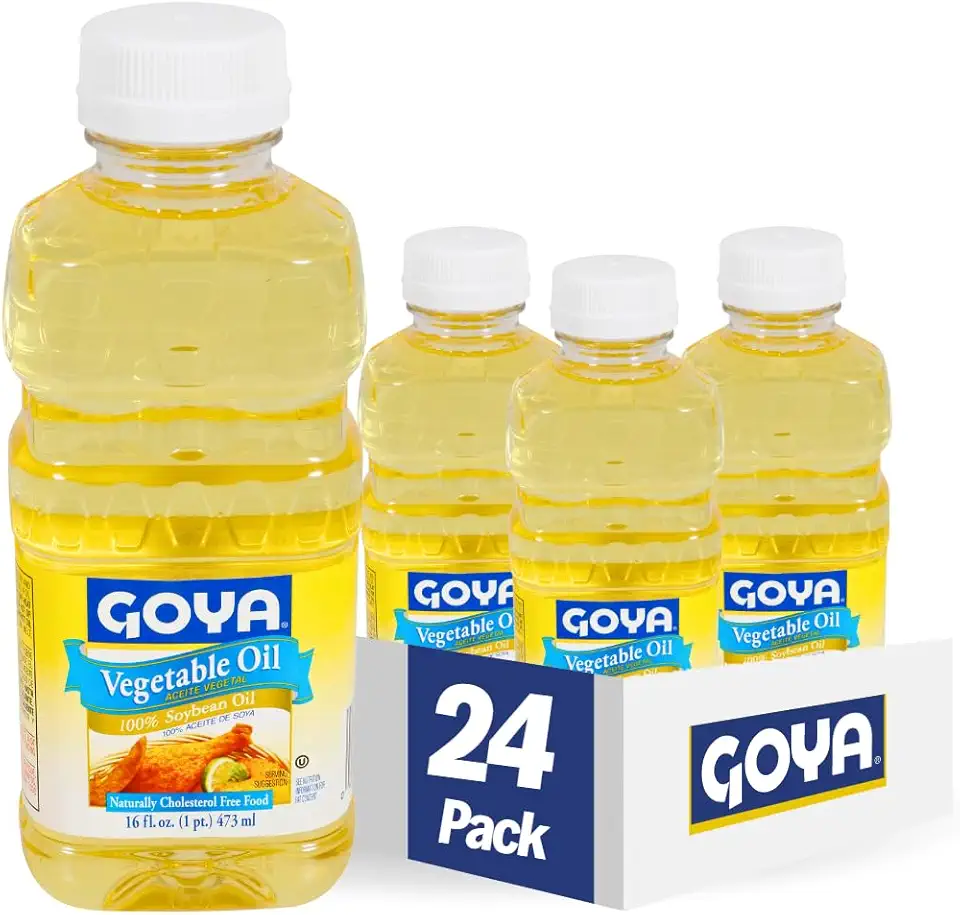
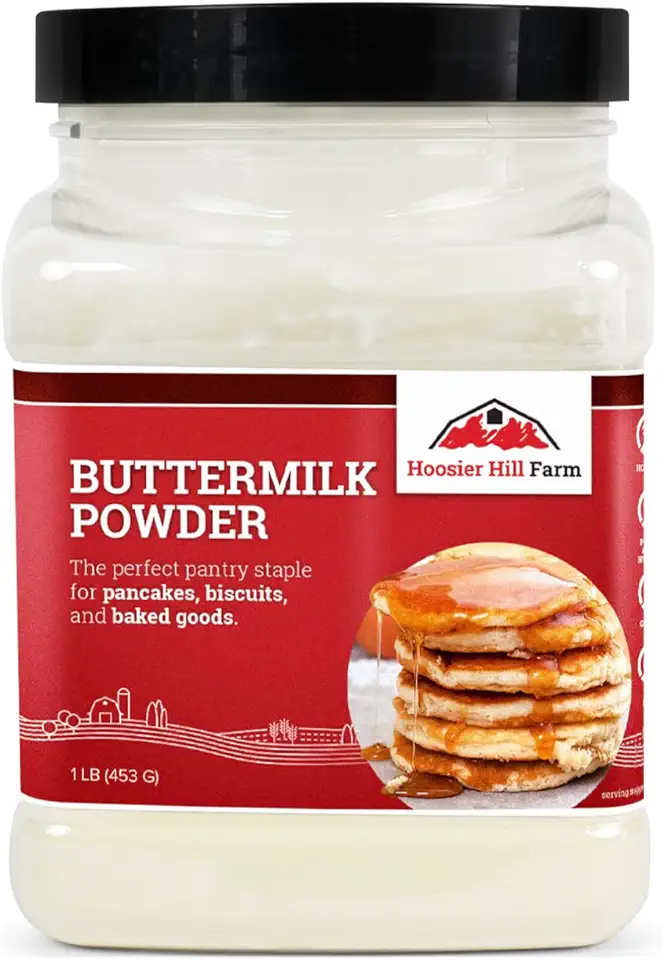
In a large mixing bowl, combine water, vegetable oil, and buttermilk. Stir well until all liquids are fully blended together.
Step 2
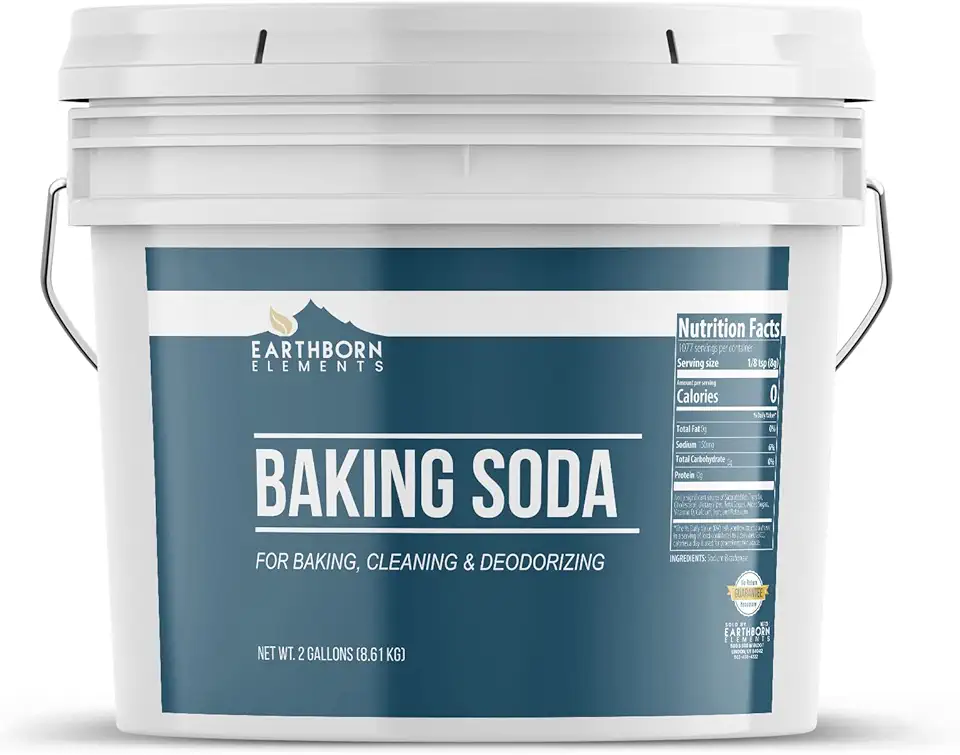
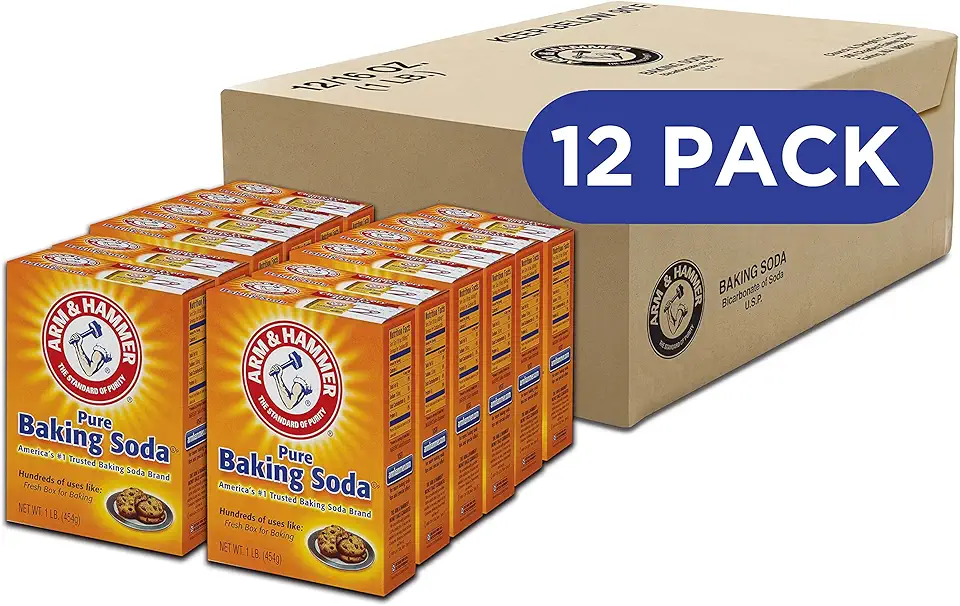
In another bowl, whisk together all-purpose flour, granulated sugar, baking powder, baking soda, salt, and ground cinnamon.
Make sure there are no lumps for a smooth cake texture.
Step 3
Gradually pour the dry ingredient mixture into the wet ingredients. Mix gently until just combined. Over-mixing may result in a tough cake, so be careful!
Step 4
Fold in the finely chopped dried figs until they are evenly distributed throughout the batter.
Step 5
Preheat your oven to 350°F (175°C). Pour the batter into a greased cake pan, spreading it out evenly.
Bake for about 30-35 minutes or until a toothpick inserted into the center comes out clean.
Step 6
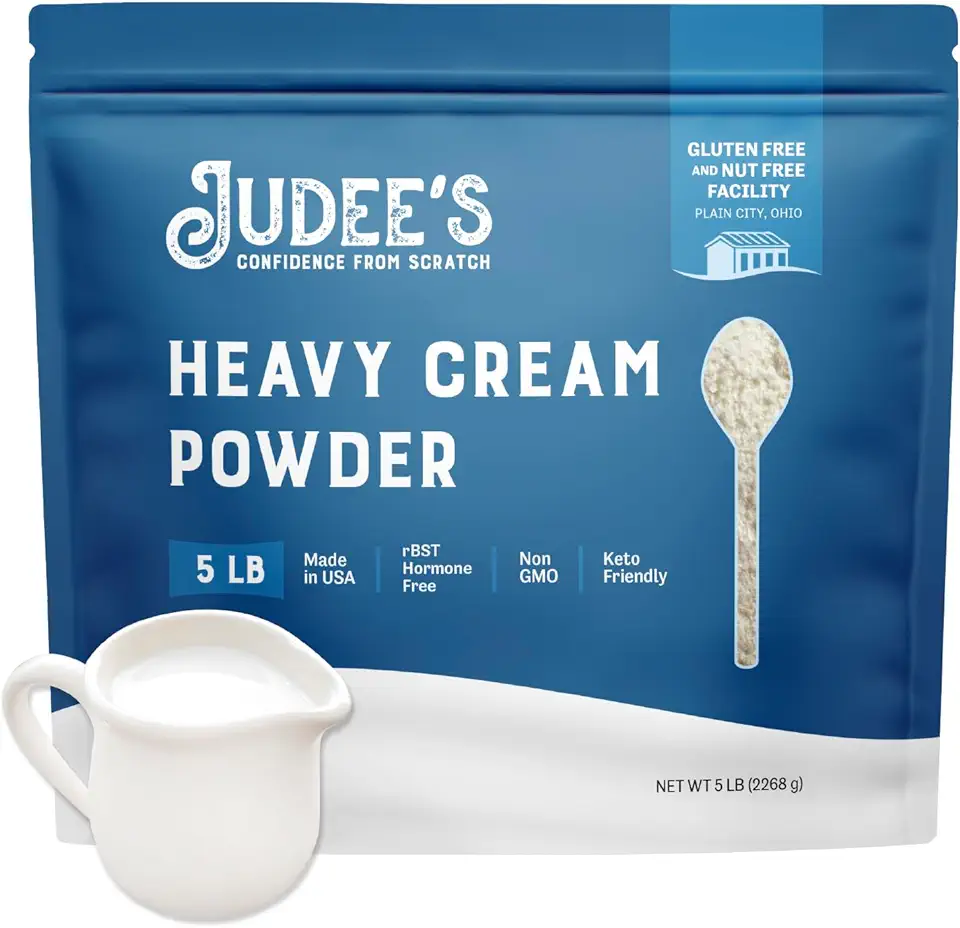
While the cake is cooling, whisk together heavy cream, powdered sugar, and vanilla extract in a bowl until stiff peaks form.
Step 7
Once the cake has completely cooled, spread the frosting evenly on top of the cake.
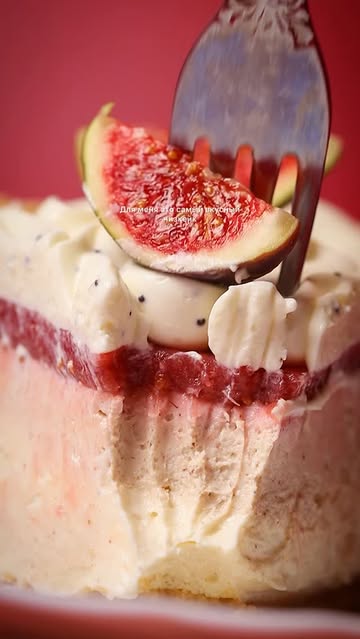
Decorate with extra chopped figs if desired, and your amazing fig cake is ready to serve!
Servings
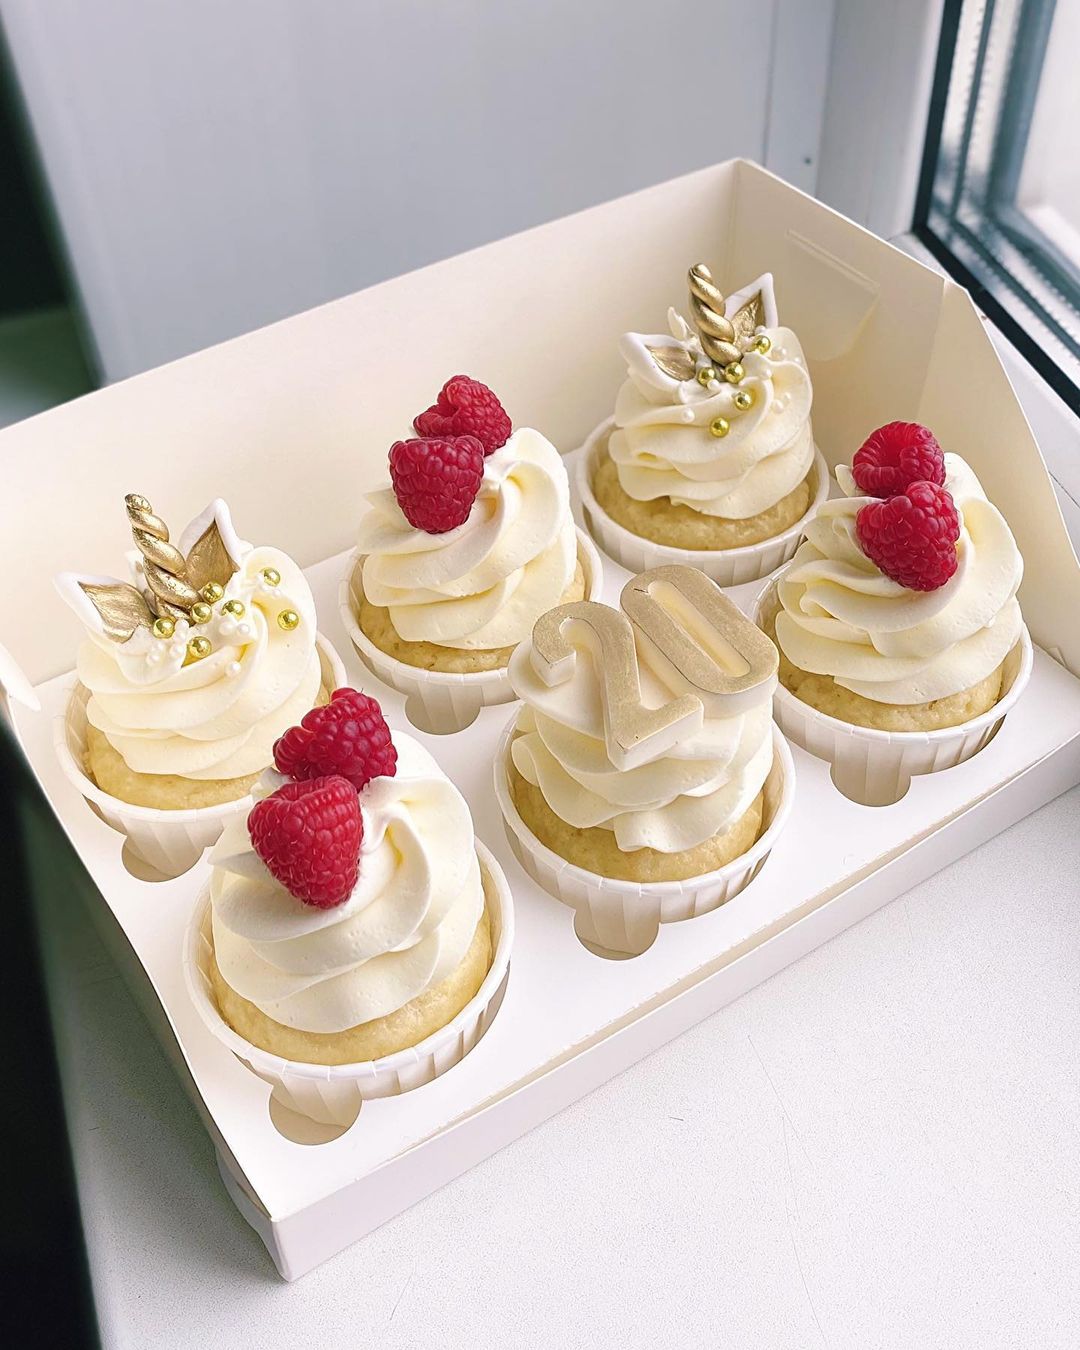
For a charming presentation, consider placing your pastries in cute, individual paper cases. This touch adds a personal flair and makes them easy to grab. Hosting a picnic? Pack them along with some refreshing fruit and a light salad for a sweet and savory spread. 🍓🥗
Finally, sprinkle some fresh herbs like mint or basil for a pop of color and an unexpected twist that will leave everyone guessing at this delightful combination! 🍃
Equipment
A sturdy mixing bowl is a must for combining your ingredients. Choose one that’s large enough to avoid any spills while mixing.
 YIHONG 7 Piece Mixing Bowls with Lids for Kitchen, Stainless Steel Mixing Bowls Set Ideal for Baking, Prepping, Cooking and Serving Food, Nesting Metal Mixing Bowls for Space Saving Storage
$27.99
$35.99
View details
Prime
best seller
 Pyrex Glass, 3-Piece, 3 PC Mixing Bowl Set
$17.53
View details
Prime
 REGILLER Stainless Steel Mixing Bowls (Set of 5), Non Slip Colorful Silicone Bottom Nesting Storage Bowls, Polished Mirror Finish For Healthy Meal Mixing and Prepping 1.5-2 - 2.5-3.5 - 7QT (Colorful)
$26.99
View details
A good whisk helps achieve a light and airy consistency. Opt for a stainless steel or silicone whisk as they are durable and easy to clean.
 OXO Good Grips 11-Inch Balloon Whisk
$10.93
$11.95
View details
Prime
best seller
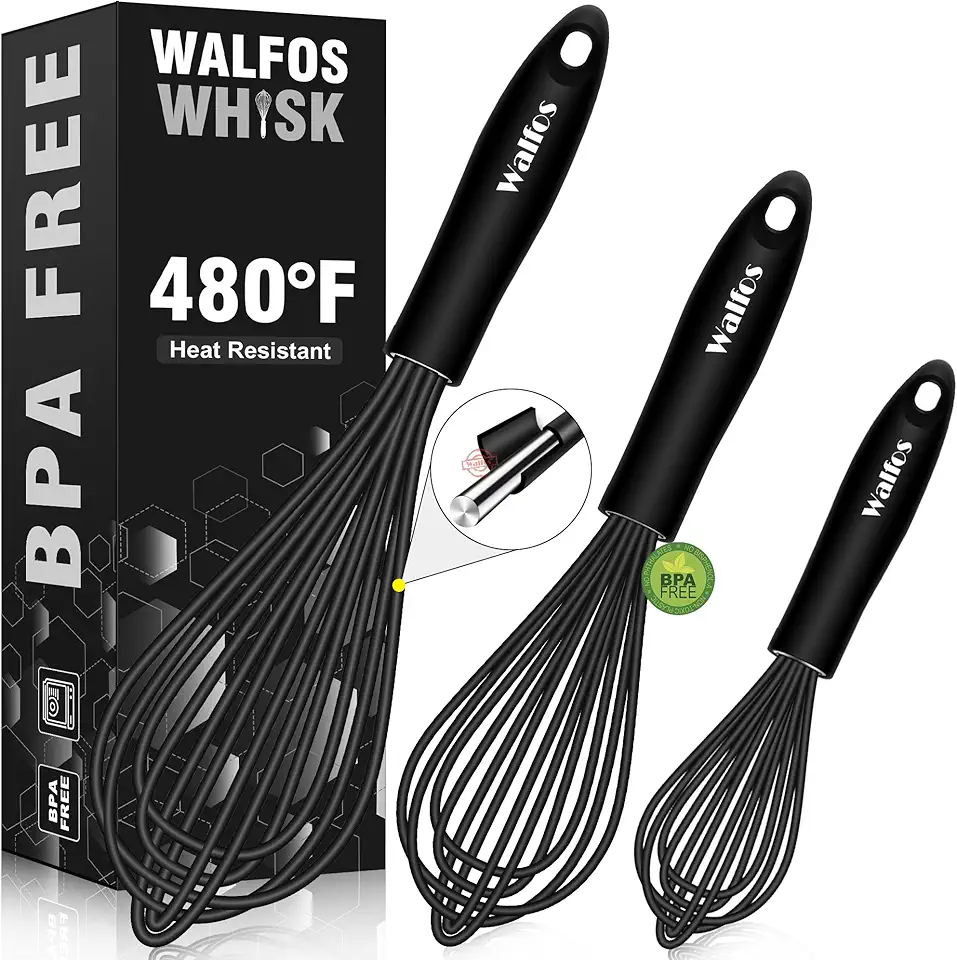 Walfos Silicone Whisk,Stainless Steel Wire Whisk Set of 3 -Heat Resistant 480°F Kitchen Whisks for Non-stick Cookware,Balloon Egg Beater Perfect for Blending,Whisking,Beating,Frothing & Stirring,Black
$11.89
$14.99
View details
Prime
 Pack of 2 Danish Dough Whisk Blender Dutch Bread Whisk Hook Wooden Hand Mixer Sourdough Baking Tools for Cake Bread Pizza Pastry Biscuits Tool Stainless Steel Ring 13.5 inches 0.22 lb/pcs…
$9.80
$14.99
View details
Use a non-stick baking sheet to ensure your pastries bake evenly and don’t stick. Consider lining it with parchment paper for easy cleanup!
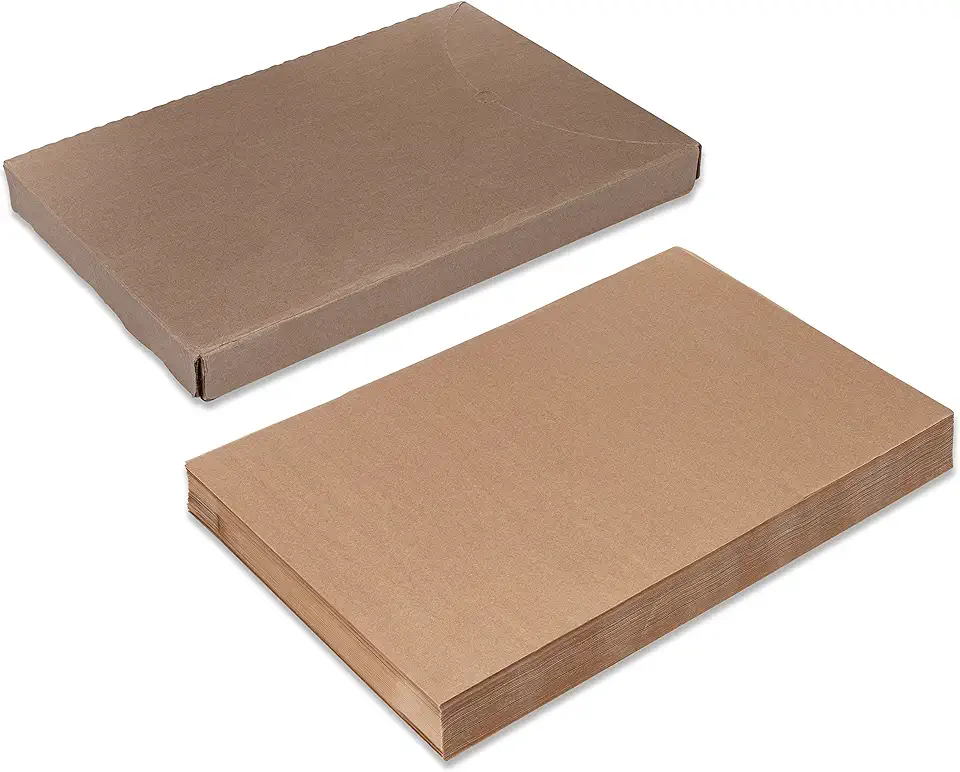 Paterson Paper 16" x 24" Full Size Unbleached Chromium-Free Reusable Baking Parchment Paper Sheets Commercial Bun/Sheet Pan Liners - 1000/Case - 425F - Non-Stick/Grease-Resistant
$169.58
View details
Prime
best seller
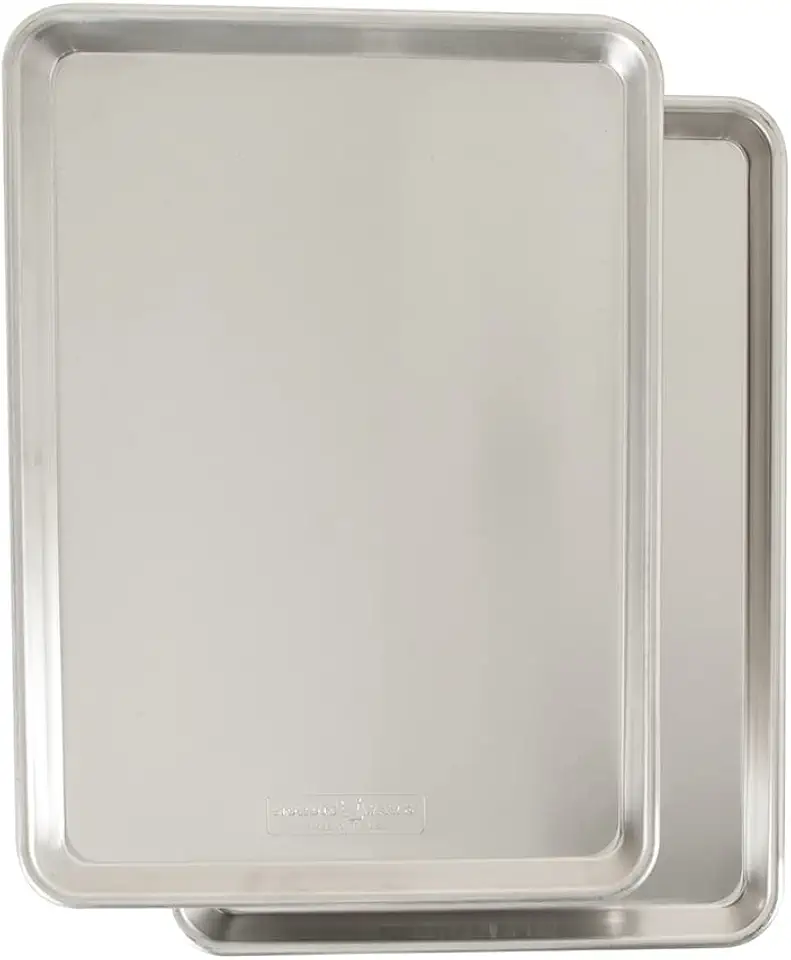 Nordic Ware Naturals Half Sheet, 2-Pack, Natural
$37.80
View details
Prime
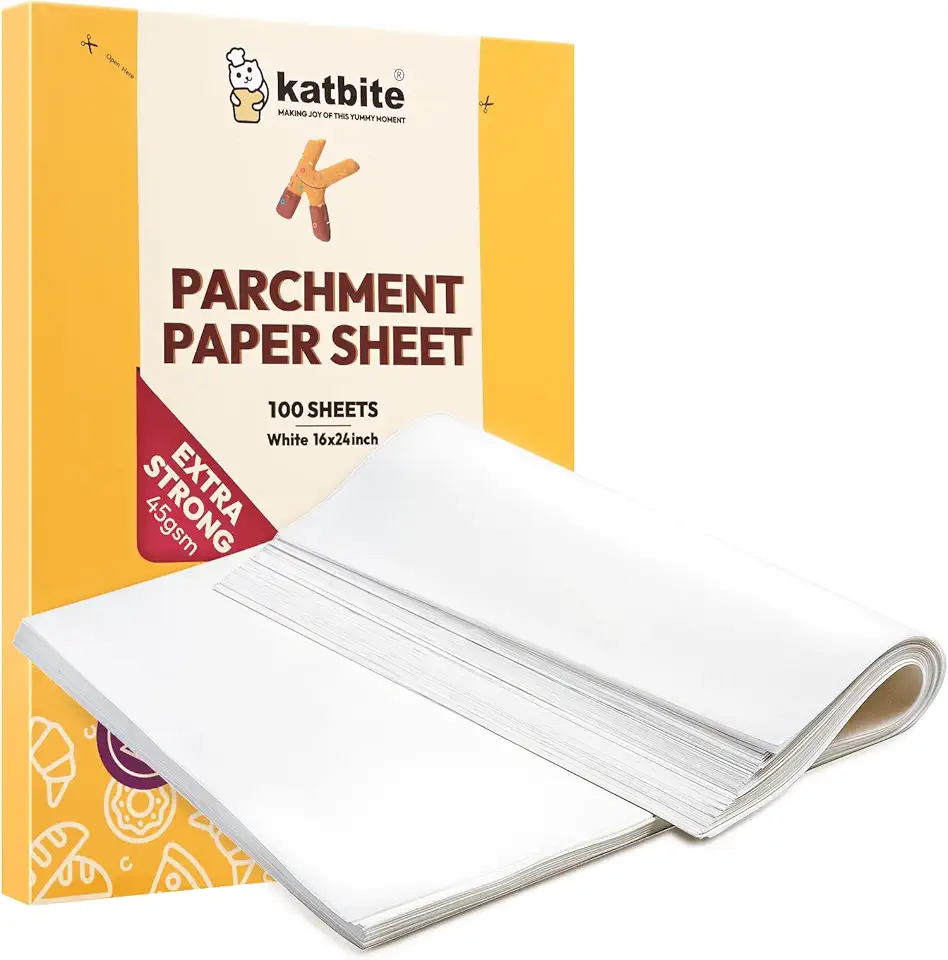 Katbite 16x24 inch Heavy Duty Parchment Paper Sheets, 100Pcs Precut Non-Stick Full Parchment Sheets for Baking, Cooking, Grilling, Frying and Steaming, Full Sheet Baking Pan Liners, Commercial Baking
$18.99
$25.99
View details
For rolling out dough, a heavy rolling pin is ideal. It gives you the control needed to achieve your desired thickness with ease.
 Farberware Classic Wood Rolling Pin, 17.75-Inch, Natural
$12.99
$13.99
View details
Prime
 Fox Run Polished Marble Rolling Pin with Wooden Cradle, 10-Inch Barrel, White
$20.88
View details
Prime
 French Rolling Pin (17 Inches) –WoodenRoll Pin for Fondant, Pie Crust, Cookie, Pastry, Dough –Tapered Design & Smooth Construction - Essential Kitchen Utensil
$9.99
View details
Variations
Vegan Variation: For a vegan take on this yummy recipe, replace the eggs with flaxseed eggs (mix 1 tbsp of ground flaxseed with 2.5 tbsp of water, let sit for 5 minutes) and use almond or coconut milk instead of dairy. This makes for a deliciously fluffy pastry without any animal products! 🌱
Faq
- What is the best way to prevent my pastries from sticking to the baking sheet?
Always use parchment paper or a silicone baking mat to line your baking sheets. This not only prevents sticking but also makes cleanup a breeze!
- How long should I let my dough rest before rolling it out?
It's ideal to let your dough rest for at least 30 minutes in the fridge. This helps to relax the gluten and makes it much easier to roll out.
- What if my pastries aren't rising as expected?
Check the freshness of your baking powder or yeast. Outdated leavening agents can impact the rise of your pastries.
- Can I freeze the pastries before baking them?
Absolutely! You can freeze unbaked pastries. Just make sure to wrap them tightly in plastic wrap and store them in an airtight container.
- What techniques can I use to achieve a golden crust?
Brushing the pastry with an egg wash (a beaten egg diluted with water or milk) before baking will give it that lovely golden color. For a vegan option, a mixture of almond milk with a bit of maple syrup works great too!
- How do I know when my pastries are fully baked?
Look for a golden-brown color and a firm texture. You can also gently tap the bottom of the pastry; if it sounds hollow, it’s likely done!

