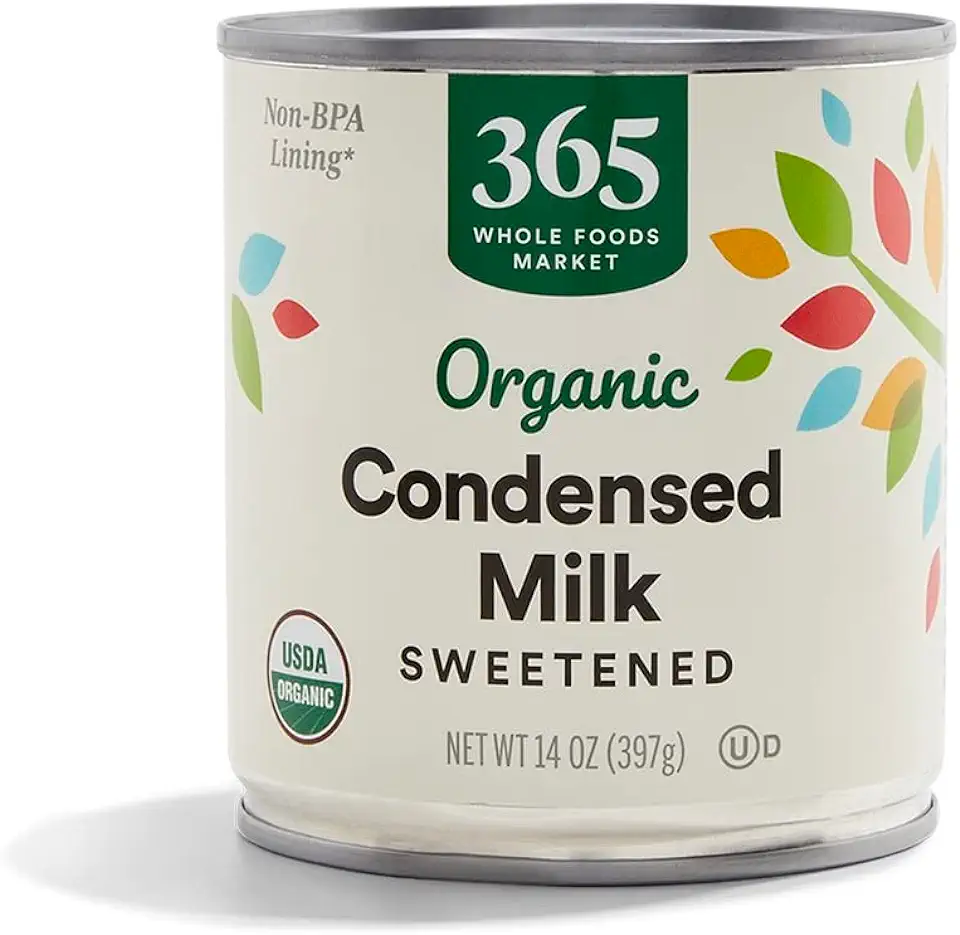
Ingredients
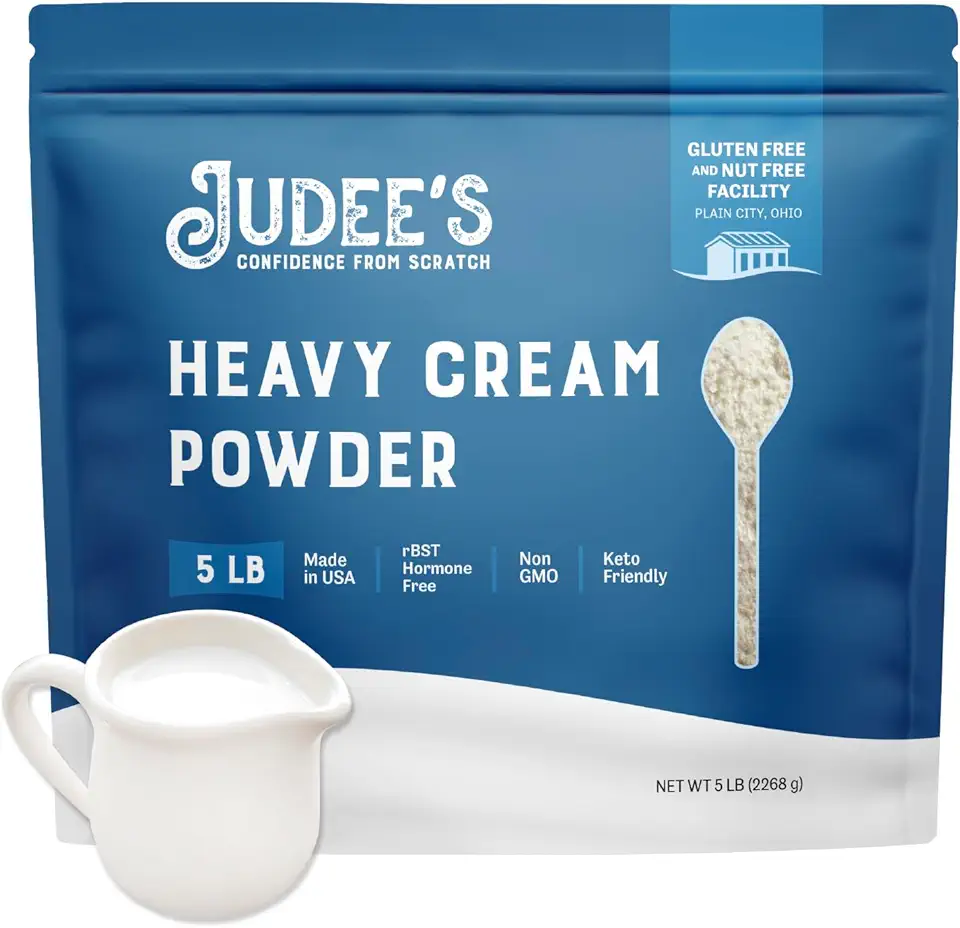
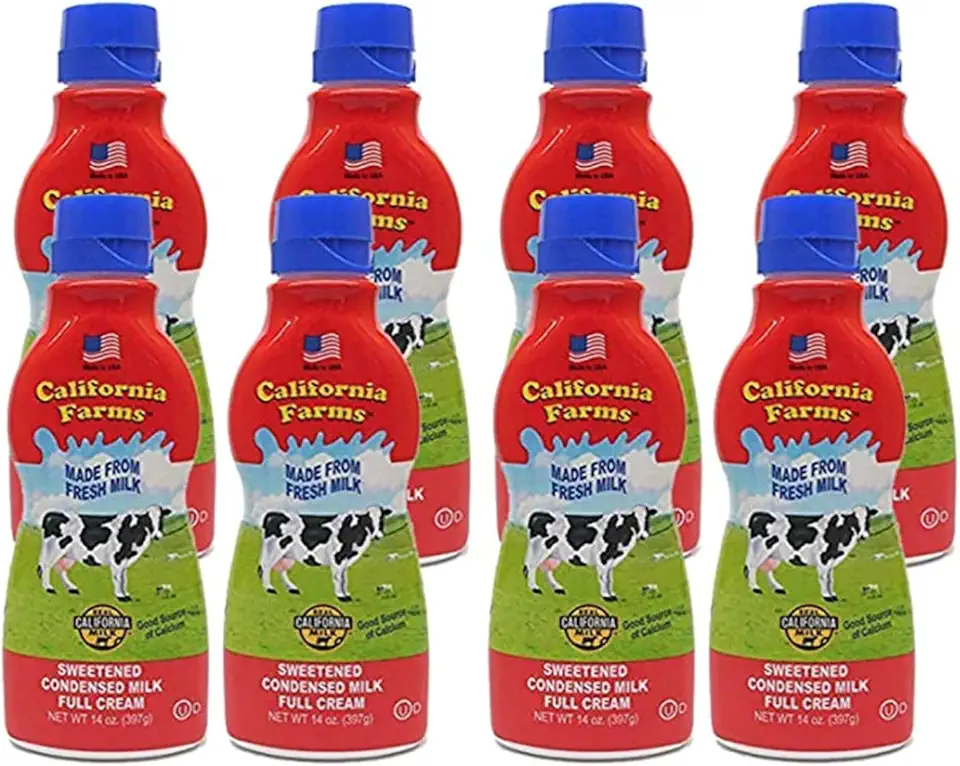
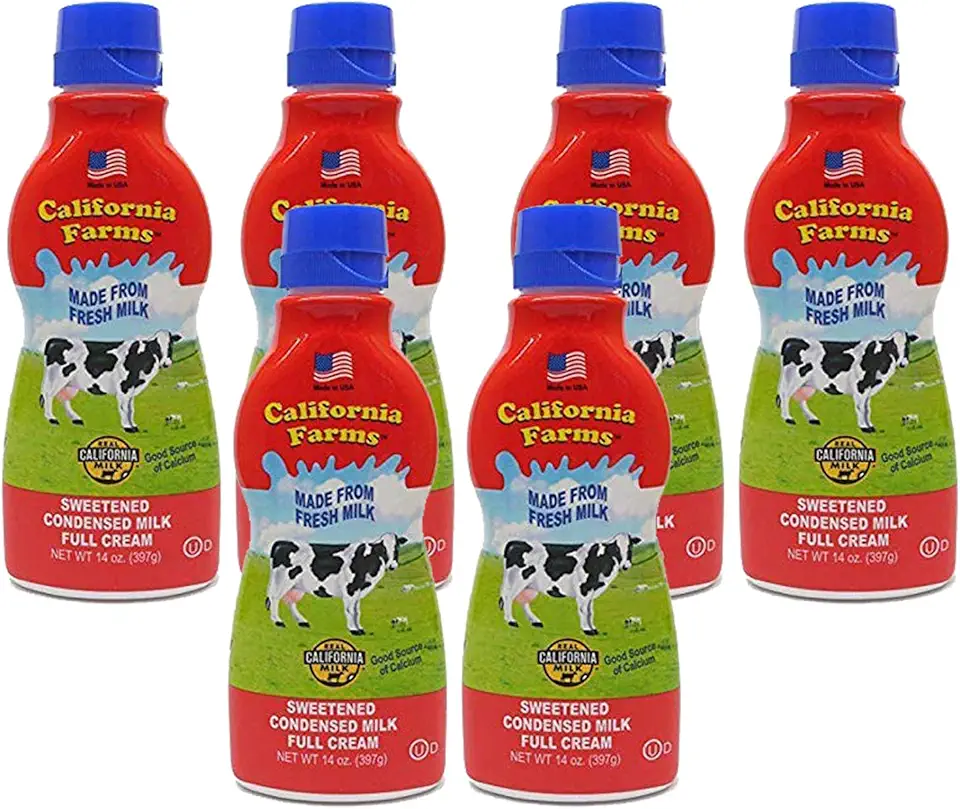
Ice Cream Base
Chocolate Glaze
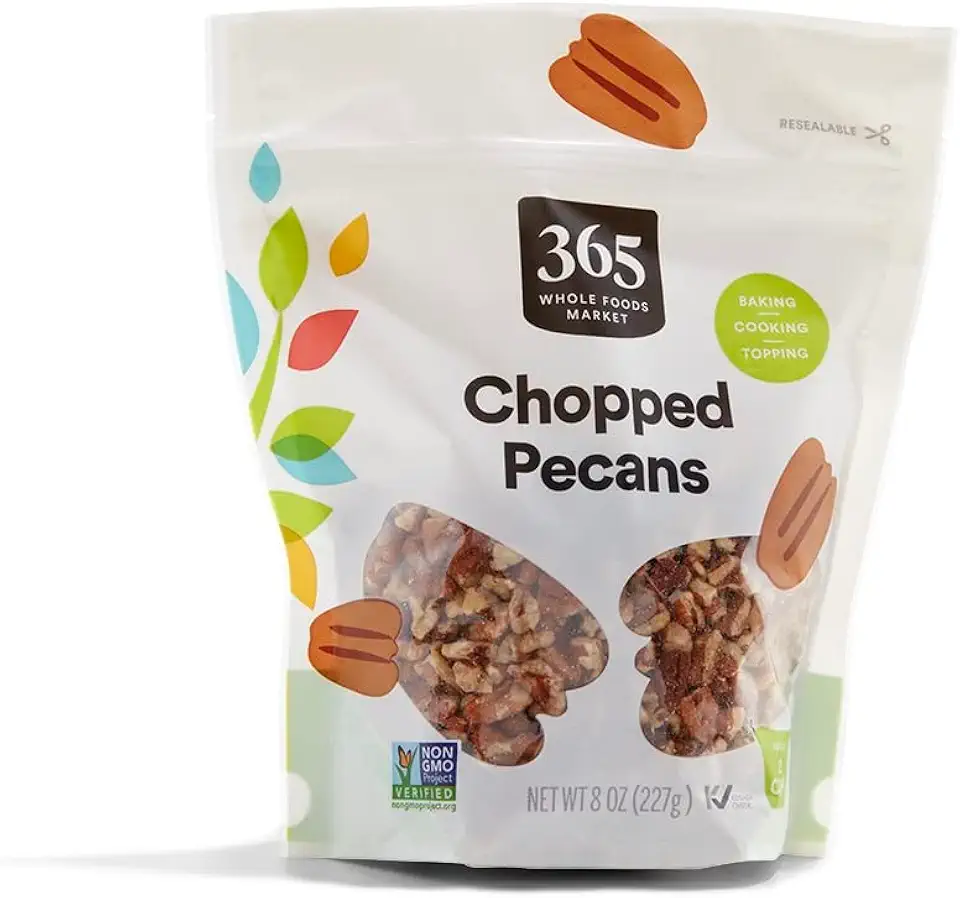 365 by Whole Foods Market, Chopped Pecans, 8 Ounce
$9.69
View details
Prime
best seller
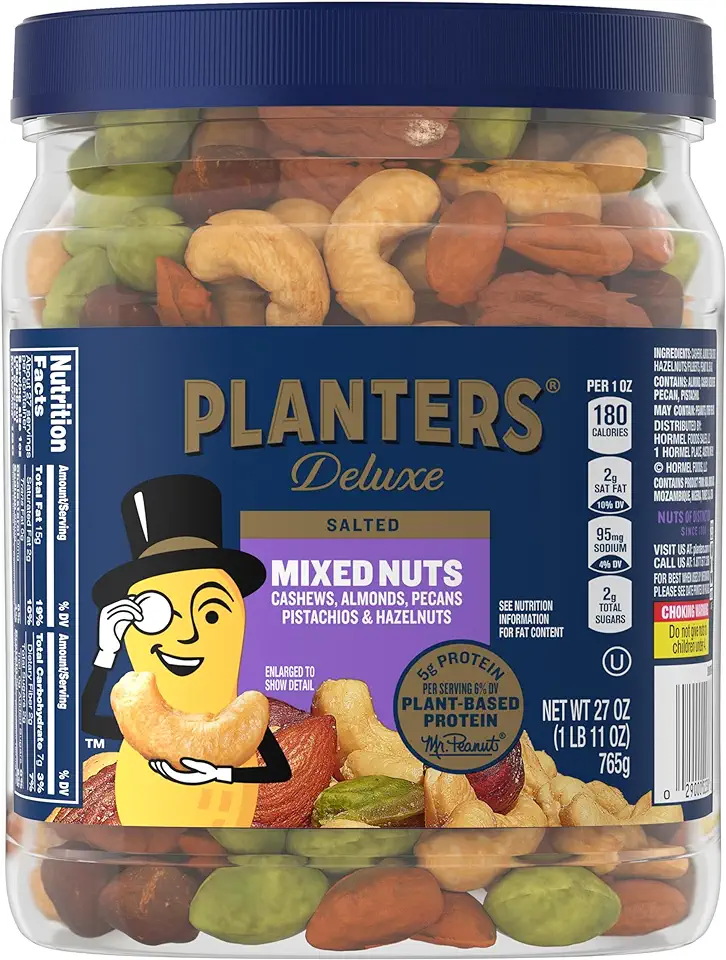 PLANTERS Deluxe Mixed Nuts, Cashews, Almonds, Pecans, Pistachios, Hazelnuts, Roasted with Sea Salt, Party Snacks, Plant-Based Protein, Quick Snack for Adults, After School Snack, 27oz Container
$15.92
$17.51
View details
Instructions
Step 1
Start by whipping the heavy cream in a mixing bowl using an electric mixer until it reaches a soft peak stage. You should see trails left by the beaters in the cream.
Once the cream thickens slightly, add in the sweetened condensed milk and continue to whip until the mixture is light and fluffy.
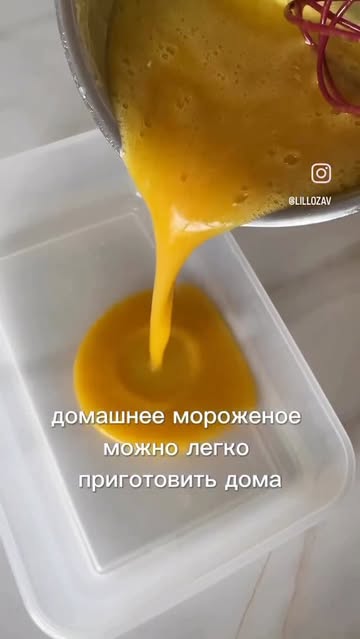
Pour the ice cream mixture into a silicone popsicle mold, insert wooden sticks, and place it in the freezer for about 5 to 6 hours or until fully set.
Step 2
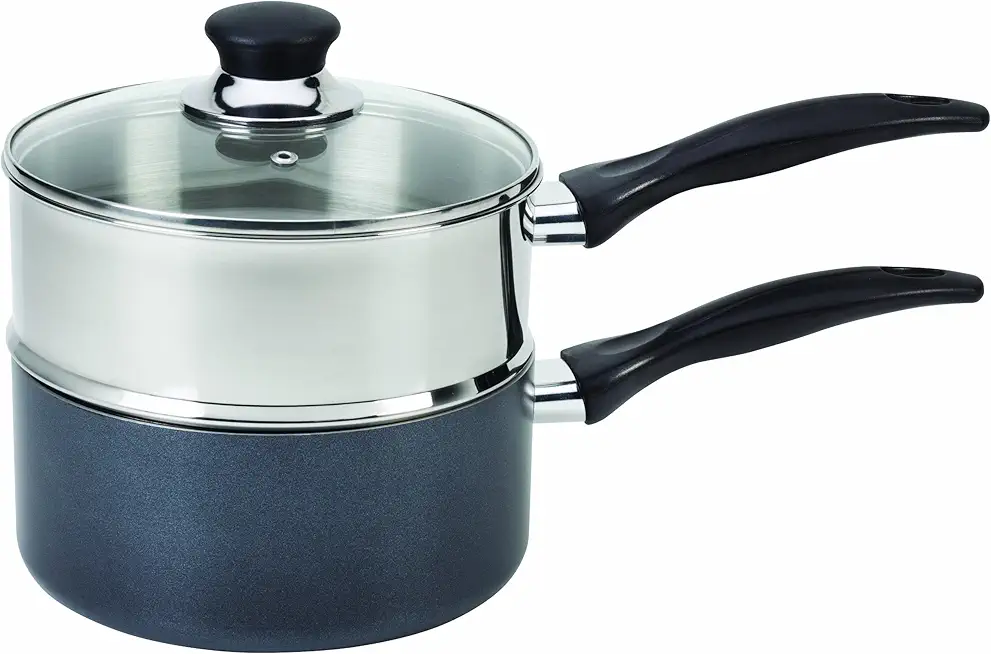
To create the glaze, gently melt the milk chocolate using a double boiler or by microwaving in short bursts. Stir the chocolate every 7 to 10 seconds to ensure it melts evenly without overheating.
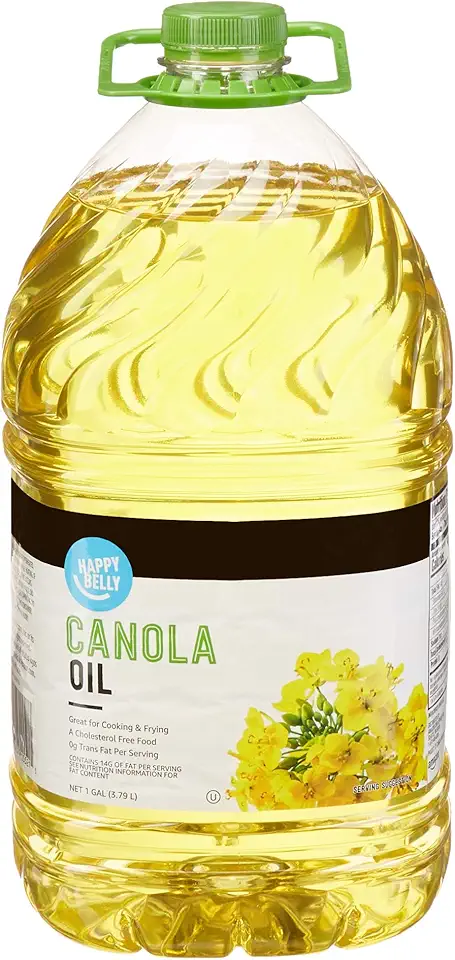
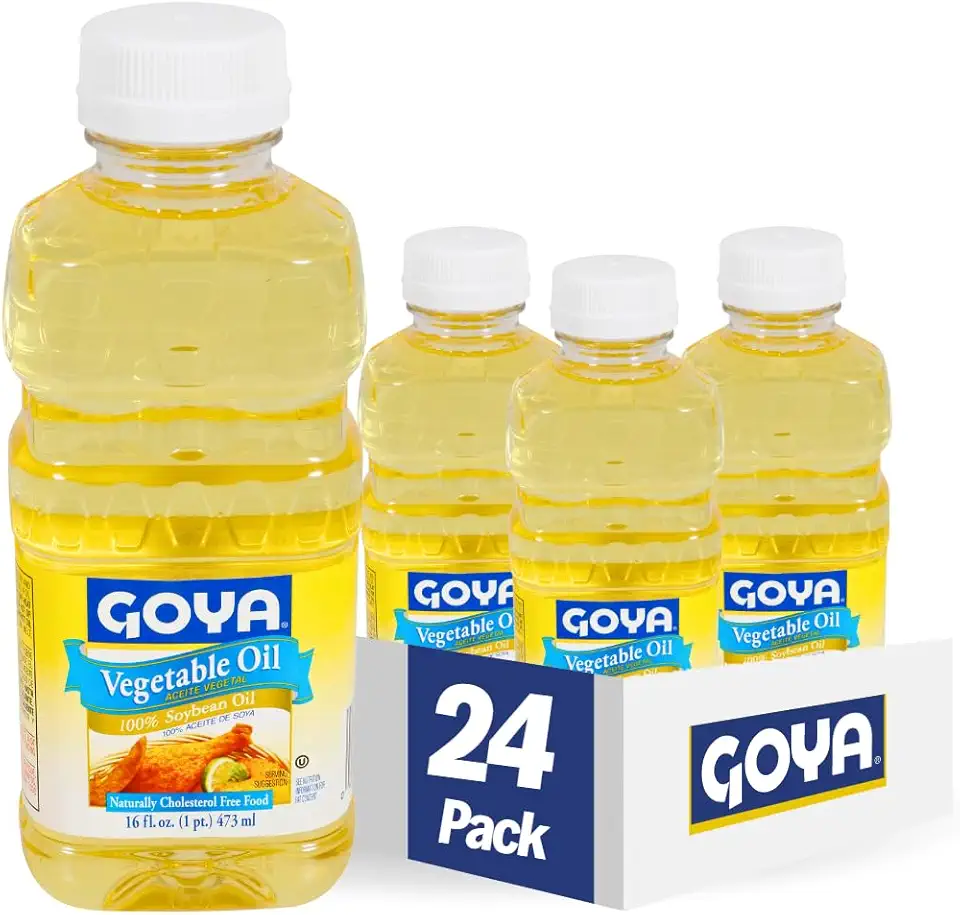
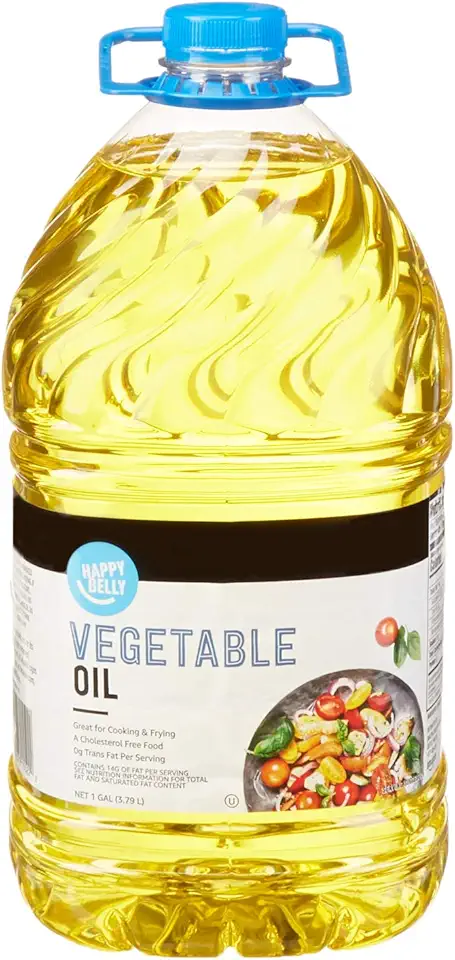
Once melted, mix in the vegetable oil and the chopped nuts, stirring until the glaze is smooth and pourable.
Transfer the glaze to a tall, narrow cup and ensure its temperature is around 35°C (95°F) for easy dipping.
Step 3
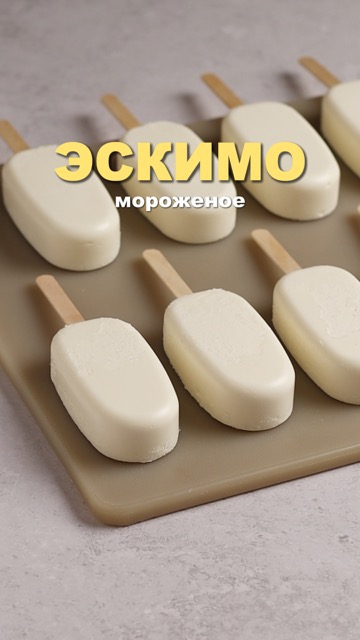
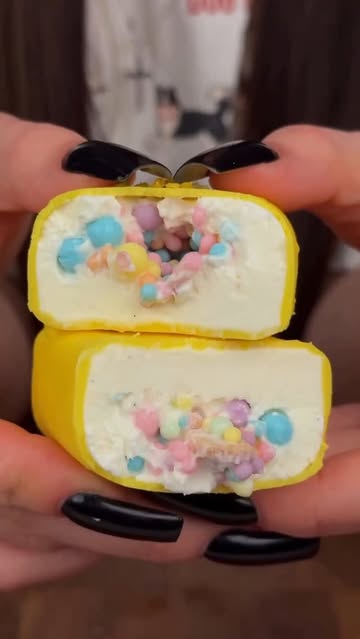
After the ice cream has completely frozen, carefully remove it from the molds. Quickly dip each popsicle into the prepared glaze for just 1 to 2 seconds, allowing a thin layer to coat the surface.
Let any excess glaze drip off before placing the glazed popsicles on a wire rack or cutting board. Return them to the freezer for a short time to let the glaze firm up completely.
Step 4
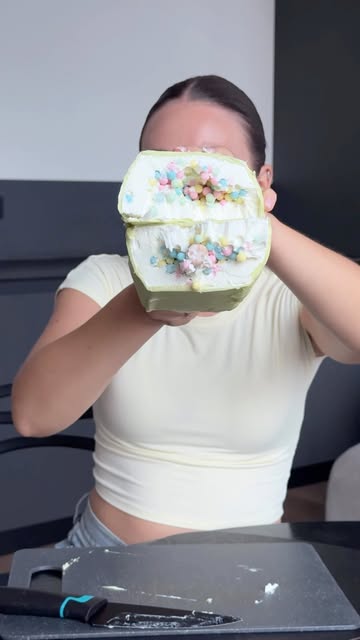
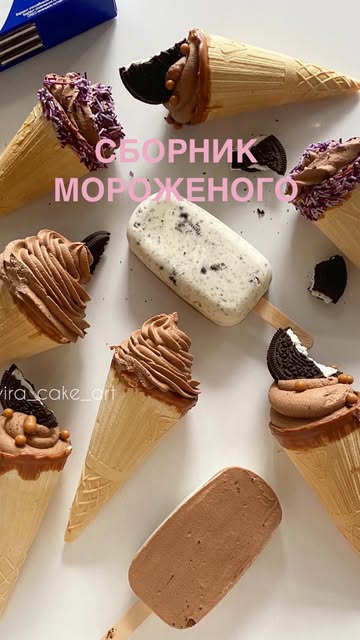
Your delicious homemade chocolate dipped ice cream treats are now ready to enjoy! Feel free to adjust the sweetness by varying the amount of sweetened condensed milk based on your taste preferences. Happy indulging! 😊
Servings
When it comes to serving your homemade Eskimo ice cream, the possibilities are endless! 🎉 You can enjoy these frozen treats straight from the mold, or for an extra fun experience, try dipping them in your favorite toppings like shredded coconut or colorful sprinkles! Don't forget to pair them with a refreshing lemonade at your next picnic! 🍋🥤
For an even more delightful presentation, consider placing your Eskimos on a platter lined with fresh fruit. Imagine bright strawberries, juicy watermelon slices, or tangy blueberries adding a burst of color! 🍓🍉
And why not make it a themed dessert table? With a variety of flavors and toppings, your friends and family will love choosing their own unique creations! Just imagine the smiles when they get to dive into this ice cream wonderland! 😍
Equipment
This tool is essential for whipping the cream to the perfect consistency. Ensure your mixer is capable of speed settings for better control while mixing!
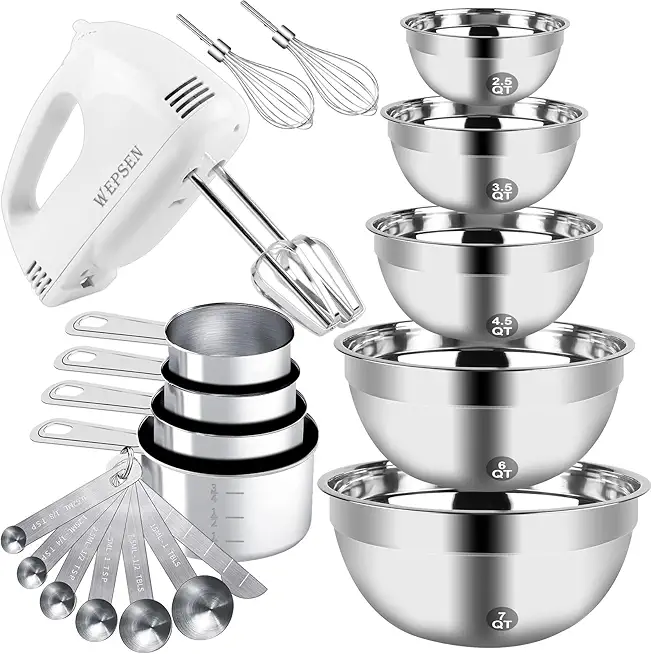 Hand Mixer Electric Mixing Bowls Set, 5 Speeds Handheld Mixer with 5 Nesting Stainless Steel Mixing Bowl, Measuring Cups Spoons 200W Kitchen Blender Whisk Beater Baking Supplies For Beginner
$40.99
View details
Prime
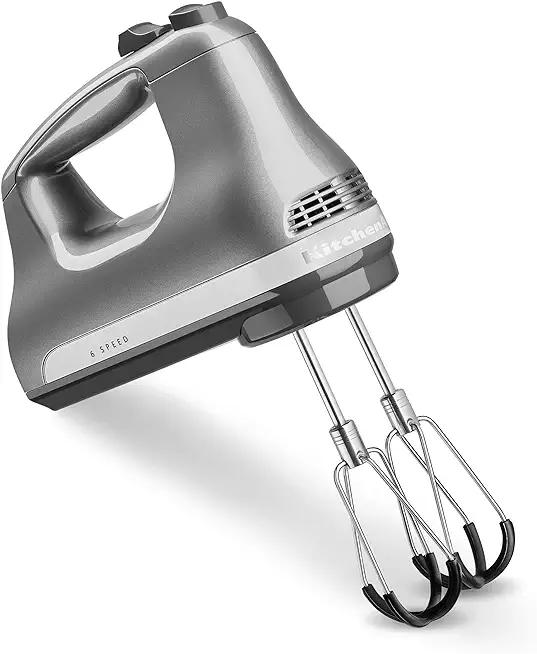 KitchenAid 6 Speed Hand Mixer with Flex Edge Beaters - KHM6118
$79.95
View details
Silicone molds make it easy to release the popsicles once frozen. Look for ones with a stick included for convenience!
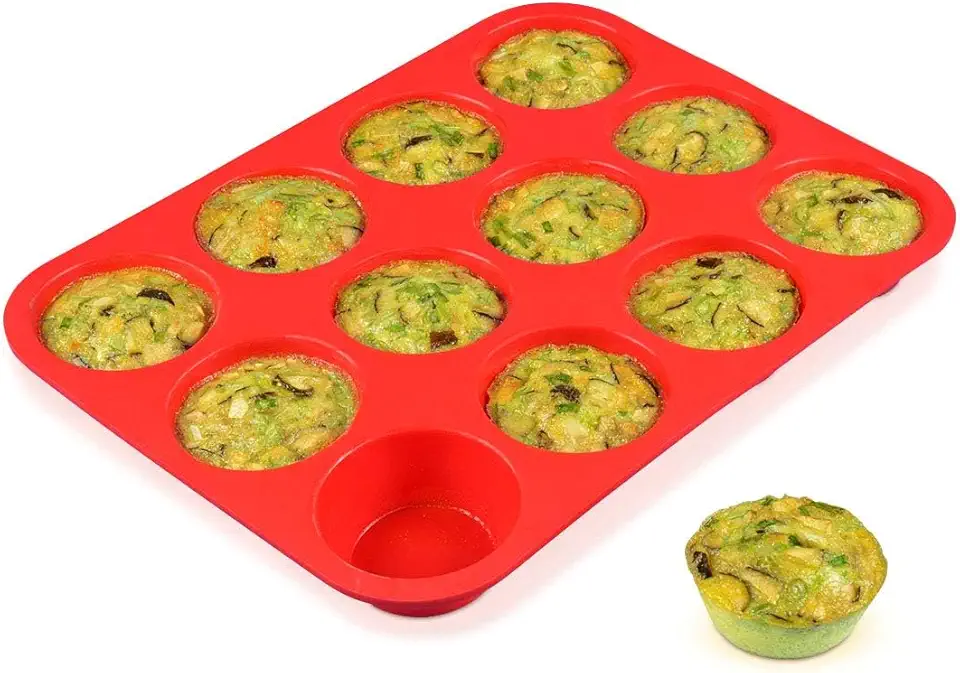 CAKETIME 12 Cups Silicone Muffin Pan - Nonstick Cupcake Pan 1 Pack Regular Size Silicone Mold for Baking
$9.98
$13.99
View details
Prime
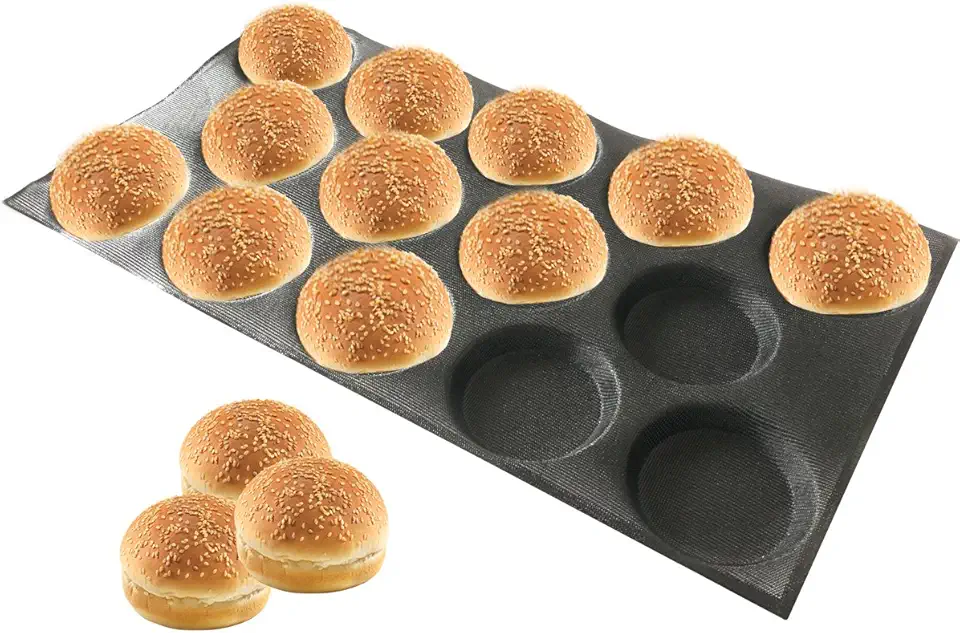 Bluedrop Silicone Hamburger Bread Forms Perforated Silicone Bakery Molds Tartlets Pita Moulds Sheets Food Grade for Industrial Large Size
$49.00
View details
Prime
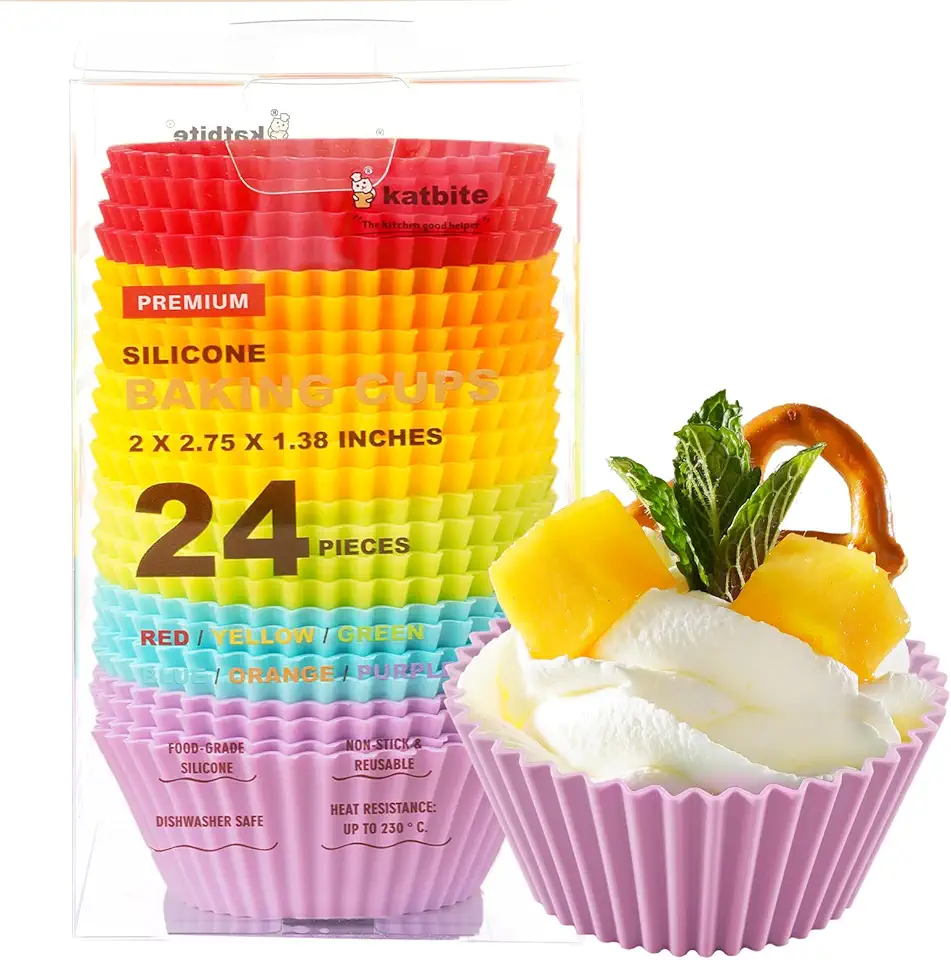 Katbite Reusable Silicone Baking Cups 24 Pack - Non-stick Muffin Cupcake Liners Set, Thick & Heavy Duty Cupcake Molds - Perfect for Party Halloween Christmas Bakery Supplies, Multicolor
$9.99
$15.99
View details
Use one of these to melt the chocolate gently. A double boiler helps prevent the chocolate from scorching, while the microwave should be used with short intervals for safety.
You'll need a couple of mixing bowls: one for the ice cream base and another for the chocolate glaze. Choose medium-sized bowls for easy mixing.
Variations
Craving a treat that suits everyone's dietary needs? No worries! We’ve got you covered with some easy **gluten-free** and **vegan variations**! 🌱
To make your ice cream gluten-free, simply ensure you use gluten-free chocolate and nuts! You can also use almond or coconut milk to replace heavy cream for a delicious dairy-free twist! 🌰🥥
If you prefer a vegan option, substitute the 33% cream with full-fat coconut milk and replace the condensed milk with a homemade vegan version, using coconut milk and sweetener of your choice! This will still give you that rich creaminess without any dairy. Trust us, your taste buds won’t even know the difference! ✨
Faq
- What consistency should the cream be before adding sweetened condensed milk?
The cream should be whipped to a soft peak, where it holds its shape but is still slightly flowing to mix in the condensed milk easily.
- How long does it take for the ice cream to freeze?
Allow the ice cream to freeze for at least 5-6 hours for the best texture, or overnight for a firmer consistency.
- Can I use different types of chocolate for the glaze?
Absolutely! Feel free to experiment with dark, white, or even flavored chocolates, like caramel or mint. Just keep an eye on the melting process!
- What should I do if the glaze is too thick?
If the glaze is too thick for dipping, gently reheat it and add a bit more vegetable oil to thin it out, making it easier to coat the ice cream.
- Can I add mix-ins to the ice cream?
Of course! You can fold in nuts, fruits, or chocolate chips just before pouring the mixture into molds for an extra texture and flavor.
- How do I store any leftover ice cream?
Store your ice cream in an airtight container in the freezer for up to a month. Just be sure to keep it covered to avoid freezer burn!

