Ingredients
Dough Ingredients
 Bragg Premium Nutritional Yeast Seasoning - Vegan, Gluten Free – Good Source of Protein & Vitamins – Nutritious Savory Parmesan Cheese Substitute (Original, 12 Ounce (Pack of 1))
$14.99
View details
Prime
 Saf Instant Yeast, 1 Pound Pouch
$9.49
View details
Prime
 Fleischmann’s Yeast, Fleischmann’s Instant Dry Yeast, 16 Ounce - 1 Pack, Fast-Acting, Gluten Free, No Preservatives
$9.38
View details
 Bob's Red Mill Gluten Free 1-to-1 Baking Flour, 22 Ounce (Pack of 4)
$23.96
View details
Prime
 Antimo Caputo Chefs Flour - Italian Double Zero 00 - Soft Wheat for Pizza Dough, Bread, & Pasta, 2.2 Lb (Pack of 2)
$16.99
View details
Prime
best seller
 King Arthur, Measure for Measure Flour, Certified Gluten-Free, Non-GMO Project Verified, Certified Kosher, 3 Pounds, Packaging May Vary
$8.62
View details
Filling Ingredients
Instructions
Step 1
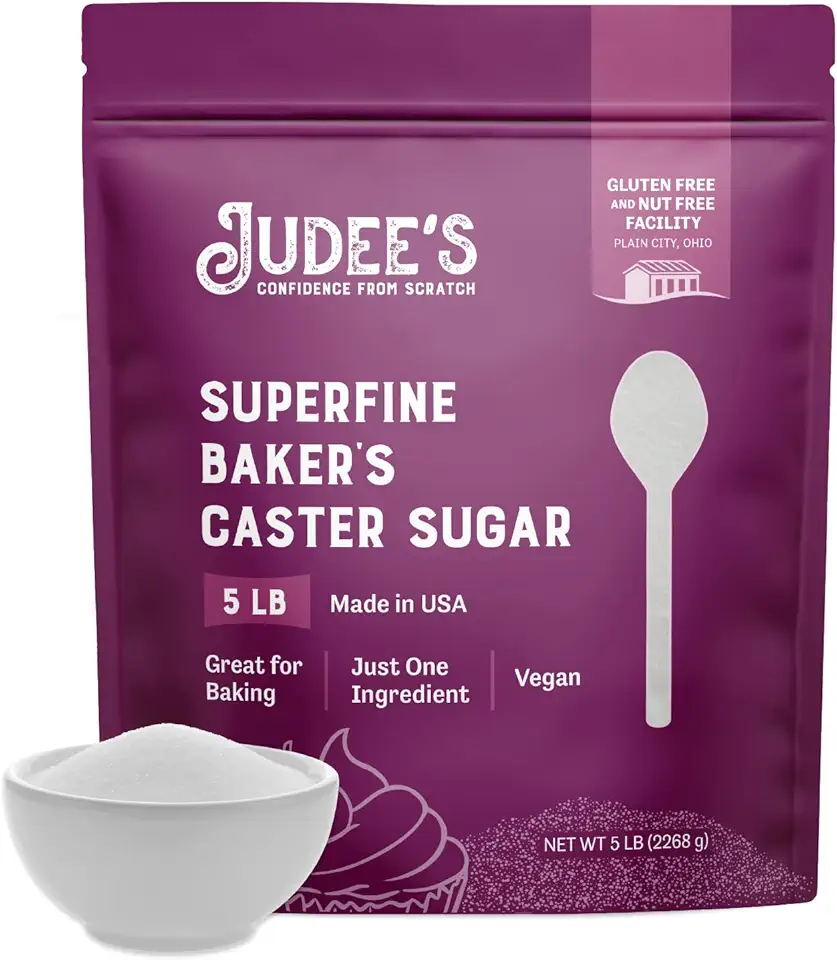
In a small bowl, combine the warm water, sugar, and dry yeast. Stir gently and let it sit for about 5-10 minutes until it becomes foamy. This indicates that the yeast is active.
Make sure the water is warm, but not hot, to avoid killing the yeast.
Step 2
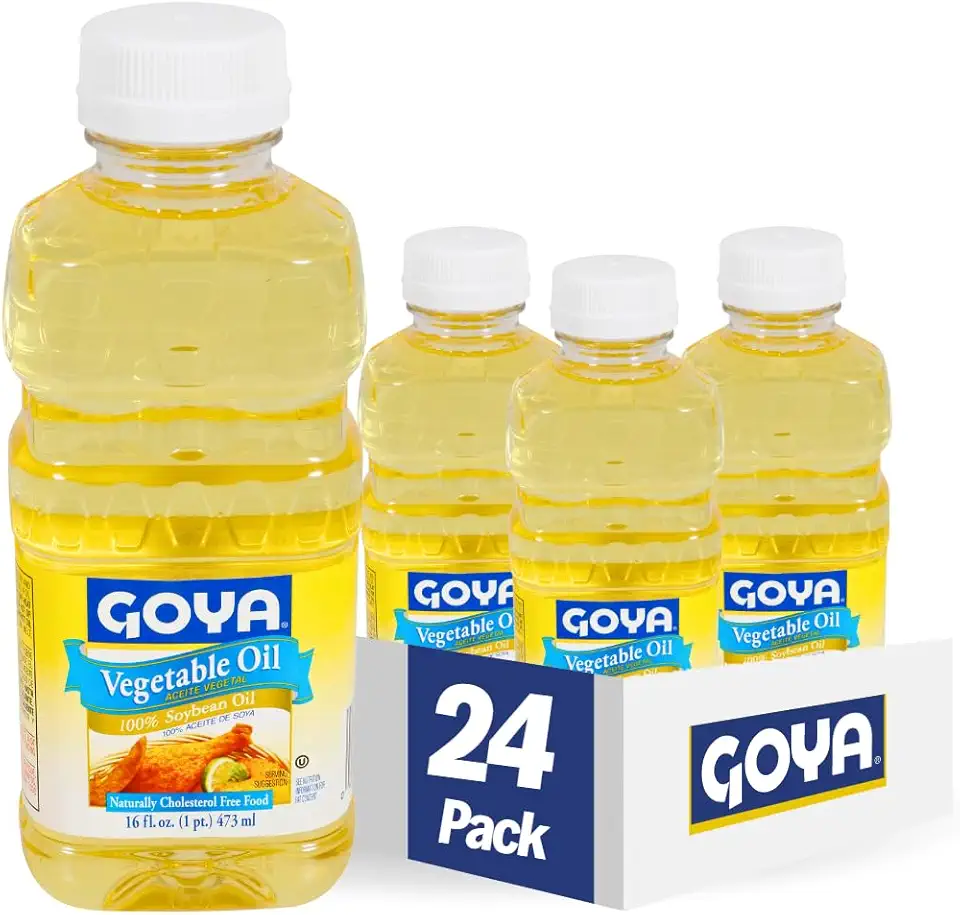
In a large mixing bowl, combine the flour and salt. Gradually pour in the yeast mixture and vegetable oil.
Knead the ingredients together until you get a smooth and elastic dough. If the dough feels too sticky, you can add a little more flour.
Cover the bowl with a clean kitchen towel and let it rest in a warm place for about 1 hour or until it has doubled in size.
Step 3
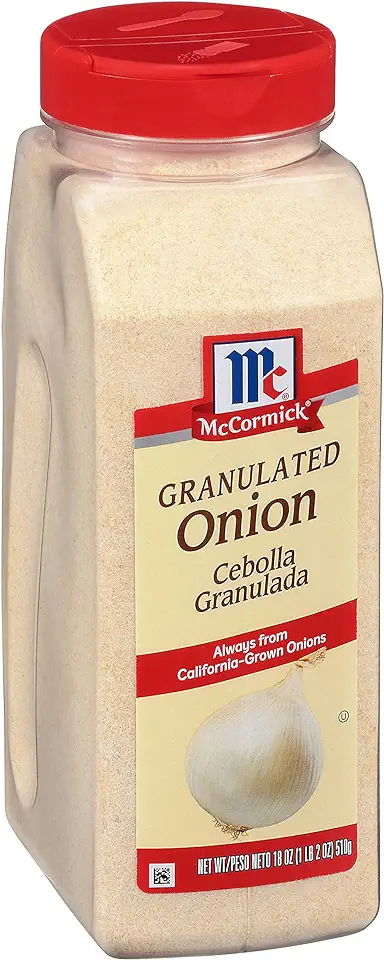
While the dough is rising, chop the tomato and onion finely. In a skillet, heat a small amount of oil over medium heat and sauté the onion until it becomes translucent.
Add the minced meat to the skillet, season with salt and pepper, and cook until browned.
Lastly, mix in the chopped tomato and cook for another 2-3 minutes. Remove from heat and let it cool slightly before adding in the sulguni cheese, shredded or cubed.
Step 4
Once the dough has risen, preheat your oven to 180°C (350°F). On a lightly floured surface, divide the dough into equal portions and roll each one out into an oval shape.
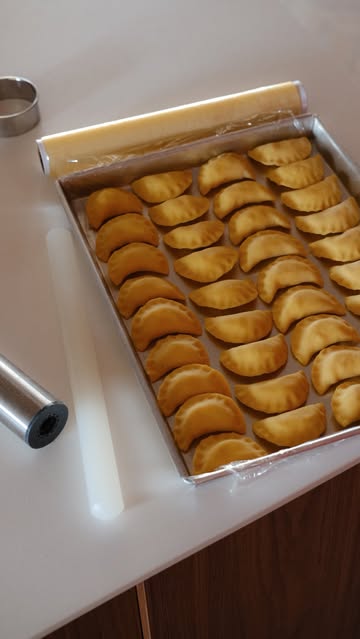
Place a generous amount of the filling in the center of each dough oval and fold the edges over, pinching them to create a boat shape.
Step 5
Arrange the filled dough on a baking sheet lined with parchment paper. Bake in the preheated oven for 25-30 minutes or until golden brown.
Once done, remove from the oven and allow to cool slightly before serving.
Step 6
These delicious meat boats are best enjoyed warm. Serve them as a snack or appetizer at your next gathering!
Enjoy your meal and happy cooking!
Servings
When it comes to serving these meat pockets, the possibilities are endless! You can enjoy them on their own or pair them with fresh salads for a complete meal. Serve them with a side of tangy sour cream or your favorite dipping sauce for extra flavor! 🍽️
For a fun twist, pack them in your picnic basket! Imagine the smiles when you unveil these tasty bites under the sun! 🌞 Add some colorful fruits and crunchy veggies to create a vibrant spread that’s both delicious and eye-catching!
Equipment
Make sure your baking sheet is large enough to fit all the meat pockets. Line it with parchment paper for easy cleanup and to prevent sticking!
 Paterson Paper 16" x 24" Full Size Unbleached Chromium-Free Reusable Baking Parchment Paper Sheets Commercial Bun/Sheet Pan Liners - 1000/Case - 425F - Non-Stick/Grease-Resistant
$169.58
View details
Prime
best seller
 Nordic Ware Naturals Half Sheet, 2-Pack, Natural
$37.80
View details
Prime
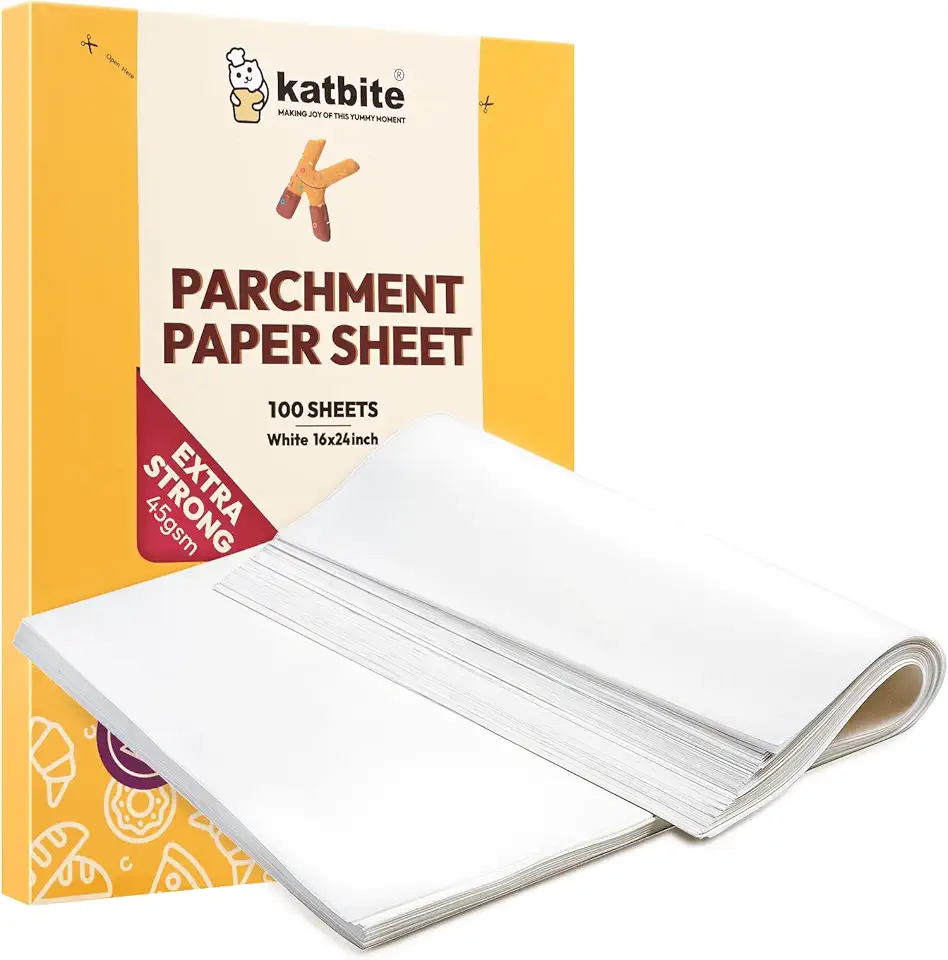 Katbite 16x24 inch Heavy Duty Parchment Paper Sheets, 100Pcs Precut Non-Stick Full Parchment Sheets for Baking, Cooking, Grilling, Frying and Steaming, Full Sheet Baking Pan Liners, Commercial Baking
$18.99
$25.99
View details
A good-sized mixing bowl is essential for combining your dough ingredients. Choose one that's easy to handle and clean.
Use a rolling pin to create an even, soft dough. If you don’t have one, a wine bottle can do in a pinch!
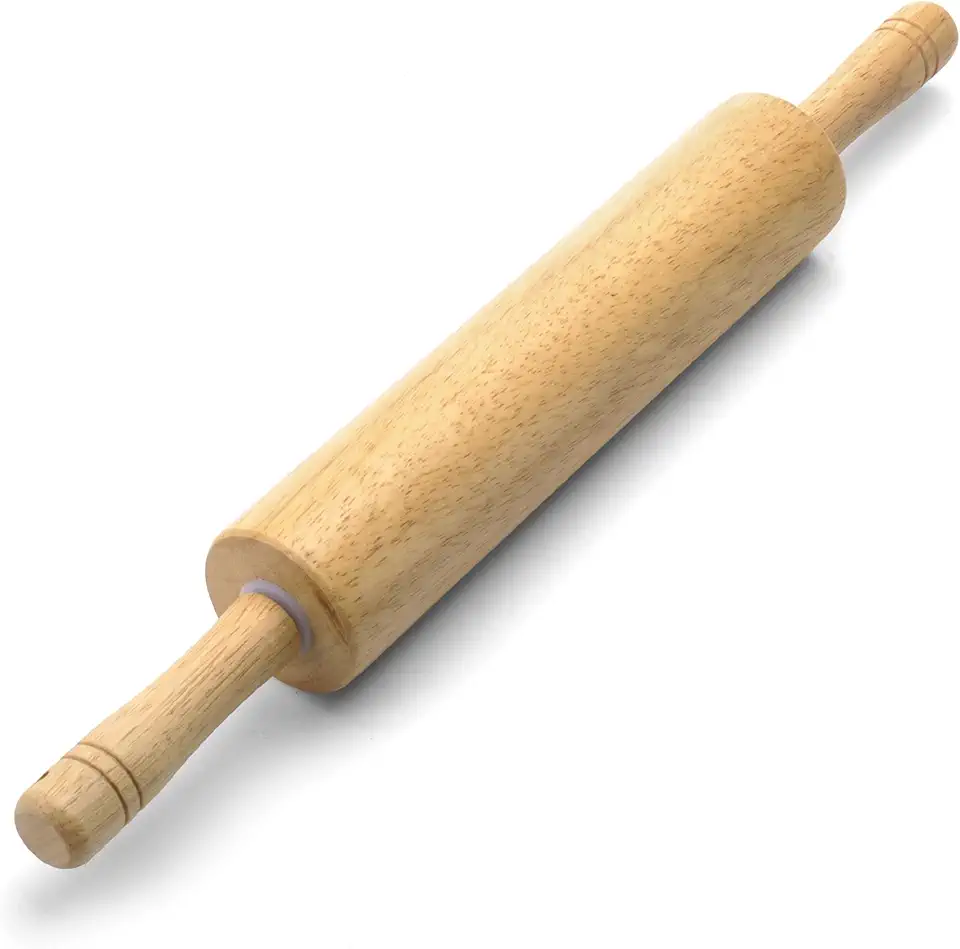 Farberware Classic Wood Rolling Pin, 17.75-Inch, Natural
$12.99
$13.99
View details
Prime
 Fox Run Polished Marble Rolling Pin with Wooden Cradle, 10-Inch Barrel, White
$20.88
View details
Prime
 French Rolling Pin (17 Inches) –WoodenRoll Pin for Fondant, Pie Crust, Cookie, Pastry, Dough –Tapered Design & Smooth Construction - Essential Kitchen Utensil
$9.99
View details
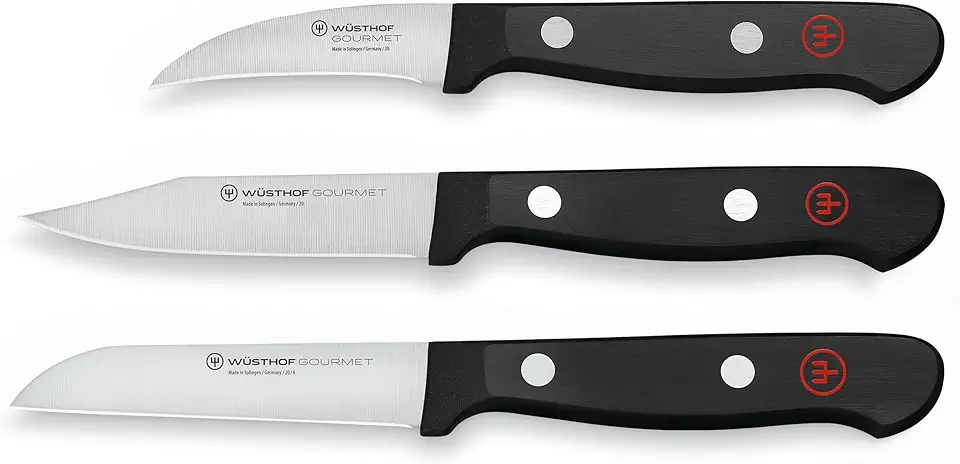
You'll need a sharp knife for cutting the dough and slicing the filling ingredients. Make sure it's nice and sharp!
Variations
Looking to accommodate dietary preferences? No problem! Here are some incredible alternatives for these delicious meat boats. 🎉
Gluten-Free: Swap regular flour for gluten-free all-purpose flour to make a dough that suits your needs! Check the packaging to ensure everything else is gluten-free to keep it safe for those with sensitivities! 🌾❌
Vegan: Use a plant-based ground meat substitute and replace the suluguni cheese with a vegan cheese alternative. You can also toss in some sautéed veggies for added flavor and nutrients. 🥕🌱
Faq
- Can I use active dry yeast instead of instant yeast?
Yes, you can! Just make sure to activate it in warm water before mixing it with the other ingredients.
- What can I add to the filling for extra flavor?
You can add spices like cumin or paprika, or even some diced bell peppers and olives for a unique twist!
- Is it possible to freeze these meat pockets?
Absolutely! After baking, let them cool completely, then wrap them tightly and freeze for up to a month. Just reheat when you’re ready to enjoy!
- How do I ensure my dough rises properly?
Make sure your water is warm, not hot, when mixing with the yeast, and place the dough in a warm spot to rise without drafts. Covering it with a damp cloth can help!
- Can I make the dough ahead of time?
Yes! You can make the dough a day ahead, keep it in the fridge, and take it out an hour before you're ready to use it. This will give it a nice rise!
- What if my dough is too sticky?
Don’t worry! Just sprinkle a little extra flour while kneading until it reaches a smooth, non-sticky consistency.


