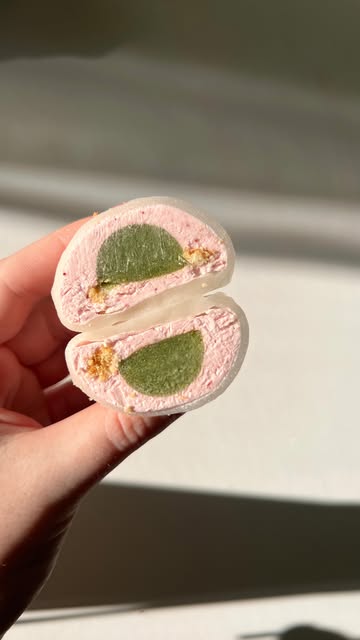
Ingredients
Mochi Base
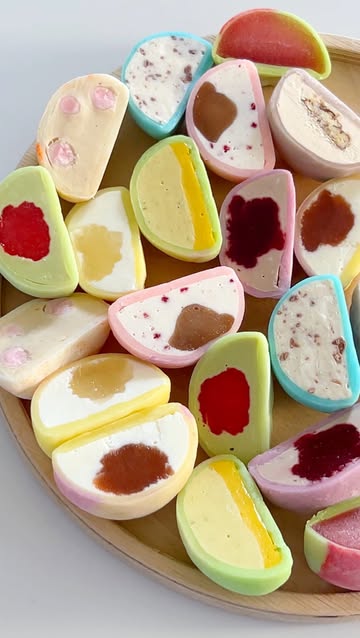
Fillings
 Andy Anand Gluten Free Mango Cake 9" - 2.6 lbs | Freshly Made Daily, Gourmet Gift Boxed, All-Natural, No Preservatives, Chemical-Free - Unbelievably Succulent & Divine, Perfect Bakery Desserts
$48.84
View details
Prime
best seller
 David's Cookies Mango Cheesecake 10" - Pre-sliced 14 pcs. Cheescake With Swirls Of Mango On Top. Fresh Tropical Bakery Dessert Great Gift Idea for Women, Men and Kids
$54.95
View details
 Phillippine Brand Naturally Delicious Dried Mangoes Tree Ripened Value Bag 30 Ounces
$23.25
View details
Instructions
Step 1
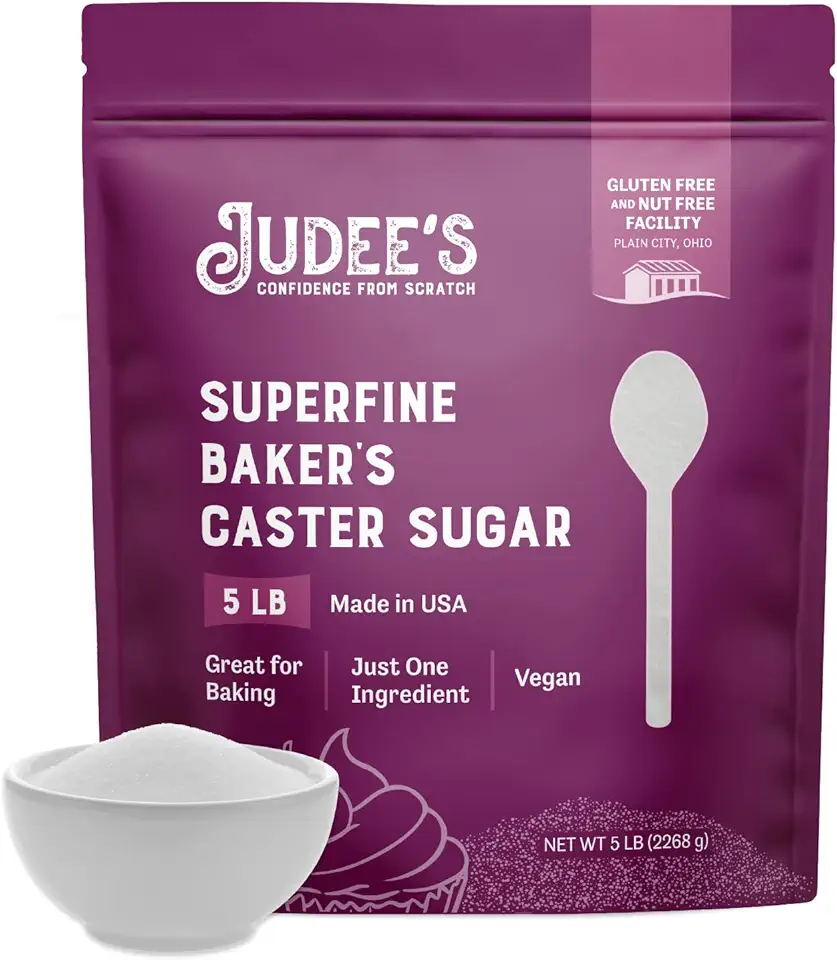
In a large mixing bowl, combine the *sweet rice flour*, *sugar*, and *water*. Mix until it forms a smooth batter. It's important to ensure there are no lumps in the mixture.
Cover the bowl with a clean cloth and let it rest for about 30 minutes. This allows the flavors to meld and the texture to improve.
Step 2
Transfer the batter to a microwave-safe dish and cover it with plastic wrap. Microwave on high for 1 minute, then stir. Repeat this process for 2-3 more minutes until the dough becomes translucent and slightly sticky.
Once cooked, dust the surface with cornstarch to prevent sticking. Carefully turn the dough out onto the cornstarch-dusted surface and let it cool slightly before handling.
Step 3
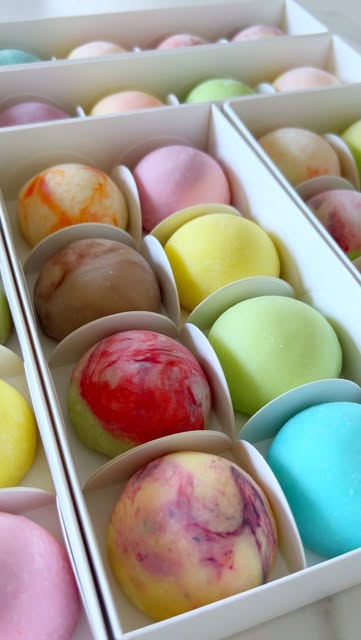
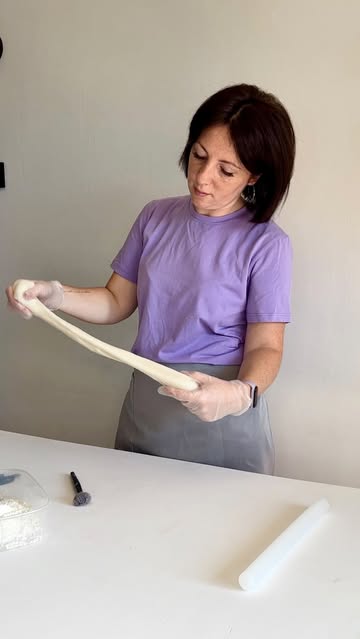
Once the mochi is cool enough to handle, divide the dough into small equal pieces. Flatten each piece into a circle on a cornstarch-dusted surface.
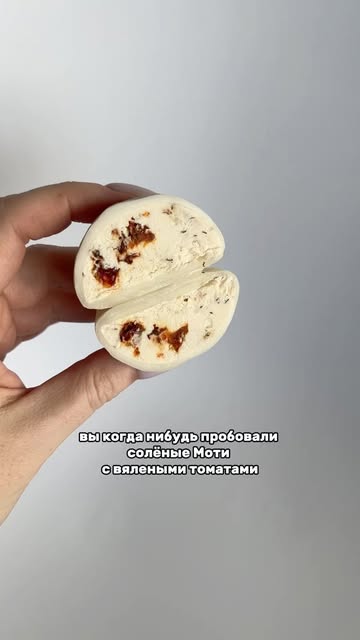
Place a *spoonful of your chosen filling* in the center of each circle, then carefully fold the edges over to seal. Ensure there are no gaps to prevent the filling from leaking out.
Step 4
Once all the mochi pieces are shaped, dust off any excess cornstarch. Arrange your mochi on a serving plate and serve them fresh. They are best enjoyed right away, but can be stored in an airtight container for a few days.
Explore different flavor combinations and enjoy the delightful blend of textures and tastes!
Servings
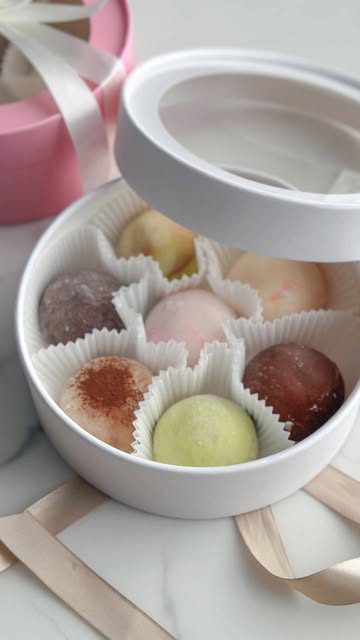
When it comes to enjoying your mochi, the possibilities are endless! 🌈
**Serve them with a flourish** at your next picnic, paired with fresh fruit and a drizzle of chocolate syrup for an irresistible treat. 🍫👩🍳
Take it a step further and create a mochi dessert platter for your guests, mixing different fillings together. Imagine the excitement as everyone chooses their favorite filling! 🥳
For a fun twist, consider serving them alongside a refreshing bubble tea. This delightful combination will transport you to a cozy café atmosphere right in your home. 🥤✨
Equipment
An essential tool for crafting soft and chewy mochi. Make sure it’s sturdy enough to withstand the pounding. If you don’t have a mochi maker, a heavy rolling pin works just as well!
Use glass or stainless steel mixing bowls to hold your ingredients. They allow for easy mixing, and you can even microwave them if you need to soften the dough.
A traditional bamboo steamer works wonders, but any steamer will do. Just ensure it’s large enough to hold the mochi without overcrowding.
Precision is key in baking. Having a good set of measuring cups and spoons will help you achieve consistent and delicious results.
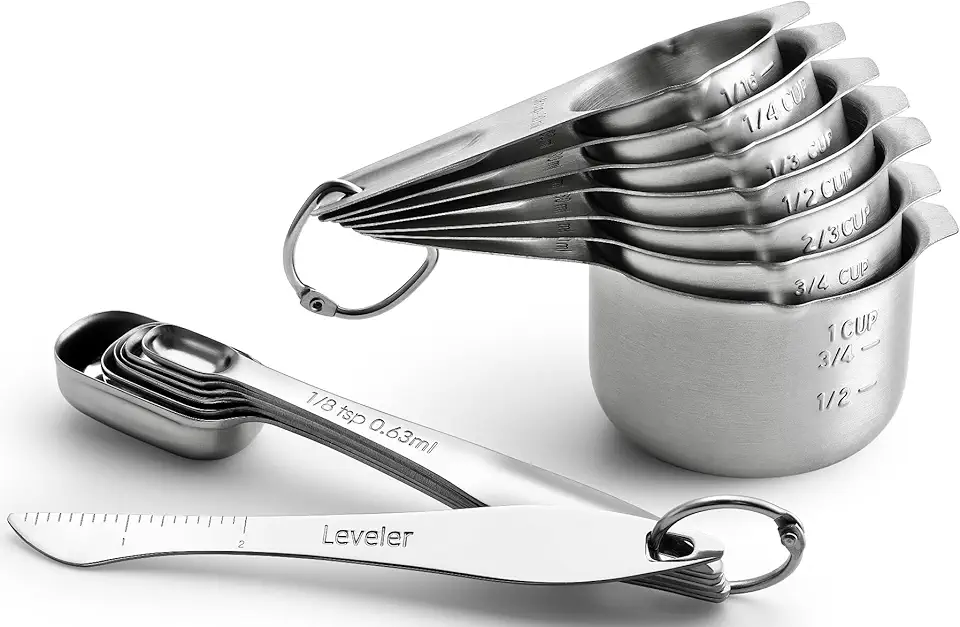 Spring Chef Stainless Steel Measuring Cups and Measuring Spoons Set of 14 with Leveler, Nesting Kitchen Metal Measuring Cups and Spoons Set for Dry and Liquid Ingredients, Perfect for Cooking & Baking
$21.99
View details
Prime
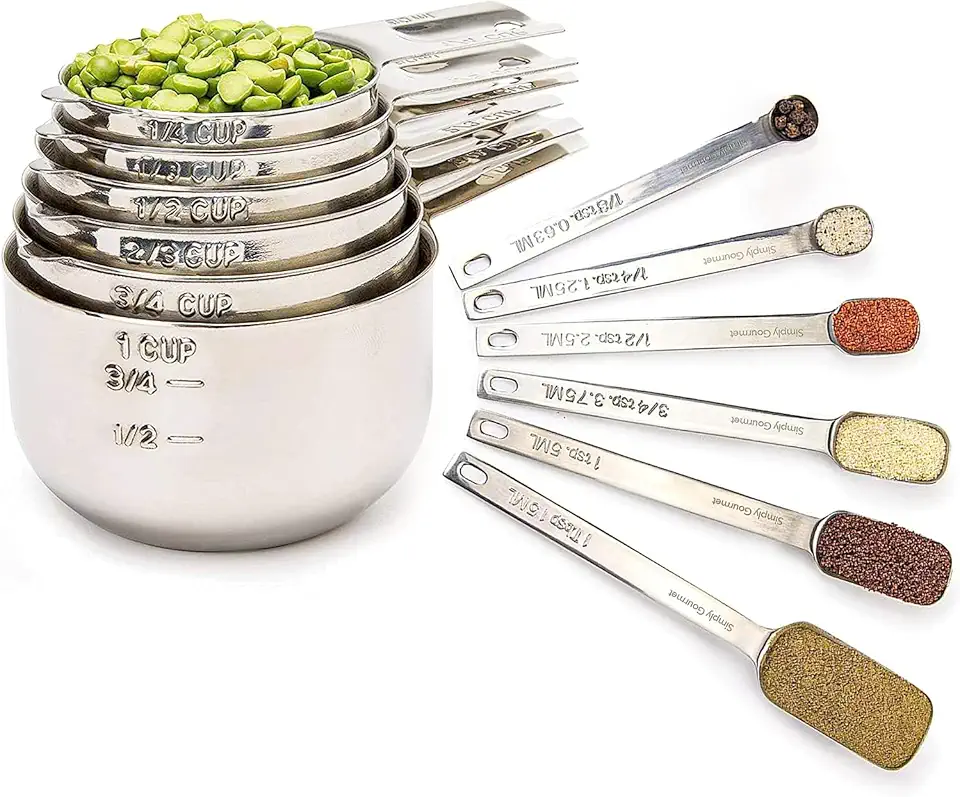 Simply Gourmet Measuring Cups and Spoons Set of 12, 304 Premium Stainless Steel, Stackable Cups Long Handle Spoons Fits Narrow Jars, Kitchen Gadgets for Liquid & Dry Ingredients Cooking Baking
$32.98
$45.99
View details
Prime
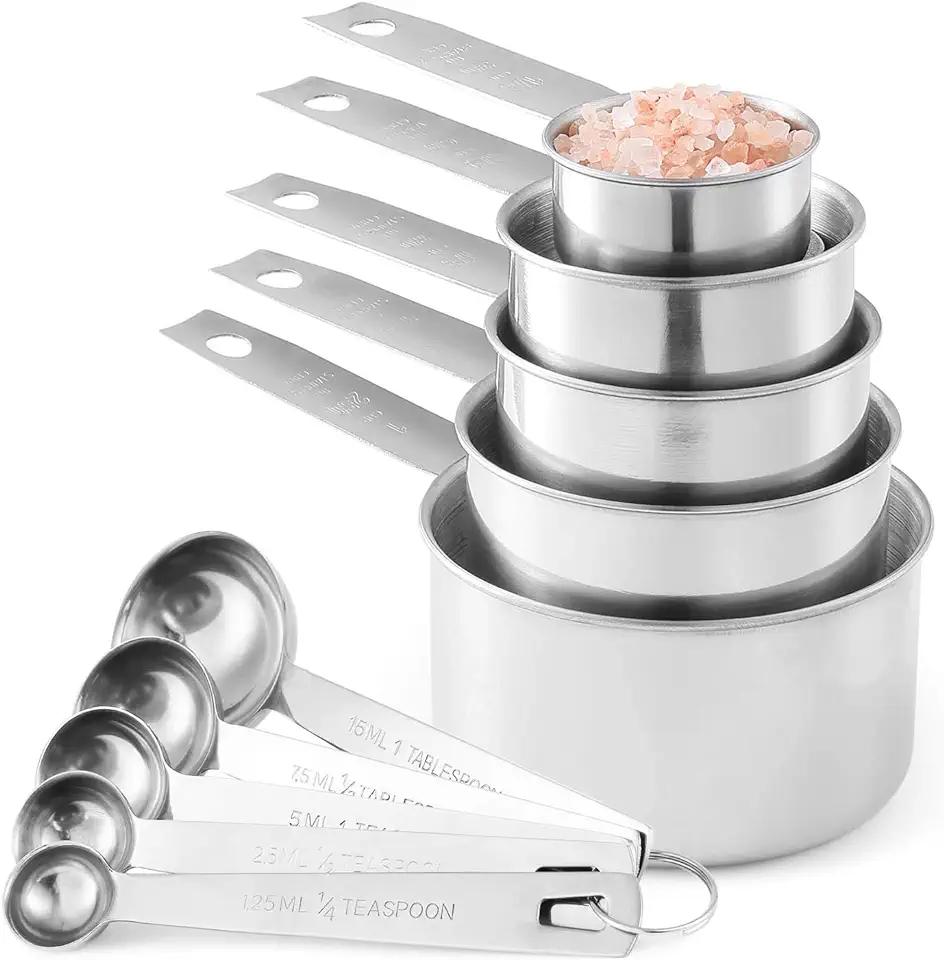 Stainless Steel Measuring Cups And Measuring Spoons 10-Piece Set, 5 Cups And 5 Spoons
$13.95
$17.98
View details
Variations
If you’re looking for **gluten-free and vegan** options, we’ve got you covered! 🌿
Use **gluten-free rice flour** instead of regular flour to make the mochi dough. This ensures that everyone can enjoy them without worry. 🌾
For a vegan treat, opt for plant-based fillings like **coconut yogurt** with fruits, or create a **chocolate avocado mousse** for a rich and creamy surprise! 🥑🍫
These variations allow you to indulge in delicious mochi while accommodating various dietary needs!
Faq
- Can I make mochi dough without a special machine?
Absolutely! You can use a heavy rolling pin to pound the dough on a clean surface to get that chewy texture.
- What if I don’t have any fillings?
No worries! You can enjoy plain mochi or dust them with powdered sugar or matcha for a sweet treat.
- How can I achieve the perfect thickness for my mochi?
Start with 1/4 inch thickness and adjust based on your preference. Don’t forget to grease your surface to prevent sticking!
- How do I store leftover mochi?
Wrap them in plastic wrap and store them in the fridge for up to a week. Just reheat them before serving to regain their chewy texture.
- Can I freeze mochi?
Yes! Mochi freezes well. Just pack them in an airtight container and thaw them in the fridge before enjoying.
- What’s the best way to serve mochi at parties?
Create a mochi bar! Provide a variety of fillings and toppings, and let guests create their own unique combinations!

