Ingredients
Dough Ingredients
 Bob's Red Mill Gluten Free 1-to-1 Baking Flour, 22 Ounce (Pack of 4)
$23.96
View details
Prime
 Antimo Caputo Chefs Flour - Italian Double Zero 00 - Soft Wheat for Pizza Dough, Bread, & Pasta, 2.2 Lb (Pack of 2)
$16.99
View details
Prime
best seller
 King Arthur, Measure for Measure Flour, Certified Gluten-Free, Non-GMO Project Verified, Certified Kosher, 3 Pounds, Packaging May Vary
$8.62
View details
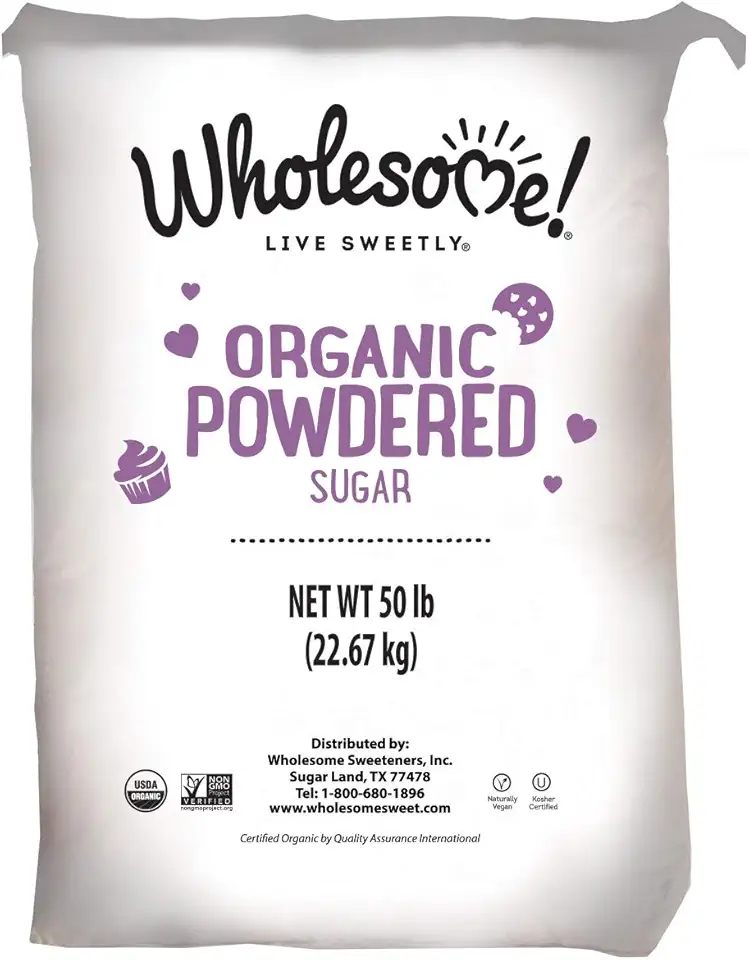 Wholesome Fair Trade Organic Powdered Sugar, Naturally Flavored Real Sugar, Non GMO & Gluten Free, 50 Pound (Pack of 1)
$106.95
View details
Prime
best seller
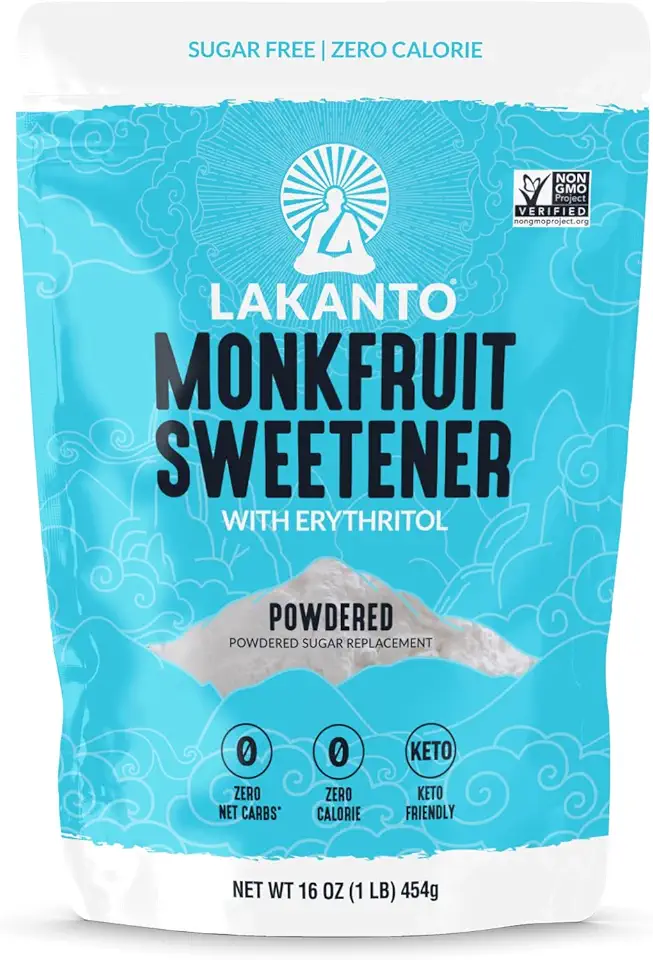 Lakanto Powdered Monk Fruit Sweetener with Erythritol - Powdered Sugar Substitute, Zero Calorie, Keto Diet Friendly, Zero Net Carbs, Baking, Extract, Sugar Replacement (Powdered - 1 lb)
$11.90
View details
Prime
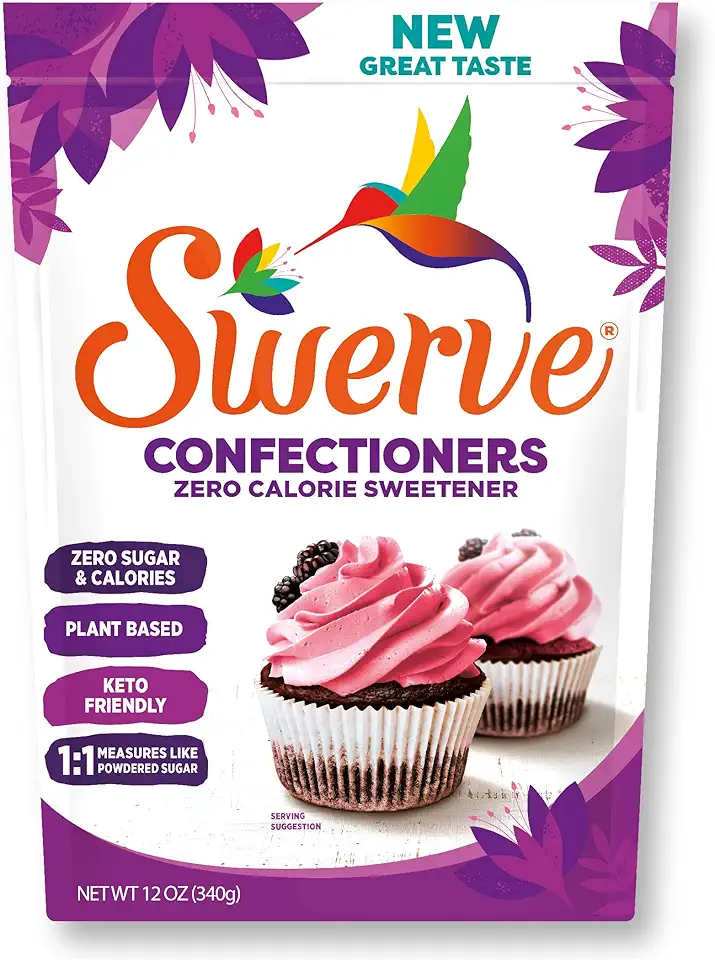 Swerve Sweetener Powder, Confectioners, 12 oz
$6.98
View details
Filling Ingredients
Instructions
Step 1
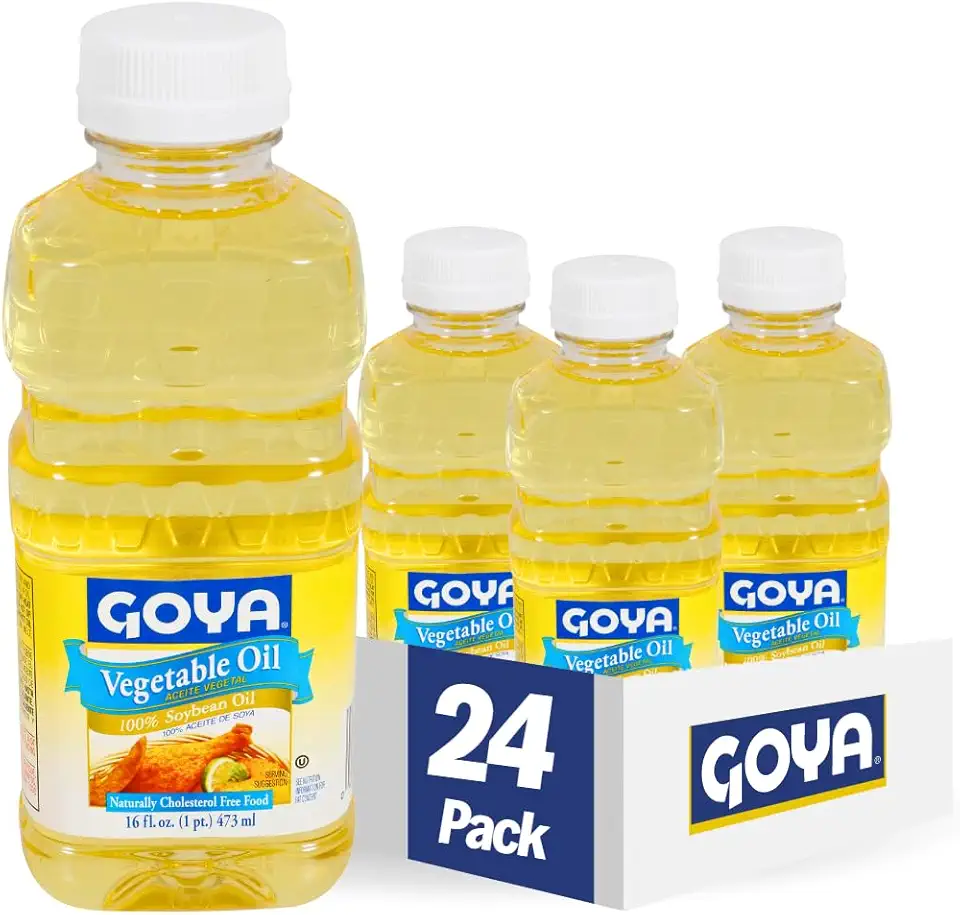
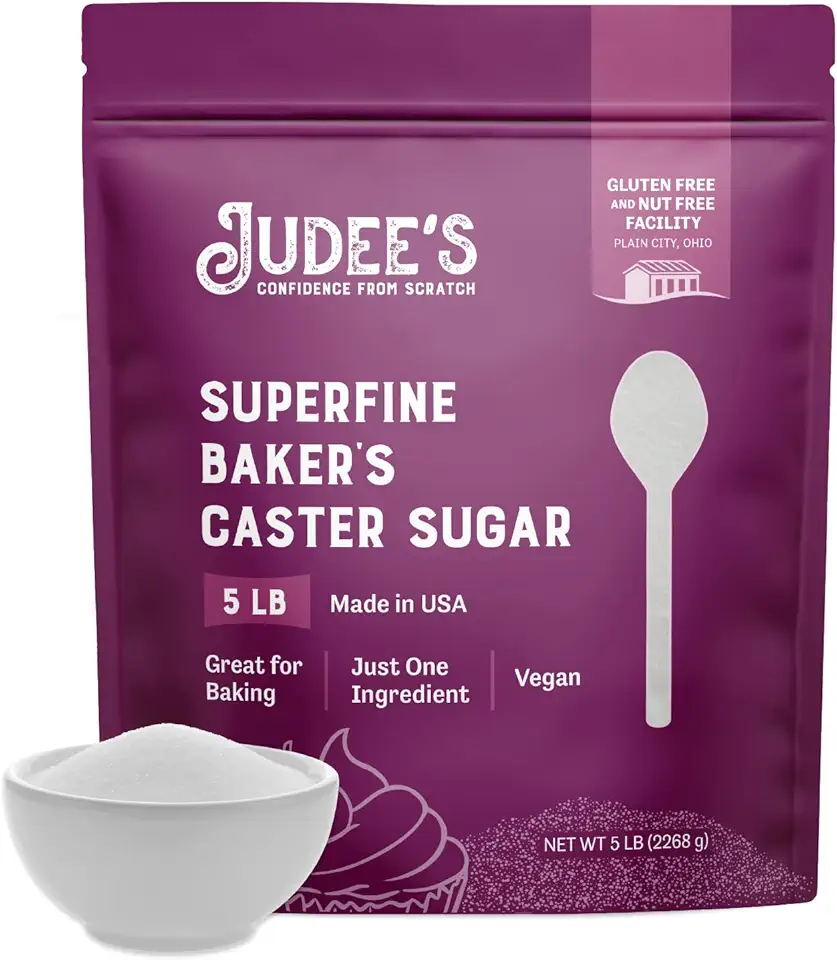
In a mixing bowl, combine all-purpose flour and powdered sugar. Mix thoroughly until well blended.
Add the vegetable oil, water, and alkaline water into the flour mixture. Stir until a smooth dough forms.
Step 2
Cover the dough with a clean kitchen towel or plastic wrap to prevent it from drying out. Let it rest for at least 30 minutes at room temperature.
Step 3
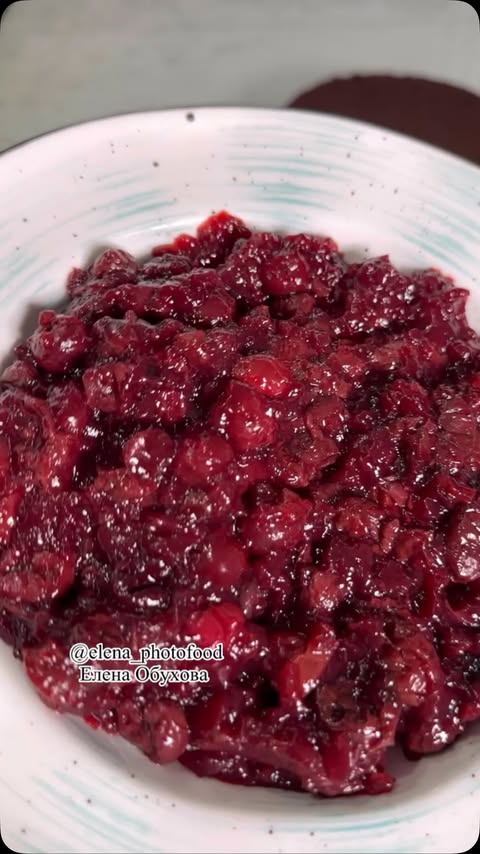
While the dough is resting, prepare the filling by mixing red bean paste, sesame paste, and sugar in a bowl. Stir well until the mixture is smooth and uniform.
Step 4
Divide the resting dough into equal parts, about 60 grams each. Flatten each piece into a round disc.
Take a portion of the filling (about 20 grams) and place it in the center of the dough disc. Fold the edges over the filling and shape it into a ball.
Step 5
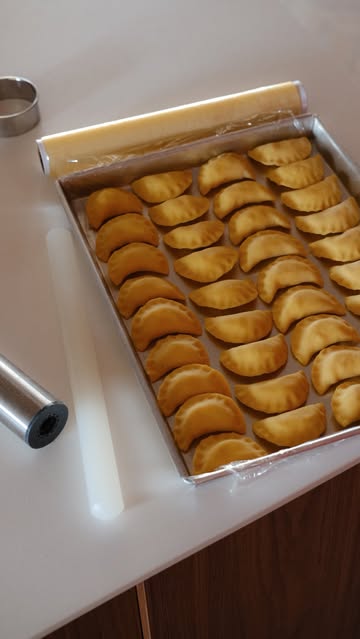
Using a mooncake mold, gently press the filled dough ball into the desired shape. Carefully remove it from the mold and place it on a baking tray lined with parchment paper.
Step 6
Preheat your oven to 180°C (350°F). Bake the mooncakes for 20-25 minutes or until they are golden brown.
Step 7
Let the mooncakes cool completely before serving. These tasty treats are perfect for any festive occasion, and they make a thoughtful gift as well!
Servings
Once baked, these mooncakes are ready to be enjoyed! 💖 They make perfect snacks for afternoon tea or dessert after dinner. To elevate your serving experience, try pairing them with some green tea or a refreshing herbal infusion. 🍵
For an exciting twist, consider arranging your mooncakes on a decorative plate, surrounded by fresh fruit. Strawberries and lychees can add a pop of color and flavor, making your presentation picture-perfect! 📸 Don't forget to sprinkle some edible flowers around the plate for that extra wow factor!
These mooncakes also shine at gatherings! 🎉 Bring them along for potlucks or festive celebrations, and watch them disappear in no time! Everyone will be impressed by your baking skills!
Equipment
A large mixing bowl is perfect for combining your ingredients. Make sure it’s big enough to allow for easy mixing without spilling.
 YIHONG 7 Piece Mixing Bowls with Lids for Kitchen, Stainless Steel Mixing Bowls Set Ideal for Baking, Prepping, Cooking and Serving Food, Nesting Metal Mixing Bowls for Space Saving Storage
$27.99
$35.99
View details
Prime
best seller
 Pyrex Glass, 3-Piece, 3 PC Mixing Bowl Set
$17.53
View details
Prime
 REGILLER Stainless Steel Mixing Bowls (Set of 5), Non Slip Colorful Silicone Bottom Nesting Storage Bowls, Polished Mirror Finish For Healthy Meal Mixing and Prepping 1.5-2 - 2.5-3.5 - 7QT (Colorful)
$26.99
View details
This essential tool will help you roll out the dough smoothly. Choose a lightweight one for better control.
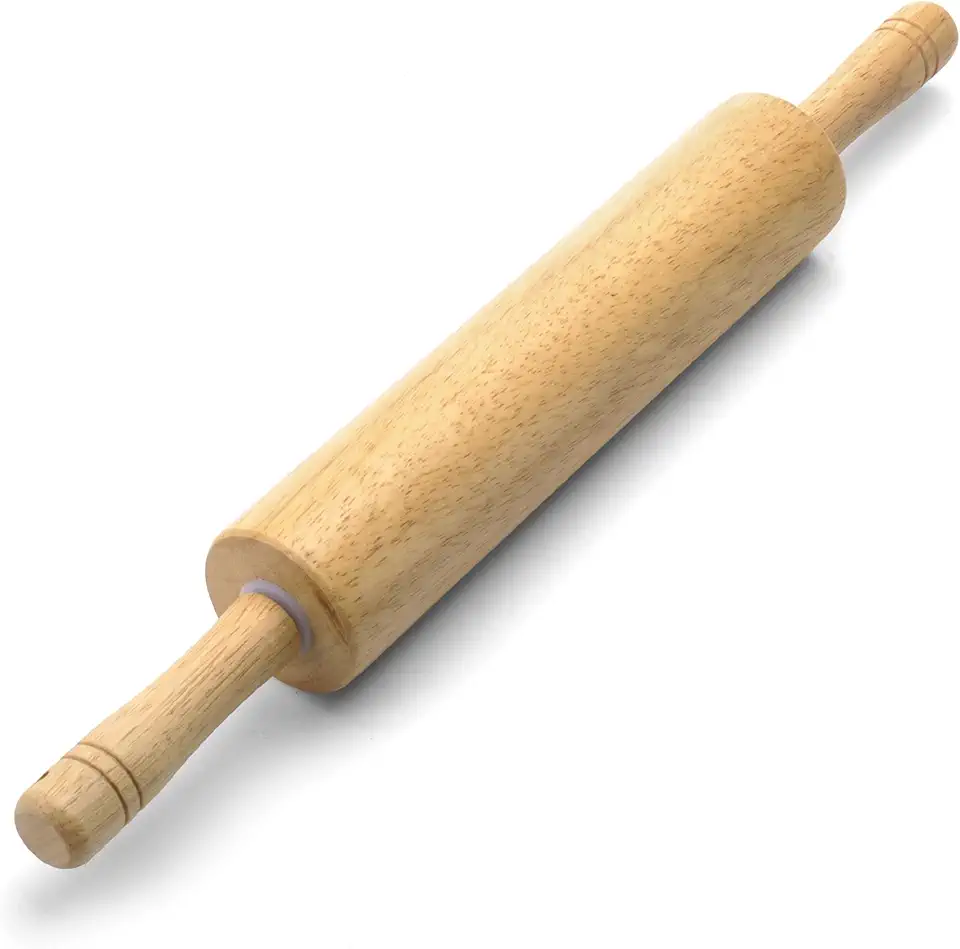 Farberware Classic Wood Rolling Pin, 17.75-Inch, Natural
$12.99
$13.99
View details
Prime
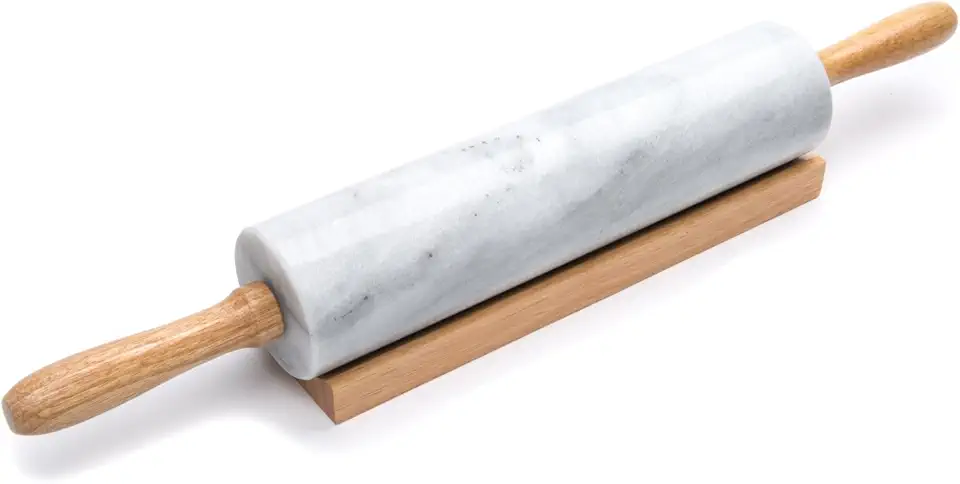 Fox Run Polished Marble Rolling Pin with Wooden Cradle, 10-Inch Barrel, White
$20.88
View details
Prime
 French Rolling Pin (17 Inches) –WoodenRoll Pin for Fondant, Pie Crust, Cookie, Pastry, Dough –Tapered Design & Smooth Construction - Essential Kitchen Utensil
$9.99
View details
Using molds will give your mooncakes their signature shape. Opt for non-stick options for an easier release.
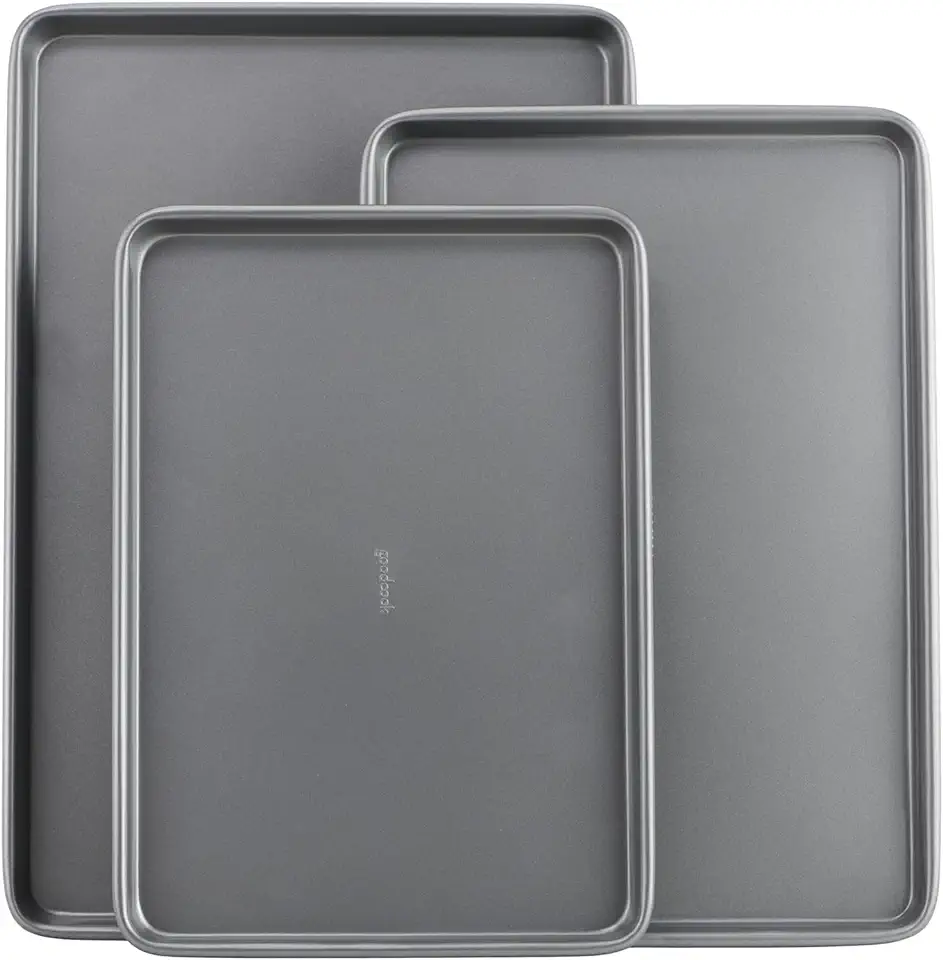
A sturdy baking tray is key for even baking. Line it with parchment paper to prevent sticking.
Variations
If you’re looking to cater to different diets, don’t worry! There are gluten-free and vegan options available for these mooncakes! 🌱💫 Try using gluten-free flour blends to create a dough that everyone can enjoy. You can also swap out traditional fillings with options like sweet red beans or chocolate!
For a vegan option, replace eggs with flaxseed meal or applesauce, and use maple syrup instead of honey. Your mooncakes will still taste amazing and be suitable for your vegan friends!
Faq
- What is the best way to store mooncakes?
Store mooncakes in an airtight container at room temperature. They usually stay fresh for about a week, but the flavors deepen over time!
- Can I freeze mooncakes?
Yes, you can freeze mooncakes! Just wrap them tightly in freezable bags and keep them in the freezer. Thaw them at room temperature before enjoying.
- How do I know when my mooncakes are done baking?
Look for a golden-brown color and a slight firming of the dough. A toothpick should come out clean from the center!
- Can I use different types of fillings?
Absolutely! Feel free to experiment with fillings like lotus seed paste, chocolate, or even fruit preserves. The options are endless!
- What should I do if my mooncake dough is too sticky?
If your dough feels sticky, try chilling it in the fridge for about 30 minutes. This makes it easier to handle!
- Is there a specific type of flour I should use?
Use all-purpose flour for traditional mooncakes, but feel free to substitute with specialty flours like cake flour for a lighter texture!


