Ingredients
Strawberry-Rose Filling
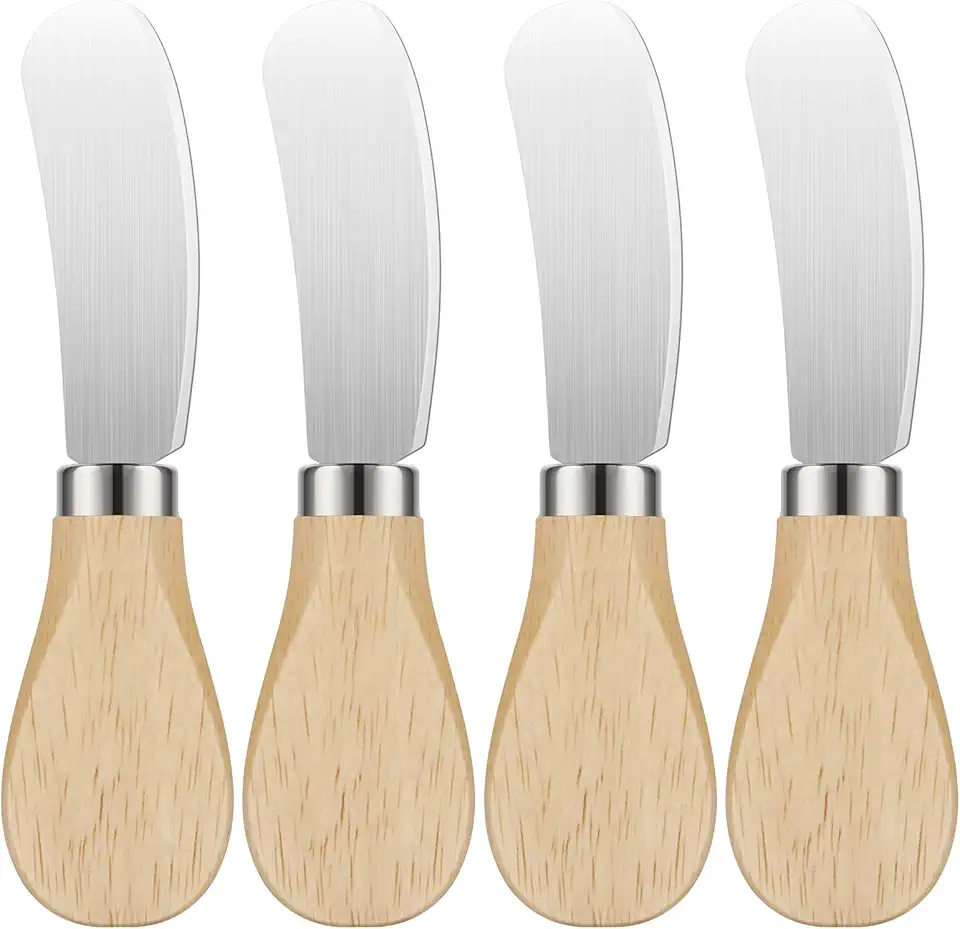 4 Pcs Cheese Spreader Set with Wooden Handle Mini Butter Knives Stainless Steel Cheese Slicer Small Cocktail Cutter for Charcuterie Boards Appetizers Condiments Cream Jam Sandwich
$6.99
View details
Prime
 By The Cup Cream Cheese Pie & Pastry Filling, 2 Pound with Spatula Knife
$14.99
View details
Prime
 Kraft Cheese Spread, Pimento, 5 Ounce
$9.99
$11.85
View details
 Pink Shimmer Premium Airbrush Color Cake Decorations - Food Coloring - Airbrush Color - 4 Fl Oz
$24.54
View details
Prime
 Chefmaster Rose Pink Liqua-Gel® Food Coloring | Vibrant Color | Professional-Grade Dye for Icing, Frosting, Fondant | Baking & Decorating | Fade-Resistant | Easy-to-Use | Made in USA | 10.5 oz
$13.47
View details
Prime
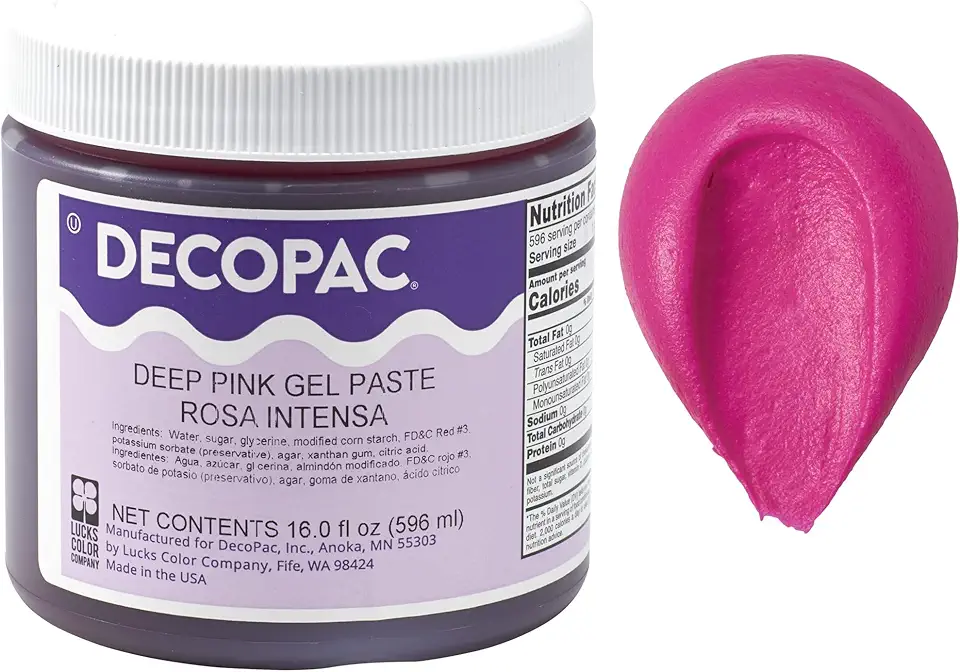 DecoPac Food Coloring | Paste Made In USA With Intense Colors, Food Color (Deep Pink) 16oz Deep Pink Food Coloring For Bakers
$33.67
View details
Mochi Dough
Instructions
Step 1
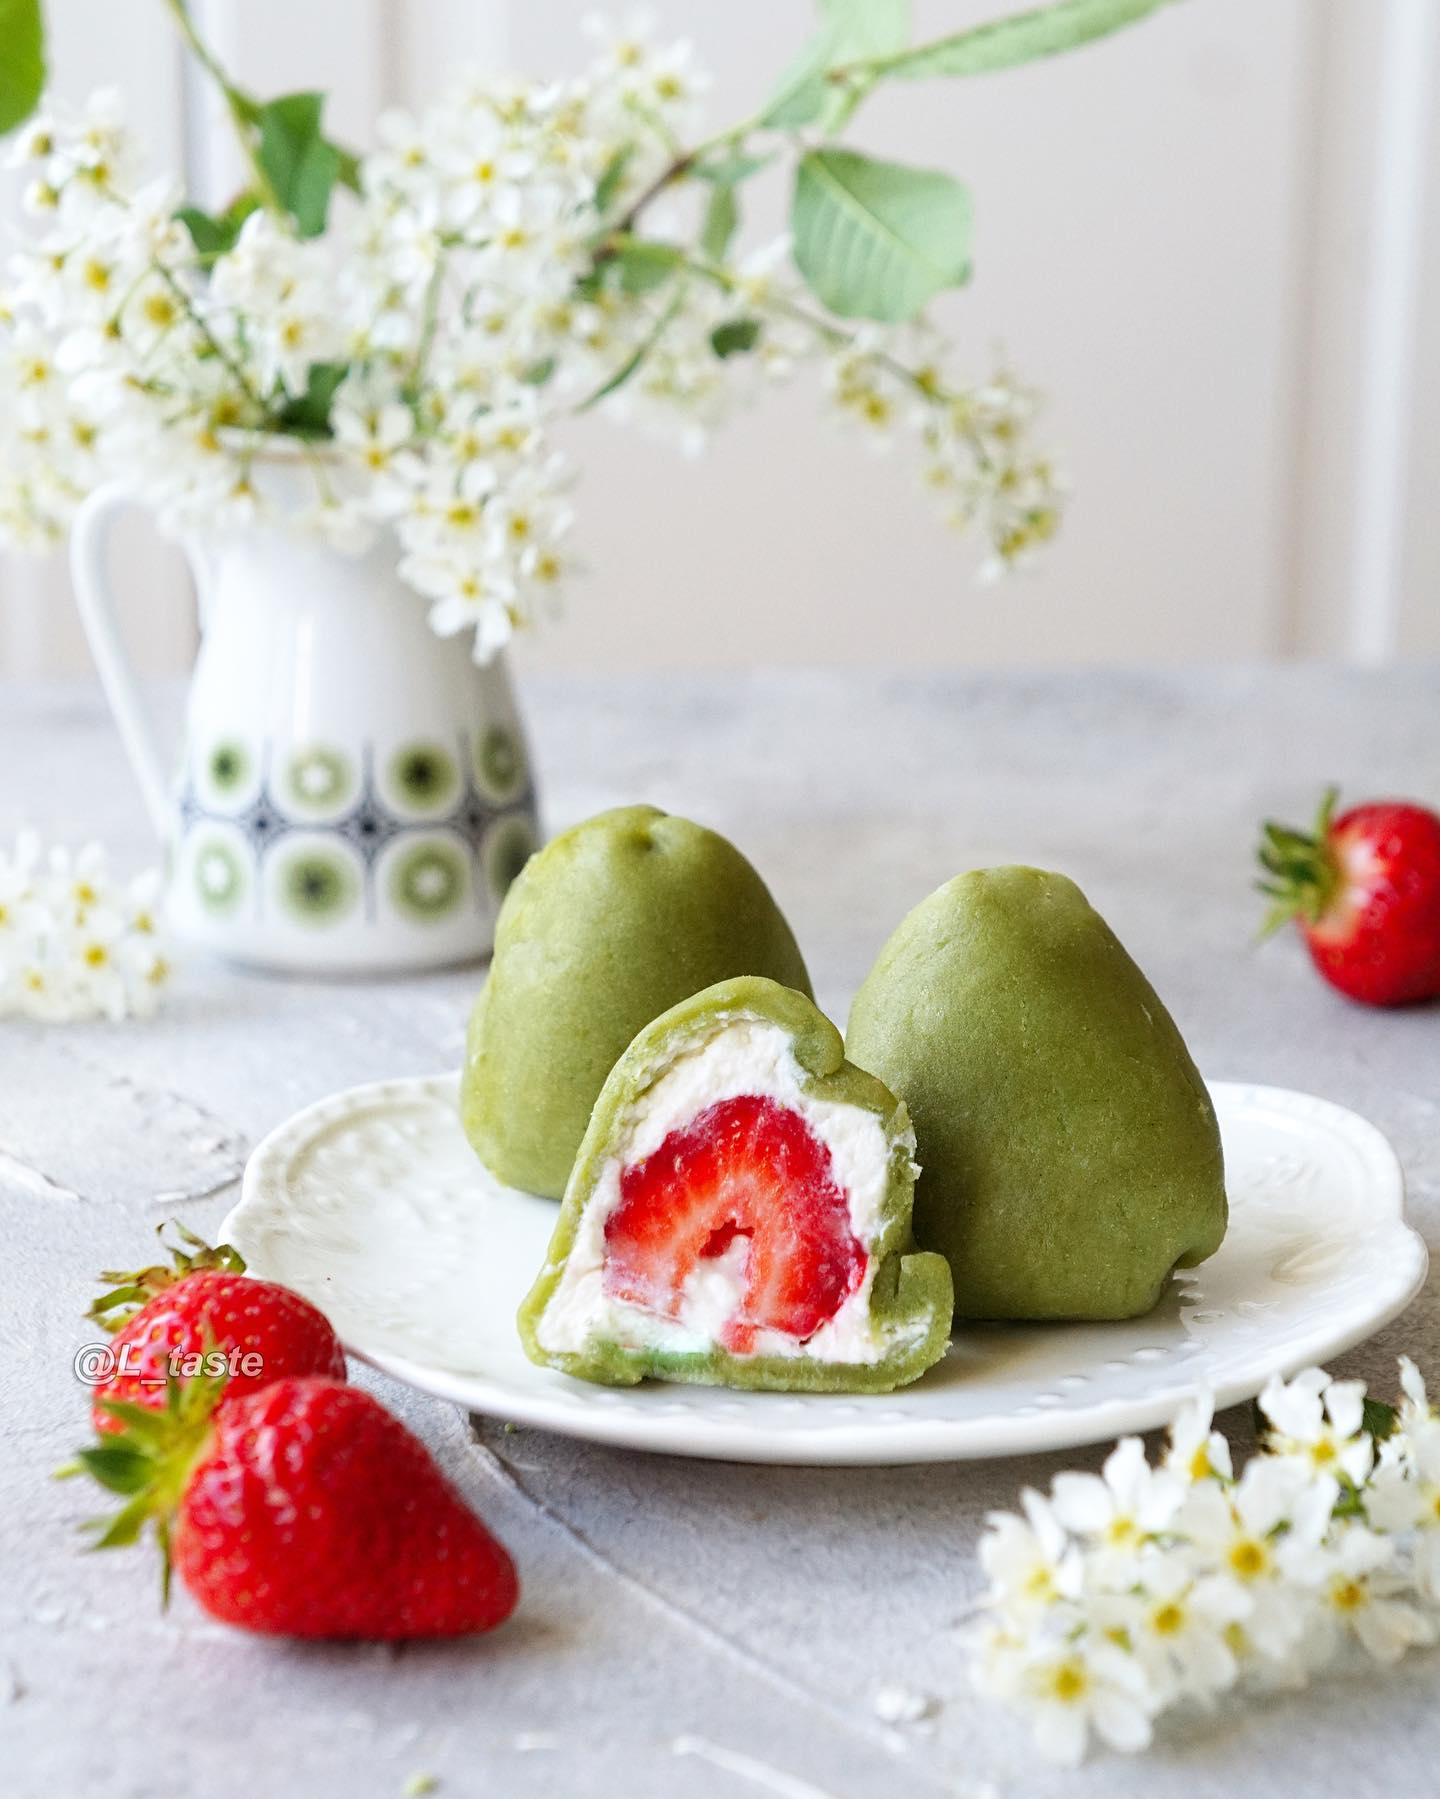
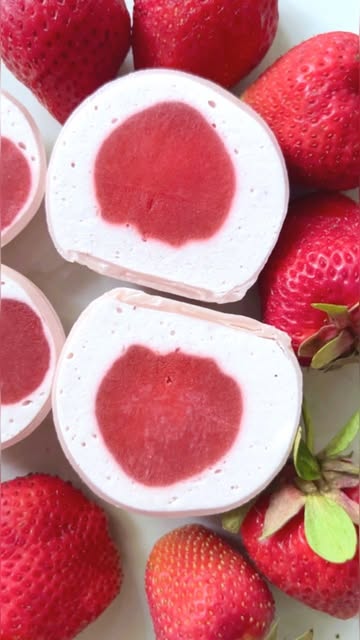
Start by making the filling that combines the flavors of **strawberry and rose**. In a bowl, mix the **strawberry confit** with **mascarpone cheese** until well combined. You will want a creamy texture that captures the essence of these delightful flavors.
To give your filling a beautiful hue, *add a few drops of pink food coloring* and stir well until the color is evenly distributed.
Step 2
In a separate bowl, combine **200 grams (1 cup) of rice flour** with **50 grams (1/4 cup) of sugar**. Gradually add **240 milliliters (1 cup) of water**, stirring continuously to avoid lumps.
This mixture will be the base for your *mochi dough*, so make sure it is smooth and well-mixed.
Step 3
Transfer the mochi mixture to a microwave-safe dish and cover it loosely. Microwave for **3 minutes** on high, then stir. Return to the microwave for another **2 minutes**. You want the dough to become firm and slightly sticky.
Step 4
Once your mochi dough is ready, let it cool for a few minutes before working with it. Dust your surface with *rice flour* to prevent sticking. Roll out the dough into a rectangle about **1.5 centimeters (0.5 inches)** thick.
Cut small circles using a cookie cutter, then place a spoonful of the strawberry-rose filling in the center of each circle. Carefully wrap the dough around the filling, sealing it well.
Step 5
Using silicone heart-shaped molds, place your filled mochi into each heart cavity. Ensure they are snug to hold their shape. Allow them to chill for about **30 minutes** in the refrigerator.
Once set, your beautiful **strawberry-rose mochi** is ready to be enjoyed! Serve them cold for a refreshing dessert.
Servings
For a casual gathering, serve them in a cute picnic basket with napkins and forks. Your guests will love picking their favorites, and it creates a cozy, friendly vibe. Don't forget to take lots of pictures; these dreamy treats are not just delicious—they're Instagram gold! 📸✨
Equipment
Perfect for shaping your mochi into adorable hearts. Use both large (art. 182560325) and small (art. 209818249) molds for varied sizes!
You’ll need mixing bowls of various sizes for both the dough and the filling. Make sure they’re big enough to allow thorough mixing!
A silicone spatula is great for folding ingredients without damaging the delicate dough. It’s an essential tool for any baking project!
 HOTEC Food Grade Silicone Rubber Spatula Set for Baking, Cooking, and Mixing High Heat Resistant Non Stick Dishwasher Safe BPA-Free Multicolor Set of 5
$9.59
$18.99
View details
Prime
 Wilton Icing Spatula - 13-Inch Angled Cake Spatula for Smoothing Frosting on Treats or Spreading Filling Between Cake Layers, Steel
$7.98
$8.75
View details
 Metal Spatula Stainless Steel and Scraper - Professional Chef Griddle Spatulas Set of 3 - Heavy Duty Accessories Great for Cast Iron BBQ Flat Top Grill Skillet Pan - Commercial Grade
$19.99
$22.99
View details
Use a pot for steaming the mochi dough; it needs to be deep enough to hold water while allowing for steam to circulate.
Variations
No worries if you or your guests have dietary restrictions! To make these lovely mochi gluten-free, simply ensure that the sweet rice flour is certified gluten-free. 🌾✨ For a vegan option, replace the mascarpone with a plant-based cream cheese or a vegan whipped topping. Both options will still deliver that creamy texture making the mochi irresistibly delicious!
Faq
- What if my mochi dough is too sticky?
Make sure you’re using enough cornstarch when handling the dough. If it's still too sticky, you can knead in a little more sweet rice flour until you reach a smoother consistency.
- How do I know when my mochi is ready?
The dough should be shiny, slightly stretchy, and firm to the touch after steaming. Test a small piece to ensure that it has a nice chewy texture.
- Can I use fresh strawberries instead of confit?
Yes! Just ensure you properly prepare them; you may need to adjust the sugar in the filling to account for the fresh fruit’s natural sweetness.
- How long can I store the mochi?
Mochi is best enjoyed fresh but can be stored in an airtight container at room temperature for up to 2 days. Refrigeration can change the texture, so it’s best to consume them right away!
- What’s the best way to shape the mochi?
After steaming, let the dough cool slightly, then dust your hands with cornstarch before shaping it into balls or pressing it into molds. This will help prevent stickiness!
- Can I freeze mochi?
Yes, mochi can be frozen! Just ensure they’re well-wrapped in plastic wrap and then placed in a freezer-safe container. Thaw them at room temperature before serving!


