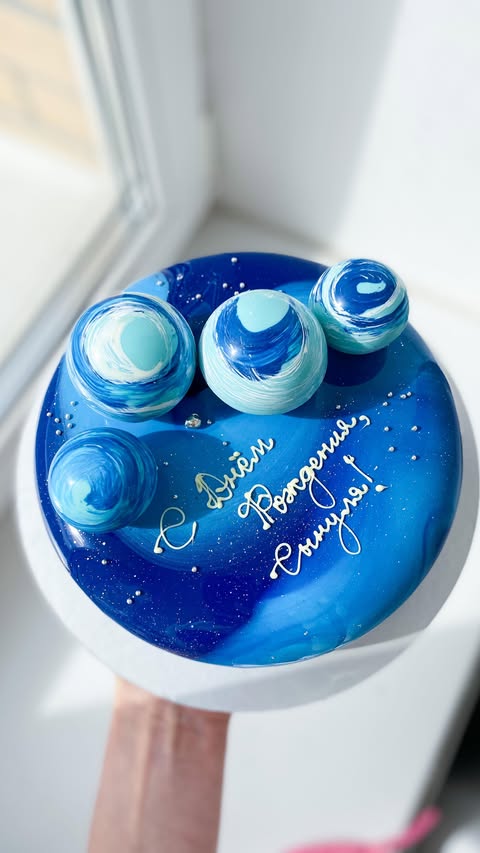
Ingredients
Glaze Ingredients
Instructions
Step 1
In a small bowl, combine 10 grams (0.35 ounces) of gelatin with 40 milliliters (1.4 fluid ounces) of cold water. Allow it to sit for about 5-10 minutes until it fully absorbs the water and becomes spongy.
This process is crucial as it ensures the gelatin activates properly, which will help your glaze set beautifully.
Step 2
Once the gelatin has soaked, gently heat it in a double boiler until it dissolves completely. Be careful not to let it boil.
The gentle heat will prevent the gelatin from clumping and will create a smooth mixture.
Step 3
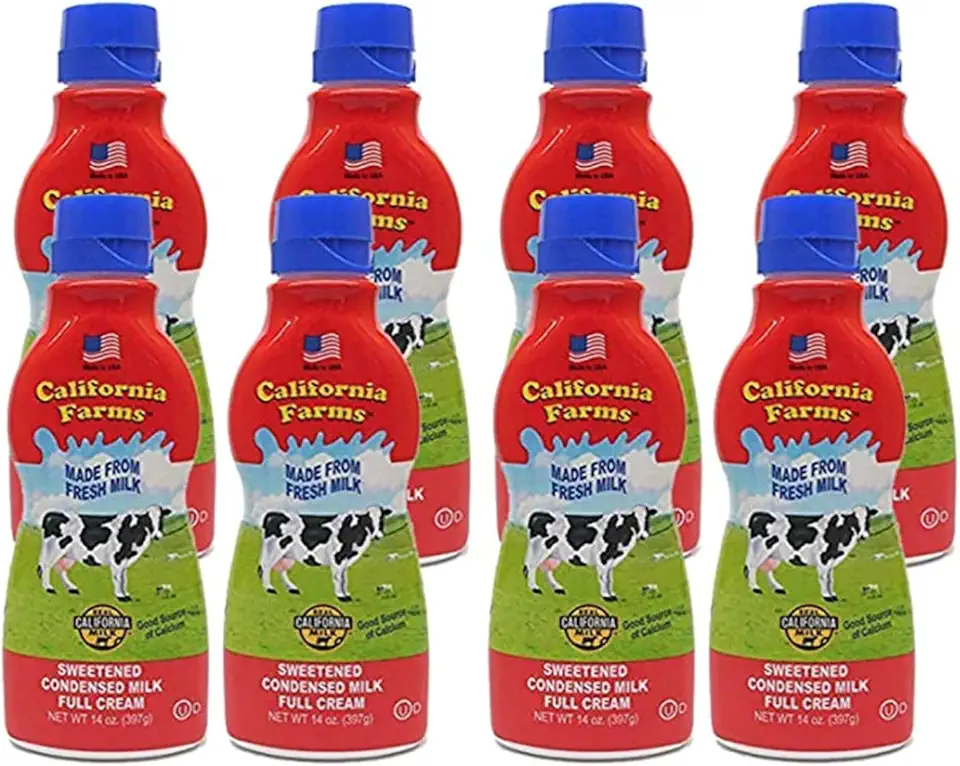
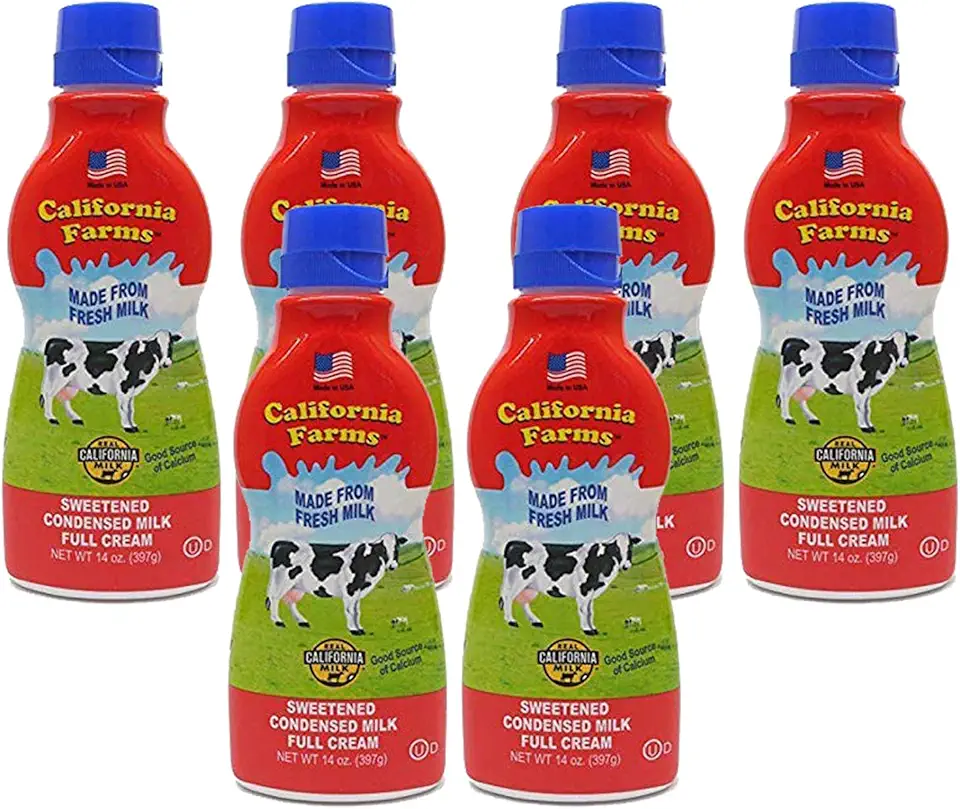
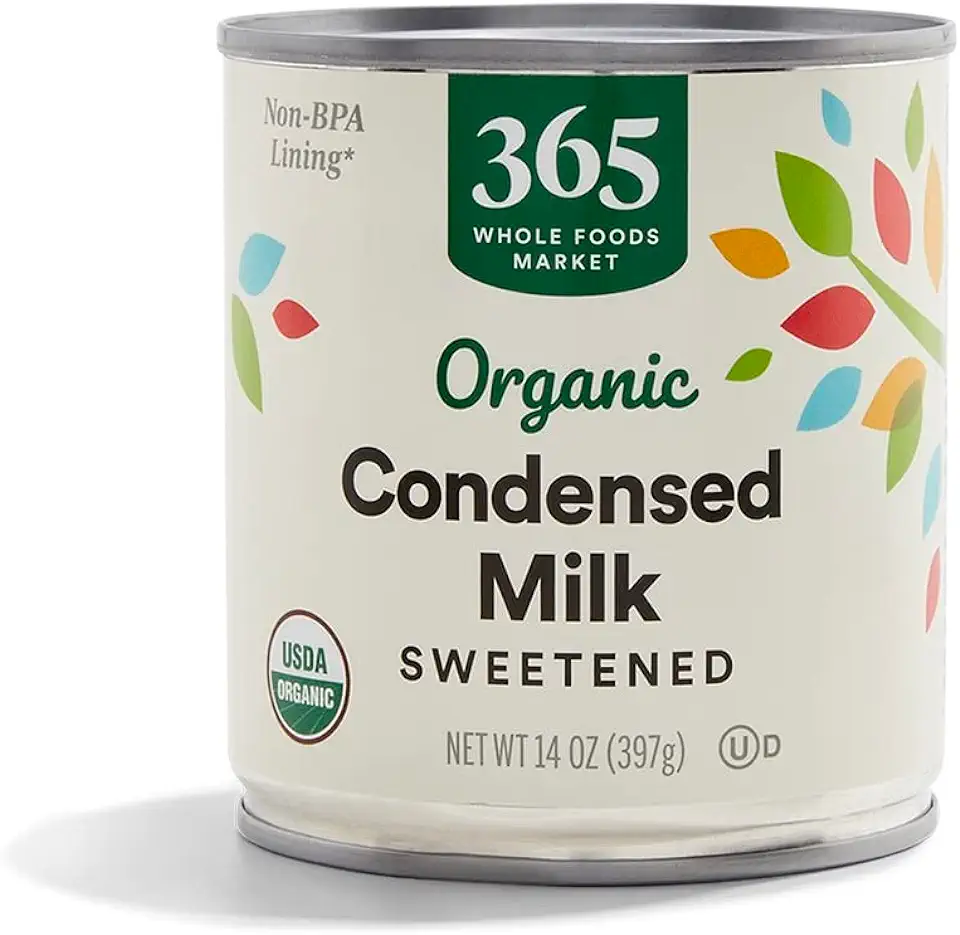
In a mixing bowl, combine 150 grams (5.3 ounces) of sweetened condensed milk with the melted gelatin mixture. Whisk them together until well combined and smooth.
This is where you’ll start to see the magic happen as the ingredients blend into a lovely creamy mixture.
Step 4
If desired, add a few drops of food coloring to achieve your chosen hue. Mix well until the color is evenly distributed.
Feel free to be creative; this glaze can be colored in any shade to match your dessert theme!
Step 5
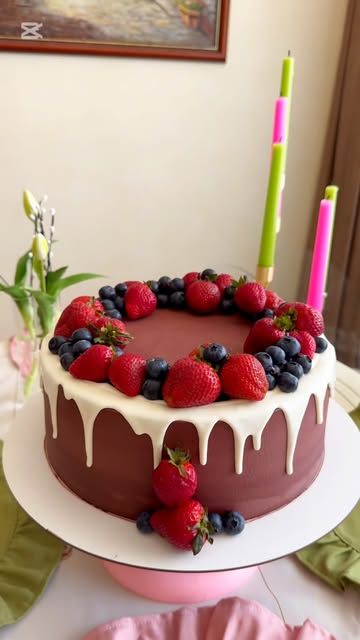
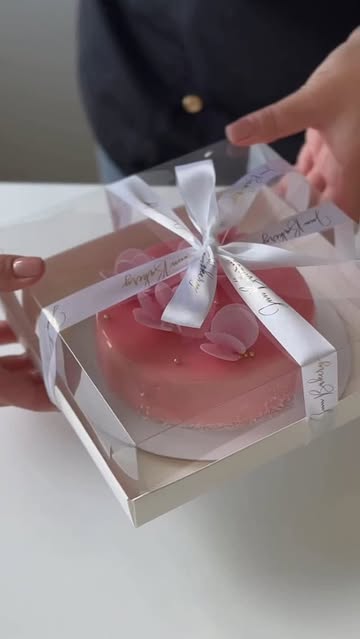
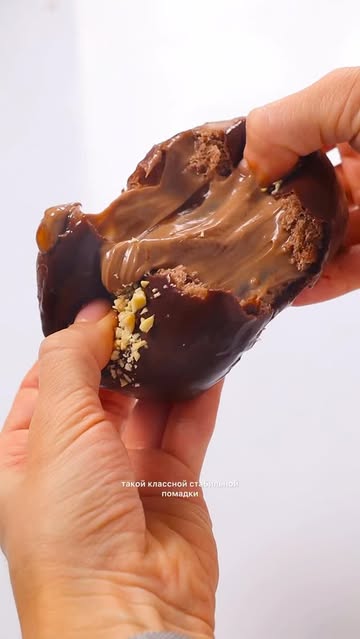
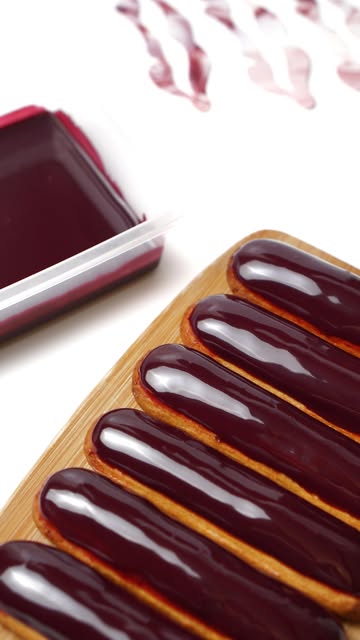
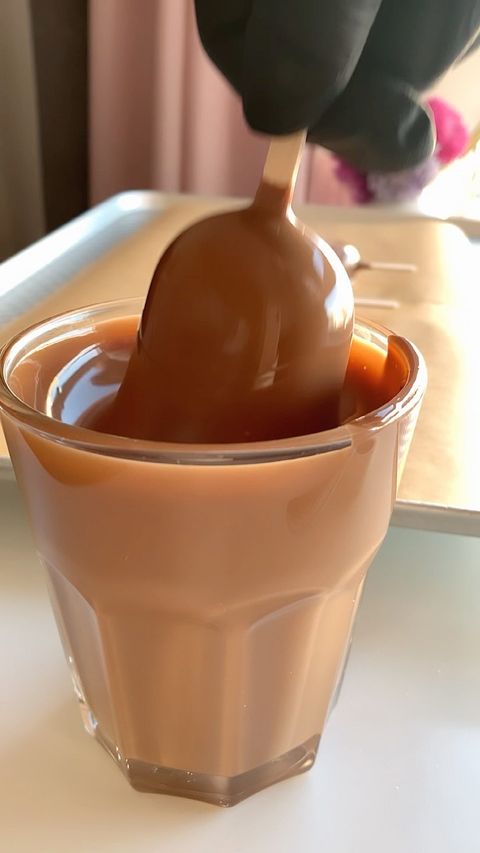
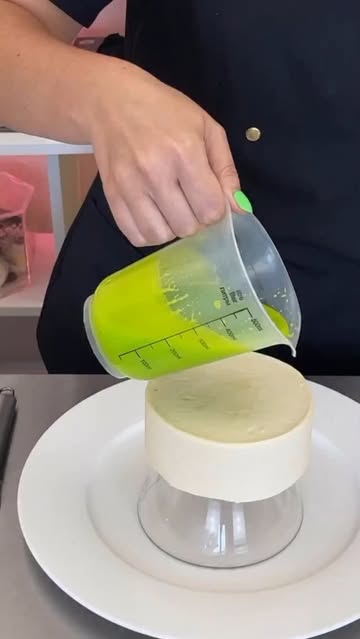
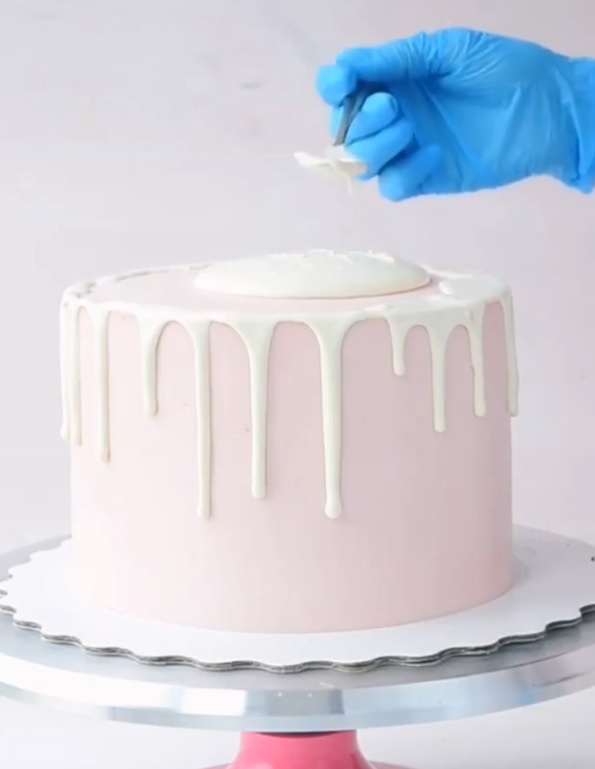
Once your glaze is ready and smooth, pour it over your prepared cakes or desserts. Ensure it flows evenly for the best appearance.
If the glaze is too runny and drips too much, you may want to refrigerate it a little to thicken up before pouring.
Step 6
If your glaze starts to thicken too quickly while working, you can gently reheat it on a double boiler to restore its smooth consistency.
If the glaze seems too thin when applying, it might leak down to the base; practice makes perfect, so don't hesitate to test as you go!
Servings
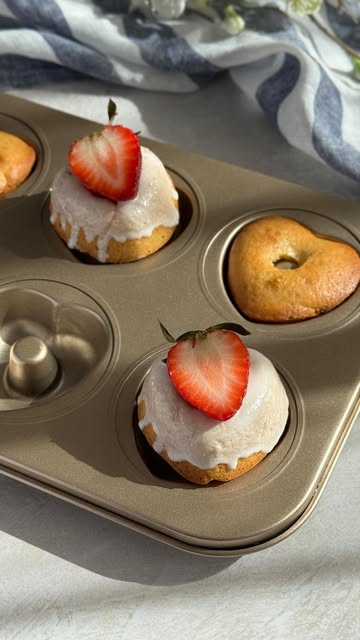
This glaze pairs beautifully with fruits as well, making it perfect for a summer gathering. Imagine a **tantalizing fruit tart topped with this glaze**, bringing both flavor and beauty to your table! 🍓🍏 Don’t forget, you can also personalize the color to match the theme of your event; your dessert can be the star of the show!
Equipment
A good, sturdy bowl is essential for combining your ingredients. Opt for glass or stainless steel for easy cleaning!
 YIHONG 7 Piece Mixing Bowls with Lids for Kitchen, Stainless Steel Mixing Bowls Set Ideal for Baking, Prepping, Cooking and Serving Food, Nesting Metal Mixing Bowls for Space Saving Storage
$27.99
$35.99
View details
Prime
best seller
 Pyrex Glass, 3-Piece, 3 PC Mixing Bowl Set
$17.53
View details
Prime
 REGILLER Stainless Steel Mixing Bowls (Set of 5), Non Slip Colorful Silicone Bottom Nesting Storage Bowls, Polished Mirror Finish For Healthy Meal Mixing and Prepping 1.5-2 - 2.5-3.5 - 7QT (Colorful)
$26.99
View details
Using a whisk ensures that your mixture is smooth without lumps. A balloon whisk works great for this recipe!
 OXO Good Grips 11-Inch Balloon Whisk
$10.93
$11.95
View details
Prime
best seller
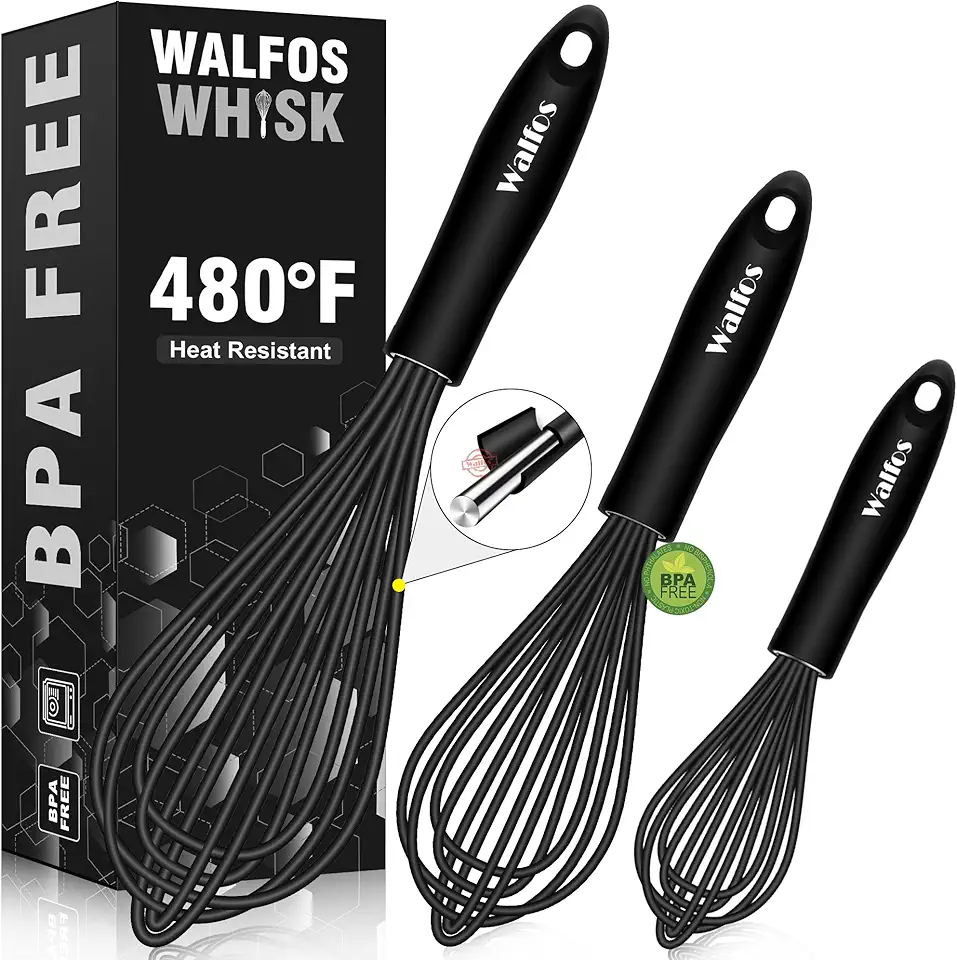 Walfos Silicone Whisk,Stainless Steel Wire Whisk Set of 3 -Heat Resistant 480°F Kitchen Whisks for Non-stick Cookware,Balloon Egg Beater Perfect for Blending,Whisking,Beating,Frothing & Stirring,Black
$11.89
$14.99
View details
Prime
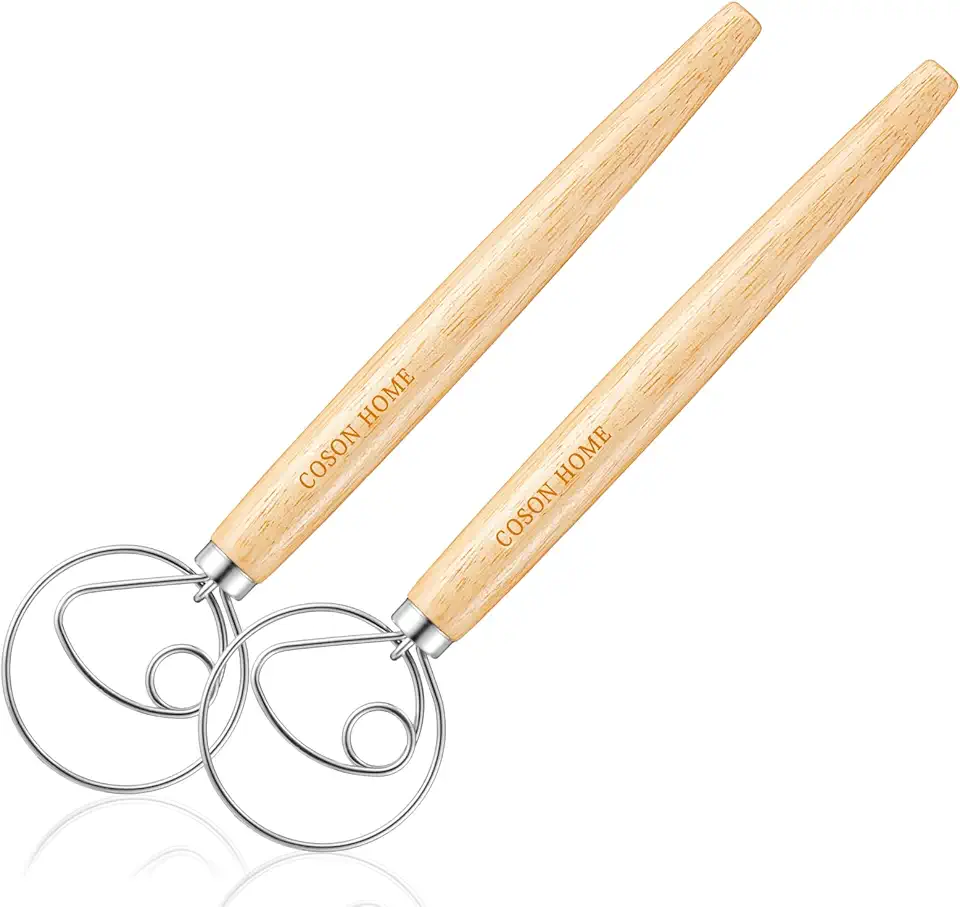 Pack of 2 Danish Dough Whisk Blender Dutch Bread Whisk Hook Wooden Hand Mixer Sourdough Baking Tools for Cake Bread Pizza Pastry Biscuits Tool Stainless Steel Ring 13.5 inches 0.22 lb/pcs…
$9.80
$14.99
View details
You’ll need something to gently heat your glaze if it begins to set too quickly. A double boiler setup is perfect for this task!
Variations
Faq
- What if my glaze is too thick?
If your glaze is too thick, try warming it up briefly in a double boiler. This will loosen it up for easier drizzling!
- Can I flavor the glaze?
- What can I use instead of gelatin if I can't find any?
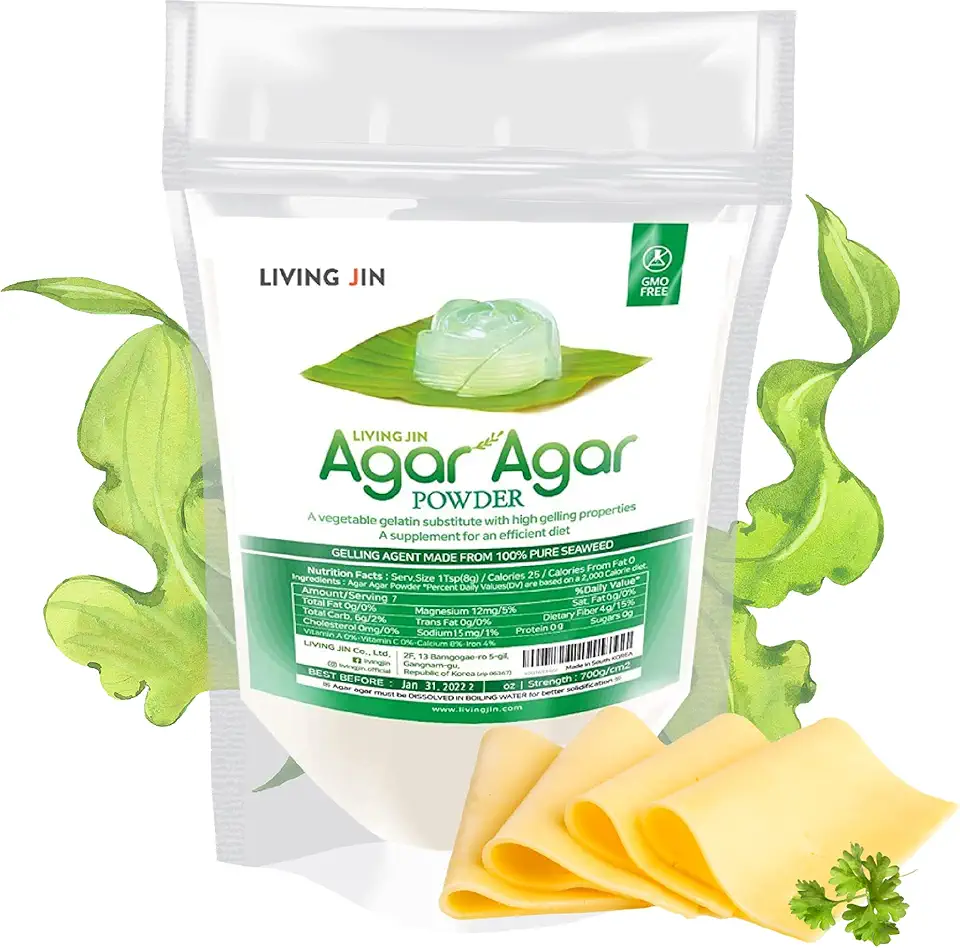
Agar-agar is a great substitute for making this glaze, and it will work well with the other ingredients!
- How long does the glaze last once prepared?
Once made, the glaze can be stored in the refrigerator for up to a week. Just give it a quick warm-up before using!
- Can I use this glaze for chocolate desserts?
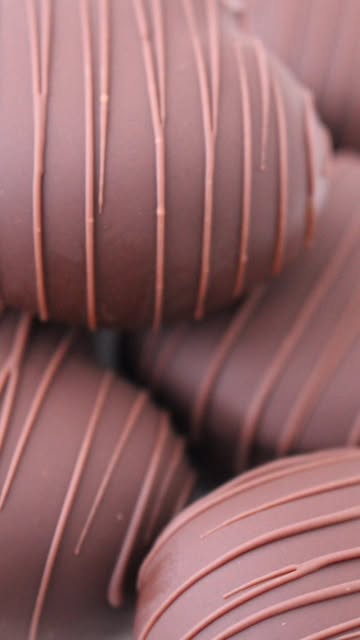
Absolutely! This glaze pairs exceptionally well with chocolate cakes and desserts, adding a beautiful contrast!
- How do I achieve a glossy finish?
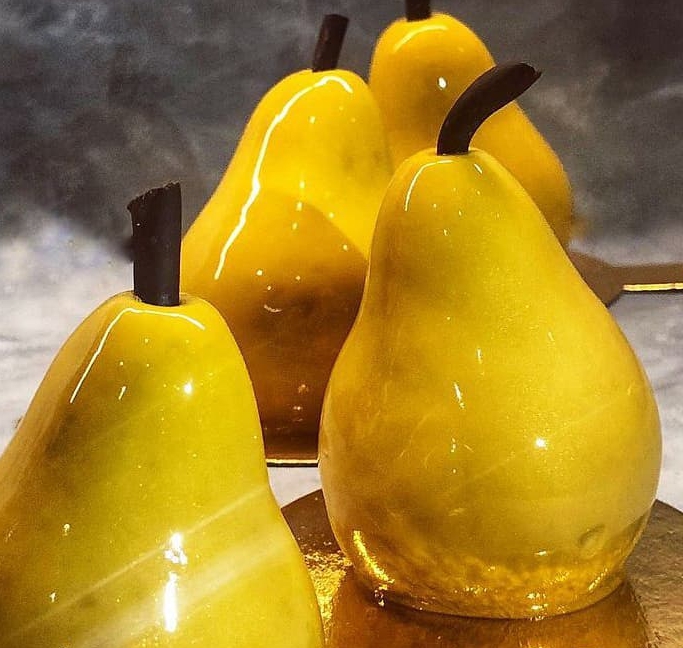
To achieve that beautiful glossy finish, ensure that your mixture is smooth and free of bubbles before pouring it onto your dessert!

