Ingredients
Salami Tartlet Ingredients
Lavash Tartlet Ingredients
Baguette Tartlet Ingredients
For Baking
Instructions
Step 1
Start by selecting *a larger diameter salami* for the tartlet base. If that’s not available, create small foil balls to support the edges of the salami within the tartlet mold. This helps the salami hold its shape while baking.
In a mixing bowl, combine *the cream cheese, sun-dried tomatoes*, and if desired, the feta cheese. You can also add fresh herbs or a mix of *Provencal herbs* to enhance the flavor. Mix these ingredients well, ensuring they are *evenly distributed*.
Step 2
Using a small plate or a cookie cutter, cut *round shapes* out of the lavash bread. You will need enough rounds to line your tartlet molds. This method creates a delicious and flexible base for your filling.
Next, layer the *smoked chicken*, chopped red bell pepper, and cream cheese in a bowl. Mix them until they are well incorporated and set aside while you prepare the next tartlet.
Step 3
Slice the *baguette* into pieces of about 7 centimeters (approximately 3 inches). Use a glass to press down in the center of each slice to create a little cup for the filling.
In another bowl, combine the *cream cheese* with finely chopped pickles. Spoon this mixture into each baguette piece, and if you like, top with thin slices of salami for garnish. You can also use a *Peking cabbage leaf* to decorate the plate.
Step 4
Preheat your oven to *180 degrees Celsius (350 degrees Fahrenheit)*. Before placing them in the oven, brush each tartlet with a little *olive oil, oregano,* and *paprika*. This will add extra flavor and a golden color.
Bake the tartlets for about *7 to 10 minutes*. Keep an eye on them, especially the lavash, as it tends to bake faster than the others. Once they are golden brown, remove them from the oven and let them cool slightly before serving.
Servings
Equipment
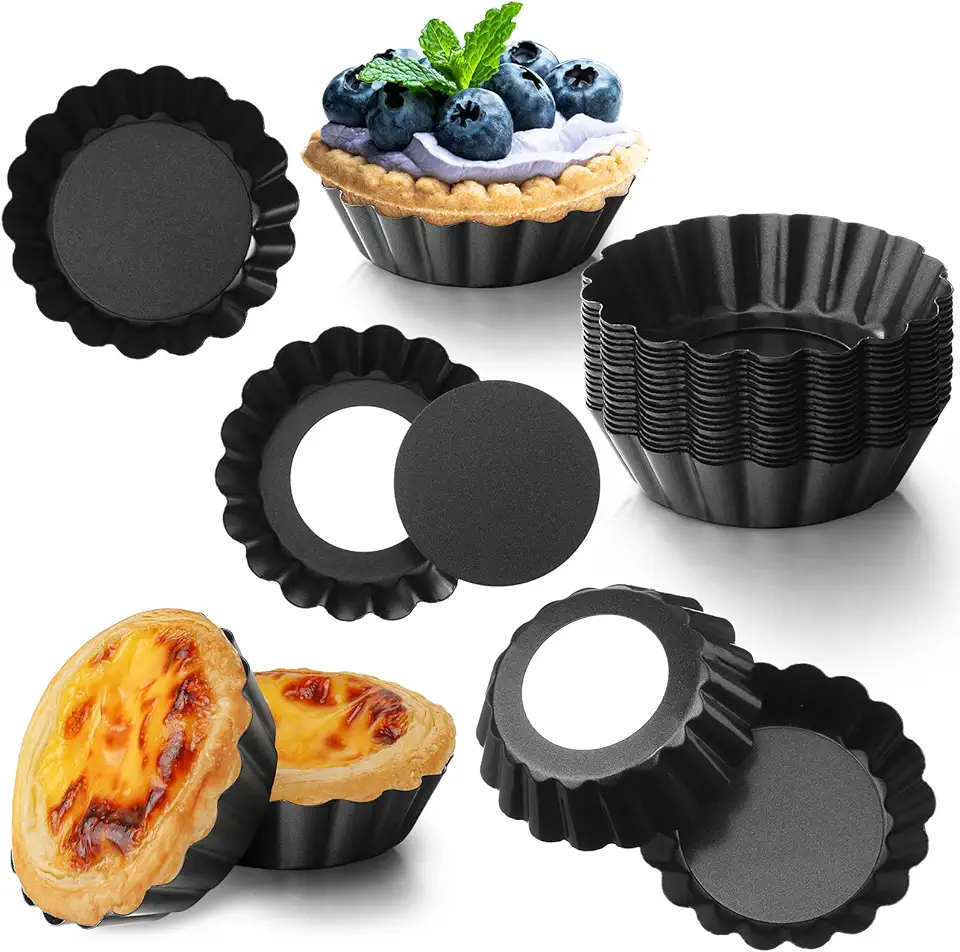
Make sure to choose non-stick molds for easy removal. If you don’t have molds, you can use crumpled foil to shape your tartlet crusts!
This will help you flatten your dough evenly if you choose to make your own. A sturdy bottle can also work in a pinch.
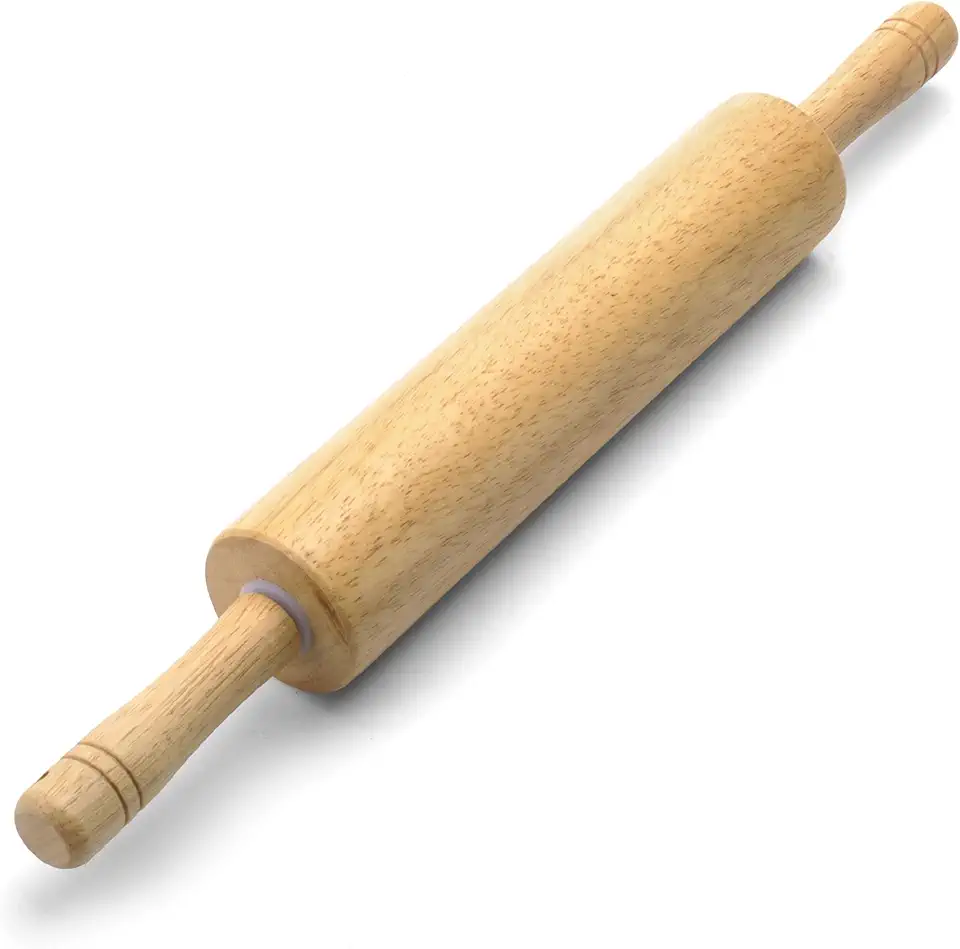 Farberware Classic Wood Rolling Pin, 17.75-Inch, Natural
$12.99
$13.99
View details
Prime
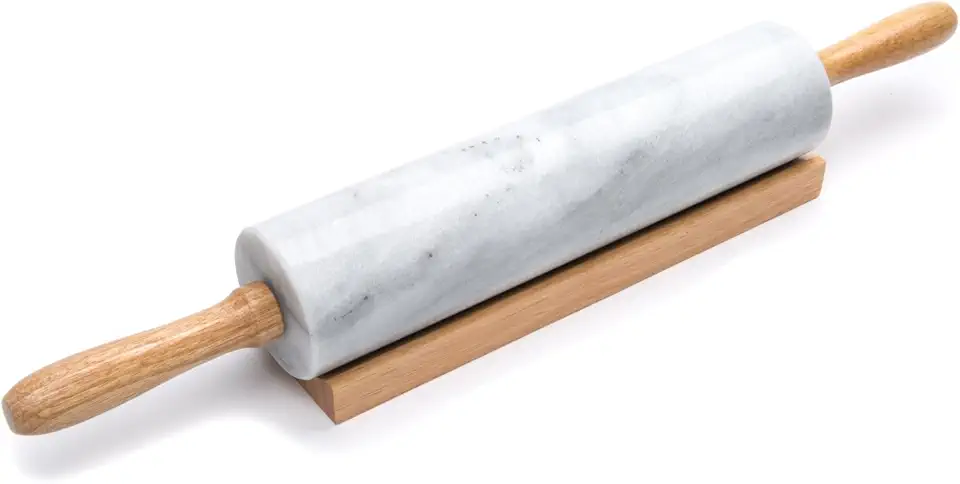 Fox Run Polished Marble Rolling Pin with Wooden Cradle, 10-Inch Barrel, White
$20.88
View details
Prime
 French Rolling Pin (17 Inches) –WoodenRoll Pin for Fondant, Pie Crust, Cookie, Pastry, Dough –Tapered Design & Smooth Construction - Essential Kitchen Utensil
$9.99
View details
Don’t forget to line your baking sheet with parchment paper for easy cleanup and to prevent sticking.
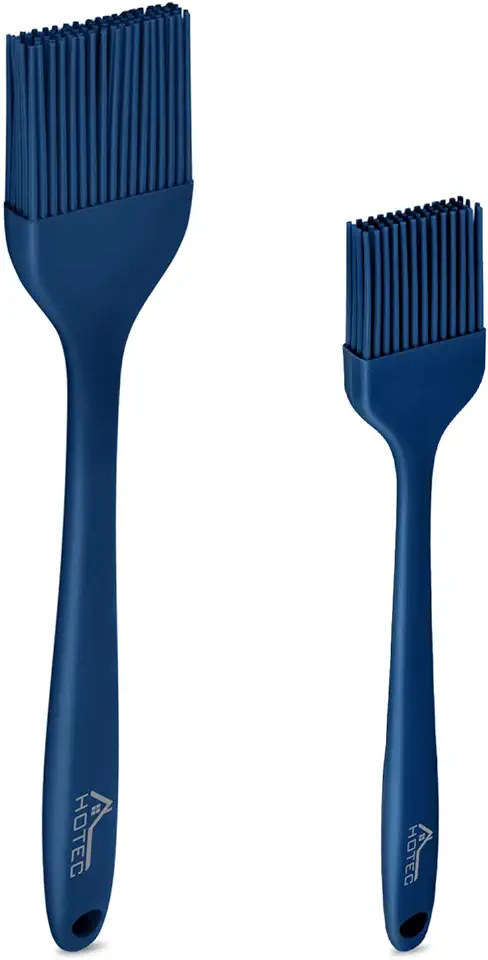
Use it to brush olive oil or melted butter on your tart crusts for that perfect crispy finish.
Variations
The great news is that you can easily modify these recipes to fit your dietary preferences! For a **gluten-free option**, choose gluten-free tortillas or pre-made gluten-free pastry crusts to create your tartlets. 🍞✨
If you want to make these tartlets **vegan**, swap out cream cheese for vegan cheese or a nut-based cream. Replace the salami with grilled vegetables or a tasty plant-based meat substitute. And don’t forget to use olive oil instead of butter when brushing your crusts! Your guests won’t even miss the dairy!
Faq
- What is the best way to ensure my tartlet crust doesn’t stick to the mold?
Using a non-stick tartlet mold is key. Additionally, lightly greasing your mold with some oil or using parchment paper can prevent sticking.
- Can I prepare the tartlet shells in advance?
Yes! You can make the shells ahead of time and store them in an airtight container until you're ready to fill and bake them.
- What are some good fillings for tartlets besides the ones suggested?
Get creative! Filled with anything from creamy spinach-artichoke dip to savory sautéed mushrooms, the options are endless!
- How do I know when my tartlet crusts are done baking?
Keep an eye on them; they should be golden brown and crispy. If they look too pale, let them bake for a couple more minutes.
- Can I use frozen dough for making these tartlets?
Absolutely! Just thaw it properly and follow the same instructions for shaping and baking. It can save you time!
- How can I make my tartlet filling more flavorful?
Enhance your fillings with herbs, spices, and infused oils. Don't shy away from adding a touch of lemon juice for brightness!

