Ingredients
Materials Needed
Instructions
Step 1
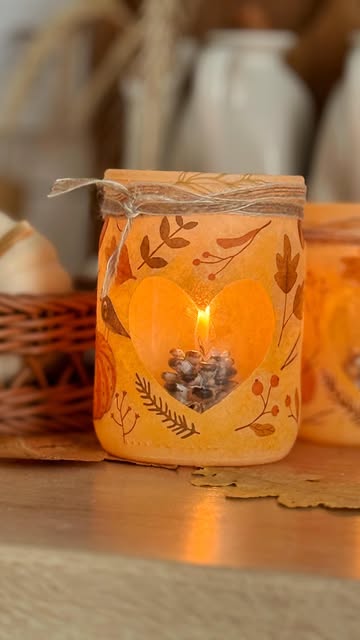
Start by collecting all your materials. You will need a glass jar, a decorative napkin, decoupage glue, and a few tools such as scissors and a flat brush.
Ensure that you have something to use as a template, like a heart shape. This will help you create beautiful patterns when applying the napkin.
Step 2
Clean the glass jar thoroughly to remove any residues or labels. This step is important because it ensures that the glue adheres well to the surface.
Once clean, dry it completely before moving forward with the decoration process.
Step 3
Carefully cut out the design or pattern you want to apply from the decorative napkin. If you are using a template, trace it onto the napkin and cut it out with precision.
This step allows you to achieve a neat and professional look for your candle holder.
Step 4
Use the flat brush to apply a thin layer of decoupage glue onto the area of the jar where you want to place the napkin. Make sure the layer is even.
It’s helpful to work in sections if you are covering a larger area to ensure that the glue doesn’t dry out before you place the napkin.
Step 5
Gently place the cut-out napkin onto the glued section of the jar. Press it down softly to avoid tearing it, especially if it is delicate.
Use the sponge to smooth out any bubbles or wrinkles, ensuring that it is securely attached.
Step 6
Once the napkin is in place, apply another layer of decoupage glue over the top of it. This seals the napkin and adds a glossy finish to your candle holder.
Allow the glue to dry completely, which could take a couple of hours depending on the thickness of the glue layer.
Step 7
To give your candle holder a rustic look, wrap jute twine around the neck of the jar. Start from the top and work your way down, securing it with a knot.
This not only adds decoration but also provides a grip for easy handling.
Step 8
Your stylish candle holder is now ready to use! Place a battery-operated candle inside for safety or a regular candle if you prefer.
Display it on your table for a cozy atmosphere during holidays or special occasions.
Servings
Equipment
A clean, empty glass jar is your canvas! Choose one with a nice shape and size that fits your decor style.
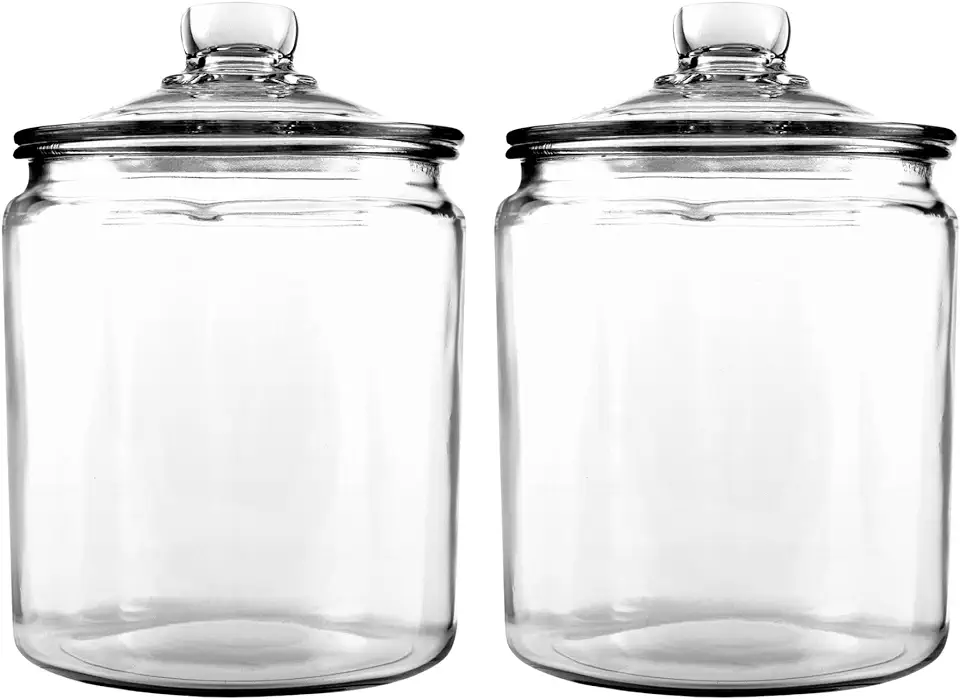 Anchor Hocking Heritage Hill 1/2 Gallon Glass Jar with Lid, Set of 2
$25.68
View details
Prime
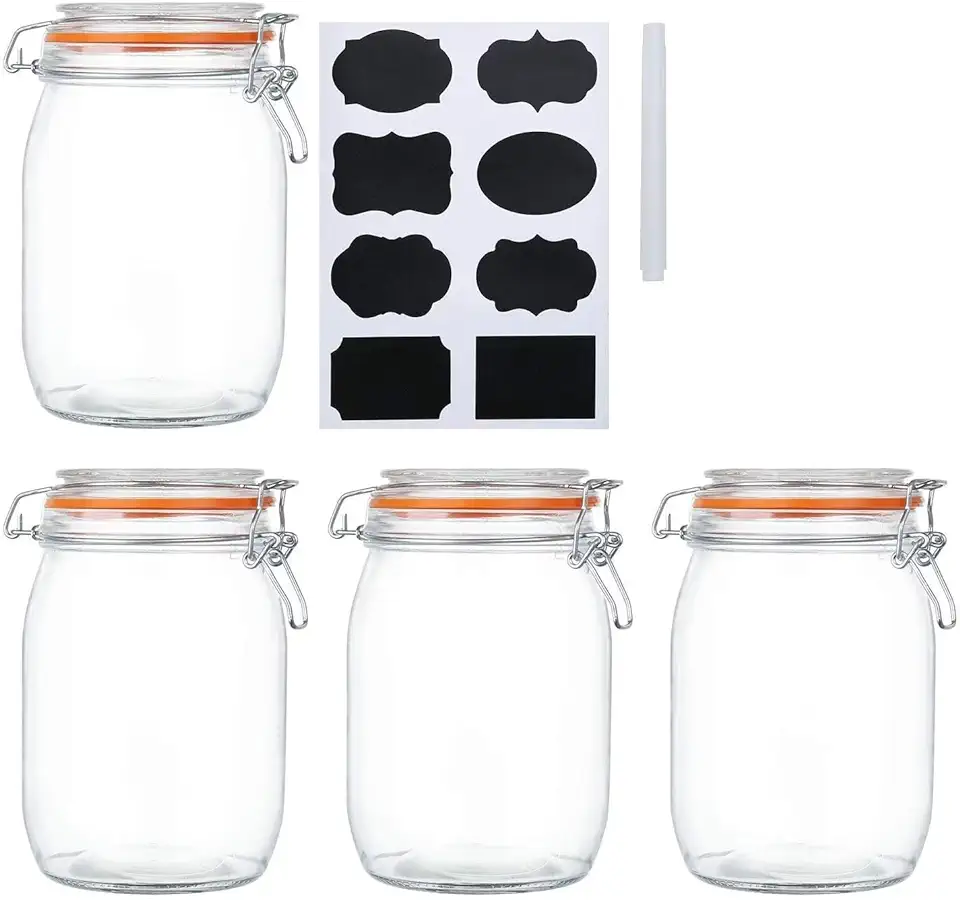 Encheng 32 oz Wide Mouth Mason Jars With Airtight Hinged Lids, Leak Proof Rubber Gasket - 1000ml Glass Storage Containers, Set of 4
$22.99
View details
Prime
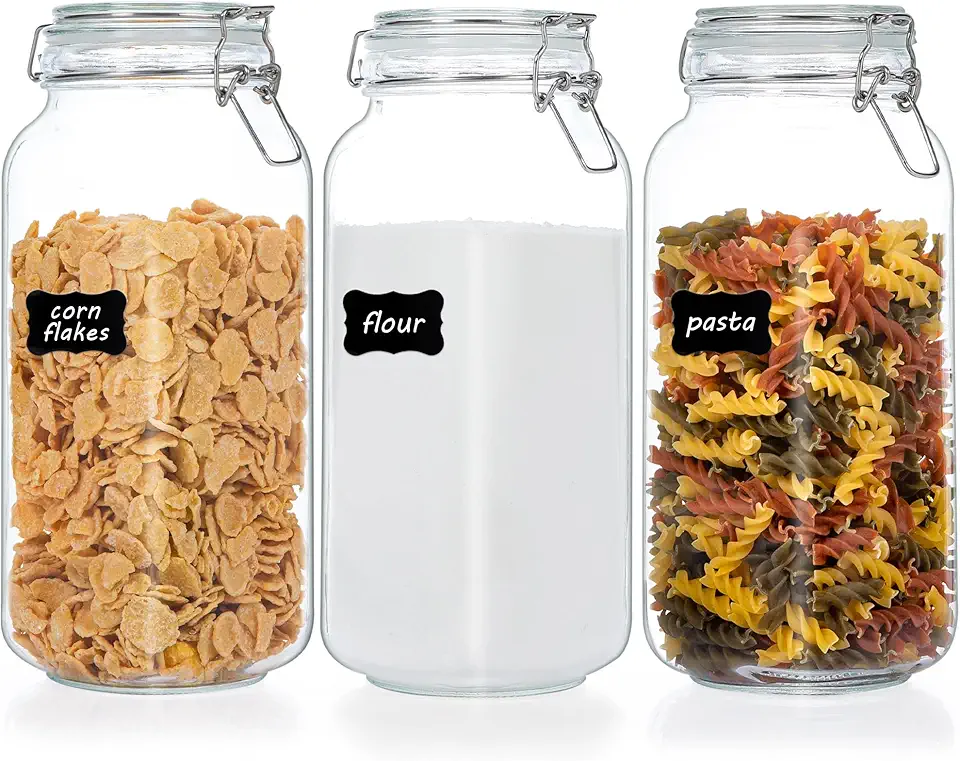 Vtopmart 78oz Glass Food Storage Jars with Airtight Clamp Lids, 3 Pack Large Kitchen Canisters for Flour, Cereal, Coffee, Pasta and Canning, Square Mason Jars with 8 Chalkboard Labels
$22.91
$35.99
View details
Opt for a design that complements your home. Look for colorful or patterned napkins to add character to your candle holder.
This is essential for sticking the napkin onto the jar seamlessly. Make sure to choose a good quality glue for the best finish.
Use sharp scissors for clean edges when cutting out your decorative elements. Precision makes for a polished look!
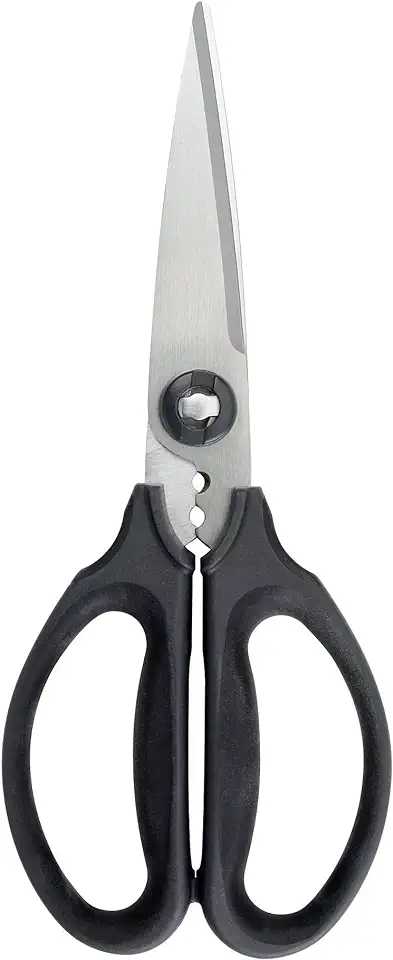 OXO Good Grips Multi-Purpose Kitchen and Herbs Scissors
$18.70
$19.95
View details
Prime
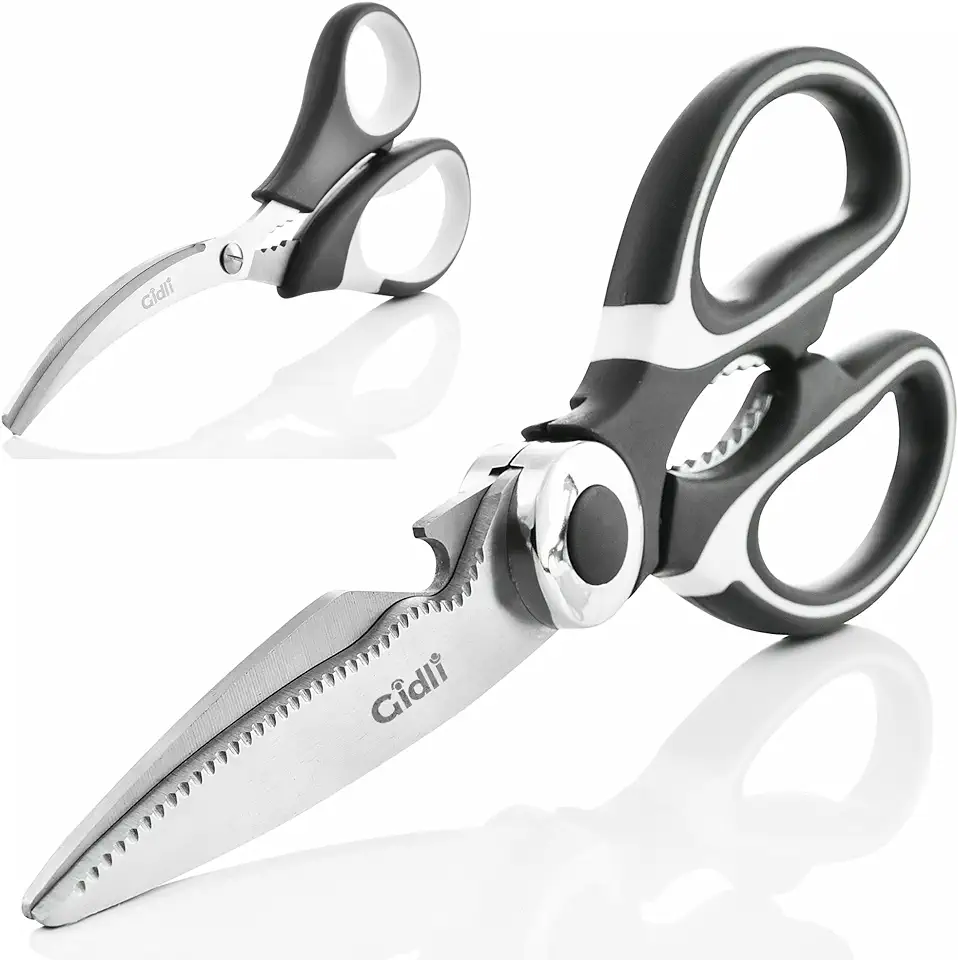 Kitchen Shears by Gidli - Lifetime Replacement Warranty- Includes Seafood Scissors As a Bonus - Heavy Duty Utility Stainless Steel All Purpose Ultra Sharp Scissors for Food
$19.95
$23.95
View details
Prime
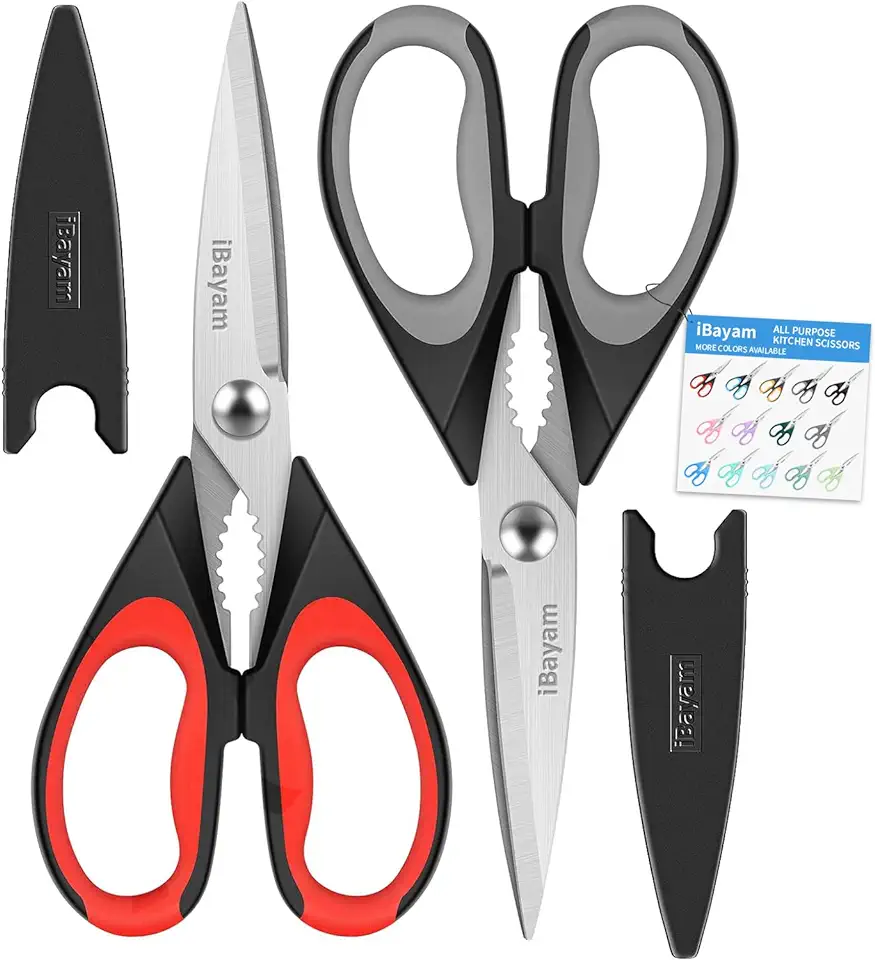 iBayam Kitchen Scissors All Purpose Heavy Duty Meat Poultry Shears, Dishwasher Safe Food Cooking Scissors Stainless Steel Utility Scissors, 2-Pack (Black Red, Black Gray)
$9.99
View details
A flat brush will help you spread the glue evenly, ensuring a smooth application. Consider a small size for detailed areas.
This adds a rustic charm to your candle holder! Wrap it around the top or bottom for a beautiful finish.
Variations
Faq
- What type of adhesive works best for this project?
Decoupage glue is specially designed for applying paper on surfaces, providing a durable finish. Mod Podge is also an excellent choice!
- Can I use any type of jar for this candle holder?
Yes! You can use any type of glass jar as long as it’s clean. Experiment with shapes and sizes for different visual effects!
- How do I achieve a smooth finish with the napkin?
Make sure to apply the glue evenly and smooth out any bubbles gently with your fingers or a soft brush.
- How can I store my candle holders safely?
Store them in a cool, dry place. If you’ve used delicate elements, wrap them with tissue paper to avoid scratches.
- Can I use fabric instead of a napkin?
Absolutely! Just ensure it’s thin enough for the glue to adhere well and that it lays flat against the jar.
- How do I clean my decor after using them with candles?
Use a damp cloth to gently wipe the outsides. Avoid soaking the jar, especially if you used any paper products that may not be waterproof.

