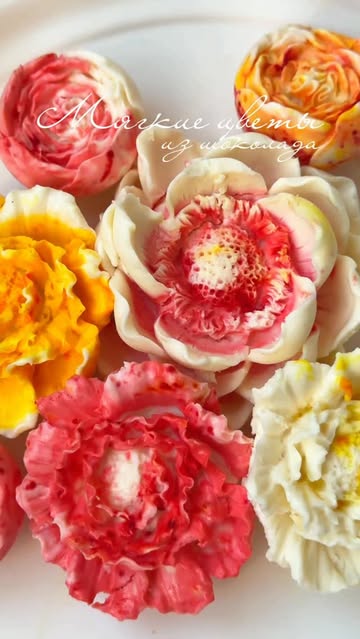
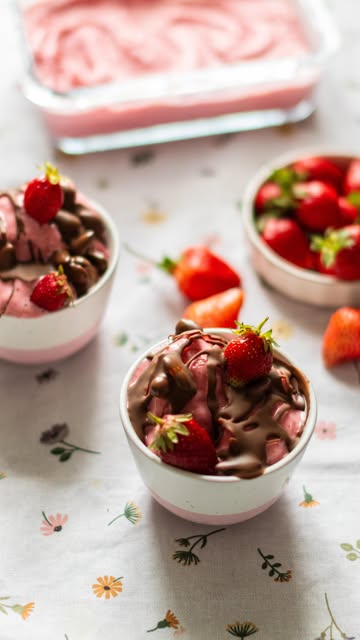
Ingredients
Ingredients
 Sugar In The Raw Granulated Turbinado Cane Sugar Cubes, No Added Flavors or erythritol, Pure Natural Sweetener, Hot & Cold Drinks, Coffee, Vegan, Gluten-Free, Non-GMO,Pack of 1
$5.27
View details
Prime
 Sugar In The Raw Granulated Turbinado Cane Sugar, No Added Flavors or erythritol, Pure Natural Sweetener, Hot & Cold Drinks, Coffee, Baking, Vegan, Gluten-Free, Non-GMO, Bulk Sugar, 2lb Bag (1-Pack)
$3.74
$4.14
View details
Prime
 C&H Pure Cane Granulated White Sugar, 25-Pound Bags
$56.99
$49.98
View details
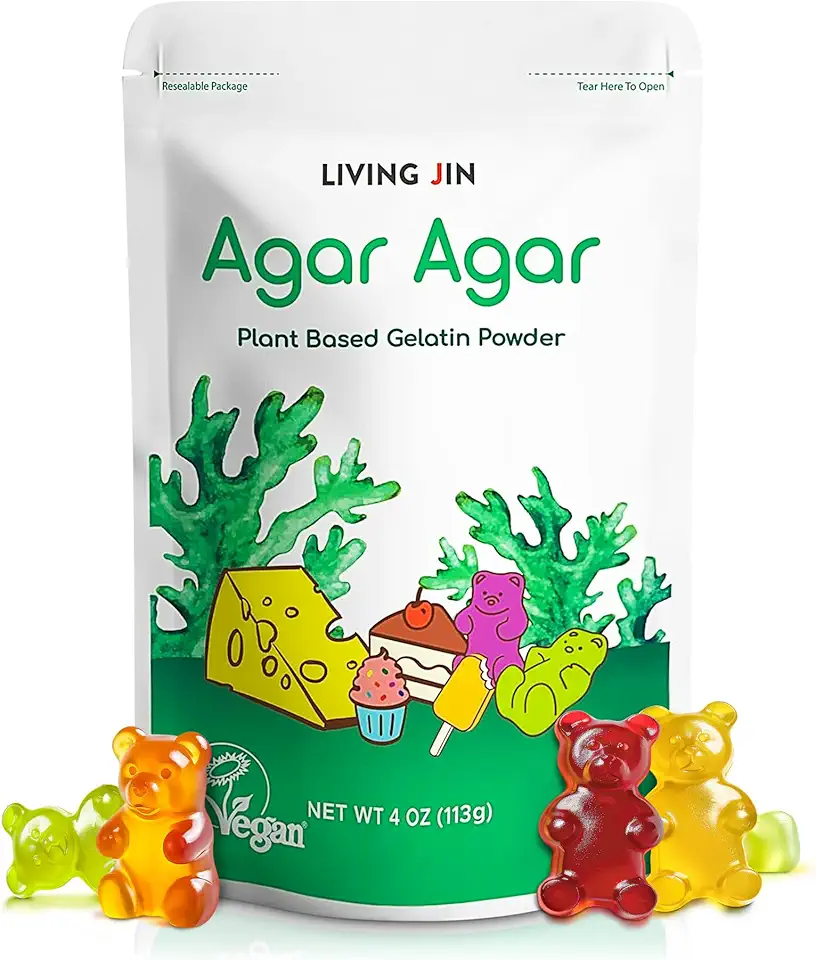 LIVING JIN Agar Agar Powder (4oz) Vegan Gelatin Substitute, Certified Gluten-free, Non-GMO, 100%, Sugar-free, Halal, Desserts, 100% Natural Red Algae
$14.99
View details
 Agar Agar thread sticks 1.5 oz (42g) Not Powder Form_AB
$7.99
View details
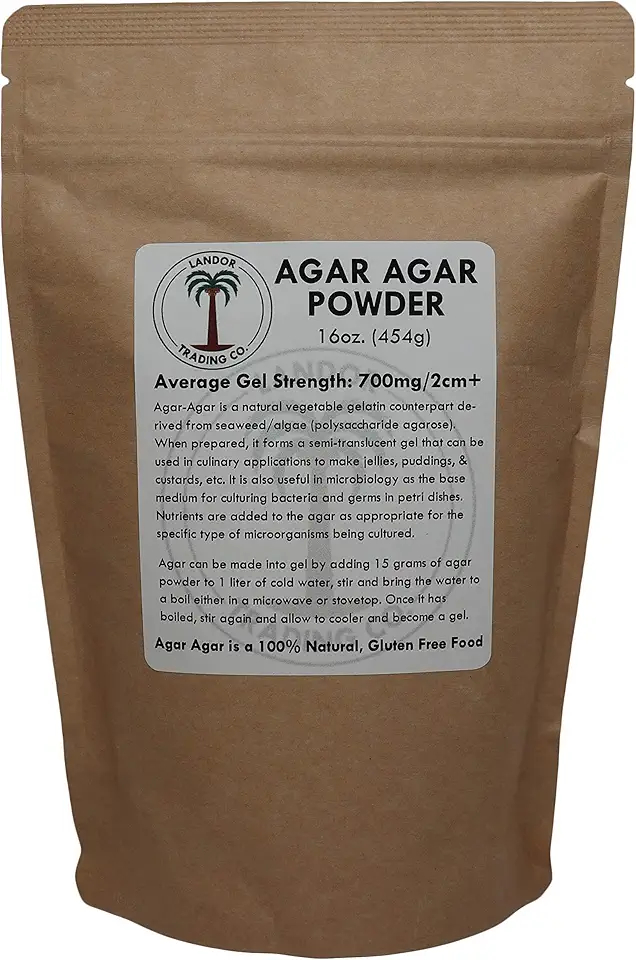 Agar Agar Powder - 1 Pound - Average Gel Strength
$44.99
View details
Instructions
Step 1
Begin by processing frozen strawberries in a blender until smooth to create your strawberry puree. If you prefer, you can strain the mixture through a sieve to eliminate seeds and achieve a smoother consistency. Alternatively, you can use store-bought strawberry puree for convenience.
Step 2
In a mixing bowl, combine the sugar with *agar-agar*. This mixture will help create the *gel-like consistency* of your marmalade. Stir well to ensure the agar is evenly distributed among the sugar.
Step 3
Add the sugar-agar blend to the room temperature strawberry puree. Stir meticulously to combine all ingredients. Transfer the mixture to a saucepan and place it over medium heat. Keep stirring constantly until the mixture comes to a boil.
Once boiling, continue to cook for an additional *20 to 30 seconds*, ensuring it thickens appropriately. This step is crucial as it activates the agar, setting the marmalade later.
Step 4
Remove the saucepan from heat and allow the mixture to cool slightly. Prepare a piping bag and carefully transfer the strawberry mixture into it. This will make it easier to fill your molds without making a mess.
Next, pour or pipe the mixture into *silicone molds* or any shaped holders you prefer. Ensure each mold is filled to your desired level for uniformity.
Step 5
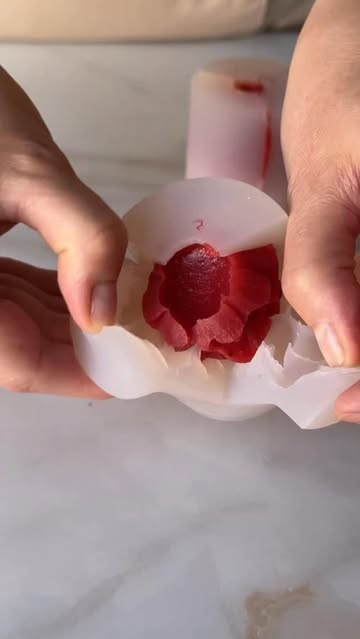
Place the filled molds in the refrigerator for about *1 to 3 hours*, depending on the mold size, until the marmalade has fully set. Once they have set, gently demold the crystalized marmalade.
Store the finished marmalade in the refrigerator where it will last for 2 to 3 days. Enjoy as a delightful treat or use them to decorate desserts!
Servings
Equipment
A powerful blender is ideal for pureeing strawberries smoothly. If you want an extra fine texture, strain the puree through a sieve before mixing with other ingredients.
Flexible silicone molds make it easy to remove your jelly without breaking it. They come in various shapes and sizes, perfect for any occasion!
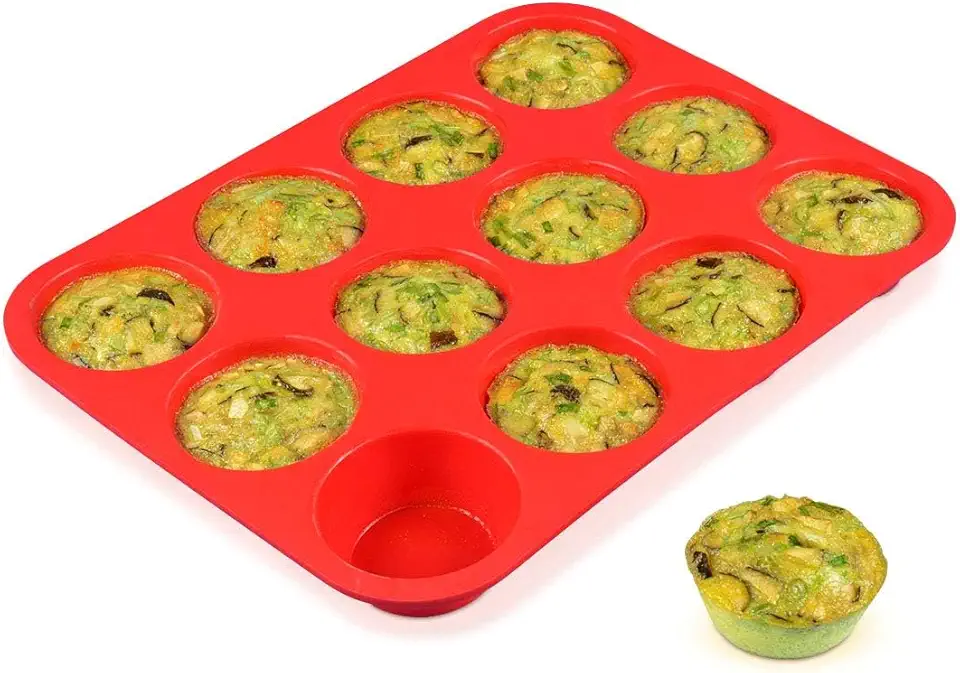 CAKETIME 12 Cups Silicone Muffin Pan - Nonstick Cupcake Pan 1 Pack Regular Size Silicone Mold for Baking
$9.98
$13.99
View details
Prime
 Bluedrop Silicone Hamburger Bread Forms Perforated Silicone Bakery Molds Tartlets Pita Moulds Sheets Food Grade for Industrial Large Size
$49.00
View details
Prime
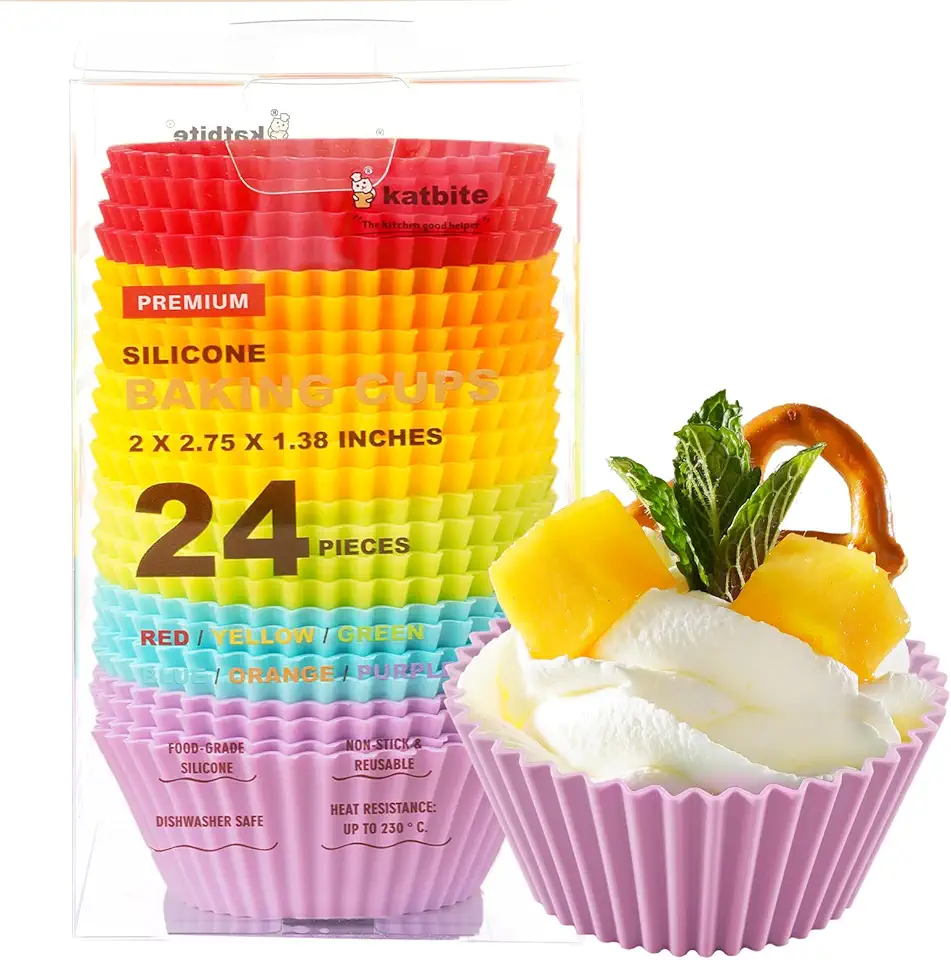 Katbite Reusable Silicone Baking Cups 24 Pack - Non-stick Muffin Cupcake Liners Set, Thick & Heavy Duty Cupcake Molds - Perfect for Party Halloween Christmas Bakery Supplies, Multicolor
$9.99
$15.99
View details
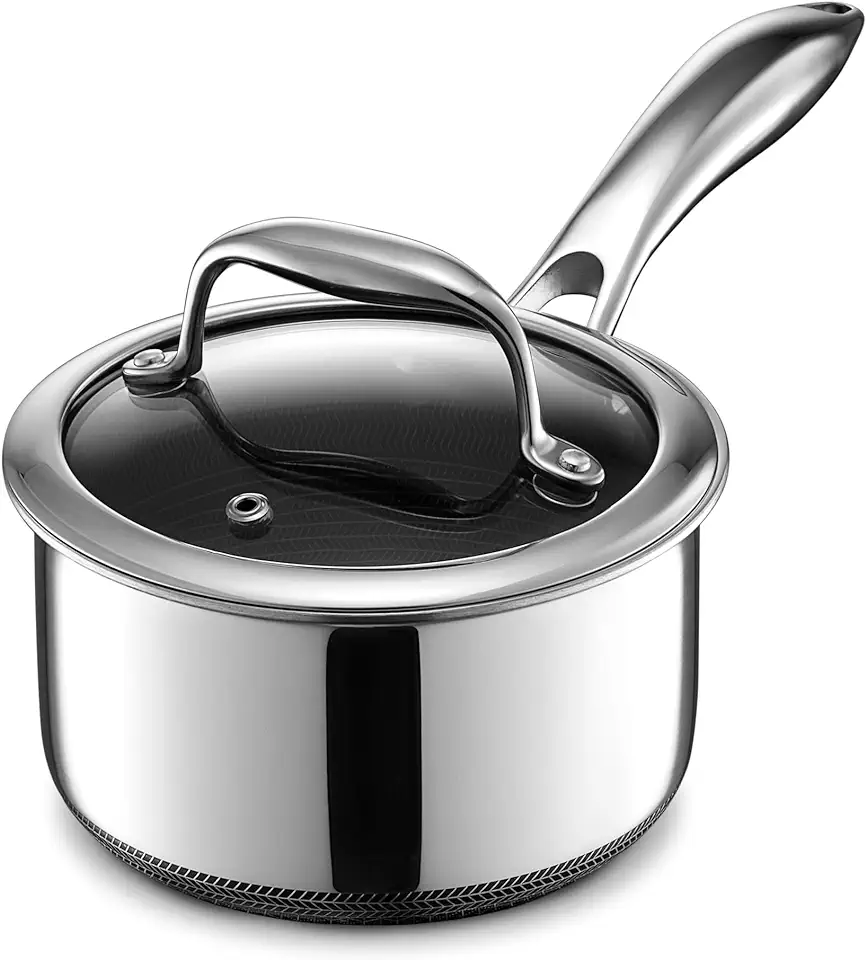
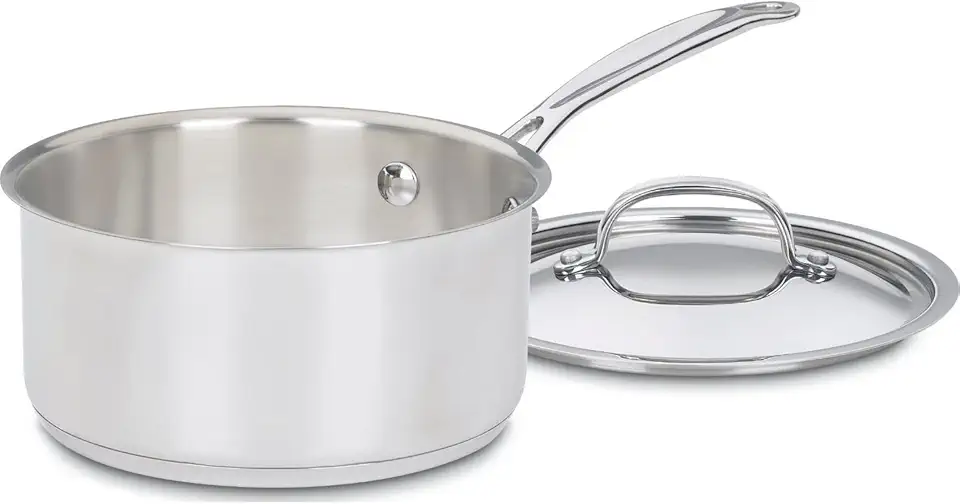
A medium-sized saucepan is ideal for cooking your jelly mixture. Make sure it has a thick bottom to prevent burning while heating.
A piping bag is handy for filling the molds neatly. If you don't have one, a ziplock bag with a corner cut off will do the job!
 Ateco Disposable Decorating Bags, 18-Inch, Pack of 100
$14.60
View details
Prime
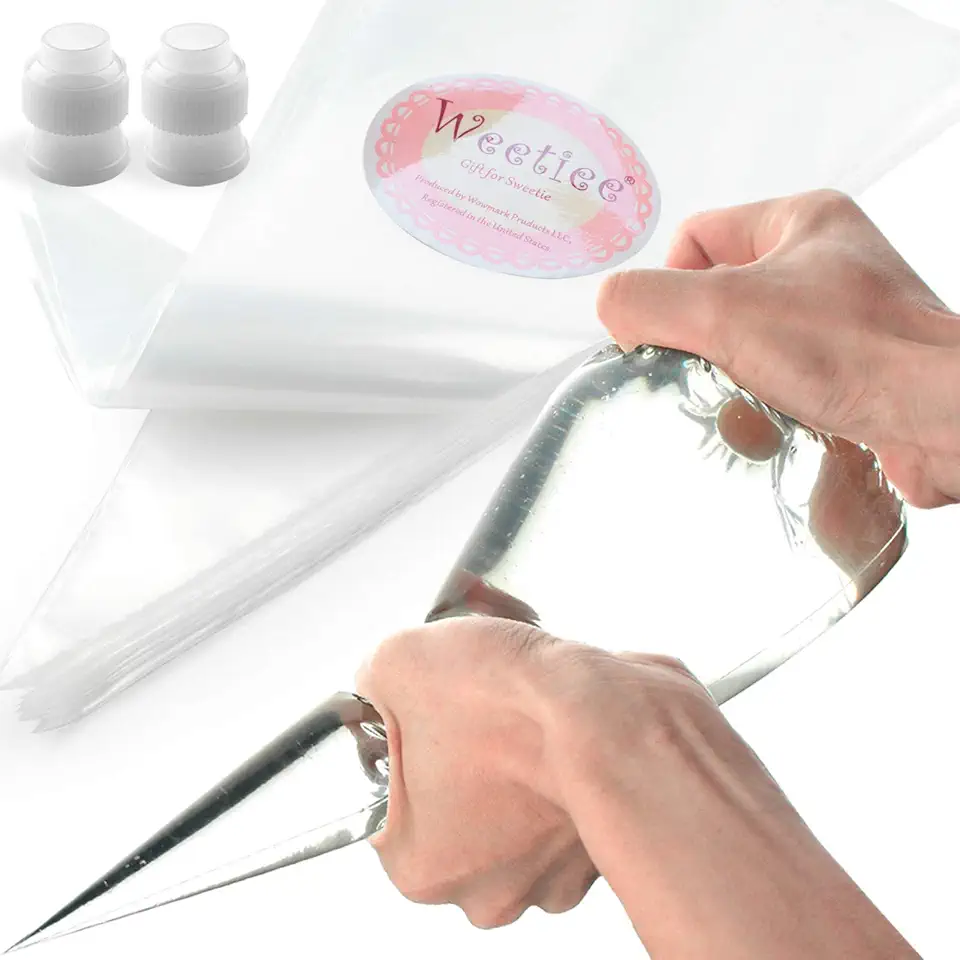 Pastry Piping Bags -100 Pack-16-Inch Disposable Cake Decorating Bags Anti-Burst Cupcake Icing Bags for all Size Tips Couplers and Baking Cookies Candy Supplies Kits - Bonus 2 Couplers
$9.99
$12.99
View details
Prime
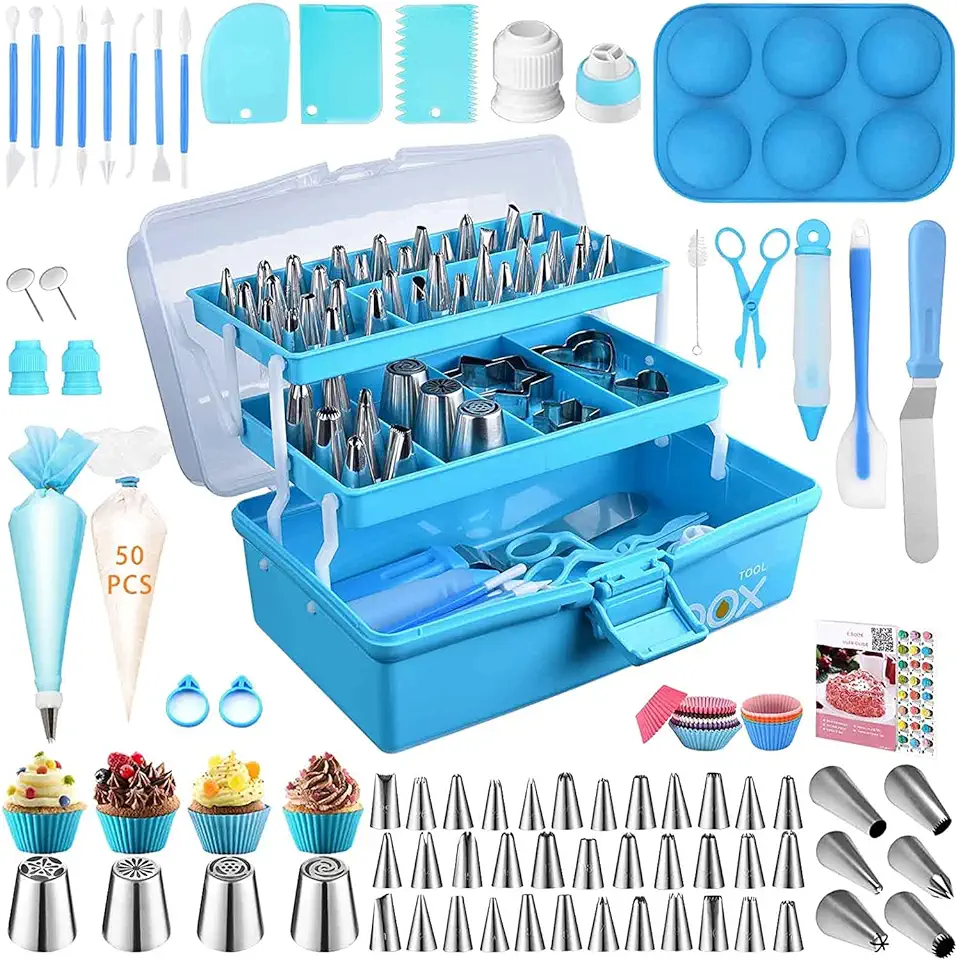 Cake Decorating Tools Supplies Kit: 236pcs Baking Accessories with Storage Case - Piping Bags and Icing Tips Set - Cupcake Cookie Frosting Fondant Bakery Set for Adults Beginners or Professional, Blue
$37.99
View details
Variations
Faq
- How do I know if my jelly has set properly?
Once they've chilled for at least an hour, gently press the jelly with a finger. If it holds its shape and springs back, it's ready to enjoy!
- Can I use other fruits for this recipe?
Absolutely! You can experiment with any fruit puree that you love. Just remember to adjust the sugar according to the sweetness of the fruit!
- What if my agar doesn't dissolve properly?
Make sure to continuously stir the mixture as it heats and bring it to a full boil for at least 20 seconds. If clumps remain, you can blend the mixture again before pouring it into molds.
- How long can I store the jellies?
Your Crystal Jelly will remain fresh in the refrigerator for 2-3 days. Ensure they are stored in an airtight container to maintain their lovely texture.
- What can I do if my jelly is too runny?
If you find that your jelly hasn't set, simply reheat it, adding more agar while stirring, then pour it back into the molds for another chance to set.
- Can I add flavors or colors to my jelly?
Yes, infusing your jelly with natural flavors like vanilla or citrus zest can enhance the taste. You can also use food-grade colors for visual fun!

