Ingredients
Dough Ingredients
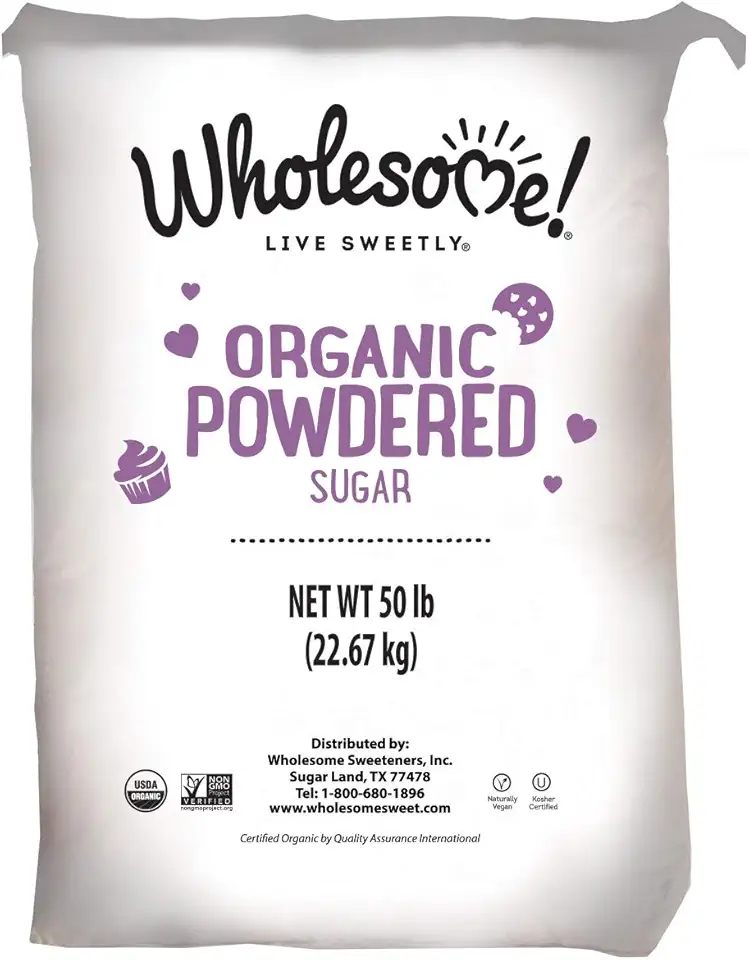 Wholesome Fair Trade Organic Powdered Sugar, Naturally Flavored Real Sugar, Non GMO & Gluten Free, 50 Pound (Pack of 1)
$106.95
View details
Prime
best seller
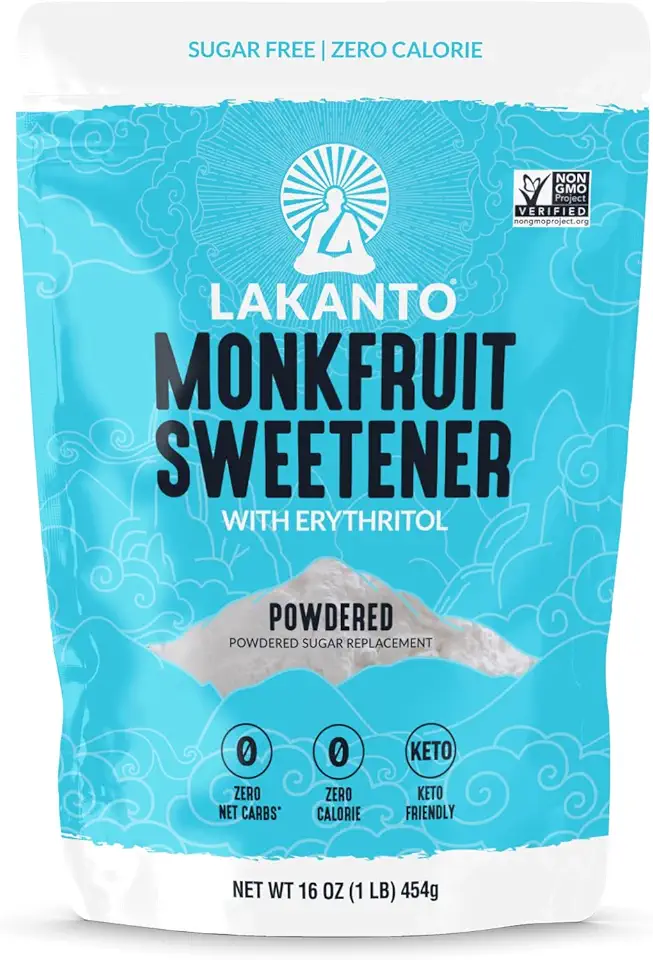 Lakanto Powdered Monk Fruit Sweetener with Erythritol - Powdered Sugar Substitute, Zero Calorie, Keto Diet Friendly, Zero Net Carbs, Baking, Extract, Sugar Replacement (Powdered - 1 lb)
$11.90
View details
Prime
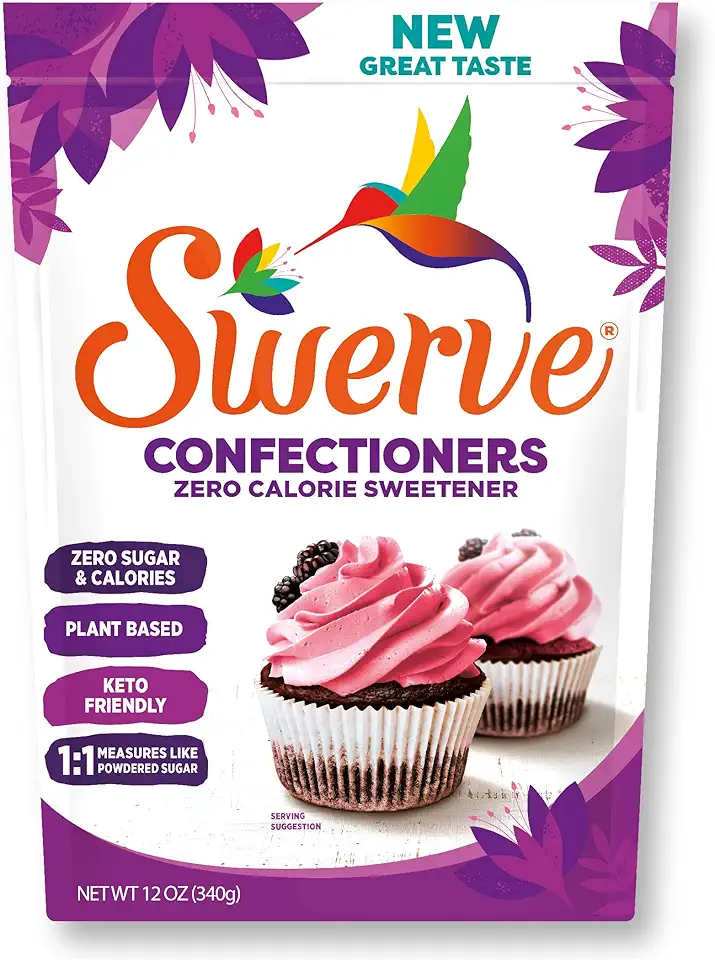 Swerve Sweetener Powder, Confectioners, 12 oz
$6.98
View details
 Bob's Red Mill Gluten Free 1-to-1 Baking Flour, 22 Ounce (Pack of 4)
$23.96
View details
Prime
 Antimo Caputo Chefs Flour - Italian Double Zero 00 - Soft Wheat for Pizza Dough, Bread, & Pasta, 2.2 Lb (Pack of 2)
$16.99
View details
Prime
best seller
 King Arthur, Measure for Measure Flour, Certified Gluten-Free, Non-GMO Project Verified, Certified Kosher, 3 Pounds, Packaging May Vary
$8.62
View details
Cream Ingredients
Instructions
Step 1
In a mixing bowl, combine the eggs, butter, baking powder, and powdered sugar. Use a whisk to blend the ingredients together well.
Gradually add the sifted flour into the mixture, using your hands to knead until it forms a cohesive ball of dough. Once mixed, divide the dough into two equal parts and wrap them in plastic wrap or place them in a bowl.
Chill the dough in the refrigerator for around 20 minutes.
Step 2
After chilling, take the dough out and use a grater or meat grinder to shred it into fine crumbs. Spread the crumbs evenly onto a baking tray.
Bake in a preheated oven at 190°C (375°F) for about 20 minutes, stirring occasionally to ensure the crumbs cook evenly.
Step 3
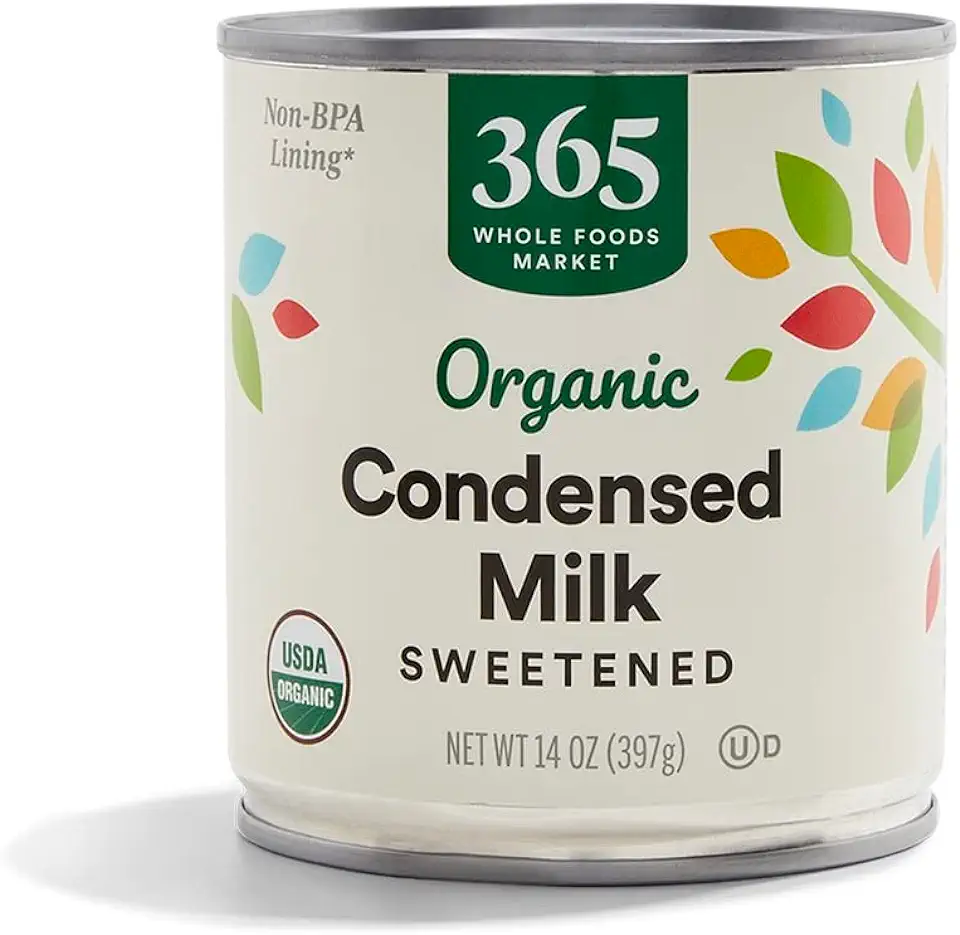
In a separate bowl, mix together the sweetened condensed milk (make sure it is at room temperature) with the soft butter.
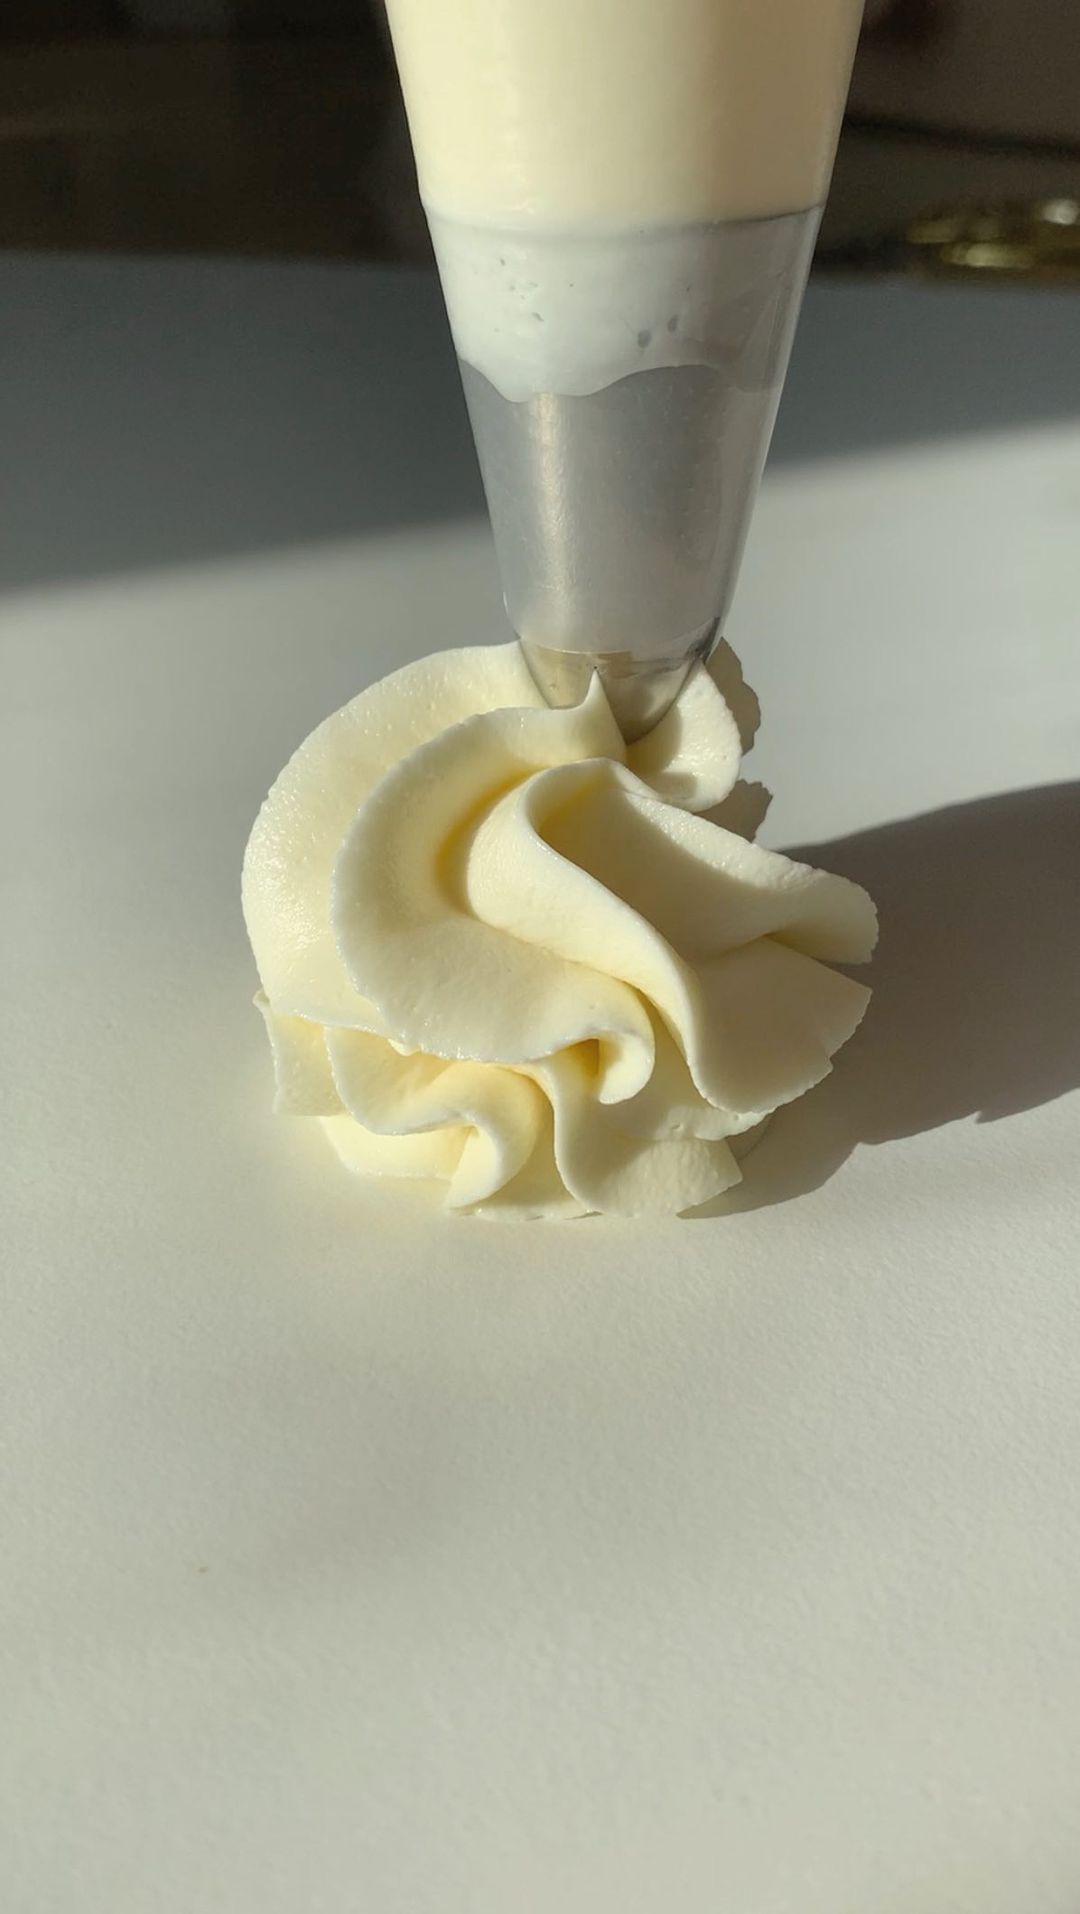
Whisk until the mixture is smooth and creamy, creating a delicious frosting for your pastry.
Step 4
Combine the baked cookie crumbs with the prepared cream and mix well until fully integrated.
To shape the mixture, you can use silicone molds or a small cup which you should moisten with water. Fill the molds with the mixture and press down gently.
Step 5
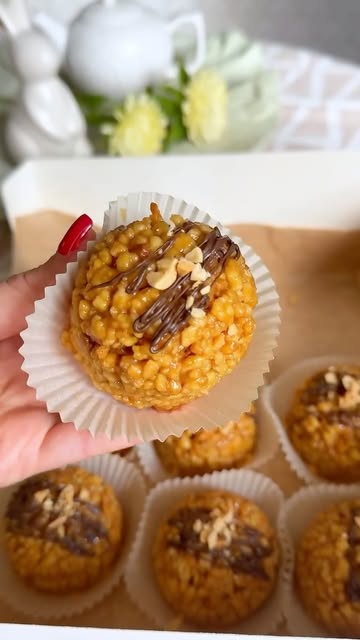
Once formed, you can decorate your pastries as you like. Serve the ant hill pastries on a nice plate and enjoy with your favorite tea or coffee. Happy baking! ☕️❤️
Servings
✨ Looking for the perfect way to serve your Ant Nest Pastries? Try these delightful serving suggestions to make the experience even more enjoyable!
❤️ Pair your pastries with a warm cup of tea or coffee for a cozy afternoon snack. Nothing beats the comfort of a sweet treat and a steamy beverage, right? ☕️
🍓 For a splash of color and flavor, serve fresh berries or a light drizzle of chocolate sauce on the side. It's a feast for the eyes and the taste buds!
✨ If you're hosting a special gathering, consider presenting your Ant Nest Pastries with a sprinkle of powdered sugar and a few mint leaves. It's a simple touch that elevates their appearance and adds freshness to every bite!
Equipment
A sturdy bowl is essential for combining your ingredients. Make sure it's large enough to prevent spills!
 YIHONG 7 Piece Mixing Bowls with Lids for Kitchen, Stainless Steel Mixing Bowls Set Ideal for Baking, Prepping, Cooking and Serving Food, Nesting Metal Mixing Bowls for Space Saving Storage
$27.99
$35.99
View details
Prime
best seller
 Pyrex Glass, 3-Piece, 3 PC Mixing Bowl Set
$17.53
View details
Prime
 REGILLER Stainless Steel Mixing Bowls (Set of 5), Non Slip Colorful Silicone Bottom Nesting Storage Bowls, Polished Mirror Finish For Healthy Meal Mixing and Prepping 1.5-2 - 2.5-3.5 - 7QT (Colorful)
$26.99
View details
This will help you blend your eggs and butter smoothly. A balloon whisk works great for achieving the perfect texture.
 OXO Good Grips 11-Inch Balloon Whisk
$10.93
$11.95
View details
Prime
best seller
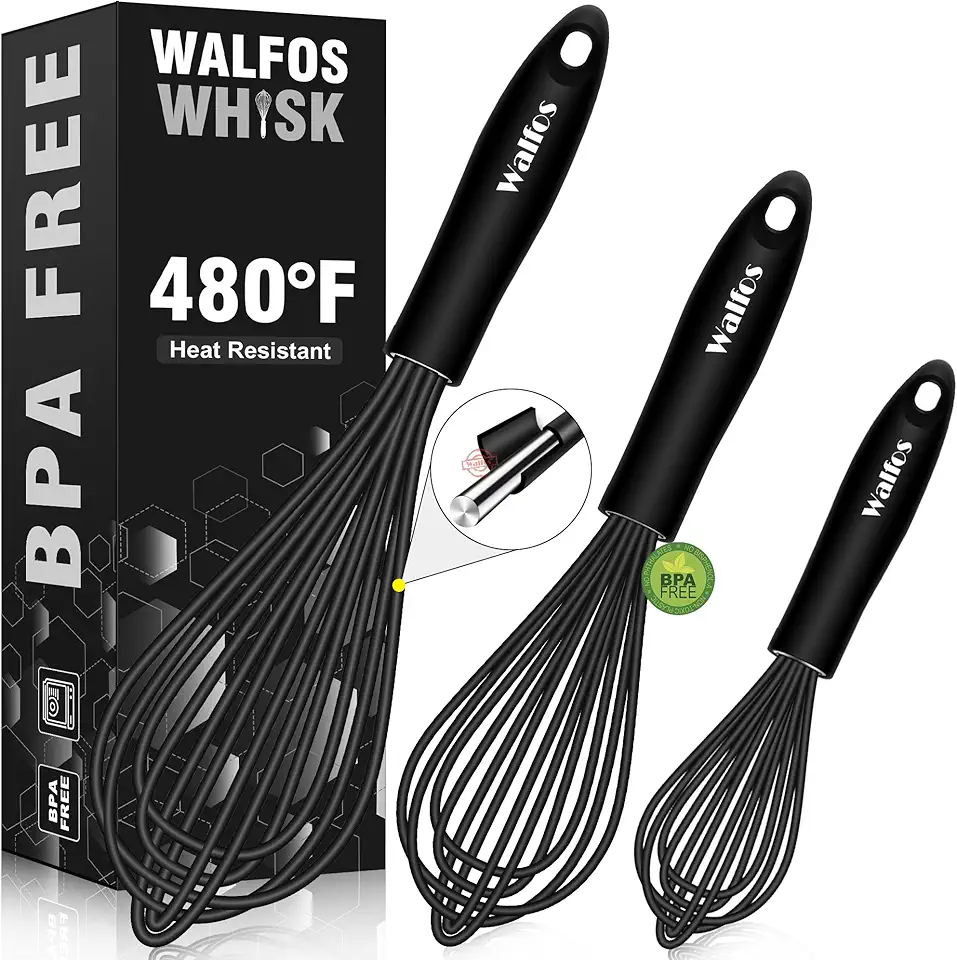 Walfos Silicone Whisk,Stainless Steel Wire Whisk Set of 3 -Heat Resistant 480°F Kitchen Whisks for Non-stick Cookware,Balloon Egg Beater Perfect for Blending,Whisking,Beating,Frothing & Stirring,Black
$11.89
$14.99
View details
Prime
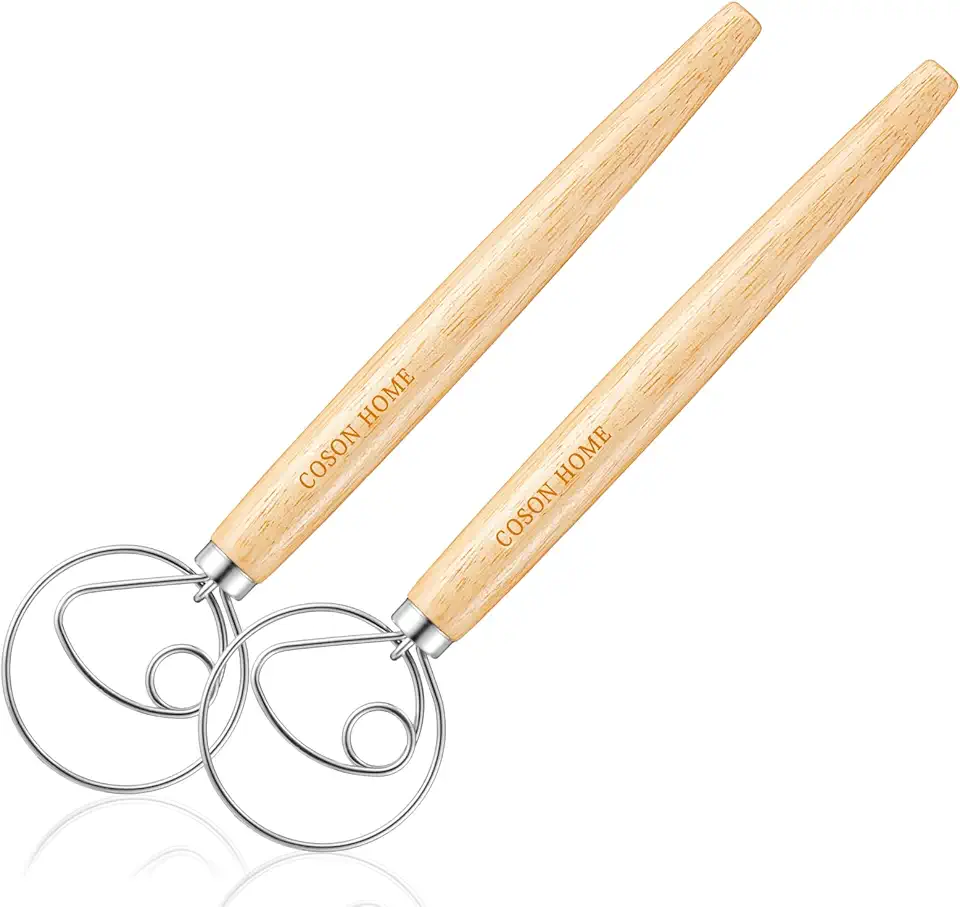 Pack of 2 Danish Dough Whisk Blender Dutch Bread Whisk Hook Wooden Hand Mixer Sourdough Baking Tools for Cake Bread Pizza Pastry Biscuits Tool Stainless Steel Ring 13.5 inches 0.22 lb/pcs…
$9.80
$14.99
View details
This is crucial for shredding your baked dough into the perfect crumb. If you use a grater, pick one with larger holes for the best results.
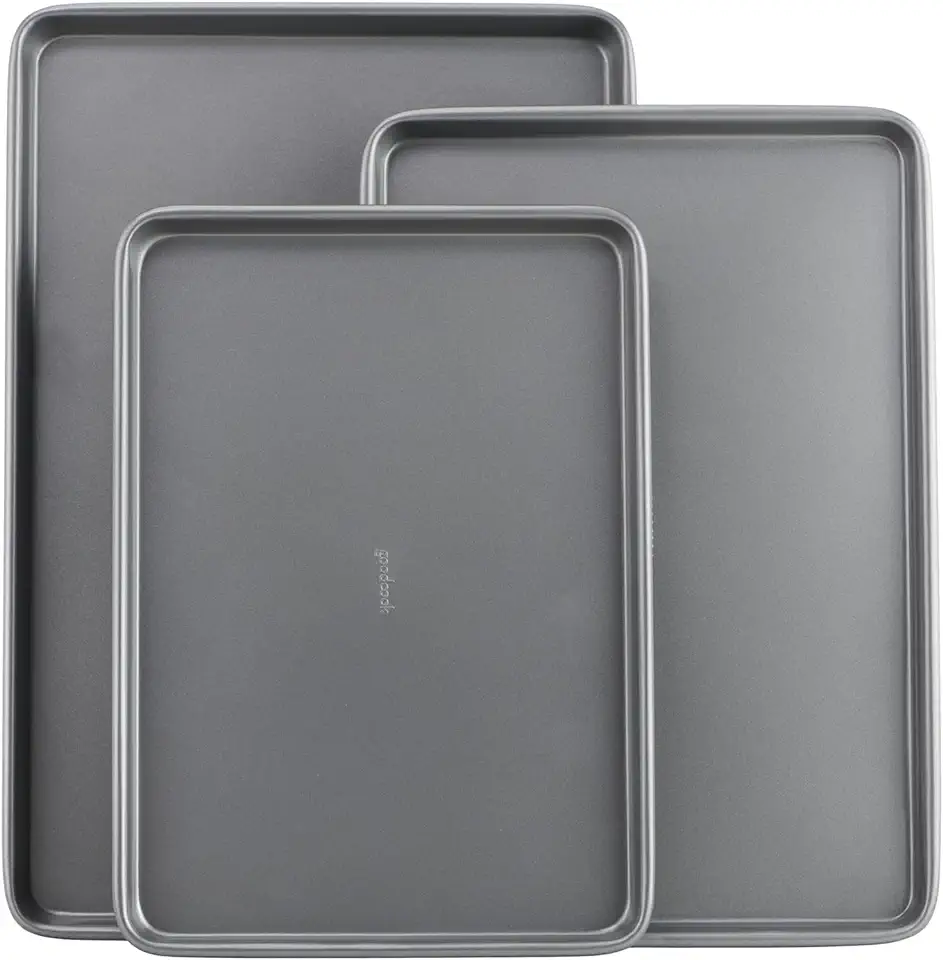
Opt for a non-stick tray or line it with parchment paper for easy removal of your pastry once baked.
These molds are ideal for shaping your pastries without sticking. They also provide a fun way to create different shapes!
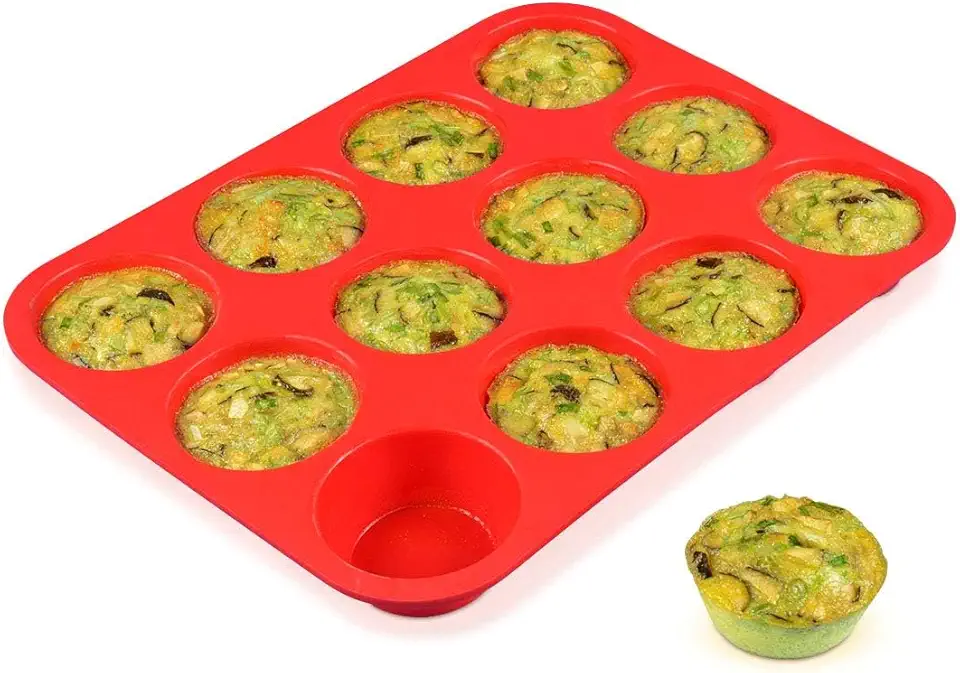 CAKETIME 12 Cups Silicone Muffin Pan - Nonstick Cupcake Pan 1 Pack Regular Size Silicone Mold for Baking
$9.98
$13.99
View details
Prime
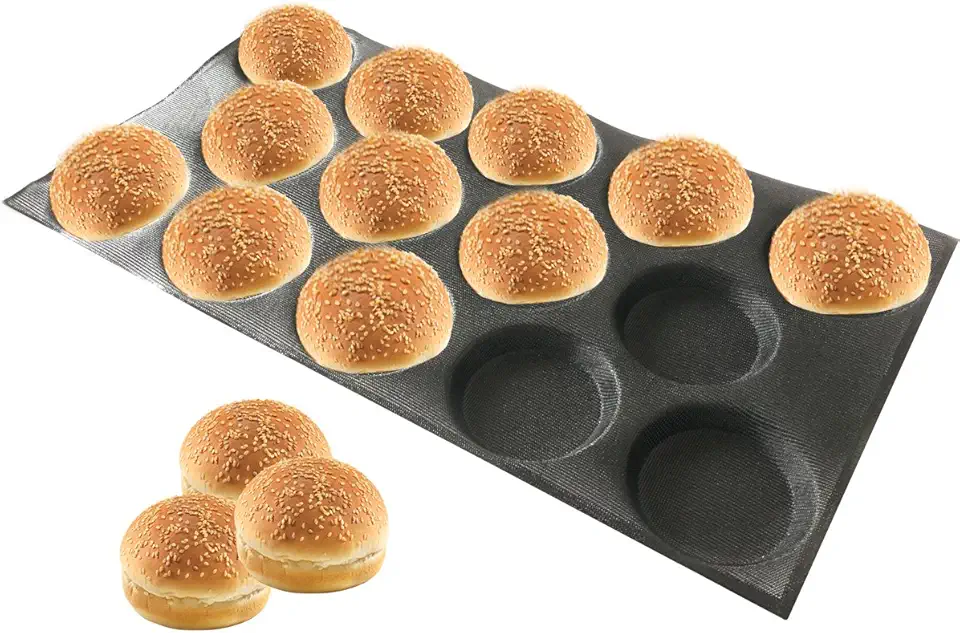 Bluedrop Silicone Hamburger Bread Forms Perforated Silicone Bakery Molds Tartlets Pita Moulds Sheets Food Grade for Industrial Large Size
$49.00
View details
Prime
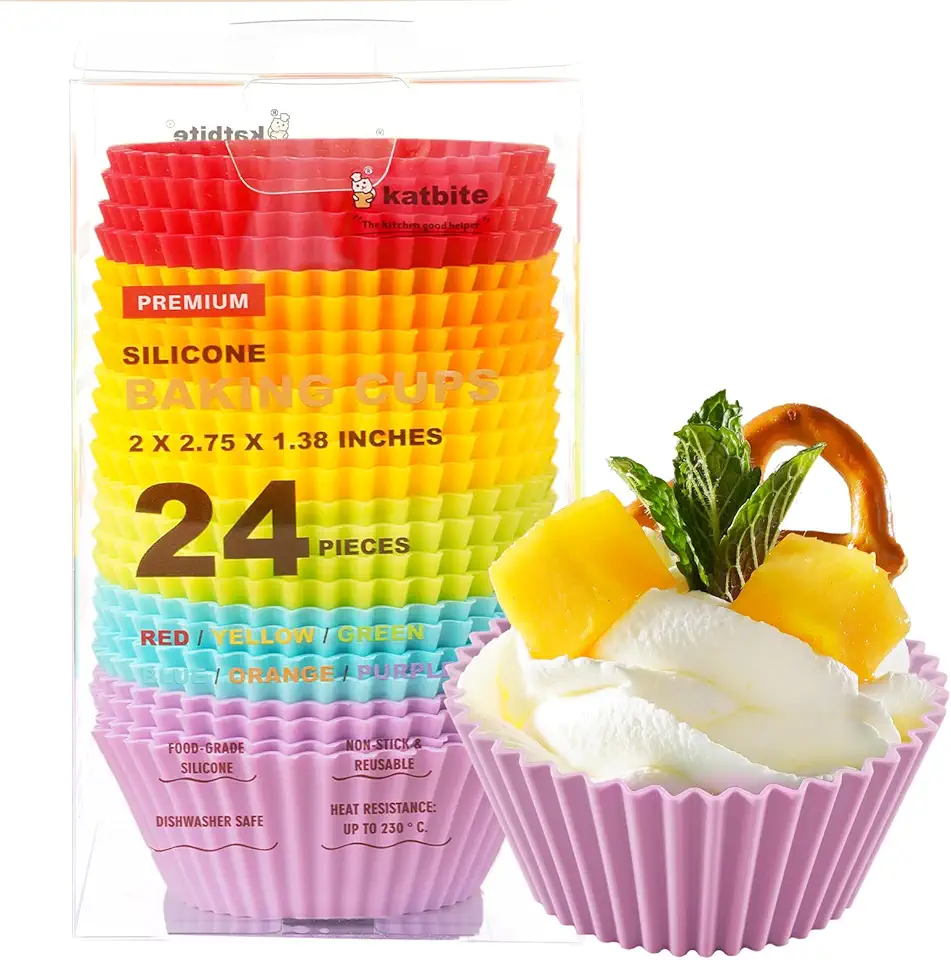 Katbite Reusable Silicone Baking Cups 24 Pack - Non-stick Muffin Cupcake Liners Set, Thick & Heavy Duty Cupcake Molds - Perfect for Party Halloween Christmas Bakery Supplies, Multicolor
$9.99
$15.99
View details
Variations
💚 Gluten-Free Version: Substitute regular flour with a gluten-free blend that's perfect for baking. This way, everyone can enjoy this delicious treat without worry!
🌱 Vegan Variation: Use plant-based butter and replace eggs with flaxseed meal mixed with water (1 tbsp of flaxseed meal with 2.5 tbsp of water = 1 egg) to keep the texture consistent while making it completely vegan.
Faq
- Can I replace the butter with another type of fat?
Yes! You can use coconut oil or a vegan butter substitute for a different flavor profile.
- How do I know when my pastry is baked properly?
Your pastry should be lightly golden and crumbly. Trust your senses; if it looks good and smells delicious, it’s likely ready!
- What can I do to avoid the dough being too sticky?
If you're facing stickiness, gradually add a little more flour until you reach the desired consistency while mixing the dough.
- Can I prepare the dough in advance?
Absolutely! You can refrigerate the dough for a day or two. Just make sure to let it sit at room temperature for a bit before rolling it out.
- What's the best way to store leftover Ant Nest pastries?
Store them in an airtight container at room temperature for up to 3 days or in the fridge for a week. Just make sure to let them come back to room temperature before serving!
- Can I freeze the Ant Nest pastries?
Yes, you can! Wrap them tightly in plastic wrap and store them in a freezer bag. They can last for up to 3 months.

