Ingredients
For the Vanilla Biscuit
 Bob's Red Mill Gluten Free 1-to-1 Baking Flour, 22 Ounce (Pack of 4)
$23.96
View details
Prime
 Antimo Caputo Chefs Flour - Italian Double Zero 00 - Soft Wheat for Pizza Dough, Bread, & Pasta, 2.2 Lb (Pack of 2)
$16.99
View details
Prime
best seller
 King Arthur, Measure for Measure Flour, Certified Gluten-Free, Non-GMO Project Verified, Certified Kosher, 3 Pounds, Packaging May Vary
$8.62
View details
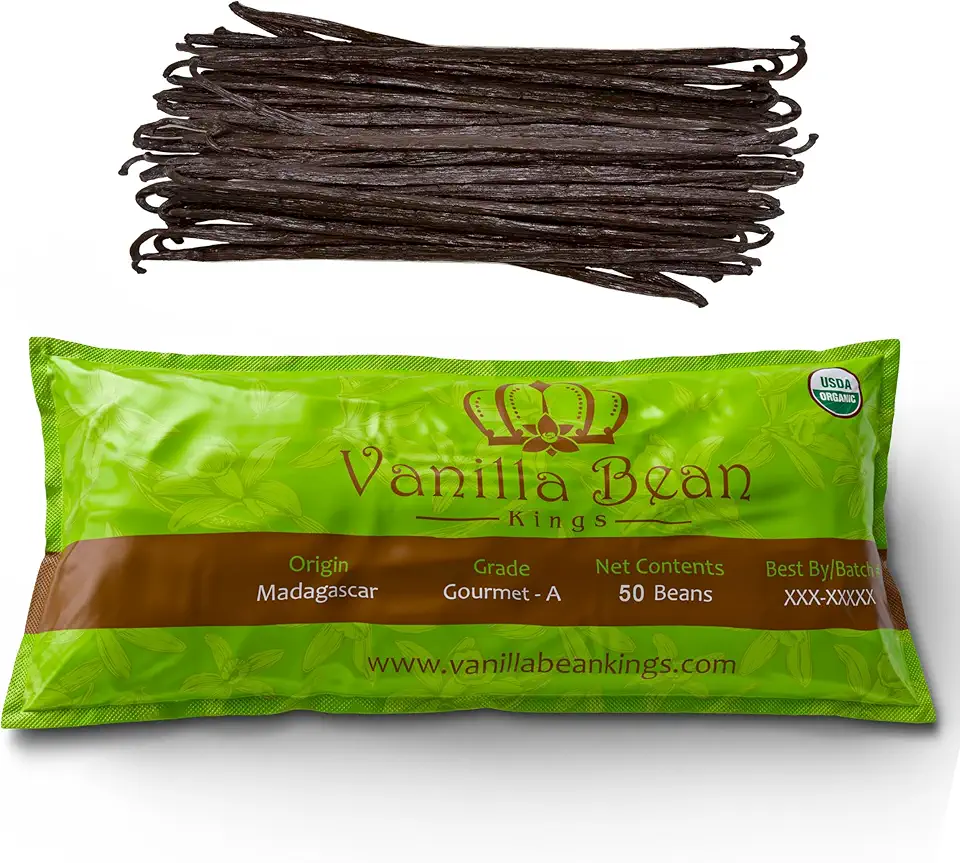 50 Organic Madagascar Vanilla Beans. Whole Grade A Vanilla Pods for Vanilla Extract and Baking
$39.99
View details
Prime
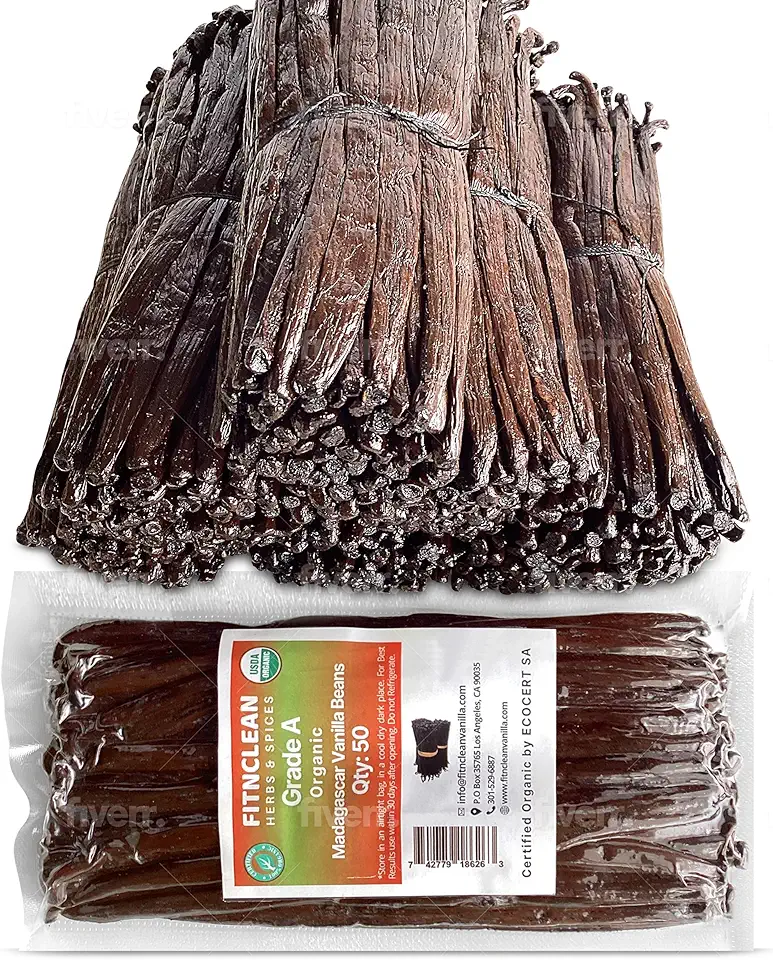 50 Organic Grade A Madagascar Vanilla Beans. Certified USDA Organic for Extract and all things Vanilla by FITNCLEAN VANILLA. ~5" Bulk Fresh Bourbon NON-GMO Pods.
$37.99
View details
Prime
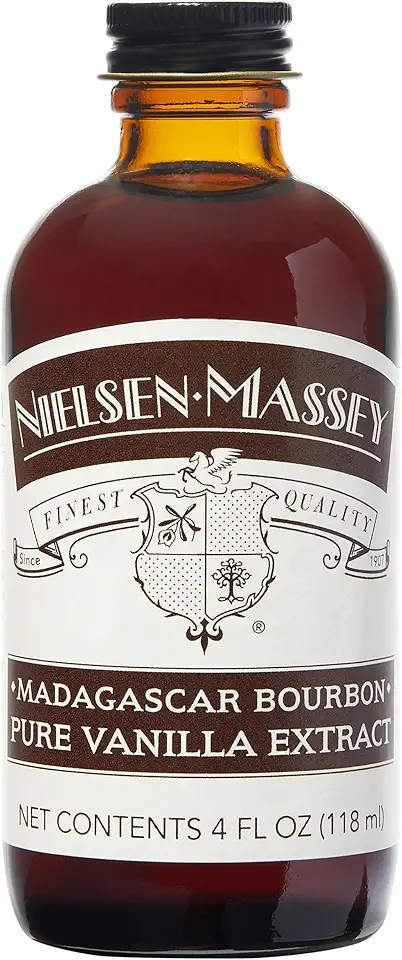 Nielsen-Massey Madagascar Bourbon Pure Vanilla Extract for Baking and Cooking, 4 Ounce Bottle
$19.95
View details
For the Meringue Mousse
 50 Organic Madagascar Vanilla Beans. Whole Grade A Vanilla Pods for Vanilla Extract and Baking
$39.99
View details
Prime
 50 Organic Grade A Madagascar Vanilla Beans. Certified USDA Organic for Extract and all things Vanilla by FITNCLEAN VANILLA. ~5" Bulk Fresh Bourbon NON-GMO Pods.
$37.99
View details
Prime
 Nielsen-Massey Madagascar Bourbon Pure Vanilla Extract for Baking and Cooking, 4 Ounce Bottle
$19.95
View details
For the Chocolate Glaze
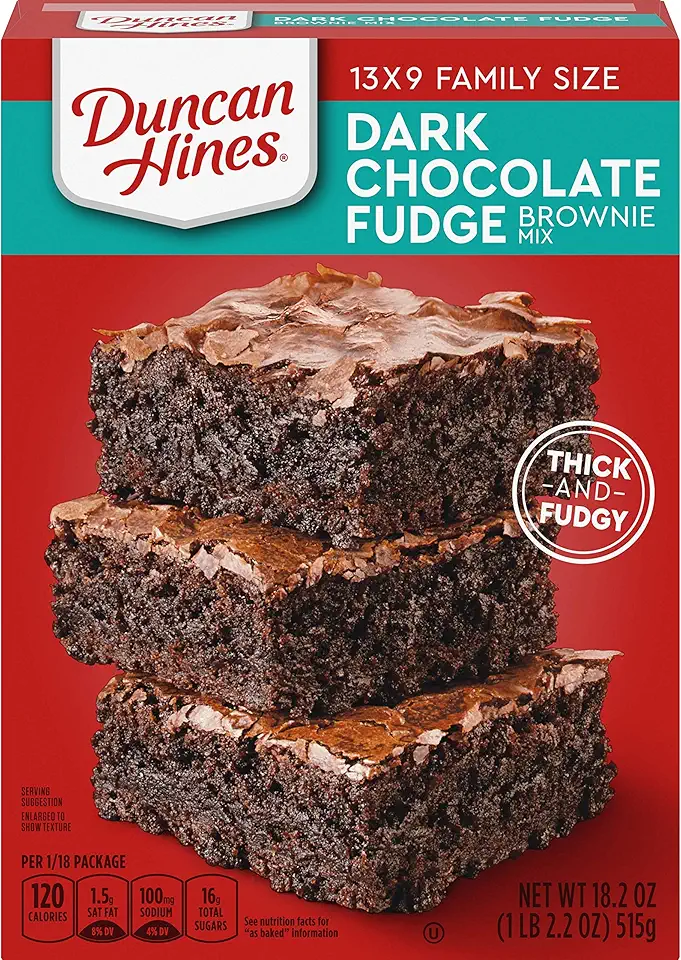 Duncan Hines Dark Chocolate Fudge Brownie Mix, 18.2 OZ
$1.54
View details
Prime
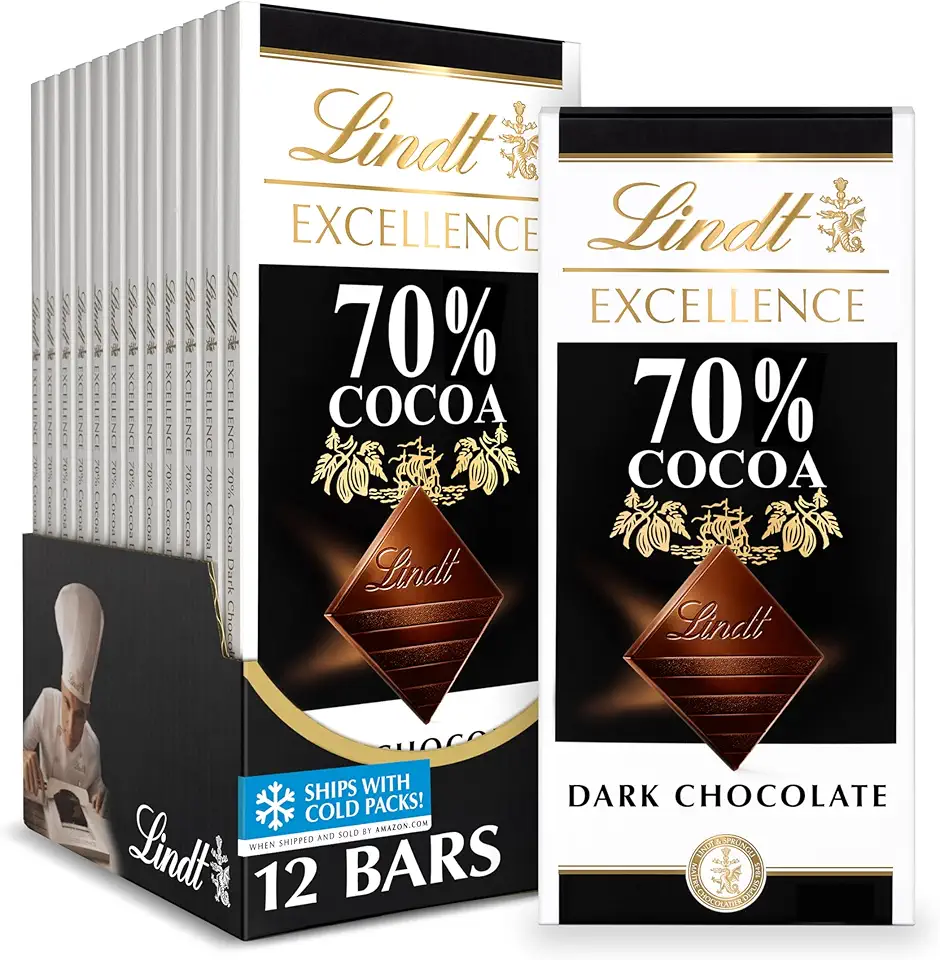 Lindt EXCELLENCE 70% Cocoa Dark Chocolate Bar, Dark Chocolate Candy, 3.5 oz. (12 Pack)
$40.44
View details
Prime
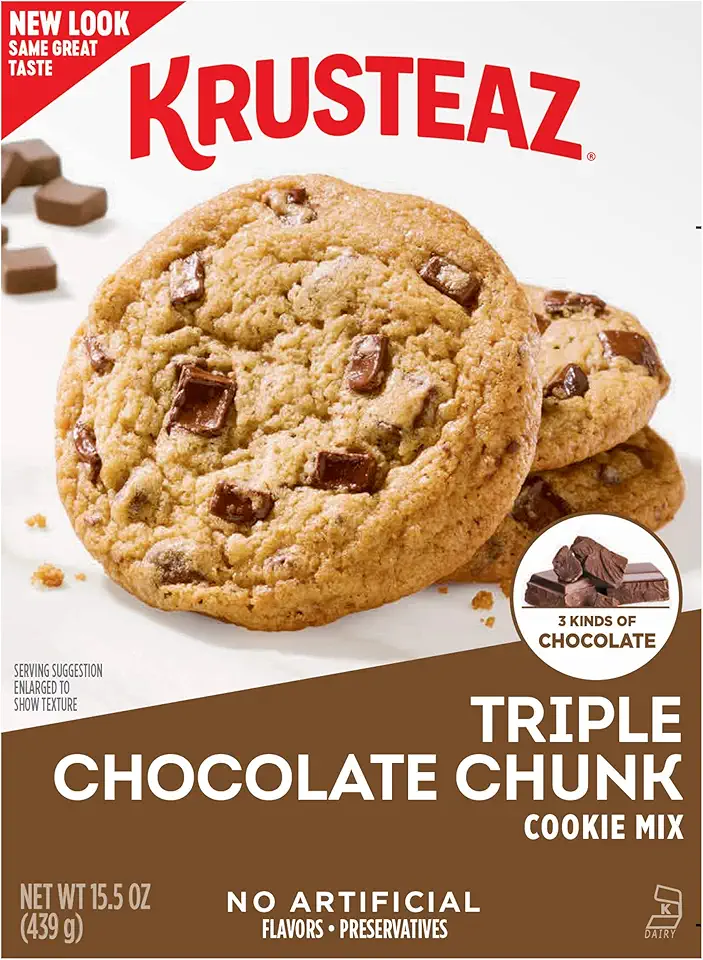 Krusteaz Triple Chocolate Chunk Cookie Mix, Bakery Style, 3 Kinds of Chocolate, 15.5 Oz Boxes (Pack of 12)
$53.95
View details
Instructions
Step 1
Preheat your oven to 180°C (350°F). Grease a baking tray measuring 30x40 centimeters (12x16 inches) with butter and line it with parchment paper.
In a mixing bowl, whisk together the eggs and sugar until they become pale and fluffy. This should take about 5 minutes. Then, gently fold in vanilla extract, flour, and salt until combined. Be sure not to deflate the mixture.
Pour the batter into the prepared baking tray and spread it out evenly. Bake in the preheated oven for about 15 minutes or until golden brown. Allow it to cool completely before cutting it into portions.
Step 2
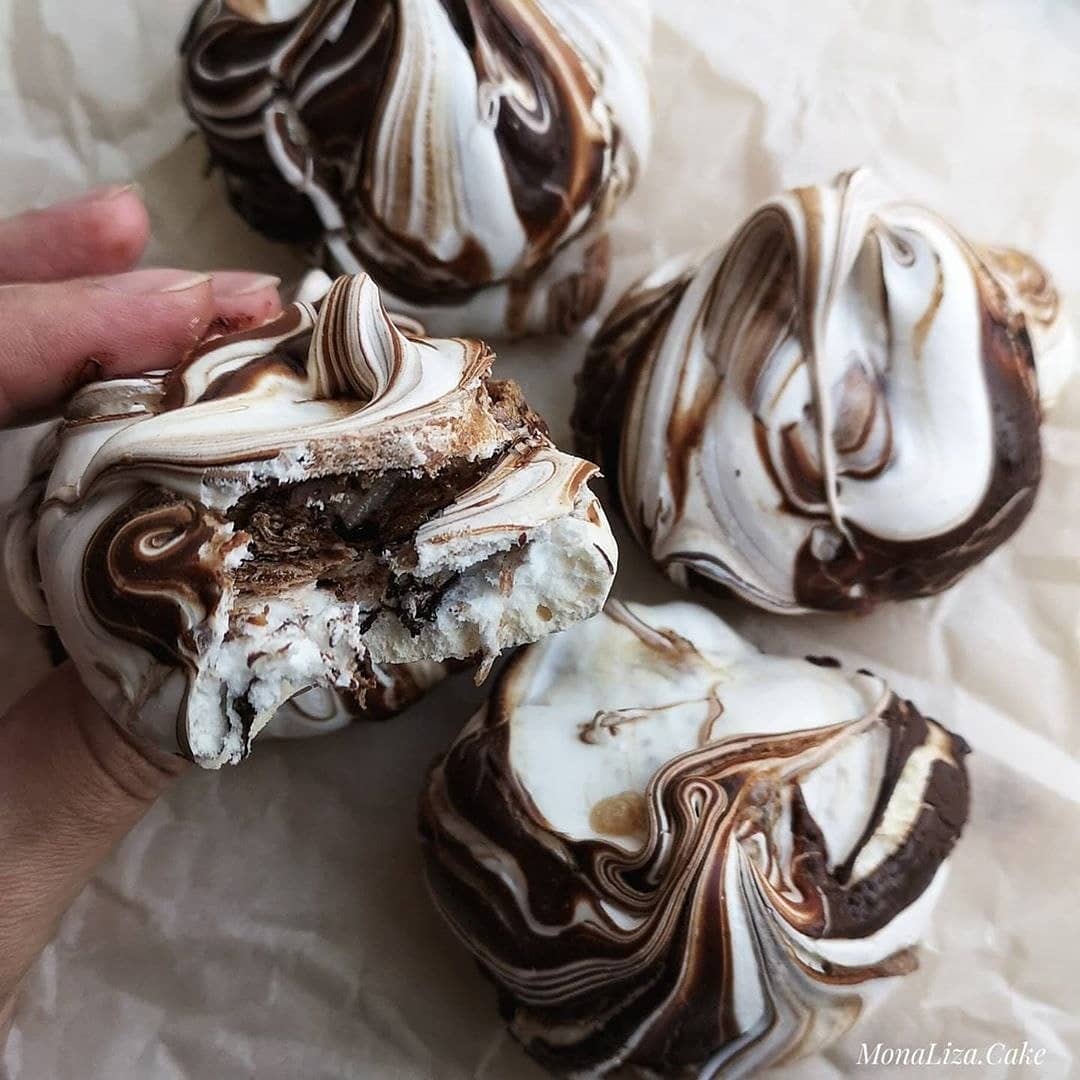
In a clean bowl, whip the egg whites until soft peaks form. Gradually add the sugar while continuing to whip until the mixture becomes glossy and holds stiff peaks. This process typically takes around 5-7 minutes.
In another bowl, whisk the heavy cream until it forms soft peaks. Carefully fold the meringue into the whipped cream along with vanilla extract until just combined. Make sure to keep the mixture light and airy as this is key for the mousse texture.
Chill the mousse in the refrigerator for about 20 minutes to help it set slightly before assembling.
Step 3
Melt dark chocolate and butter together in a heatproof bowl set over a saucepan of simmering water (double boiler) until smooth. Stir until completely blended; this should take approximately 5 minutes.
Once melted, remove from heat and let it cool slightly before using it to glaze your individual desserts.
Step 4
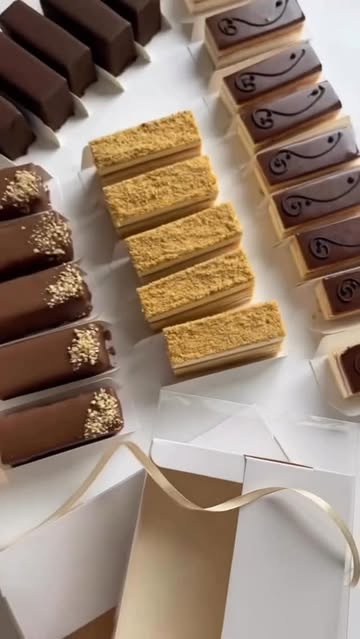
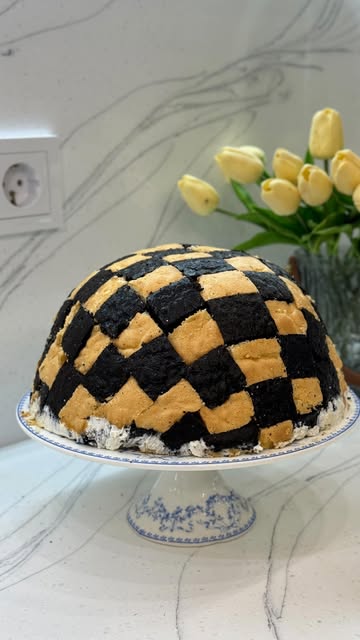
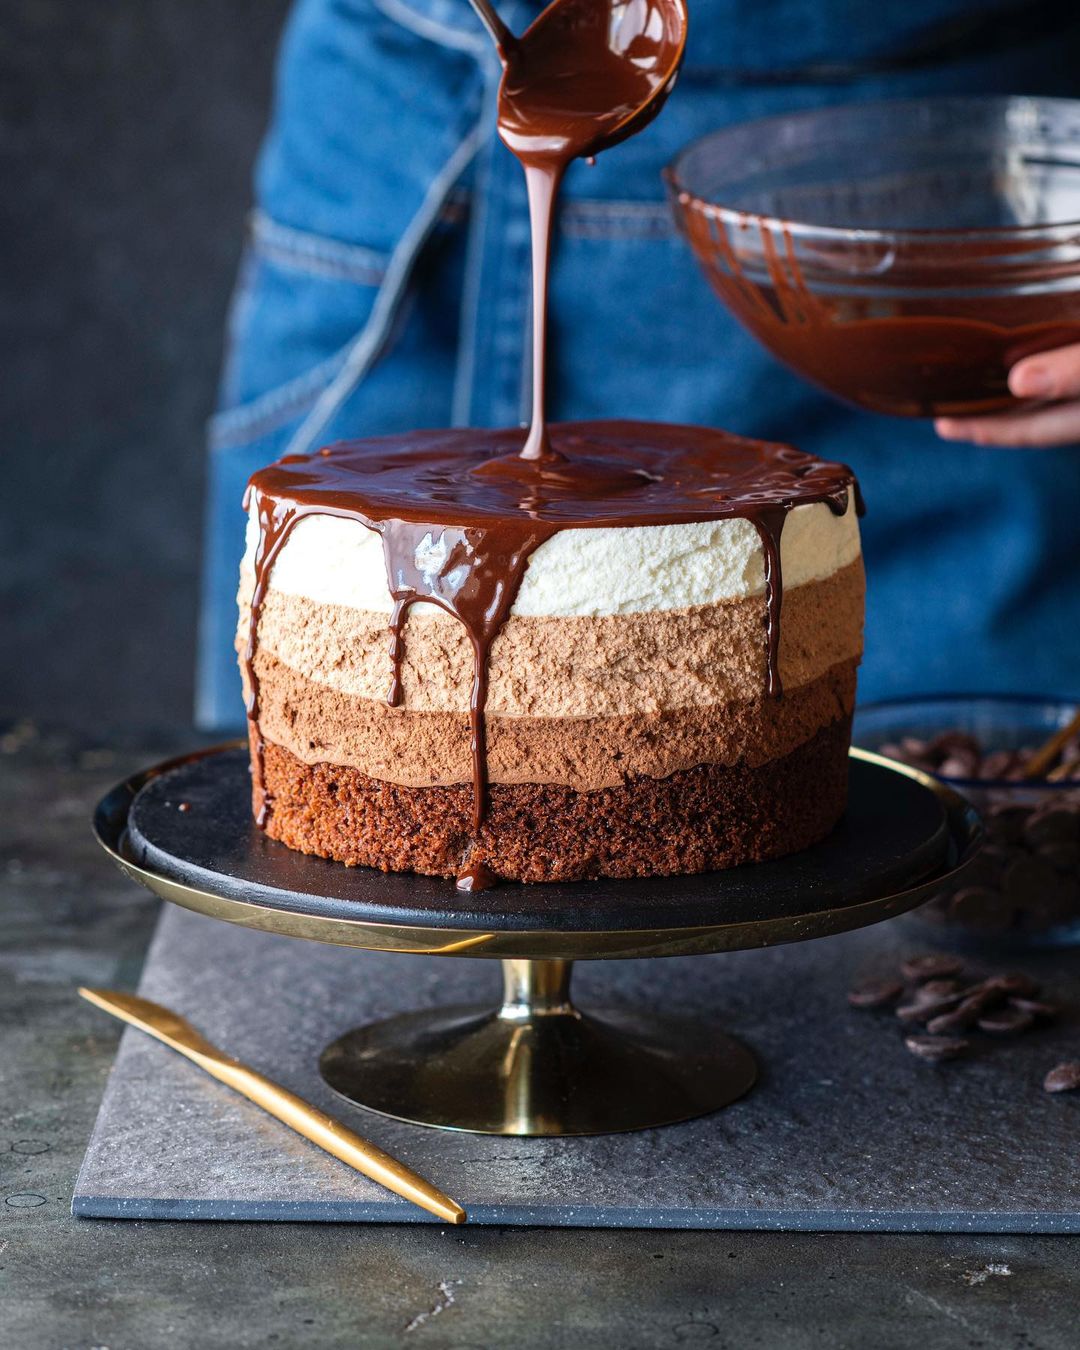
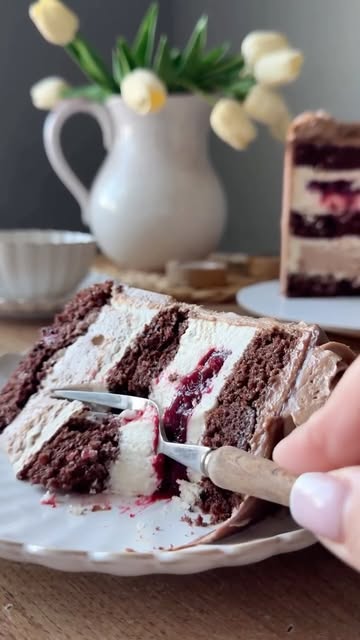
Cut the cooled vanilla biscuit into small squares and place them at the base of each serving dish. Top them generously with the meringue mousse, smoothing it out with a spatula.
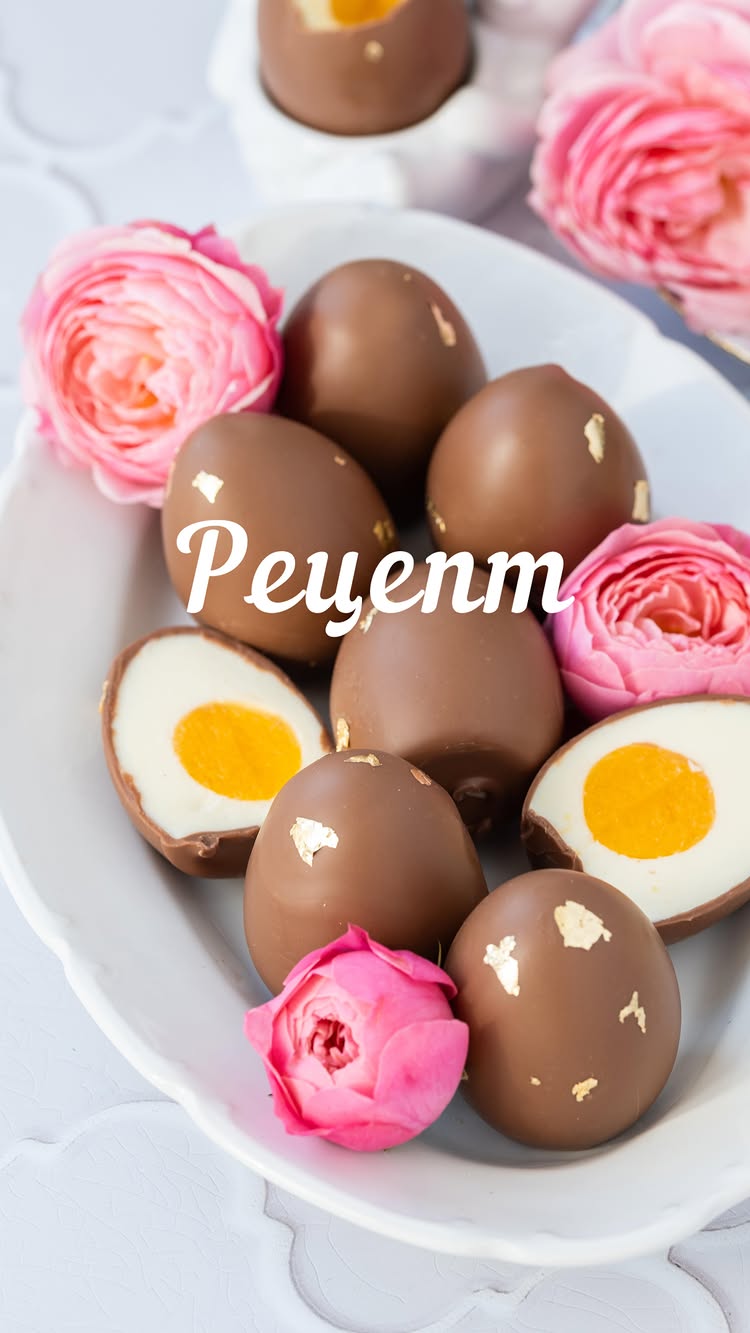
Then, drizzle the chocolate glaze over the top of the mousse, allowing it to cascade down the sides for a beautiful presentation.
Once assembled, allow the desserts to chill in the refrigerator for at least 30 minutes prior to serving to enhance the textures.
Servings
When it comes to serving, presentation makes a world of difference! 🎉 Consider placing your lovely 'Bird' desserts on a vibrant platter. Create a visual feast by adding fresh fruits, like strawberries or raspberries, around them. 🍓 A light dusting of powdered sugar can give them a charming finish, making them look even more appealing!
For a more interactive experience, you could set up a dessert bar. Invite guests to dress their 'Bird' desserts with toppings like chocolate shavings, colorful sprinkles, or whipped cream. ☁️ This is a great way to make your gathering more fun and engaging!
Also, these desserts pair beautifully with a cup of coffee or tea. ☕️ Imagine enjoying a blissful afternoon snack with your loved ones, reminiscing about sweet childhood memories. It’s a perfect way to lift spirits and satisfy sweet cravings!
Equipment
Having a few different sizes can help manage ingredients better. Ensure they're clean and dry for the best results.
A good whisk or a hand mixer is essential for whipping egg whites to perfection. If you're new to this, be patient and mix until stiff peaks form!
Make sure to line your baking sheet with parchment paper. This will prevent your pastries from sticking and help in easy removal.
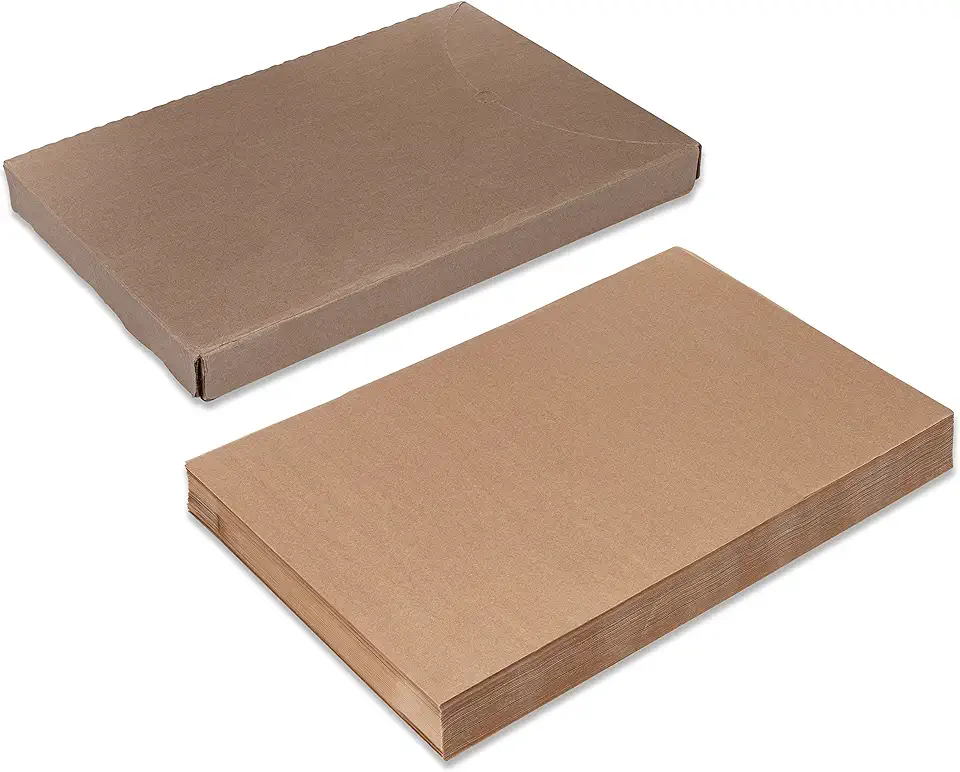 Paterson Paper 16" x 24" Full Size Unbleached Chromium-Free Reusable Baking Parchment Paper Sheets Commercial Bun/Sheet Pan Liners - 1000/Case - 425F - Non-Stick/Grease-Resistant
$169.58
View details
Prime
best seller
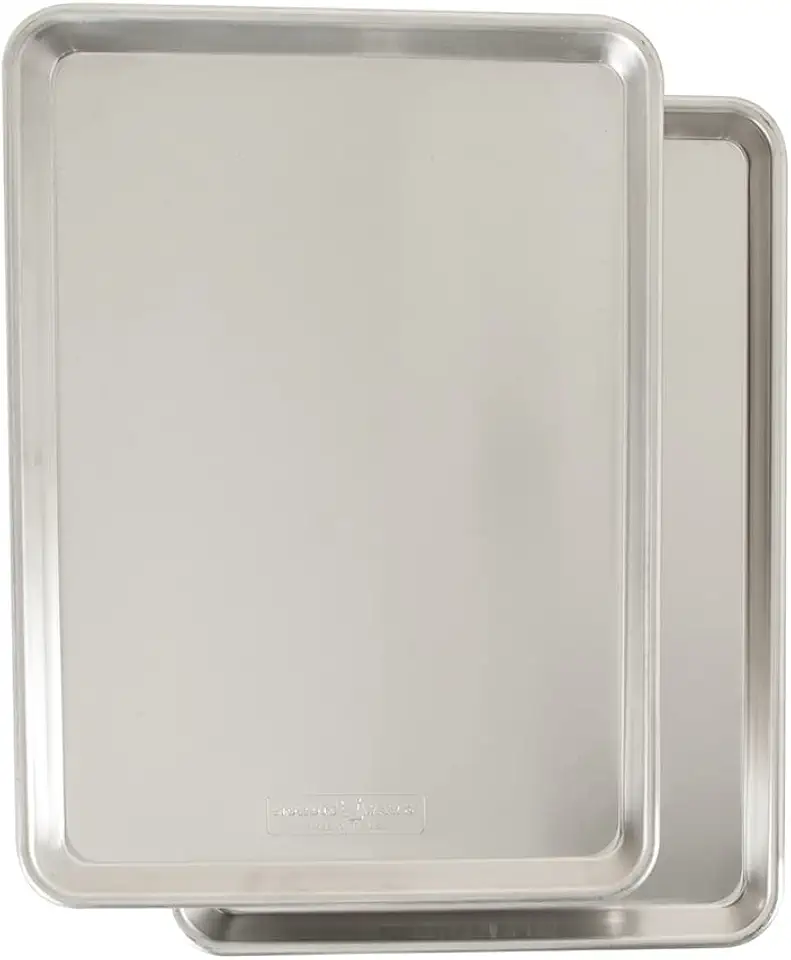 Nordic Ware Naturals Half Sheet, 2-Pack, Natural
$37.80
View details
Prime
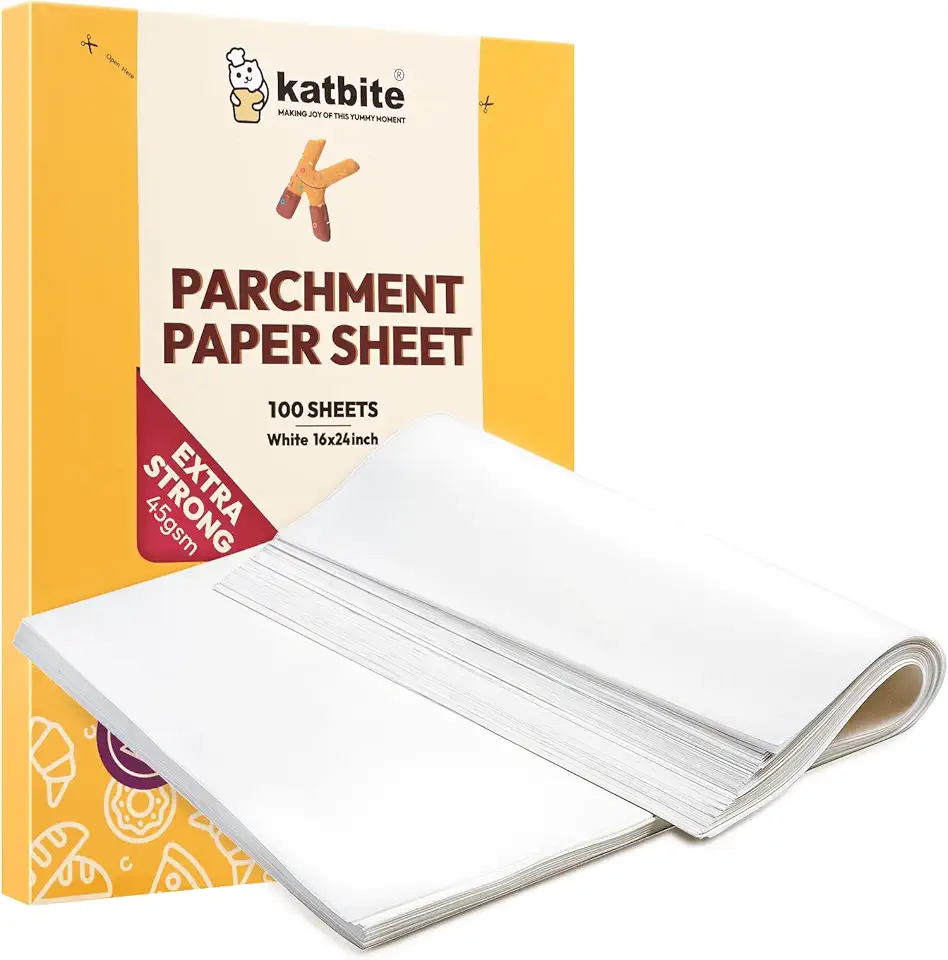 Katbite 16x24 inch Heavy Duty Parchment Paper Sheets, 100Pcs Precut Non-Stick Full Parchment Sheets for Baking, Cooking, Grilling, Frying and Steaming, Full Sheet Baking Pan Liners, Commercial Baking
$18.99
$25.99
View details
Accurate measurements make all the difference in baking. Use clear, easy-to-read measuring cups and spoons.
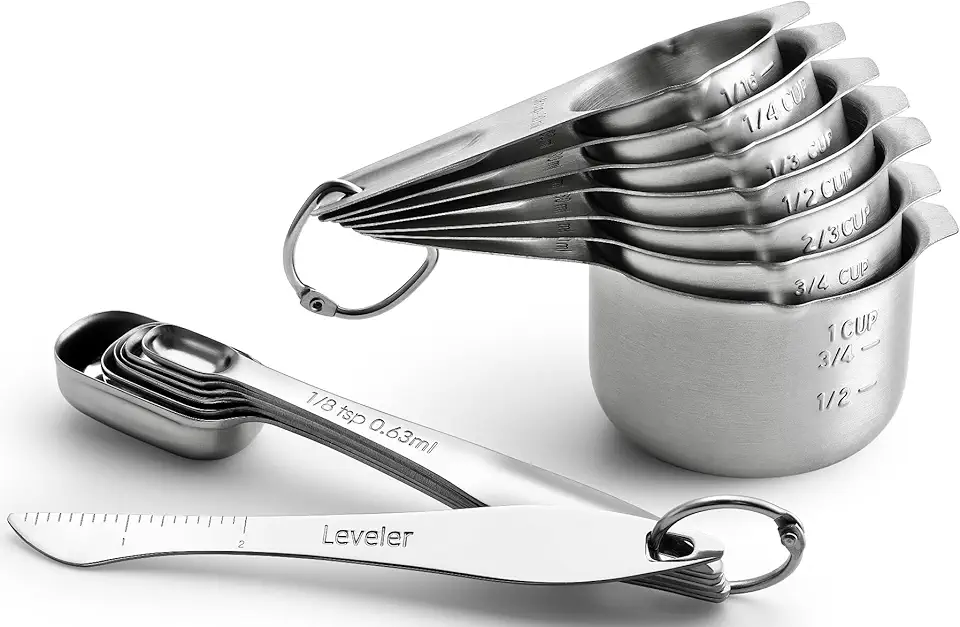 Spring Chef Stainless Steel Measuring Cups and Measuring Spoons Set of 14 with Leveler, Nesting Kitchen Metal Measuring Cups and Spoons Set for Dry and Liquid Ingredients, Perfect for Cooking & Baking
$21.99
View details
Prime
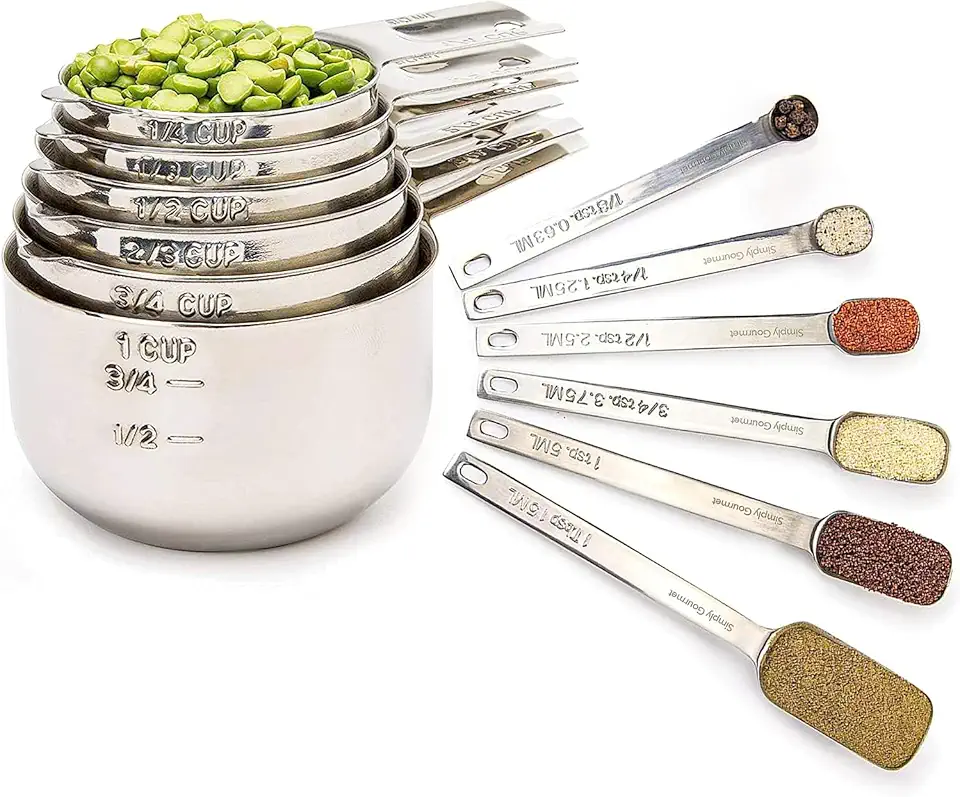 Simply Gourmet Measuring Cups and Spoons Set of 12, 304 Premium Stainless Steel, Stackable Cups Long Handle Spoons Fits Narrow Jars, Kitchen Gadgets for Liquid & Dry Ingredients Cooking Baking
$32.98
$45.99
View details
Prime
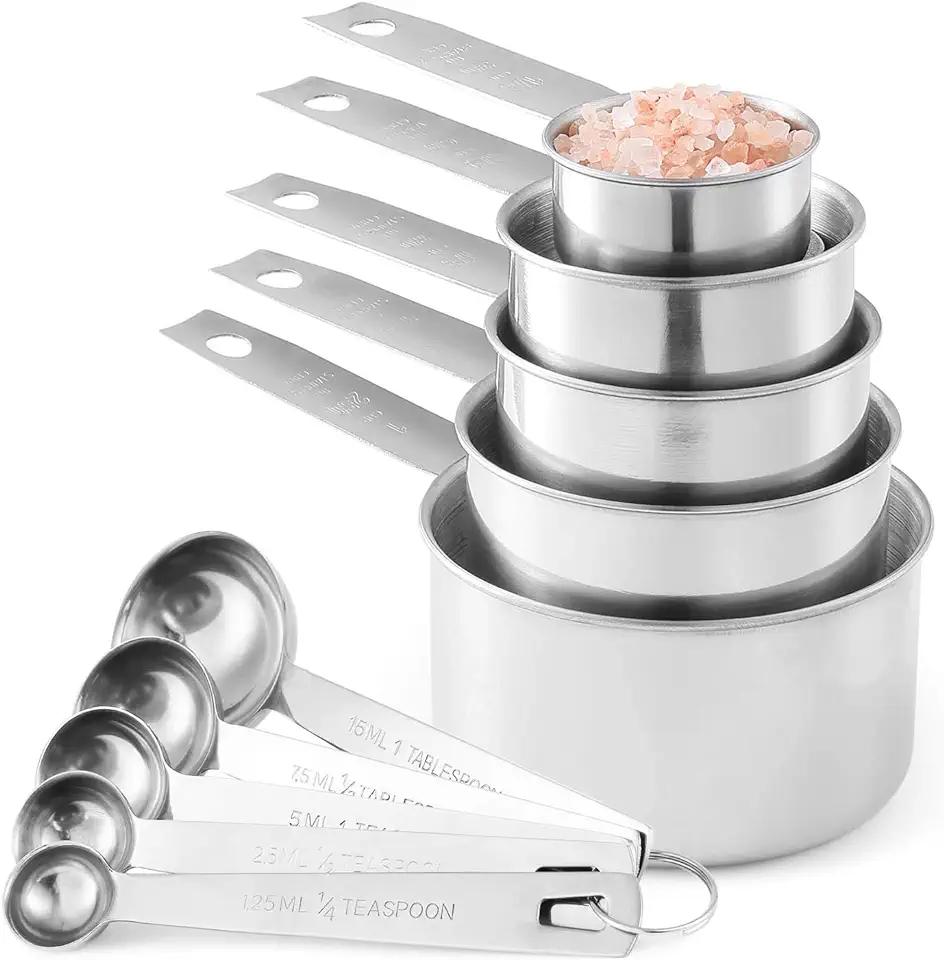 Stainless Steel Measuring Cups And Measuring Spoons 10-Piece Set, 5 Cups And 5 Spoons
$13.95
$17.98
View details
Variations
Gluten-Free Version: To make gluten-free 'Bird' desserts, simply substitute all-purpose flour with your favorite gluten-free flour blend. 🌾 This will ensure that the texture remains delightful while accommodating those with dietary restrictions.
Vegan Variation: For a vegan version, use aquafaba (the liquid from canned chickpeas) in place of egg whites and substitute dairy with coconut cream. 🌿 The result? A light, airy dessert that everyone can enjoy, regardless of dietary choices!
Faq
- What if my meringue doesn’t hold its shape?
This can happen if there's any oil or yolk in the mixture. Make sure your mixing bowl and whisk are completely clean before whipping the egg whites.
- Can I make the mousse ahead of time?
Absolutely! The mousse can be made a day in advance and stored in the fridge, just make sure it’s covered to prevent it from absorbing odors!
- How do I know when my cakes are done baking?
Insert a toothpick into the center of the cake. If it comes out clean or with a few crumbs, your cake is ready!
- What can I do if my cake is too dry?
If the cake comes out dry, consider brushing it with a simple syrup or some flavored liquid to add moisture back in.
- What’s the best way to store leftover pastries?
Keep them in an airtight container at room temperature for up to 2-3 days. They can also be frozen for longer storage!
- Can I freeze the mousse?
Yes, you can freeze the mousse, but be sure to allow it to thaw in the refrigerator when you're ready to use it. This will help maintain its creamy texture.

