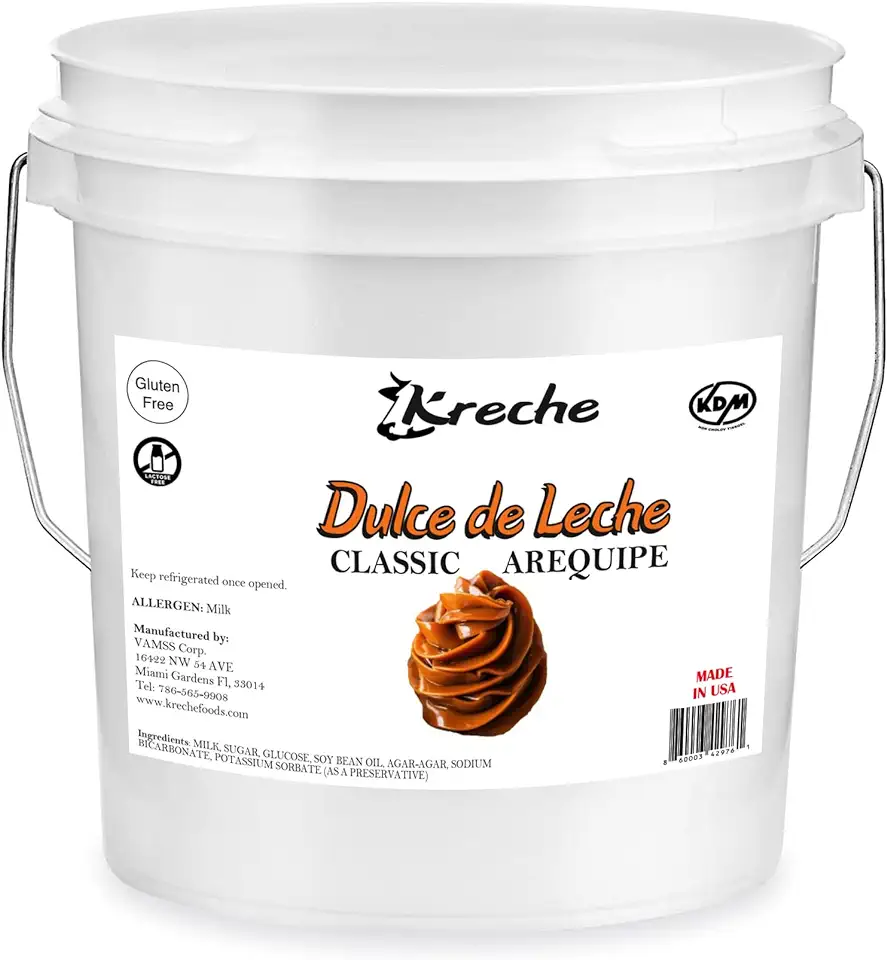
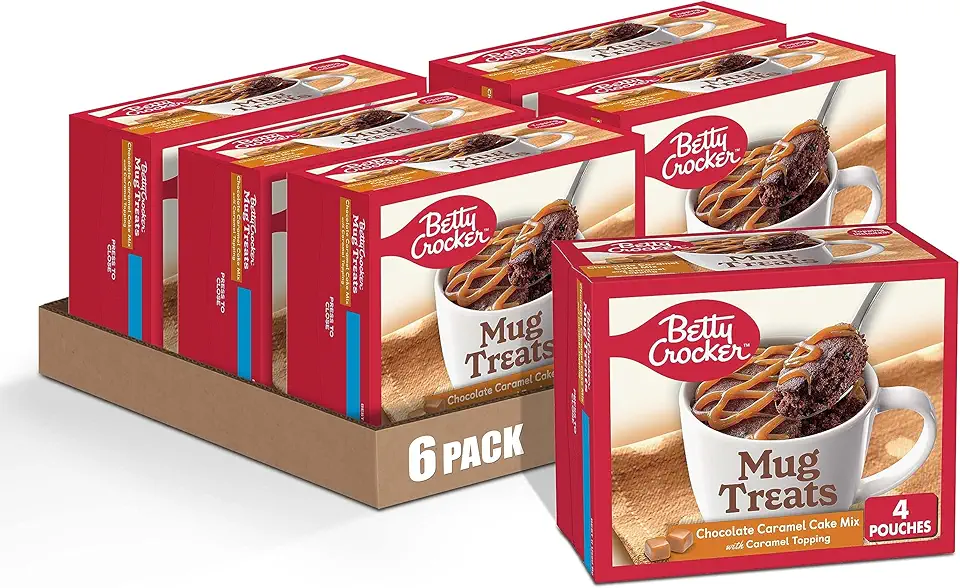
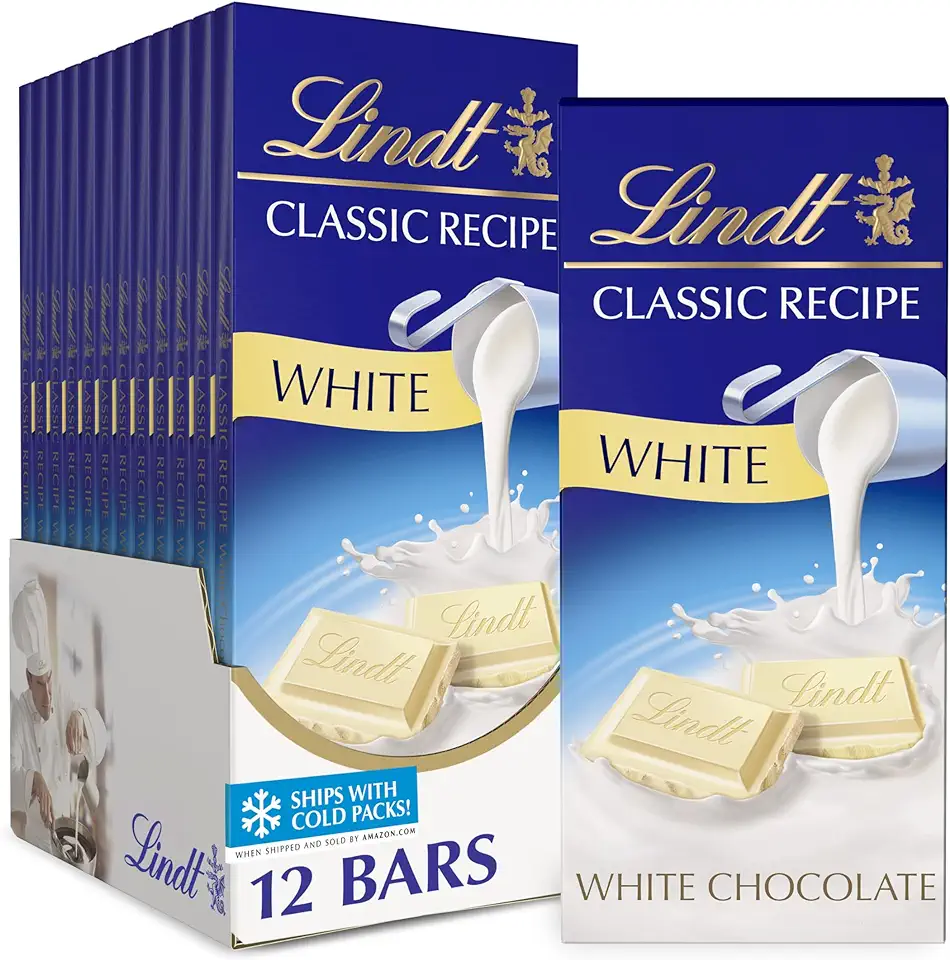
Ingredients
Cake Base
Cream Filling
For the Decoration
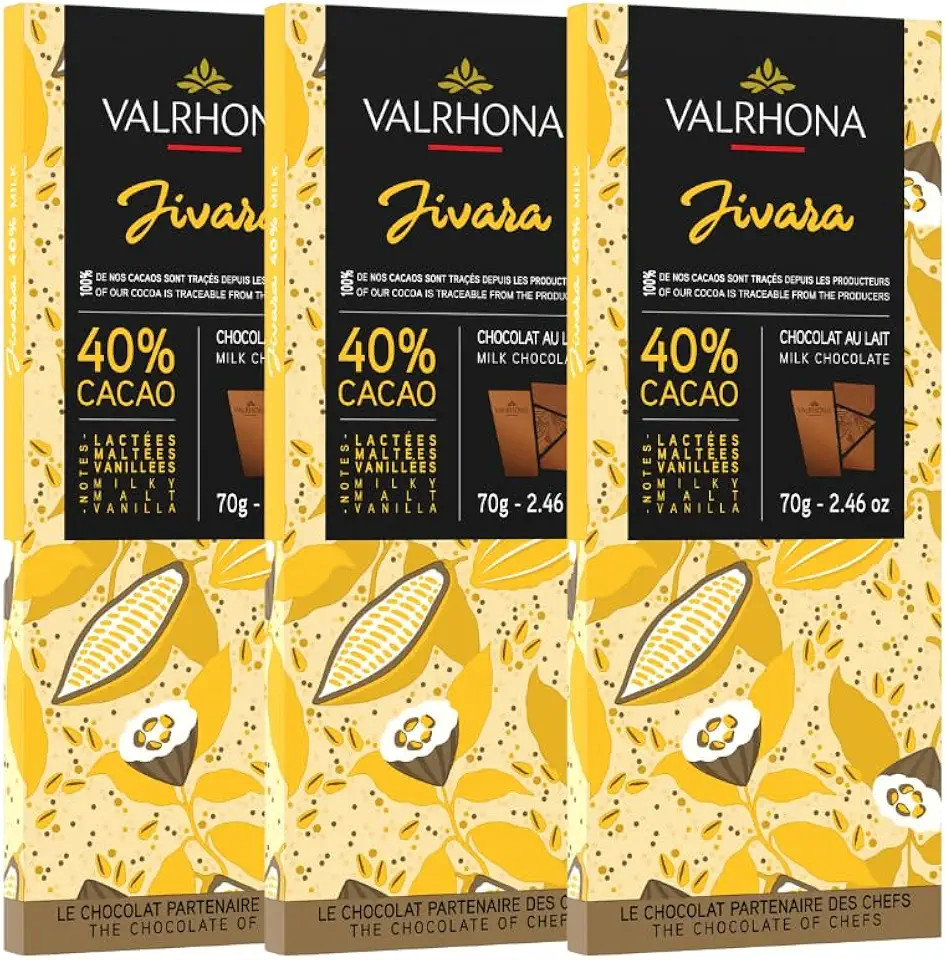 Valrhona Milk Chocolate JIVARA 40% Cacao Tasting Bar - Gourmet French Chocolate, Caramel & Vanilla. The Darkest Milk Chocolate for Baking & Frostings, Sauces, Silky Cakes, Candies. 70g. (Pack of 3)
$33.49
View details
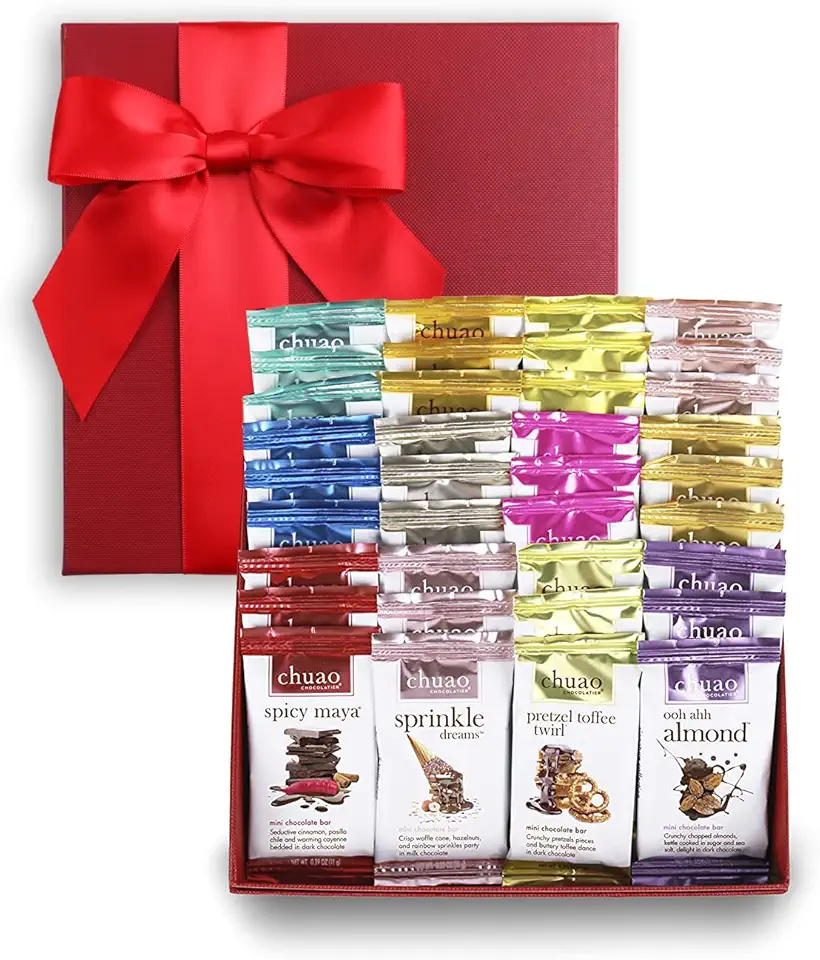 Chuao Chocolatier Share the Love Assorted Milk and Dark Mini Gourmet Chocolate Bars Gift Box | Sampler For Holiday, Birthday, Thank You, Corporate Gift Baskets | 36 Bars, 0.39 oz Each
$49.99
View details
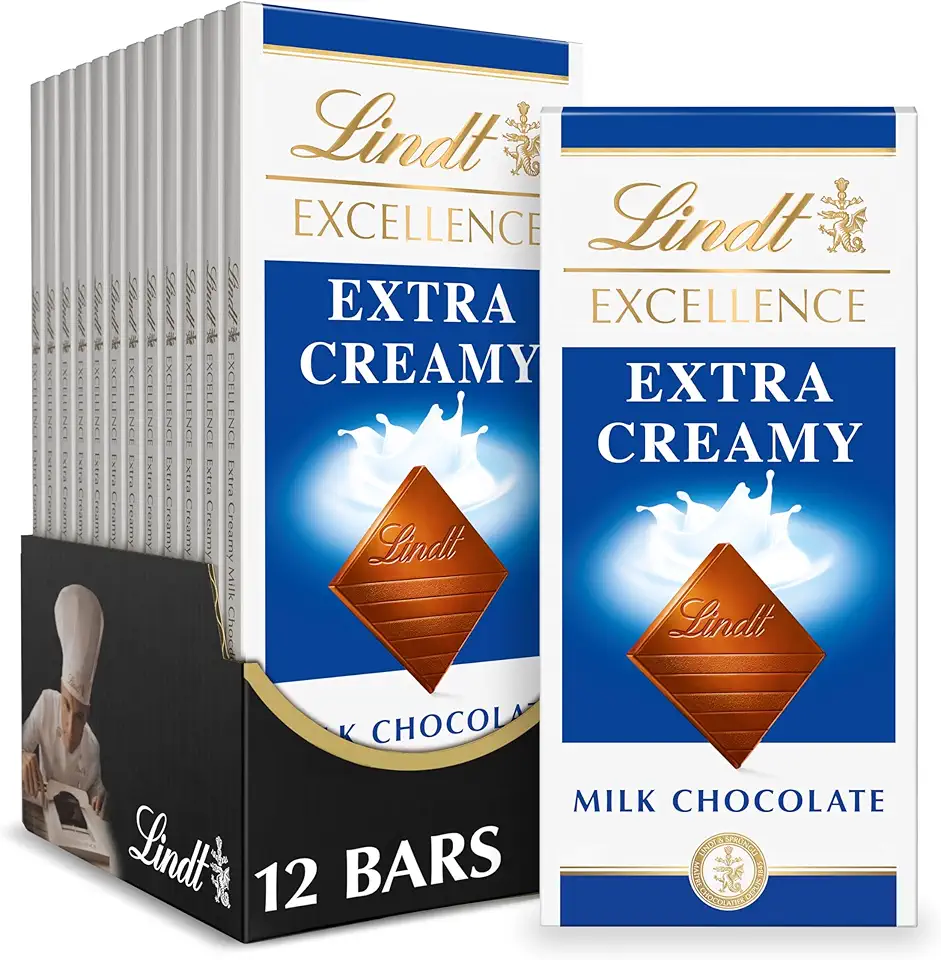 Lindt EXCELLENCE Extra Creamy Milk Chocolate Bar, Milk Chocolate Candy, 3.5 oz. (12 Pack)
$49.97
View details
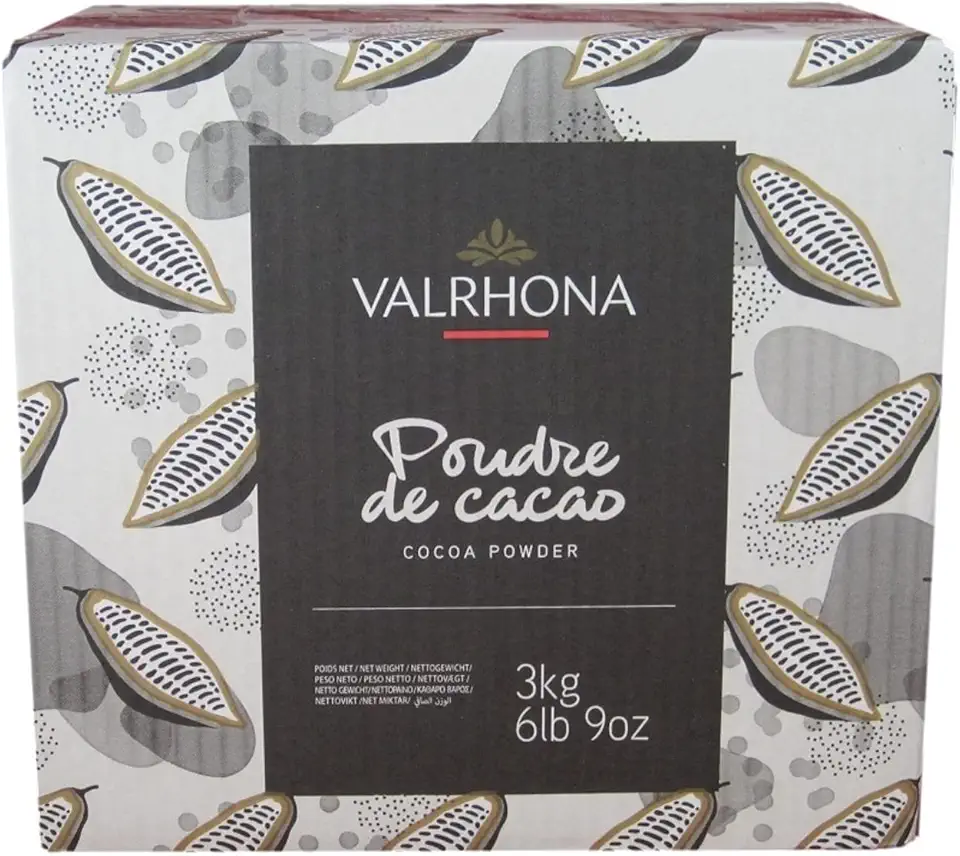 Valrhona Cocoa Powder - 3 kg
$84.95
View details
Prime
best seller
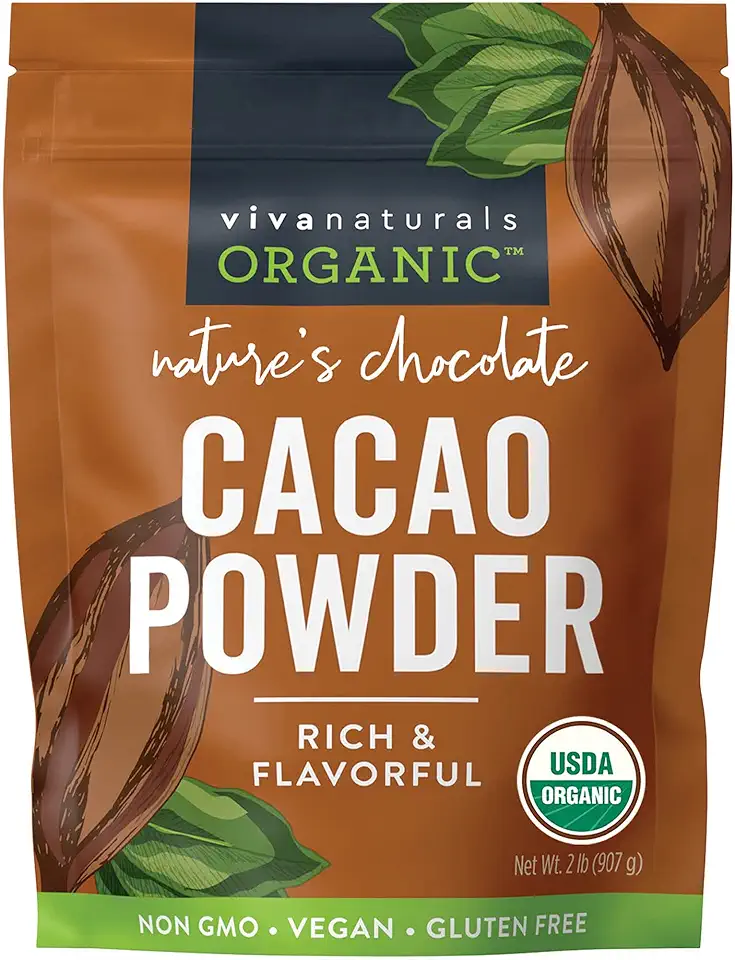 Viva Naturals Organic Cacao Powder, 2lb - Unsweetened Cocoa Powder With Rich Dark Chocolate Flavor, Perfect for Baking & Smoothies - Certified Vegan, Keto & Paleo, Non-GMO & Gluten-Free, 907 g
$20.49
View details
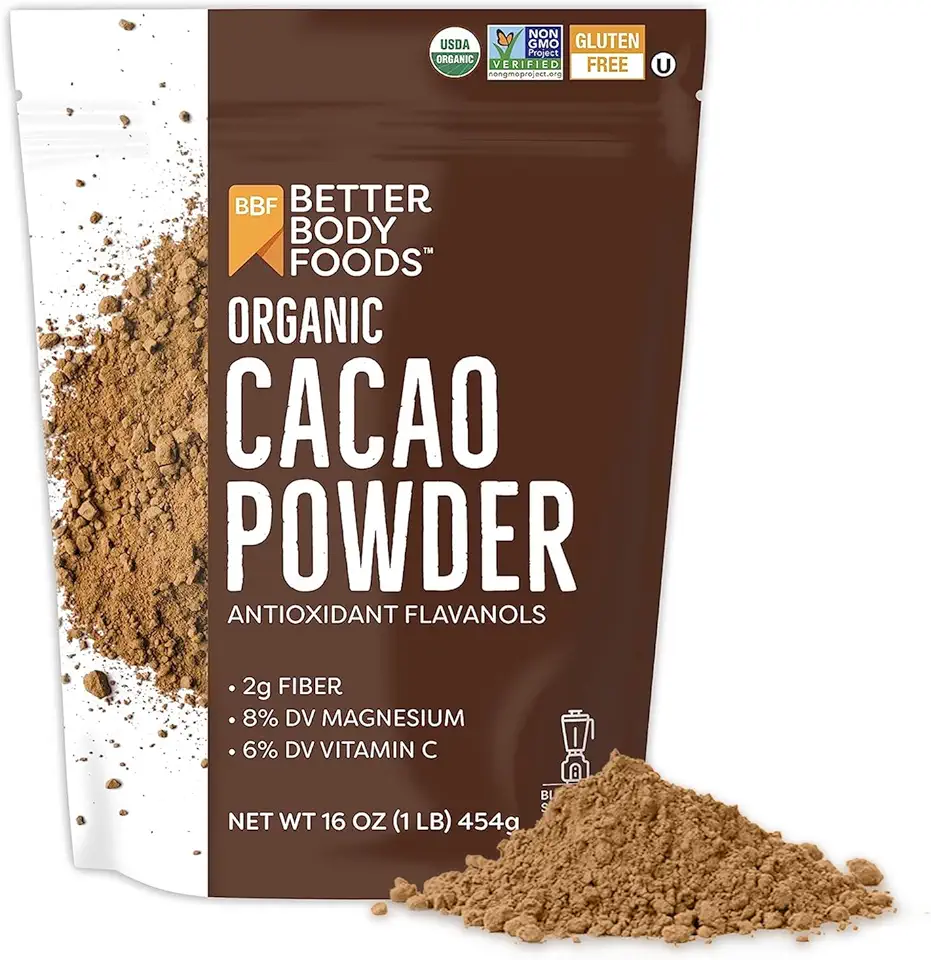 BetterBody Foods Organic Cacao Powder, Rich Chocolate Flavor, Non-GMO, Gluten-Free, Cocoa, 16 ounce, 1 lb bag
$10.41
View details
Instructions
Step 1
Crumble the *chocolate sponge cake* into a large mixing bowl. The texture should be fine crumbs to ensure an even mix with the cream.
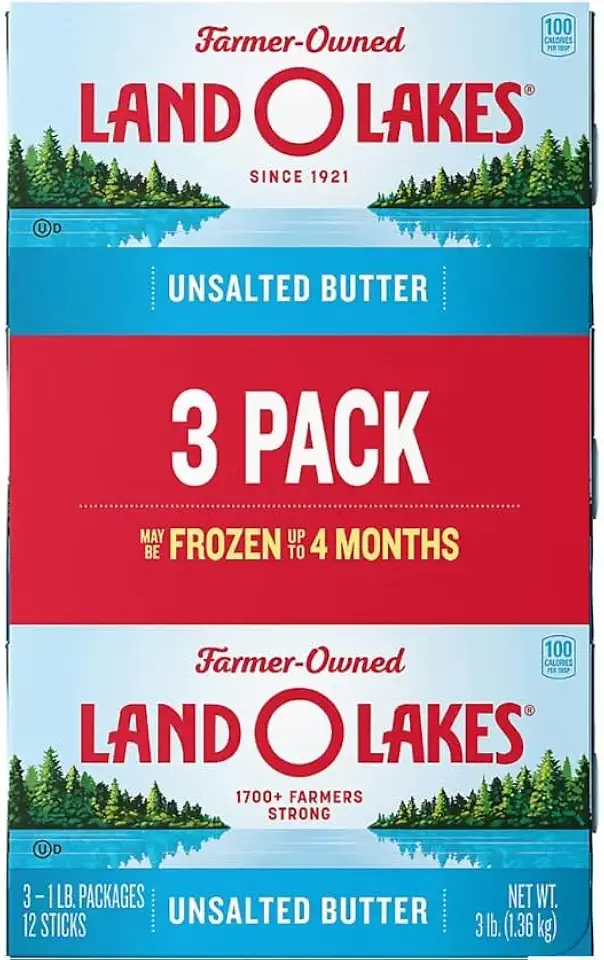
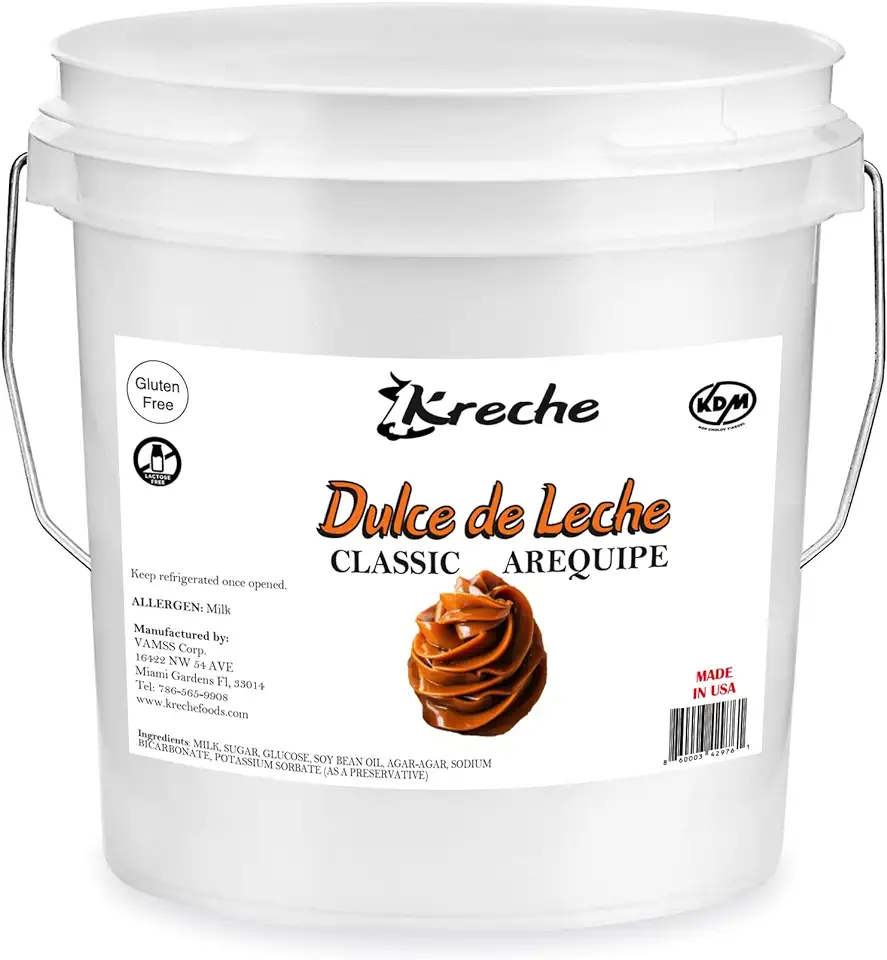
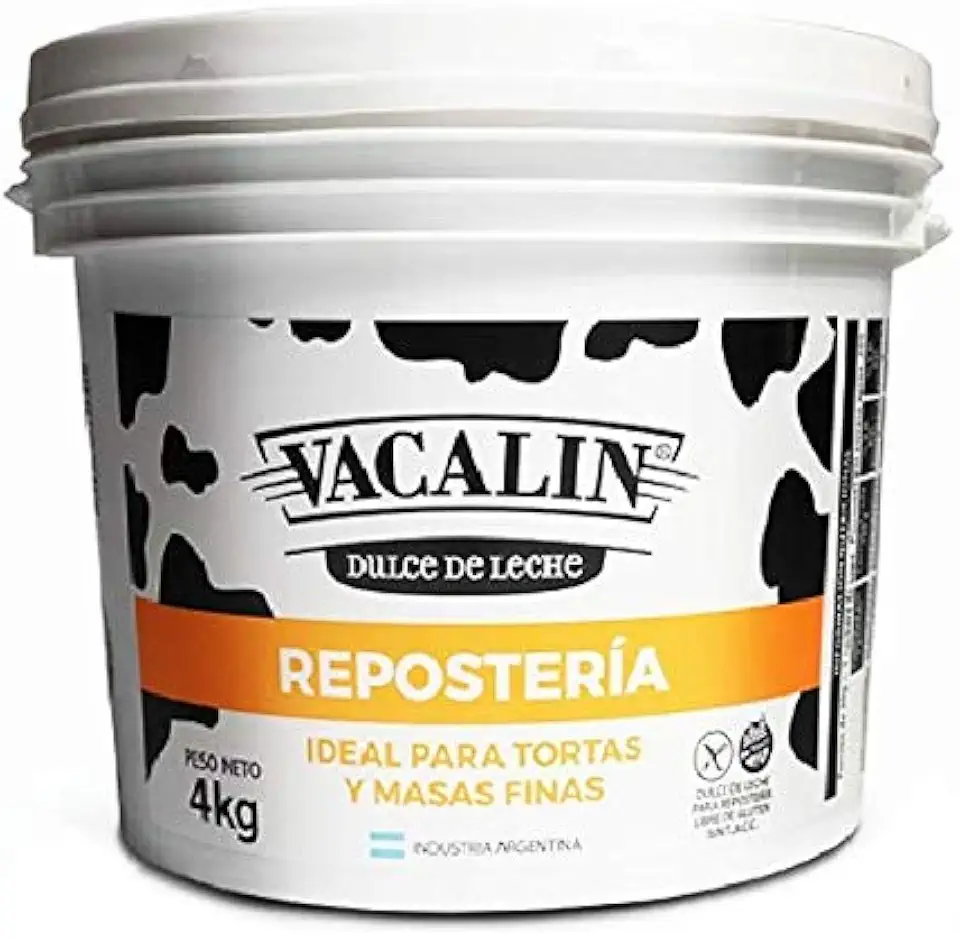
In another bowl, beat the *butter* until smooth. Add the *dulce de leche* slowly, continuing to beat until the mixture becomes creamy and well-blended.
Step 2
Add the prepared cream mixture to the bowl of cake crumbs. Mix thoroughly using a spoon or your hands until it reaches a dough-like consistency.
Form the mixture into oval-shaped 'potatoes,' compacting them firmly so they hold their shape well.
Step 3
Melt the *milk chocolate* and *white chocolate* together in a heat-safe bowl over simmering water or in a microwave using short bursts, stirring frequently. Mix just enough to blend the colors but maintain a marbled pattern.
Dip each 'potato' evenly in the chocolate mixture and place on a rack to allow any excess to drip off. While the coating is still wet, dust lightly with *cocoa powder* to give an earthy, 'potato-like' appearance.
Step 4
If desired, use melted *white chocolate* to create small sprouts on each potato for a fun effect.
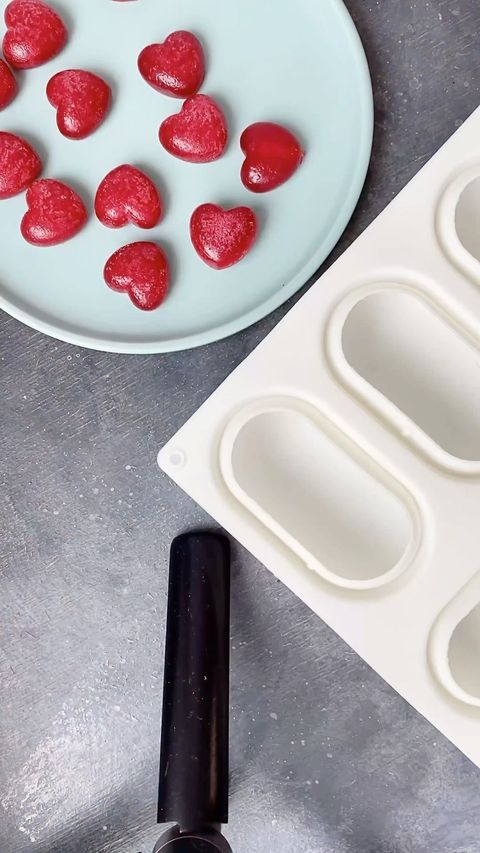
Let the coated 'potatoes' set in the refrigerator for at least 30 minutes before serving. Enjoy your easy-to-make, delightful dessert with its surprise *jelly heart* inside!
Servings
Equipment
You'll need a few mixing bowls to keep your ingredients organized. Opt for glass or stainless steel for easy cleaning.
An electric mixer will ensure your frosting is smooth and well combined. A hand mixer works too if you're up for the arm workout!
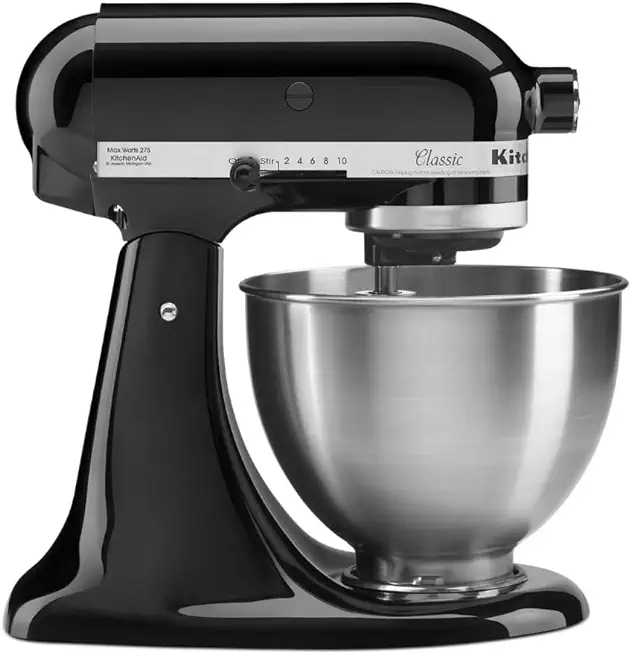 KitchenAid Classic Series 4.5 Quart Tilt-Head Stand Mixer K45SS, Onyx Black
$279.99
$329.99
View details
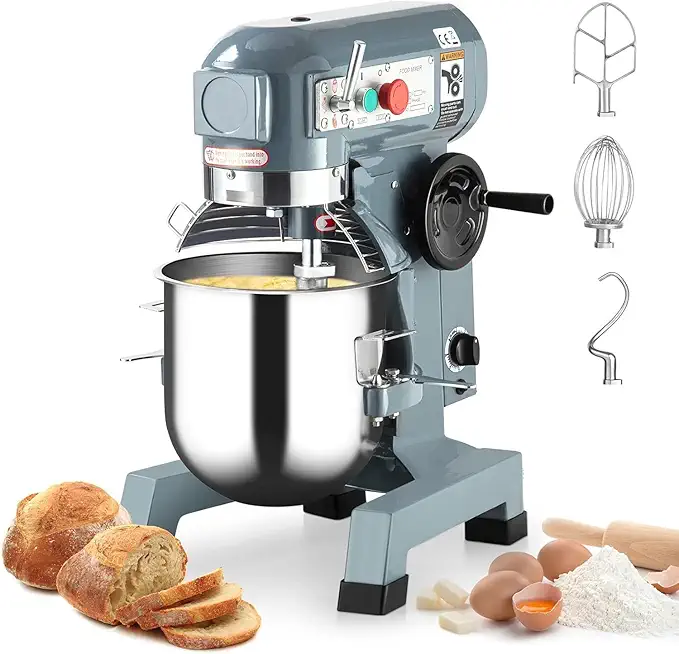 Commercial Stand Mixer, 15Qt Heavy Duty Electric Food Mixer, Commercial Mixer 600W with 3 Speeds Adjustable 130/233/415RPM, Stainless Steel Bowl, Dough Hook Whisk Beater Perfect for Bakery Pizzeria
$579.99
View details
Prime
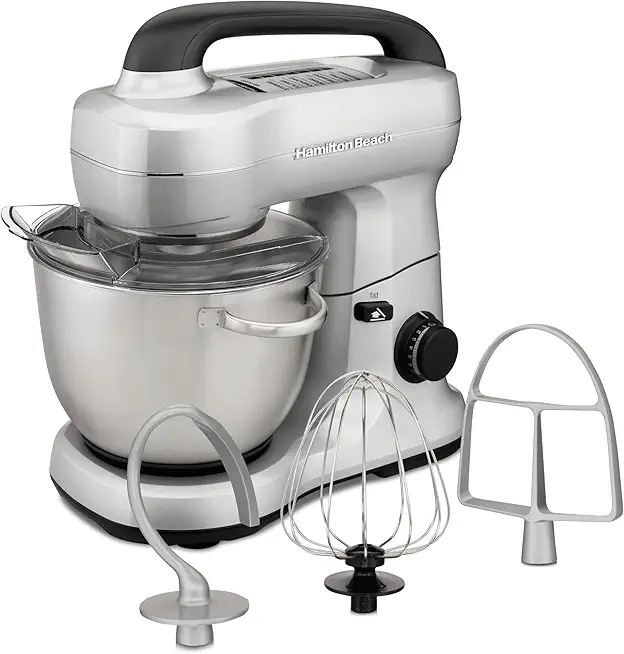 Hamilton Beach Electric Stand Mixer, 4 Quarts, Dough Hook, Flat Beater Attachments, Splash Guard 7 Speeds with Whisk, Silver
$95.99
$119.99
View details
For a silky glaze, gently melt your chocolate in a double boiler or a designated melting pot. Avoid direct heat to prevent burning.
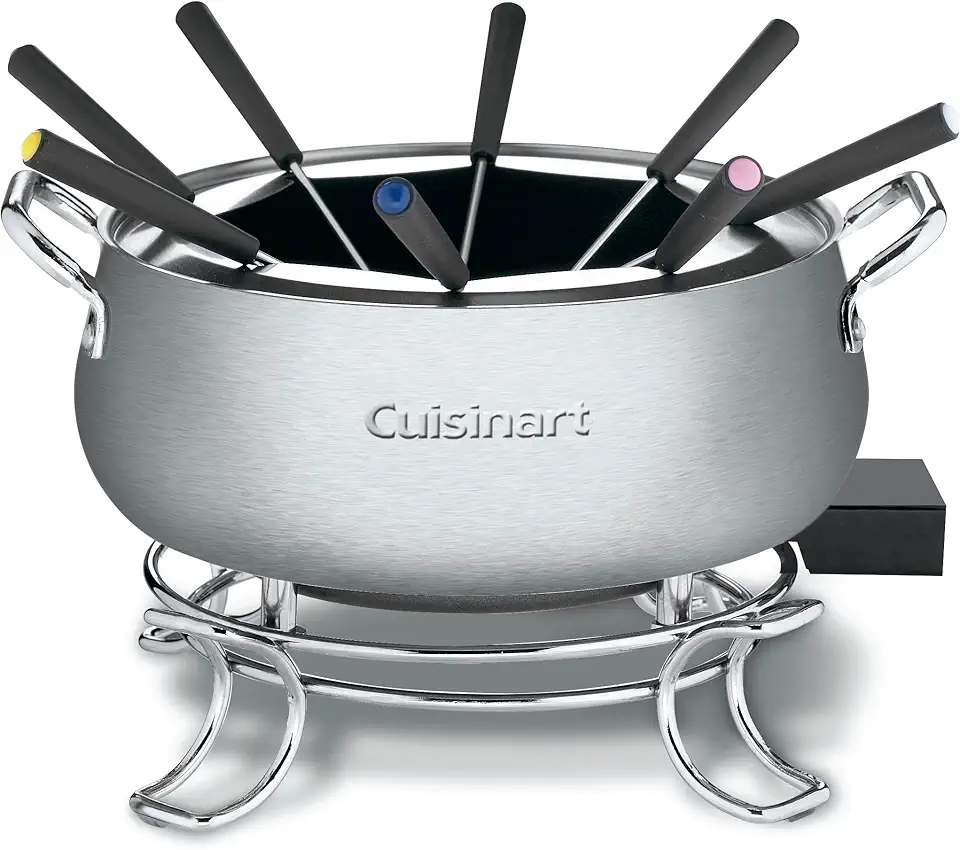 Cuisinart Fondue Pot, 3 Quart, For Chocolate, Cheese, Broth, Oil, Stainless Steel, CFO-3SSP1
$79.85
View details
Prime
best seller
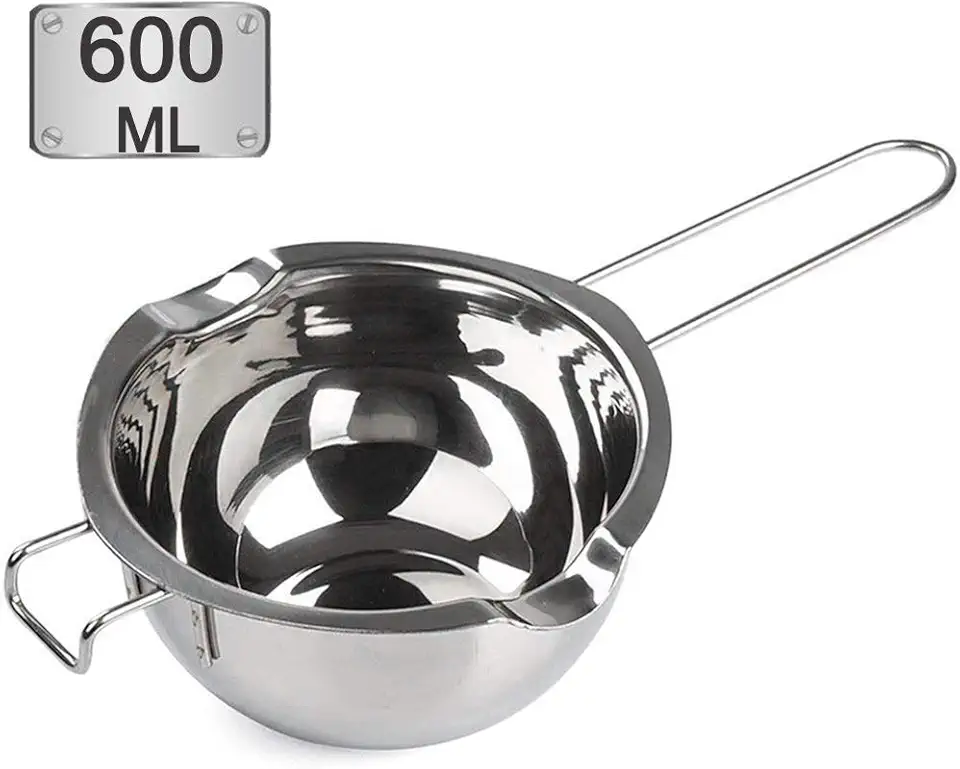 Stainless Steel Double Boiler Pot with 600ML for Melting Chocolate, Candy and Candle Making (18/8 Steel, Universal Insert)
$14.99
View details
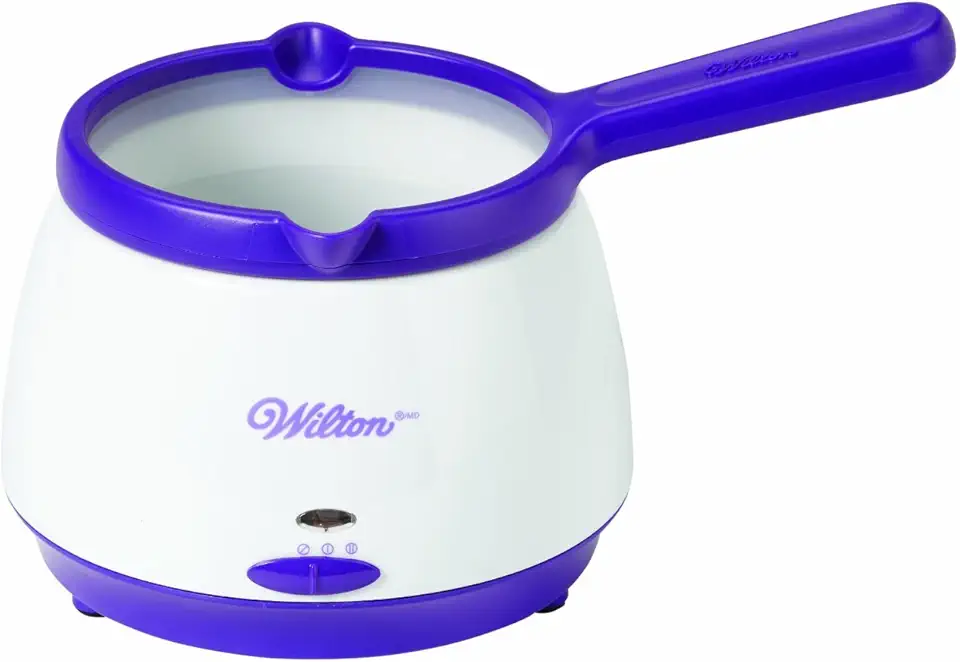 Wilton Candy Melts Candy And Chocolate Melting Pot, 2.5 Cups Capacity, Assorted Colors, Plastic
$27.92
$43.19
View details
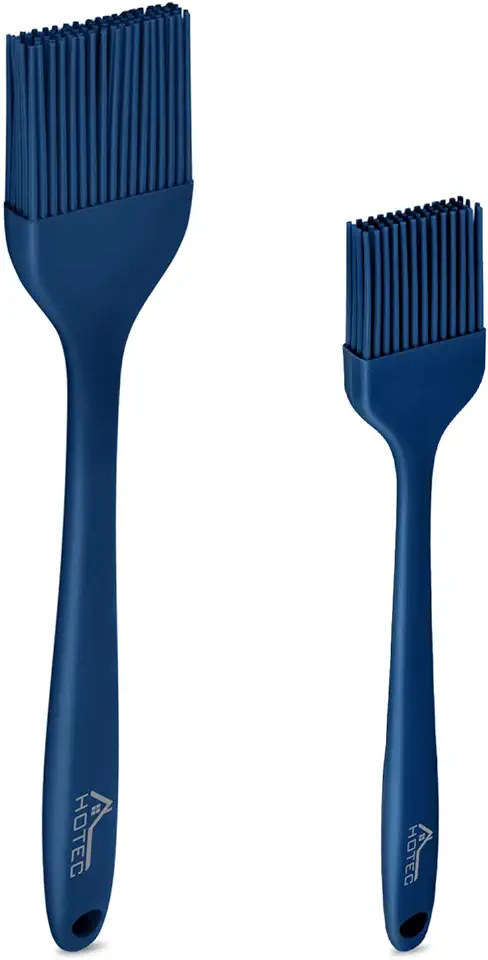
This tool is handy for glazing your cake pops evenly. Silicone brushes are durable and easy to clean.
Line a tray with parchment paper to cool your glazed cake pops without sticking.
Variations
Gluten-Free Version: Swap the chocolate sponge for a gluten-free version to cater to those avoiding gluten. Ensure that your chocolate and cocoa powder are certified gluten-free for a truly inclusive dessert. 🌾✨
Vegan Version: Craft a delicious vegan version by using dairy-free cream and vegan condensed milk for the filling. Opt for dark chocolate and almond milk in your glaze to keep the rich flavors without any animal products. 🍫🥥
These substitutions offer just as much flavor, with the added bonus of catering to more dietary preferences. Enjoy your sweets with a conscious twist!
Faq
- How do I prevent the cake pops from falling apart?
Ensure your cake crumbs are finely ground and the frosting bind is just right—not too wet or too dry, making them easy to shape and hold together.
- What if I don't have a pastry brush?
If you're missing a pastry brush, try using the back of a spoon to apply the glaze evenly on your cake pops.
- Can I freeze the cake pops for later?
Yes, you can freeze them before glazing. Just wrap them tightly in plastic wrap and store in an airtight container. Thaw and glaze when ready to enjoy.
- How do I get a shiny finish on the chocolate glaze?
A touch of vegetable oil added to the melted chocolate gives a glossy finish, making your cake pops look professionally done!
- What's the best way to create the gel heart centers?
Using a small mold is perfect for creating uniform gel heart centers. Alternatively, you can pipe the gel mixture onto parchment paper and let it set before placing it inside the cakes.
- Can I use homemade frosting instead of store-bought?
Absolutely! Homemade frosting often offers richer flavors and can be customized to your liking, making your cake pops even more special.

