Ingredients
Ingredients
Instructions
Step 1
Begin by heating the milk in the microwave until it is hot, but not boiling.
This initial step is crucial as it will help melt the chocolate perfectly.
Step 2
Pour the hot milk over the chopped dark chocolate in a mixing bowl.
Stir actively until the chocolate is completely melted and combined with the milk, forming a smooth mixture.
Step 3
Add the vegetable oil to the chocolate mixture.
Mix thoroughly once again until everything is well blended and smooth.
Step 4
The final consistency is important for creating beautiful chocolate drips.
If the mixture is too runny, add more chocolate; if too thick, add hot milk by the teaspoon until the desired consistency is achieved.
Step 5
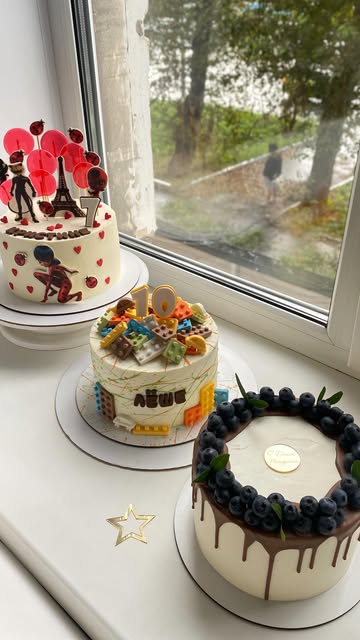
Once you've reached the right flowy consistency, it's time to decorate your cake!
This chocolate drip will add a professional touch to your cake, so take your time to ensure it's just right.
Servings
Equipment
This is essential for heating the milk without burning it. Make sure it’s large enough to hold the chocolate and allow for mixing!
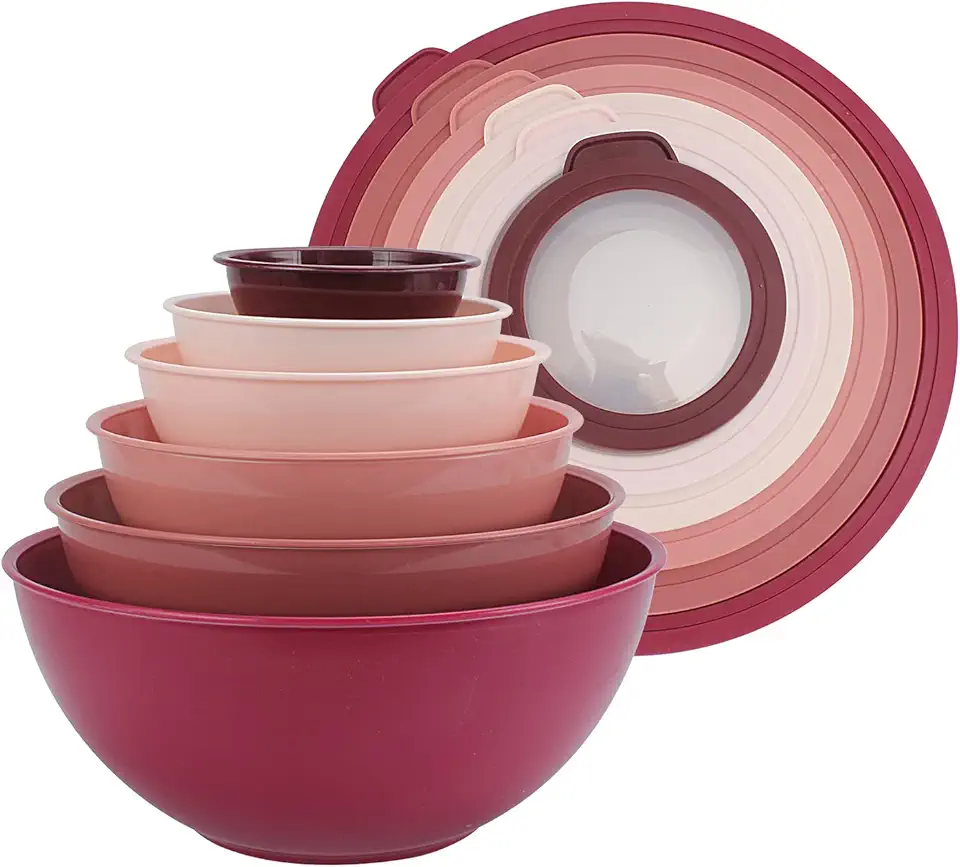 COOK WITH COLOR Mixing Bowls with TPR Lids - 12 Piece Plastic Nesting Bowls Set includes 6 Prep Bowls and 6 Lids, Microwave Safe (Rose)
$26.99
$29.99
View details
Prime
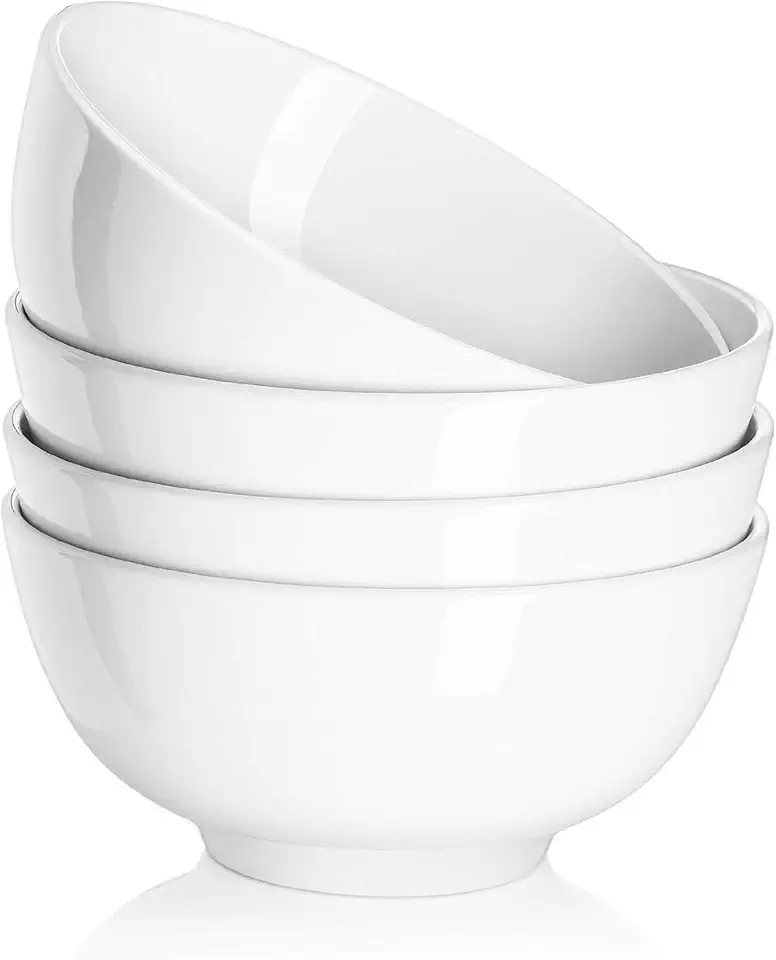 DOWAN 22 OZ White Ceramic Bowls Set of 4 - Perfect for Soup, Cereal, Oatmeal, Fruit, Rice - Dishwasher & Microwave Safe
$19.99
View details
You’ll need a good mixing tool to ensure the chocolate fully melts and blends with the milk and oil. A whisk works best for a smooth consistency!
Position your cake on a stand or a baking sheet to catch any drips and make cleanup easier.
Variations
Faq
- What chocolate should I use for the drip?
Opt for dark chocolate with a cocoa percentage between 55% to 72%. This will ensure a rich flavor and proper consistency!
- Why is my chocolate drip not setting properly?
It could be due to too much liquid. Make sure to adjust the milk or add more chocolate until you reach the desired consistency!
- Can I prepare the chocolate drip in advance?
Yes! You can prepare the mixture ahead of time, but it’s best to reheat it briefly before using to maintain the right consistency.
- How can I store leftover chocolate drips?
Store any leftover mixture in an airtight container in the fridge. When ready to use, gently reheat it, adding a splash of milk if it thickens too much!
- What if my drips are too thick?
Just add a little warm milk slowly until you reach the desired consistency. Remember, the goal is a smooth, pourable drippy texture!
- Can I color my chocolate drip?
Yes, you can use oil-based food coloring! Adding color to your chocolate can make for fun and festive desserts, perfect for any occasion!

