Ingredients
Dough Ingredients
 Bob's Red Mill Gluten Free 1-to-1 Baking Flour, 22 Ounce (Pack of 4)
$23.96
View details
Prime
 Antimo Caputo Chefs Flour - Italian Double Zero 00 - Soft Wheat for Pizza Dough, Bread, & Pasta, 2.2 Lb (Pack of 2)
$16.99
View details
Prime
best seller
 King Arthur, Measure for Measure Flour, Certified Gluten-Free, Non-GMO Project Verified, Certified Kosher, 3 Pounds, Packaging May Vary
$8.62
View details
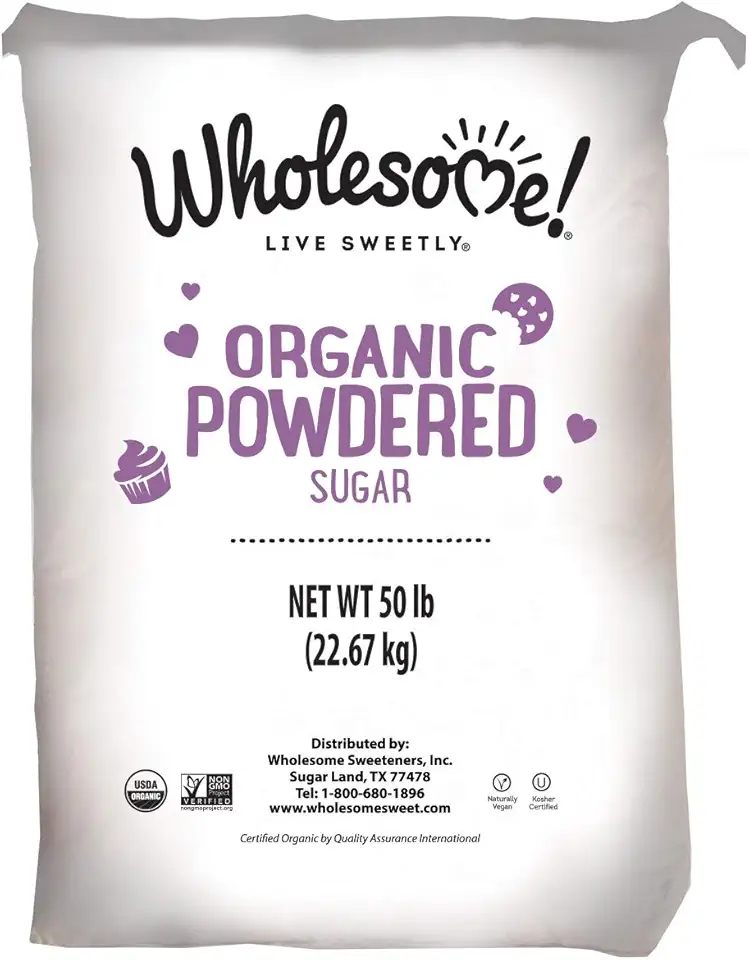 Wholesome Fair Trade Organic Powdered Sugar, Naturally Flavored Real Sugar, Non GMO & Gluten Free, 50 Pound (Pack of 1)
$106.95
View details
Prime
best seller
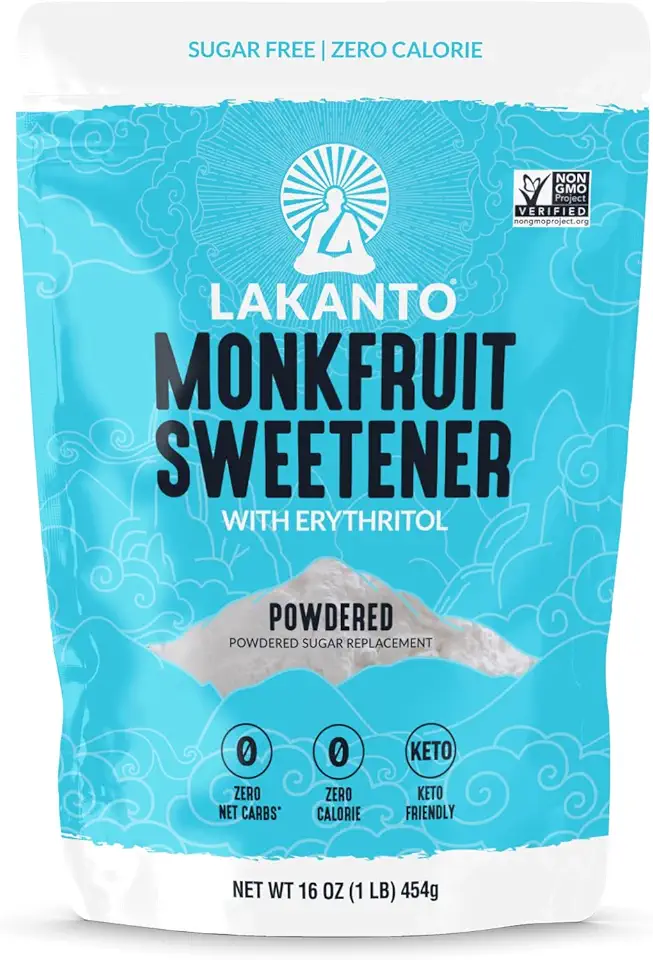 Lakanto Powdered Monk Fruit Sweetener with Erythritol - Powdered Sugar Substitute, Zero Calorie, Keto Diet Friendly, Zero Net Carbs, Baking, Extract, Sugar Replacement (Powdered - 1 lb)
$11.90
View details
Prime
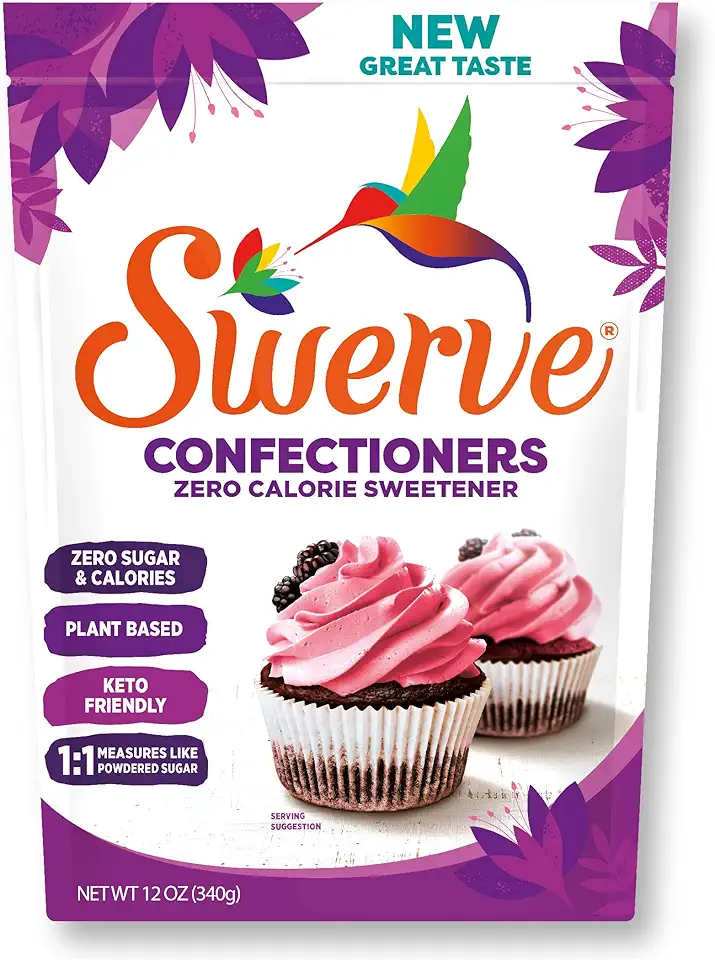 Swerve Sweetener Powder, Confectioners, 12 oz
$6.98
View details
 Kevala Cashew Butter 7 Lbs Pail
$83.62
View details
Prime
best seller
 4th & Heart Original Grass-Fed Ghee, Clarified Butter, Keto, Pasture Raised, Lactose and Casein Free, Certified Paleo (9 Ounces)
$11.49
View details
Prime
 4th & Heart Himalayan Pink Salt Grass-Fed Ghee, Clarified Butter, Keto Pasture Raised, Non-GMO, Lactose and Casein Free, Certified Paleo (9 Ounces)
$9.49
View details
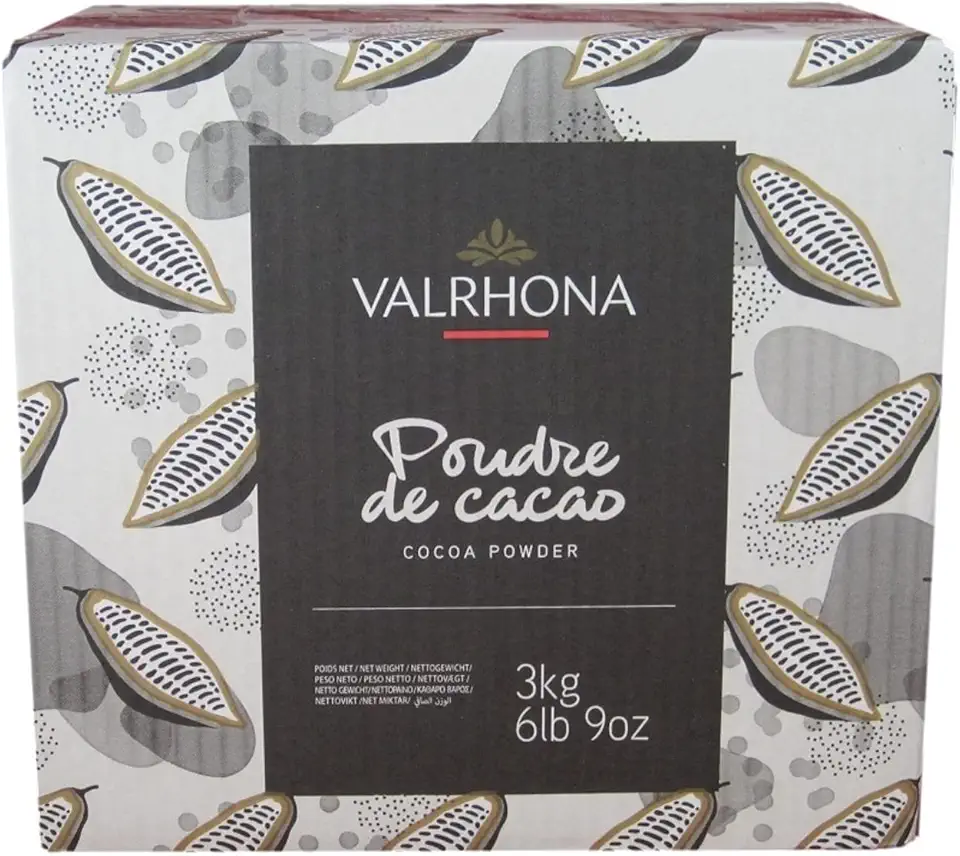 Valrhona Cocoa Powder - 3 kg
$84.95
View details
Prime
best seller
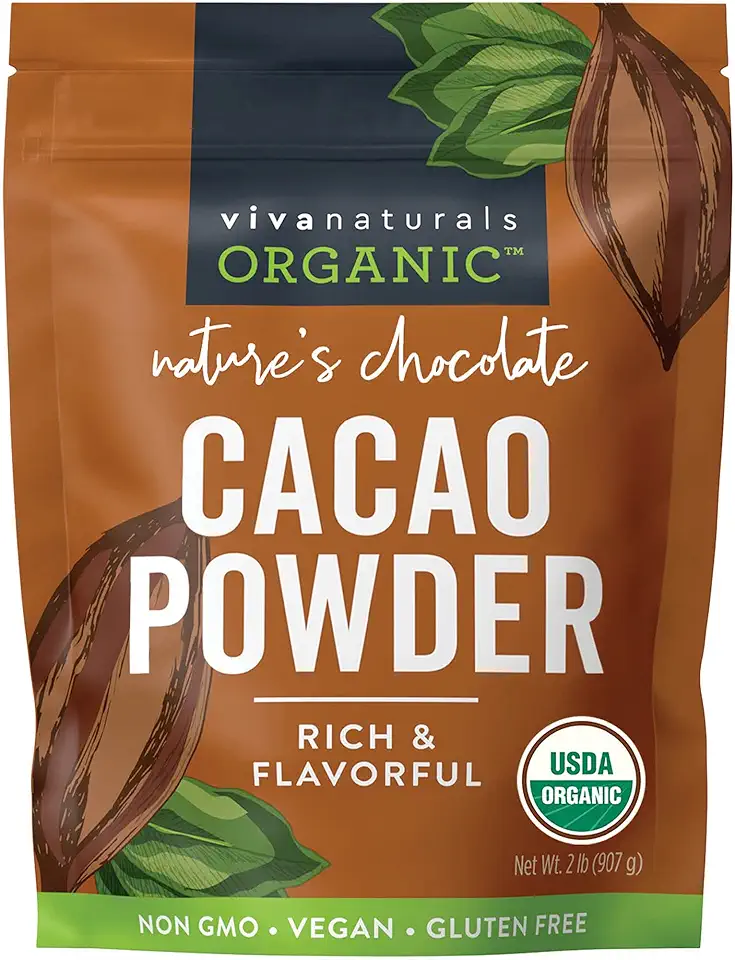 Viva Naturals Organic Cacao Powder, 2lb - Unsweetened Cocoa Powder With Rich Dark Chocolate Flavor, Perfect for Baking & Smoothies - Certified Vegan, Keto & Paleo, Non-GMO & Gluten-Free, 907 g
$20.49
View details
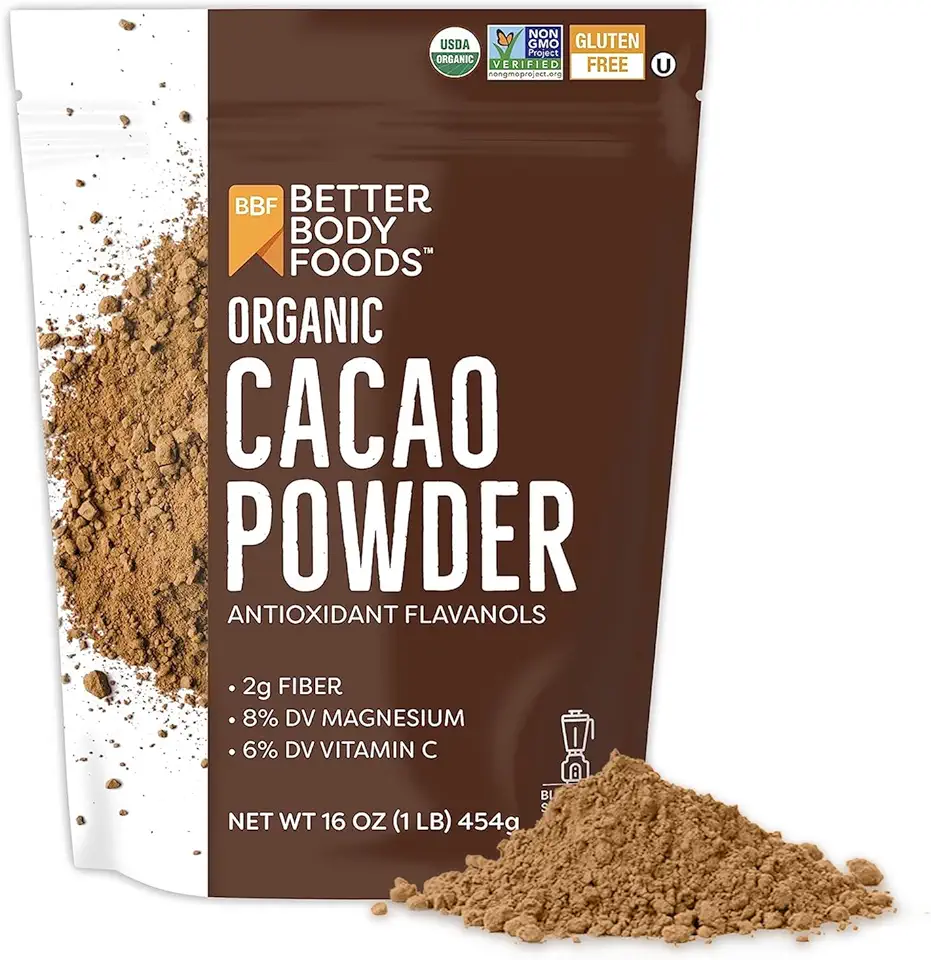 BetterBody Foods Organic Cacao Powder, Rich Chocolate Flavor, Non-GMO, Gluten-Free, Cocoa, 16 ounce, 1 lb bag
$10.41
View details
For Decoration
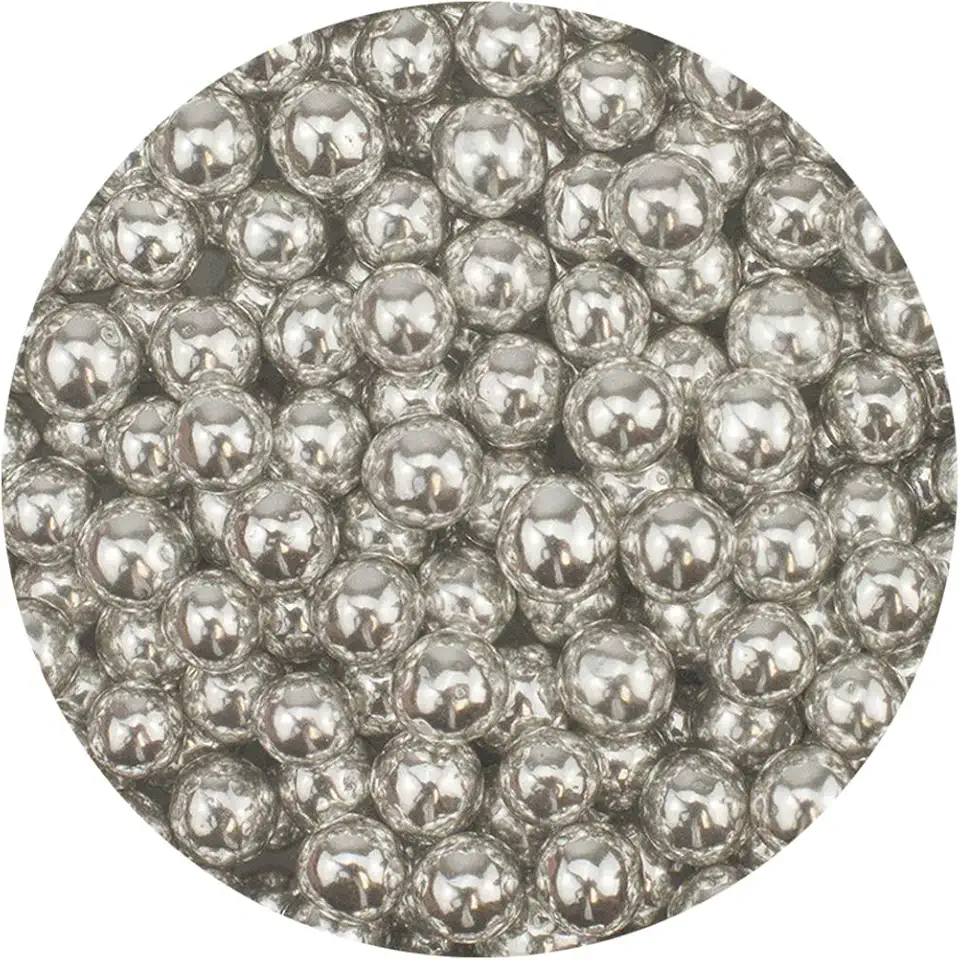 Celebakes by CK Products Silver Dragees 5mm, 3.7 oz.
$13.72
View details
Prime
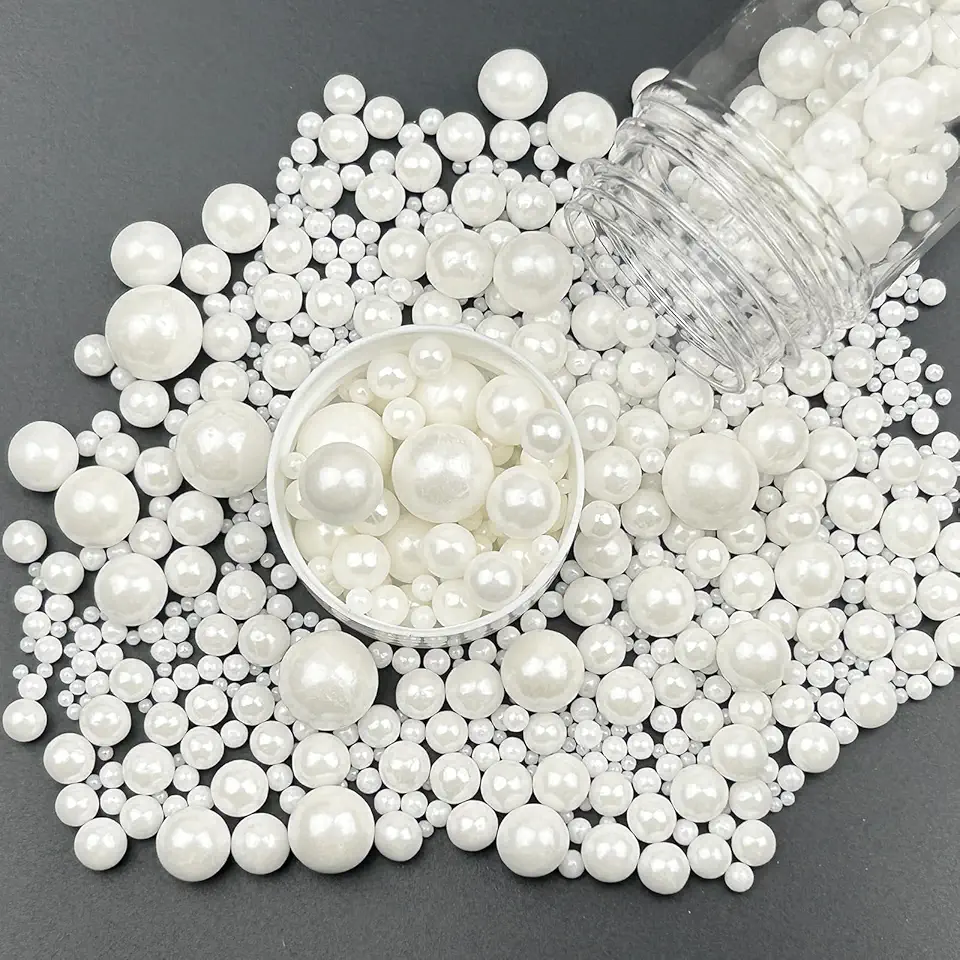 LEBERY Edible Pearl Sugar Sprinkles Candy Pearls Sprinkle White Sprinkles Mix Size 130g/4.58 Oz White Ball Sprinkles Edible Wedding Baking Cake Sprinkle Ice Cream Topping Birthday Chirstmas Supplies
$8.99
View details
Prime
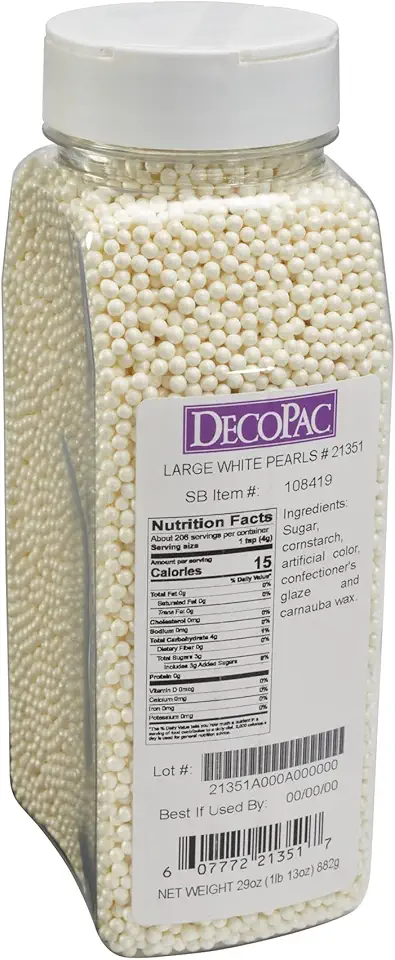 DecoPac White Pearl Grand Nonpareils, Fancy Sprinkles in Handheld Container, Edible Sprinkles For Celebration Cakes, Cupcakes, Cookies and Donuts, 30 Ounces, (21351)
$18.50
View details
Instructions
Step 1
Start by beating the *softened butter* with a *pinch of salt* and *powdered sugar* until light and fluffy. Add in the *egg yolk* and continue to beat until well combined.
Step 2
In a separate bowl, combine the *sifted all-purpose flour*, *cocoa powder*, and *baking powder*. Mix them well.
Step 3
Gradually add the *flour mixture* to the *butter mixture*. Knead the ingredients gently to form a soft but non-sticky dough.
Step 4
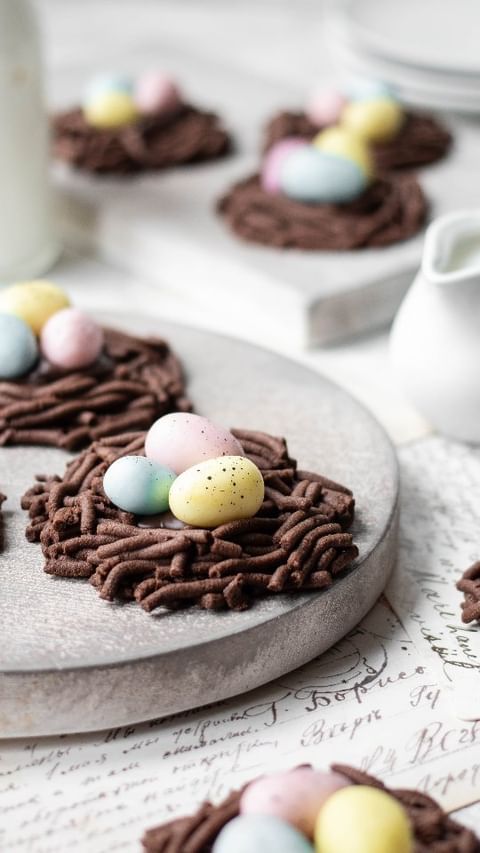
Using a *garlic press*, press the dough to create nest shapes. Press the center of each "nest" with a cap or another round object to create an indentation.
Step 5
Place the shaped nests in the refrigerator for *30 to 40 minutes* to firm up.
Step 6
Preheat your oven to *180°C (356°F)*. Bake the nests for *15 minutes*. Allow them to cool completely.
Step 7
Fill the center of each cooled nest with *nut paste* or *melted chocolate*. Decorate with *candy dragees* shaped like eggs for a festive touch.
Servings
Serve up some creativity with these Easter Nest Cookies! Place them in a woven basket lined with decorative paper and watch the smiles unfold 🌸. These cookies make charming gifts - simply wrap them in a clear plastic bag, tie with a pastel ribbon, and add a handwritten note for a personal touch 🎀. Or, why not create a beautiful Easter dessert platter with these cookies as the star of the show? Surround them with colorful chocolate eggs and a few sprigs of fresh mint for an added burst of color and minty aroma. Such thoughtful presentation makes these a delightful addition to any Easter brunch or gathering.
Equipment
Efficient for creaming butter, sugar, and egg yolk. Make sure to use a low speed to avoid overmixing, which can affect the texture.
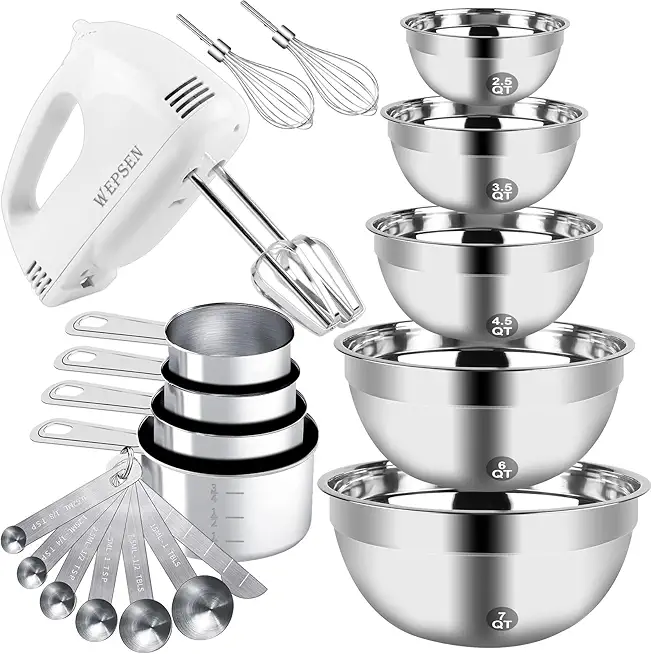 Hand Mixer Electric Mixing Bowls Set, 5 Speeds Handheld Mixer with 5 Nesting Stainless Steel Mixing Bowl, Measuring Cups Spoons 200W Kitchen Blender Whisk Beater Baking Supplies For Beginner
$40.99
View details
Prime
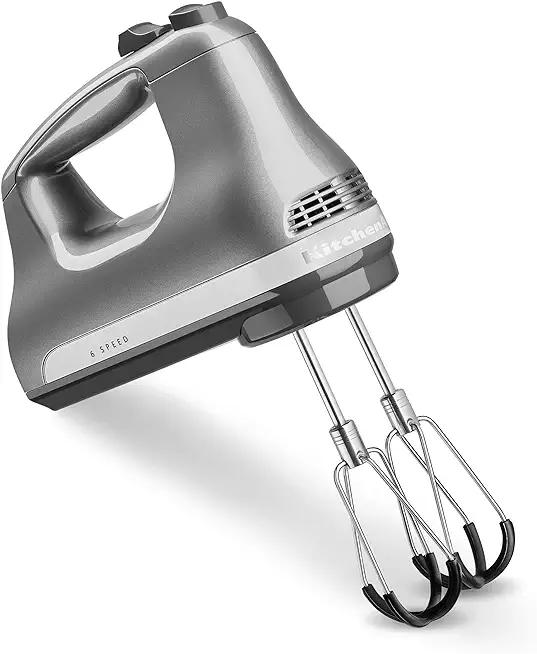 KitchenAid 6 Speed Hand Mixer with Flex Edge Beaters - KHM6118
$79.95
View details
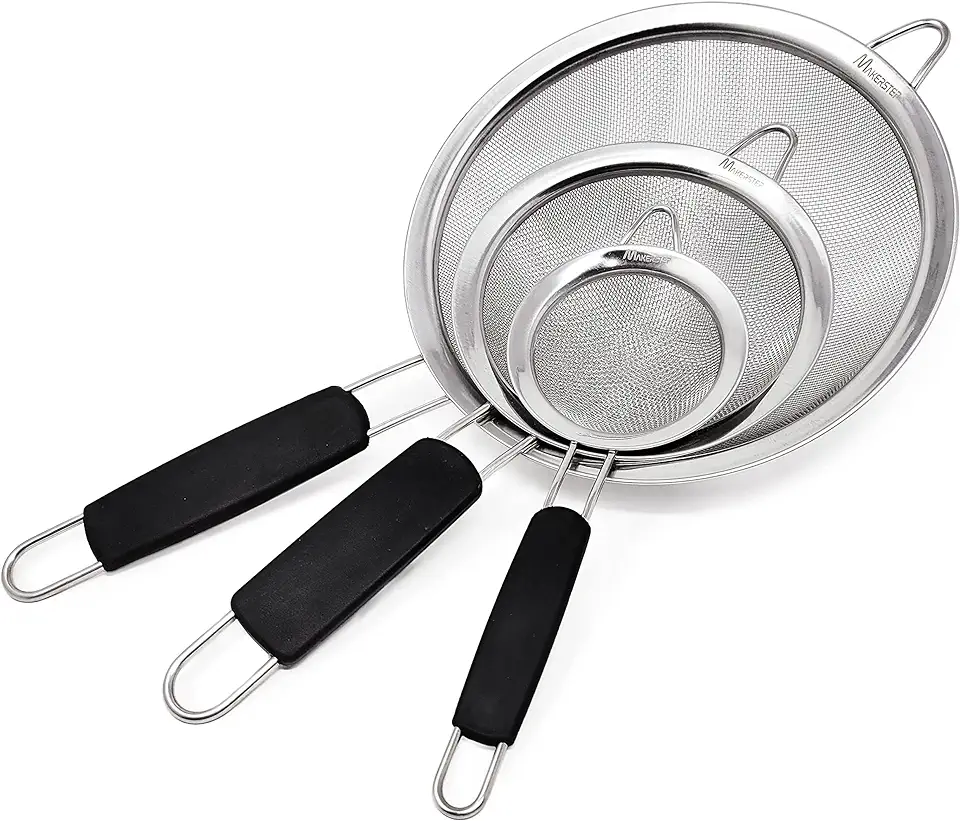
Essential for sifting flour and cocoa together. This prevents lumps and ensures a smooth dough.
A unique tool repurposed here to shape the nests. Clean it thoroughly to prevent any lingering garlic flavors!
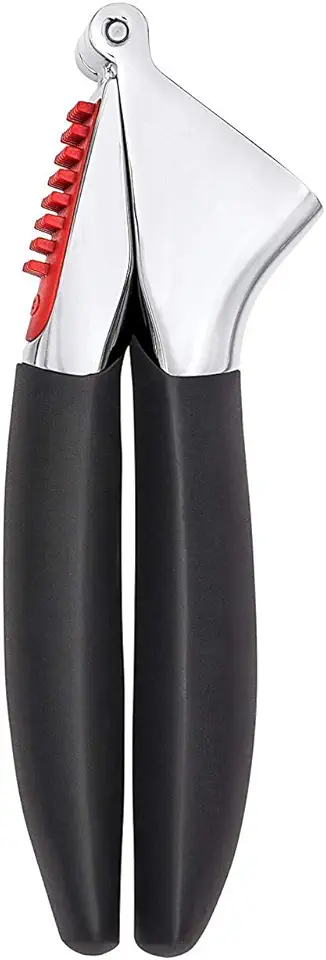 OXO 11107400 Black Dishwasher Safe Garlic Press, Large-capacity, Efficient Hole Pattern, Built-in Cleaner, Die-cast Zinc Construction, Soft Comfortable Handles
$26.99
View details
Prime
 Garlic Press Stainless Steel with Two Detachable Handles for Fine & Coarse Garlic, No Need to Peel Garlic Mincer Tool, Garlic Masher + Presser in One Tool, Garlic Crusher with 5-Year Warranty
$49.99
View details
Prime
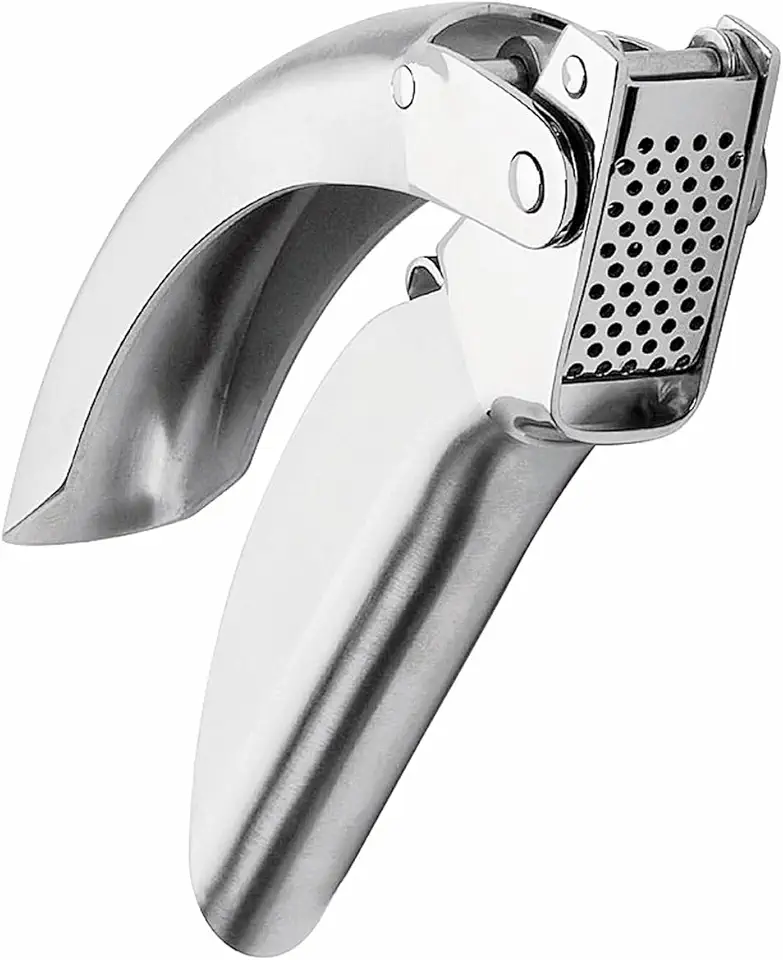 Kuhn Rikon Epicurean Garlic Press, Stainless Steel, 6.5 x 1 x 1.5 inches, Silver
$54.00
View details
Line it with parchment for easy cleanup. Keeps cookies from sticking and aids in even baking.
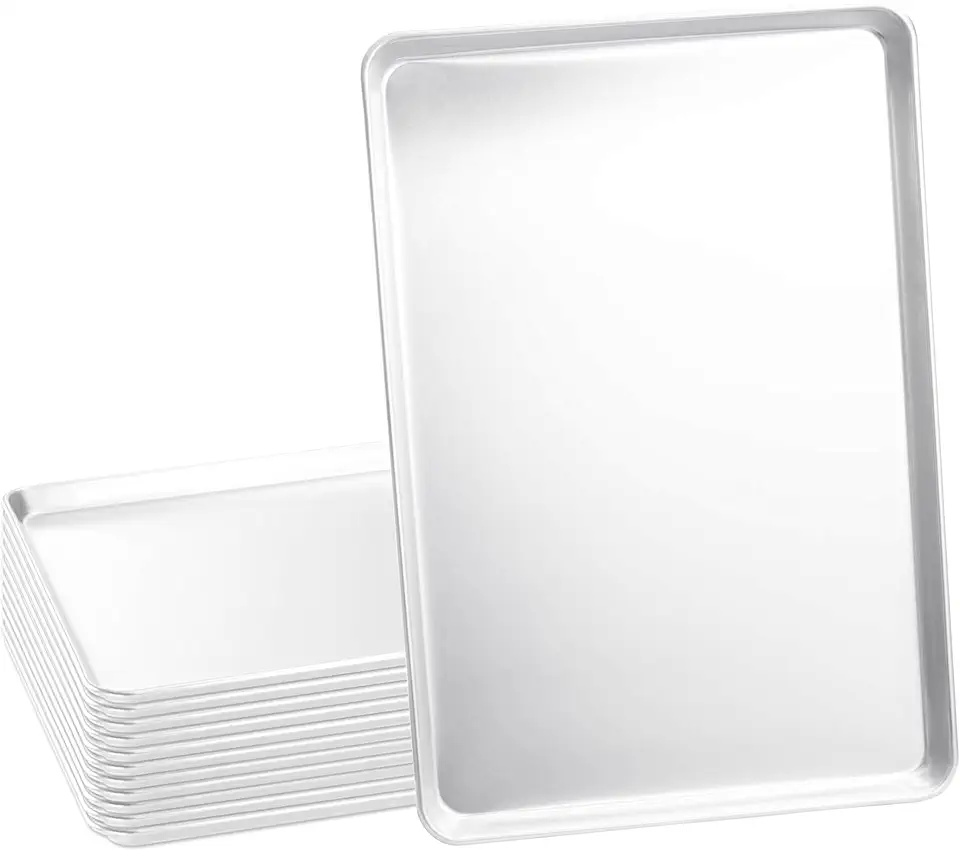 Tiger Chef Full Size 18 x 26 inch Aluminum Sheet Pan Commercial Bakery Equipment Cake Pans 19 Gauge 12 Pack
$134.99
View details
Prime
best seller
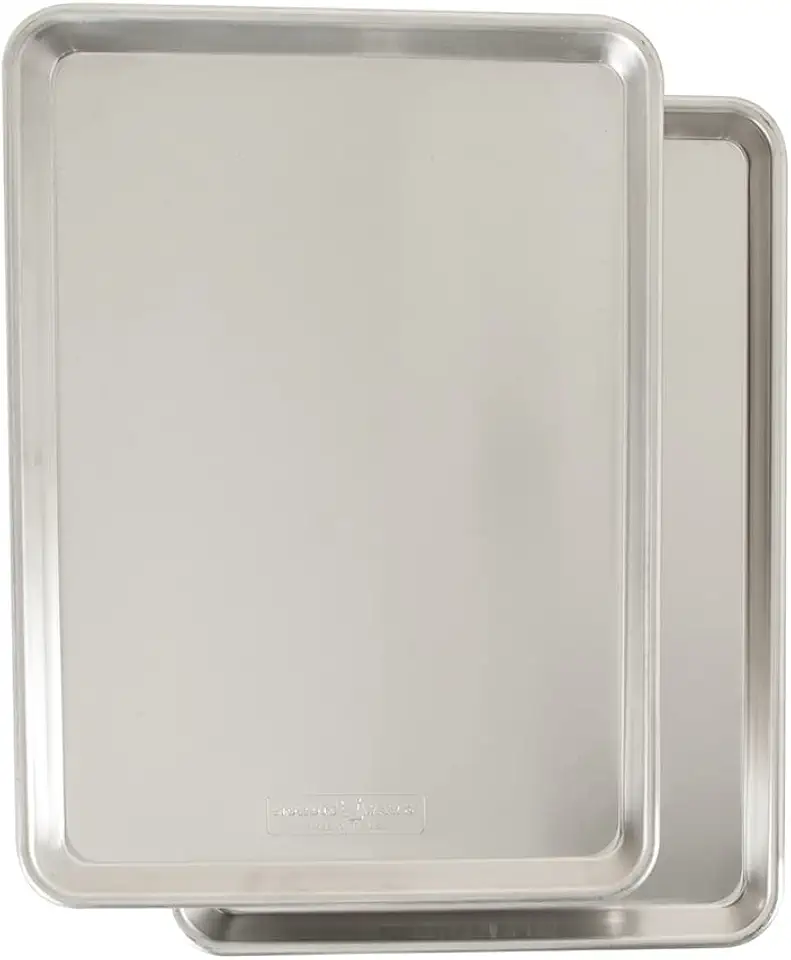 Nordic Ware Naturals Half Sheet, 2-Pack, Natural
$37.80
View details
Prime
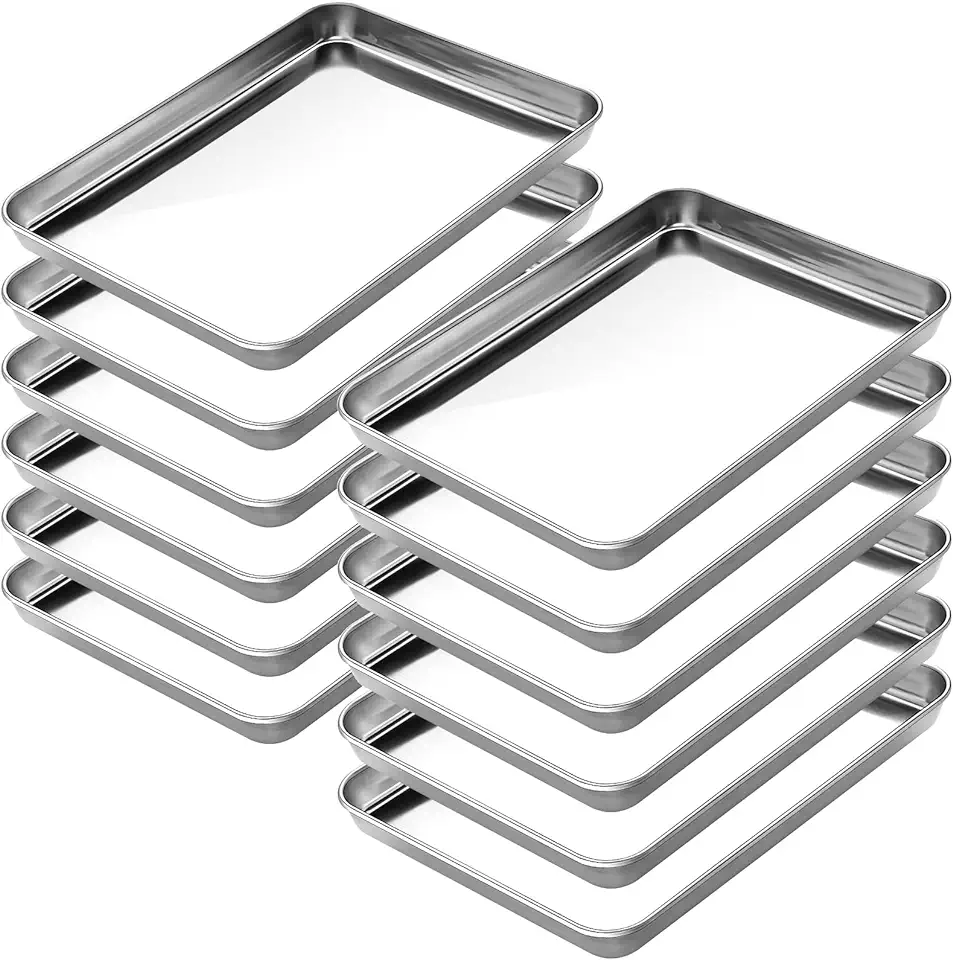 CEKEE Baking Sheet Set of 12, Stainless Steel 16 Inche Cookie Sheets for Baking, Baking Sheet Pan Toaster Oven Tray, Jelly Roll Pan, Warp Resistant & Heavy Duty, Size 16 x 12 x 1 Inches
$67.99
View details
Chill the dough to firm up the nests, making sure they hold their shape during baking.
 2 Door 49 Cu.Ft Commercial Refrigerator Dynamic Cooling OmniSmart Temperature Control 33℉~41℉ Stainless Steel Reach In 6 Shelves 54" W Commercial Refrigerator LED Light Digital Thermostat
$2499.00
View details
![KoolMore KM-MDR-1D-6C 6 Cu. Ft. Commercial One Glass Door Display Upright Beverage Refrigerator Cooler Merchandiser-22.8 in. x 21.4 in. x 52.7 in. [Black] KoolMore KM-MDR-1D-6C 6 Cu. Ft. Commercial One Glass Door Display Upright Beverage Refrigerator Cooler Merchandiser-22.8 in. x 21.4 in. x 52.7 in. [Black]](https://1mincake.azureedge.net/affiliate/B0C86JGM58.jpg) KoolMore KM-MDR-1D-6C 6 Cu. Ft. Commercial One Glass Door Display Upright Beverage Refrigerator Cooler Merchandiser-22.8 in. x 21.4 in. x 52.7 in. [Black]
$696.93
View details
KoolMore KM-MDR-1D-6C 6 Cu. Ft. Commercial One Glass Door Display Upright Beverage Refrigerator Cooler Merchandiser-22.8 in. x 21.4 in. x 52.7 in. [Black]
$696.93
View details
 KoolMore CDC-165-WH 35 in. Self-Service Countertop Bakery Display Refrigerator in White
$1194.19
View details
Variations
For those seeking a gluten-free option, substitute the regular flour with a gluten-free flour blend. Ensure the blend contains a binder like xantham gum for structural integrity.
To make them vegan, replace the butter with a plant-based butter alternative and the egg yolk with a flax egg (1 tablespoon ground flaxseed mixed with 2.5 tablespoons of water). 🥥🌿
These adjustments keep the festivities going for everyone, without compromising on taste or fun!
Faq
- Why is my dough too sticky?
Chances are, the butter was too soft or extra flour is needed. Just add a tablespoon of flour at a time until it's manageable without being sticky.
- Can I use regular sugar instead of powdered?
Powdered sugar dissolves more easily in the butter, creating a smoother texture. Regular sugar might create a grainier feel but can work in a pinch.
- How can I prevent my cookies from spreading too much?
Ensure the dough is properly chilled before baking. If the kitchen is warm, pop the tray of shaped cookies in the fridge for a bit before baking.
- What if my nests lose their shape during baking?
Use a rounded object to press the center immediately after baking while they’re still warm to redefine the shape.
- Can I flavor the cookie dough?
Absolutely! Consider adding a teaspoon of vanilla extract or a pinch of cinnamon to enhance the flavor.
- How do I store these cookies?
Place them in an airtight container at room temperature for up to a week. They can also be frozen for up to three months; simply thaw them at room temperature before serving.

