Ingredients
Ingredients
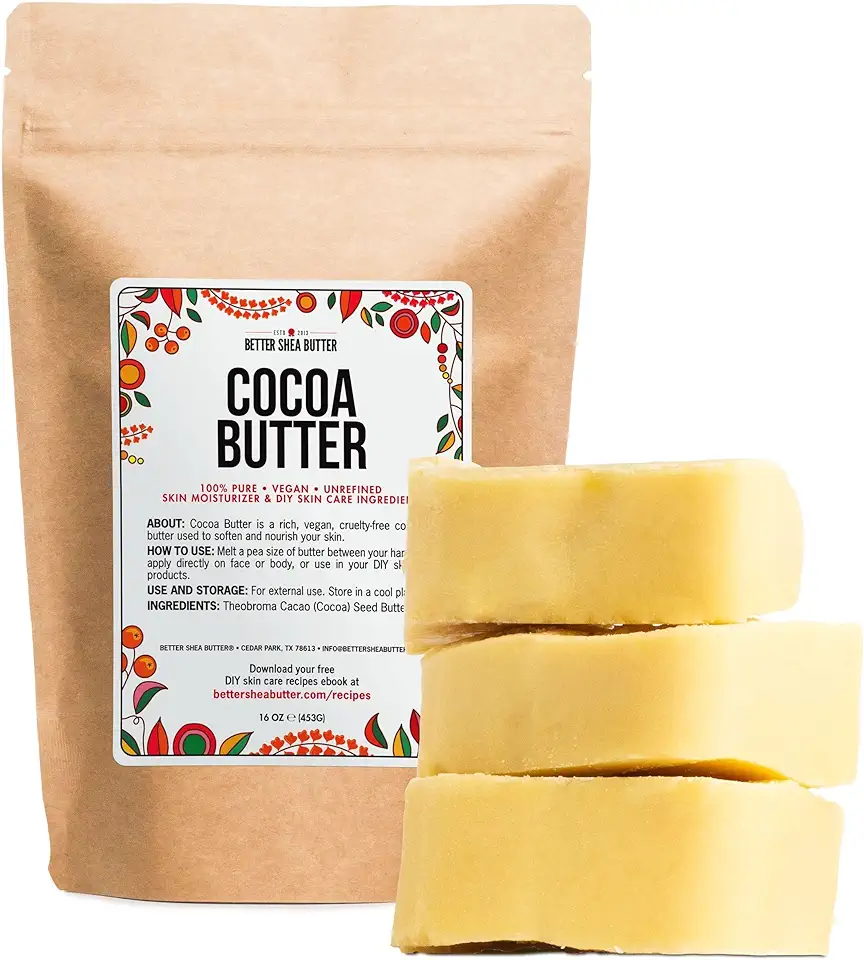 Better Shea Butter Raw Cocoa Butter - Unrefined, 100% Pure, Food Grade - Use for Cocoa Lip Balm, Stretch Marks Cream, Cacao Butter Cream, Scars Oil, Whipped Lotion - Skin & Hair Moisturizer 1LB Block
$49.50
View details
Prime
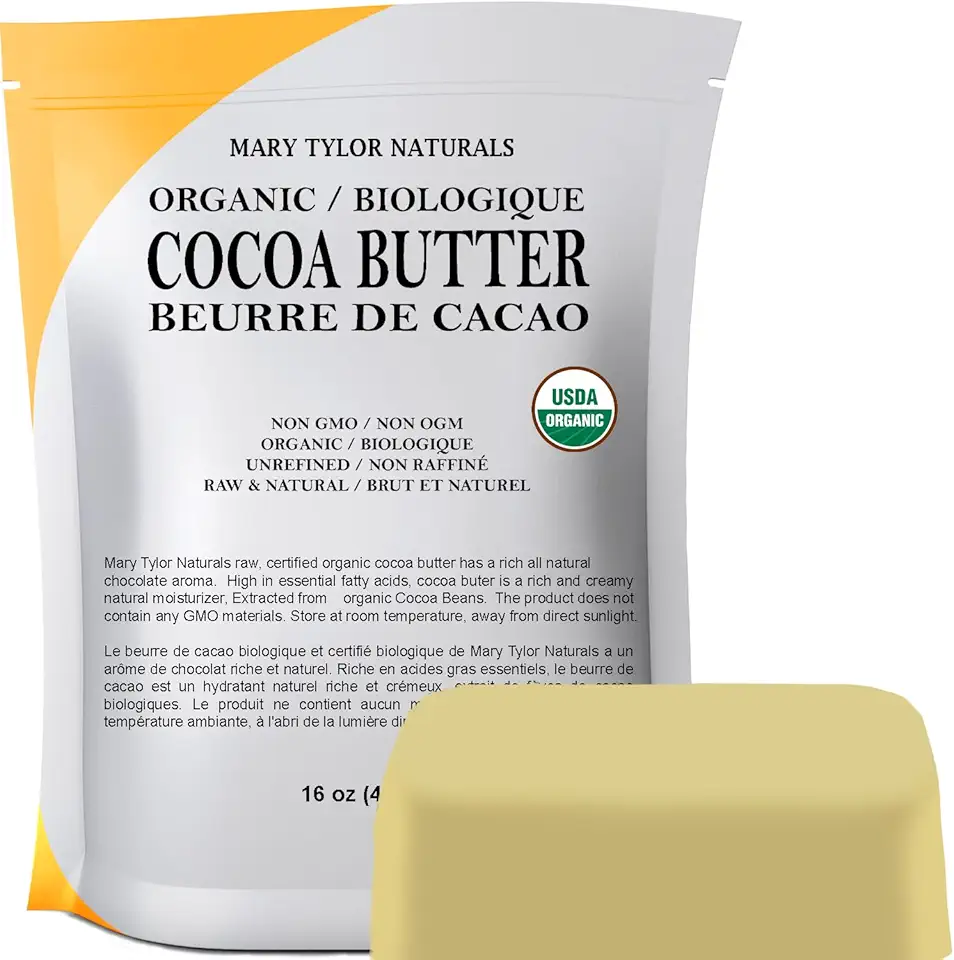 Mary Tylor Naturals Organic Cocoa Butter 1 lb — USDA Certified Raw Unrefined, Non-Deodorized, Rich In Antioxidants — for DIY Recipes, Lip Balms, Lotions, Creams, Stretch Marks
$27.95
View details
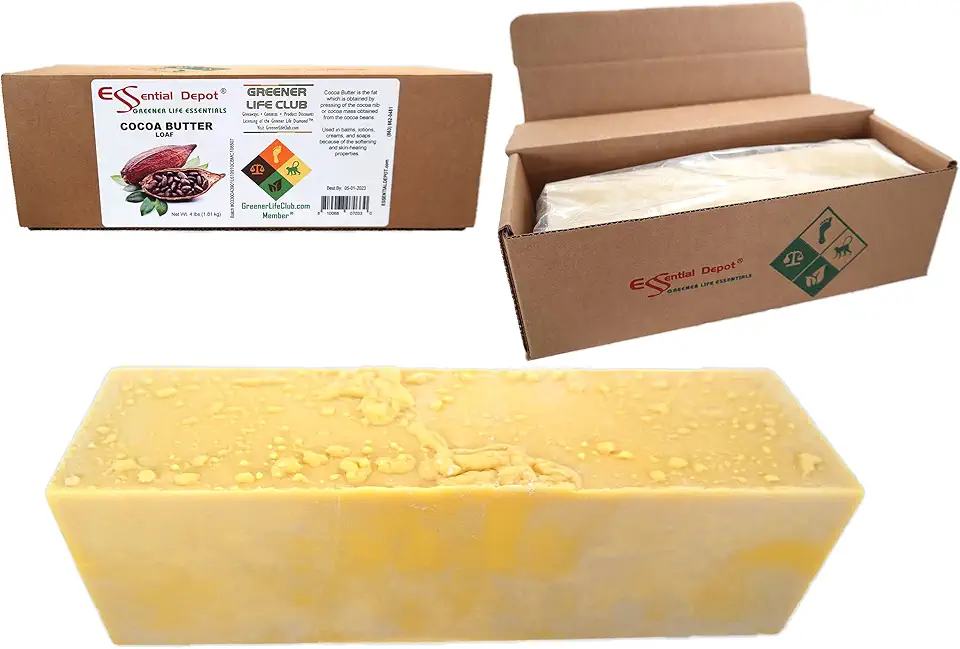 Essential Depot Cocoa Butter - Raw - Unrefined - 100% Pure - Natural Cocoa Scent - 4 lbs - Used in Creams, Lotion Bars and Sticks, Lip Balms, Body Butters and many other skin care products
$64.97
View details
Instructions
Step 1
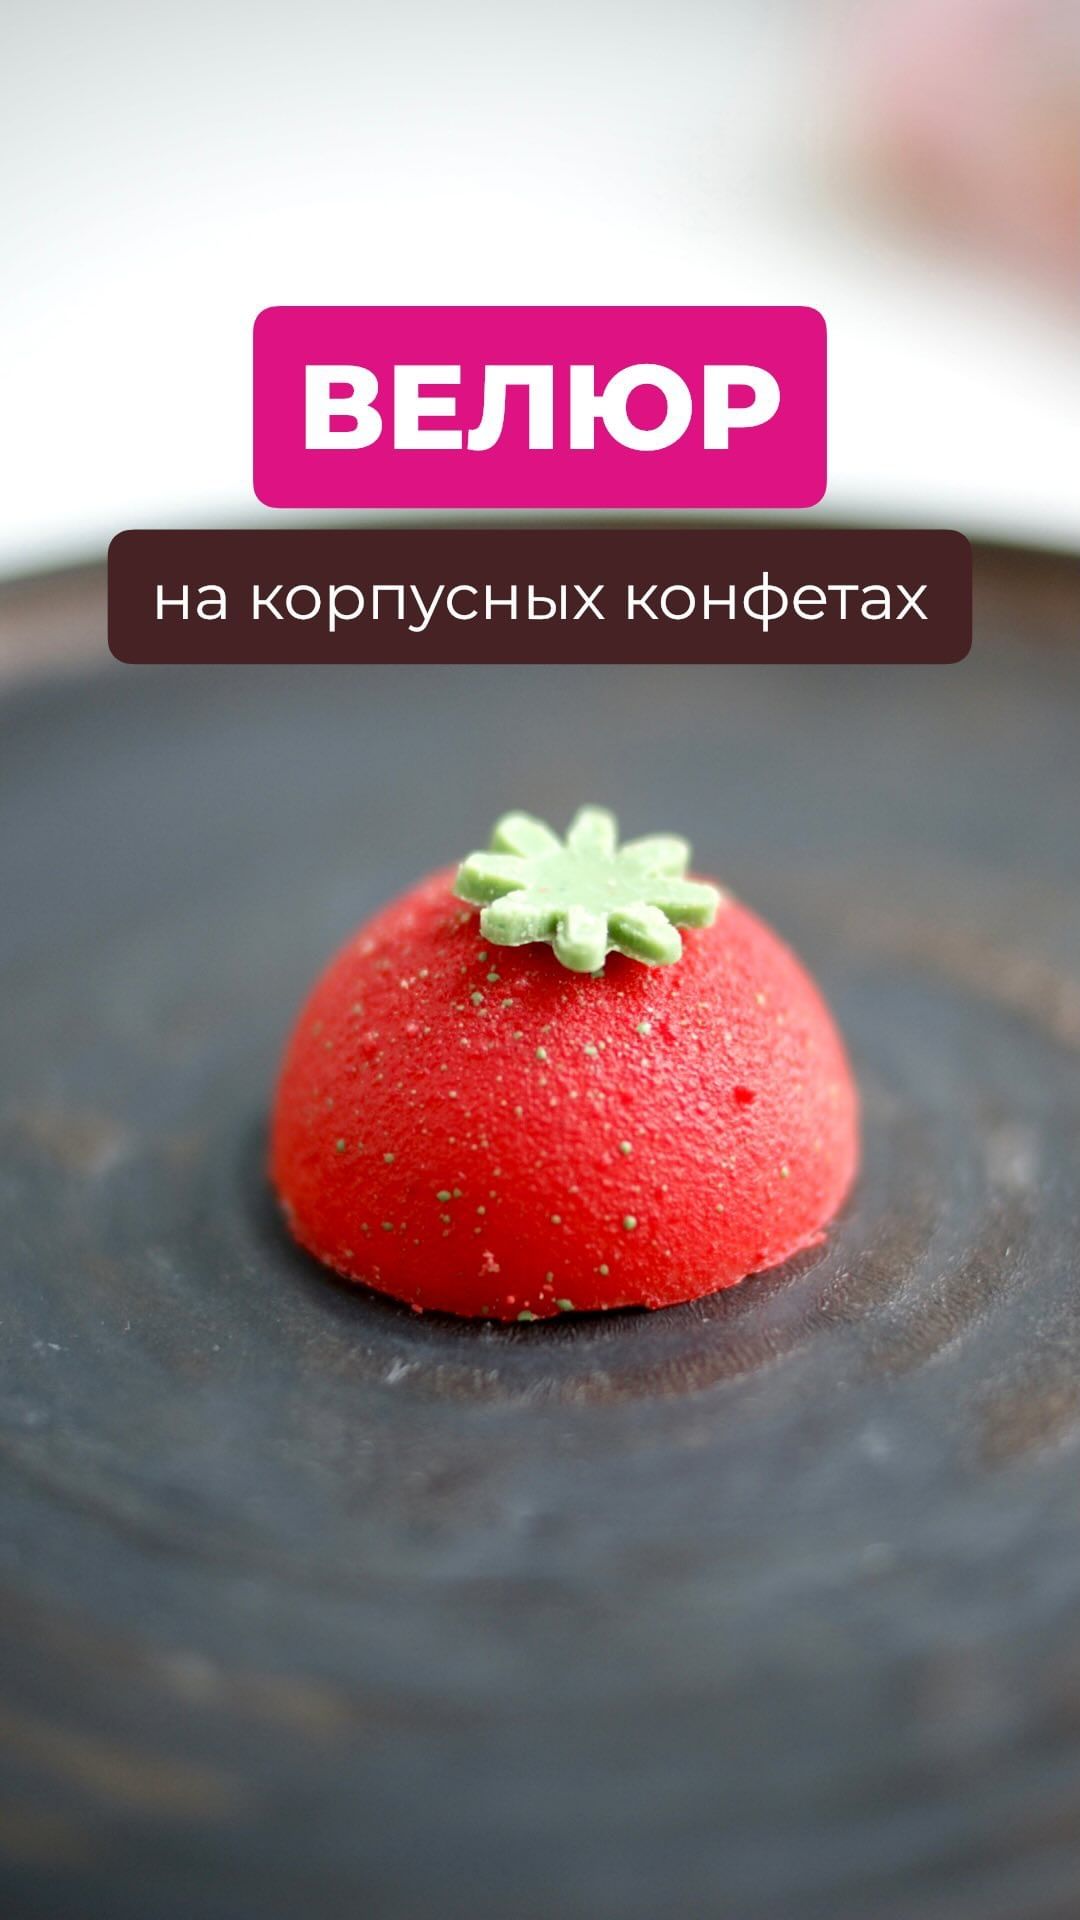
Arrange the candies on a flat surface covered with either plastic wrap or parchment paper, ensuring they are spaced apart.
Step 2
To ensure the coating adheres as fine crumbs rather than streaks, pre-chill the candies in the freezer for *1 minute*.
Step 3
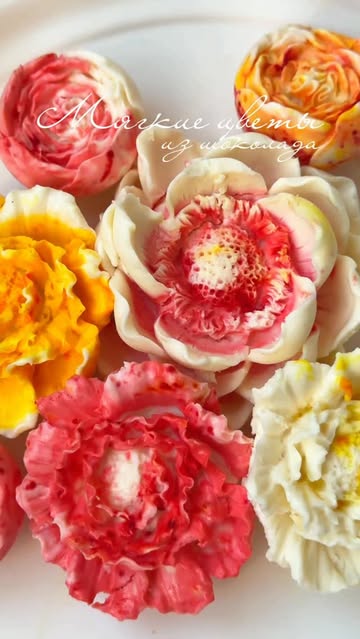
Mix the cocoa butter and chocolate in a *1:1 ratio*. For a colored coating, use *white chocolate* and color it with a fat-soluble dye.
Step 4
Ensure the velour mixture temperature does not exceed *35°C (95°F)*. Do not aim the airbrush at one spot for too long to avoid creating streaks. It's preferable to make several passes but avoid overdoing it to prevent creating a thick layer of coating.
Step 5
After coloring, allow the candies to stabilize with the coating to avoid damaging it when moving the candies.
Servings
Ready to share your beautifully coated chocolates? Here are some tips to make your presentation as stunning as your creation:
🎉 Party Perfect: Arrange your candies on a tiered dessert stand for a show-stopping centerpiece. Add sparkle with edible glitter or gold leaf for extra pizazz.
💝 Gift-Worthy: Place your confections in a luxury candy box with a clear lid and a satin ribbon. Consider adding a personalized note for a heartfelt touch.
👨👩👧👦 Family Fun: Make it a family affair! Have an assortment of toppings like crushed nuts, sprinkles, and drizzle for a fun, customizable treat night.
🍽️ Elegant Dining: Serve these beauties on a fine china plate with a drizzle of raspberry coulis or a mint garnish for an elegant finish to a dinner party.
Equipment
Ensure your workspace is clean and level. Using a non-stick mat or parchment paper can help with easy cleanup and even spacing.
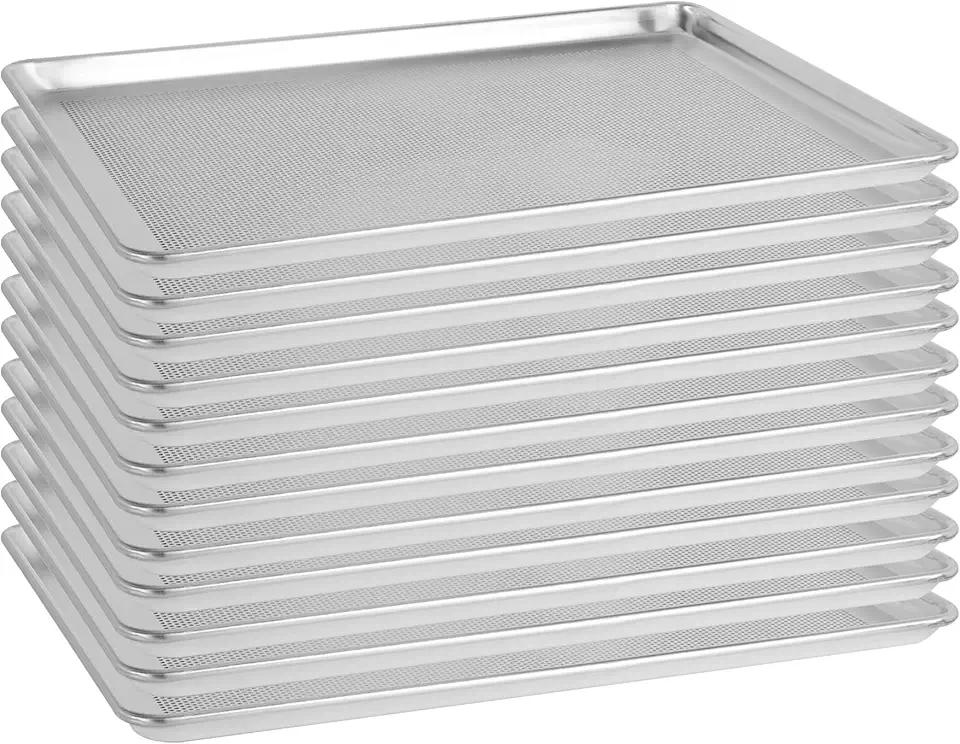 12 Pack Aluminum Sheet Pan Perforated,Full Size 18" x 26" Commercial Bakery Equipment Cake Pans,NSF Approved Baking Tray
$188.99
View details
Prime
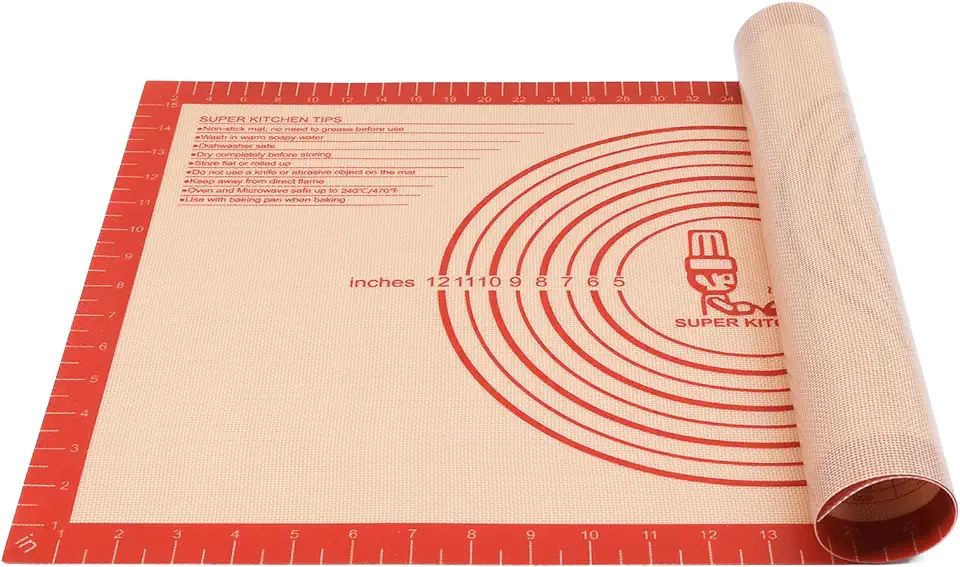 Non-slip Silicone Pastry Mat Extra Large with Measurements 16''By 26'' for Silicone Baking Mat, Counter Mat, Dough Rolling Mat,Oven Liner,Fondant/Pie Crust Mat By Folksy Super Kitchen Red
$11.99
$16.99
View details
Prime
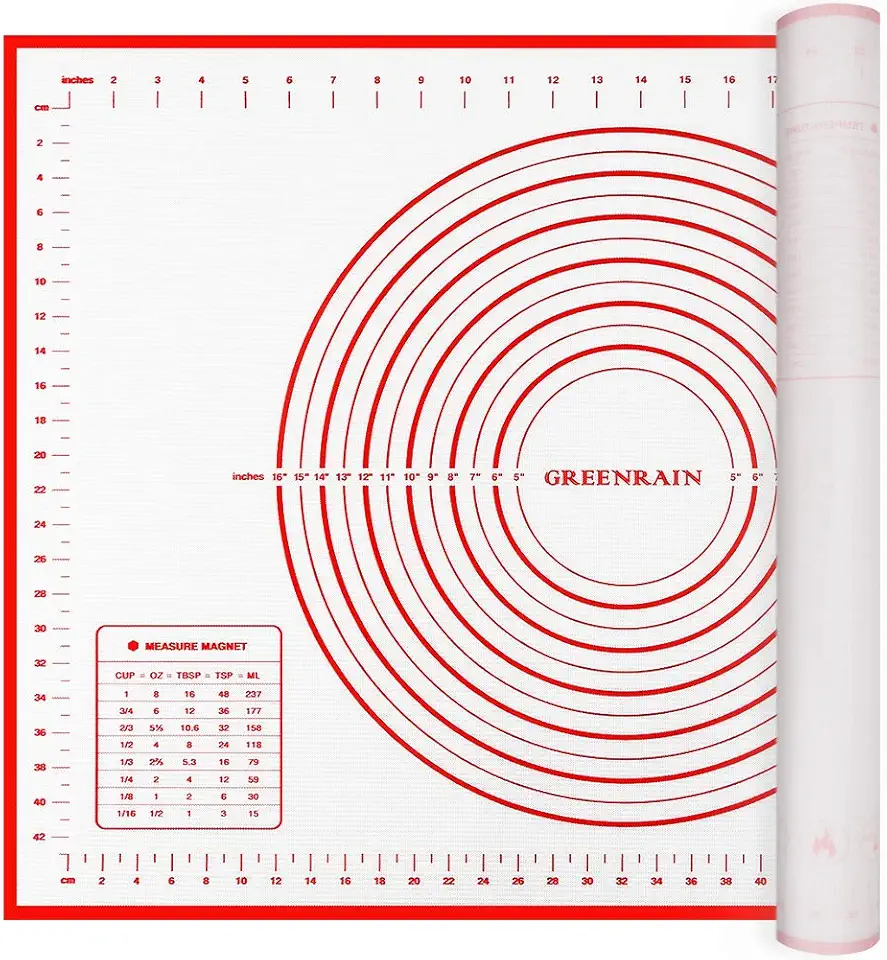 Extra Large Silicone Pastry Mat Extra Thick Non Stick Baking Mat with Measurement Fondant Mat, Counter Mat, Dough Rolling Mat, Oven Liner, Pie Crust Mat (20''(W) * 28''(L), Red)
$12.98
View details
Pre-chill your candies to help the chocolate mixture adhere better. A quick minute in the freezer is usually sufficient.
 48" W Commercial Refrigerator and Freezer Combo, 36 Cu.ft 2 Section Stainless Steel Solid Door Upright Reach in Freezer for Restaurant Bar Shop Kitchen Garage School Church ETL DOE Approved
$2899.99
View details
 48" W Commercial Refrigerator 2 Door, 36 Cu.ft Reach In Fan Cooling Commercial Refrigerator and Freezer Combo for Restaurant Kitchen Cafe School Garage Food Truck Church
$2799.99
View details
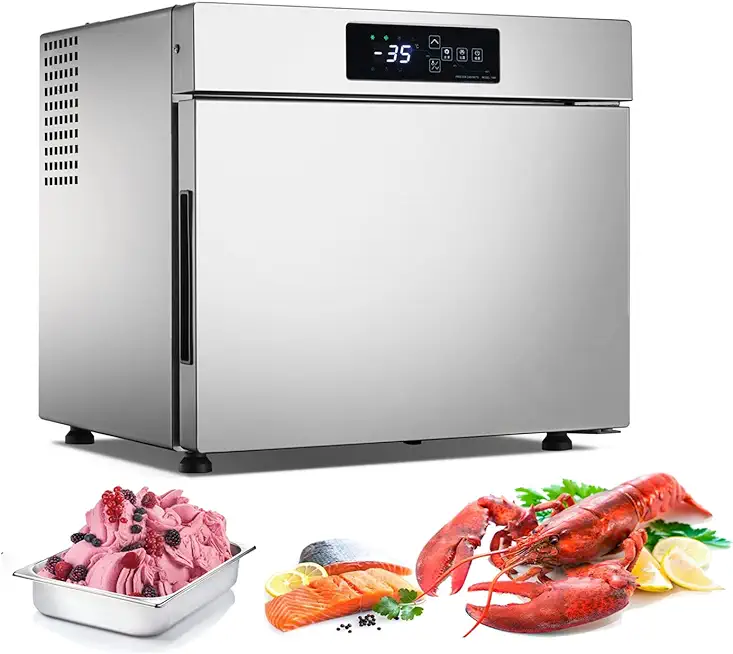 Kolice Commercial 32L Countertop Shock Freezing Blast Chiller & Freezer, Chest Freezer, Blast Freezer, Freezer Cabinets for ice cream, pastry, seafood, desserts, meat-Lowest Temperature -35C(-31°F)
$1880.00
View details
A perfect 1:1 ratio of cocoa butter and chocolate is essential for that velvety texture. Consider using white chocolate and oil-based colorants for a pop of color.
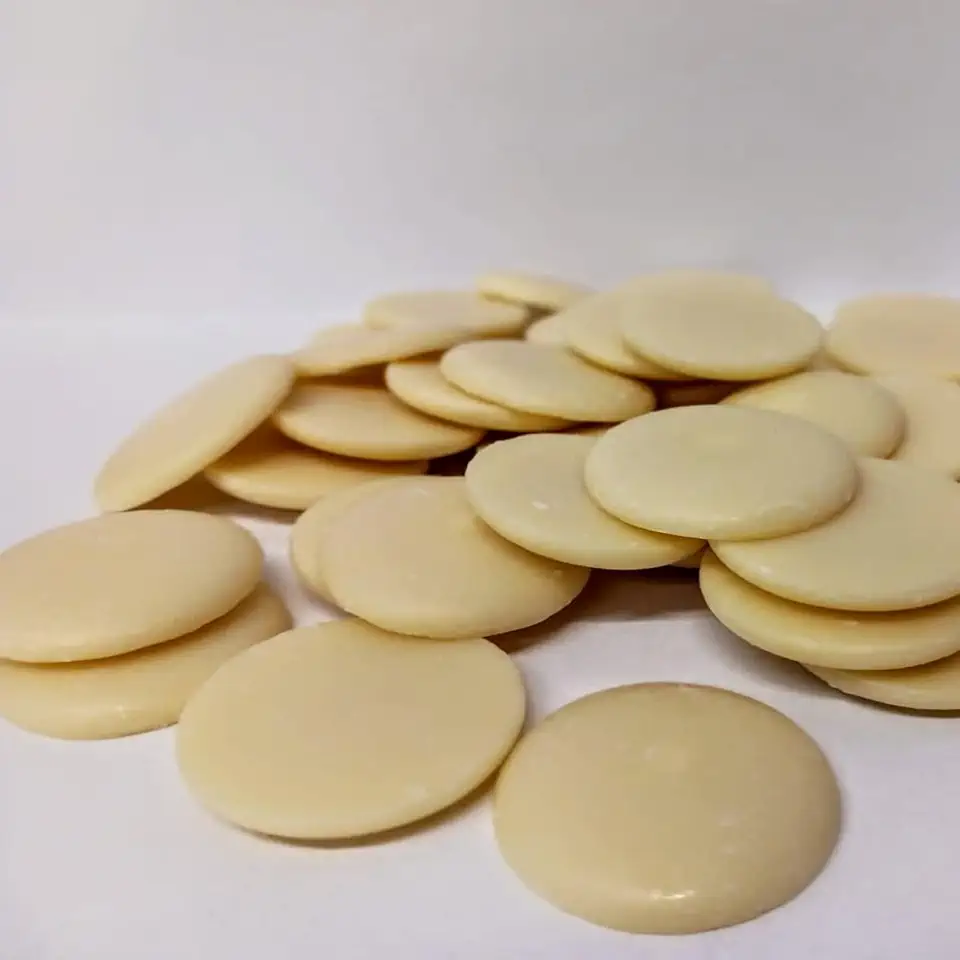 Raw Cocoa Butter Pure 100% Fresh (5 LB)
$115.00
$115.00
View details
Prime
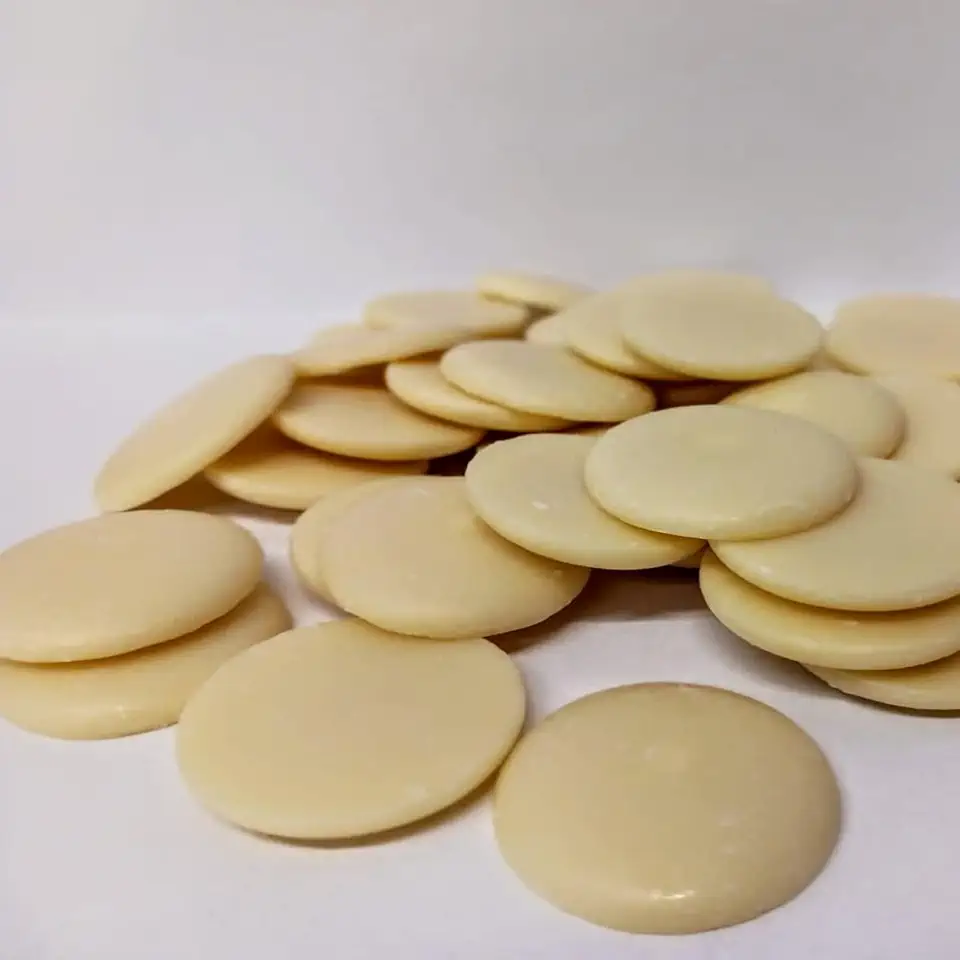 Raw Cocoa Butter Pure 100% Fresh (2 LB) by Caribbean Coastal Delights
$48.99
View details
Prime
 Walker’s All-Butter Salted Caramel & Milk Chocolate Chunk Shortbread - 9-Count Box - Authentic Shortbread Cookies from Scotland
$6.84
View details
Ensure the mixture is no hotter than 35°C to avoid melting your confections. An instant-read thermometer works wonders.
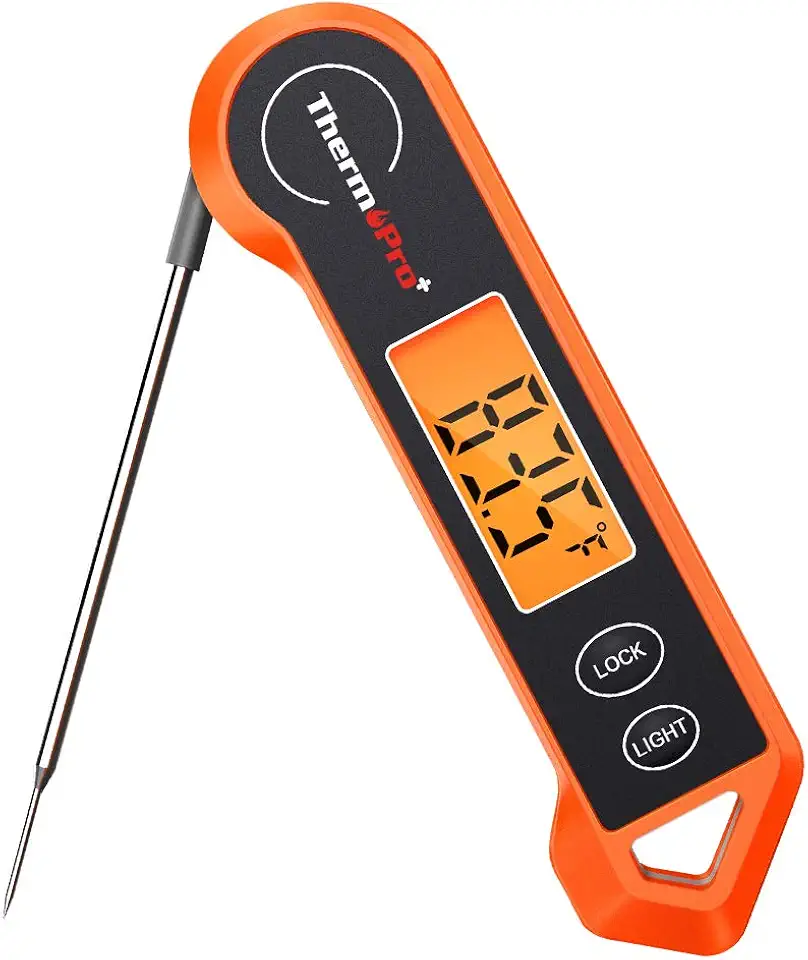 ThermoPro TP19H Digital Meat Thermometer for Cooking with Ambidextrous Backlit and Motion Sensing Kitchen Cooking Food Thermometer for BBQ Grill Smoker Oil Fry Candy Instant Read Thermometer
$16.99
$24.99
View details
Prime
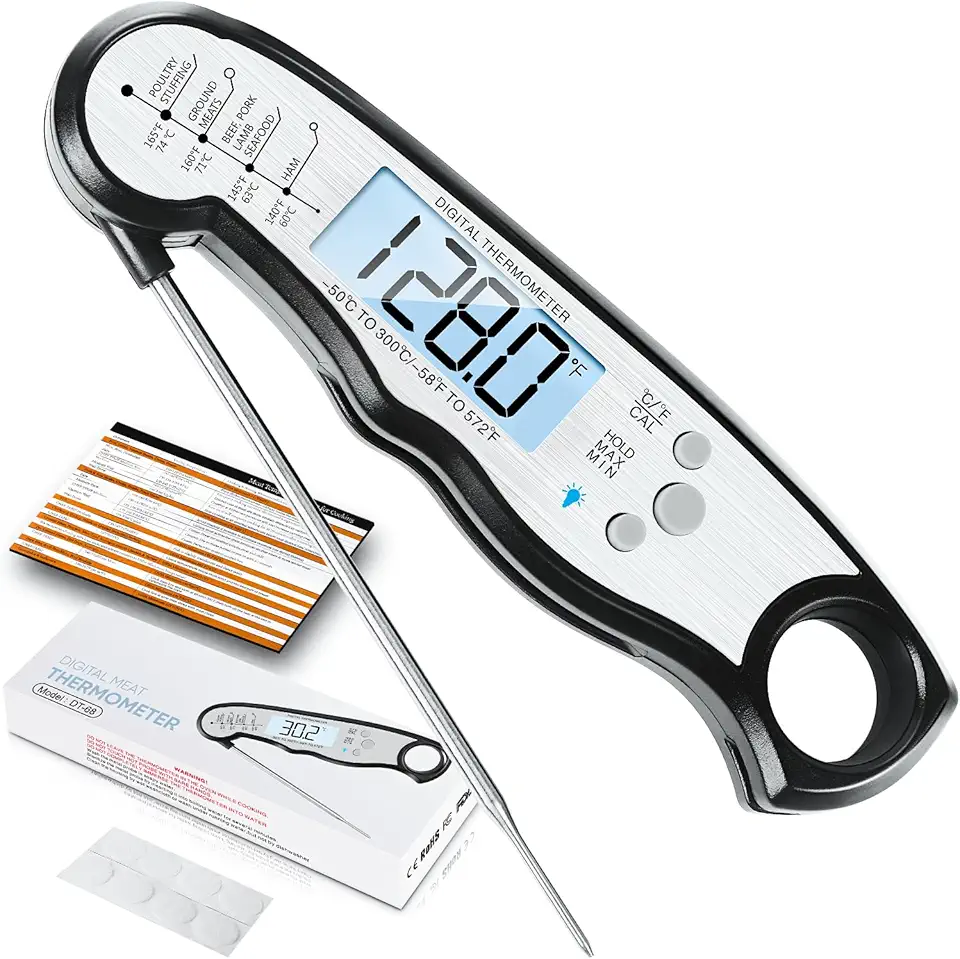 Digital Meat Thermometer, Waterproof Instant Read Food Thermometer for Cooking and Grilling, Kitchen Gadgets, Accessories with Backlight & Calibration for Candy, BBQ Grill, Liquids, Beef, Turkey…
$15.99
$31.99
View details
For even coatings, an airbrush is your best friend. Remember to spray lightly and evenly, making multiple passes if necessary to avoid drips.
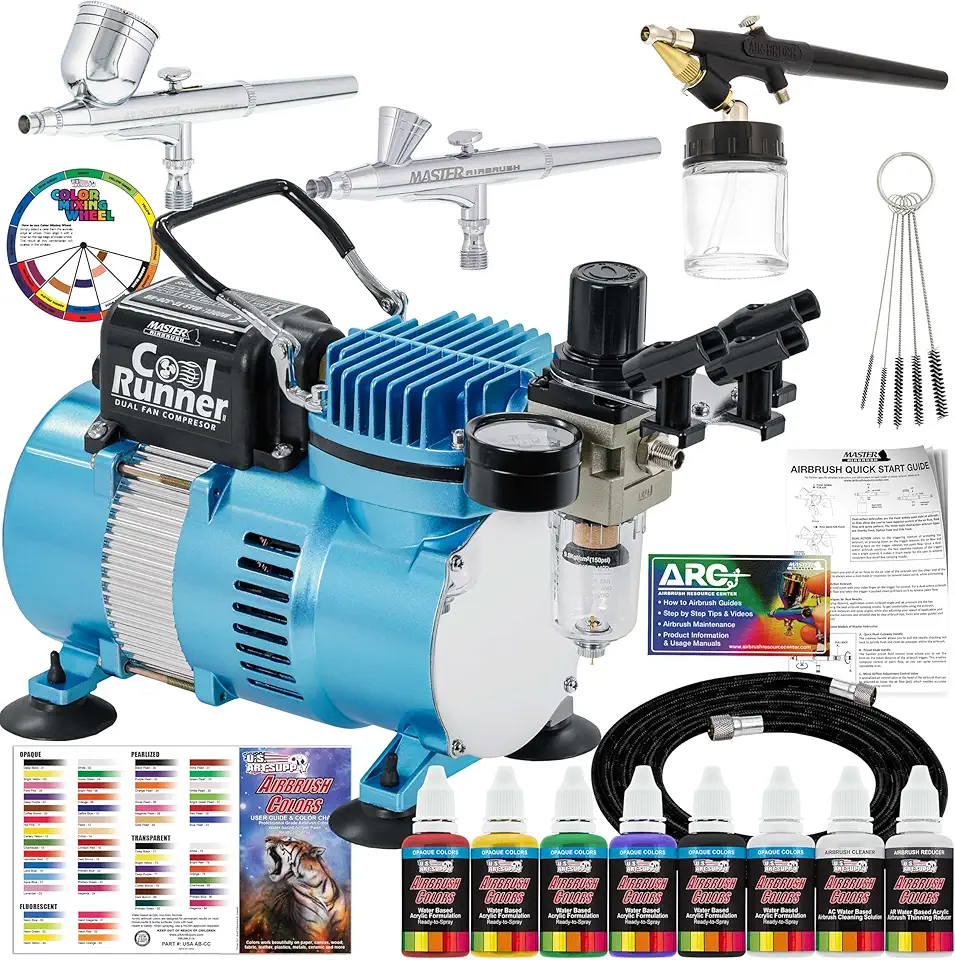 Master Airbrush Cool Runner II Dual Fan Air Compressor Professional Airbrushing System Kit with 3 Airbrushes, Gravity and Siphon Feed - 6 Primary Opaque Colors Acrylic Paint Artist Set - How to Guide
$149.99
$189.99
View details
Prime
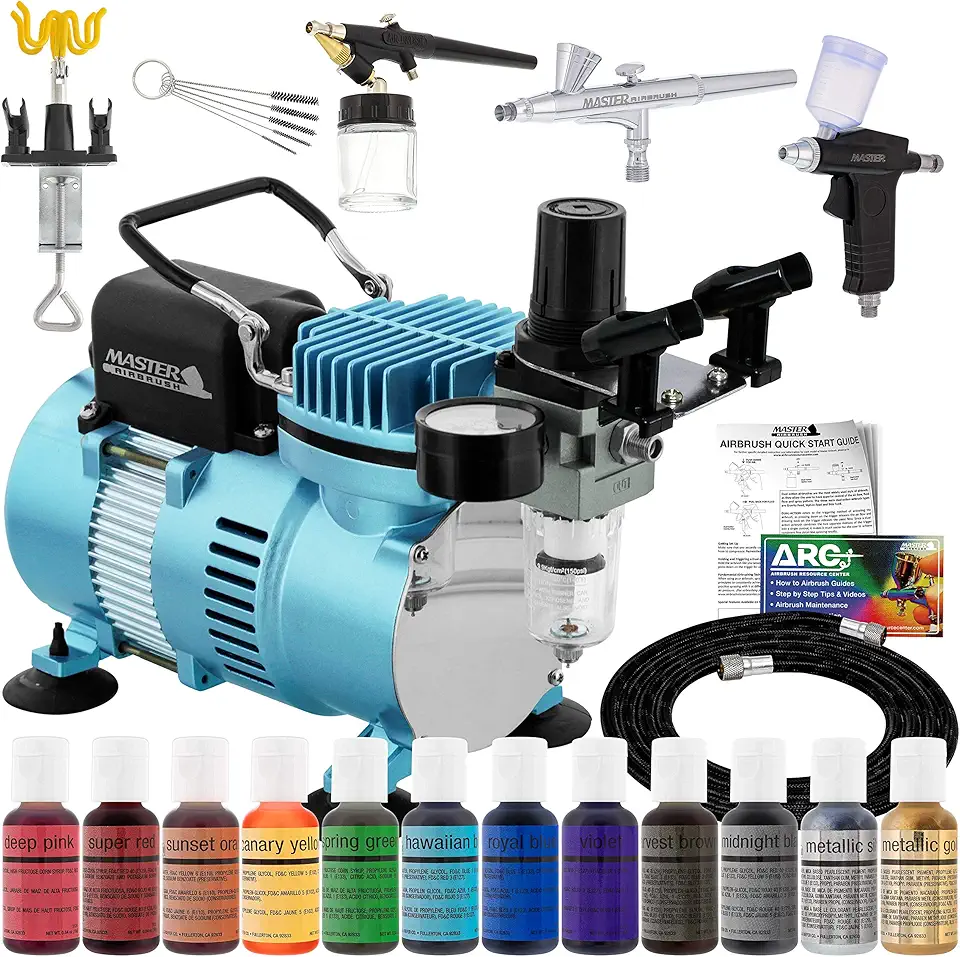 Master Airbrush Cool Runner II Dual Fan Air Compressor Pro Cake Decorating System Kit with 3 Airbrushes, Gravity and Siphon Feed, 12 Color Chefmaster Food Coloring Set - How-to Guide, Cupcake, Cookie
$176.99
View details
Prime
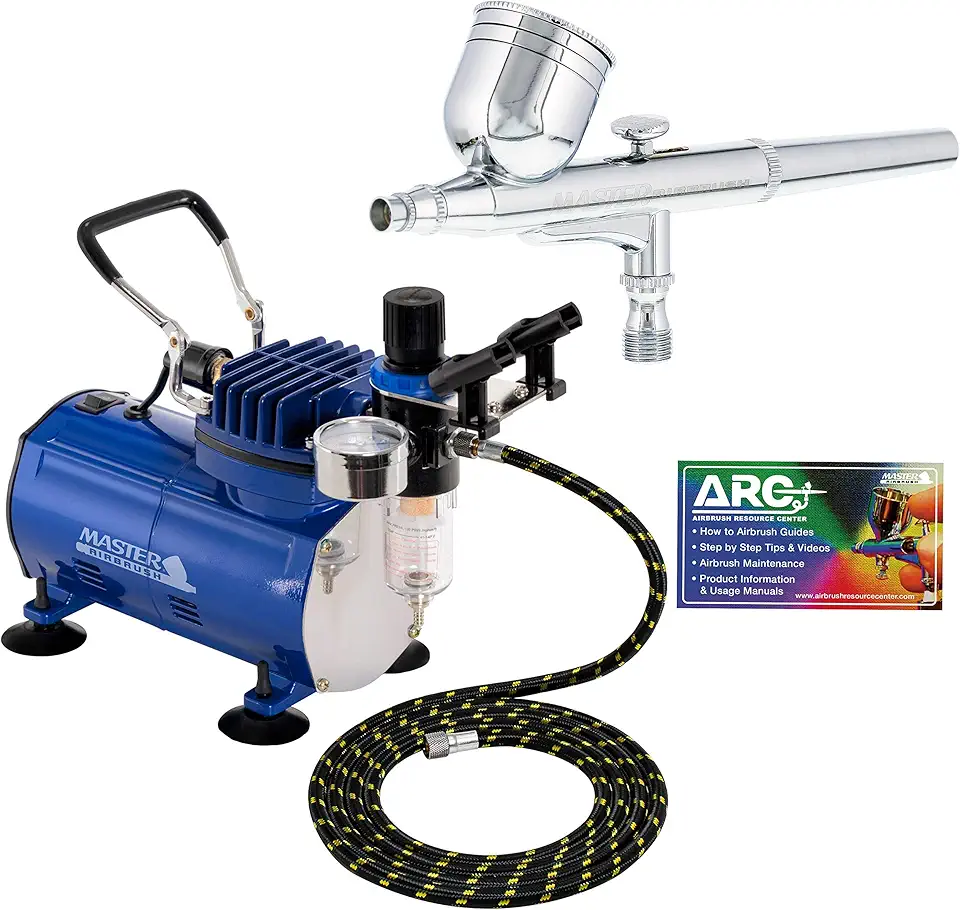 Professional Master Airbrush Multi-Purpose Gravity Feed Airbrushing System Kit - Model G22 Gravity Feed Dual-Action Airbrush with 1/3 oz. Fluid Cup and 0.3 mm Tip, Hose, Powerful 1/5hp Air Compressor
$99.99
View details
Variations
Looking to accommodate dietary preferences? Here are some suggestions:
🌾 Gluten-Free: Ensure all your ingredients, especially colorants and any added flavors, are certified gluten-free. Stick to high-quality, pure chocolates and cocoa butter.
🌱 Vegan: Use dairy-free chocolate and ensure your cocoa butter is plant-based. Colorants should be free from any animal-derived ingredients. Make your creations stand out without compromising on dietary needs!
Faq
- Why do my chocolate coatings have streaks?
This can happen if your mixture is too warm. Always check the temperature and ensure it remains below 35°C.
- Can I use regular food coloring?
No, it's best to use oil-based colorants to avoid seizing the chocolate.
- How can I avoid air bubbles in the coating?
Gently tap your chocolates after spraying to release any trapped air. You can also pass over them with the airbrush at a lower pressure to smooth things out.
- Any tips for storing coated chocolates?
Store them in an airtight container at a cool, stable temperature. Avoid the refrigerator if possible, as condensation can affect the coating.
- How do I clean my airbrush after use?
Run a mixture of warm water and a bit of dish soap through the airbrush, then rinse thoroughly with warm water. Make sure it's completely dry before storing.
- Can I make a large batch of the coating mixture?
Yes, but work in small batches to maintain the right temperature and consistency. You can store leftovers in an airtight container and gently reheat it for future use.

