Ingredients
Decoration
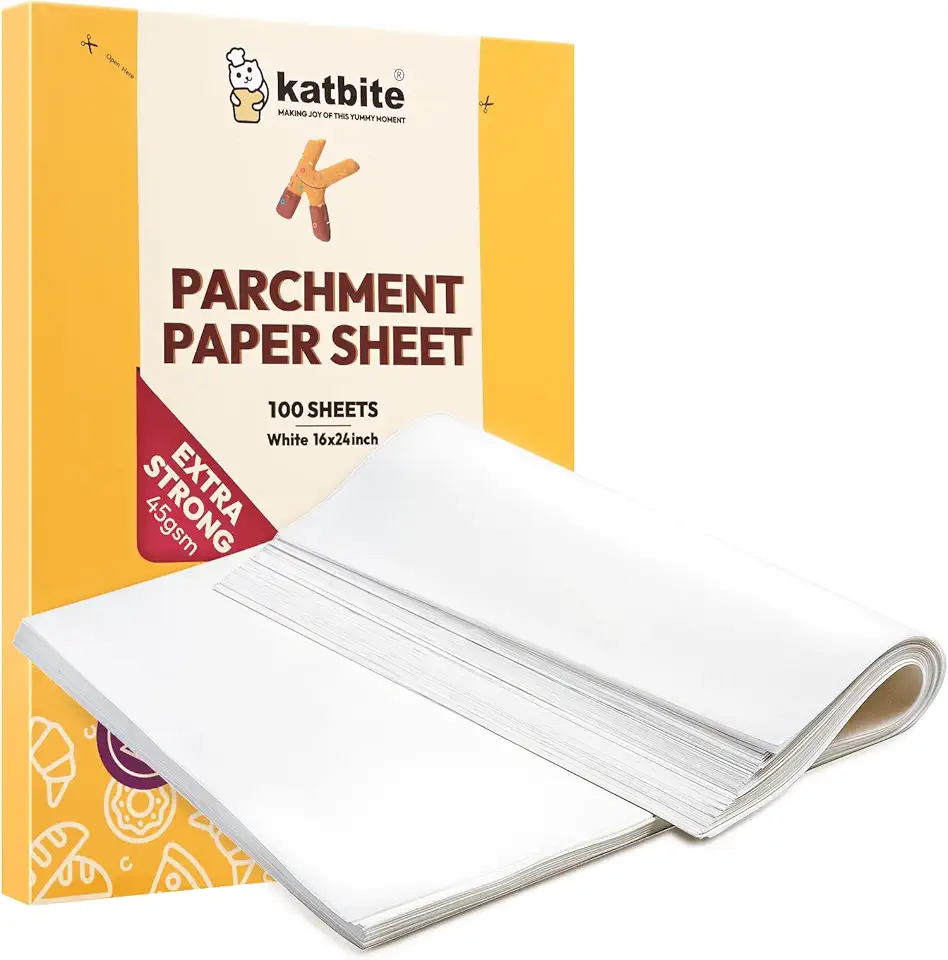 Katbite 16x24 inch Heavy Duty Parchment Paper Sheets, 100Pcs Precut Non-Stick Full Parchment Sheets for Baking, Cooking, Grilling, Frying and Steaming, Full Sheet Baking Pan Liners, Commercial Baking
$18.99
$25.99
View details
Prime
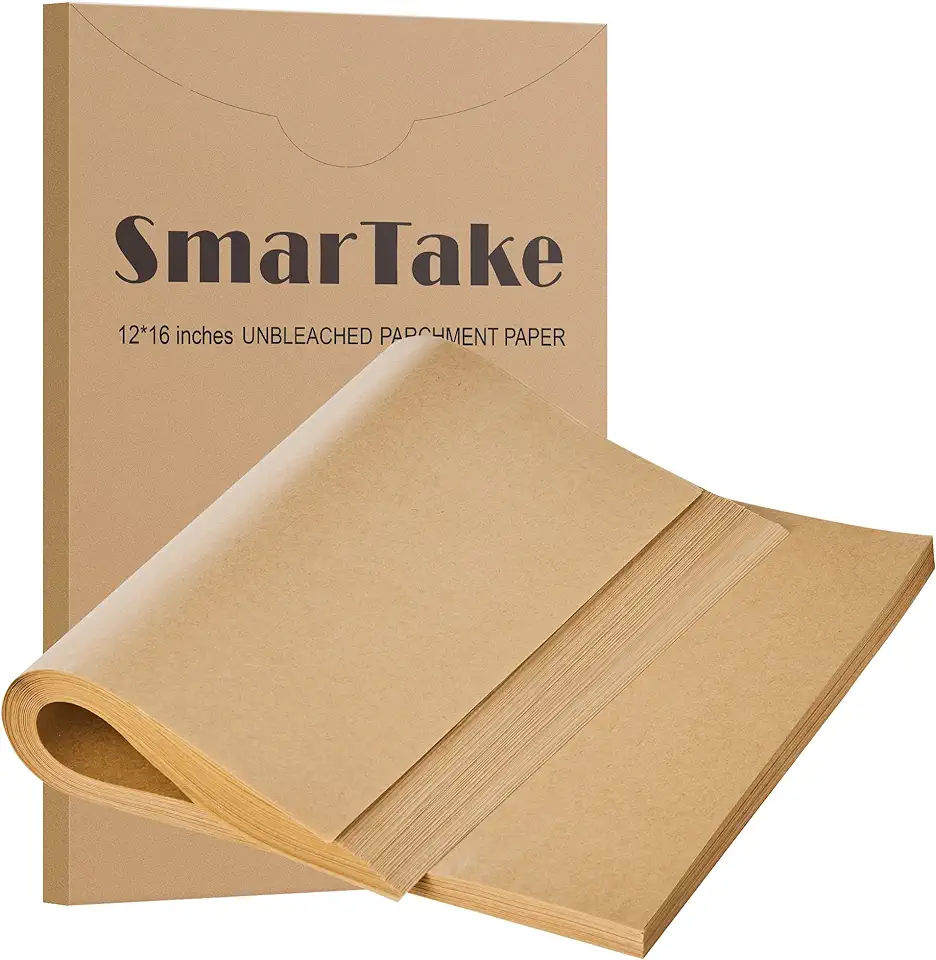 SMARTAKE 200 Pcs Parchment Paper Baking Sheets, 12x16 Inches Non-Stick Precut Baking Parchment, for Baking Grilling Air Fryer Steaming Bread Cup Cake Cookie and More (Unbleached)
$16.99
$20.99
View details
Prime
best seller
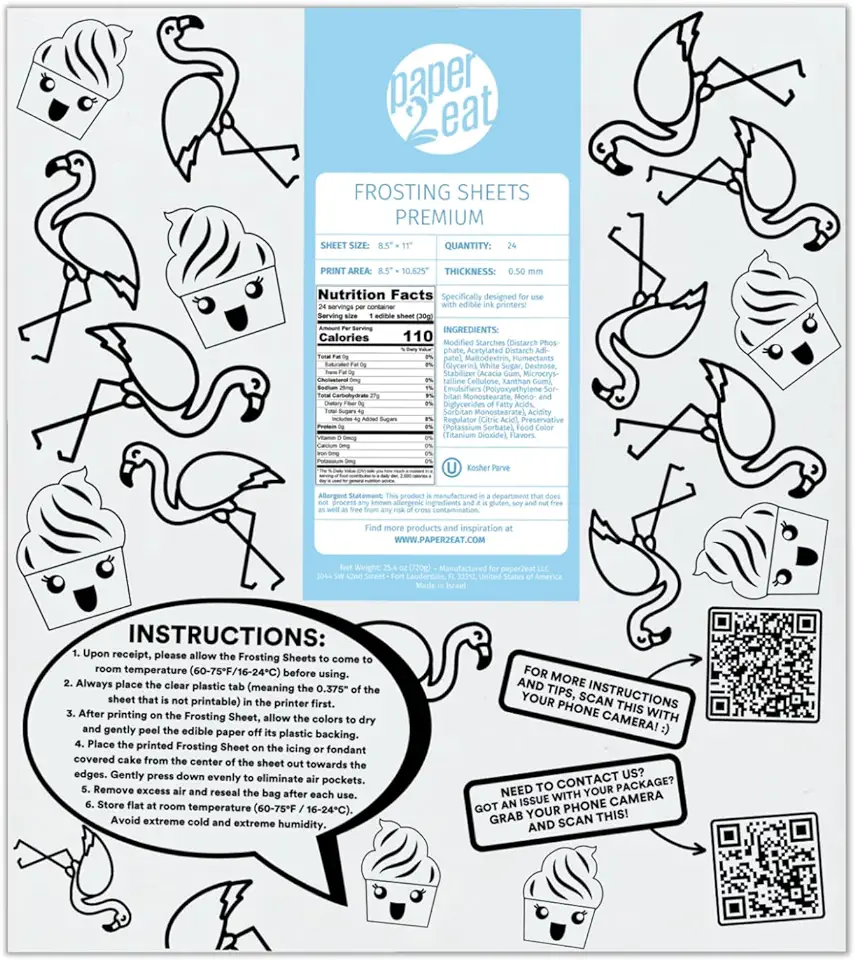 paper2eat Frosting Sheets Premium 8.5“ x 11“ – 24 count – White Edible Icing Sheets
$37.99
View details
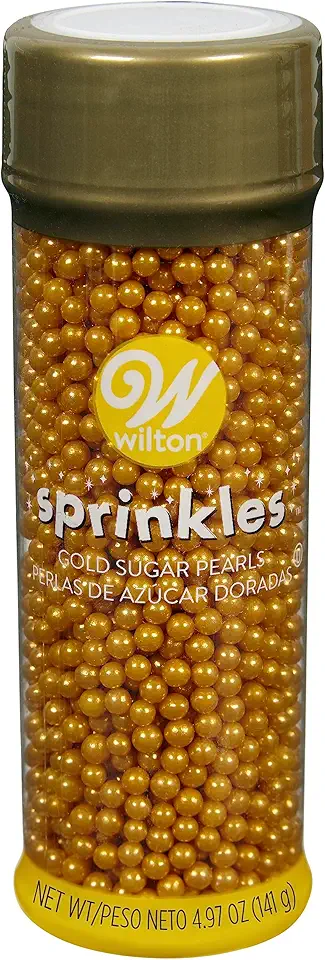 Wilton Sugar Pearls, 141 gram, Gold, Non Toxic
$8.29
View details
Prime
best seller
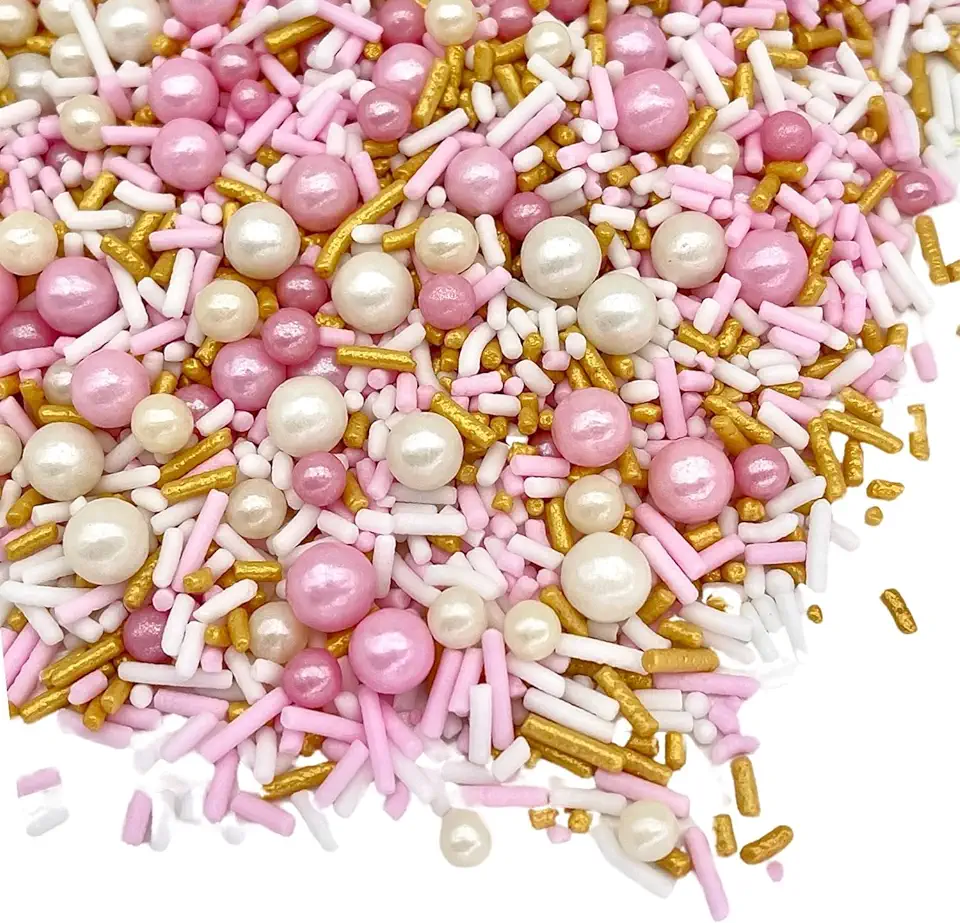 Manvscakes, pink sprinkles, valentines, cake sprinkles, gluten free, cookies, chocolate, fondant, princess topping, ice cream, edible, dessert decoration (Gold Pink)
$7.99
View details
Prime
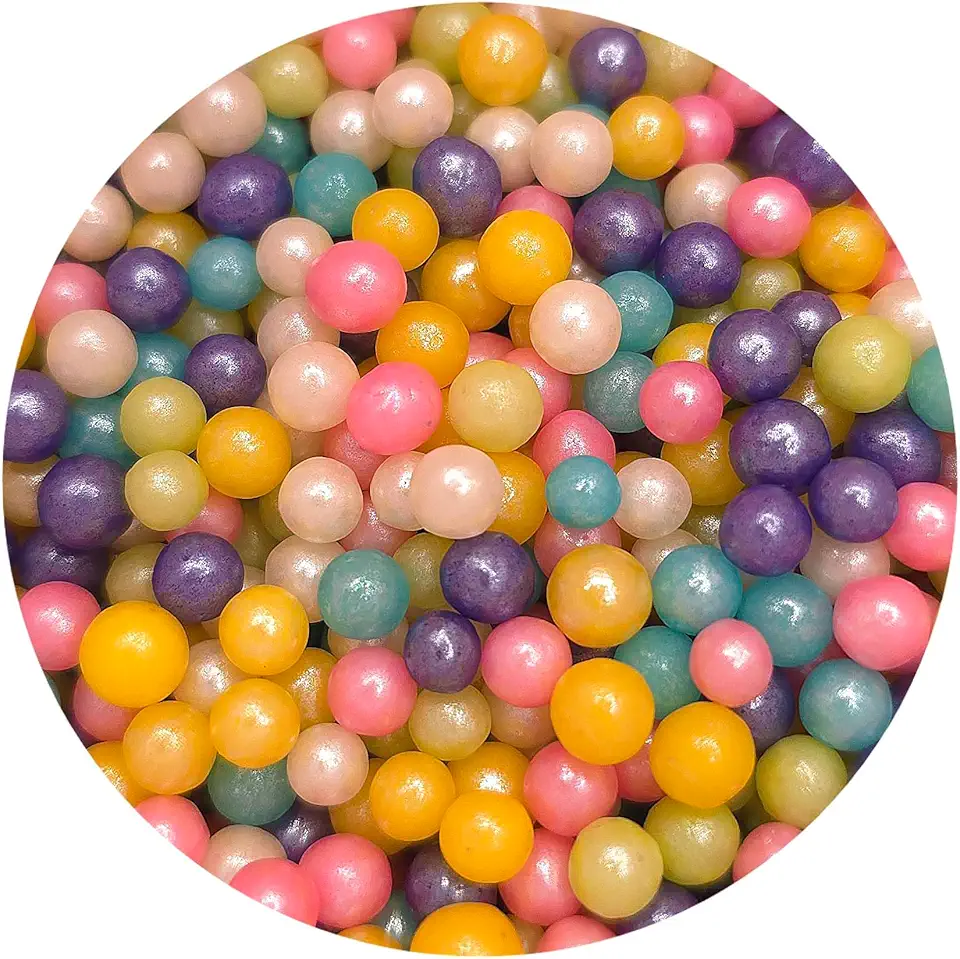 NCS Rainbow Pearl 4MM Edible Candy Beads - 8 ounces - Great for Cupcakes, Cookies, Cakes, Cakes Pops
$12.99
View details
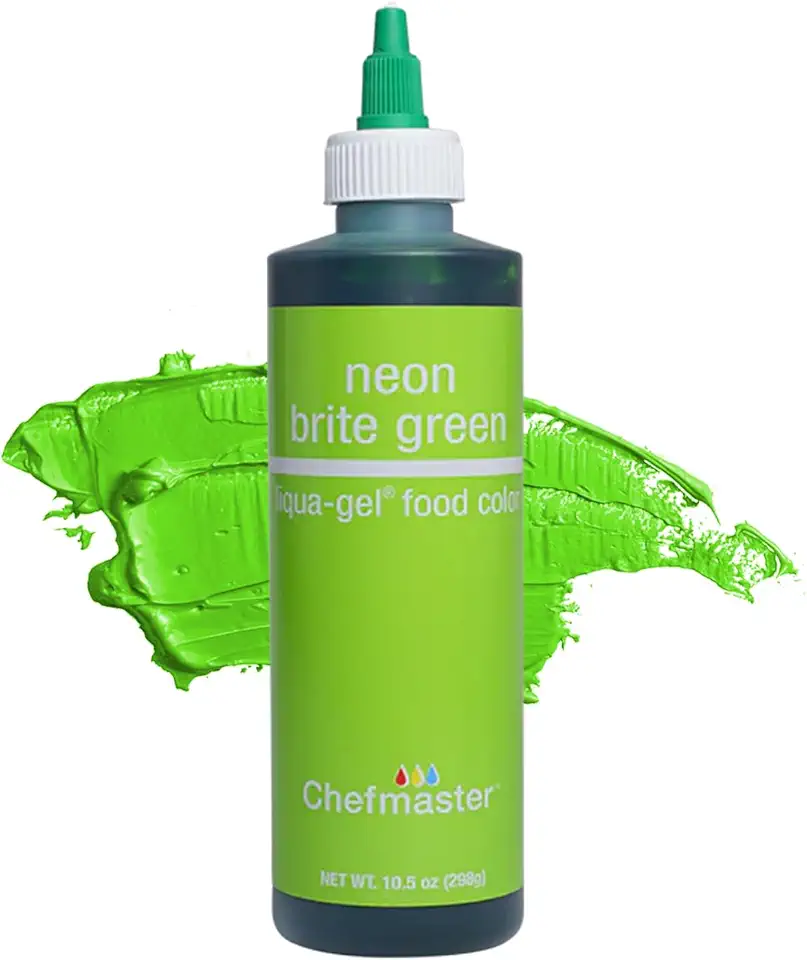 Chefmaster Neon Green Liqua -Gel Food Coloring | Vibrant Color | Professional-Grade Dye for Icing, Frosting, Fondant | Fade-Resistant | 10.5 oz
$12.33
$13.50
View details
Prime
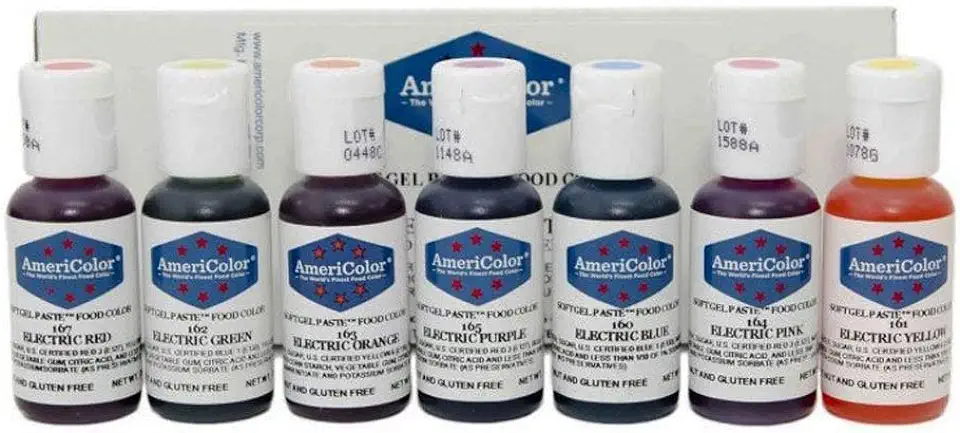 AmeriColor Food Coloring - Electric Kit - Soft Gel Paste, 7 .75 Ounce Bottles
$22.50
View details
Prime
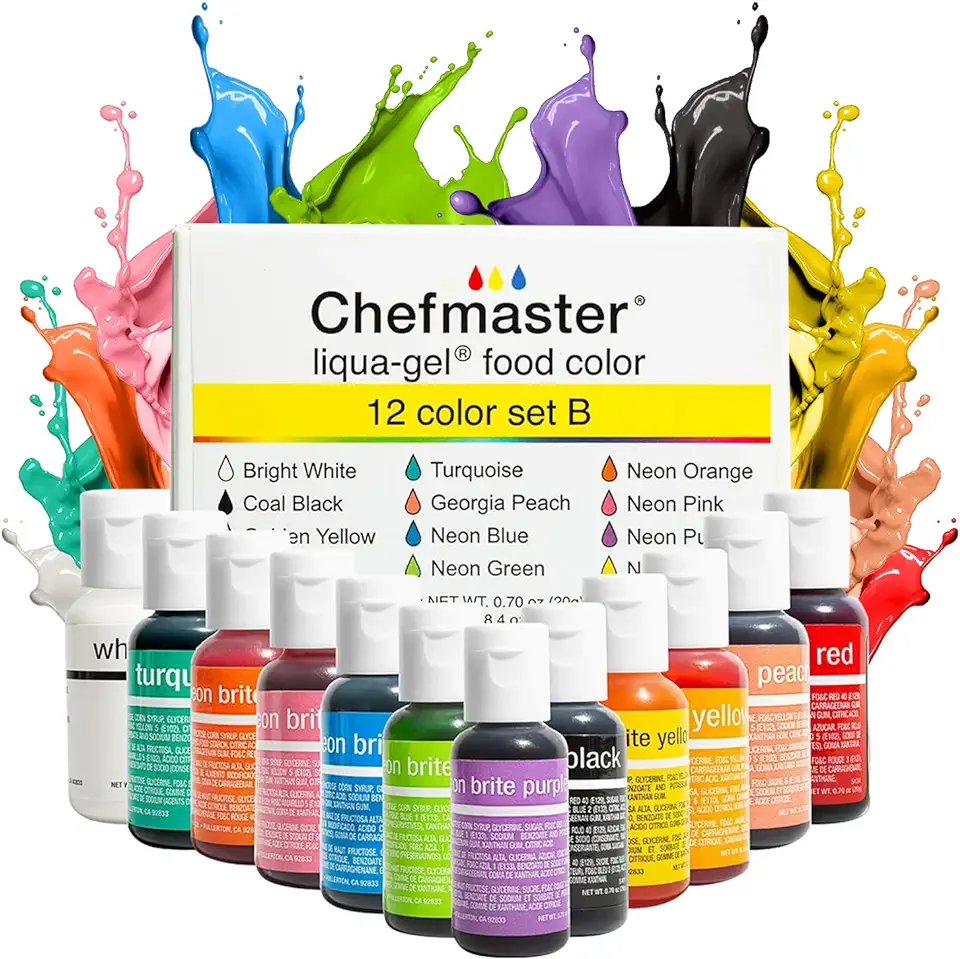 Chefmaster - Liqua-Gel Food Coloring - 12 Color Set B - Fade Resistant - 12 Pack - Vibrant, Eye-Catching Colors, Easy-To-Blend Formula, Fade-Resistant - Made in the USA
$22.20
View details
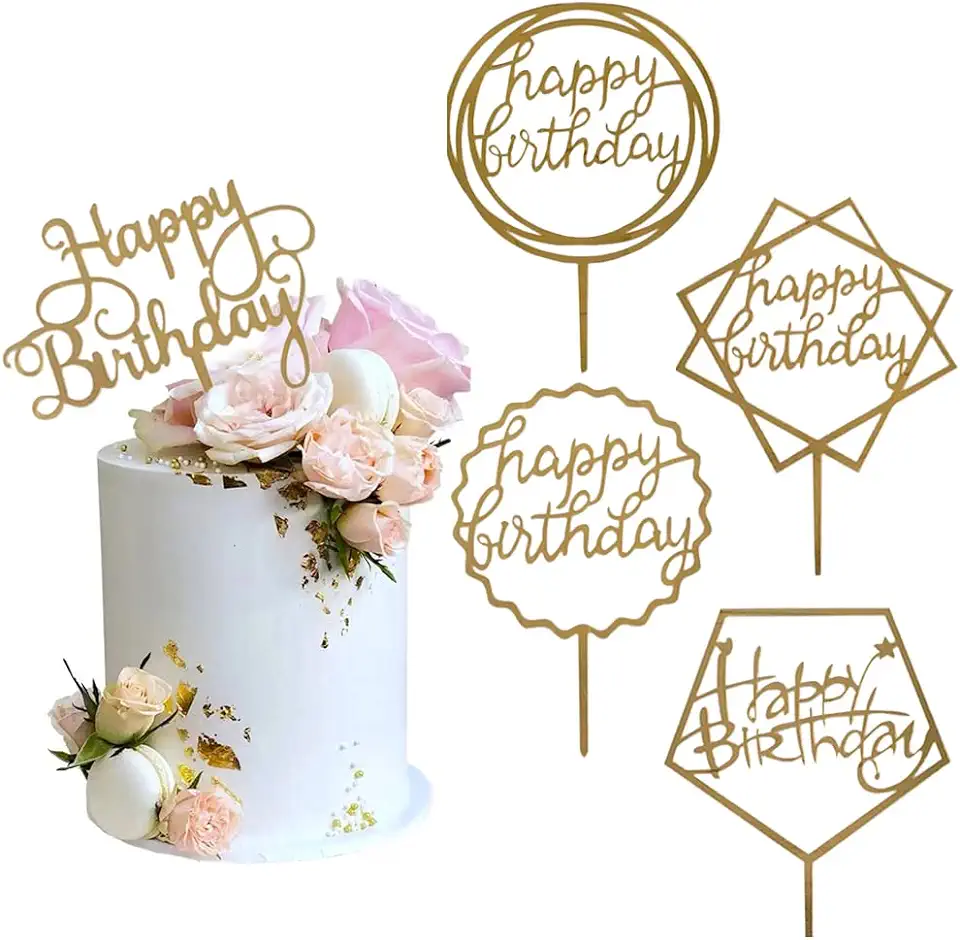 Gold Cake Topper Acrylic Happy Birthday Cake Decoration Supplies (5 Pieces)
$5.59
$9.99
View details
Prime
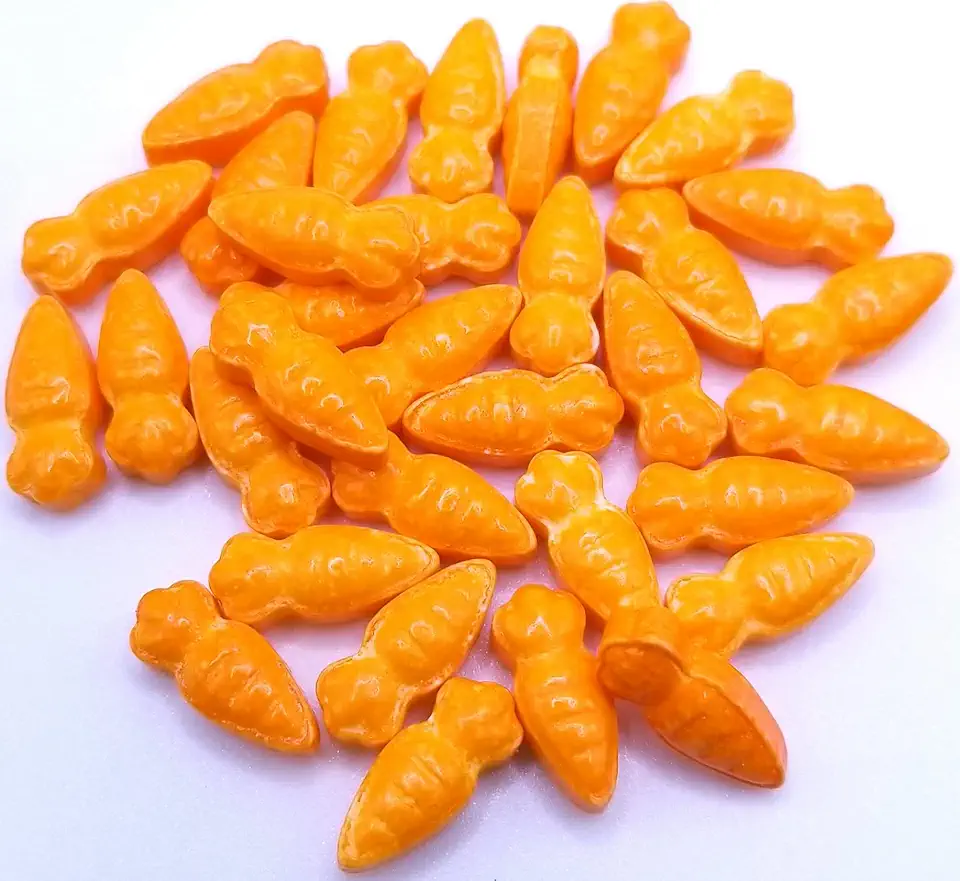 NCS Orange Carrots Edible Candy Toppers, 8 ounces - Great for cupcakes, cookies, cakes, cake pops, and party tables
$14.99
View details
Prime
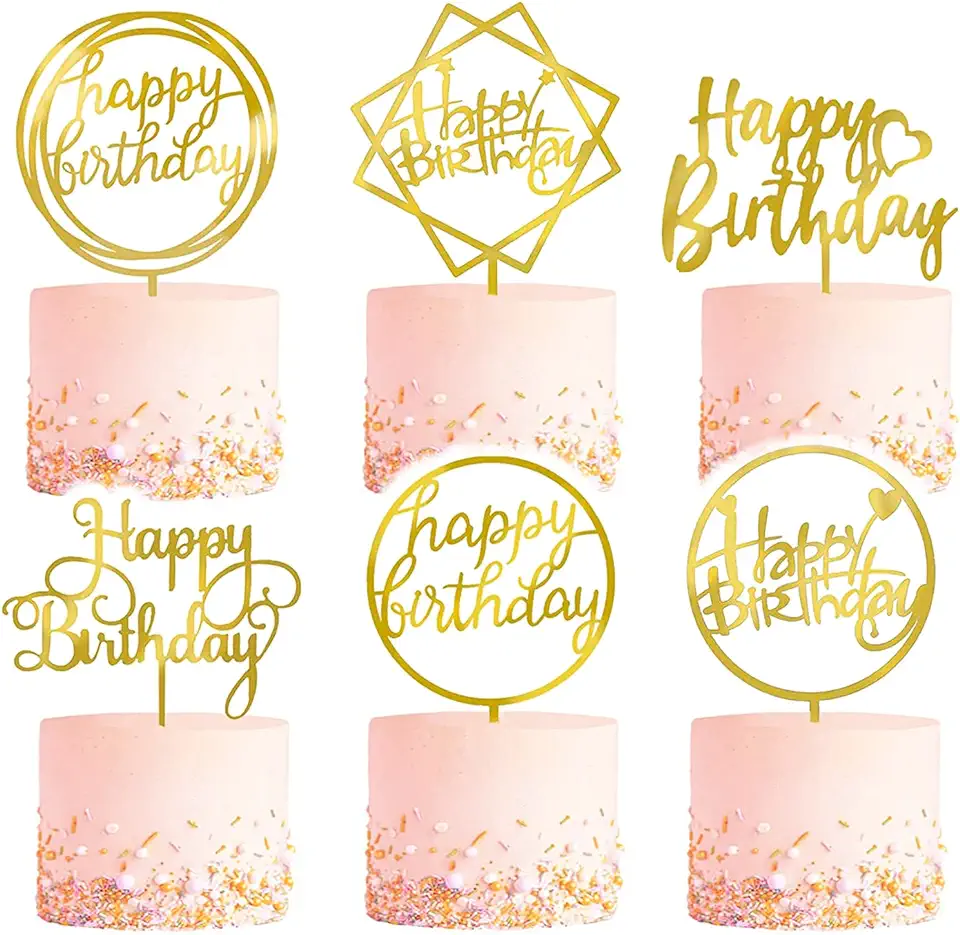 6-Pack Gold Birthday Cake Topper Set, Double-Sided Glitter, Acrylic Happy Birthday Cake Toppers/Cupcake Toppers, Birthday Decorations for Children or Adults.
$4.99
$9.99
View details
Instructions
Step 1
Creating the Butterflies
Step 2
Adding Final Touches
Step 3
Tips
Servings
Ready to present your butterfly-themed cake? 🦋 Arrange the butterflies artfully on top for an eye-catching display. For a more immersive experience, consider pairing it with a light, floral tea or serving it at a spring garden party.
💡Another fantastic idea is making mini butterfly cupcakes for individual servings. 🧁 They’re perfect for children's parties and can easily be grabbed and enjoyed on the go!
Don't forget to use a colorful cake stand to make your creation pop even more. This added touch not only enhances the visual appeal but ensures your dessert becomes the centerpiece everyone is drawn to!
✨ **Pro Tip:** Scatter some edible glitter around the butterflies for an extra dash of magic. Your guests will be captivated by both the taste and the look of your culinary art!
Equipment
A good pair of scissors is essential for cutting precise butterfly shapes from wafer paper sheets. Ensure they're sharp for clean cuts.
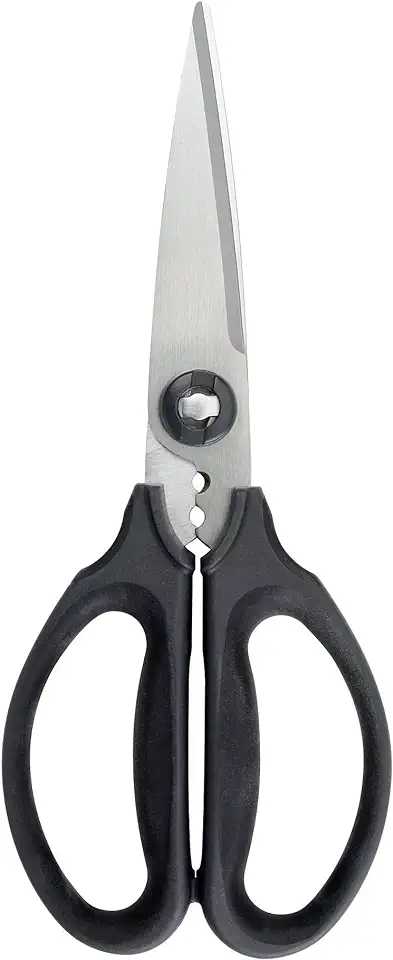 OXO Good Grips Multi-Purpose Kitchen and Herbs Scissors
$18.70
$19.95
View details
Prime
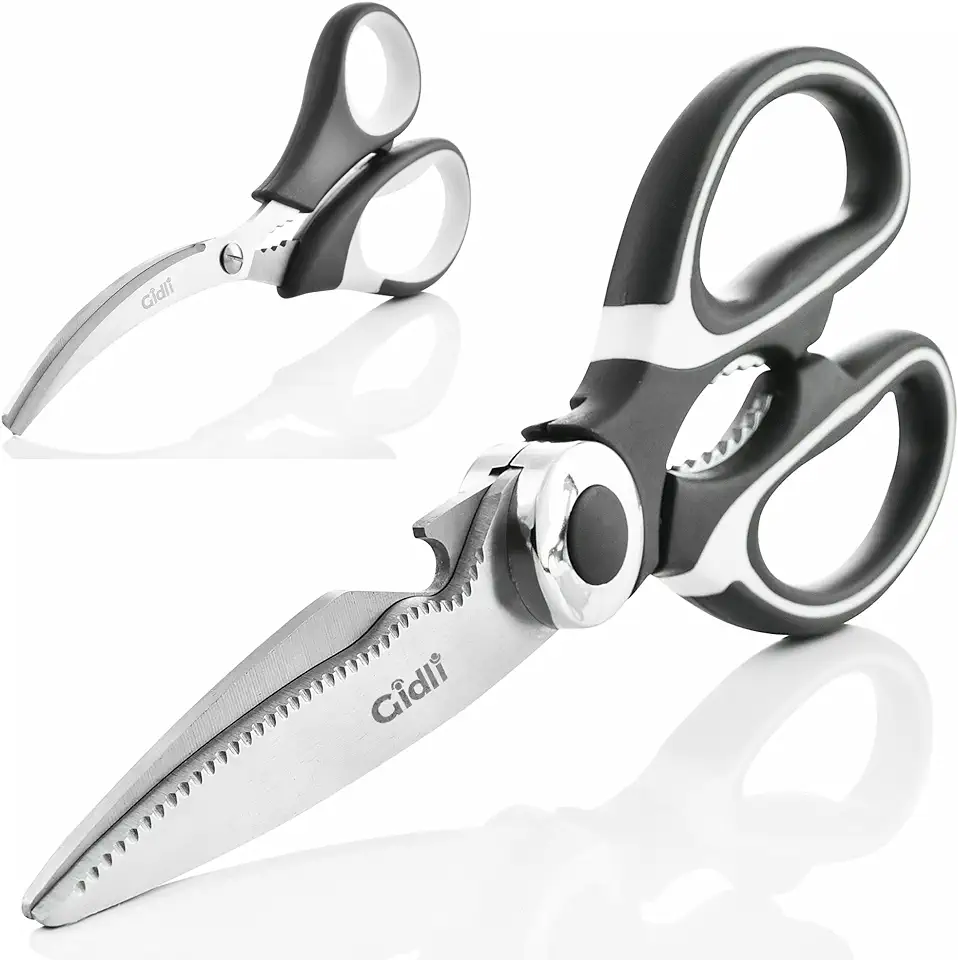 Kitchen Shears by Gidli - Lifetime Replacement Warranty- Includes Seafood Scissors As a Bonus - Heavy Duty Utility Stainless Steel All Purpose Ultra Sharp Scissors for Food
$19.95
$23.95
View details
Prime
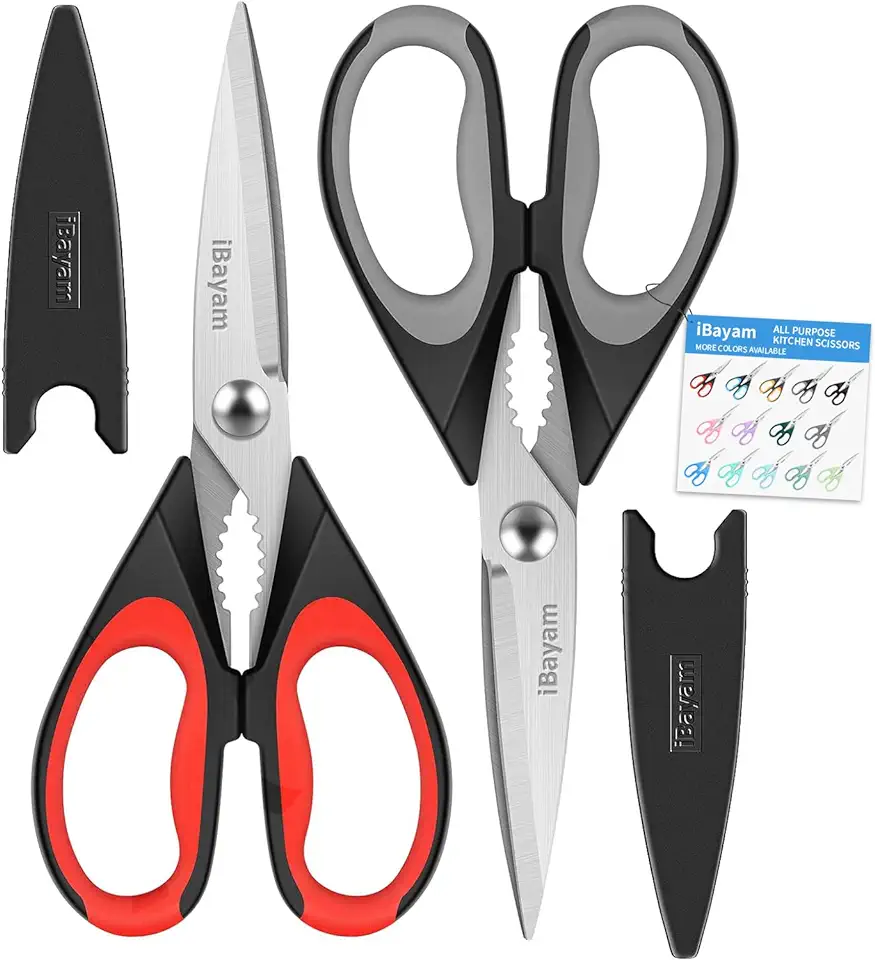 iBayam Kitchen Scissors All Purpose Heavy Duty Meat Poultry Shears, Dishwasher Safe Food Cooking Scissors Stainless Steel Utility Scissors, 2-Pack (Black Red, Black Gray)
$9.99
View details
Edible glue helps attach the two butterfly cutouts together securely while keeping them clean and safe to consume.
 Wilton Dab-N-Hold Edible Adhesive, Cake Glue for Decorating Desserts and Cakes, 2 oz., Transparent
$7.14
View details
 Wilton Decorator Preferred White Vanilla Fondant, 4.4 oz. - Note that Packaging May Vary
$7.99
$17.97
View details
 Wilton Cookie Icing - Quick, Easy-To-Use and Ready for Cake and Cookie Decorations, 9 Ounce, White
$10.88
View details
Ideal for applying neon food coloring and glue to the butterflies without making a mess.
 Ateco Bench Brush, 1 3/4 x 9 1/2-Inch Head with Natural White Boar Bristles & Molded Plastic Handle
$75.74
View details
Prime
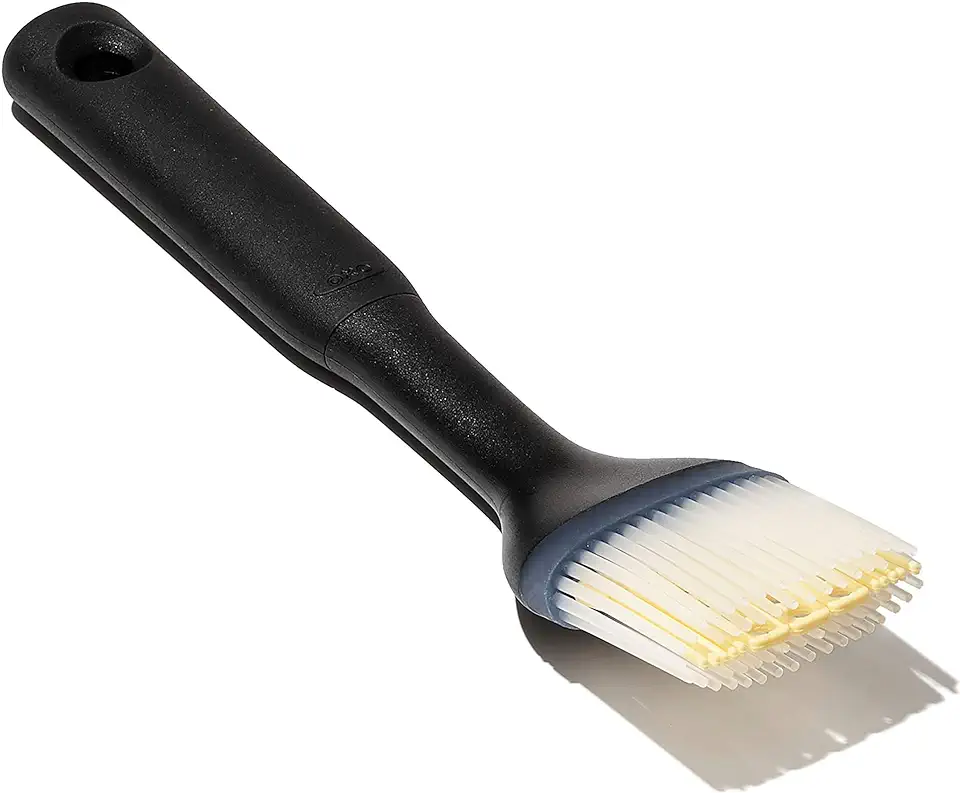 OXO Good Grips Silicone Basting & Pastry Brush - Small
$10.99
$13.81
View details
Prime
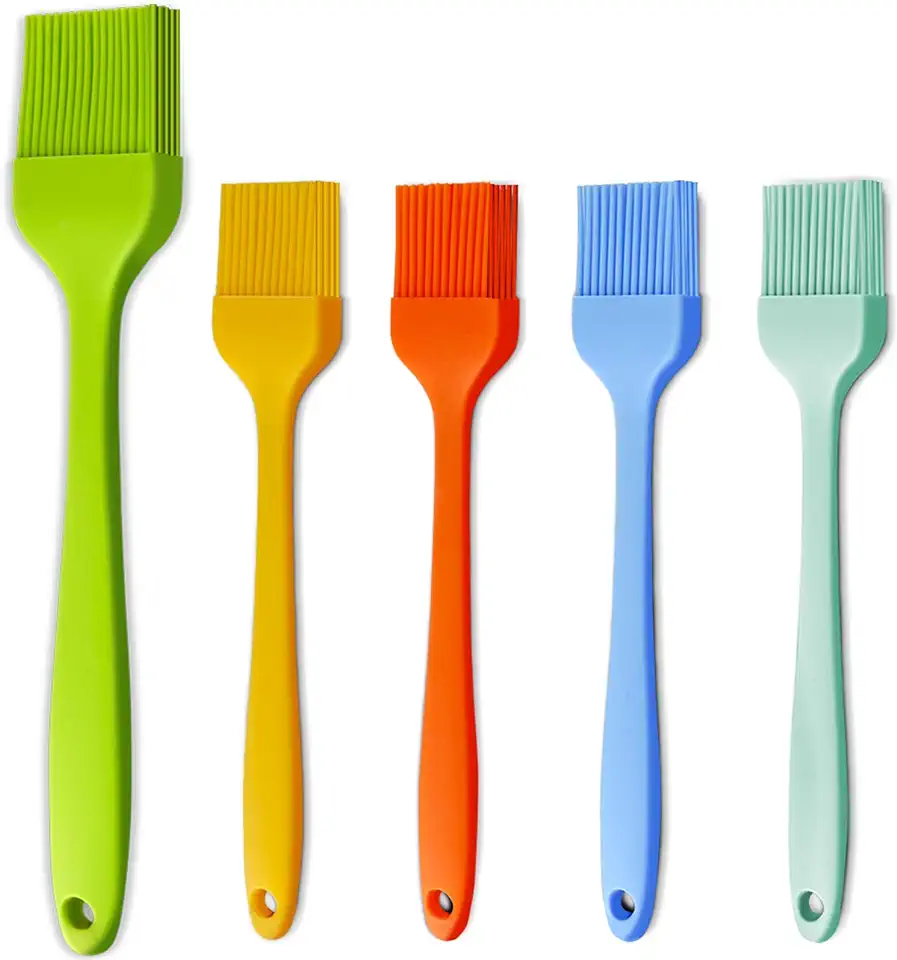 Silicone Basting Pastry Brush - Cooking Brush for Oil Sauce Butter Marinades, Food Brushes for BBQ Grill Kitchen Baking, Baster Brushes Baste Pastries Cakes Meat Desserts, Food Grade, Dishwasher Safe
$8.99
View details
These are useful if you decide to pipe additional designs onto your cake along with the butterflies.
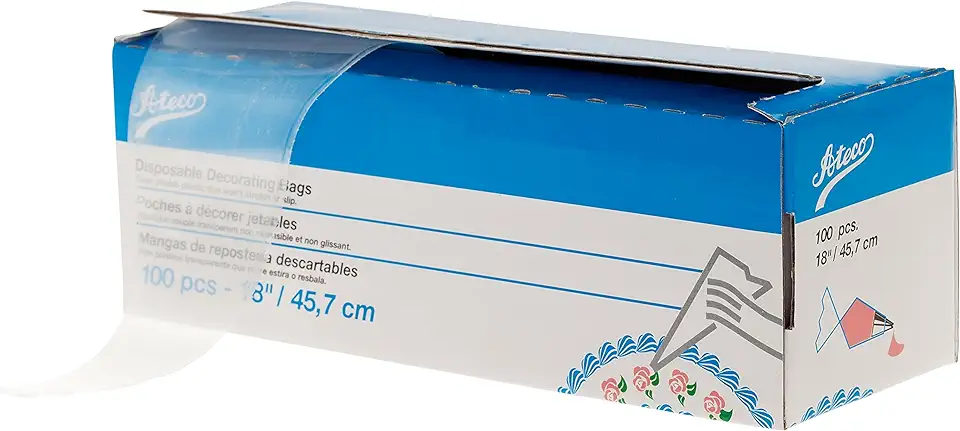 Ateco Disposable Decorating Bags, 18-Inch, Pack of 100
$14.60
View details
Prime
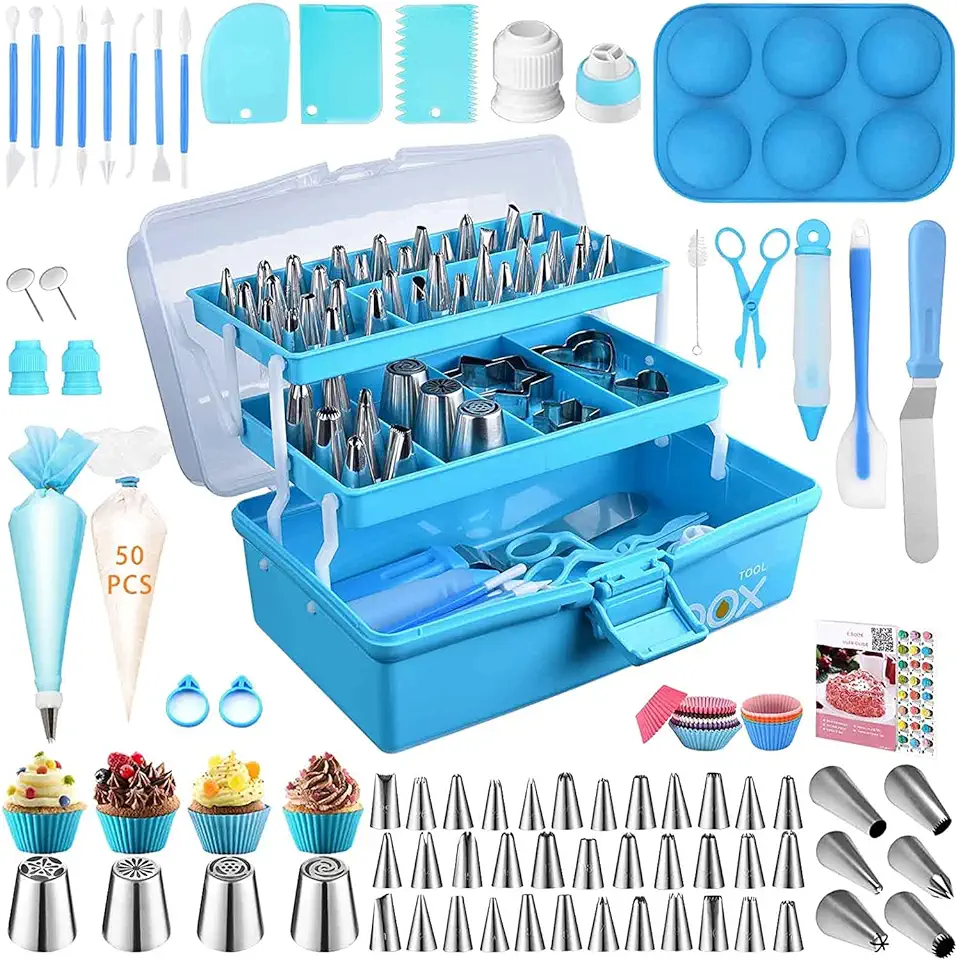 Cake Decorating Tools Supplies Kit: 236pcs Baking Accessories with Storage Case - Piping Bags and Icing Tips Set - Cupcake Cookie Frosting Fondant Bakery Set for Adults Beginners or Professional, Blue
$37.99
View details
Prime
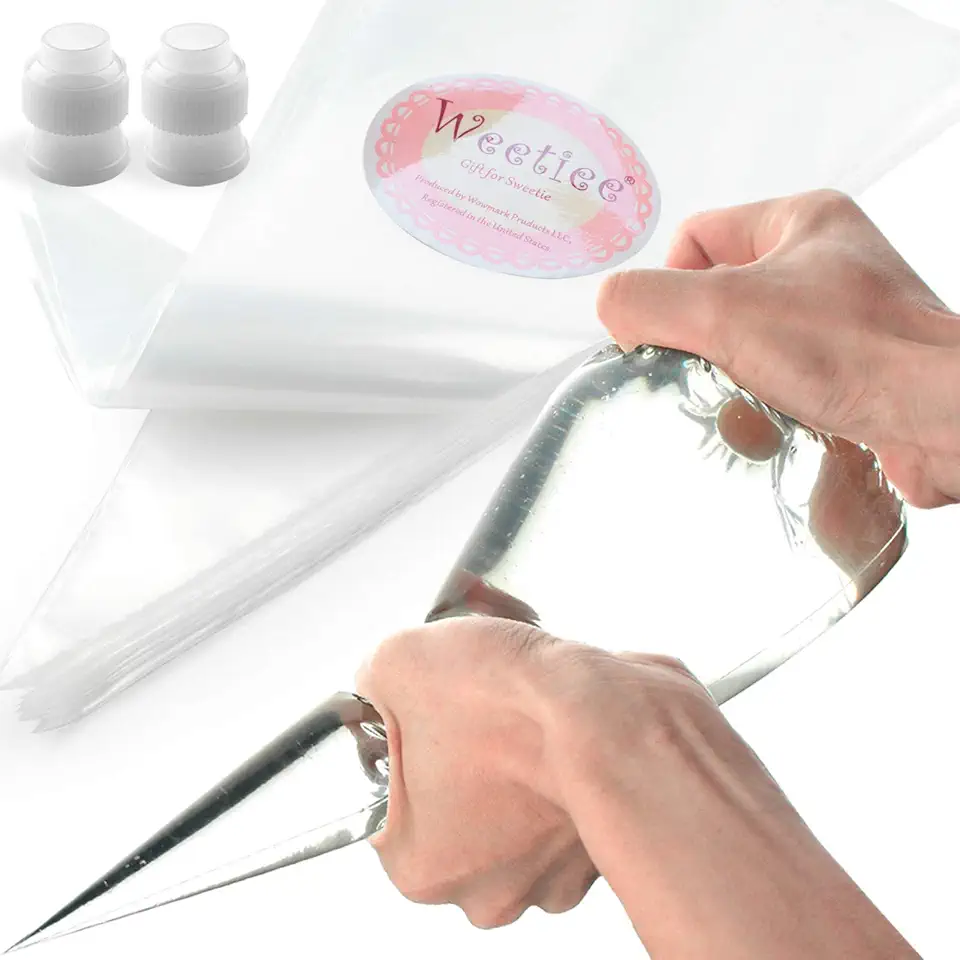 Pastry Piping Bags -100 Pack-16-Inch Disposable Cake Decorating Bags Anti-Burst Cupcake Icing Bags for all Size Tips Couplers and Baking Cookies Candy Supplies Kits - Bonus 2 Couplers
$9.99
$12.99
View details
Variations
Want to make your butterfly decorations suitable for everyone? We've got you covered!
Gluten-Free Variation: 🌾 Choose gluten-free wafer paper and ensure all other ingredients, including any cake mix used, are certified gluten-free. It's that simple!
Vegan Variation: 🥕 Use vegan wafer paper and a vegan version of edible glue. Many neon food colorings are vegan, but double-check the brand to be certain. For the cake itself, opt for a plant-based cake recipe.
With these easy adjustments, everyone can enjoy your beautifully crafted butterfly creations!
Faq
- Can I make the butterflies ahead of time?
Absolutely! You can make the butterflies a couple of days in advance and store them in an airtight container until you're ready to use them.
- What if I don't have edible glue?
You can make a simple substitute using a few drops of water mixed with a bit of icing sugar until you get a paste-like consistency.
- Can the wafer paper withstand refrigeration?
Wafer paper can become a bit soft in the fridge, so it's best to add your butterflies just before serving the cake or keep the cake at room temperature.
- What can I use instead of neon food coloring?
If you prefer a more natural look, you can use natural food colorings made from vegetable or fruit extracts. They also provide a beautiful, albeit softer, color palette.
- How do I store leftover decorated cake?
If you have any leftover cake, keep it in an airtight container at room temperature. Avoid placing it in the fridge to maintain the integrity of the wafer paper decorations.
- Can I use this technique on other baked goods?
Yes, these butterfly decorations can be used to embellish cookies, brownies, or even pie tops! Get creative and add a whimsical touch to any treat!

