Ingredients
For the Marshmallows
 Sugar In The Raw Granulated Turbinado Cane Sugar Cubes, No Added Flavors or erythritol, Pure Natural Sweetener, Hot & Cold Drinks, Coffee, Vegan, Gluten-Free, Non-GMO,Pack of 1
$5.27
View details
Prime
 Sugar In The Raw Granulated Turbinado Cane Sugar, No Added Flavors or erythritol, Pure Natural Sweetener, Hot & Cold Drinks, Coffee, Baking, Vegan, Gluten-Free, Non-GMO, Bulk Sugar, 2lb Bag (1-Pack)
$3.74
$4.14
View details
Prime
 C&H Pure Cane Granulated White Sugar, 25-Pound Bags
$56.99
$49.98
View details
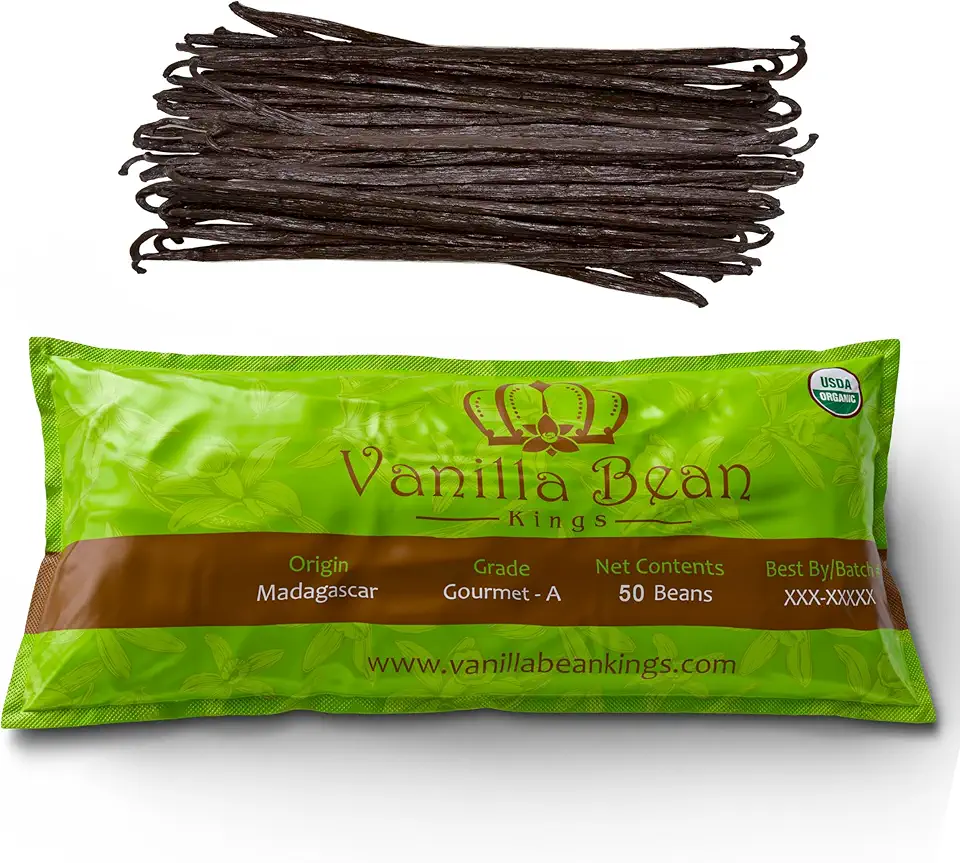 50 Organic Madagascar Vanilla Beans. Whole Grade A Vanilla Pods for Vanilla Extract and Baking
$39.99
View details
Prime
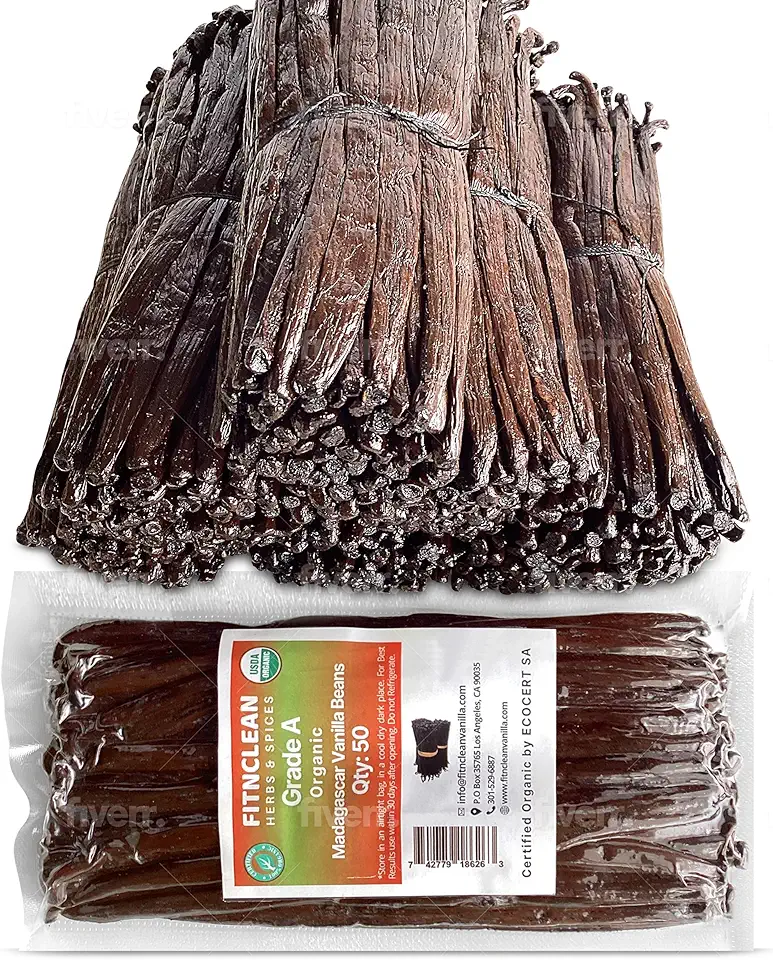 50 Organic Grade A Madagascar Vanilla Beans. Certified USDA Organic for Extract and all things Vanilla by FITNCLEAN VANILLA. ~5" Bulk Fresh Bourbon NON-GMO Pods.
$37.99
View details
Prime
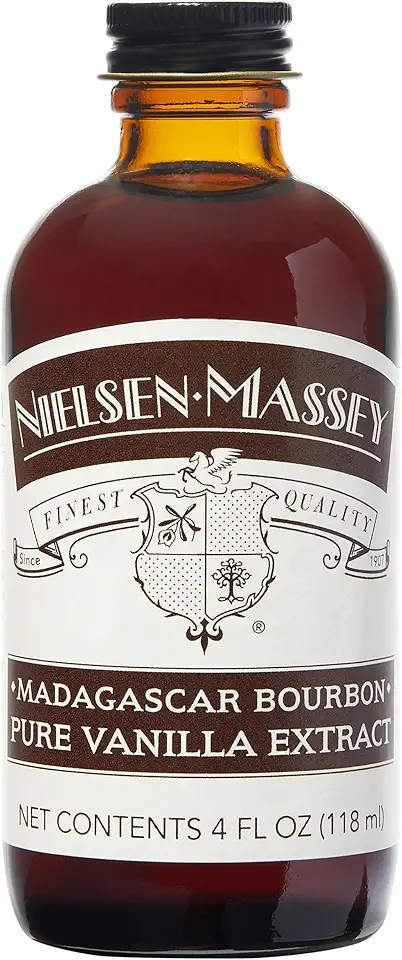 Nielsen-Massey Madagascar Bourbon Pure Vanilla Extract for Baking and Cooking, 4 Ounce Bottle
$19.95
View details
For Dusting
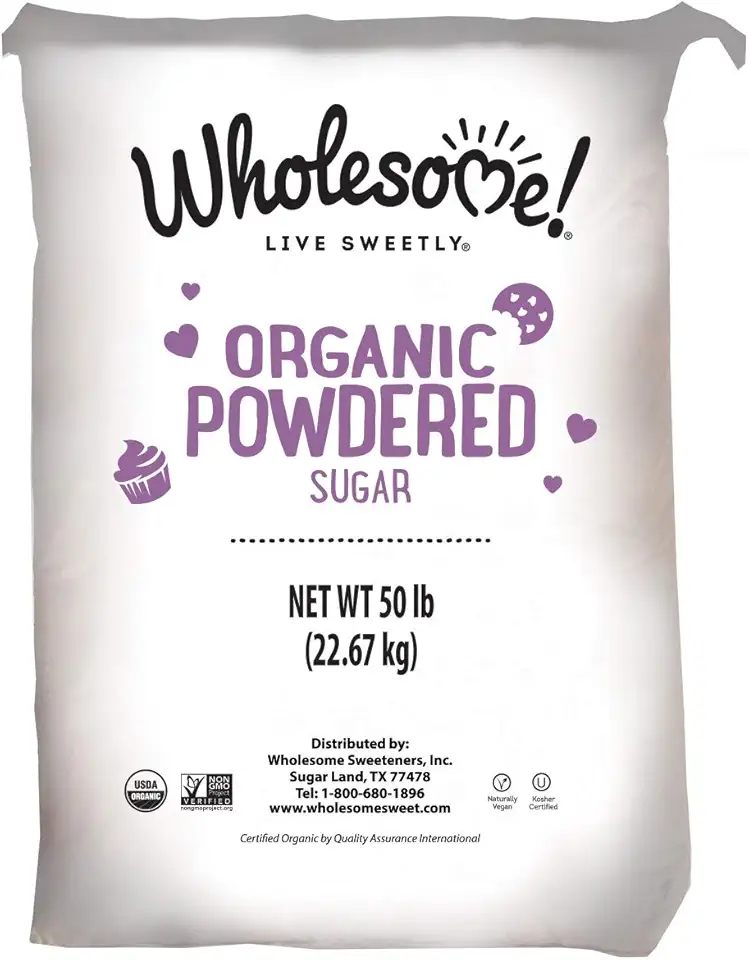 Wholesome Fair Trade Organic Powdered Sugar, Naturally Flavored Real Sugar, Non GMO & Gluten Free, 50 Pound (Pack of 1)
$106.95
View details
Prime
best seller
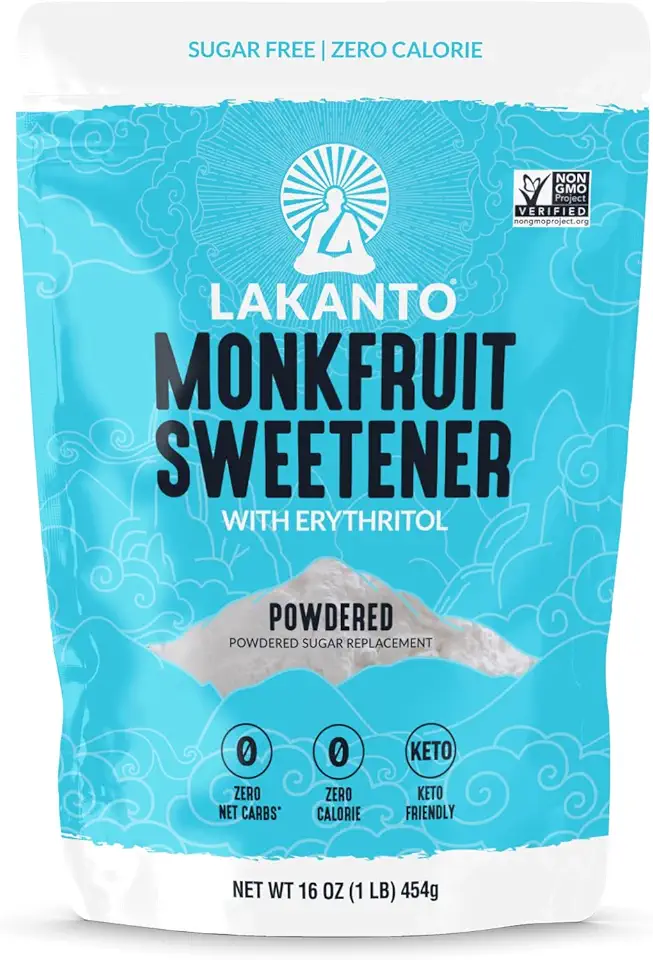 Lakanto Powdered Monk Fruit Sweetener with Erythritol - Powdered Sugar Substitute, Zero Calorie, Keto Diet Friendly, Zero Net Carbs, Baking, Extract, Sugar Replacement (Powdered - 1 lb)
$11.90
View details
Prime
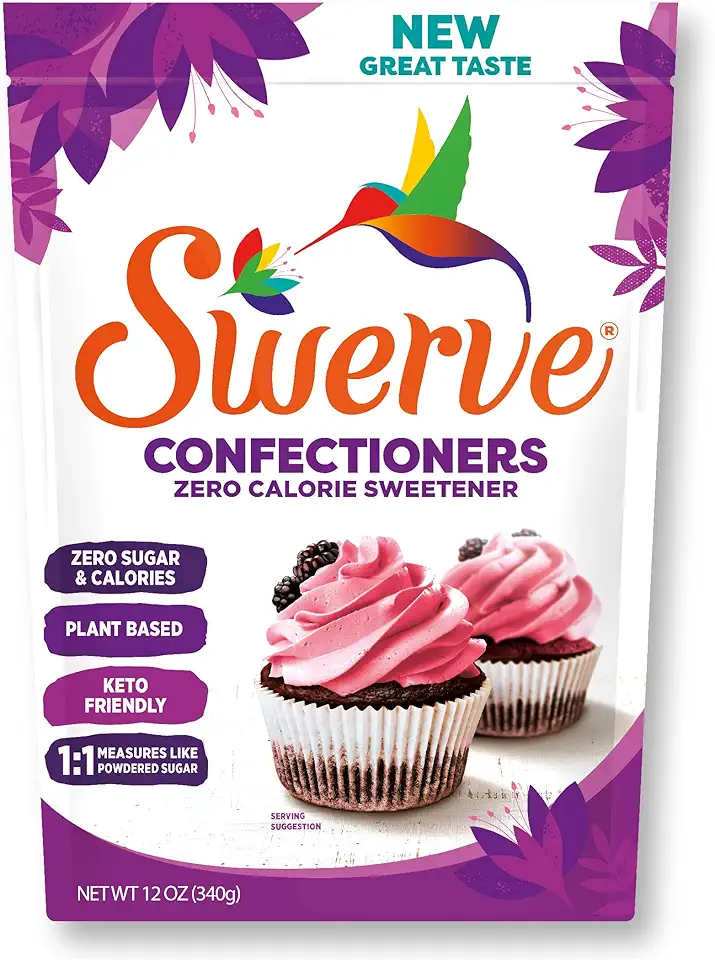 Swerve Sweetener Powder, Confectioners, 12 oz
$6.98
View details
Instructions
Step 1
Start by placing the 10 grams of unflavored gelatin in 60 milliliters of cold water in a small bowl. Allow it to soak for about 10 minutes until it becomes spongy and absorbs the water.
This soaking process is crucial for achieving the right texture in your marshmallows.
Step 2
In a saucepan, combine 250 grams of granulated sugar with 125 milliliters of water and a pinch of salt. Heat the mixture over medium heat until the sugar dissolves completely, stirring occasionally.
Once dissolved, increase the heat and bring the mixture to a soft boil. Use a candy thermometer to monitor the temperature closely.
Step 3
Continue boiling until the sugar syrup reaches 120°C (248°F). This step is essential for achieving the right consistency of your marshmallows.
When the syrup is close to the desired temperature, remove it from heat.
Step 4
While the syrup is boiling, whip the soaked gelatin until it's completely melted. In a separate mixing bowl, beat the mixture until it forms soft peaks.
Gradually pour the hot sugar syrup into the whipped gelatin in a thin stream while mixing continuously.
Step 5
Add the 1 teaspoon of vanilla extract to the mixture and continue whipping until it becomes thick and fluffy. This process may take about 8-10 minutes.
You're looking for a consistency similar to fluffy whipped cream.
Step 6
Line a square or rectangular baking dish with parchment paper, allowing some overhang. Dust the surface with a mixture of 100 grams of powdered sugar and 50 grams of cornstarch.
This will prevent the marshmallows from sticking to the pan.
Step 7
Pour the fluffy marshmallow mixture into the prepared pan, smoothing it out with a spatula. Dust the top with more powdered sugar and cornstarch mix.
Let it set at room temperature for about 4 hours or until firm.
Step 8
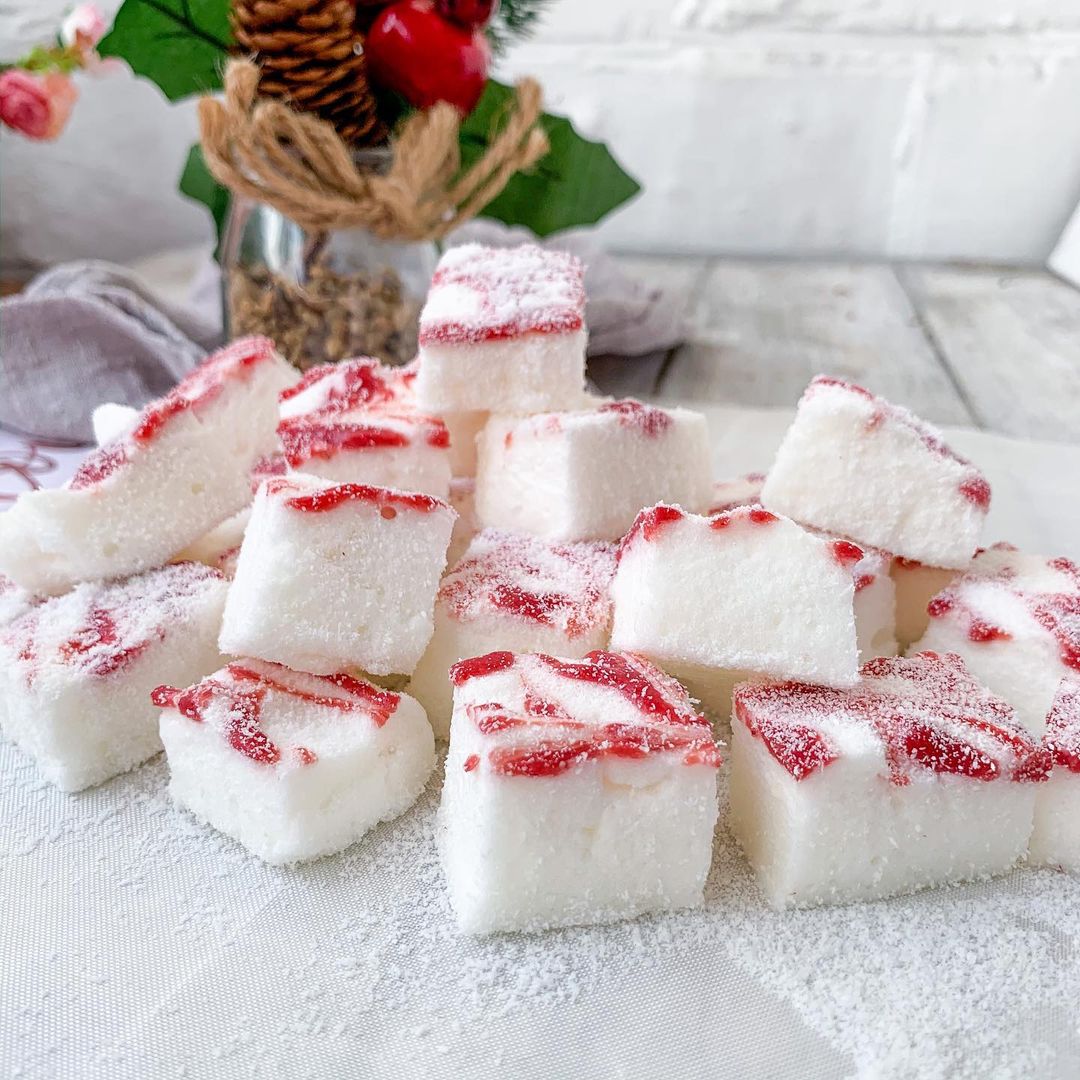
Once set, remove the marshmallow slab from the pan and cut it into squares. Toss each square in the remaining cornstarch and powdered sugar mix to coat.
This process keeps them from sticking together, allowing you to enjoy your homemade marshmallows easily!
Servings
Equipment
This is essential for whipping the marshmallow mixture to soft peaks. If you don’t have one, a hand mixer will work too, but it might take a bit longer.
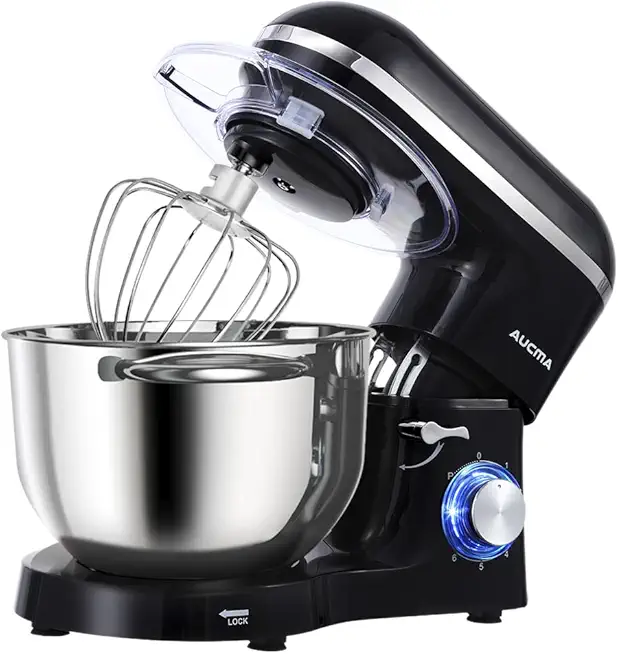 Aucma Stand Mixer,6.5-QT 660W 6-Speed Tilt-Head Food Mixer, Kitchen Electric Mixer with Dough Hook, Wire Whip & Beater (6.5QT, Black)
$159.99
View details
Prime
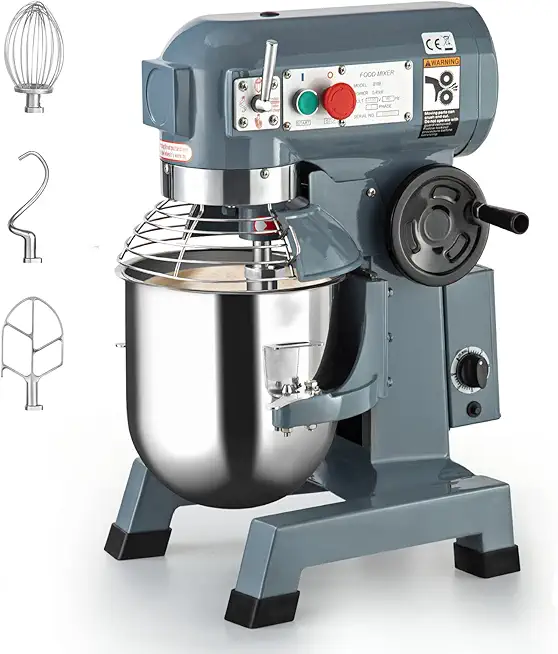 Commercial Food Mixer 15QT 600W 110V 3 Speeds Adjustable, Stand Mixer Dough Kneading Machine with Stainless Steel Bowl Dough Hooks Whisk Beater, With Safety Guard for Bakeries Restaurants Pizzerias
$579.99
View details
A candy thermometer helps you achieve the perfect temperature for the sugar syrup. Invest in a good one to make your candy-making journey easier.
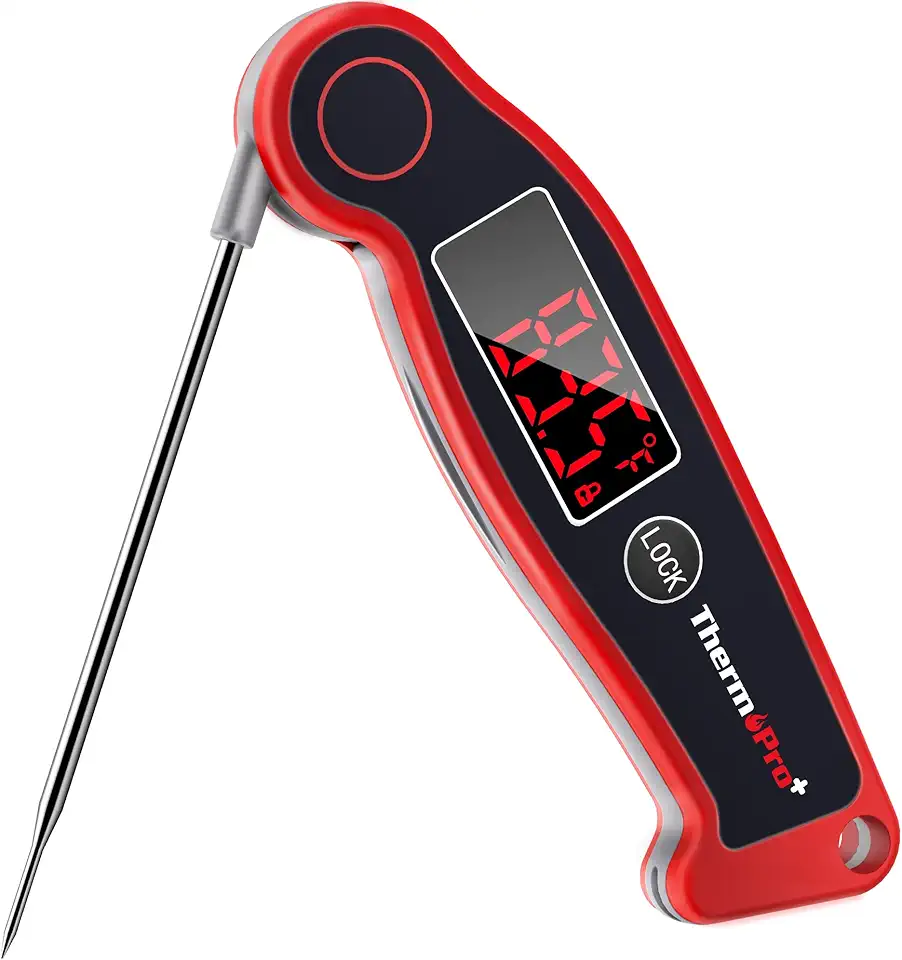 ThermoPro TP19 Waterproof Digital Meat Thermometer for Grilling with Ambidextrous Backlit & Thermocouple Instant Read Kitchen Cooking Food Thermometer for Candy Water Oil BBQ Grill Smoker
$29.99
$39.99
View details
Prime
best seller
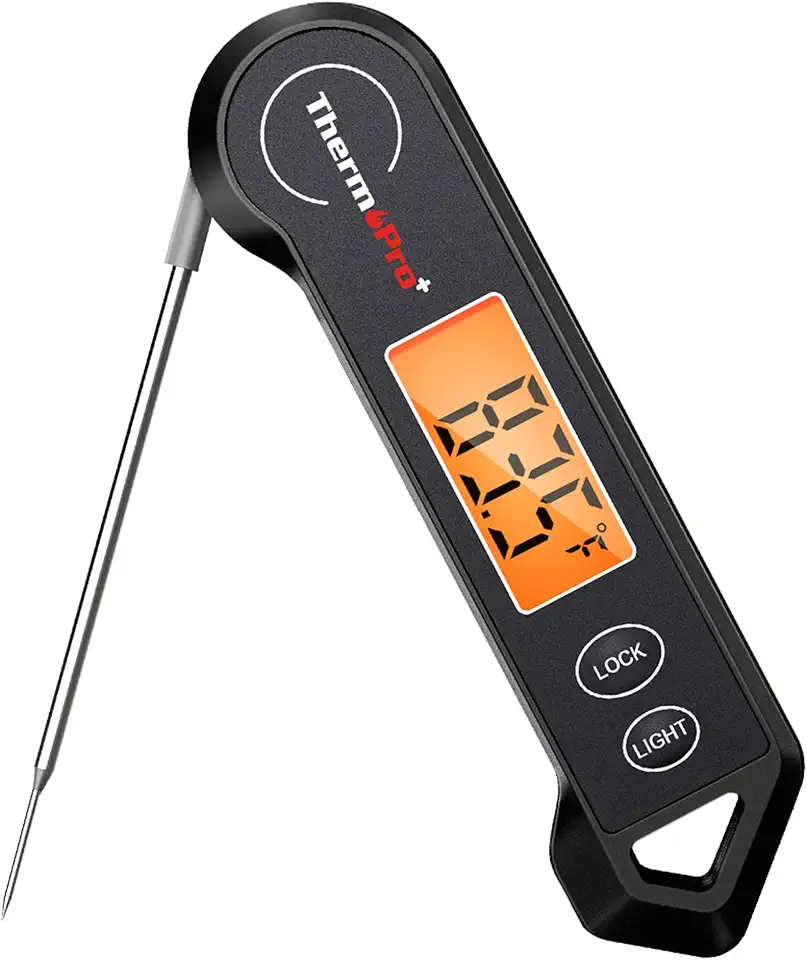 ThermoPro TP19H Waterproof Digital Meat Thermometer for Grilling with Ambidextrous Backlit and Motion Sensing Kitchen Cooking Food Thermometer for BBQ Grill Smoker Oil Fry Candy Thermometer
$19.99
$22.99
View details
Prime
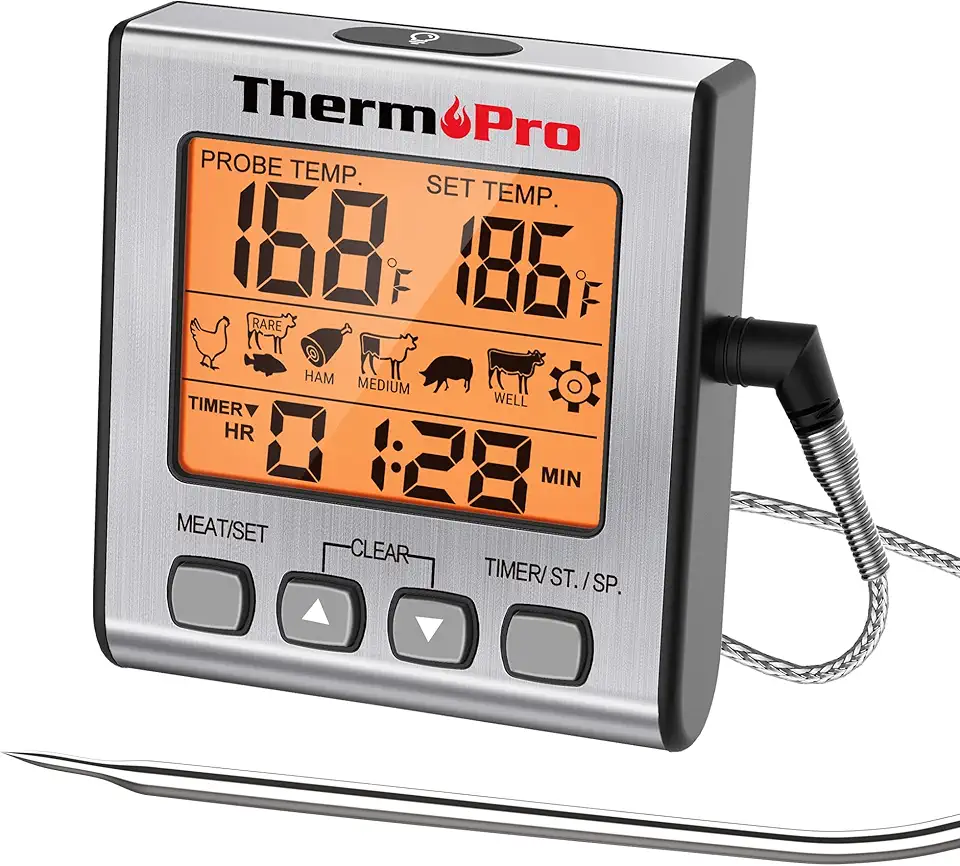 ThermoPro TP16S Digital Meat Thermometer Smoker Candy Food BBQ Cooking Thermometer for Grilling Oven Deep Fry with Smart Kitchen Timer Mode and Backlight
$21.99
$26.99
View details
Make sure it's lined with parchment paper for easy removal of the marshmallows once they set. You can also dust it with icing sugar to prevent sticking.
Use a sifter for the powdered sugar to ensure a smooth coating without clumps. This will help your marshmallows look beautiful and professional!
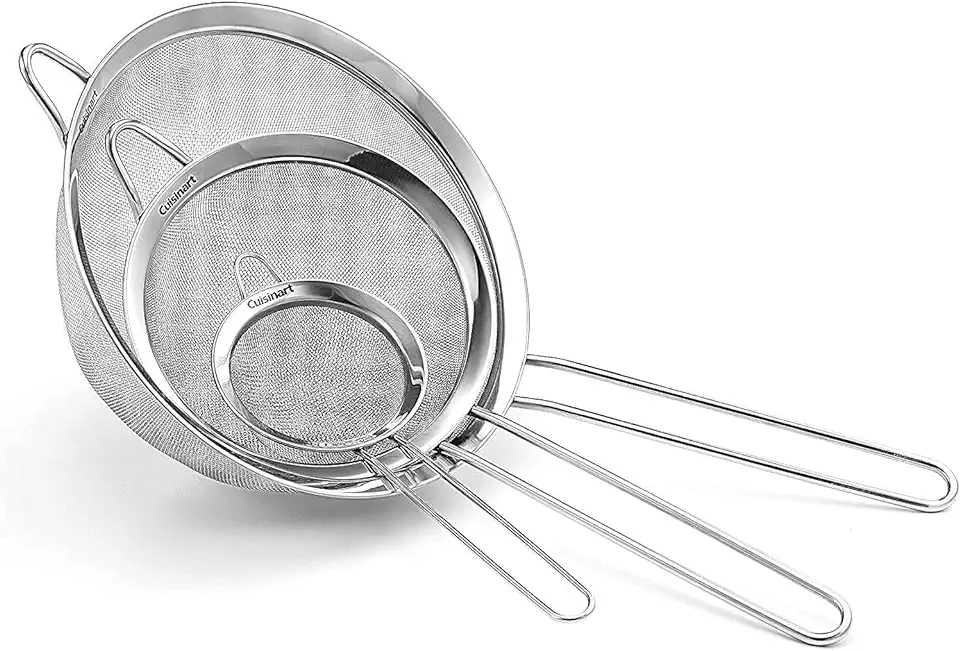 Cuisinart Mesh Strainers, 3 Count (Pack of 1) Set, CTG-00-3MS Silver
$12.99
View details
Prime
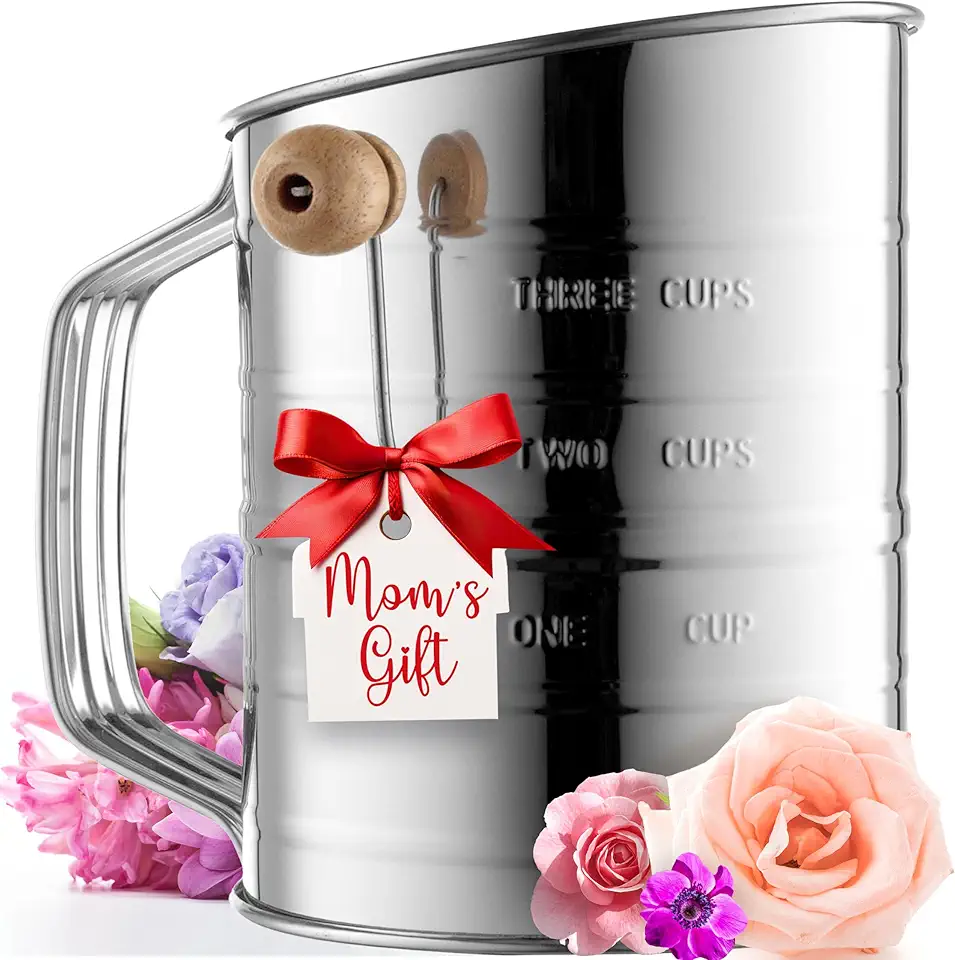 Bellemain 3 Cup Flour Sifter for Baking Fine Mesh Rotary Hand Crank with Loop Agitator for Quick Sifting, Flour Sifter Stainlees Steel
$19.99
$27.95
View details
Prime
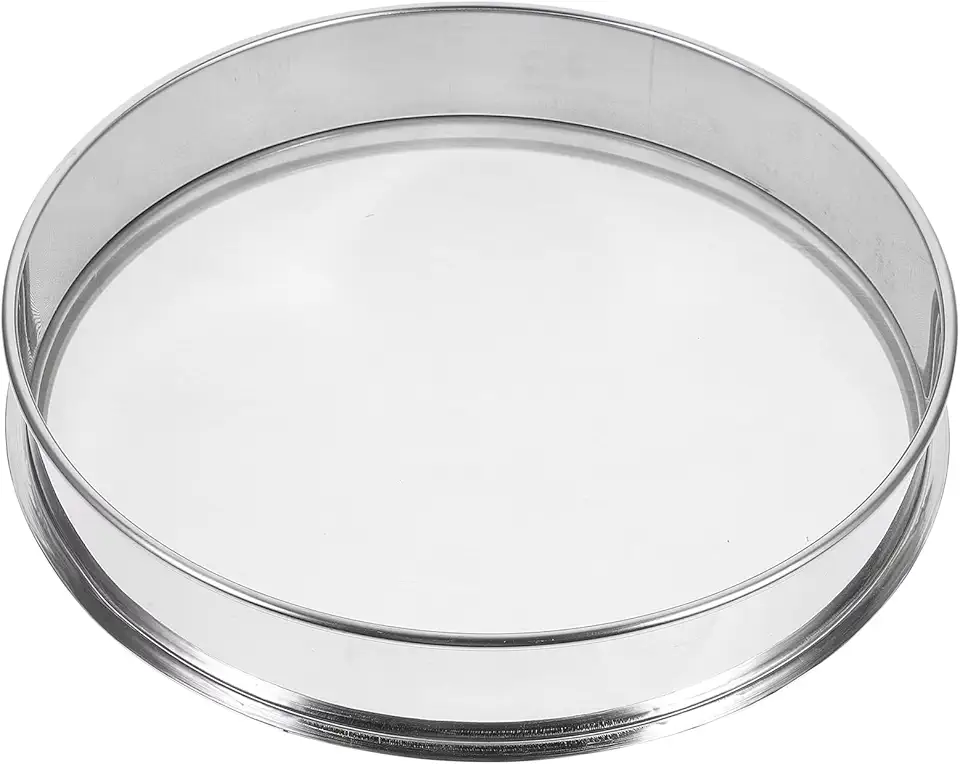 Fine Mesh Sifter Sifter Shaker Extractor 150 Mesh Flour Sifter Sieve Stainless Steel Food Strainer for Home Bakery Shop Cocoa Powder 30cm
$39.36
$46.38
View details
Variations
Faq
- What do I do if my marshmallows are too sticky?
If your marshmallows are too sticky, it might be because the mixture didn't cool down enough before cutting. Dust them generously with powdered sugar to help with the stickiness.
- Can I flavor my marshmallows?
Absolutely! You can add vanilla, peppermint, or even fruit extracts to the mixture before whipping it. Be sure to adjust the amount based on the flavor intensity you want!
- What is the best way to store marshmallows?
Store your marshmallows in an airtight container at room temperature. This helps keep them fluffy and prevents them from drying out.
- How can I make my marshmallows more colorful?
To add color, divide your mixture into separate bowls before it's fully set and mix food coloring into each portion. Layer the colors in the pan for a pretty effect!
- What if I accidentally over-whip the marshmallow mixture?
If you over-whip, the mixture can become grainy. Try to work quickly and scrape it back into your mixing bowl, then gently fold in some warm sugar syrup to regain texture.
- Can I use my marshmallows for roasting?
Yes, homemade marshmallows maintain their structure when roasted! They might require a little longer than store-bought ones, but the result is a delectable treat with that perfect toasted flavor!

